In one of the designs I’m working on, I’m using a lovely intricate stitch pattern from the Japanese Knitting Stitch Bible by Hitomi Shida. In this particular stitch pattern, a Right Twist stitch is used. So, in this post, I’ll go into the details on how to work this stitch.
The basic characteristic of a Right Twist, is that it switches the order of 2 adjoining stitches, one “main stitch” and one “background stitch” to make it appear that the main stitch travels to the right. The background is usually reverse stockinette. The main stitch is usually worked twisted (working the stitch through the back loop) stockinette. This way it pops even more against the background.
The instruction from the Japanese Knitting Stitch Bible for this stitch consists of the following text:
With RN, go in front of first st and ktbl second st without removing it from LN; p first st and slip both off LN.
Materials used
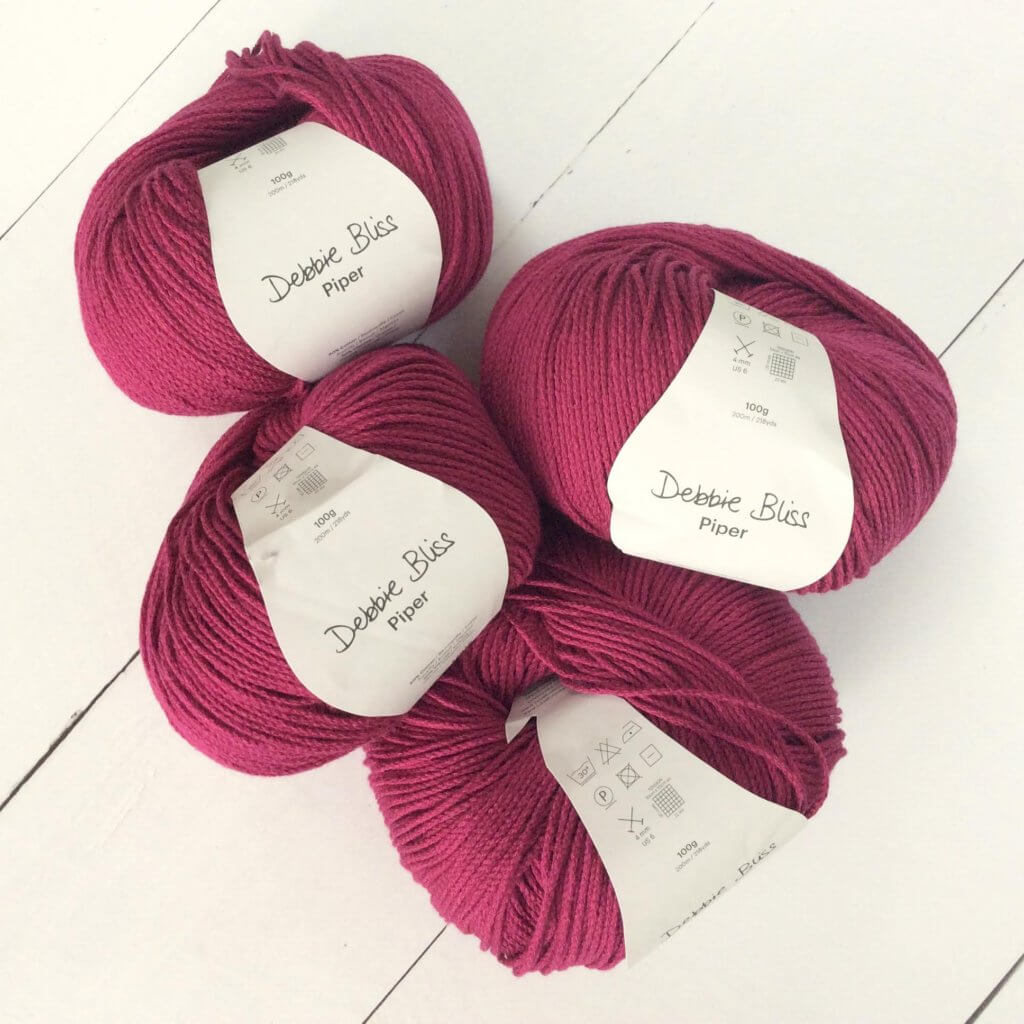

Yarn: Debbie Bliss “Piper” in Magenta. It’s a yarn with a composition of 50% cotton and 50% viscose. It has a great stitch definition, perfect for trying out those intricate Japanese stitch patterns.
Needles: KnitPro Zing Fixed Circular Needles. In this tutorial, I used the 4 mm (US 6) size with a cable length of 80 cm (32 inches).
Working a Right Twist step by step
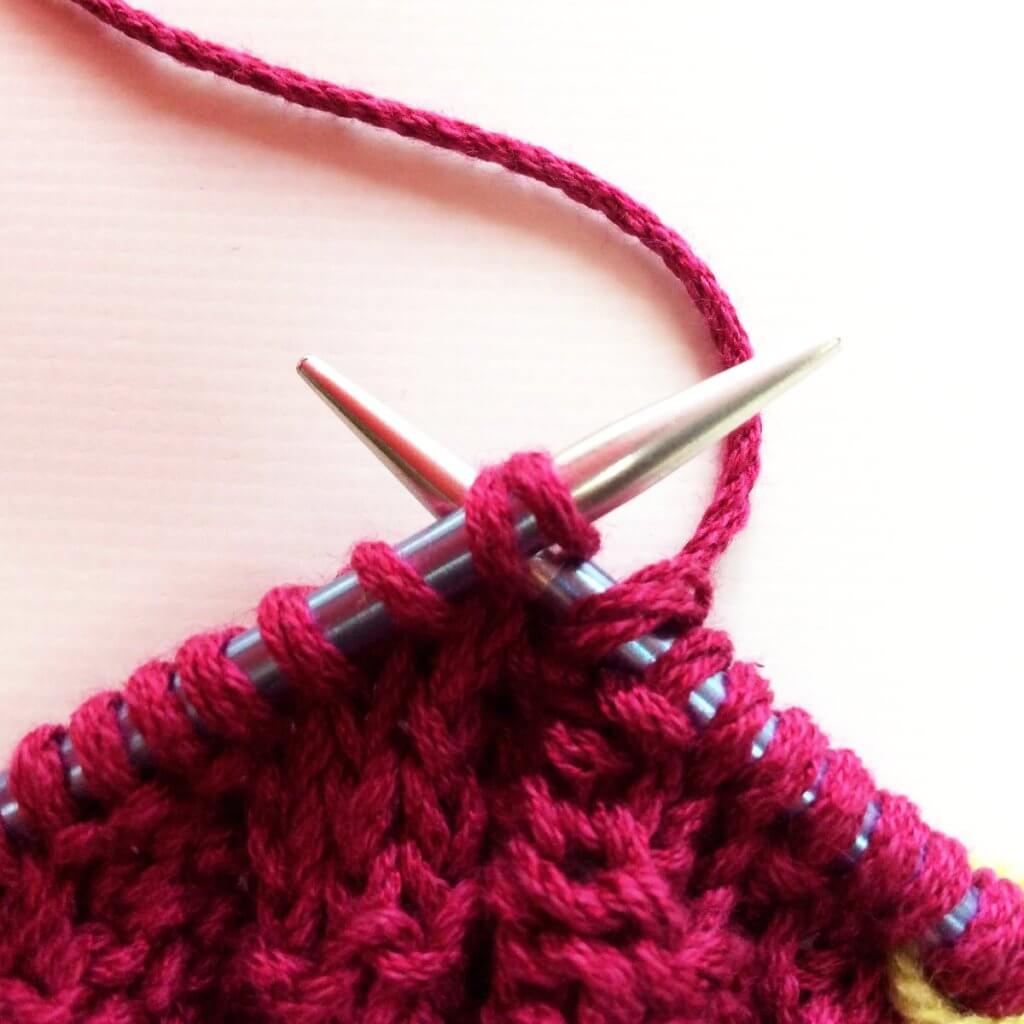
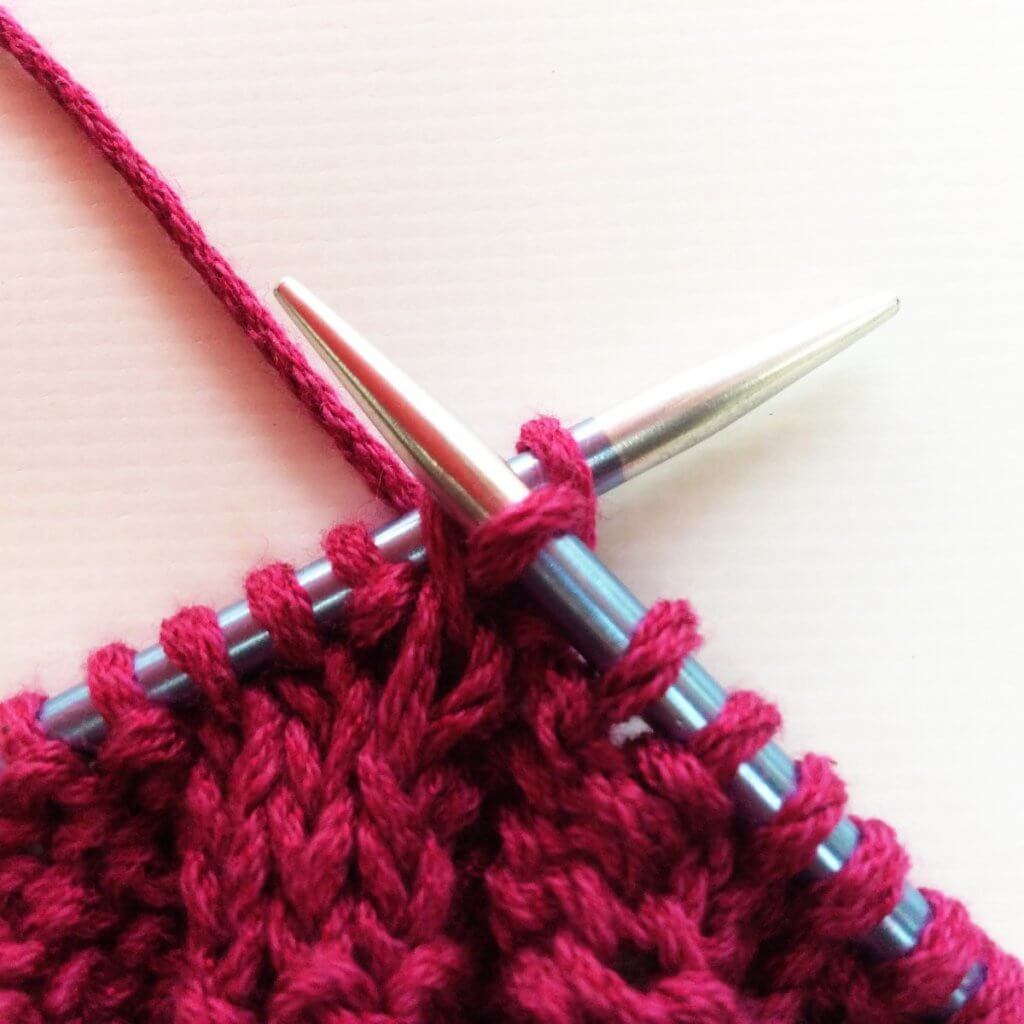
1. The first 2 stitches on the left-hand needle in the picture below, are the ones we’re going to work the Right Twist over. In other words: we’re going to switch the order of the knit and the purl stitch, to make it appear that the knit stitch travels to the right.
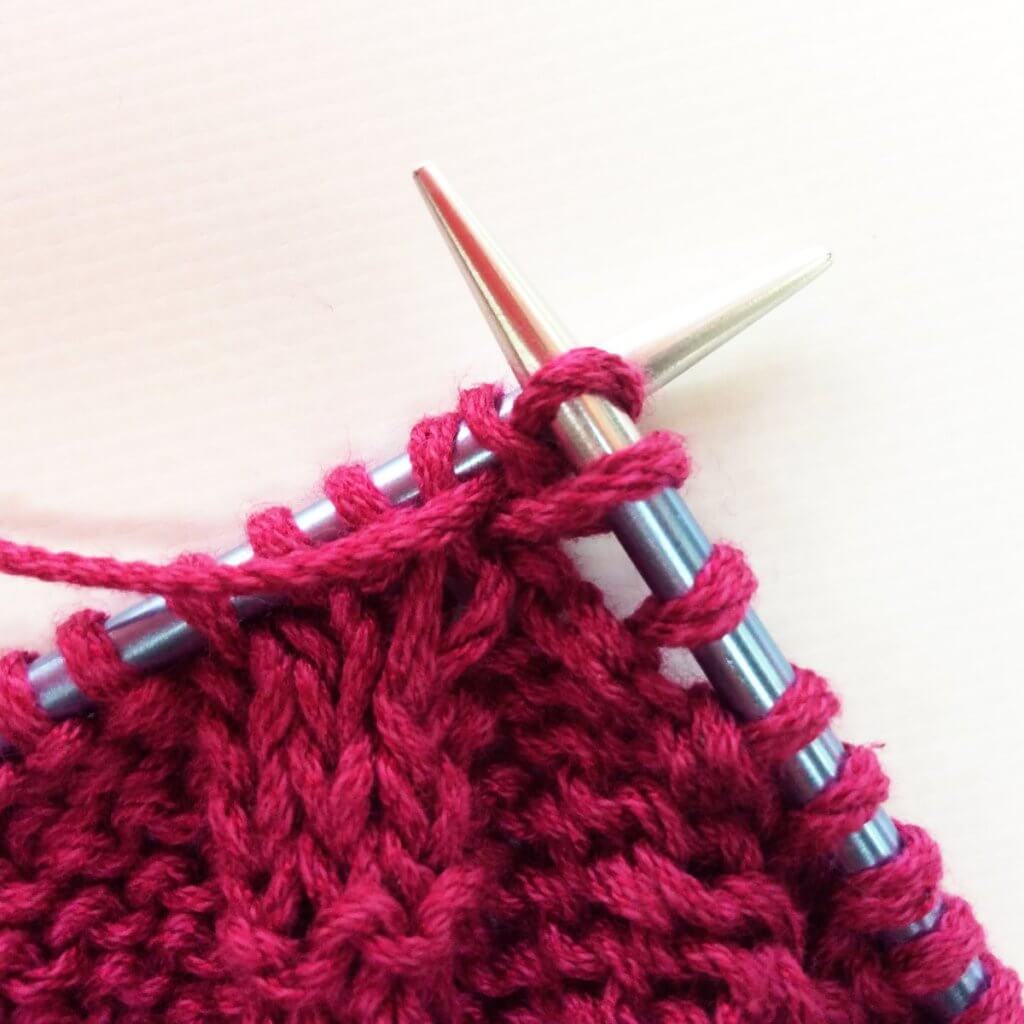
2. To start, insert your right-hand needle knit wise into the back loop of the second stitch from the tip of the left-hand needle to work a twisted knit stitch. The yarn is at the back of the work.
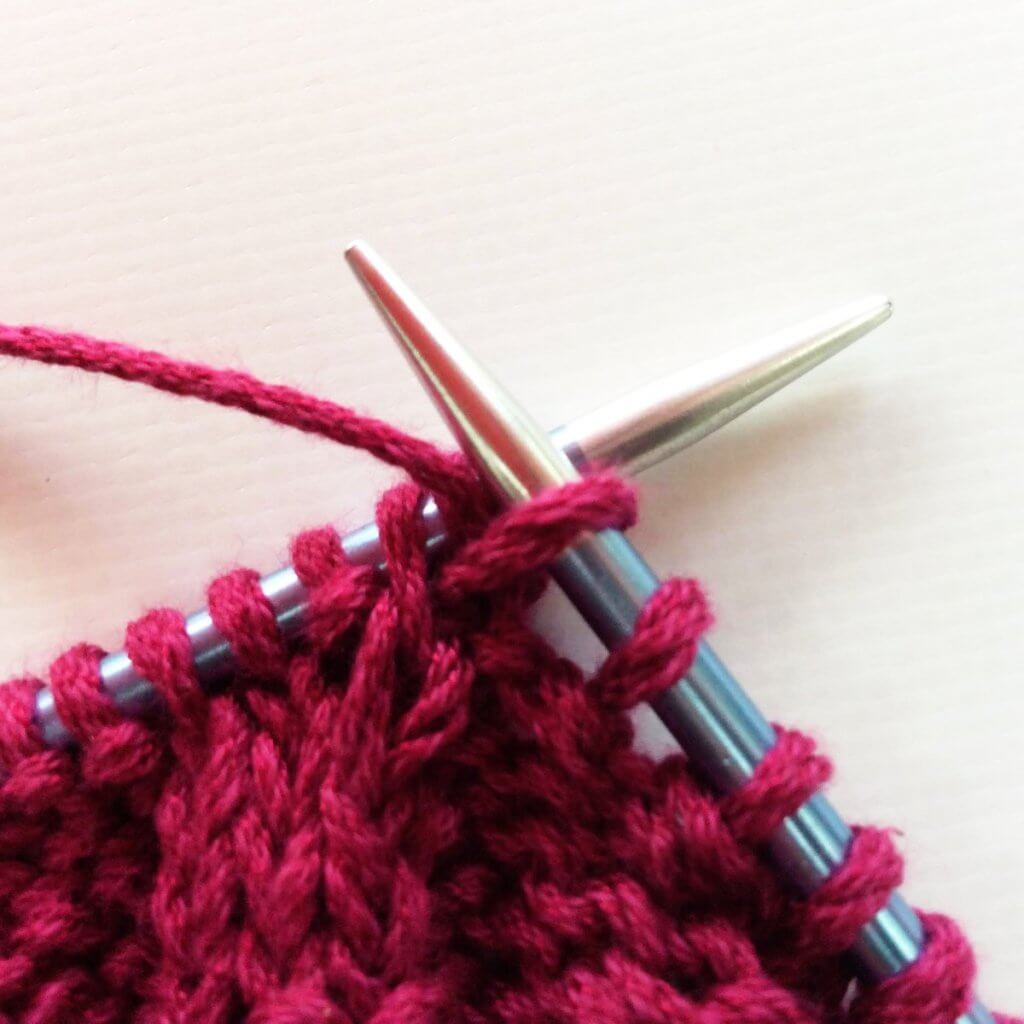
3. Wrap your yarn around the needle…

4. ….and pull it through the stitch.
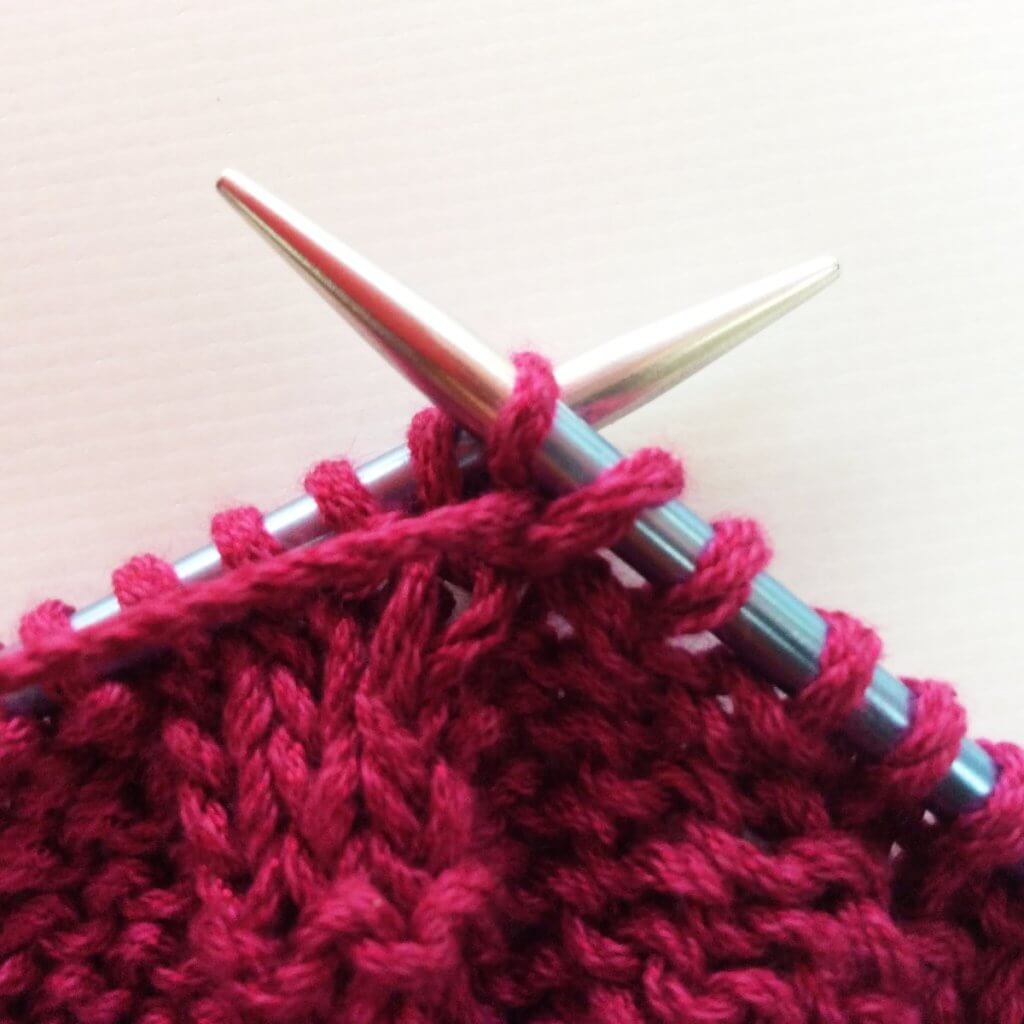
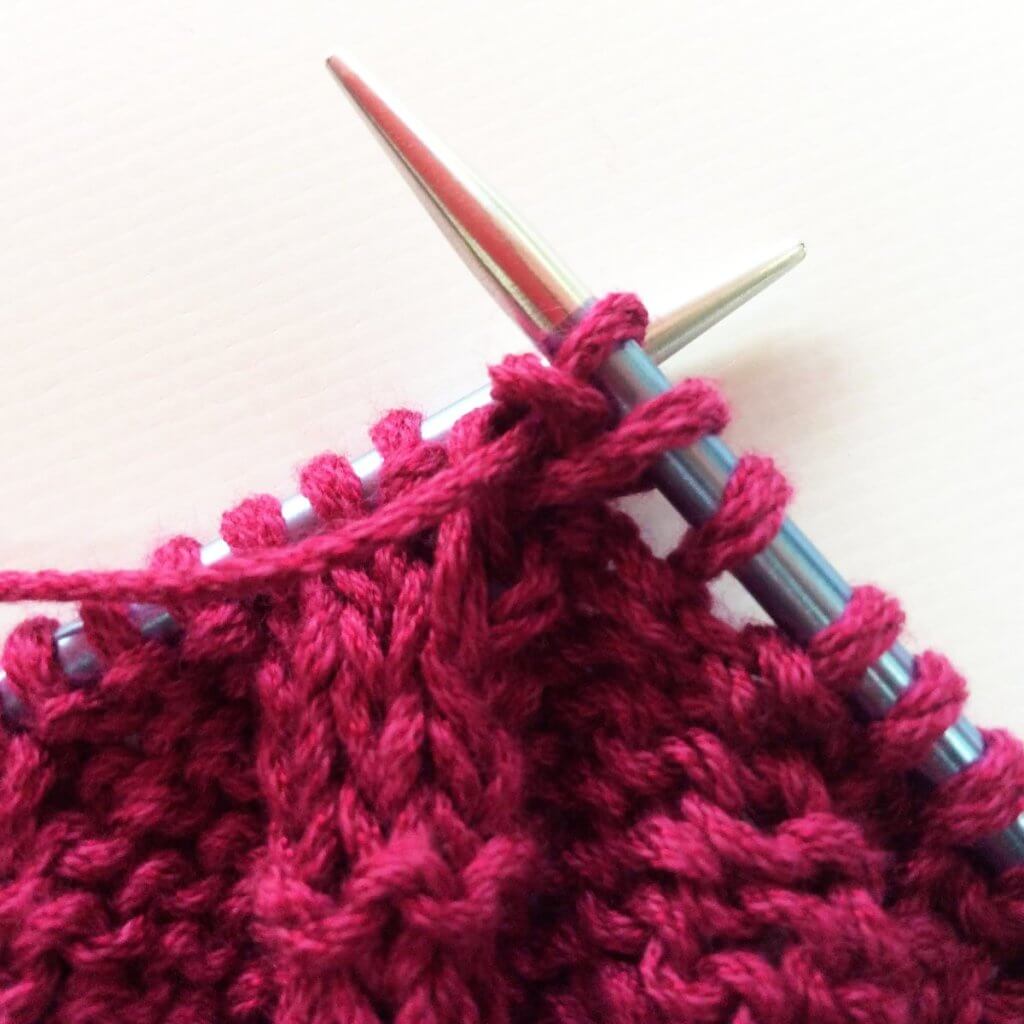
5. Next we’re going to work the first stitch we skipped before. Since that is a purl stitch we first have to move the working yarn to the front of the work.
6. Now it’s time to insert your right-hand needle purl wise into the first stitch from the tip of the left-hand needle.
7. Wrap your yarn around the needle…
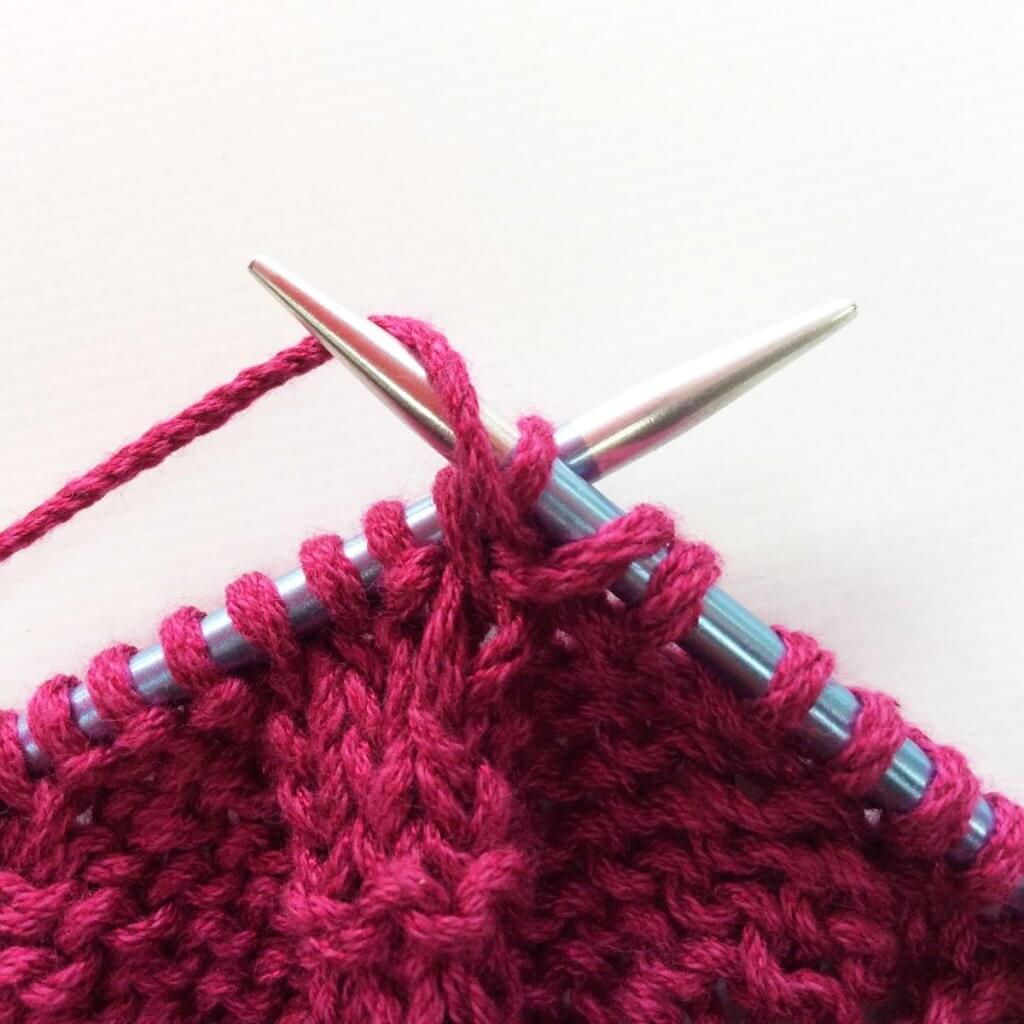
8. … and pull it through the stitch.
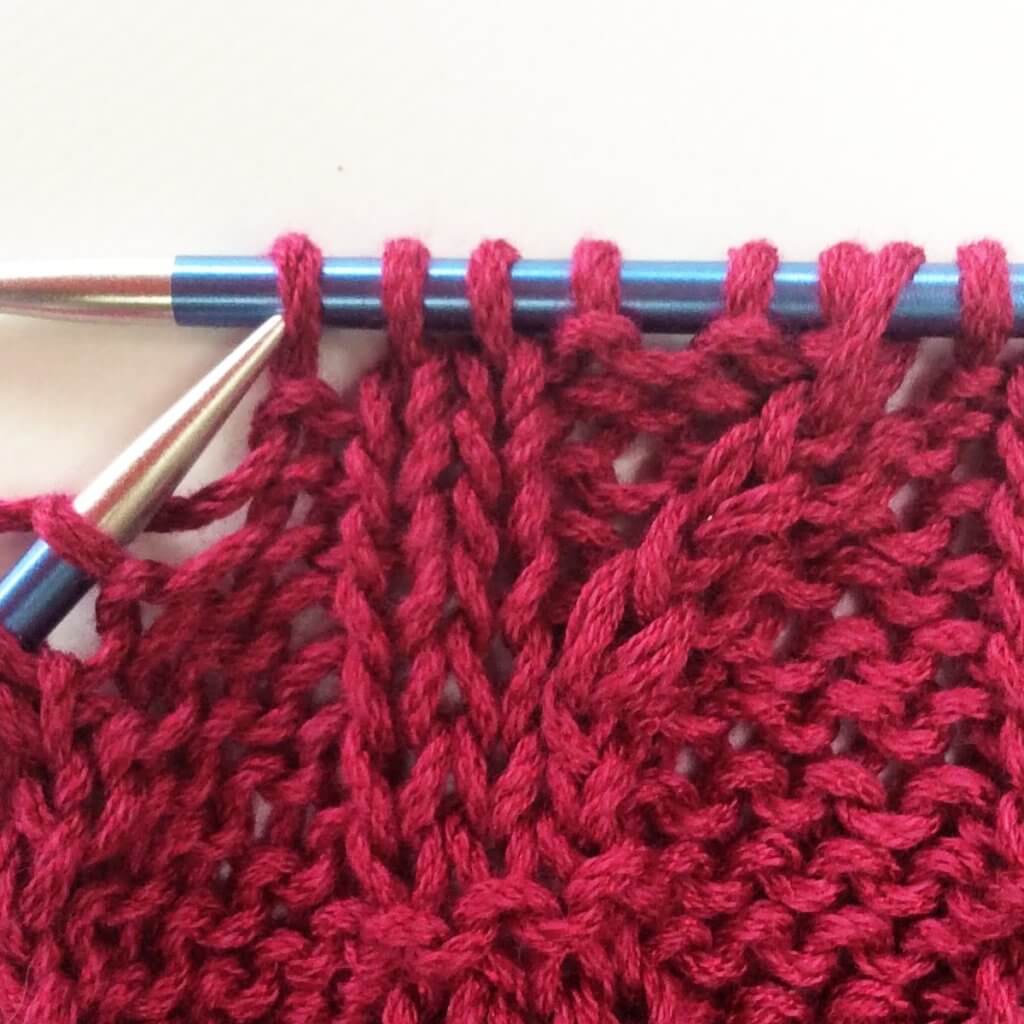
9. Now both stitches are worked, slip them from the left-hand needle to complete your Right Twist stitch!
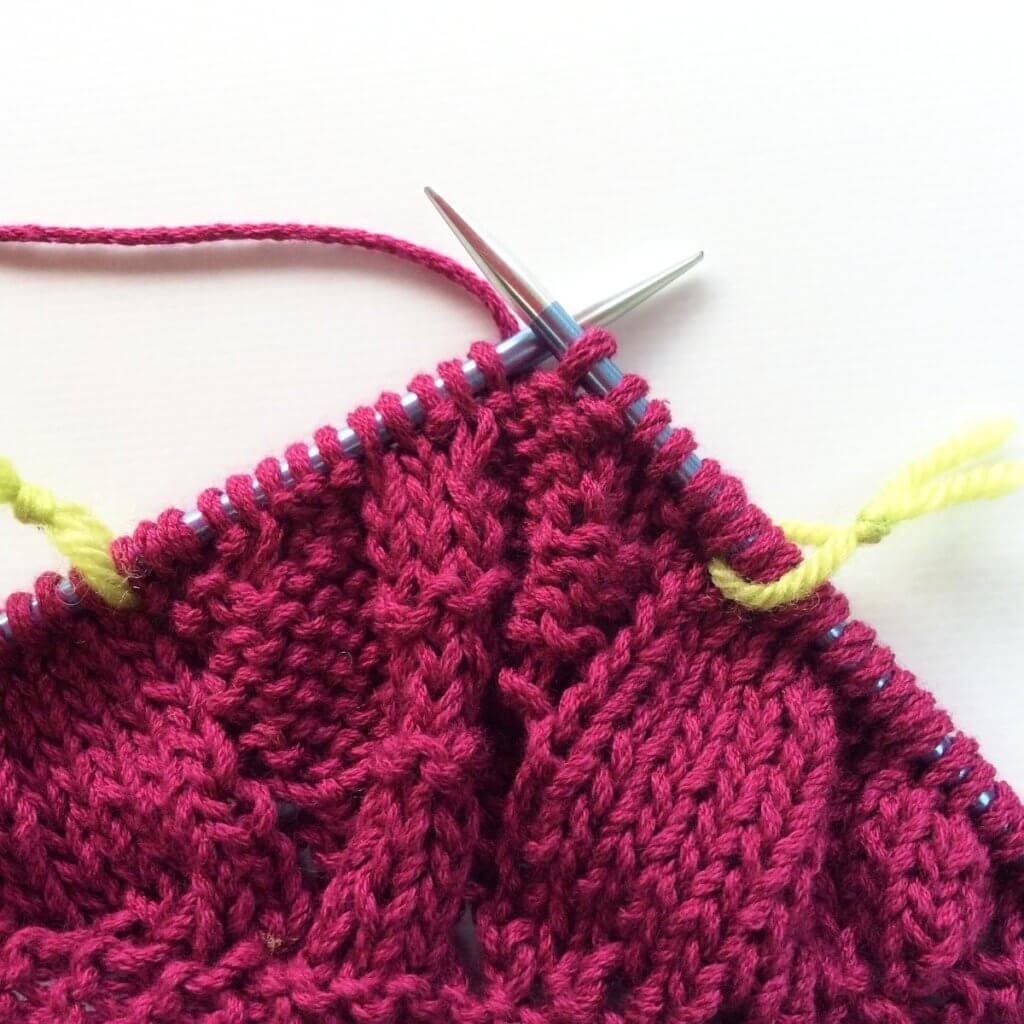
On the following wrong side row, work the stitches as they present themselves. In other words: what looks like a knit stitch is knit, what looks like a purl stitch is purled, and the “traveling stitch” is purled through the back loop. Below is how it looks after a couple of more rows have been worked.
And that’s it! In a new tutorial I’ll go into how to work a Left Twist stitch, stay tuned!

Thanks to my Patreon supporters for bringing you this freebie! Creating quality patterns and tutorials is a lot of work and resource-intensive. However, I find it important to give you free content like this tutorial. Thanks to the generous support of my Patreon supporters, I can make it happen. Thank you, patrons! Click here to join, or click here to read more about La Visch Designs on Patreon.


