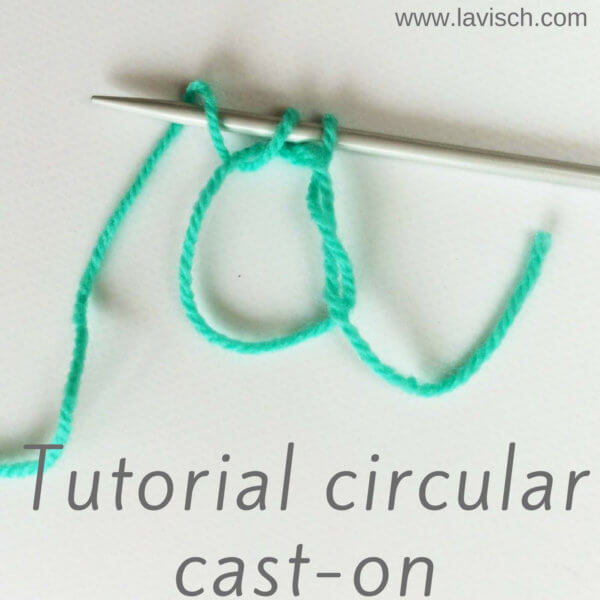
Casting-on for knitting in the round is usually a rather fiddly business. The circular cast-on method in this tutorial, unfortunately, isn’t any different in that respect. Still, when wanting the cast-on for a project knitted flat and in the round, this method gives a very nice and invisible start.
I think it’s ideal for things like top-down hats, center-out blankets or shawls, and the like. It’s pretty similar to the idea of starting a project with a magic ring in crochet. A big plus is that the ring can be tightened to close up the starting hole, once you’re well underway and past that fiddly starting stage.
In this tutorial I used a circular needle in the magic loop way, but (of course) double pointed needles (dpn’s) can also be used for the small-circumference start.
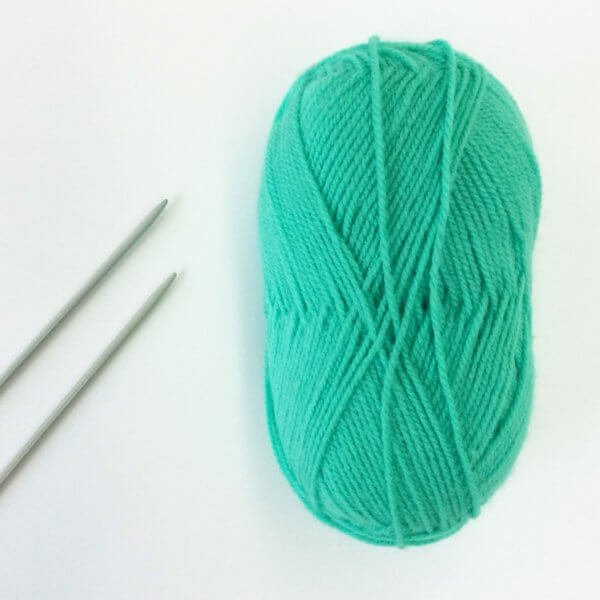
Materials
Besides yarn and circular knitting needles (or dpn’s), it’s also a good idea to use stitch markers to denote the corner stitches. I didn’t use them in this tutorial and it shows in the end result! If using circular needles, make sure the cable is long enough to do magic loop. In my experience, 80 cm / 32 inches or longer is needed for that.
The circular cast-on step-by-step
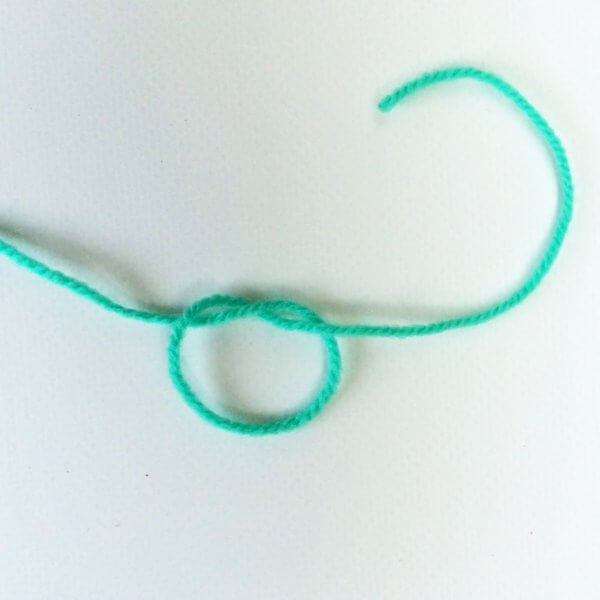
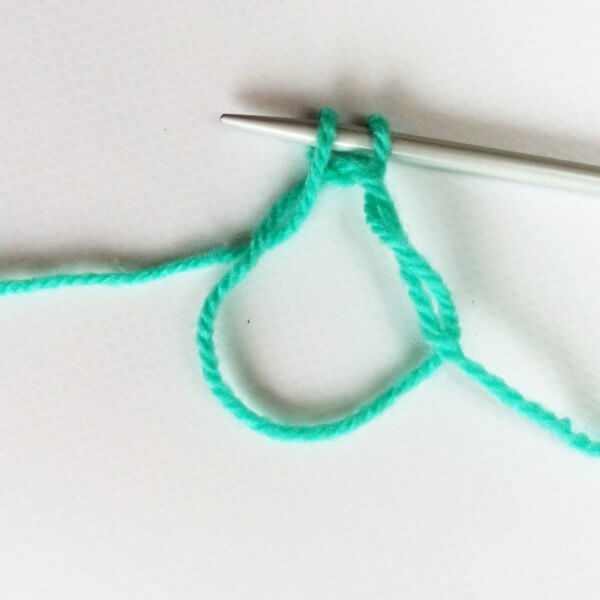
1. Make an overhand knot in your yarn as shown below in the picture.
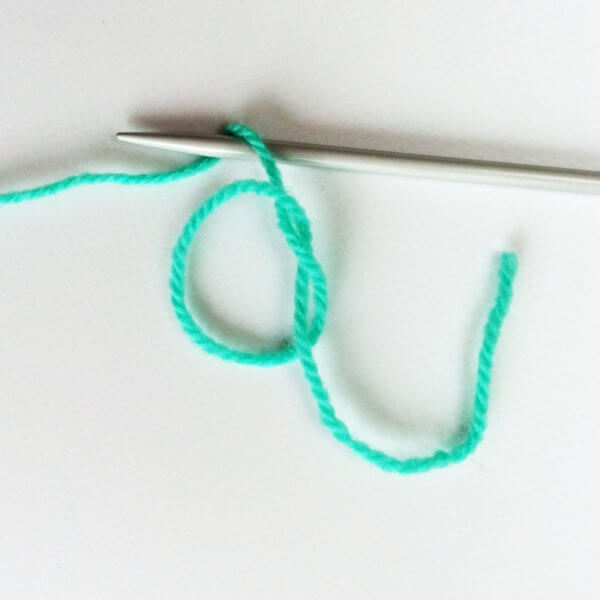
2. Next, position your knitting needle as shown underneath the strand of your that goes to the ball of yarn.
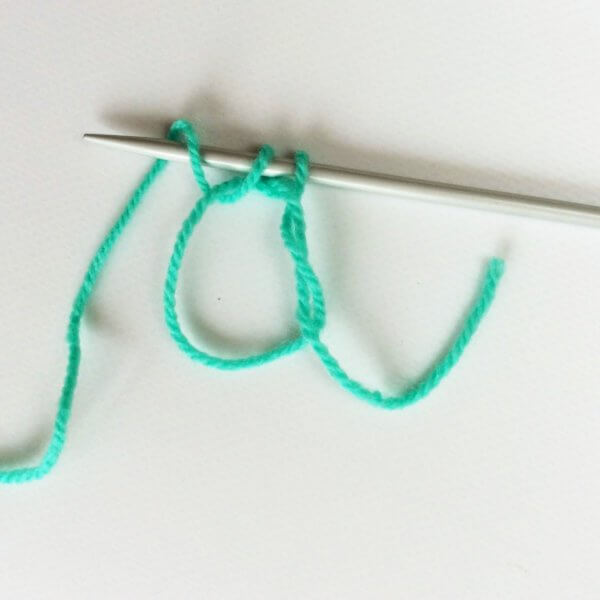
3. Now insert the needle in the circle of yarn, yarn over and pull the loop through the circle. This makes a new stitch as shown below.
4. Now, yarn over again…
5. …. and (as in step 3) again insert the needle in the circle of yarn, yarn over and pull the loop through the circle. This makes a new stitch as shown below.
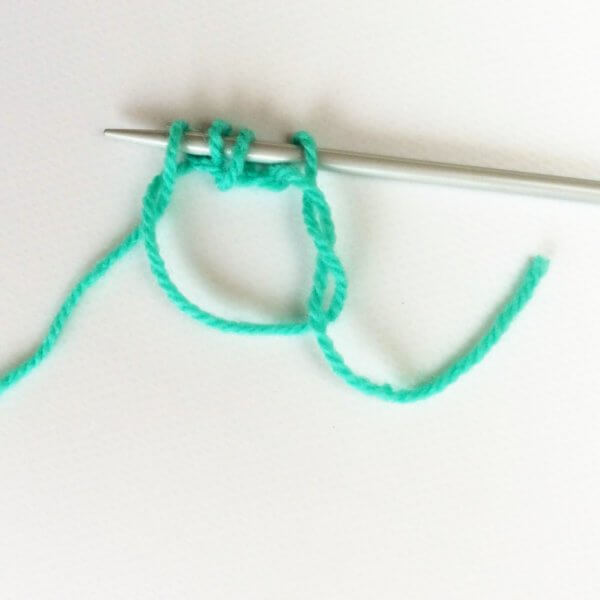
6. Repeat steps 3 and 4 as often as needed. In this example, I repeated another 2 times to get to a total of 8 stitches on my needle.

7. Now you can pull on the yarn tail to tighten up the cast-on circle. Don’t worry if it loosens up, later on, you can always tighten it again.
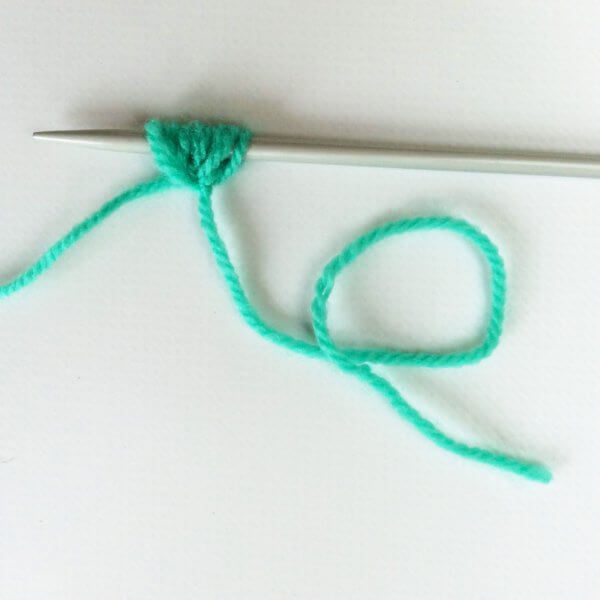
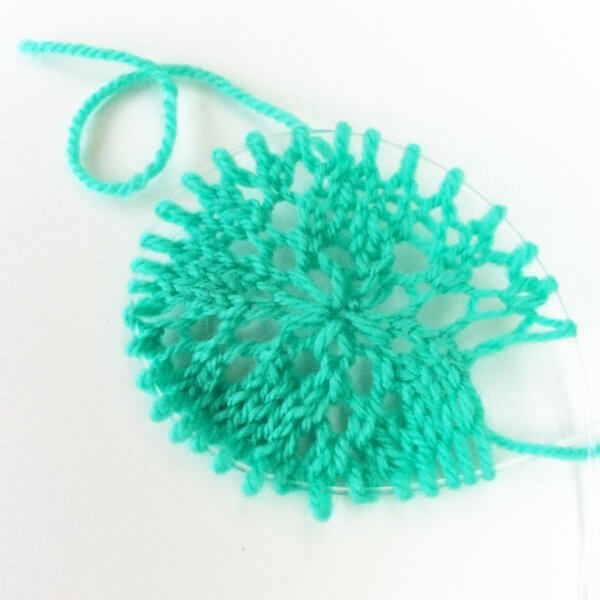
8. And now you can start knitting according to your pattern! This may also be a good time to insert any stitch markers needed, for the correct placement of the increases. In this example, I didn’t, which shows in the wonky placement of the yarn overs in the picture below. Still, the cast-on itself in the center can be seen pretty well, so there it is!

Thanks to my Patreon supporters for bringing you this freebie! Creating quality patterns and tutorials is a lot of work and resource-intensive. However, I find it important to give you free content like this tutorial. Thanks to the generous support of my Patreon supporters, I can make it happen. Thank you, patrons! Click here to join, or click here to read more about La Visch Designs on Patreon.


