This project has quite the backstory, so I’ll get started to get you up to speed. Back in 2011 I bought 2 batts of Texeler wool, each a whopping 200 g. One was cyclamen pink, the other more pink & purple. I spun each of these into singles, and twined them into an (on average) 2-ply DK-weight yarn. Unfortunately, I don’t have any pictures of the resulting yarn to show you.
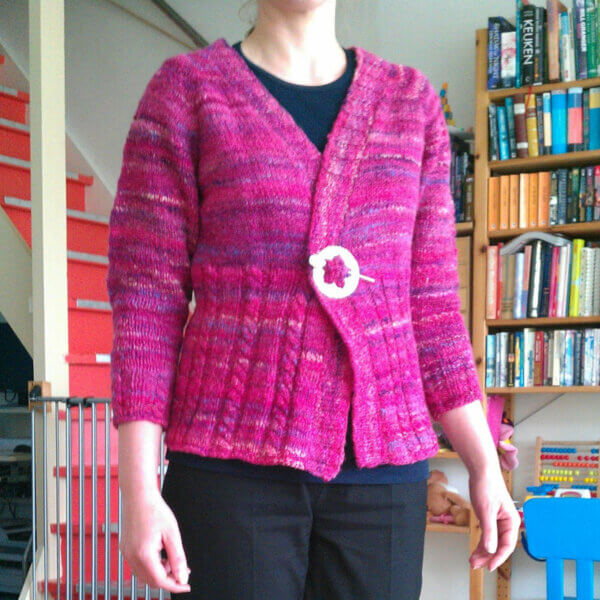
Anyway, I decided to use this yarn to make myself a Mr Greenjeans cardigan, which is a pattern by Amy Swenson, available for free on Knitty. When I started the project, it was just after my youngest was born, and I was still breastfeeding. I expected to lose some weight because of that, so I aimed at a size to end up eventually with a garment with approx. 0 cm / 0″ of ease. Things going as they go, I didn’t finish the project until sometime in 2013. By then I had lost so much baby weight that my mr Greenjeanshad a whopping 14 cm / 5.6” of positive ease! Nevertheless, I put it in my closet and wore it from time to time.
Below you can see how I wore it at the time. I didn’t even make the effort to sew a button on, I just closed it with a shawl pin.
Fast-forward to July 2021: Looking back, I really haven’t worn this garment that much. You see, it turned out to be very warm. So warm, in fact, that I only wore it on the coldest days of the year. That combined with the 3/4th length sleeves made it rather unpractical to wear for me. But, I realized that the pink yarn I bought in Greece a couple of years ago, is a lovely match with this cardigan!
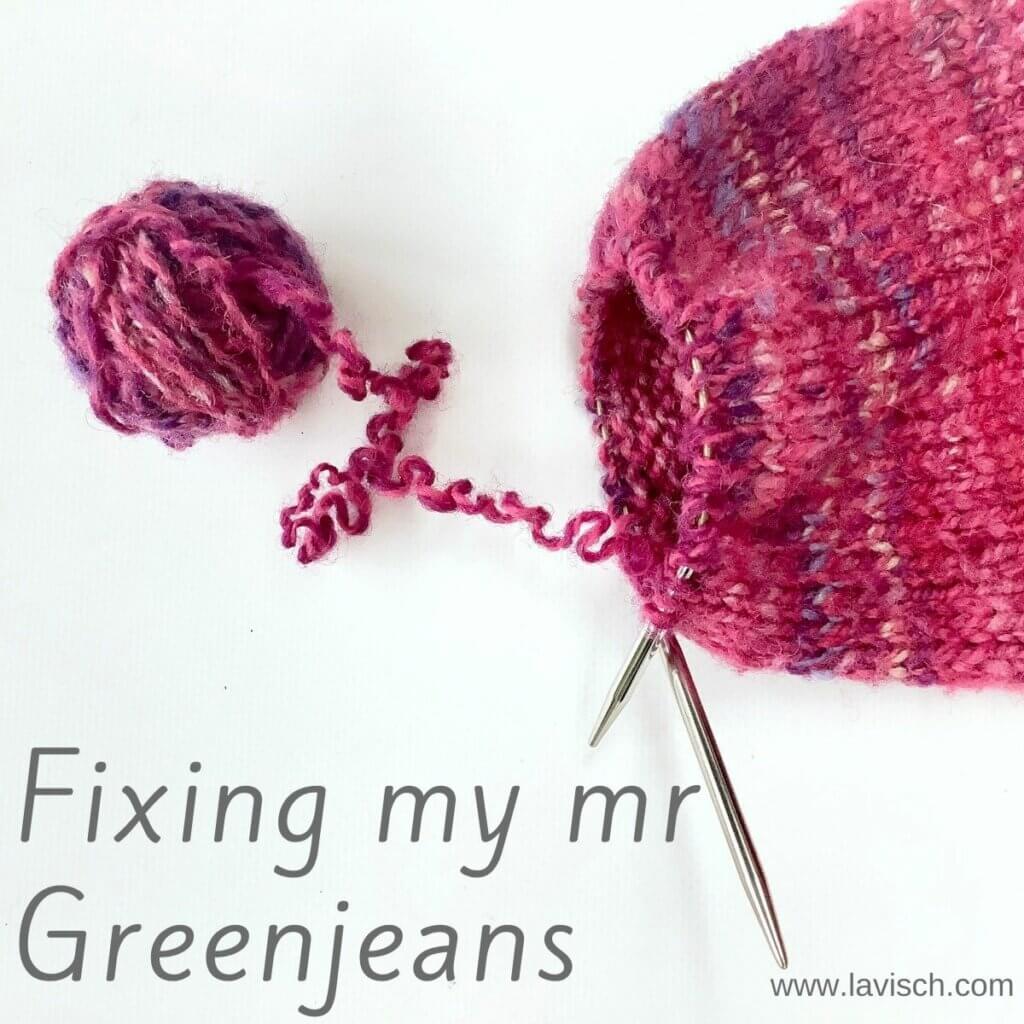
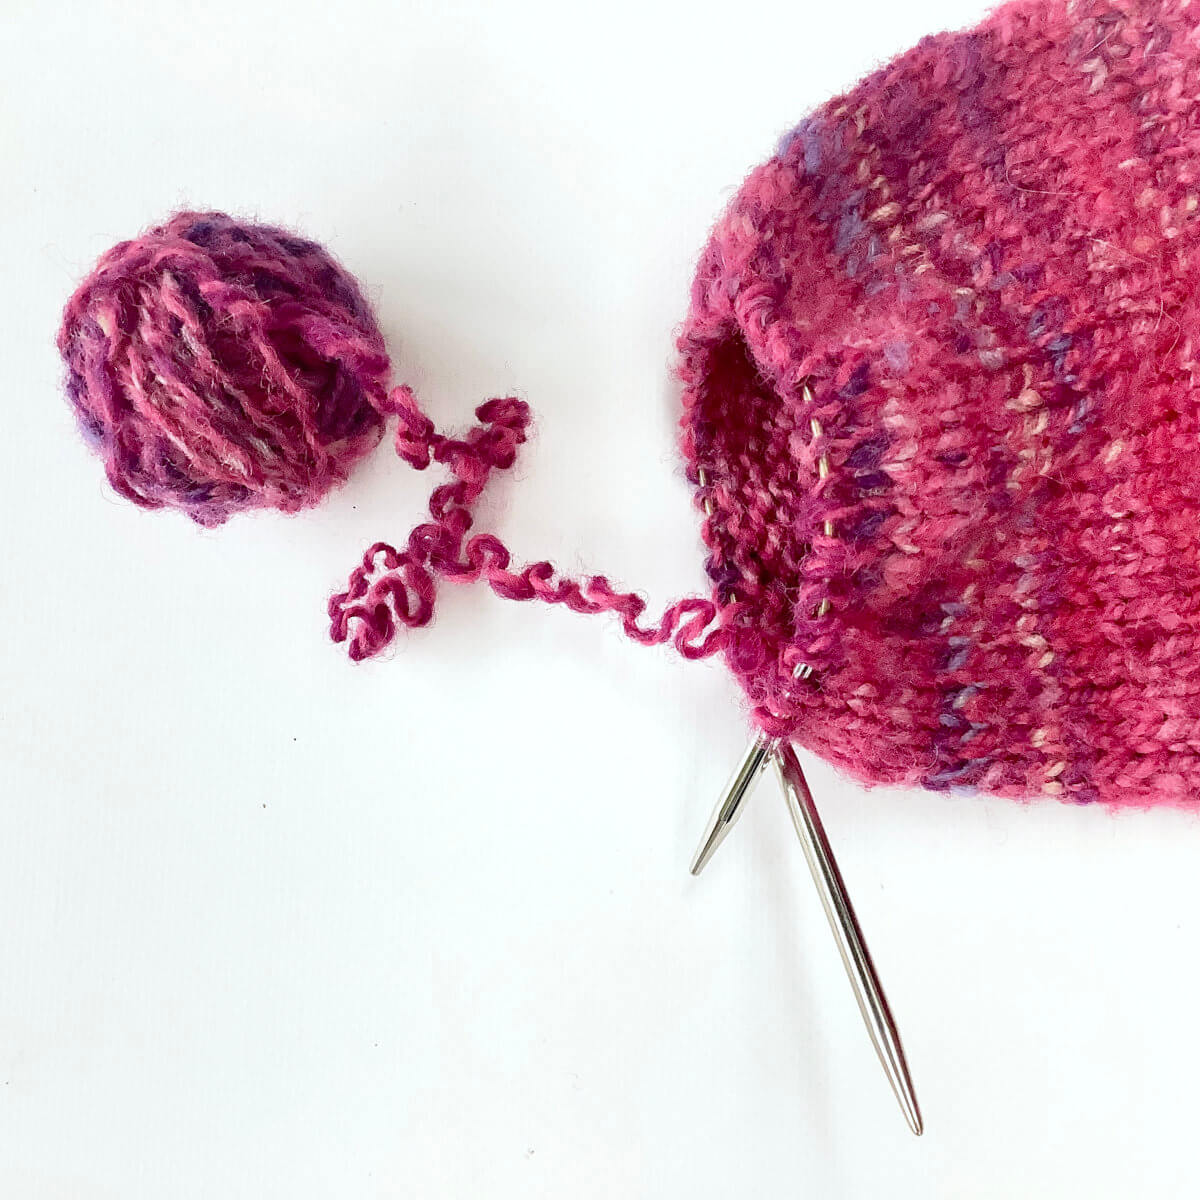
So, long story short, I hatched the plan to fix my mr Greenjeans by undoing the bind-off, work in stockinette until the hand spun is finished and then redo the cuffs with the pink yarn. And I made pictures of what I did!
Fixing my mr Greenjeans step by step
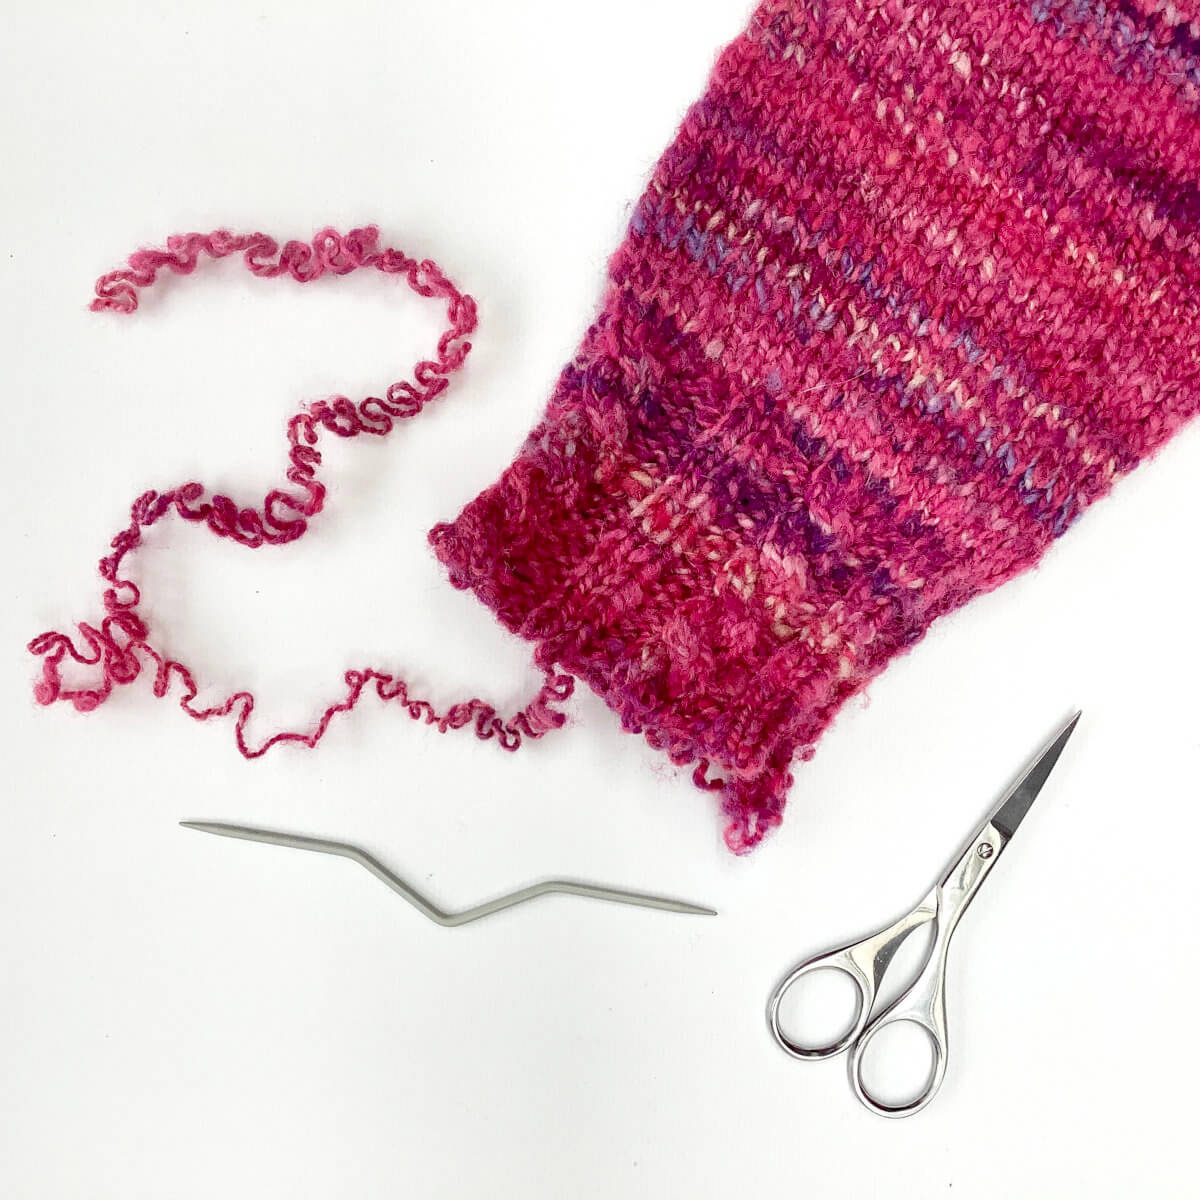
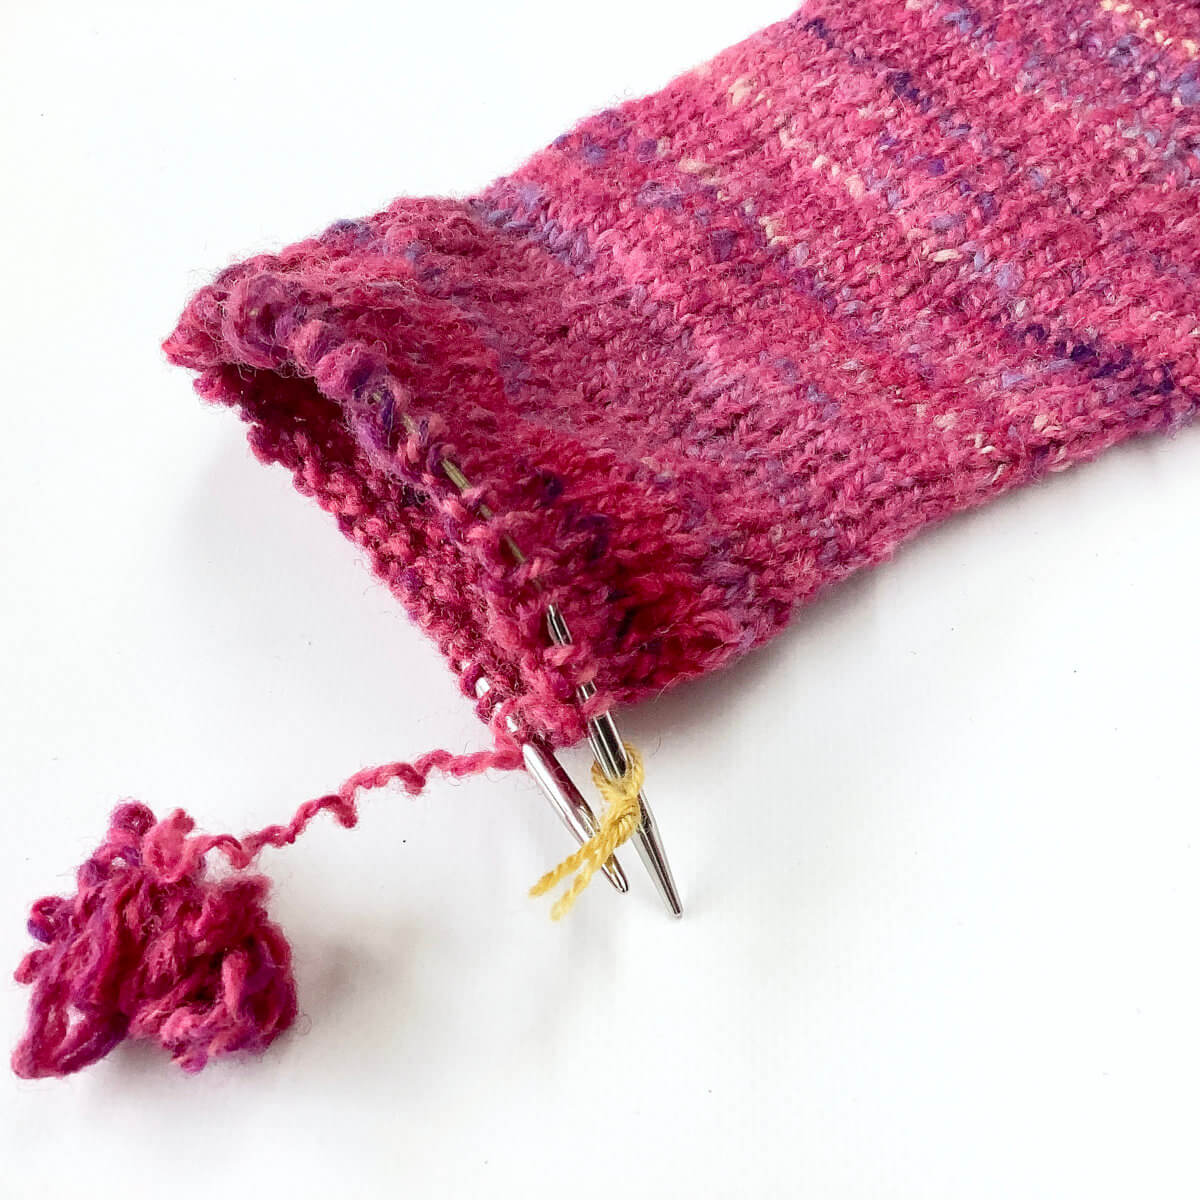
- Undoing the bind-off and unraveling the cabled cuffs.
The original yarn tail was, of course, woven in. However, with some smart and careful snipping, I managed to unravel the bind-off and then rip back the knitting to the point where the stockinette stopped.
- Re-knitting the hand spun yarn.
I put the stitches on a tiny circular needle, and continued the stockinette section of the sleeve until I couldn’t work another round. And yes, I kept track of the number of rounds to be able to duplicate it for the other sleeve.
- No more round possible!
I made a total of 18 extra rounds of stockinette in the hand spun yarn.
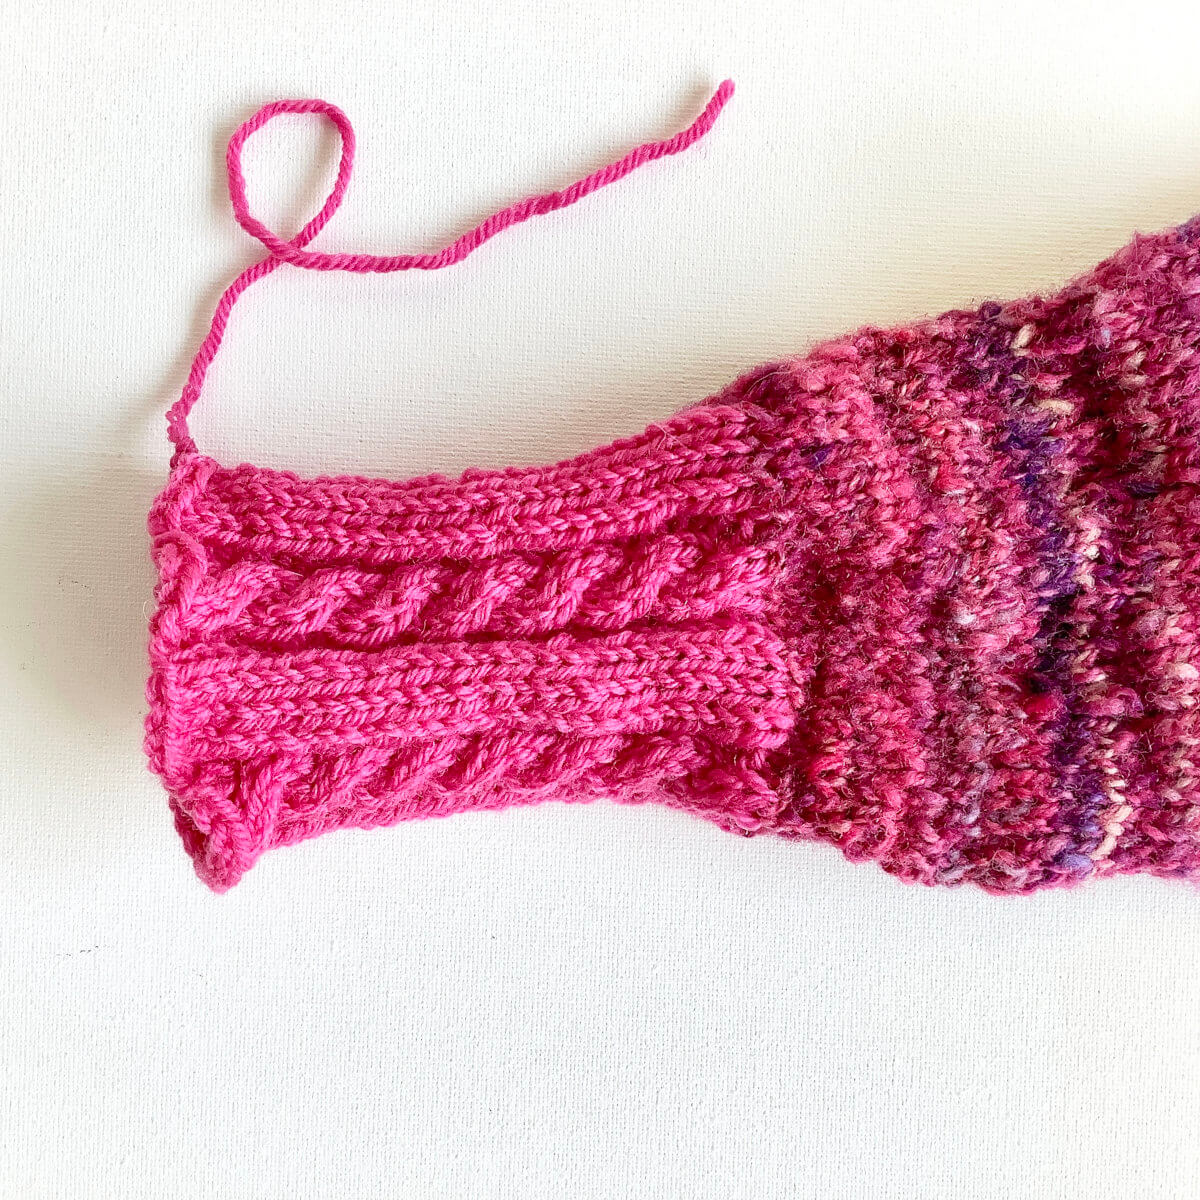
- The next step consisted of re-knitting the cabled cuff in the somewhat matching pink yarn.
Here I made 29 rounds to arrive at a cozy long sleeve length.
- Repeat steps 1 to 4 for the other sleeve!
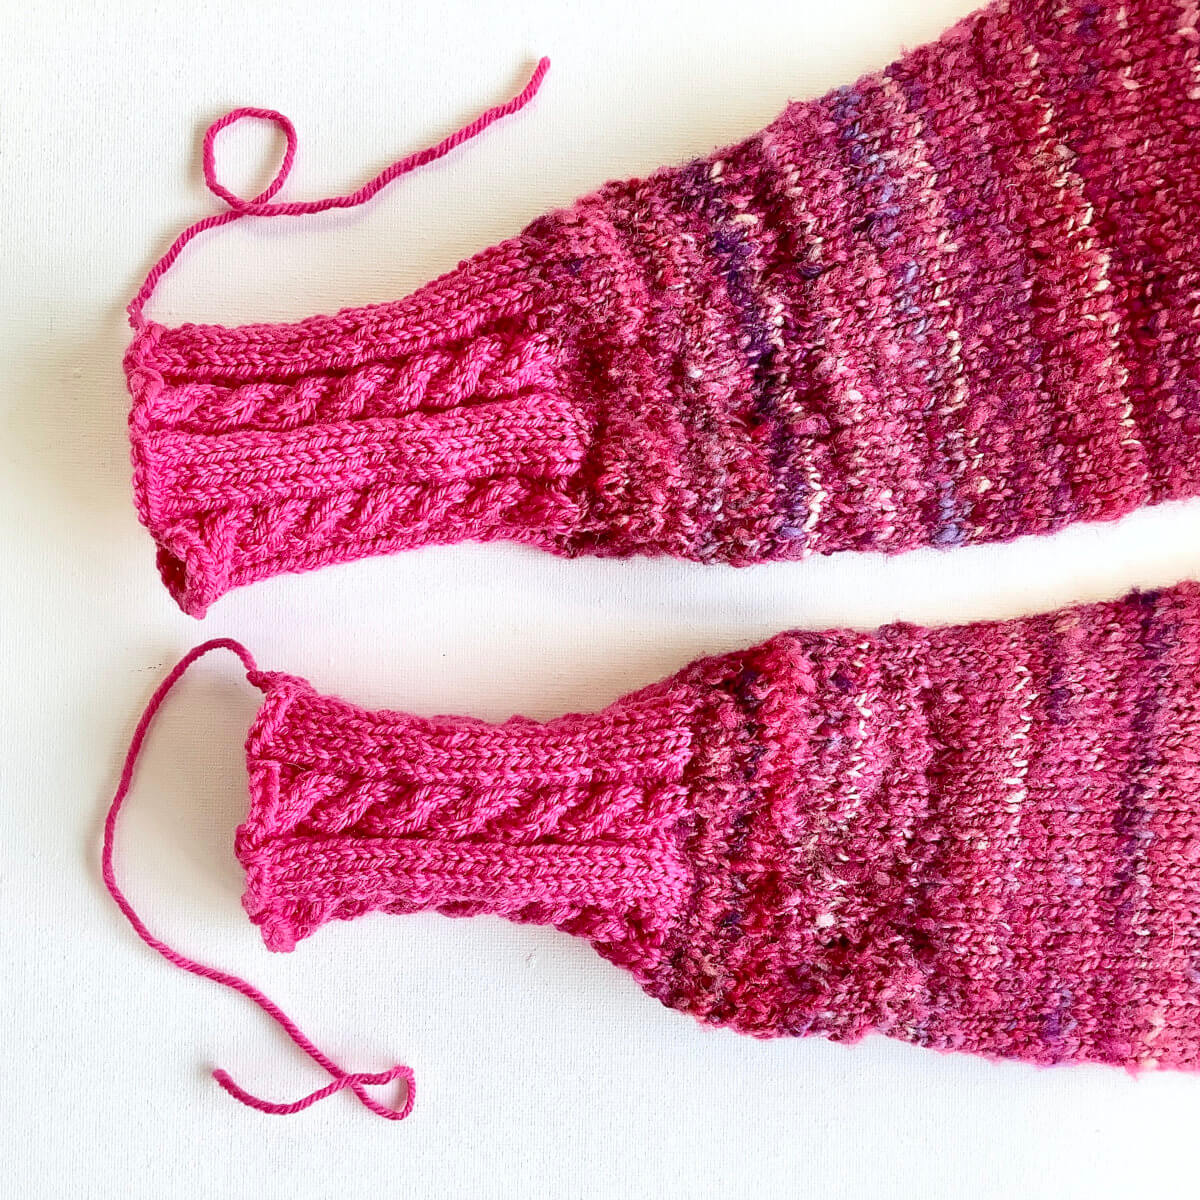
And this is the result of foxing my mr Greenjeans!
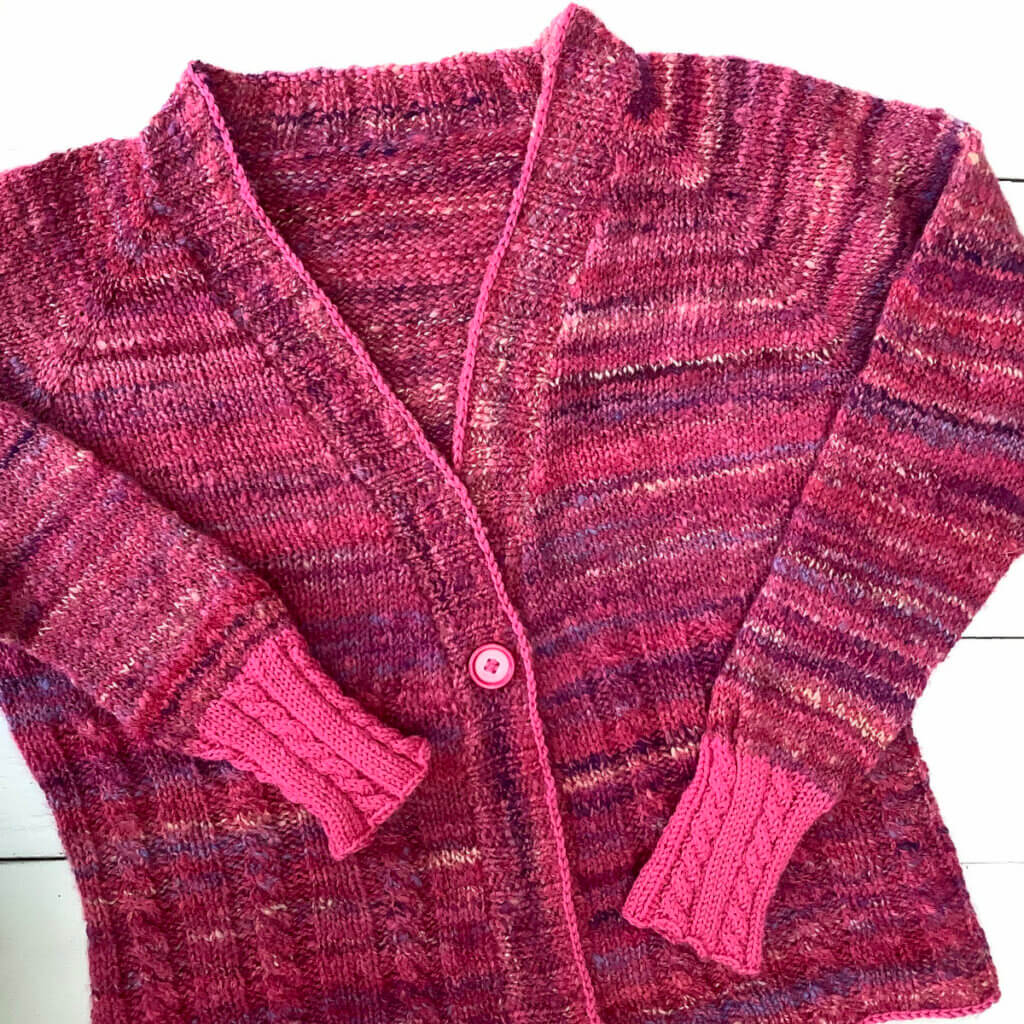
As you can see, I found a button in the very same pink as the contrast yarn, and actually sewed it on. To tie everything together, I also did some slip stitching along all outer edges of the cardigan. In my next tutorial, I’ll show you how to work slip stitches as an edge treatment!

Thanks to my Patreon supporters for bringing you this freebie! Creating quality patterns and tutorials is a lot of work and resource-intensive. However, I find it important to give you free content like this tutorial. Thanks to the generous support of my Patreon supporters, I can make it happen. Thank you, patrons! Click here to join, or click here to read more about La Visch Designs on Patreon.


