Most of my projects are about knitting lace, not cables. The reason? I find that with cabling, my flow is very much interrupted. First by getting the cable needle. Next, by manipulating all three needles I have in my hands at that moment while working the stitches. Followed by laying the cable needle aside again. All of this to repeated multiple times in a row, depending on the patterning, of course.
For complex cables, I see no way around using a cable needle. For the simple twists only involving 2 stitches, it’s another matter, though! Cabling itself is nothing more than working in another order than the one they originally appeared on the knitting needle. So, if we’re talking about simple twists only involving 2 stitches, we can easily change the order around without using a cable needle. And, of course, without having a big risk of dropping a stitch.
In this tutorial I show you how to go about it!
Materials used
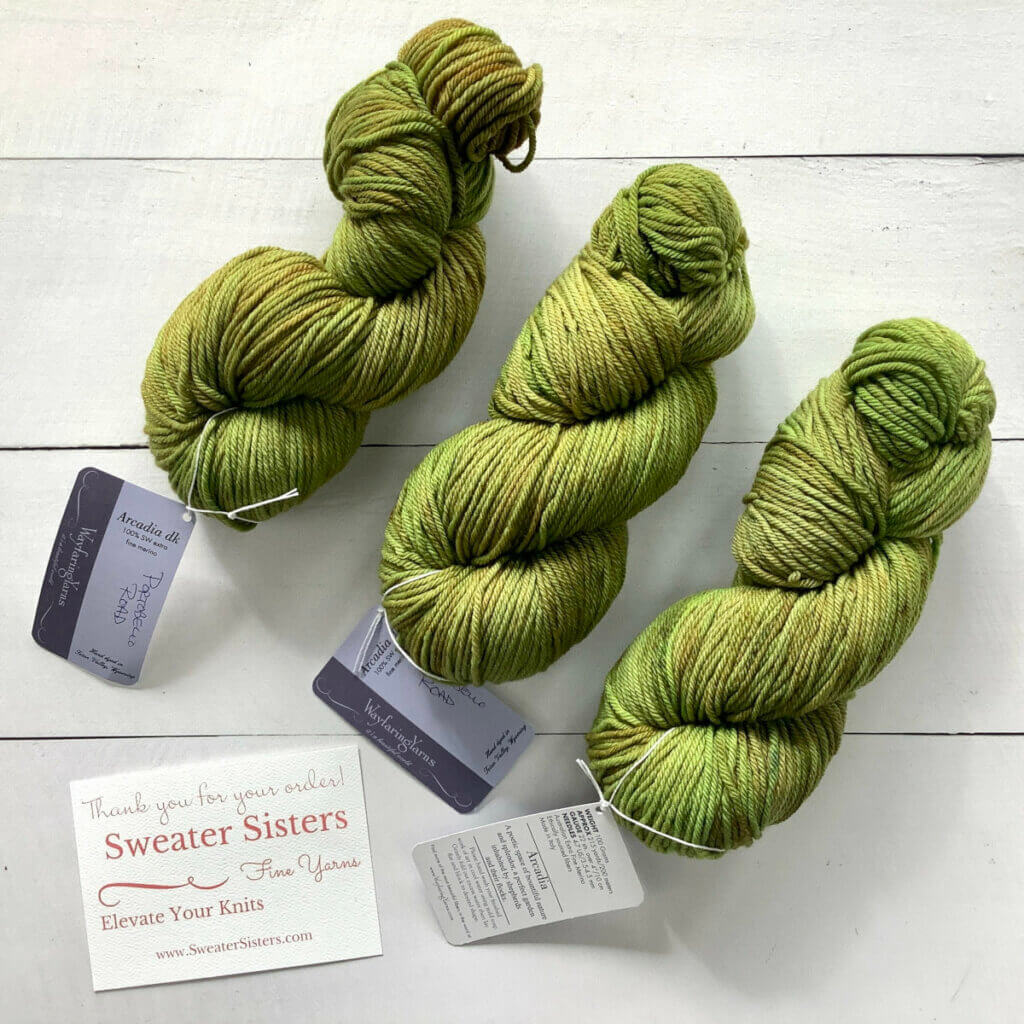
Yarn: Wayfaring Yarns Arcadia DK, a 100% extra fine, non-superwash merino in the color Portobello Road.
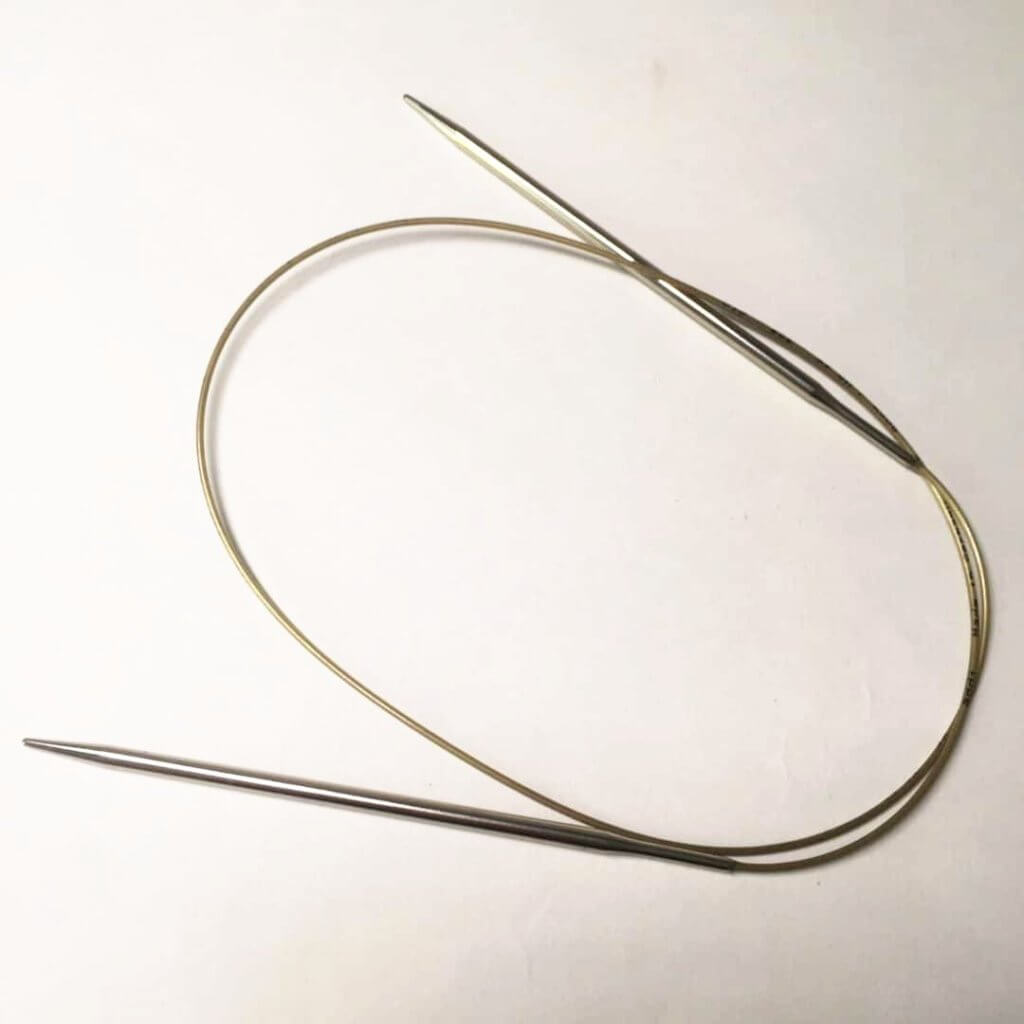
Needles: Addi Fixed Circular Needles. In this tutorial, I used the 4.5 mm (US 7) size with a cable length of 80 cm (32 inches).
Cabling without a cable needle step by step
In this example, I’m working on my Mossy Cables shawl that involves various types of cables. The ones that can easily be done without a cable needle, are the following ones:
1/1 LPC – a left cross cable over 2 stitches: Slip next stitch to cable needle and place at front of work, p1, then k1 from cable needle.
1/1 RPC – right cross cable over 2 stitches: Slip next stitch to cable needle and place at back of work, k1, then p1 from cable needle.
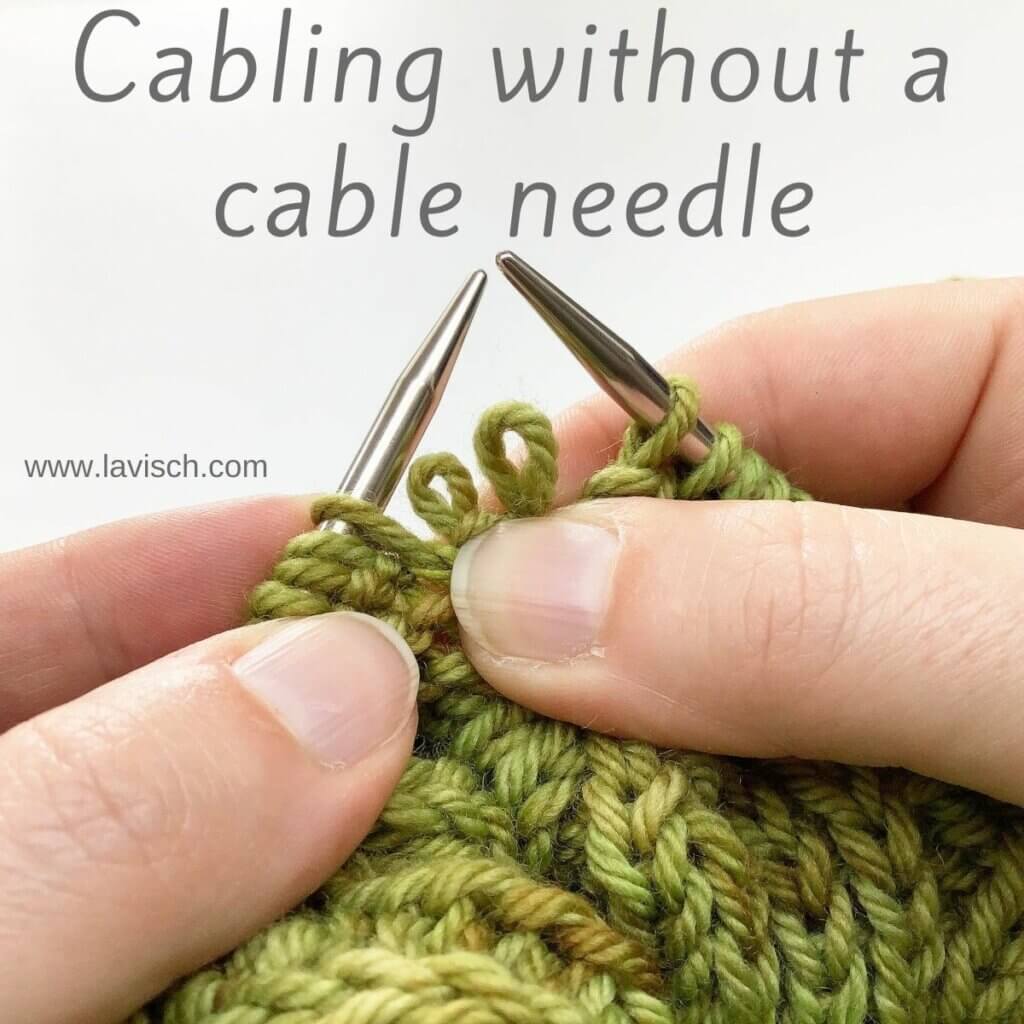
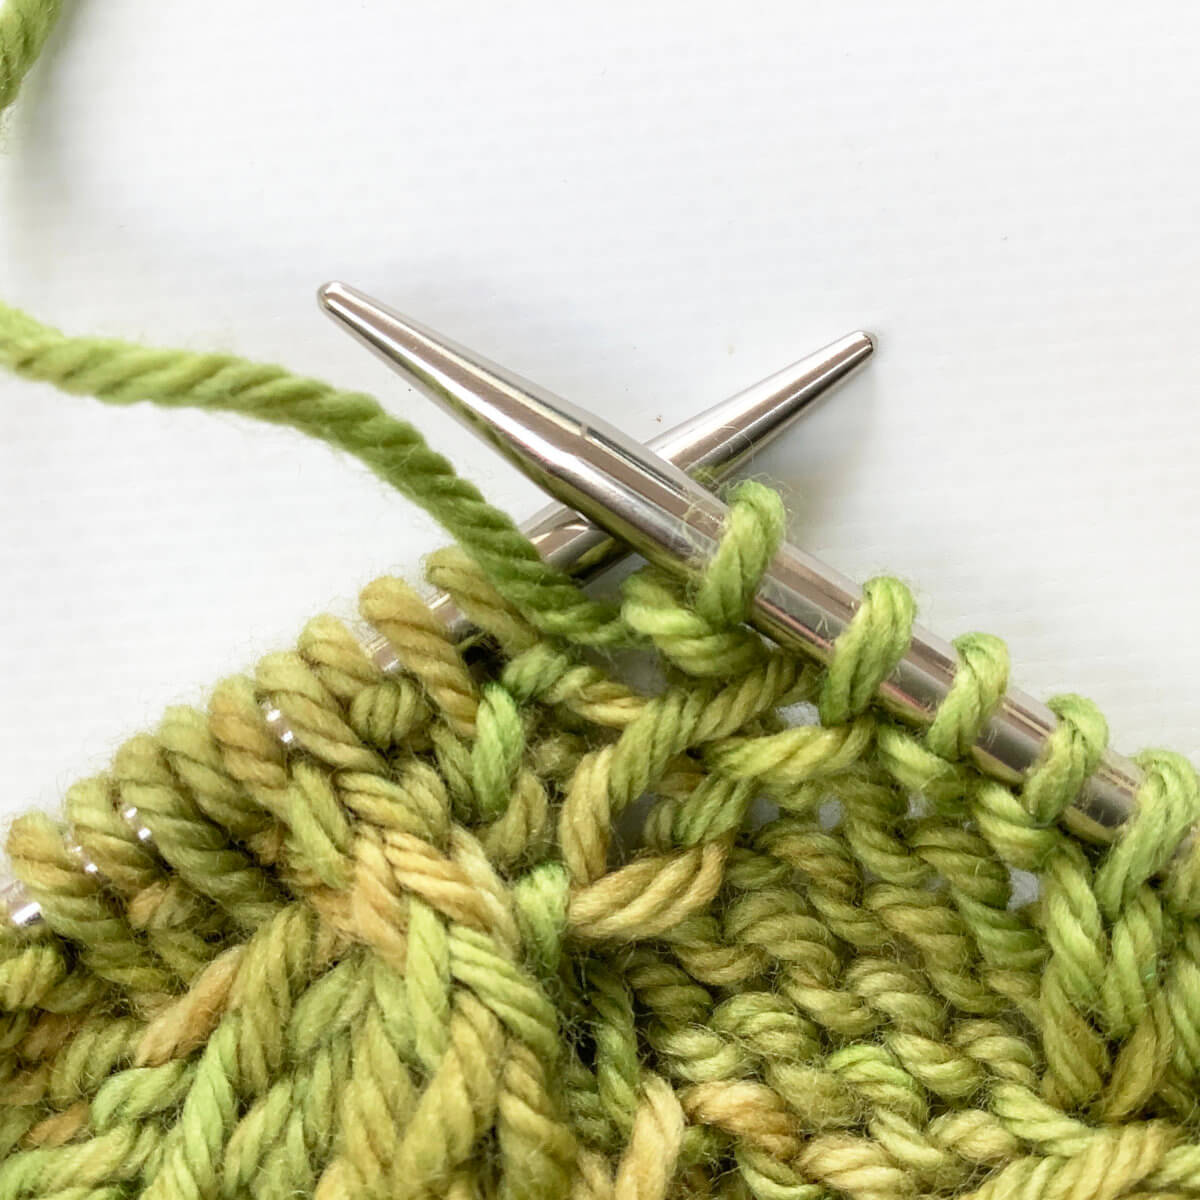
- To start, we knit to the point where a cable has to be worked.
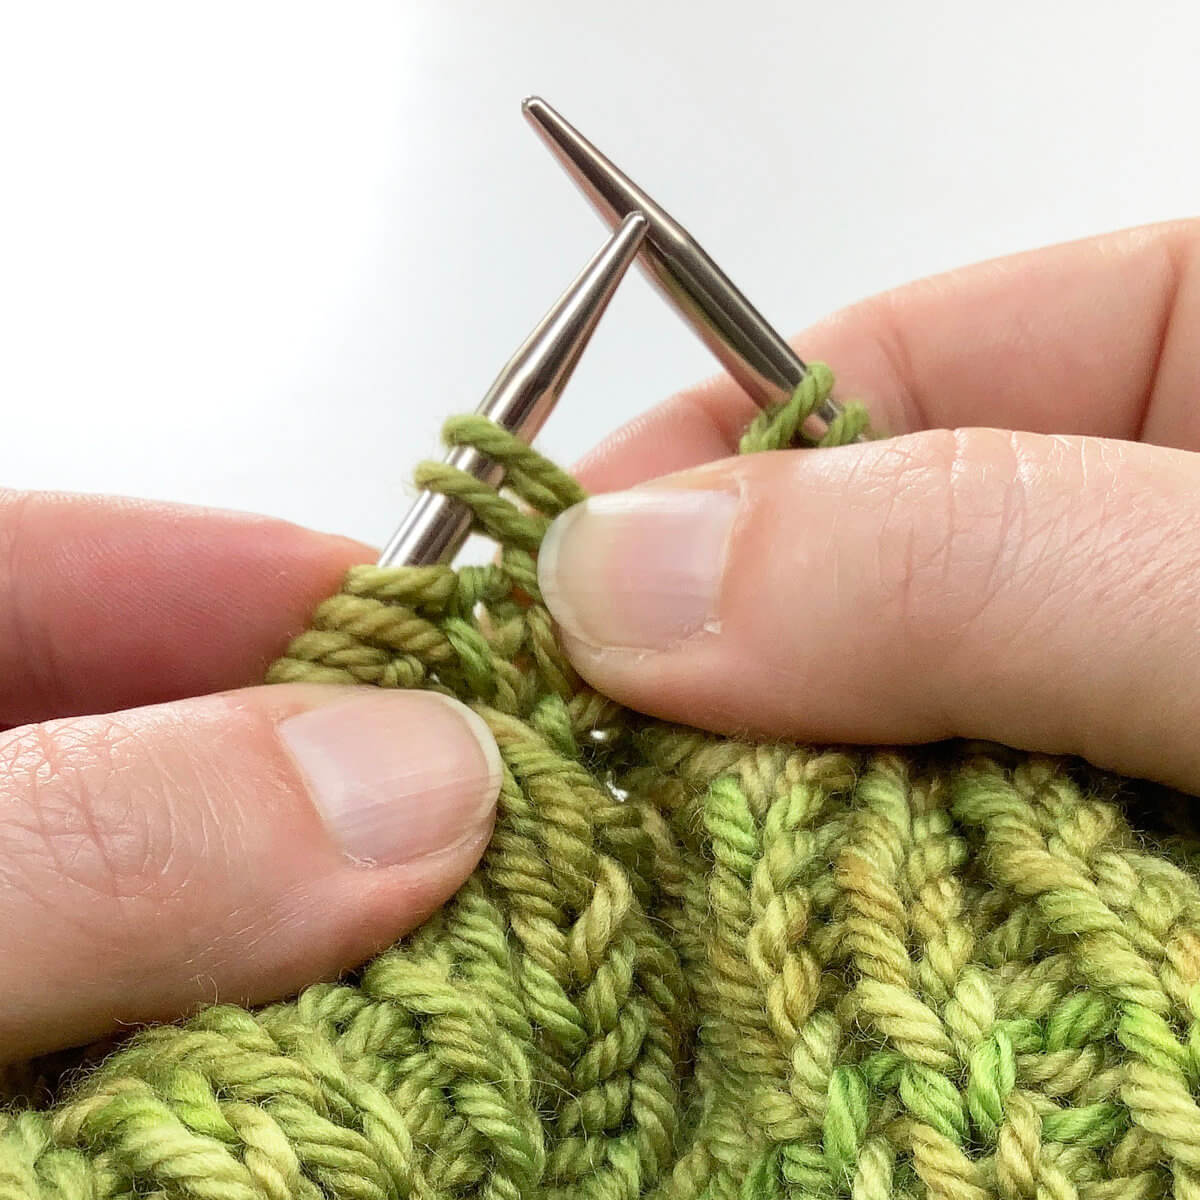
See those 2 stitches on the left-hand needle? I want to reverse the order of that purl and knit stitch, to make it seem that the column of knit stitches curves outwards from the center cable. To do so, I want the knit stitch to cross in front and to the right of the purl stitch. In other words: I’ll be working a 1/1 RPC or right cross cable.
- To start, I grab the work directly below the 2 stitches, as shown in the picture below.
This way, I can remove them from the knitting needle without having the risk of them running down and ruining my work.
- Here I’ve removed the 2 stitches from the needle.
Keep squeezing that fabric, we don’t want to drop one of these stitches!
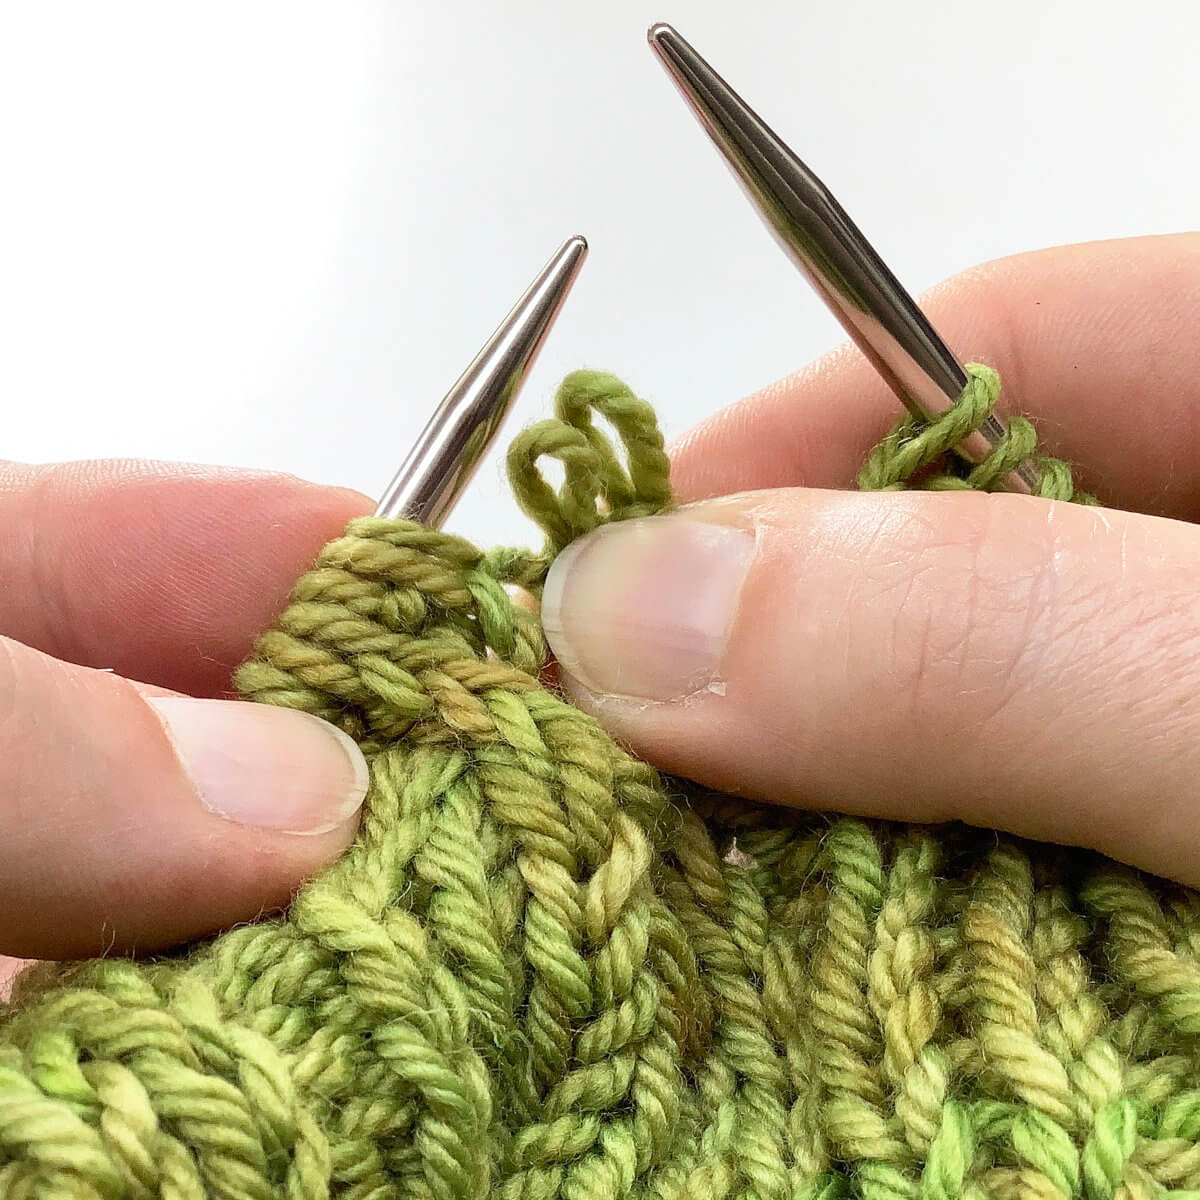
- To change the order of the stitches, I first place the stitch on the right (the purl stitch in this case) back on the needle.
While doing so, keep your fingers underneath the other stitch to keep it from running down. Please note that if I was working a left cross cable instead of a right cross cable, I would have held the remaining loose stitch at the back, instead of at the front of the work as pictured.

- Now use the working (right-hand) needle to catch the remaining loose stitch from the front and also put it on the left-hand needle.
For a left cross cable, I would have caught the remaining stitch from the back of the work.
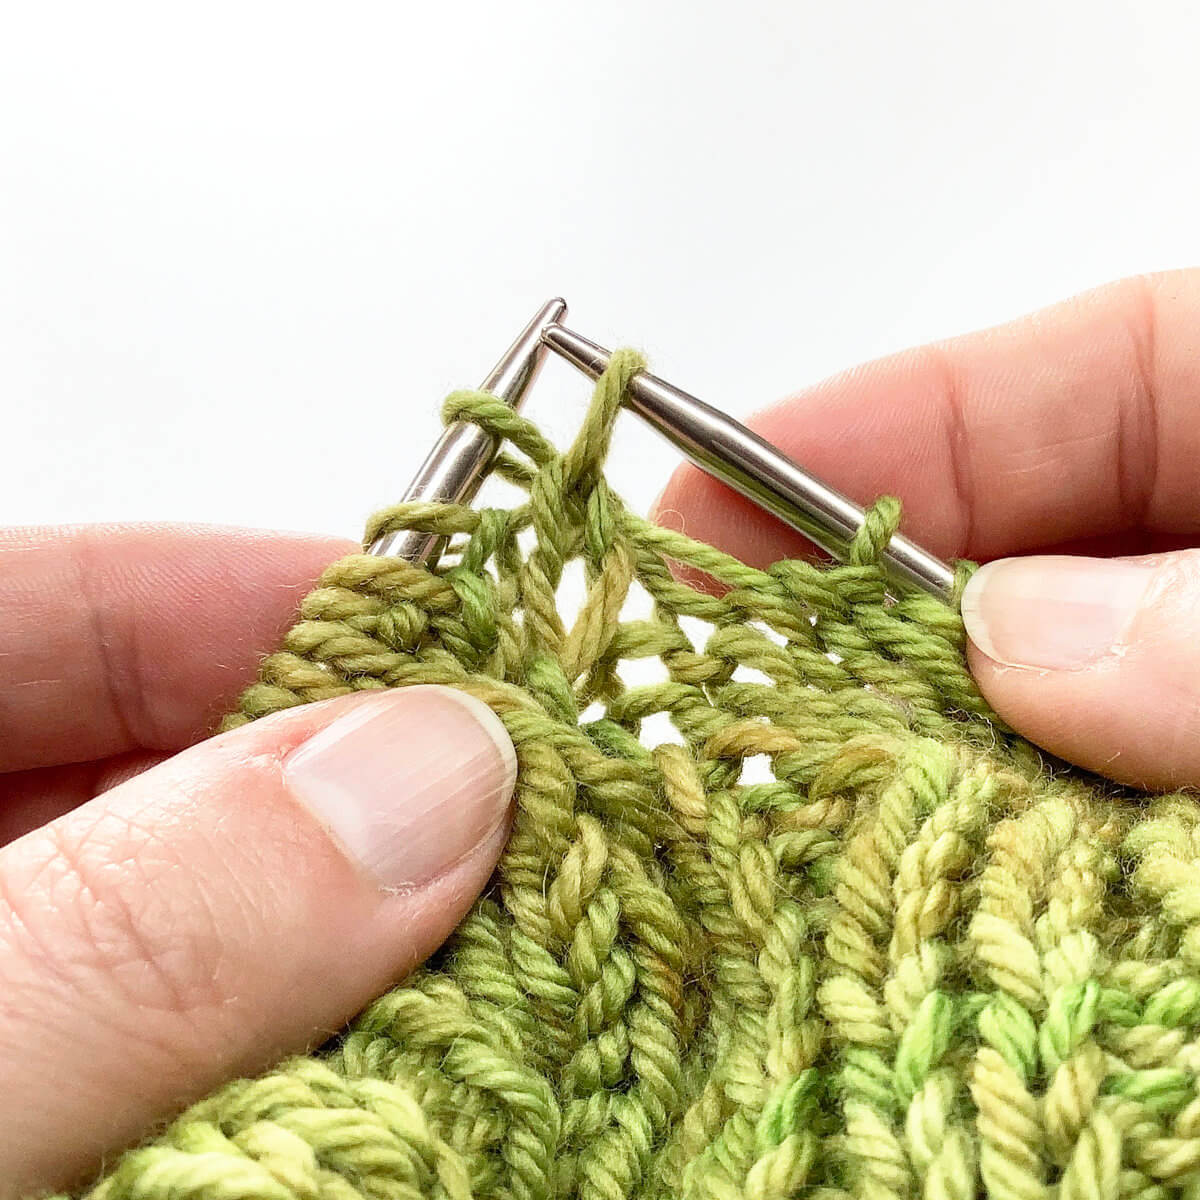
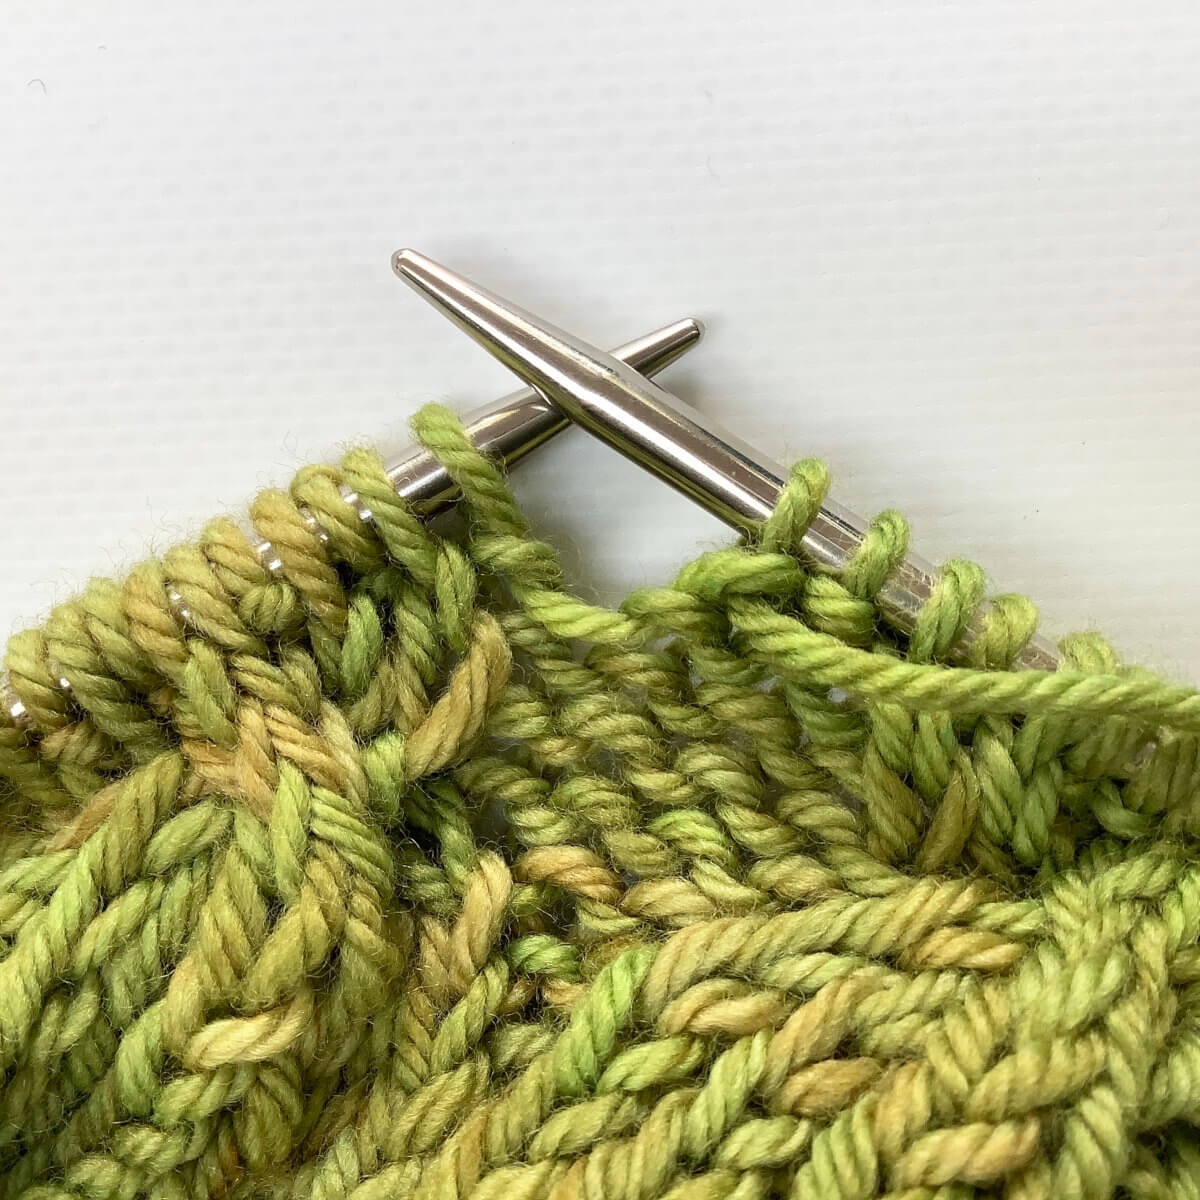
- Now the order of the stitches has been changed, ready to work!
This is how it then looks in the case of the right cross cable:
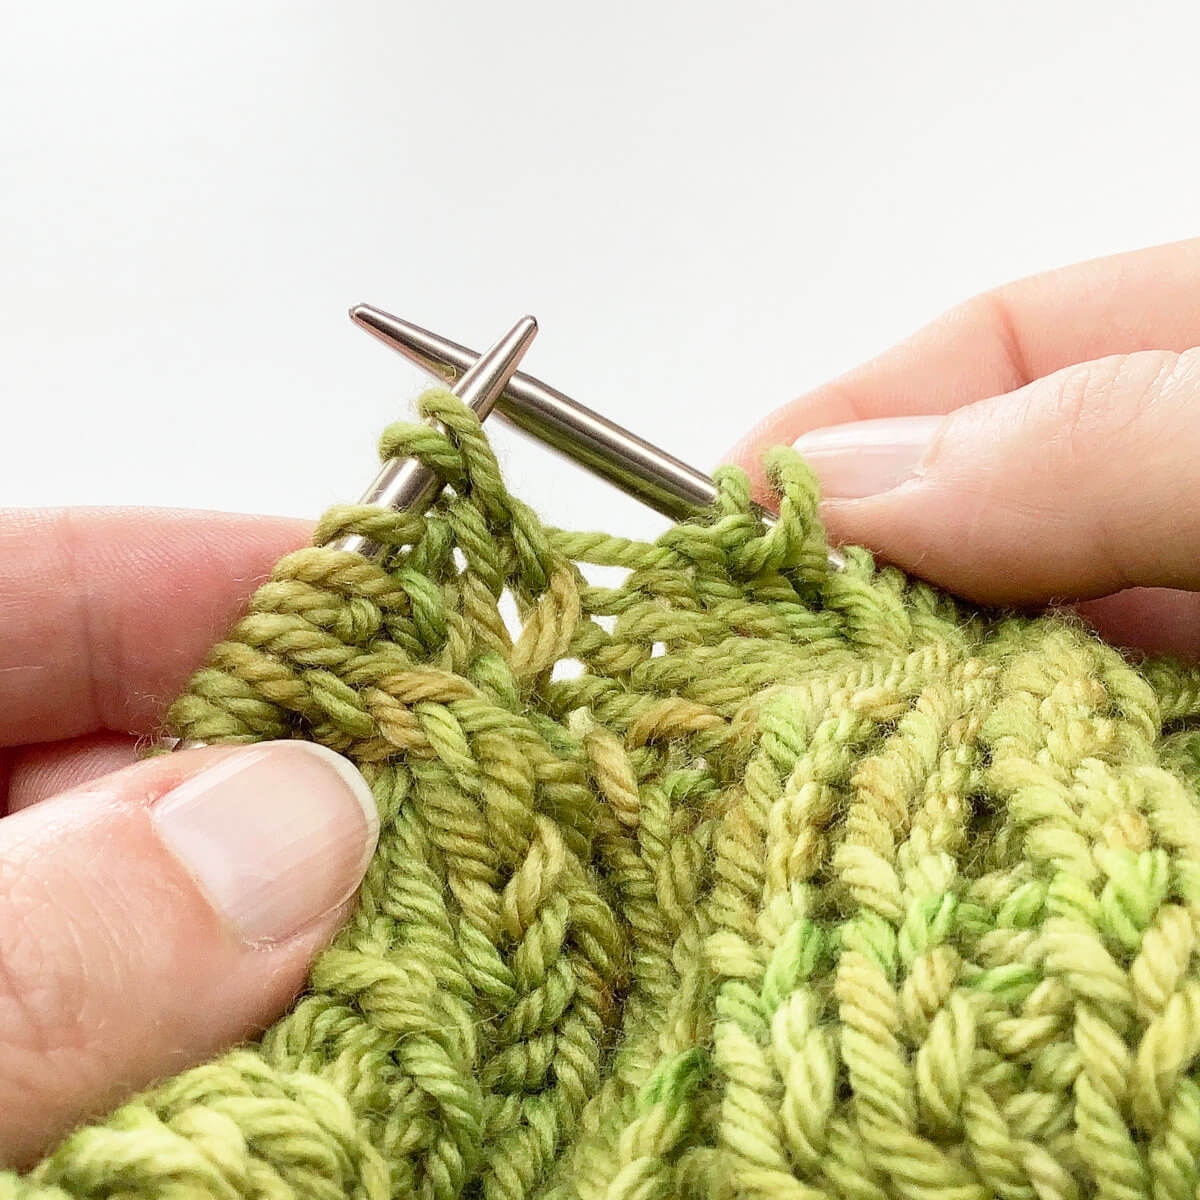
- For this right cross cable, I have to work 1 k, followed by 1 p.
This is how it looks when done:
And that’s all there is to cabling without a cable needle!

Thanks to my Patreon supporters for bringing you this freebie! Creating quality patterns and tutorials is a lot of work and resource-intensive. However, I find it important to give you free content like this tutorial. Thanks to the generous support of my Patreon supporters, I can make it happen. Thank you, patrons! Click here to join, or click here to read more about La Visch Designs on Patreon.


