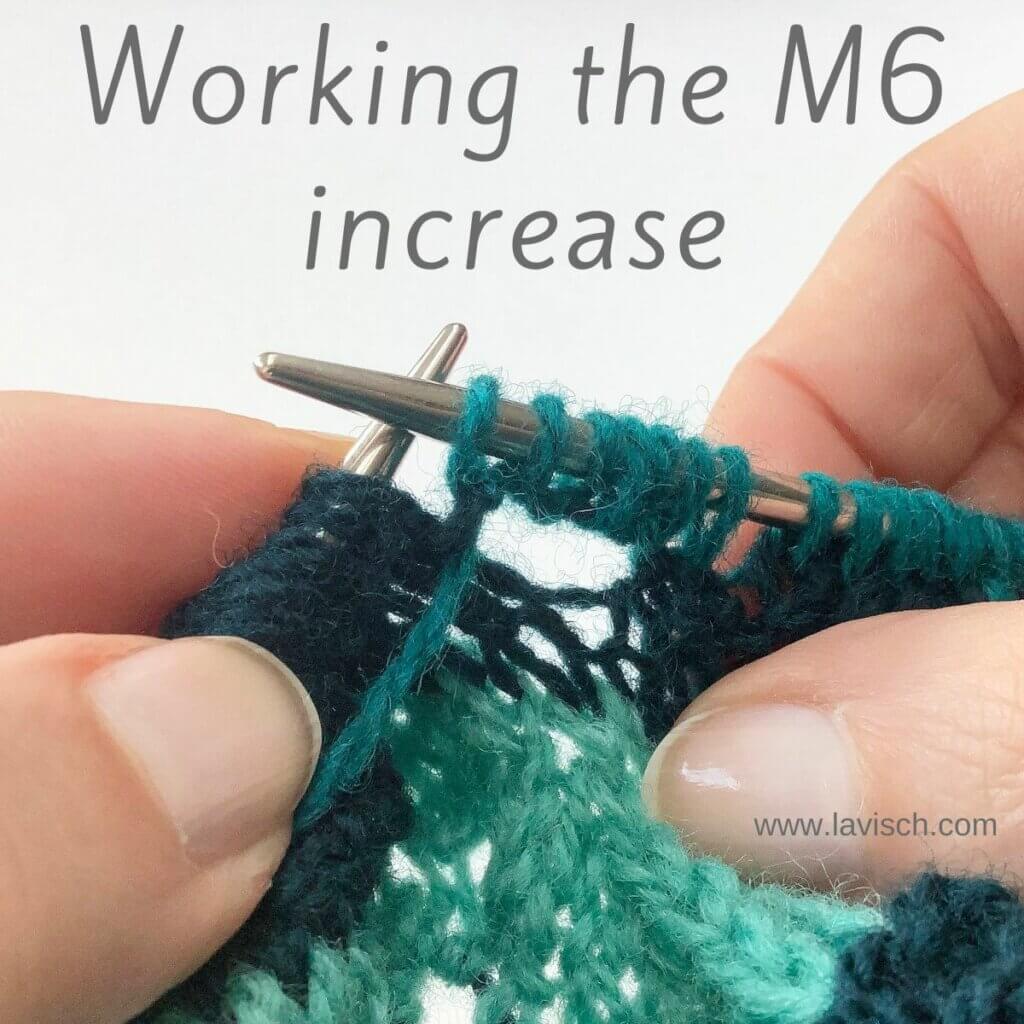
With almost every new design, comes a new technique or stitch pattern. In the project pictured above, I’m working a stitch pattern that uses a “make 6” increase. It’s very much like a regular “make 1” but instead of picking up the strand between the 2 stitches and making 1 stitch out of it, 6 new stitches are made by working [k1, p1] 3 times in the same loop. So, of course, there has to be an accompanying tutorial to make sure there is no confusion about how to go about it.
Let’s get our materials and get started!
Materials used
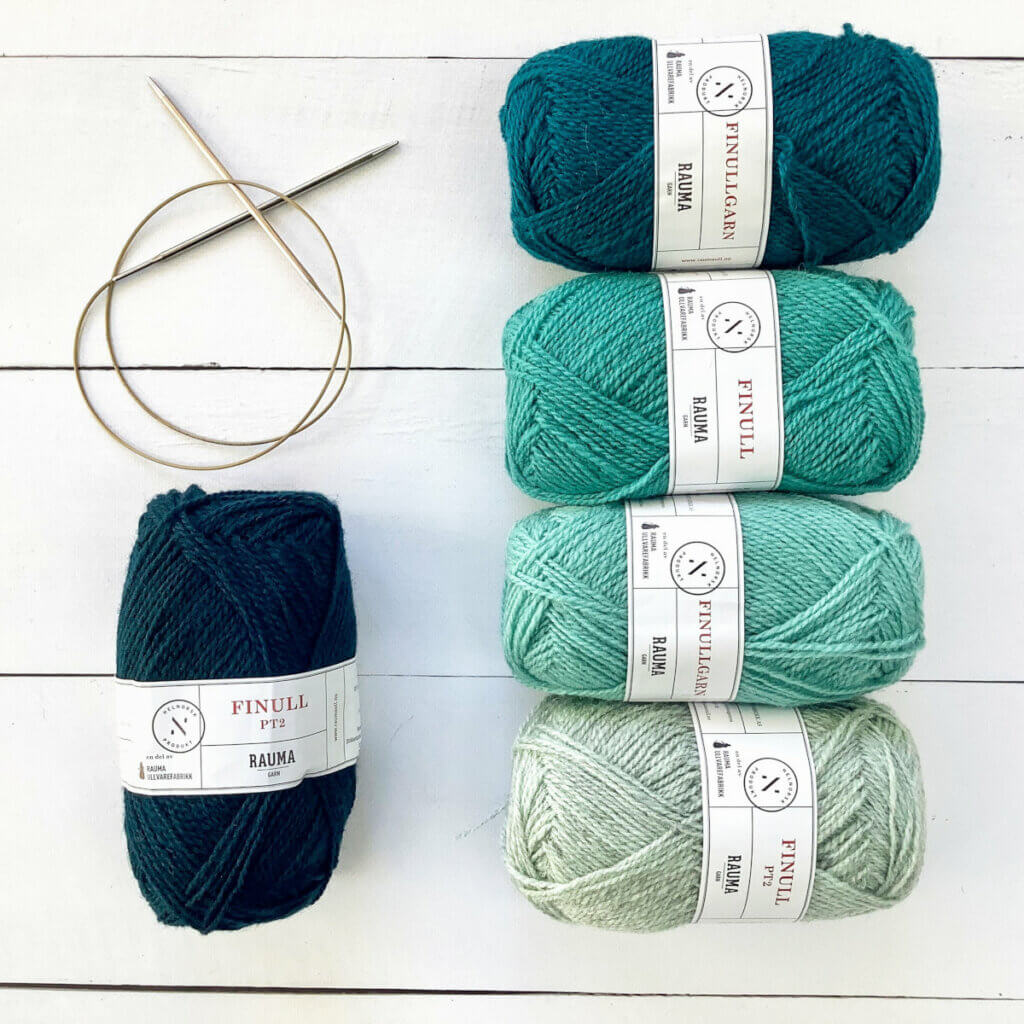
Yarn: Rauma Finull a sportweight wool yarn from Norway. It has a crisp hand and works well for stranded color designs. The yarn also softens up with washing.
Knitting needles: A pair of Addi circular needles in size 4 mm (US6).
Working the M6 increase step by step
To start, work as instructed by your pattern until the point where you want to make the increase.
- In this example, I shot the pictures with the M6 not quite in the correct place. No worries, though, I corrected it later on.
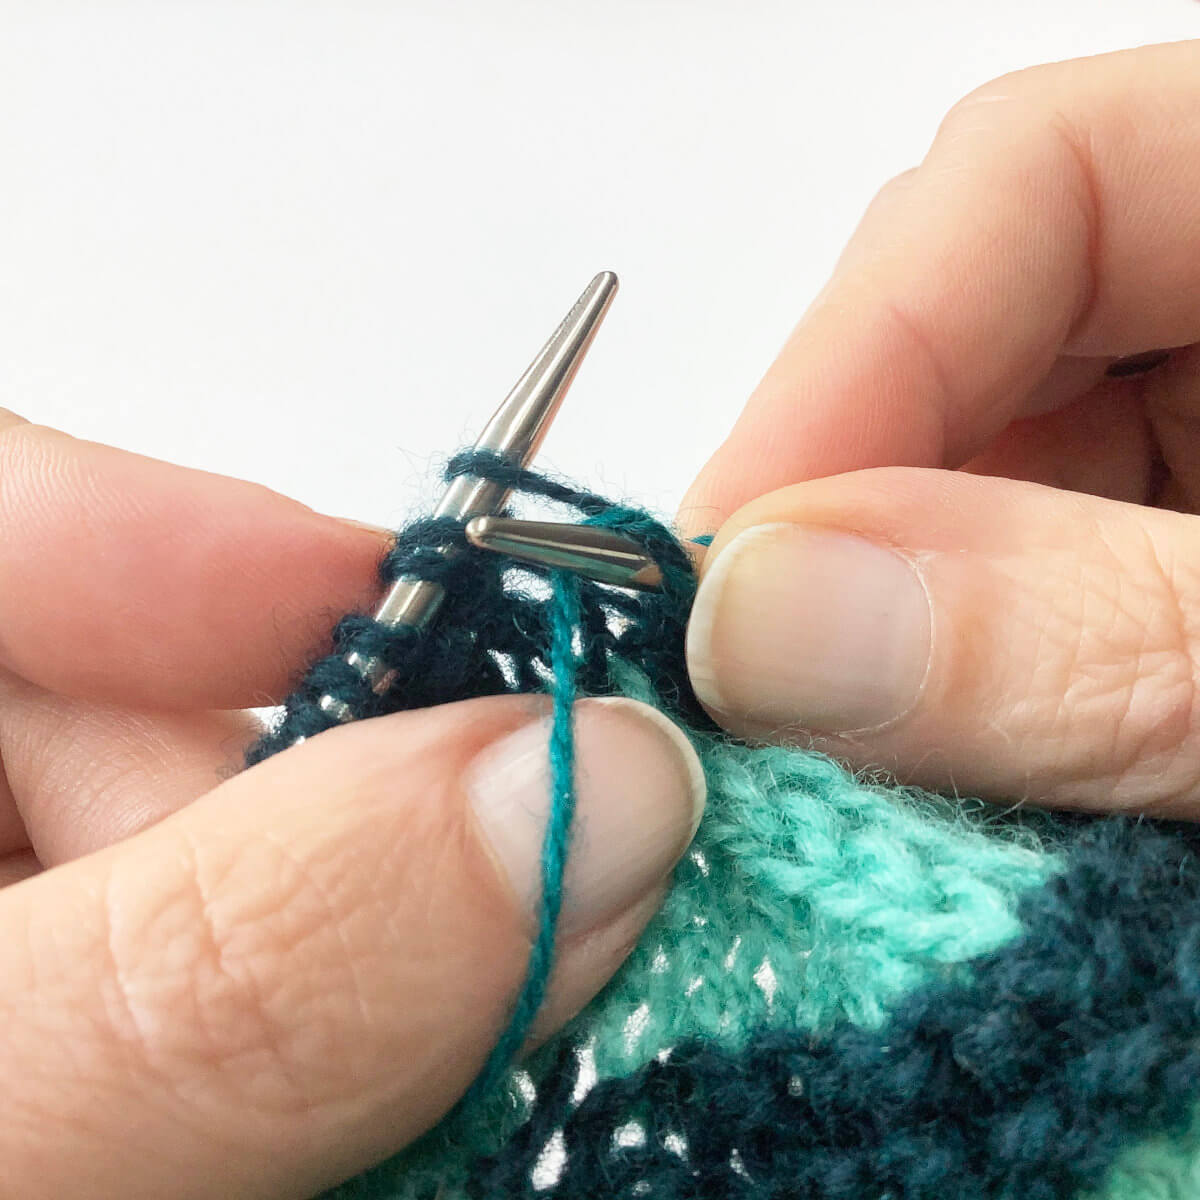
- First, insert your right-hand needle from front to back underneath the strand of yarn between the stitch just worked, and the next one to work.
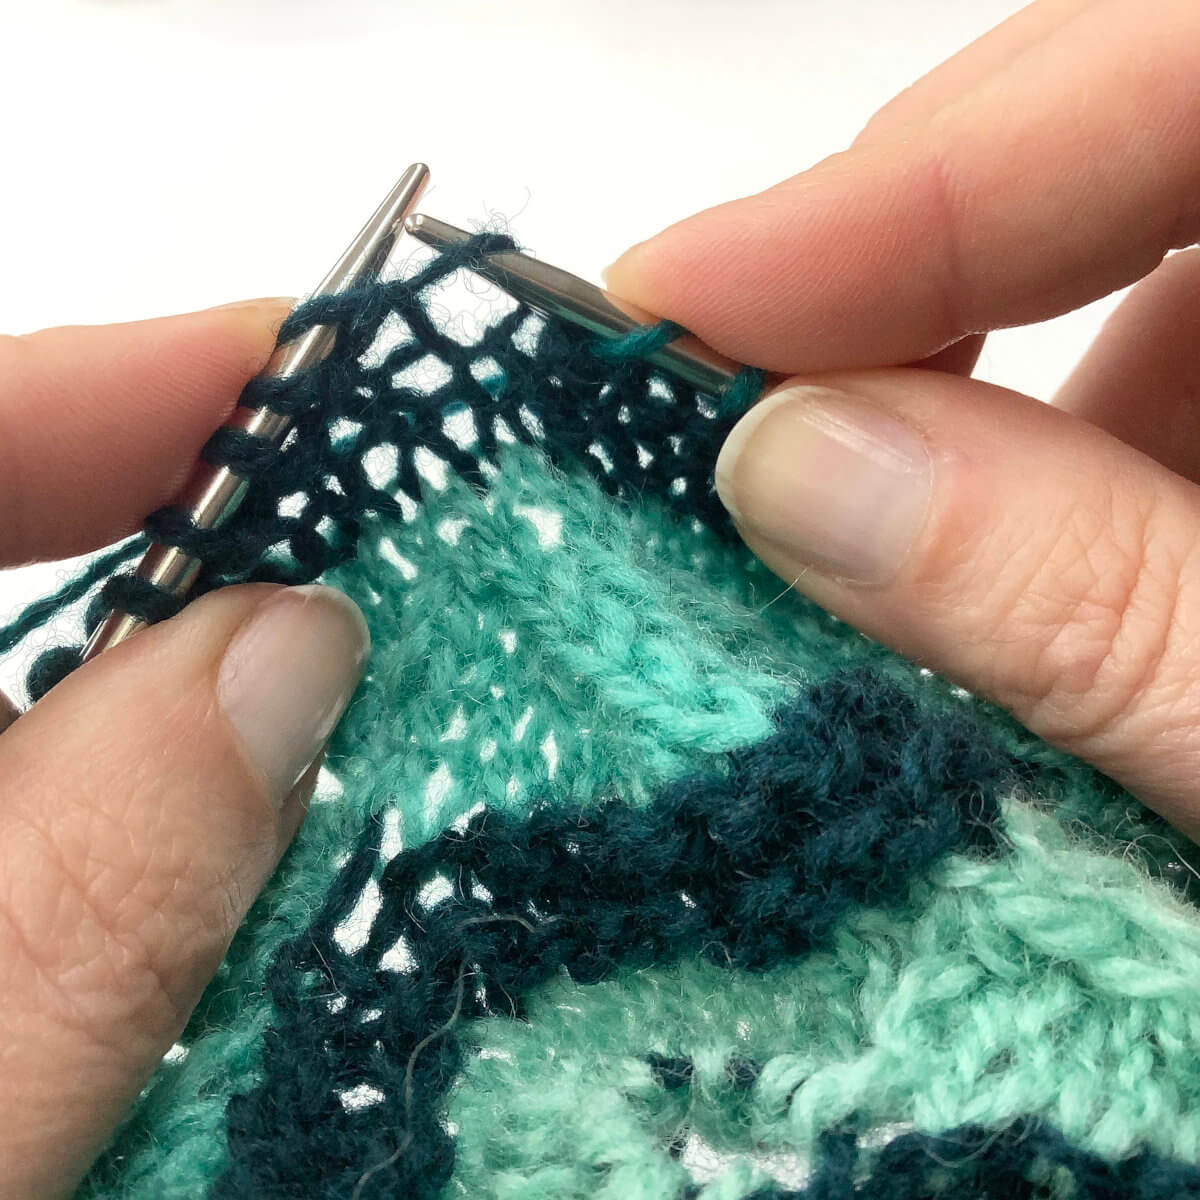
- Place it on the left-hand needle as shown, with the stitch mounted with the right leg in front of the needle.
You can place it on the needle with a twisted stitch mount, with the left leg of the stitch in front of the needle. However, this would mean that you have to work the following steps though the back loop to make sure the hole created in the fabric is not closed up.
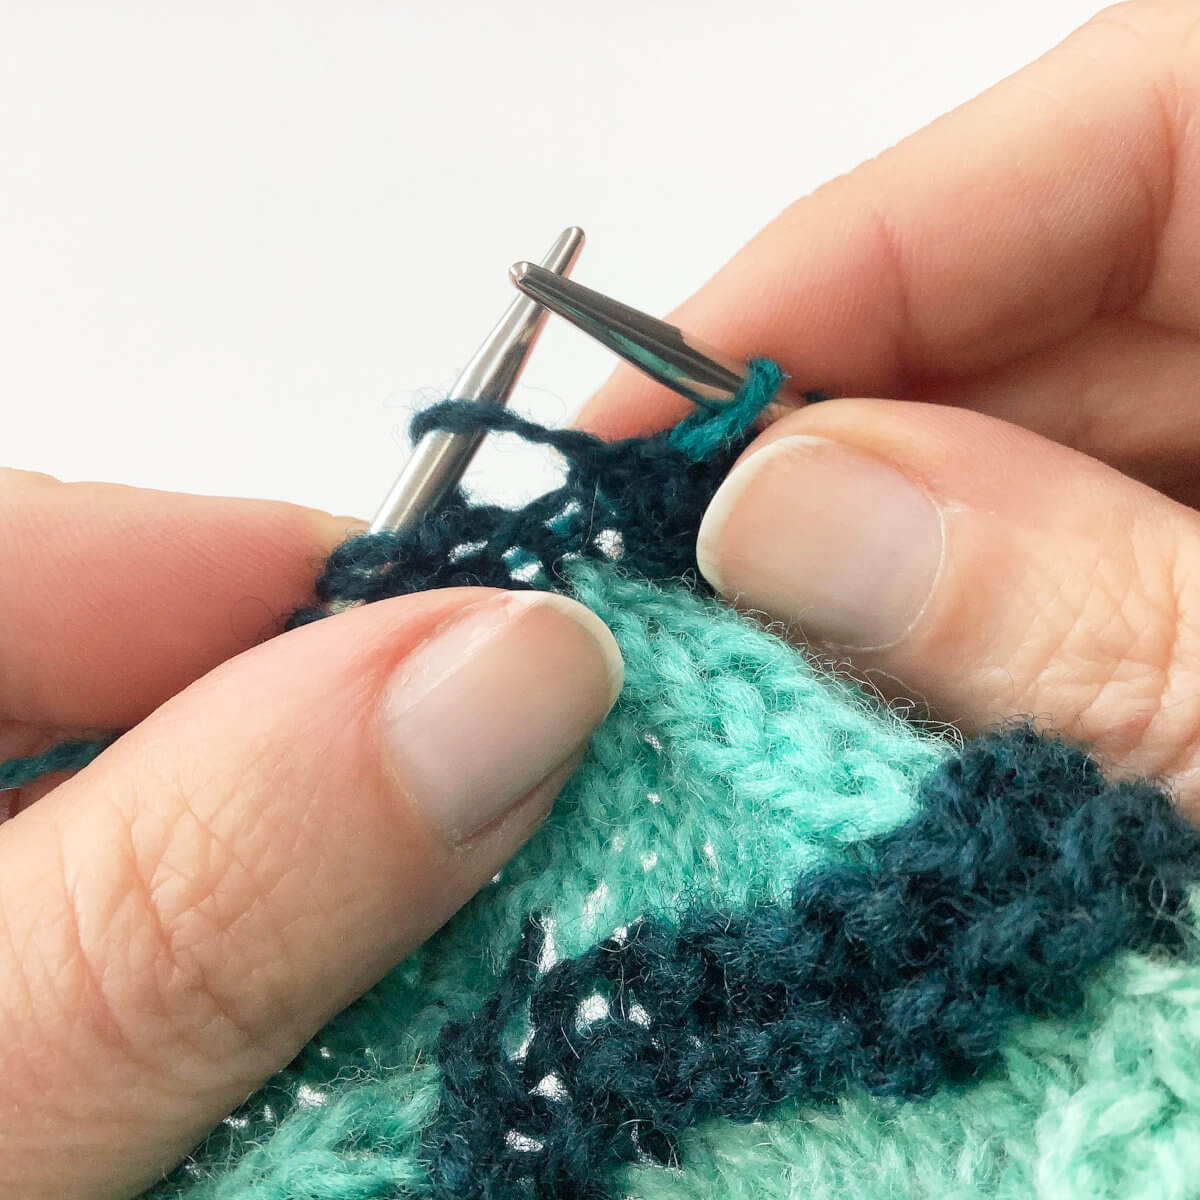
- Next, insert the needle knitwise into the loop, wrap the yarn around the needle …
- … and pull it through. Do not slip the loop off the needle yet!
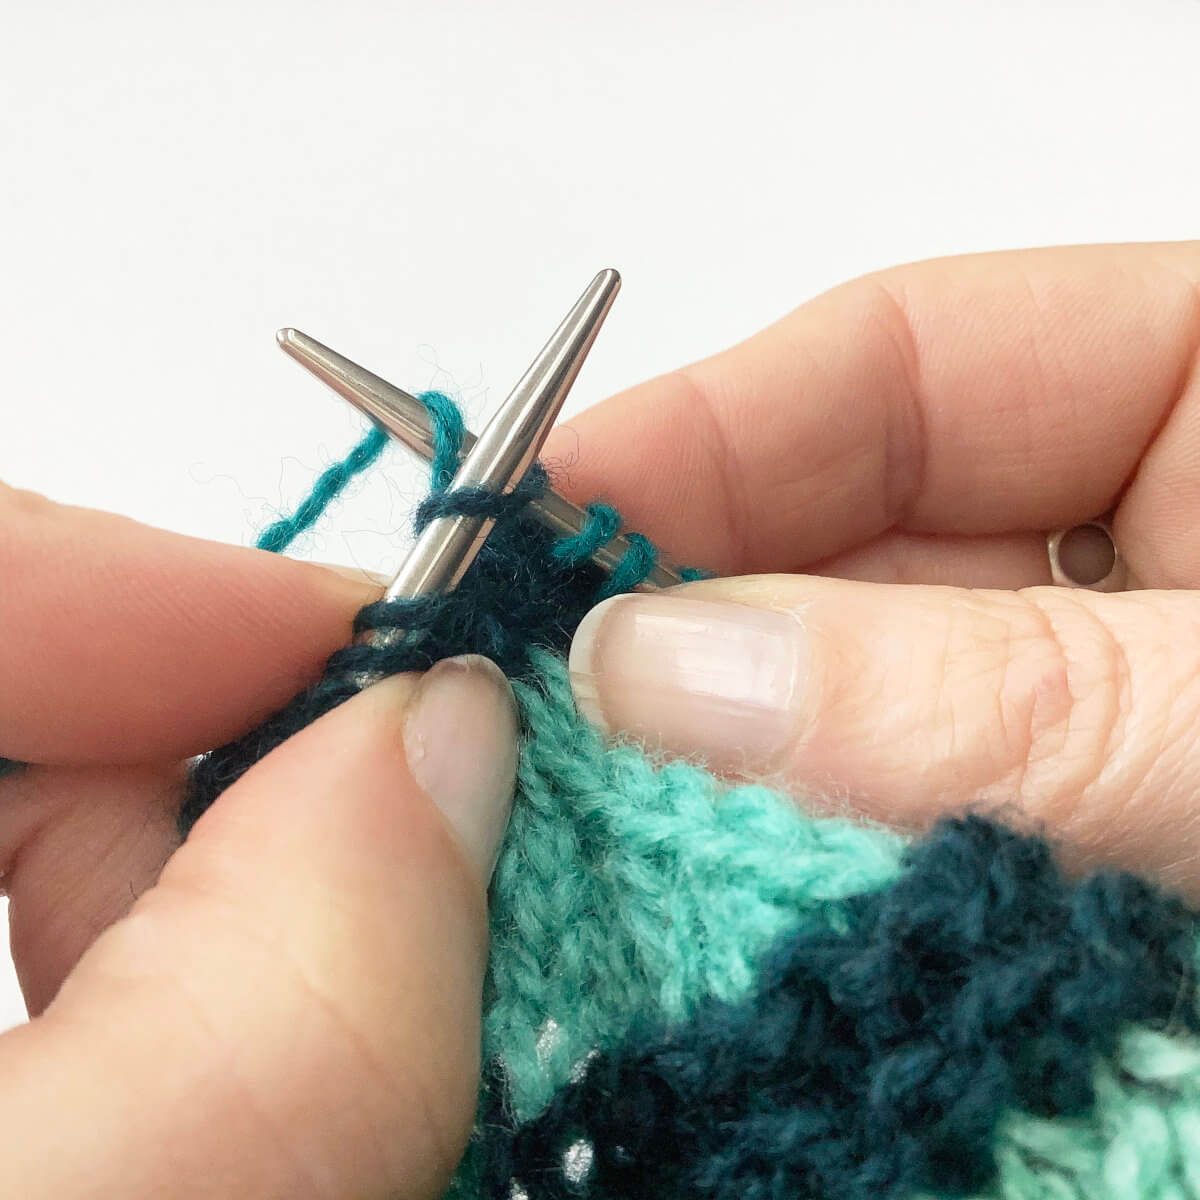
- Now, bring the yarn to the front of the work, insert the needle purlwise into the loop, wrap the yarn around the needle …
- …and pull it through. Do not slip the loop off the needle yet!
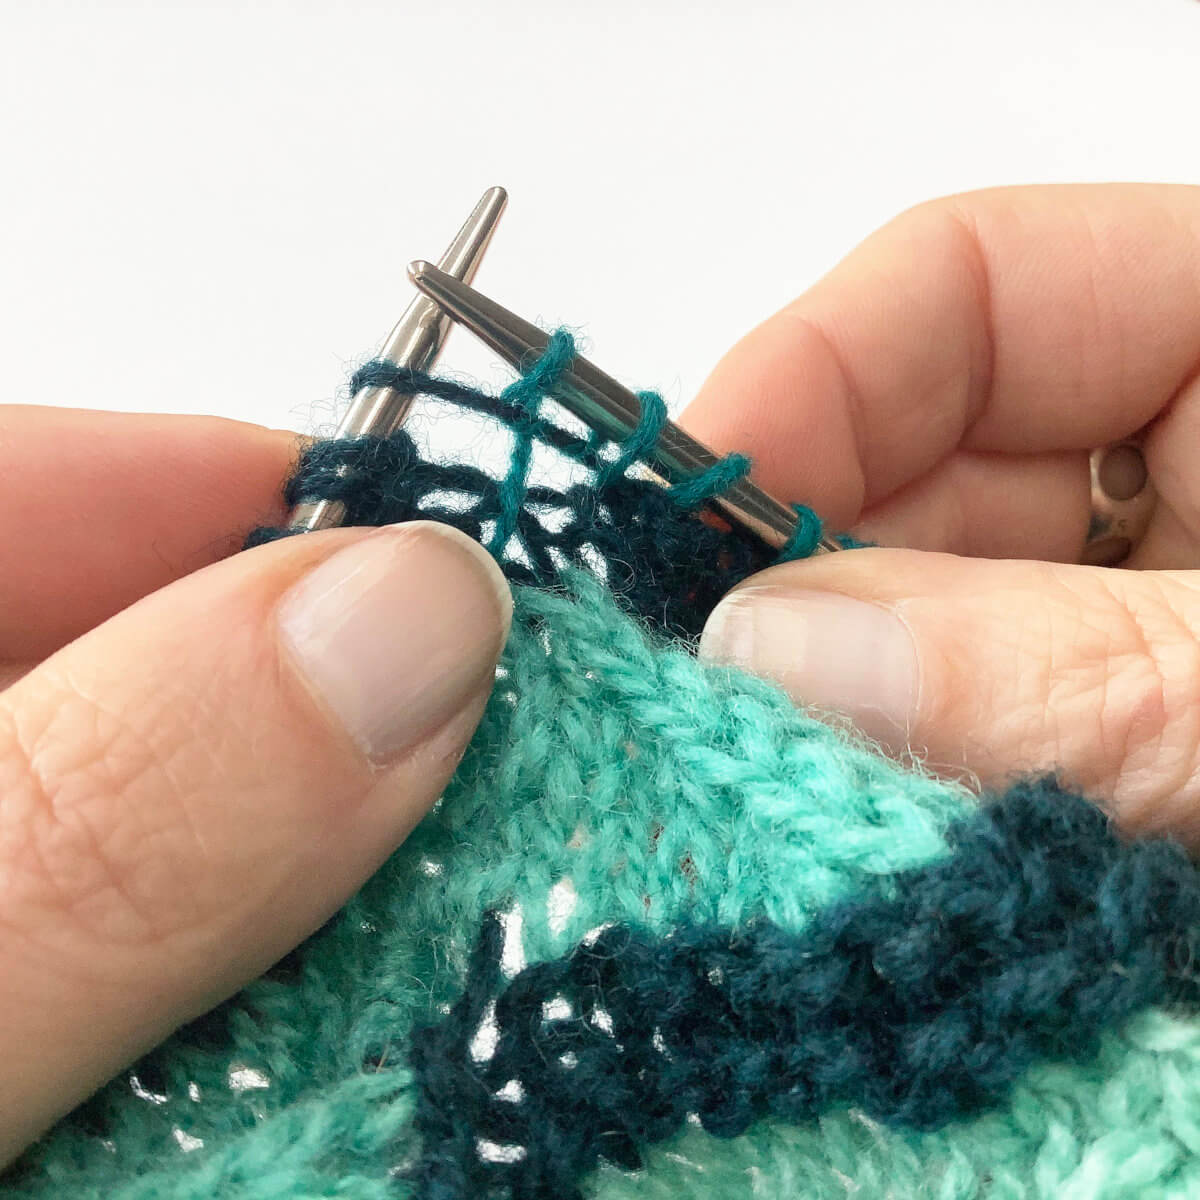
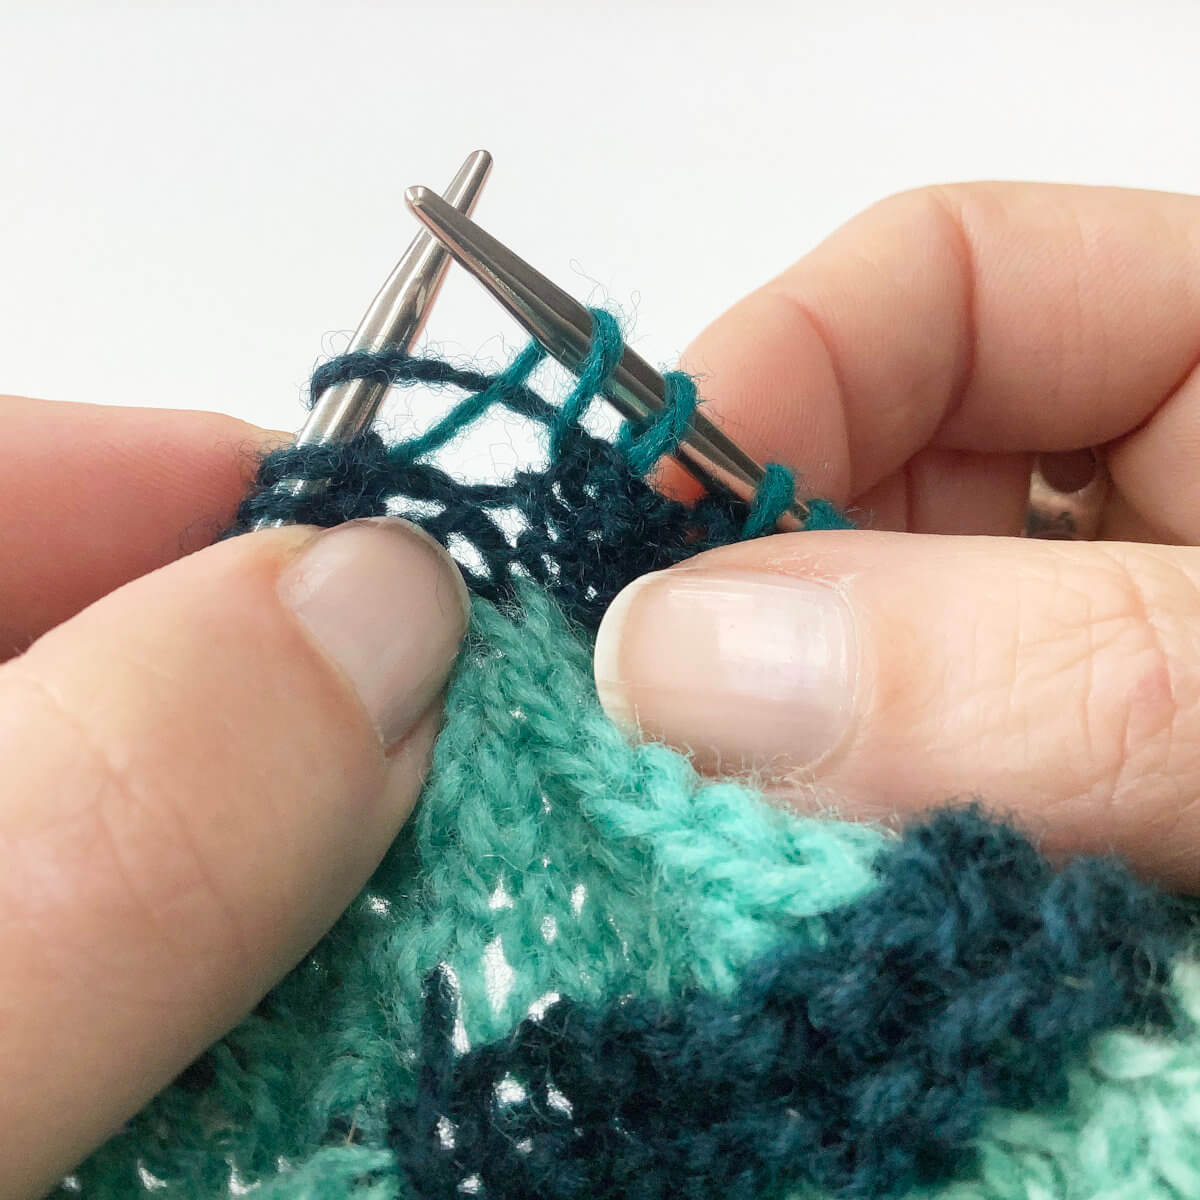
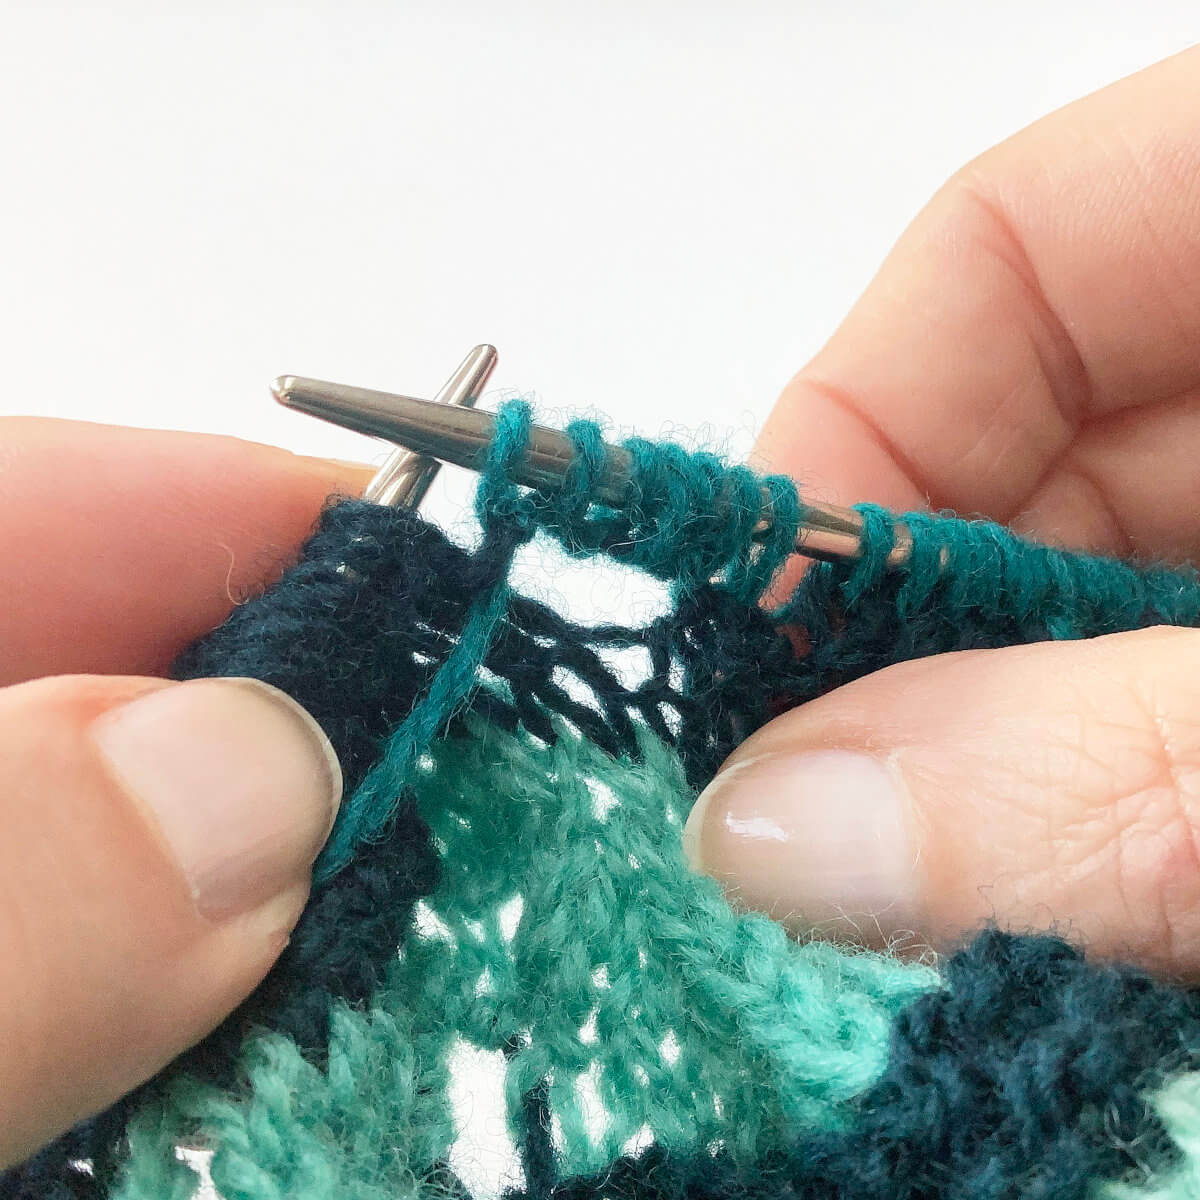
- Repeat steps 4 to 7 twice more, so that you have created 6 new stitches. You can now slip the loop of the left-hand needle.
On the next row, you can just work these new stitches as instructed in your pattern.
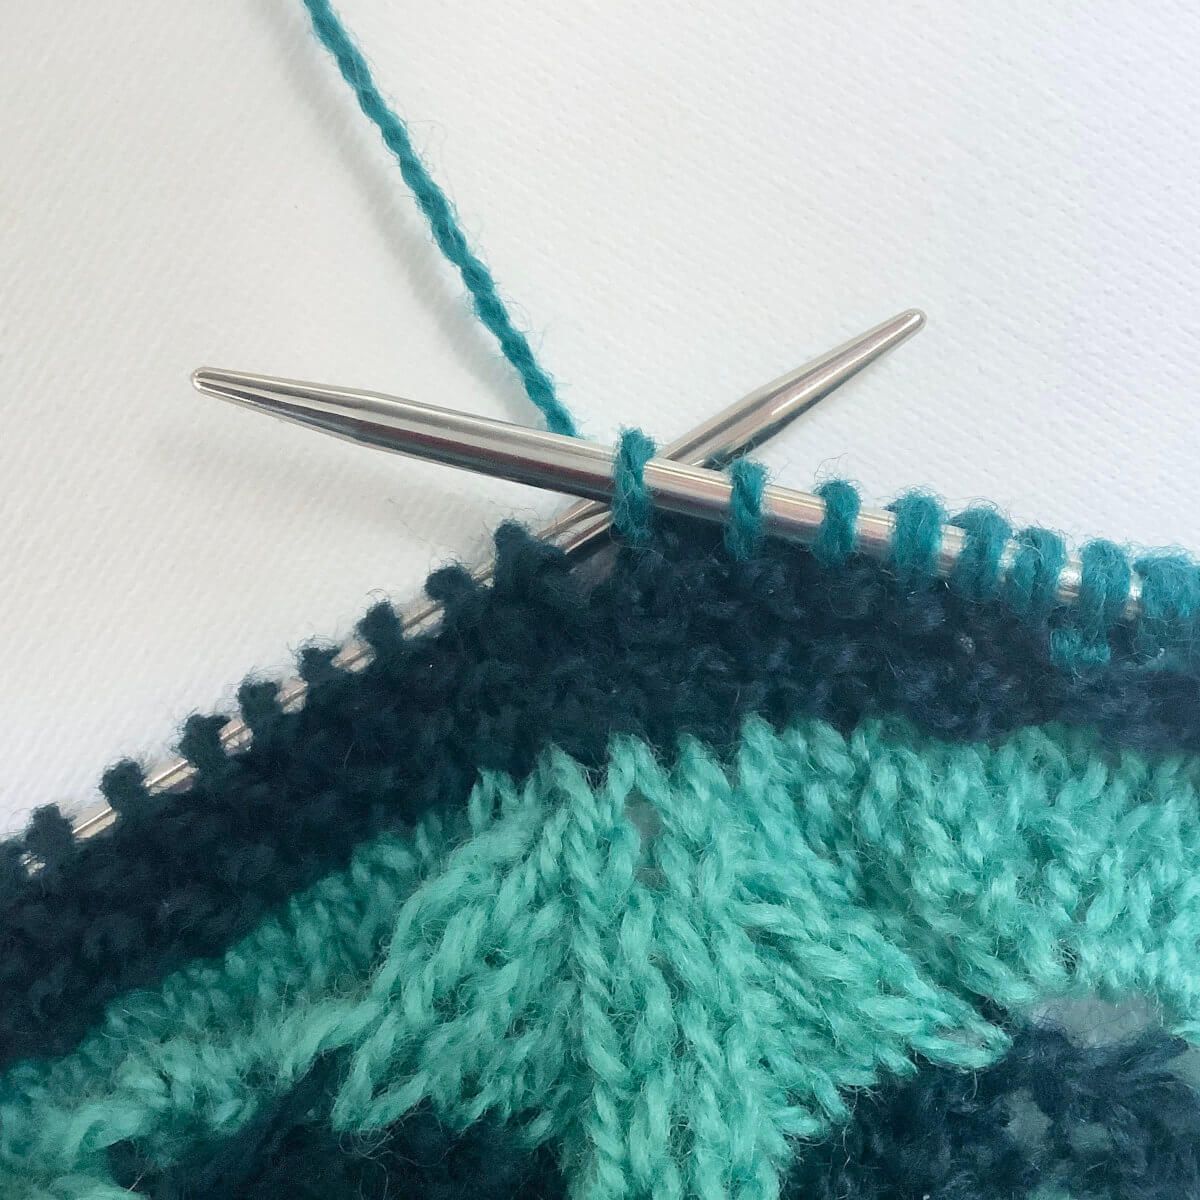
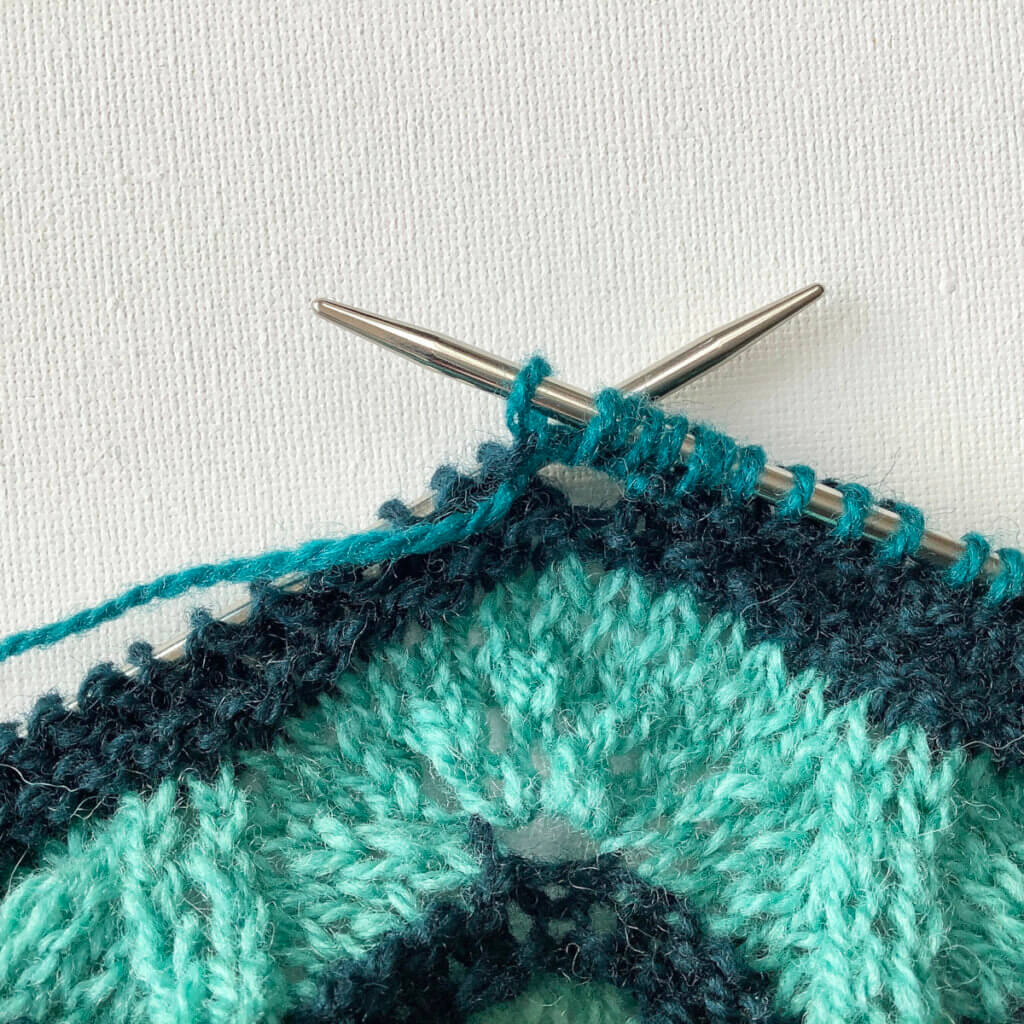
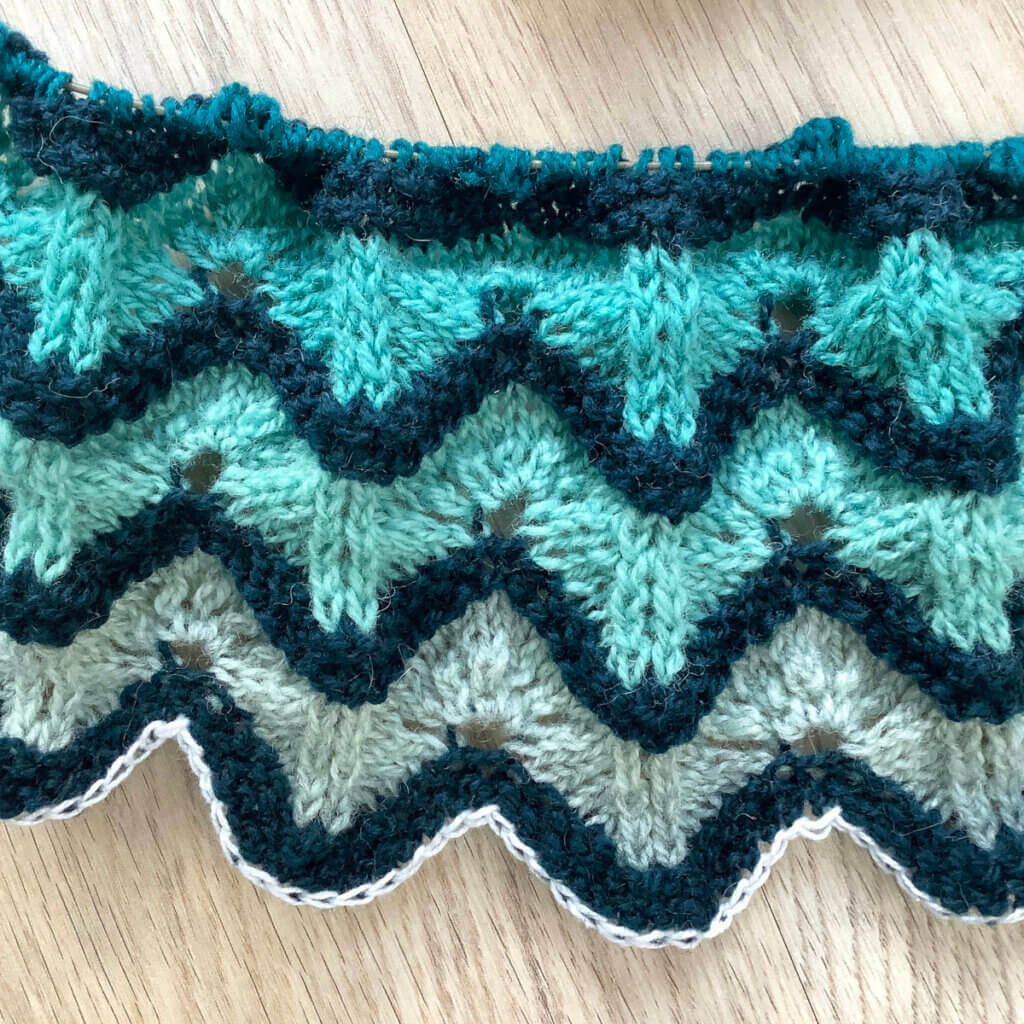
The result
Below, you can see the result. On the left, it’s shown directly after the M6 increase has been worked. On the right, the M6 increase is shown, incorporated in the patterning I’m working in this design. Pretty, right?!

Thanks to my Patreon supporters for bringing you this freebie! Creating quality patterns and tutorials is a lot of work and resource-intensive. However, I find it important to give you free content like this tutorial. Thanks to the generous support of my Patreon supporters, I can make it happen. Thank you, patrons! Click here to join, or click here to read more about La Visch Designs on Patreon.


")