When working with different colors of yarn, for example when knitting stripes, it can be useful to carry up the unused yarn at the side of the work. This, of course, assumes you’re working on a project knitted flat back and forth. Carrying the yarn between rows, can help avoid a lot of cutting and weaving in ends. I don’t know about you, but that is not a favorite step of mine when finishing projects, so I try to avoid that where I can.
There are various ways of carrying yarn along the side of the work. In this tutorial, I’m focussing on the double strand method. In the basis, this means nothing more than working the last stitch of the row with both strands of yarn. You can also work the first stitch of the row with both strands together, this is purely a matter of preference. I’m used to the last stitch of the row, so that’s what I’ll be showing.
The main upside of this technique, when compared to just holding the yarn along the side, is that the tension is the same as the rest of the project. This way, there is absolutely no risk of holding the unused yarn at a too tight or too loose tension. It’s also very easy and fast to do. There are of course also downsides. Because the yarn is held double at that one stitch, it will bulk up that stitch. When working with thinner yarns, as I usually do, that’s often really no issue. However, if you’re working with thicker yarns, or with multiple colors, this may not be the ideal method.
Materials used
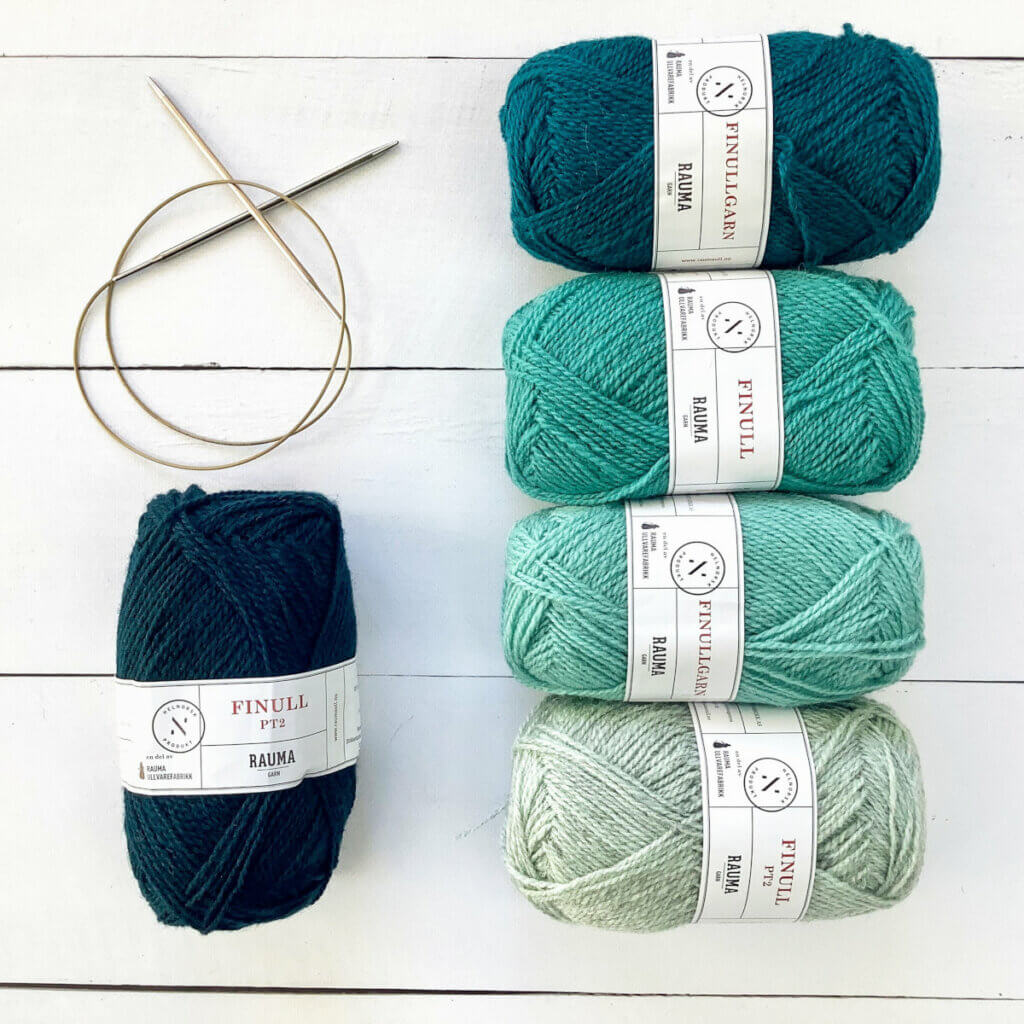
Yarn: Rauma Finull a sport weight wool yarn from Norway. It has a crisp hand and works well for stranded color designs. The yarn also softens up with washing.
Knitting needles: A pair of Addi circular needles in size 4 mm (US6).
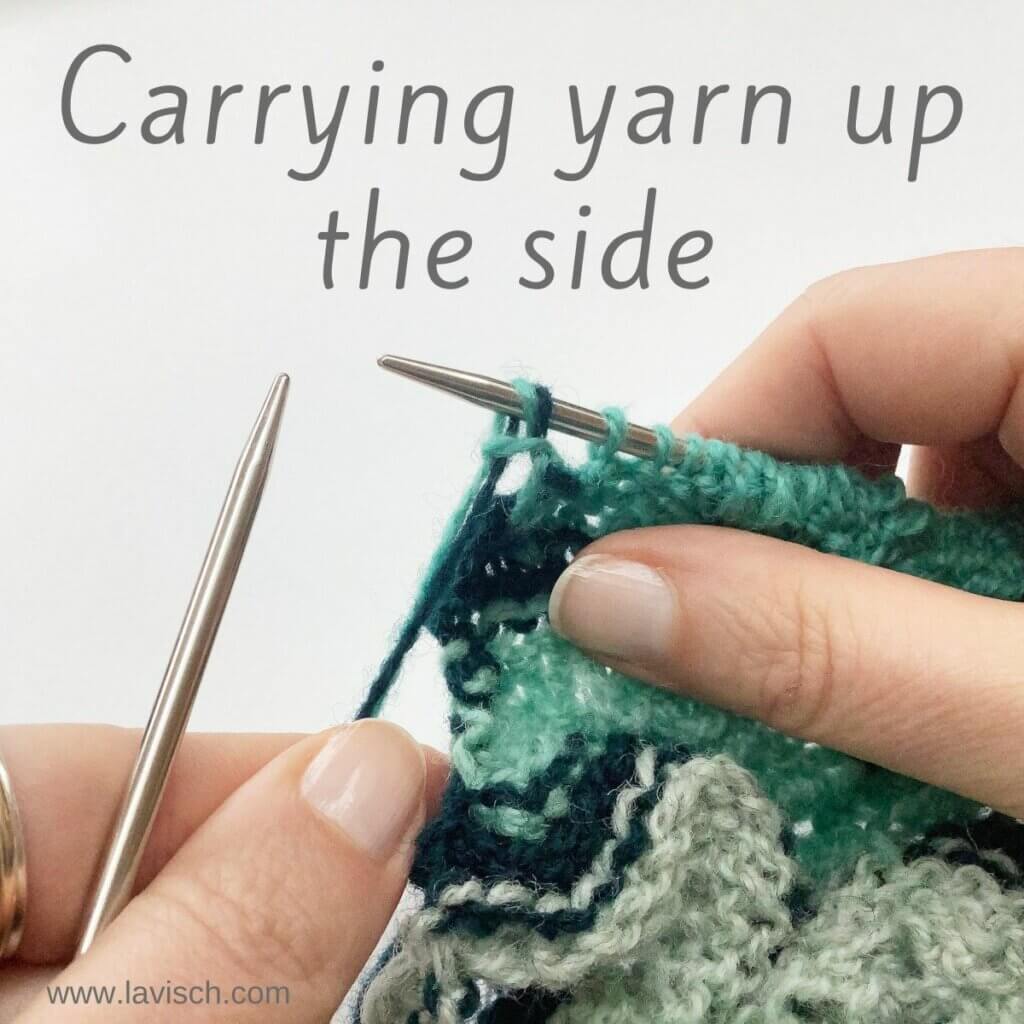
Carrying yarn up the side step by step
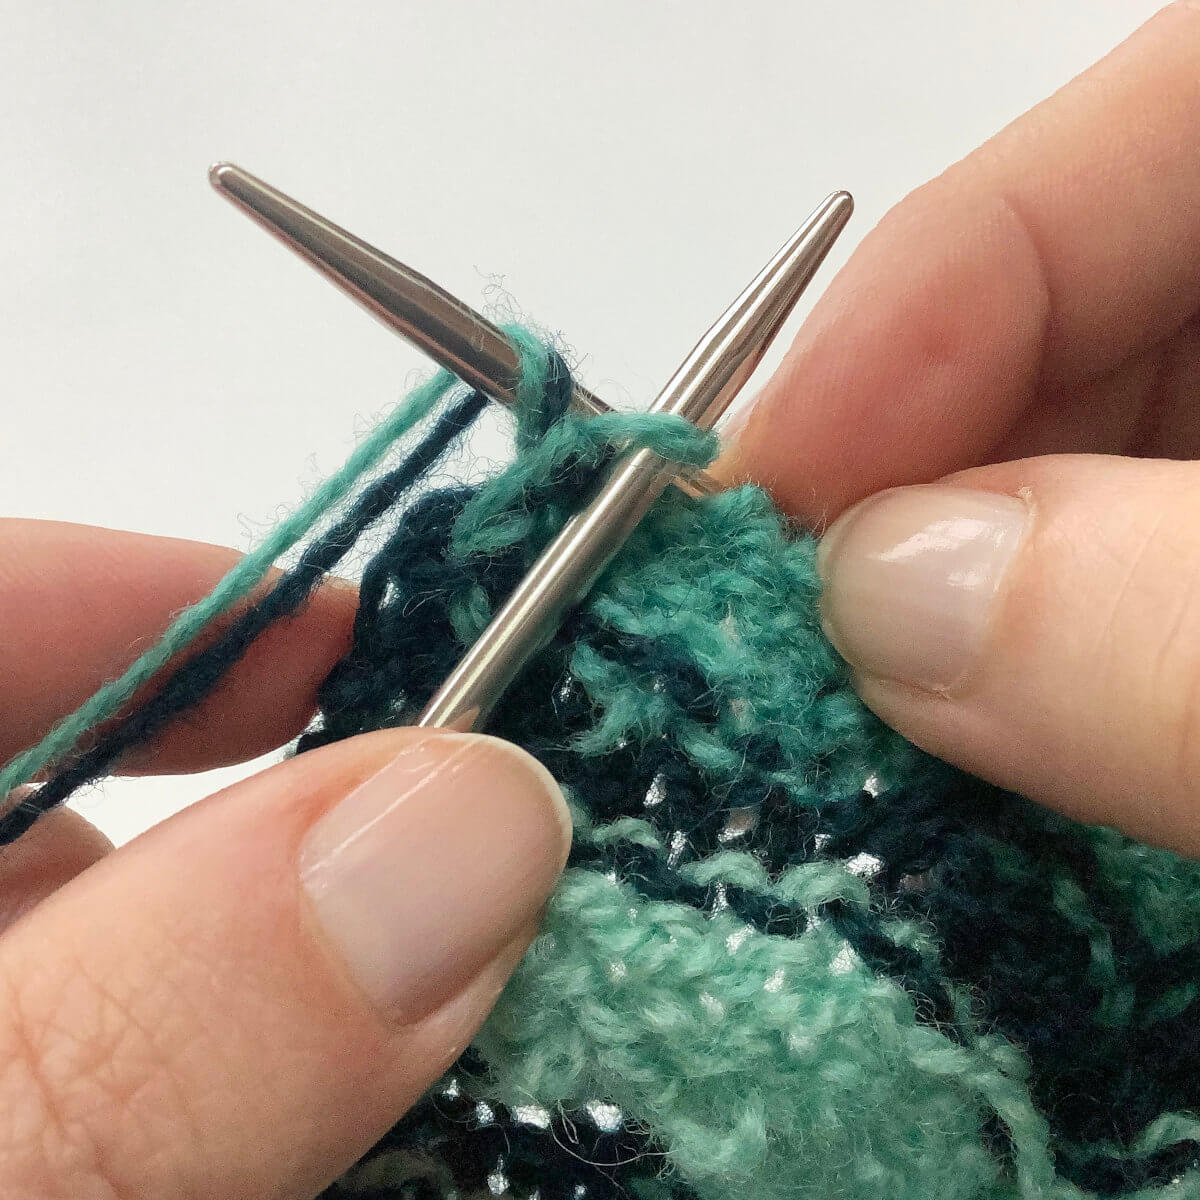
- To start, work as instructed by your pattern until you only have 1 stitch remaining in the row.
In the picture, you can see the working yarn (light) as well as the yarn to carry up (dark).
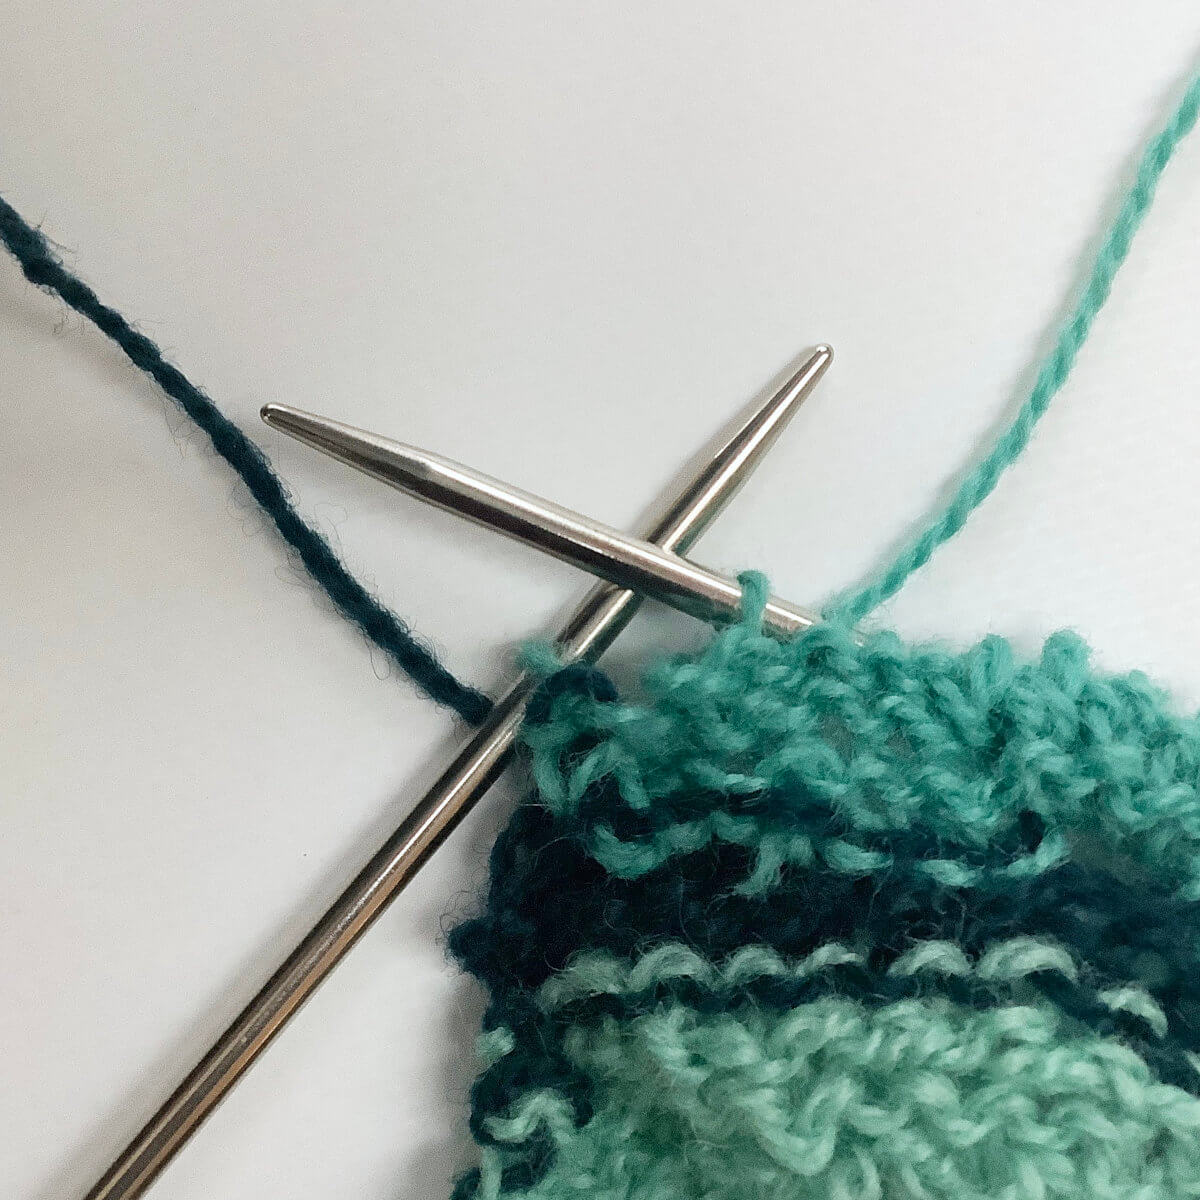
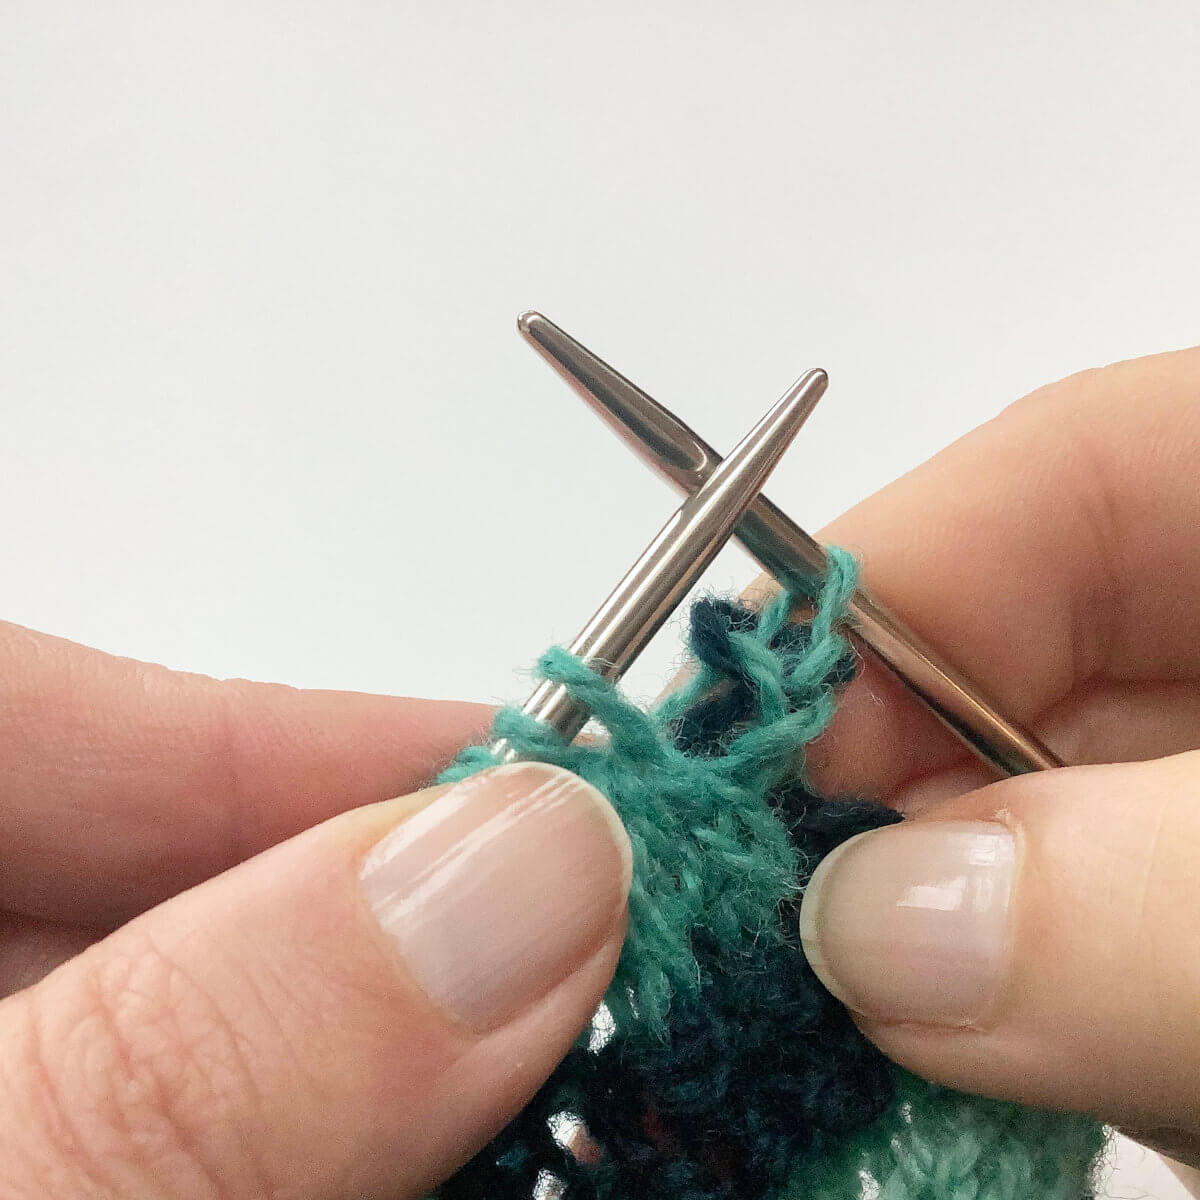
- Now insert the right-hand needle into the stitch (here it’s to be knit) and wrap both strands of yarn around the needle.
- Pull both strands of yarn through, and slip the stitch of the needle.
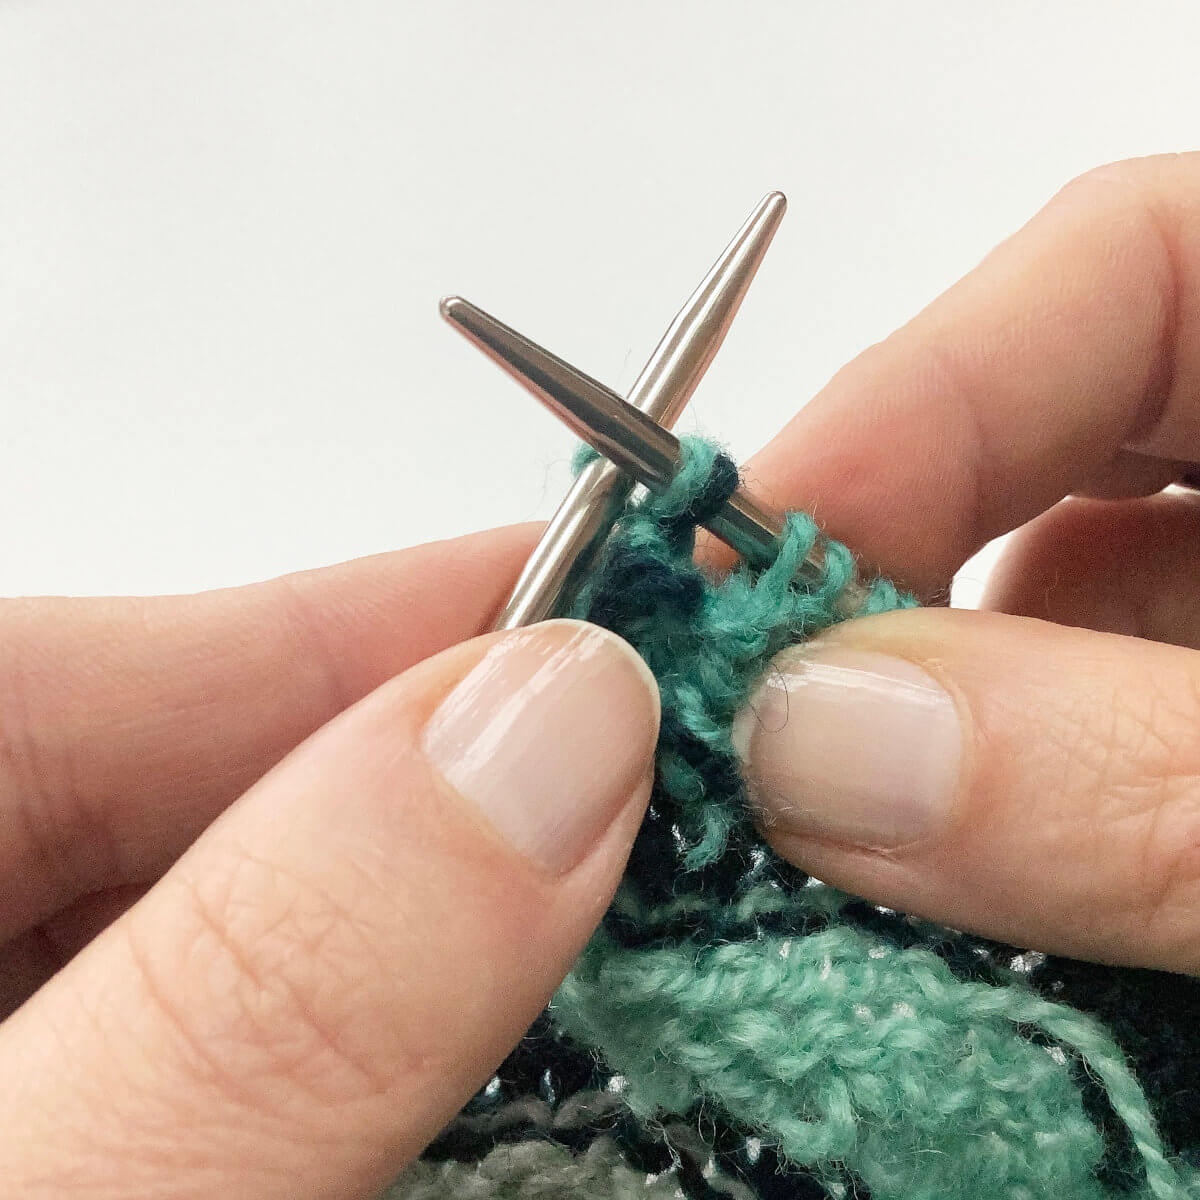
- This is the result when viewed on the wrong side of the work.
Do you see that the first stitch of the row is now double-stranded?

- Next, turn the work and insert the right-hand needle into the stitch (here it’s to be knit), taking care to insert in both strands and wrap the working yarn around the needle.
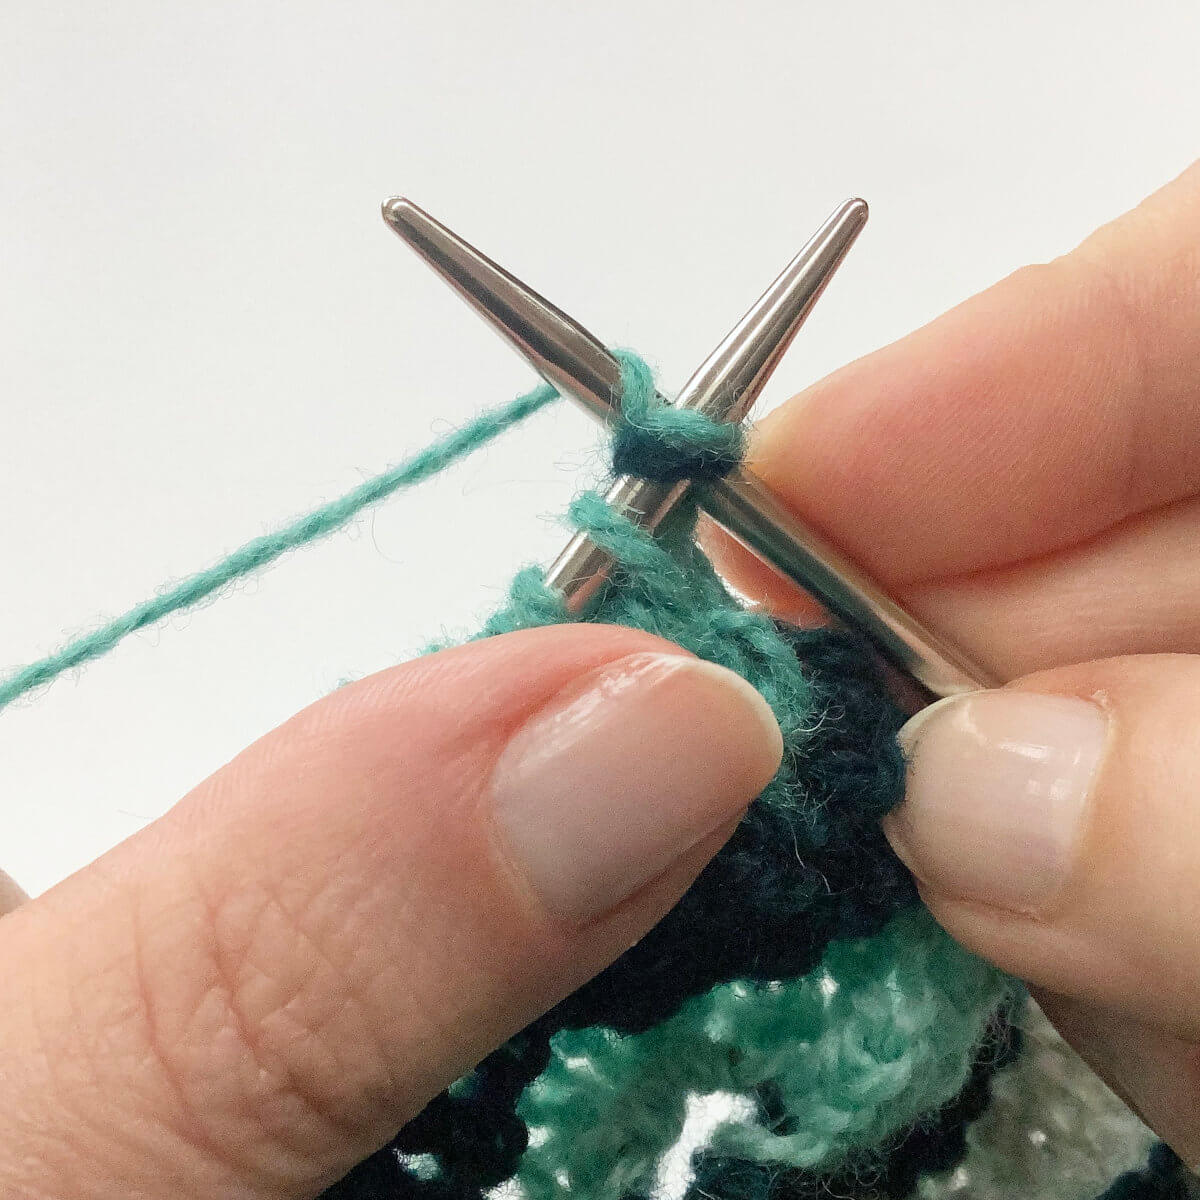
- Pull the yarn through…
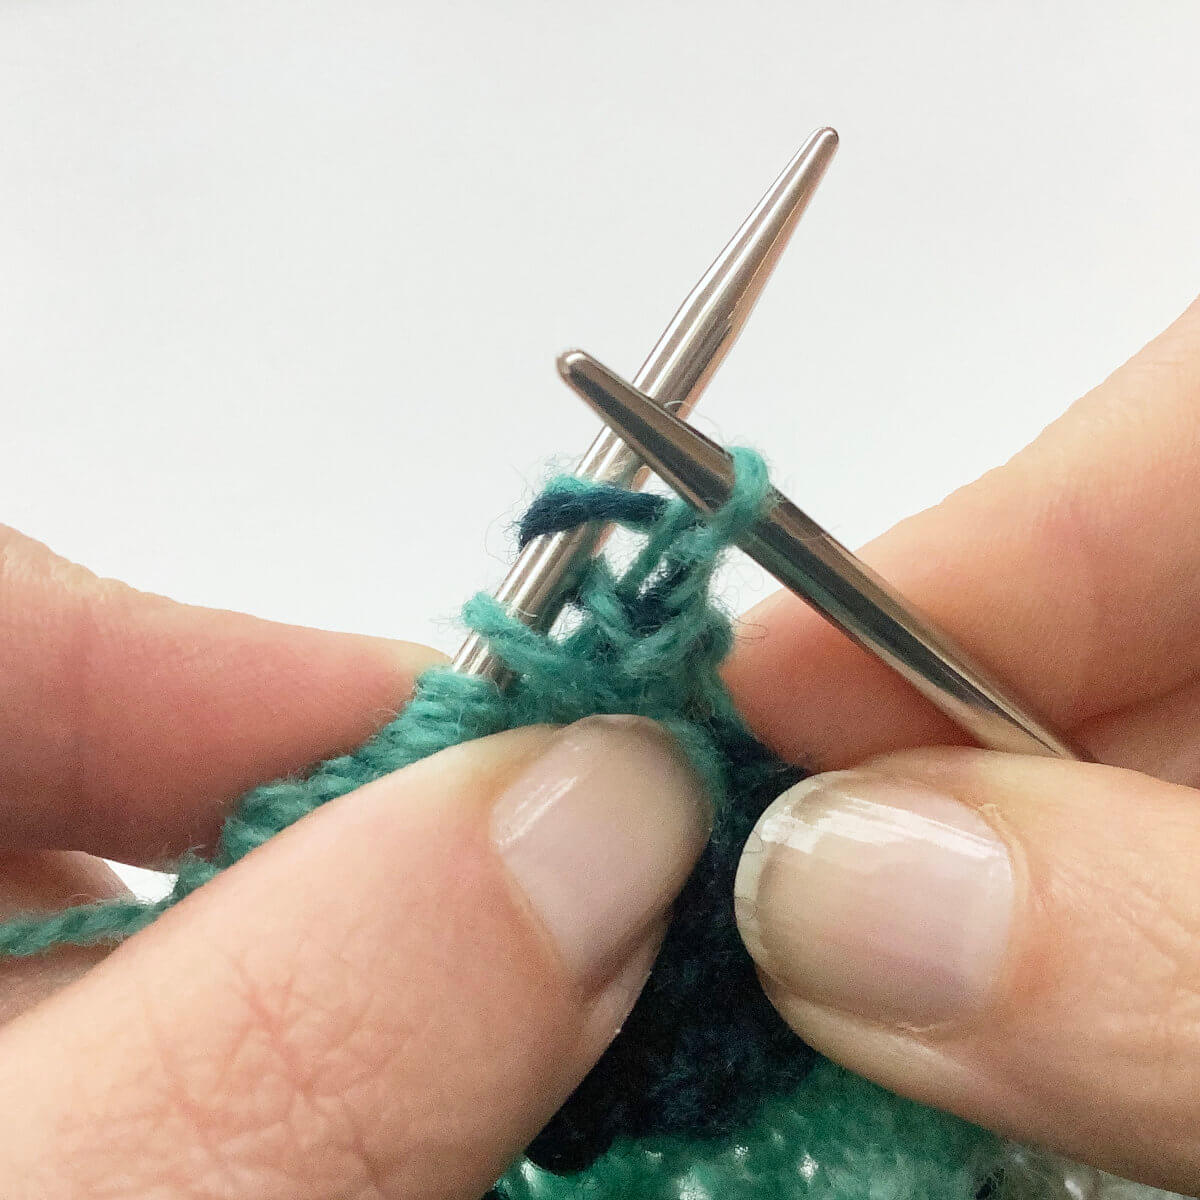
- … and finish the stitch.
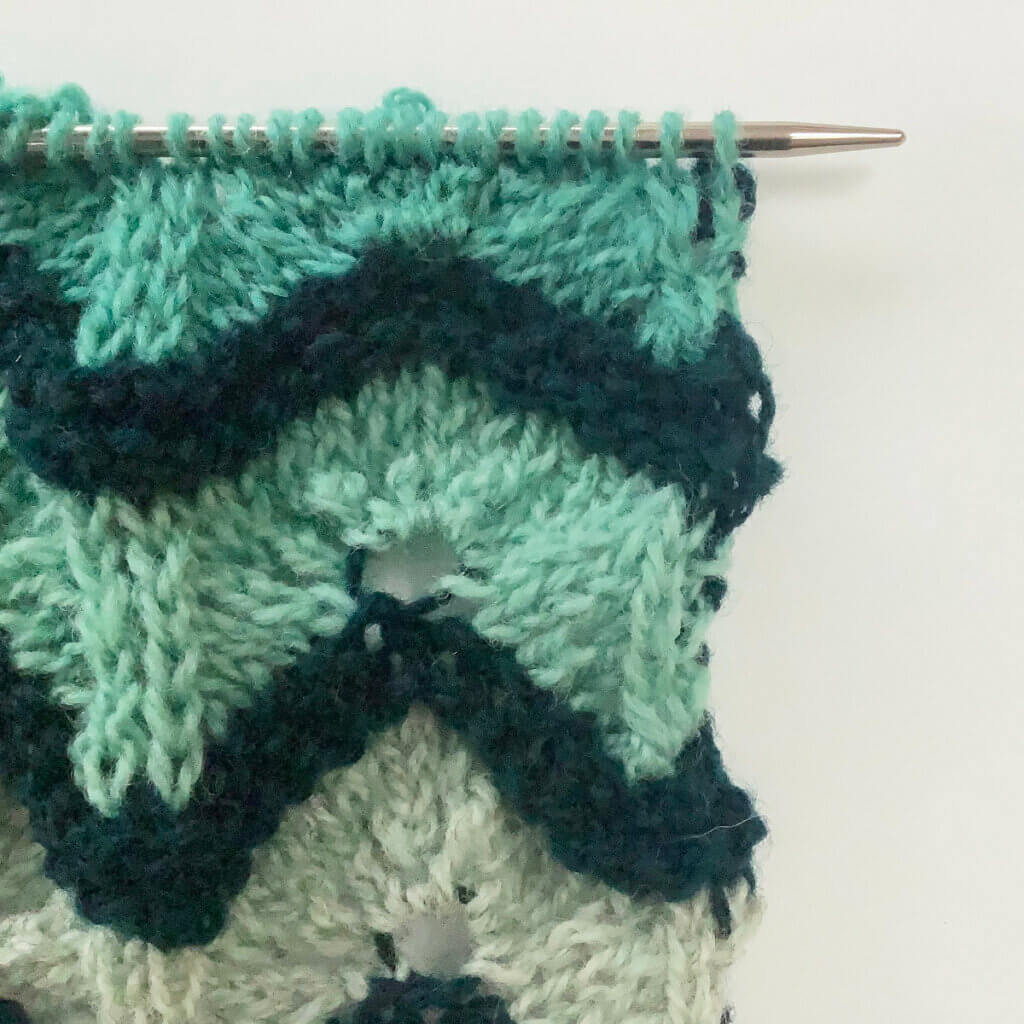
The result
Below, you can see the result of carrying the yarn up the side, using the double strand technique. You can see that the stitches in the light yarn on the right are a tad bulkier than the other stitches. That said, the yarn is thin enough that after blocking this won’t be much of an issue. Also, in this particular case, I’ll be picking up stitches along the side of the project for a border, so the edge stitch is also a selvage stitch ad won’t be visible at all in the end result.

Thanks to my Patreon supporters for bringing you this freebie! Creating quality patterns and tutorials is a lot of work and resource-intensive. However, I find it important to give you free content like this tutorial. Thanks to the generous support of my Patreon supporters, I can make it happen. Thank you, patrons! Click here to join, or click here to read more about La Visch Designs on Patreon.


