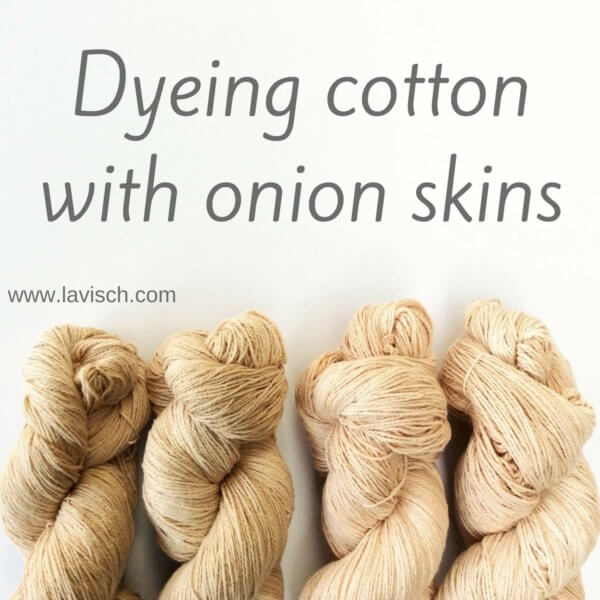
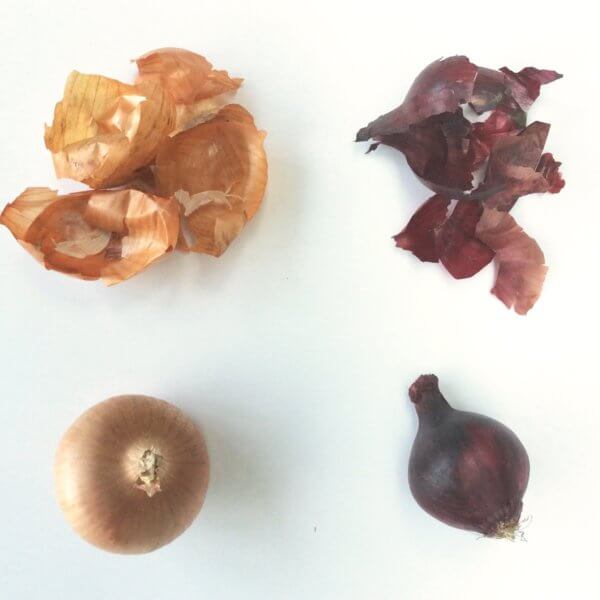
dyeing cotton with onion skins
After I finished dyeing the skeins of wool in my recent onion skin wool dyeing experiment, quite a potent dye baths were left over. A shame, of course, to let it go to waste. I decided that dyeing cotton with onion skins was in order! Fortunately, I have some, that has been lingering in my stash for years.
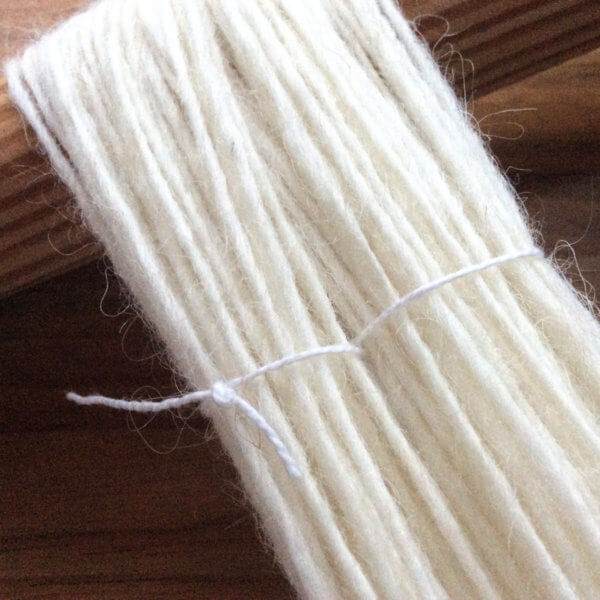
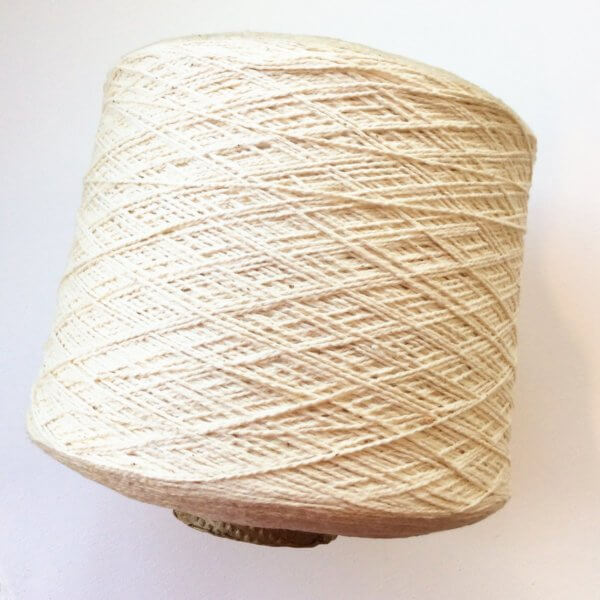
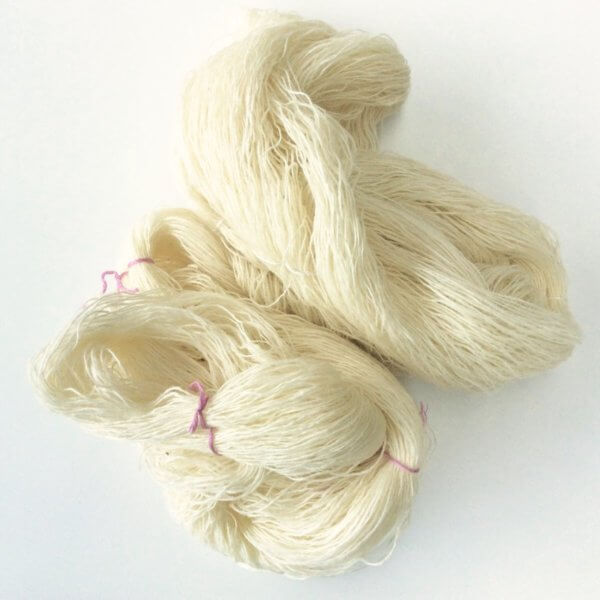
This cotton yarn is an unbleached coned yarn, that I originally bought for dishcloths and such. It turned out a tad too thin for that though, so it has been lingering in the stash ever since. I perfect candidate for some dye experimentation!
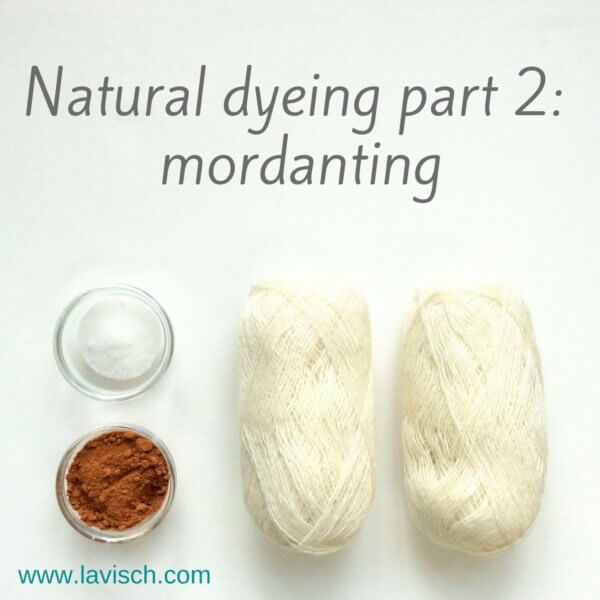
Materials
In this experiment, I did not have to prepare the dye baths themselves because I used the leftover ones from my wool dyeing experiment. Also, I decided not to mordant the cotton yarn, despite the fact that I read that plant or cellulose fibers are more challenging to dye than protein based fibers like wool or silk. I also read, that there was no need to mordant cotton with onion skin dye. So I decided to take the plunge and go ahead without!
I used the following materials:
- Cotton yarn, 4 skeins of 100 g each
- Detergent (without enzymes)
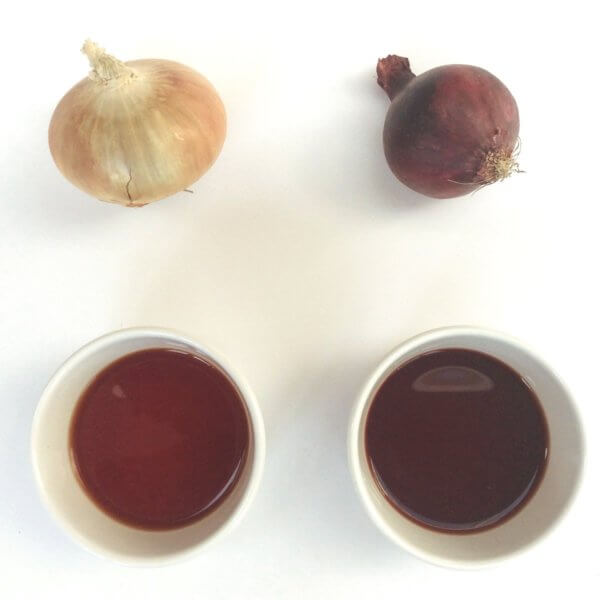
- Yellow onion skin dye bath (second dye bath)
- Red onion skin dye bath (second dye bath)
- Rubber gloves, stainless steel spoons
- Water
- A way to heat the pots, I just used my stove
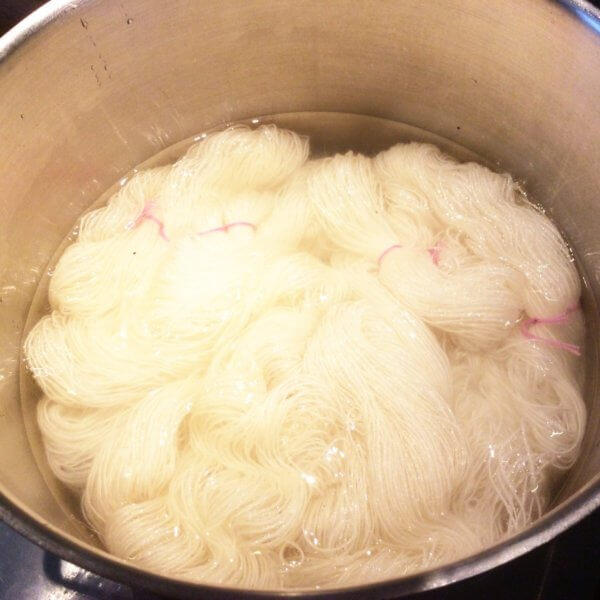
a. Washing the cotton
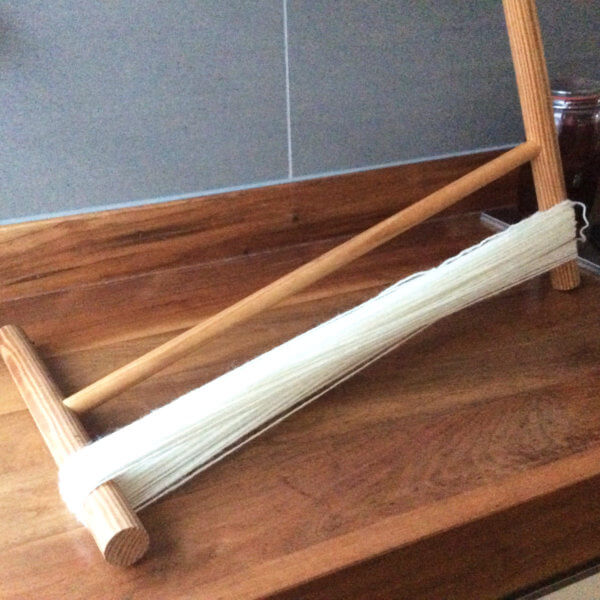
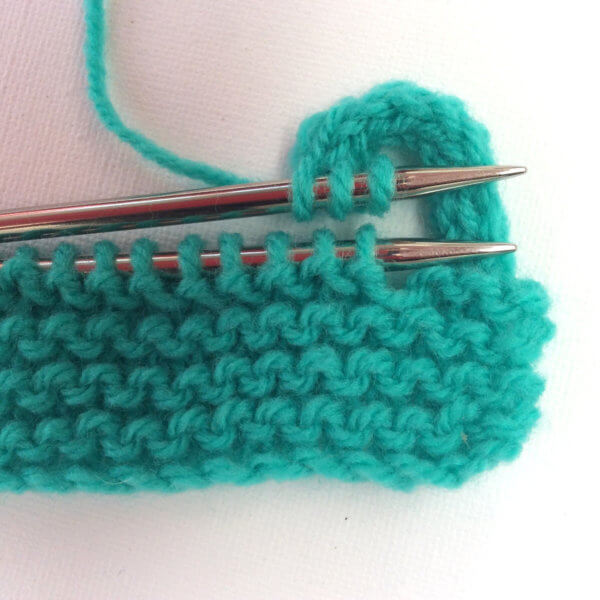
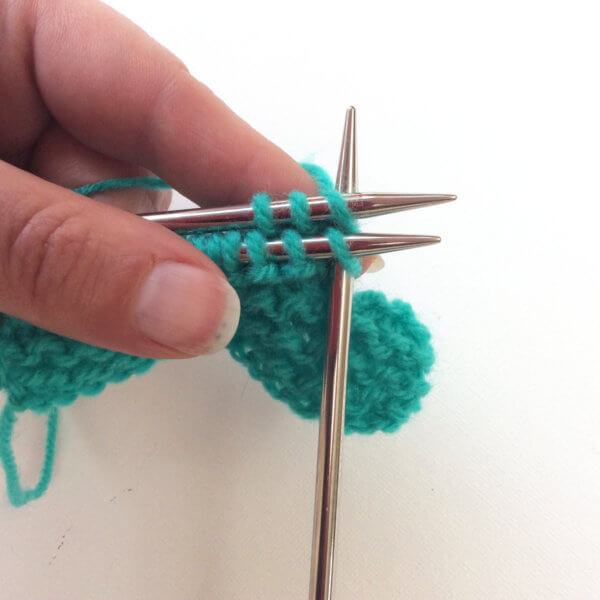
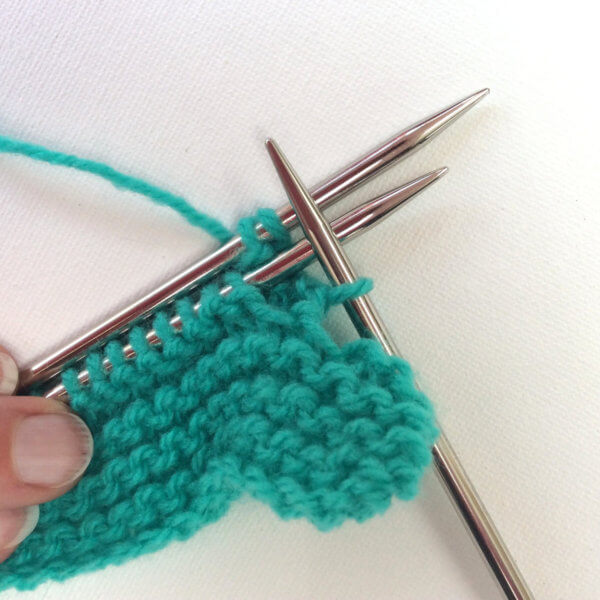
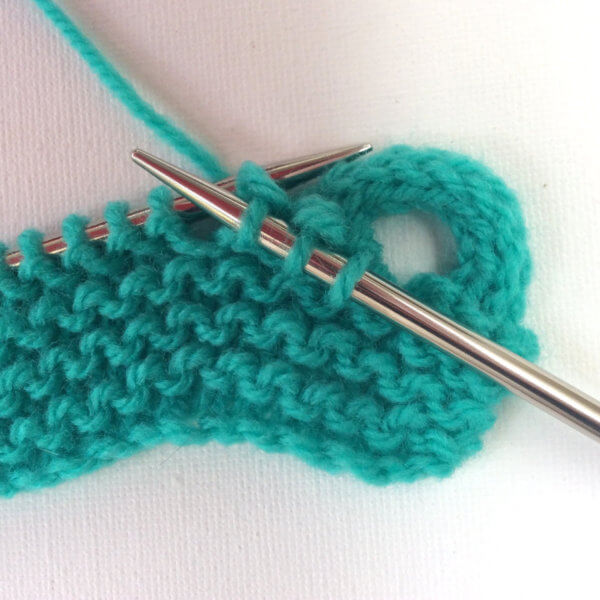
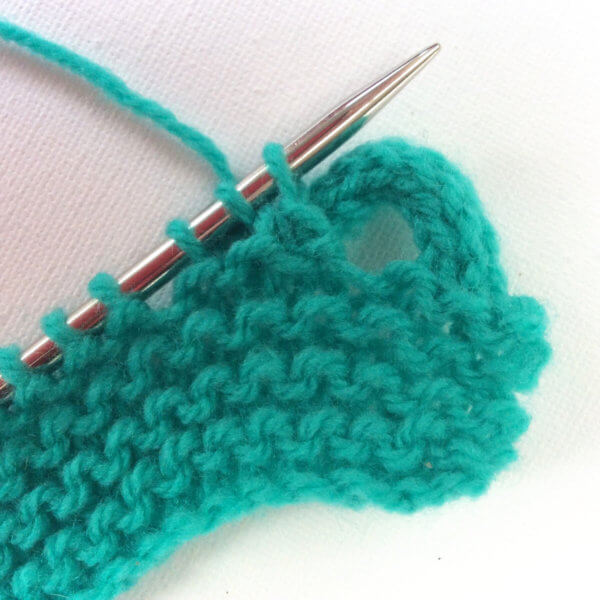
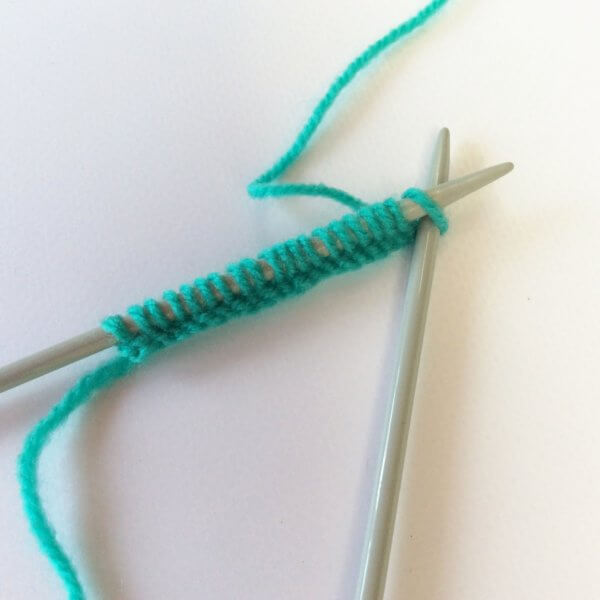
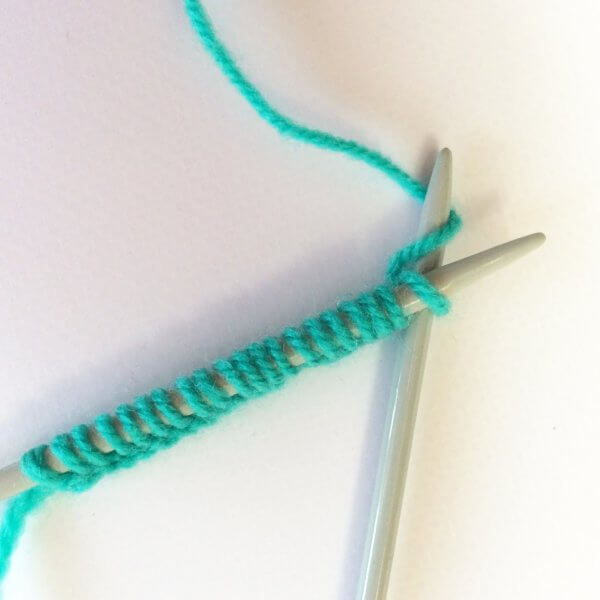
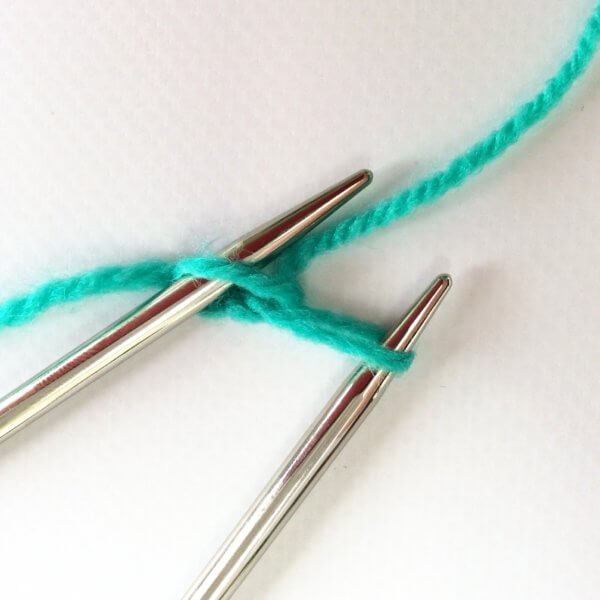
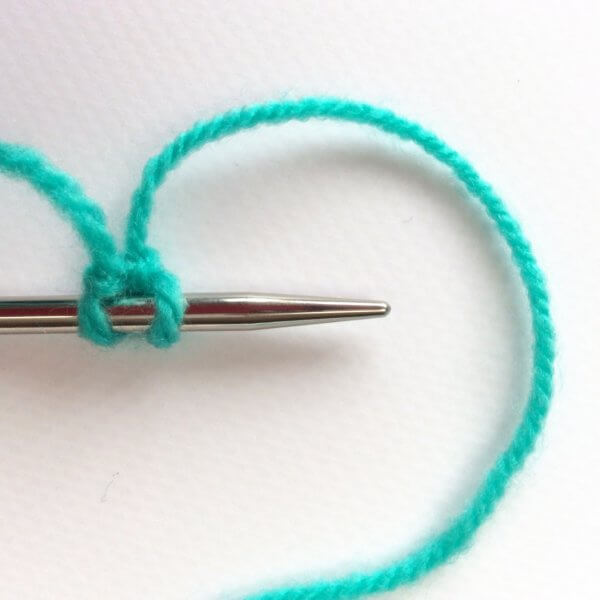
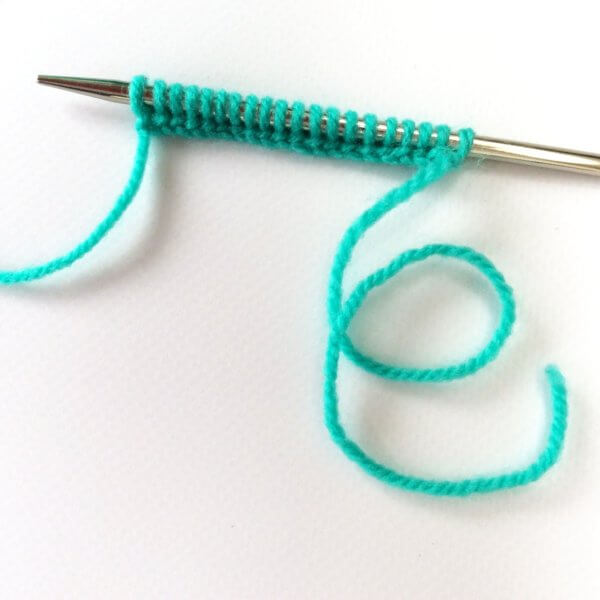
1. First as explained in this post I skeined up the yarn.
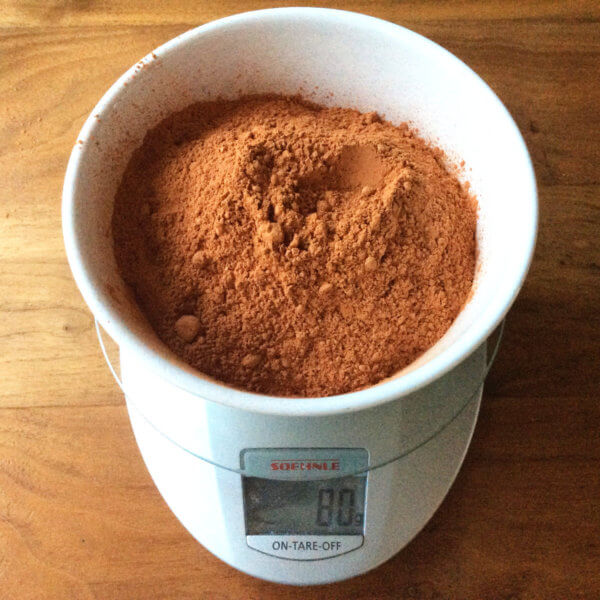
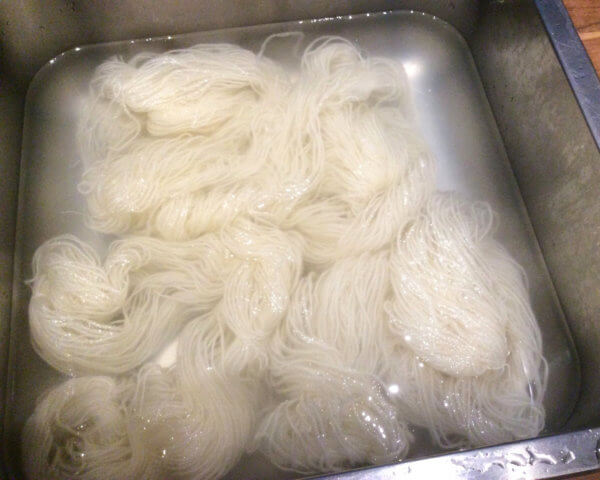
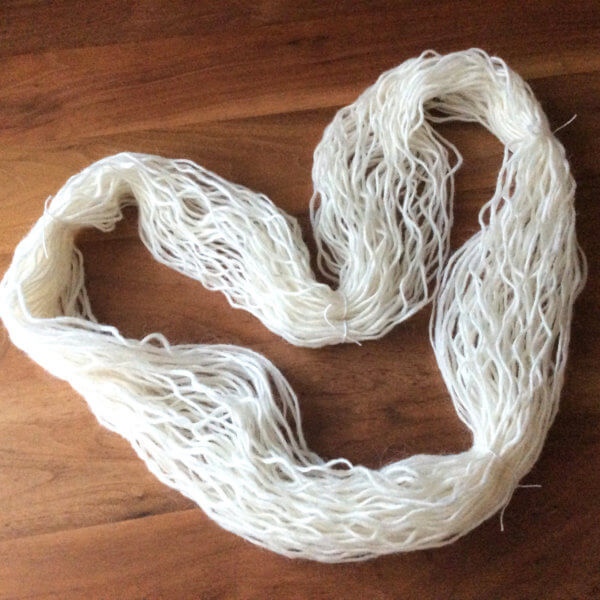
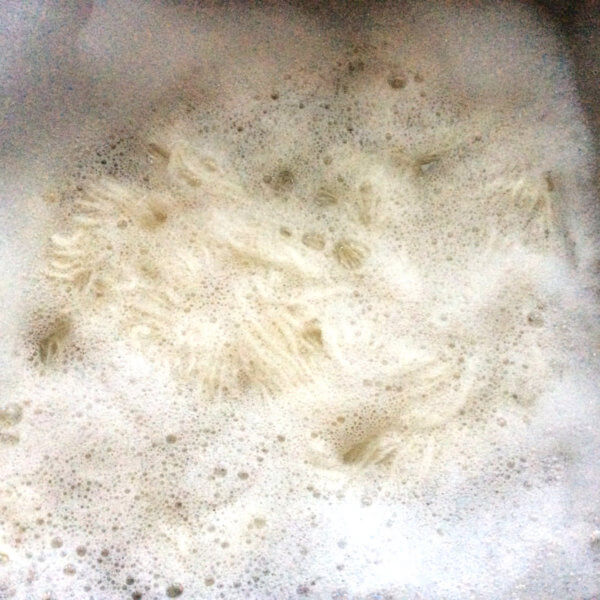
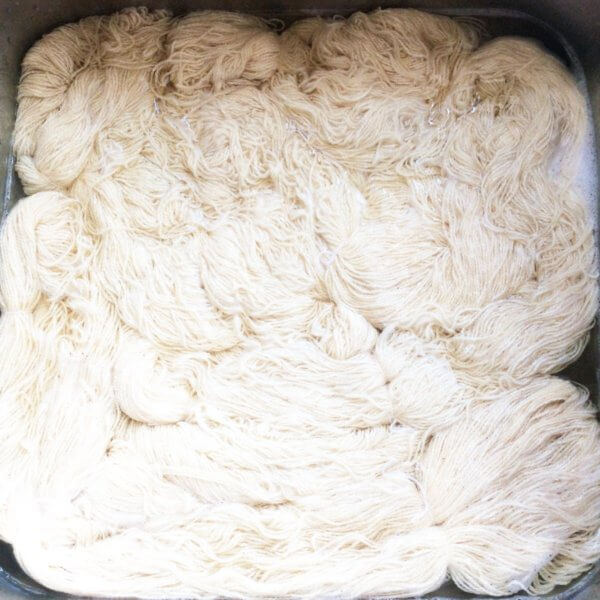
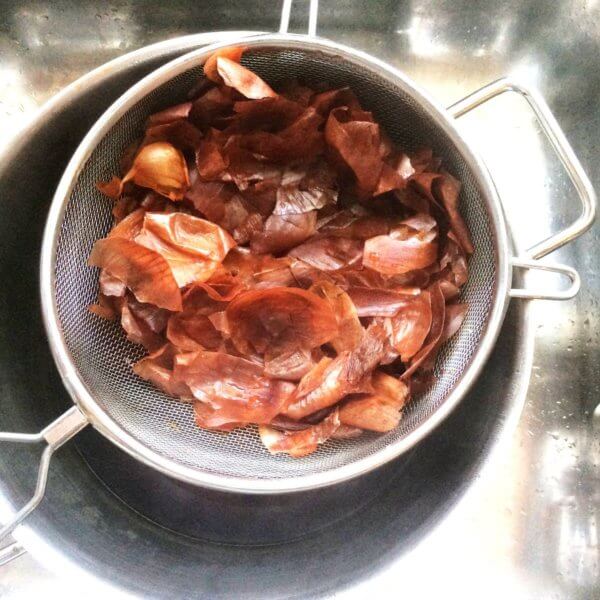
2. Next, I washed the cotton yarn to remove any lanolin, spin oil or other debris still present on on it. You can’t see it in this picture, but my washing water turned yellow! A very needed wash it appeared…
b. Dyeing cotton with onion skins
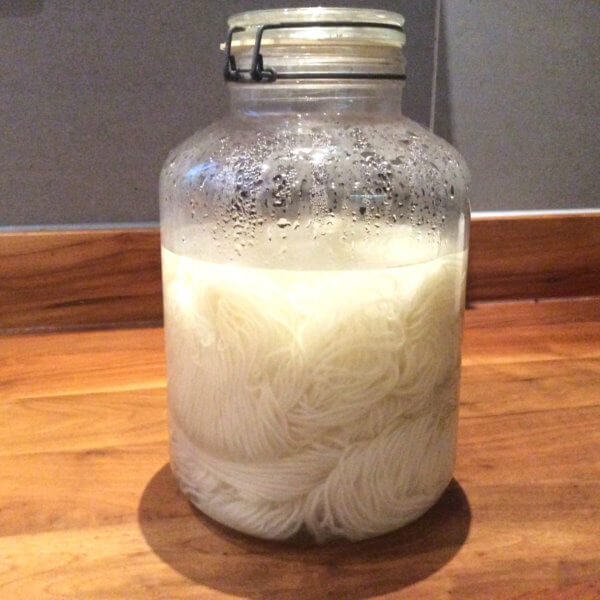
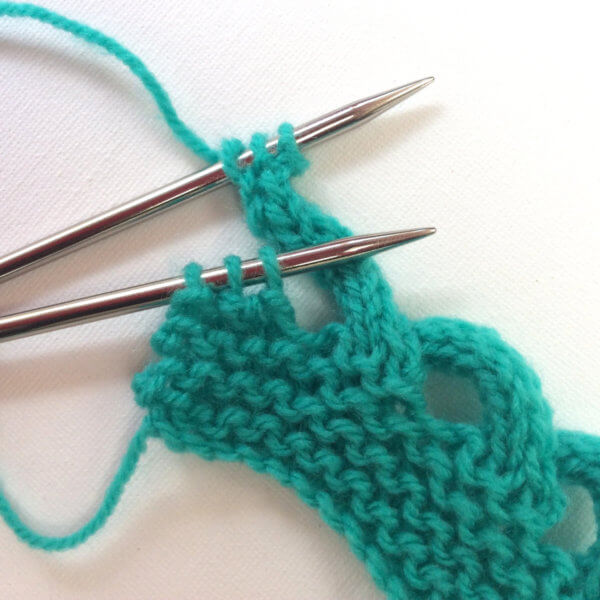
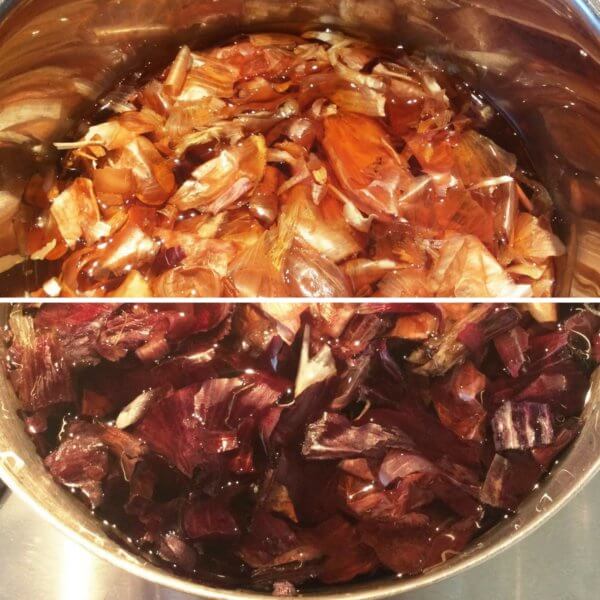
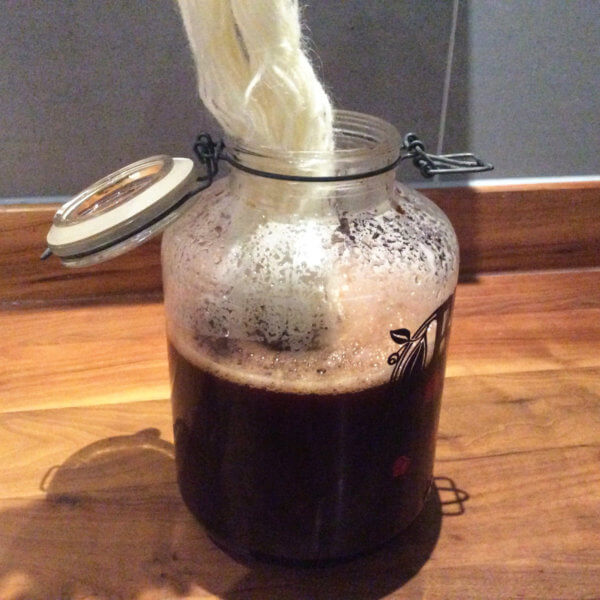
1. In the case your yarn has dried before getting to this step, you have to soak it first in water again. In wet yarn dye distributes itself much more uniformly. About half an hour of soaking is usually enough. If the yarn is still slightly wet, you can skip to step 2.
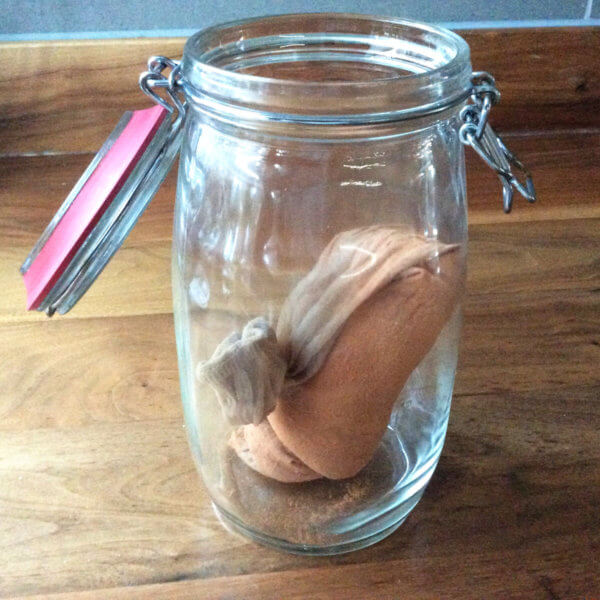
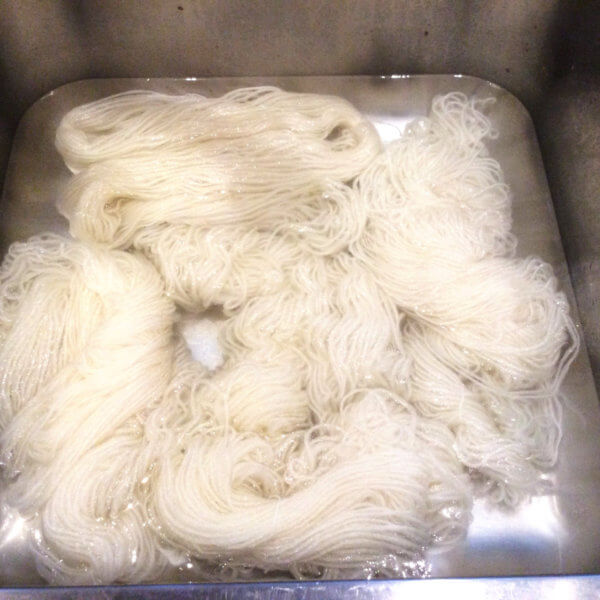
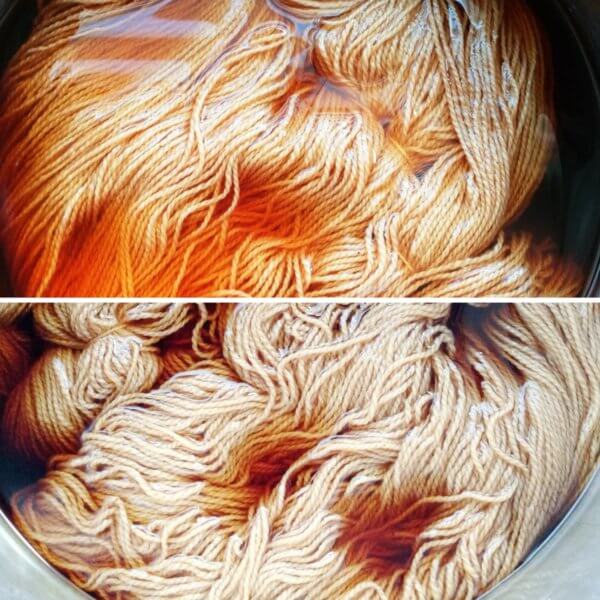
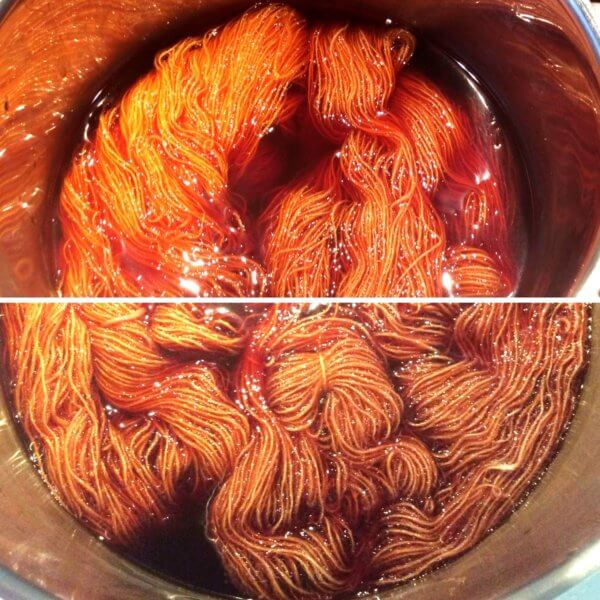
2. In each of the dye baths, I have put 2 skeins of cotton and made sure to completely submerge all yarn. The picture below shows the yellow onion bath on top and the red onion skin one on the bottom half.
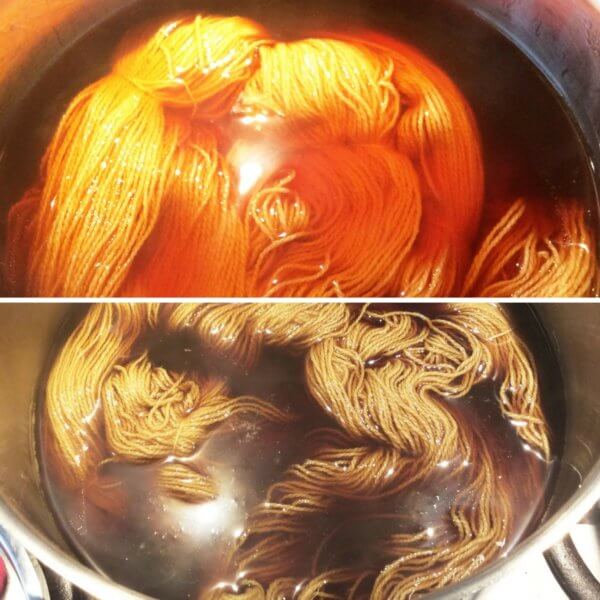
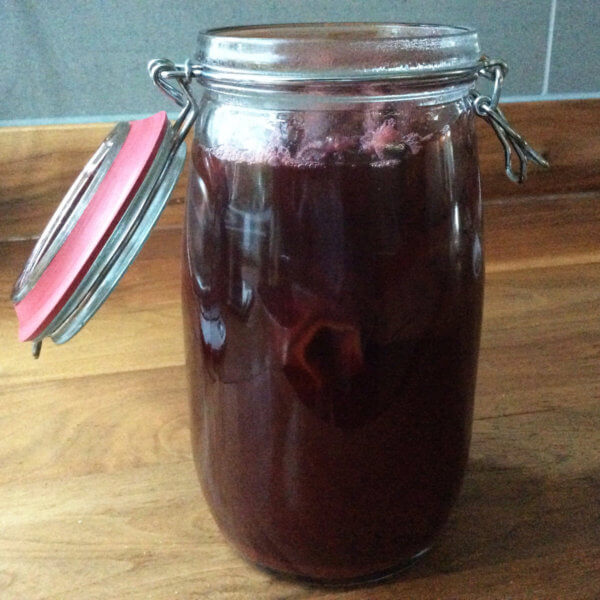
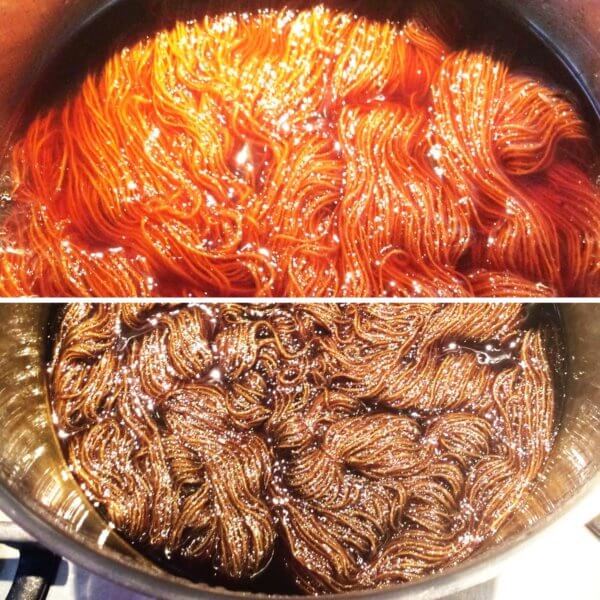
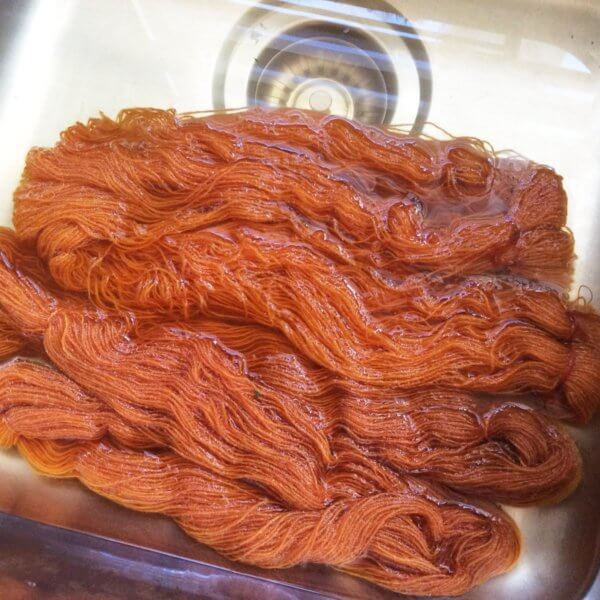
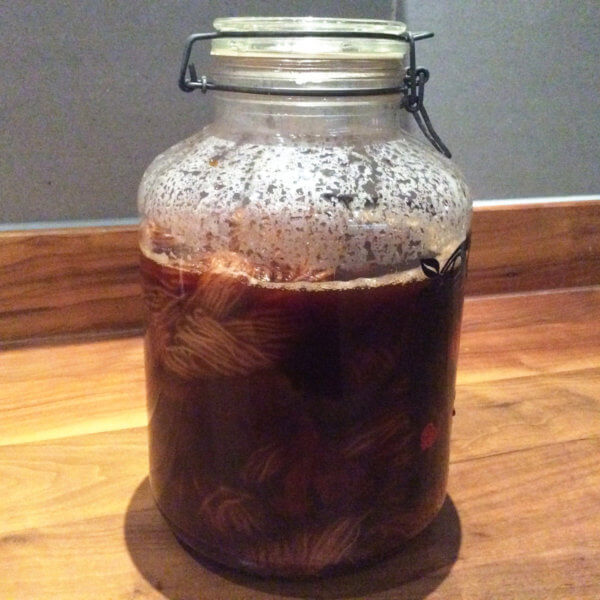
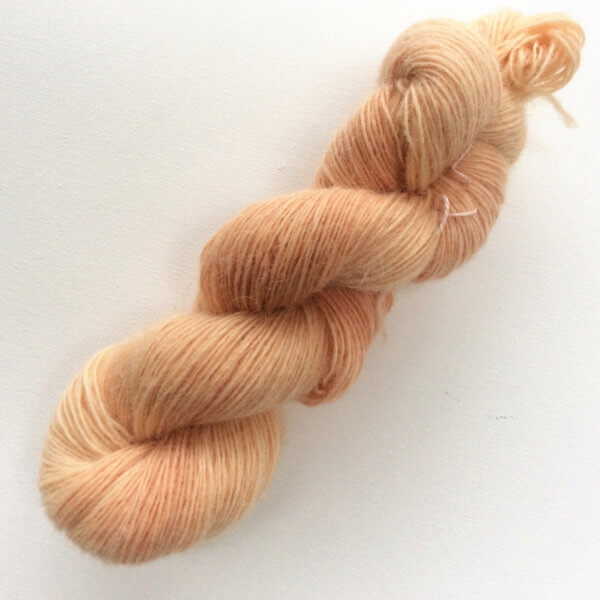
3. I let the cotton simmer for about an hour in the dye bath. Next, I let it cool down in the dye bath overnight. The picture below shows how the cotton looked next morning.
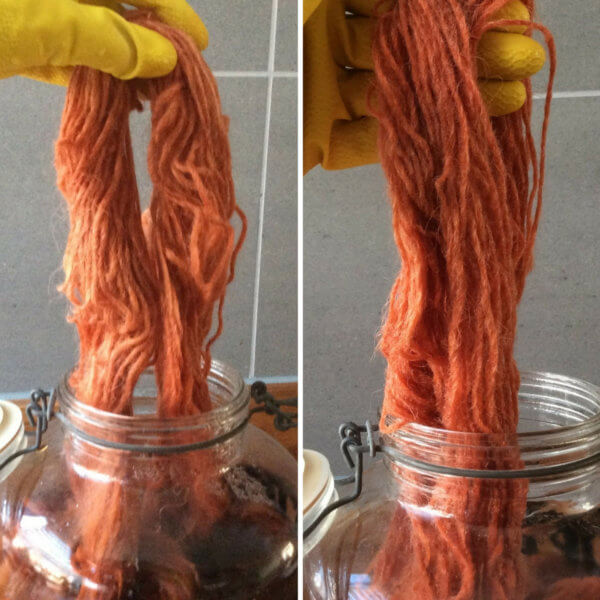
4. Rinse the yarn off with lukewarm water, add a dash of vinegar kitchen to fix the color. Rinse as long as necessary until the water runs clear. Remember to put on rubber gloves, if you do not want to stain your hands! Then you can squeeze the water out of the dyed yarn and hang to dry.
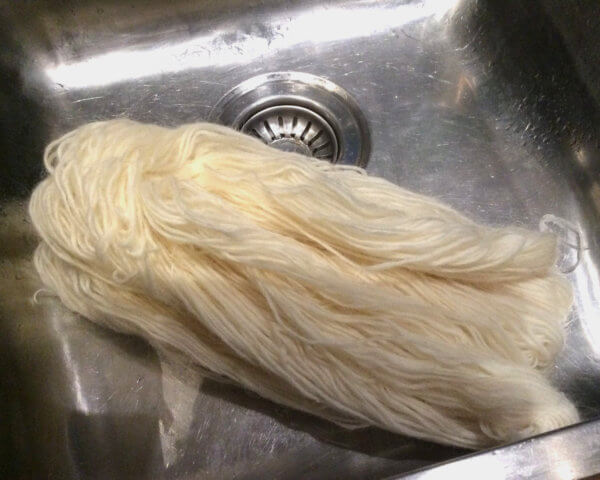
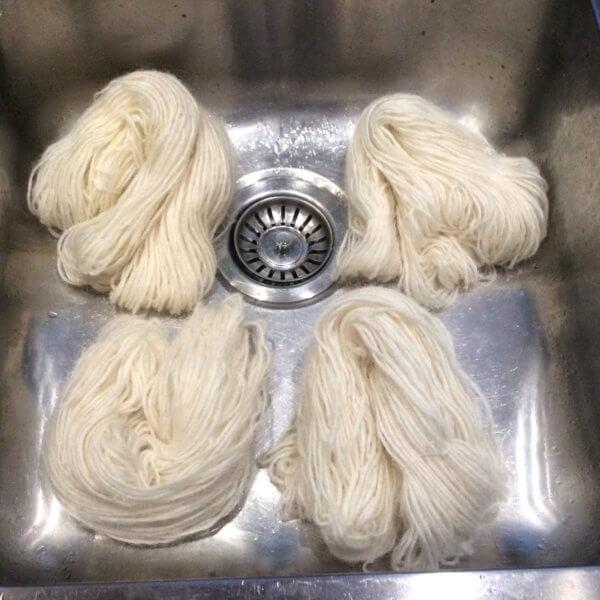
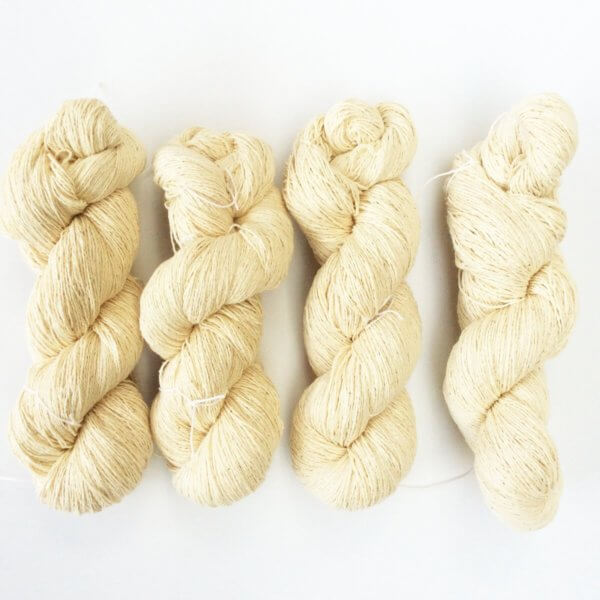
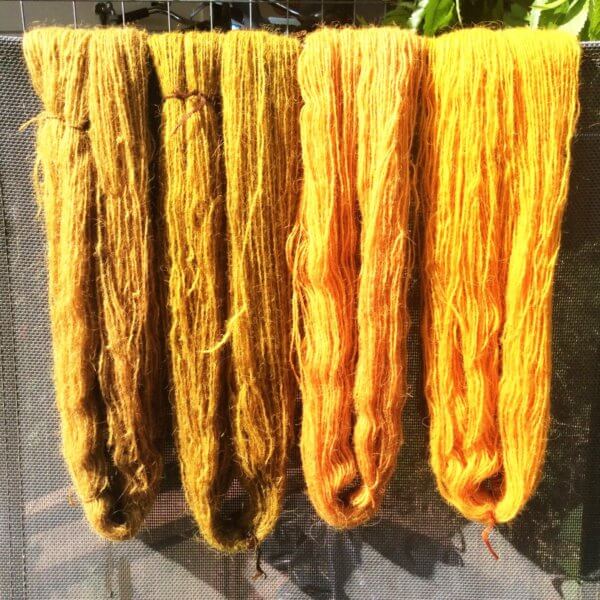
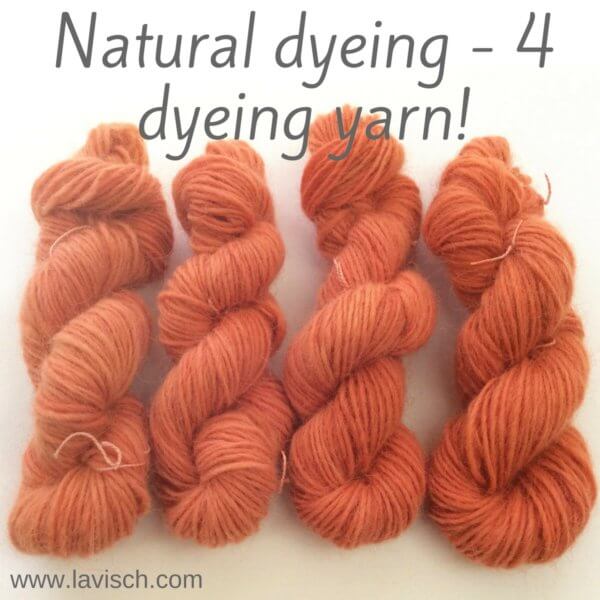
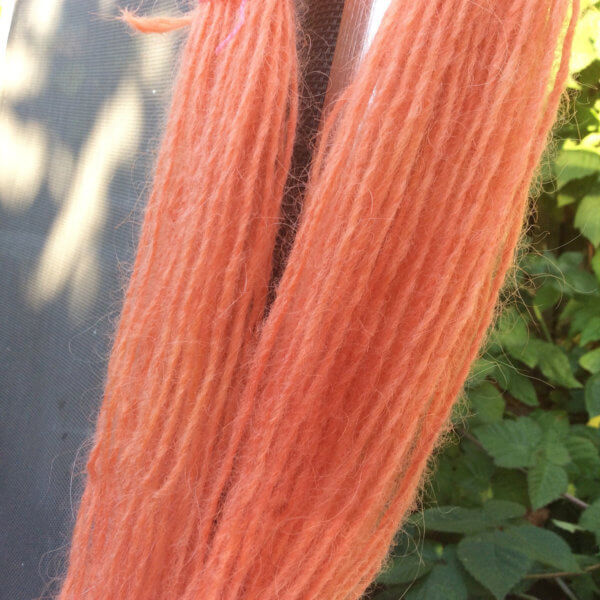
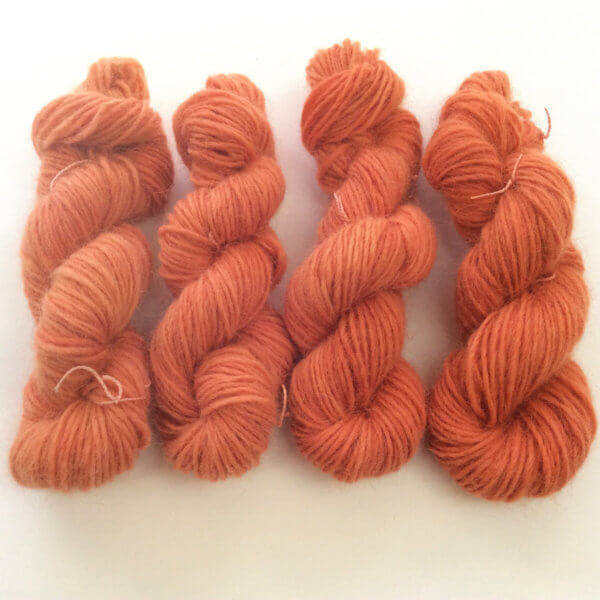
And this is how my cotton looks like after it has completely dried up:
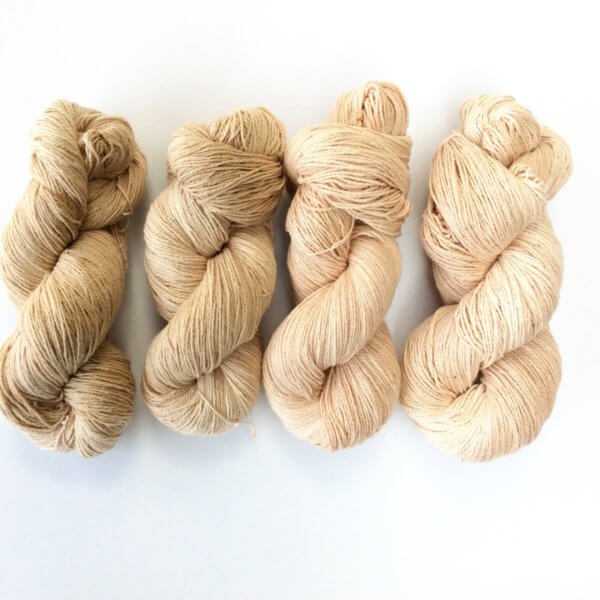
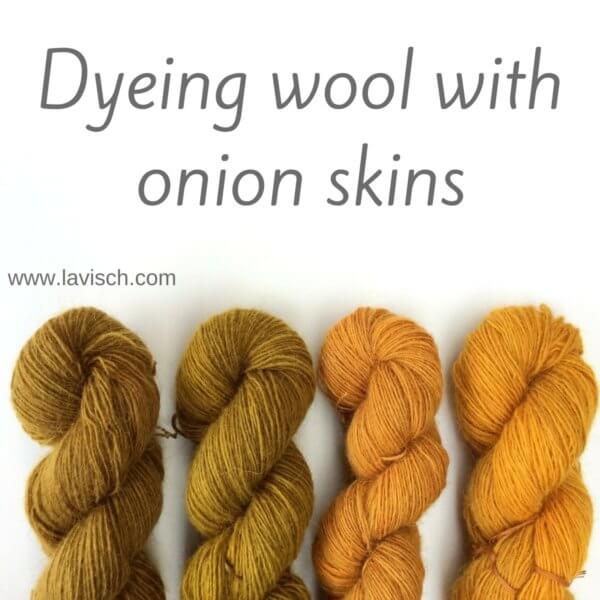
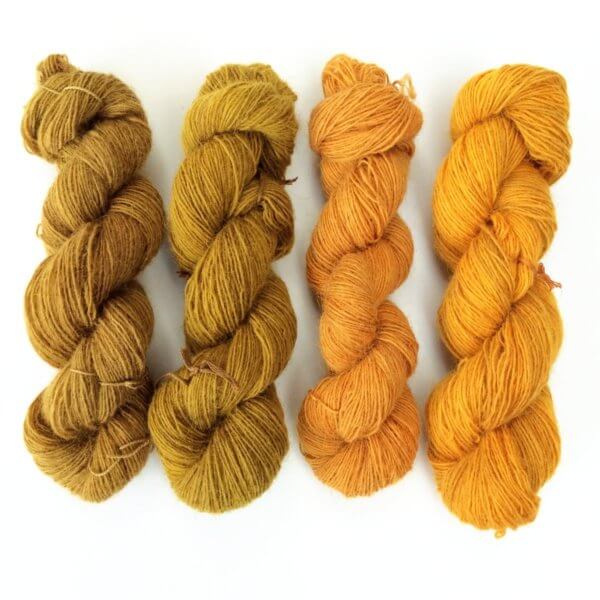
On the left 2 skeins of red onion skins on un mordanted cotton, and on the right yellow onion skins on again 2 skeins of un mordanted cotton. The red onion dyed yarn is now some sort of brownish cream. The yellow onion dyed yarn turned a pinkish cream. All in all, not a very dramatic difference.
I must admit being a tad disappointed with the result of my dyeing cotton with onion skins experiment. These colors give me unpleasant associations with old underwear, the type of color that, makes me look like I just crawled from underneath a rock. Was it because I used a second dye bath? An unbleached yarn? Or perhaps because I didn’t mordant the cotton beforehand?
I really don’t know. One thing is sure though: there will be a next experiment sometime in the future overdyeing this cotton!
dyeing cotton with onion skins Read More »


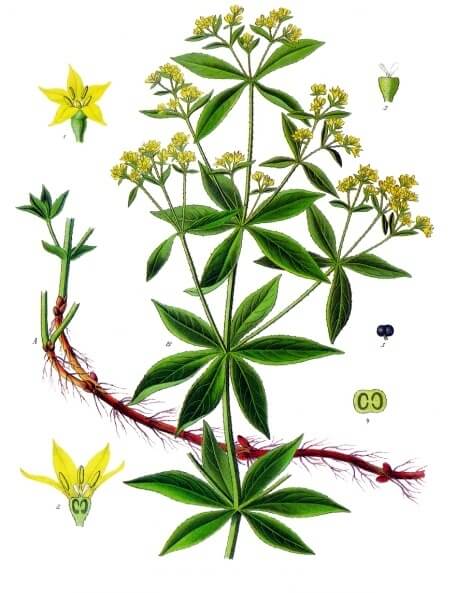 Madder (Rubia tinctorum) has been used as a dye for many thousands of years. The reason? It is one of the most light-resistant red dyes of natural origin. It was and is used for the coloring of textiles and leather. In the fifteenth century, the Netherlands was the main producer of the madder. Particularly in Zeeland there were many fields of madder plants in the 19th century. At least until synthetic dyes became available.