how to work the knit and garter stitch
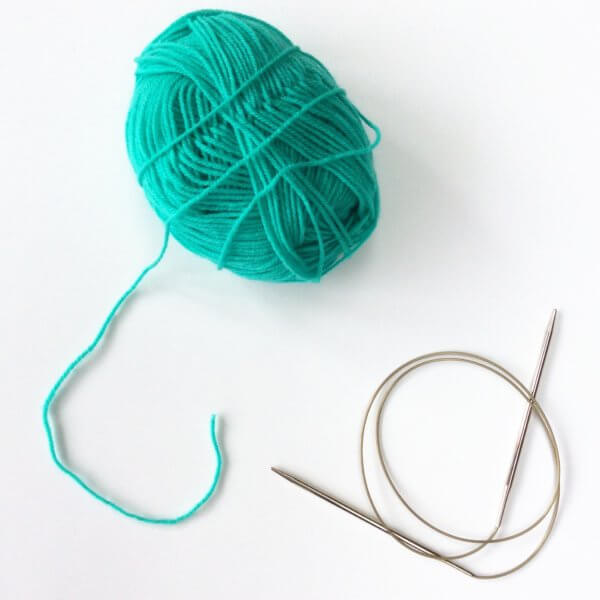
In this post, I’m going to show you how the knit and garter stitch is worked. The knit stitch is the basis of most knitting stitches and therefore often the first one beginning knitters start with. When knitting a flat piece in the knit stitch only, you get a fabric in what’s called “garter stitch”. Usually, a piece knit in garter stitch will be shorter and wider than the same amount of stitches and rows worked in other types of stitches. Garter stitch has a wonderful texture, is very squishy and elastic and best of all: it lies flat when knitted back and forth! Truly a wonderful stitch to have in you knitter’s tool box
In this post, I’ll show you how to work both the basic knit stitch and the ins and outs of garter stitch when worked back and forth (flat). Working garter stitch in the round also involves purling and will, therefore, be addressed in a different post.
Working the knit and garter stitch back and forth step by step
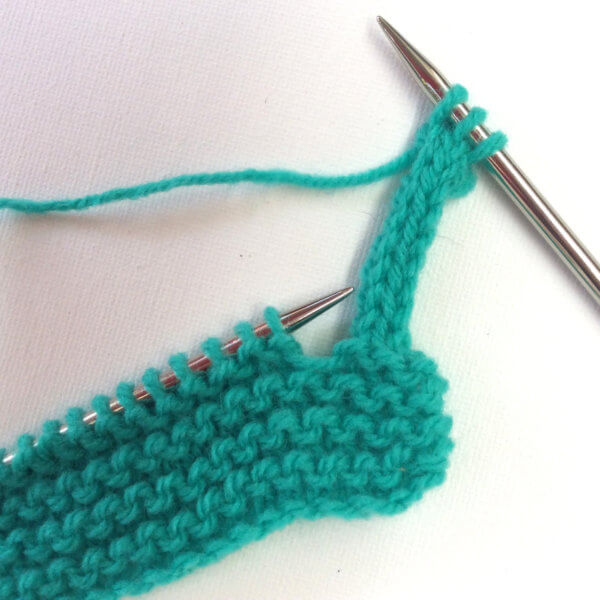
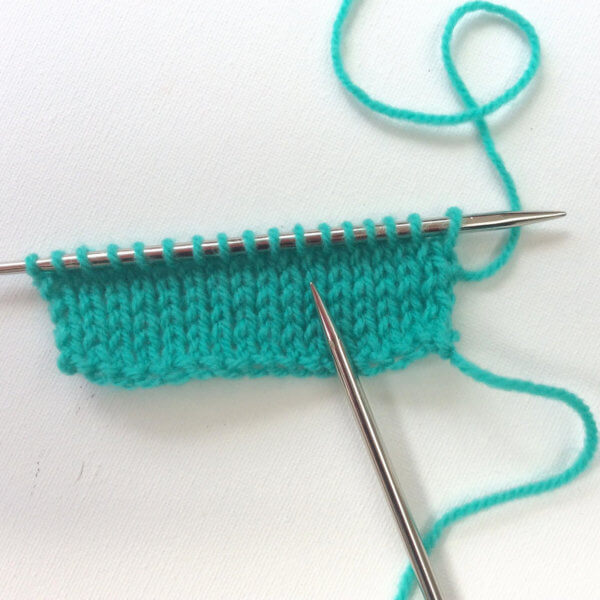
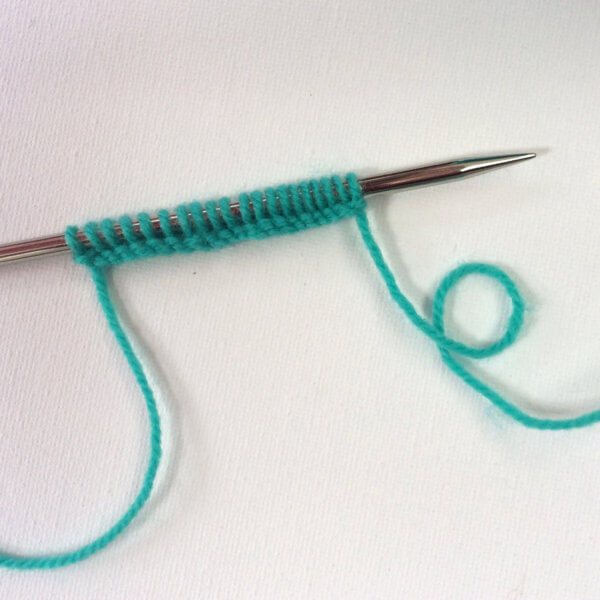
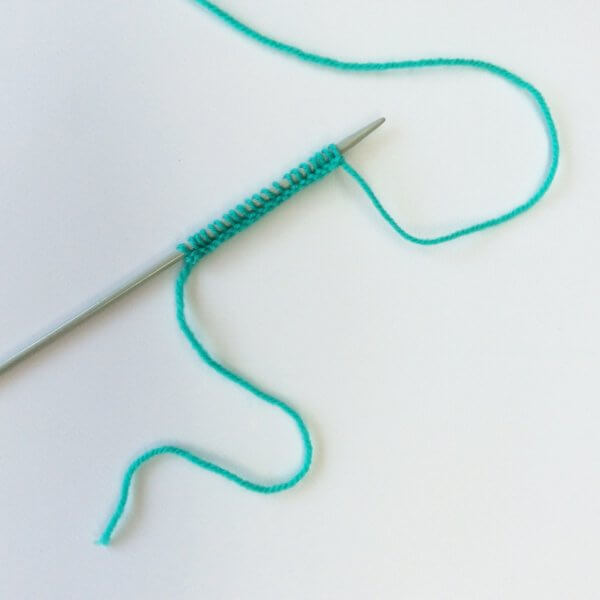
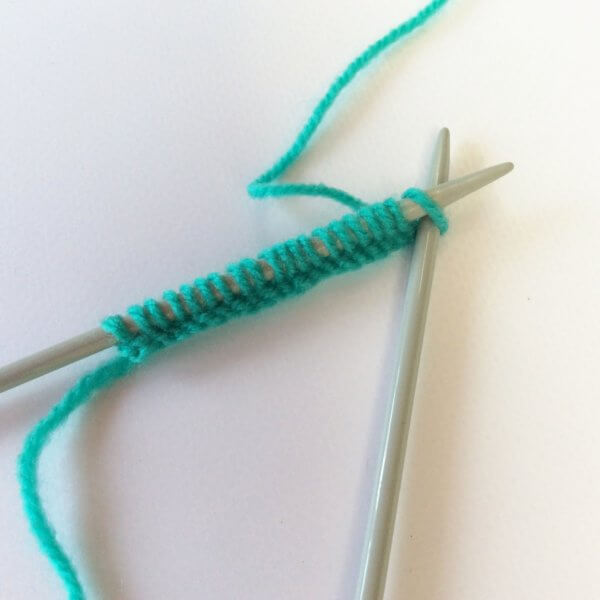
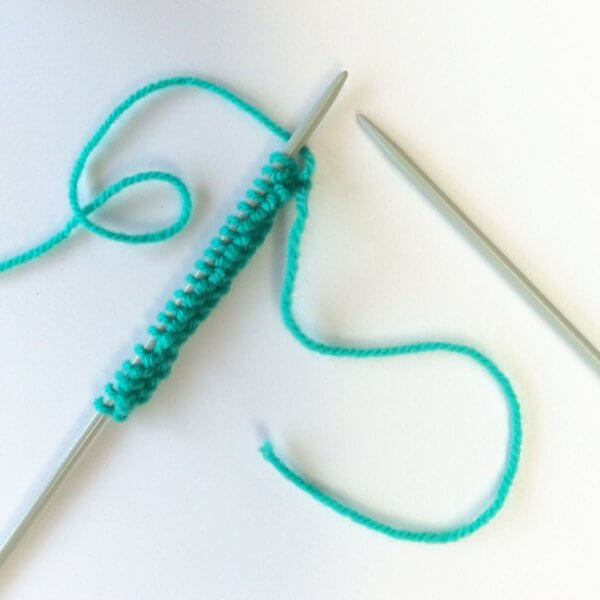
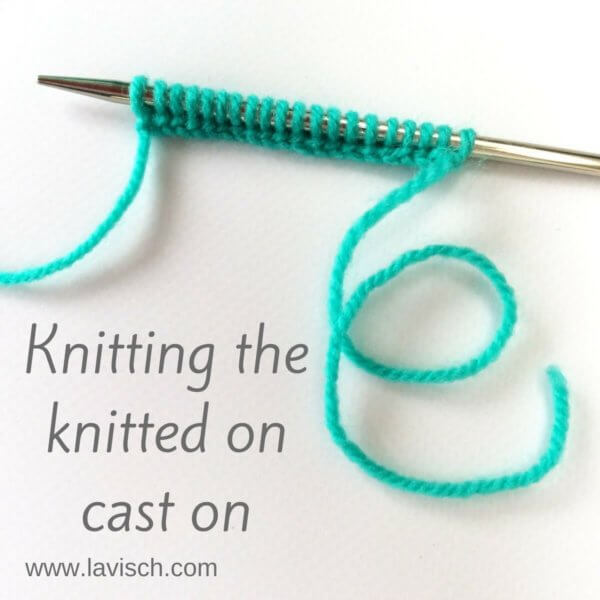
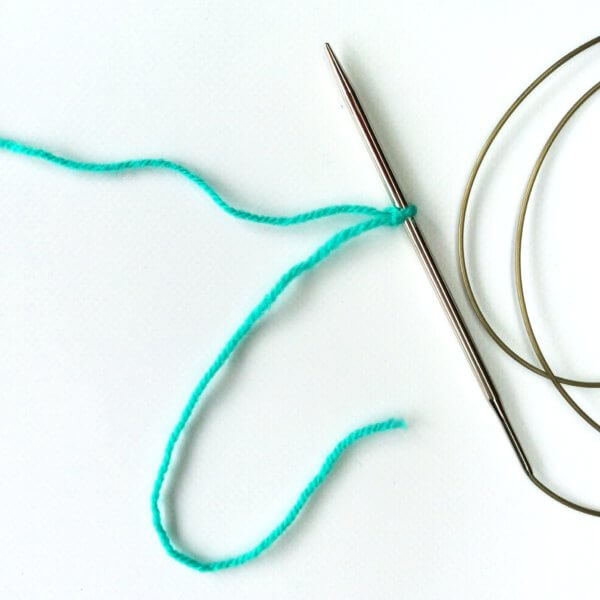
1. I’m starting with a number of stitches already cast on. What you see here, is done with the knitted on cast on.
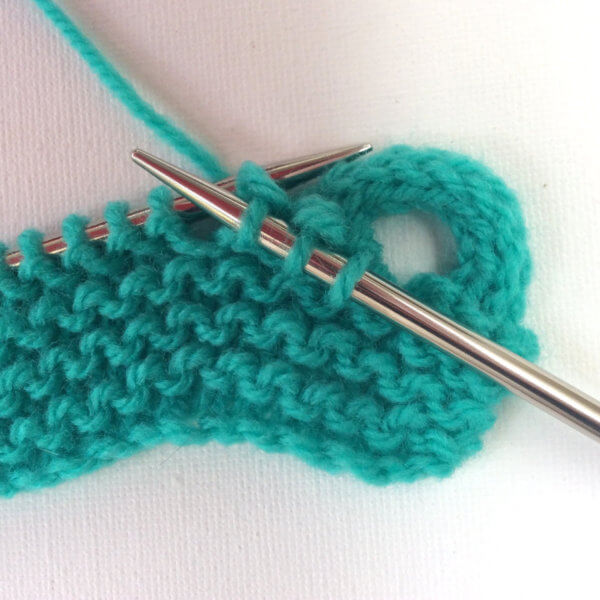
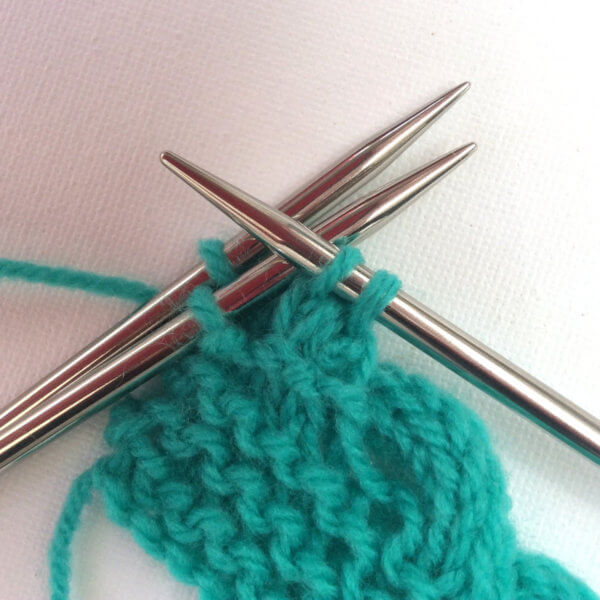
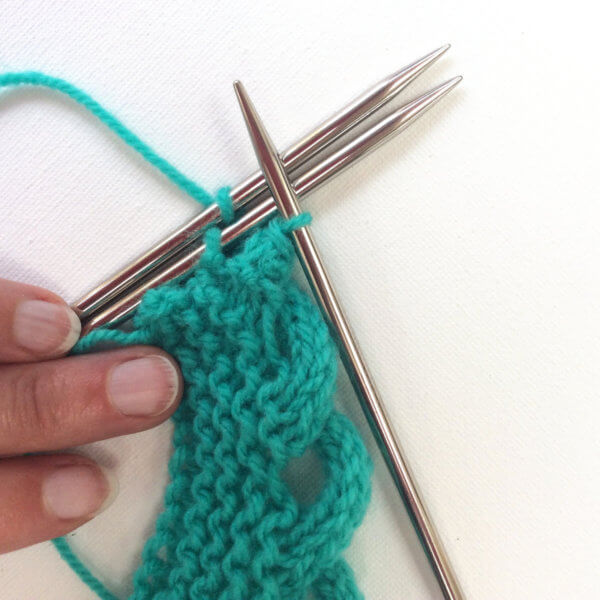
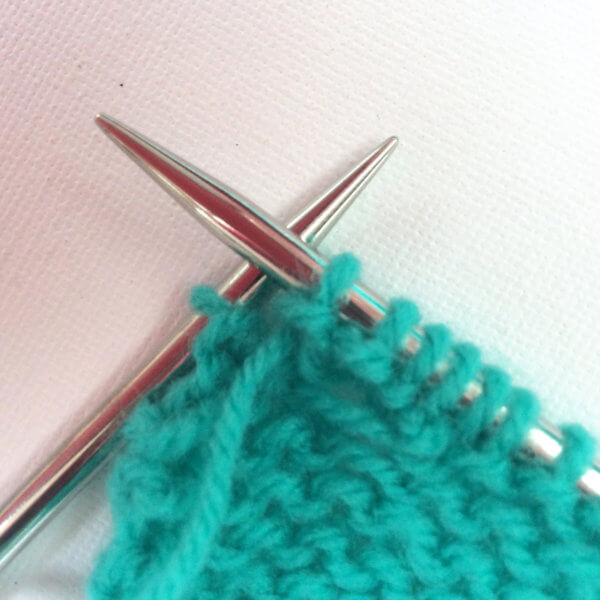
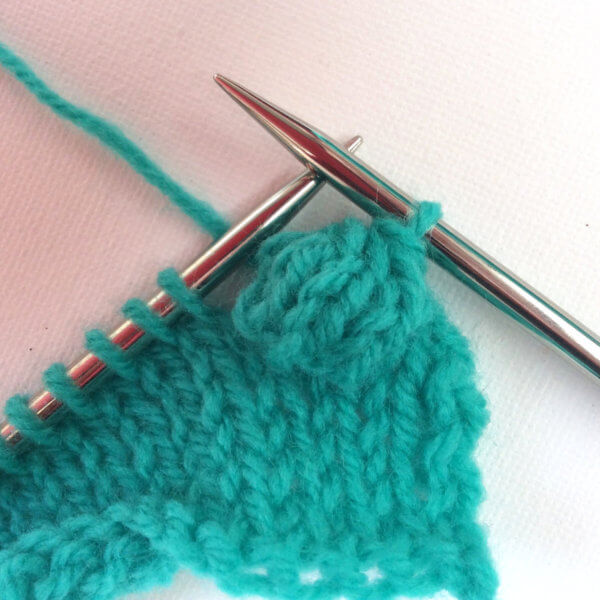
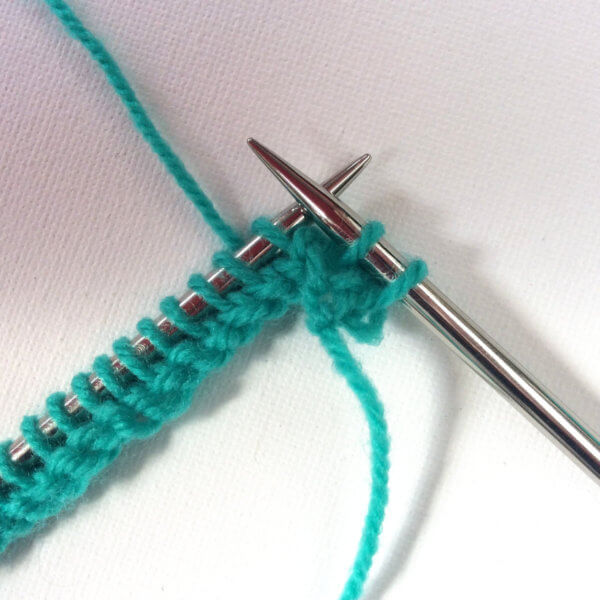
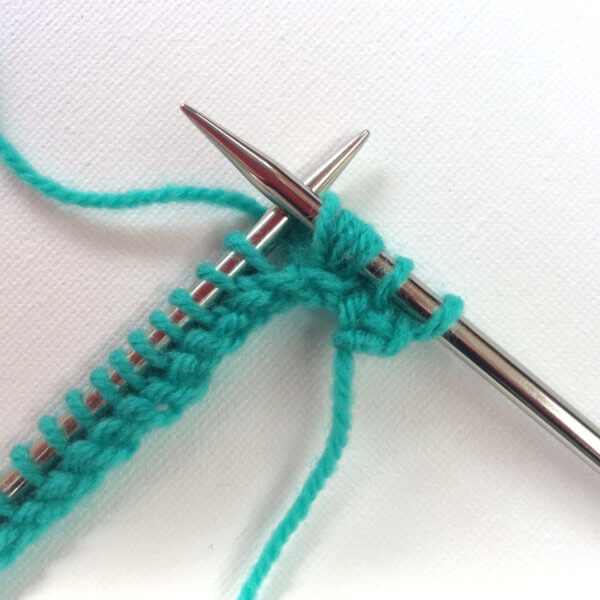
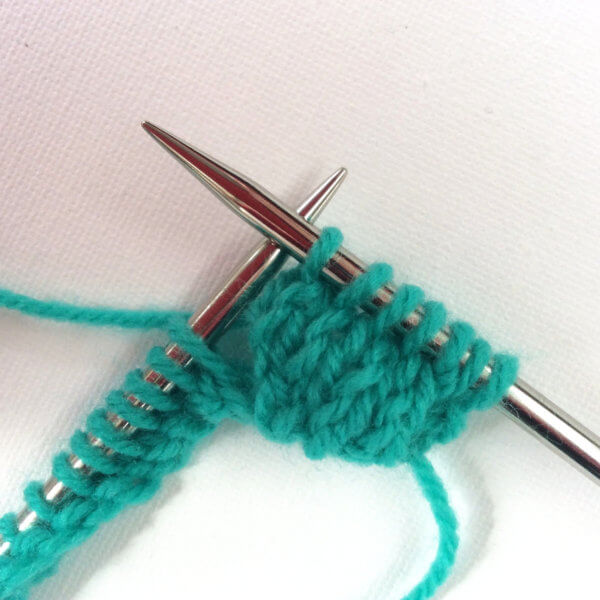
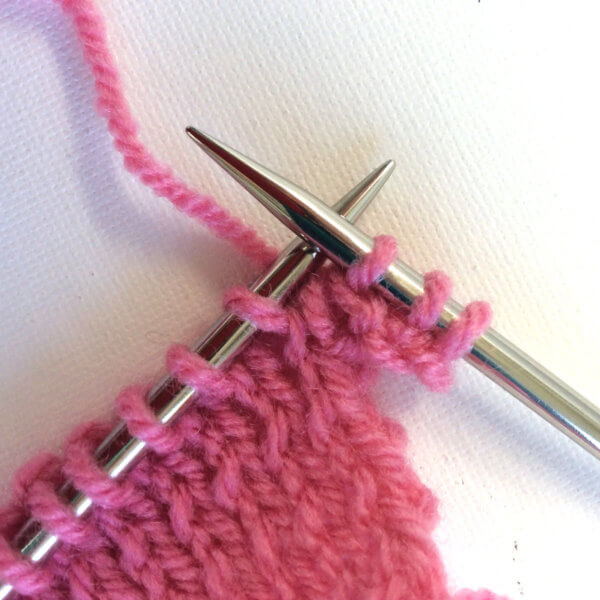
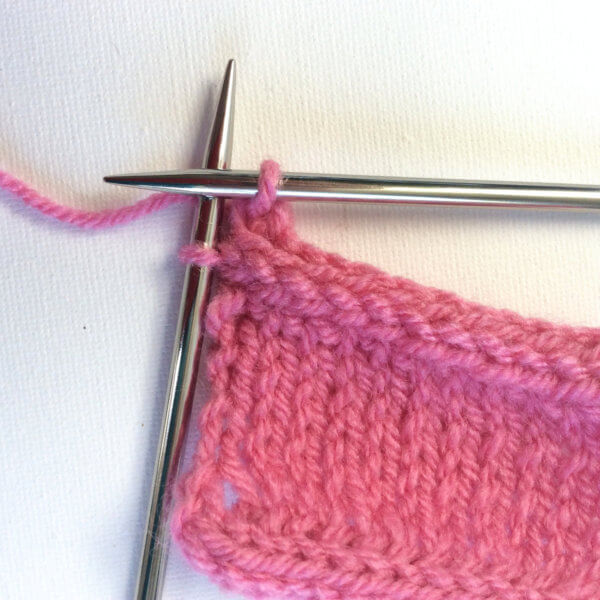
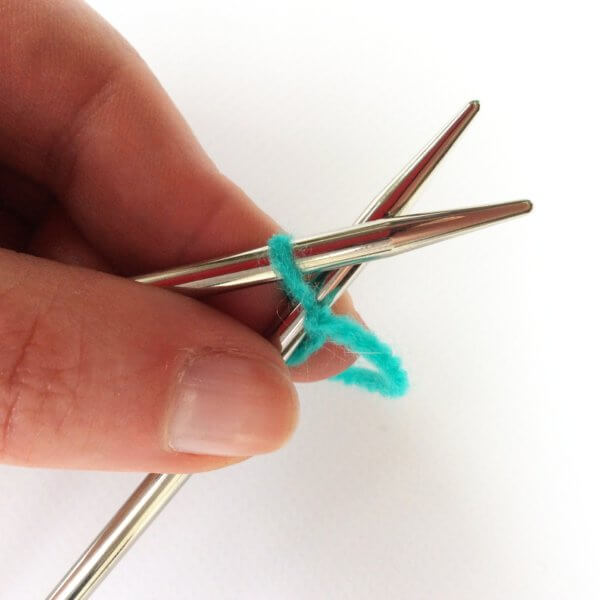
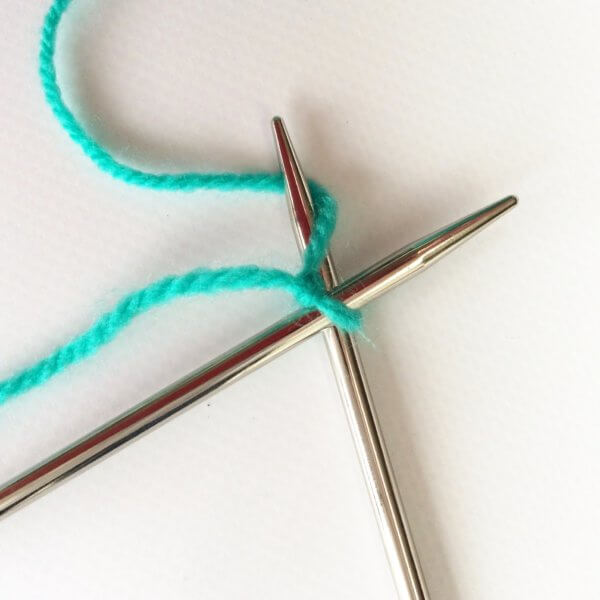
2. To start, take your second needle and insert the tip into the stitch with the needle under your main needle. Insert at an angle so your needles cross as pictured.
3. Hold the crossed needles together, take the yarn connected to your ball and wrap it around the bottom needle. Begin by going around, and then over. Depending on your knitting style this can be done with either your left or your right hand. The end result is however always the yarn wrapped around the needle as pictured.
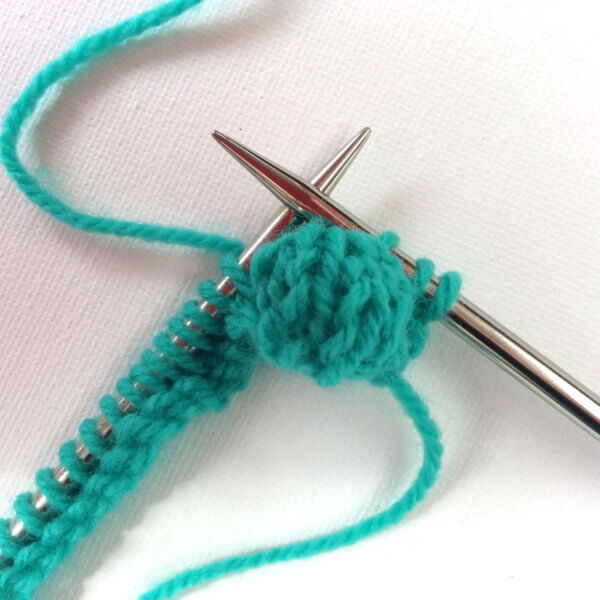
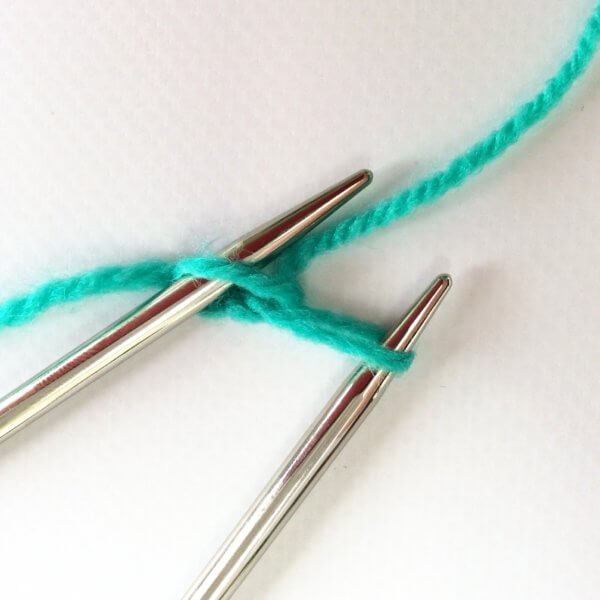
4. Take the bottom needle and bring it back through the stitch pulling the yarn with it.
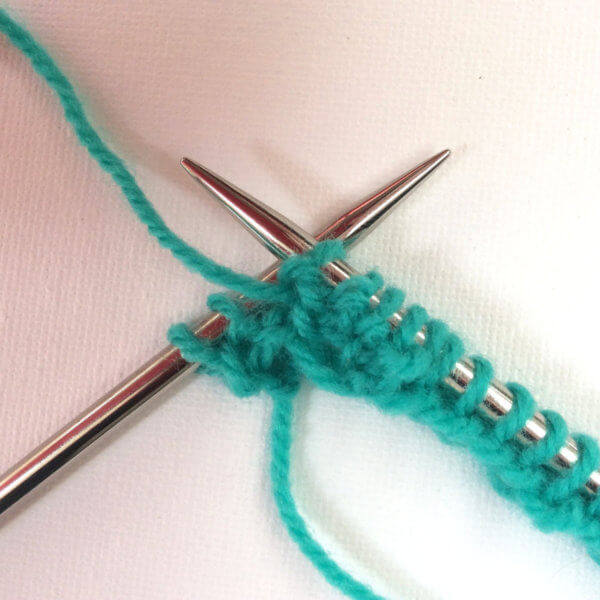
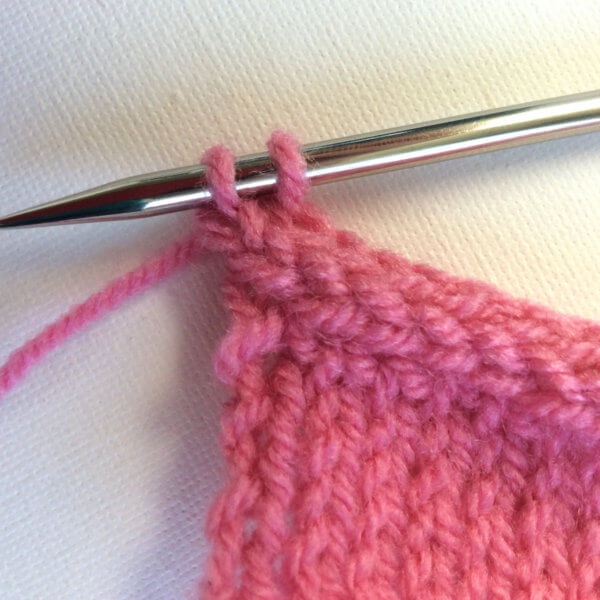
5. Now slide of the original stitch you inserted your needle in (step 2) and tighten the yarn a bit. In the above picture, you see the original stitch on the right of the second needle. You have now knit a knit a stitch!
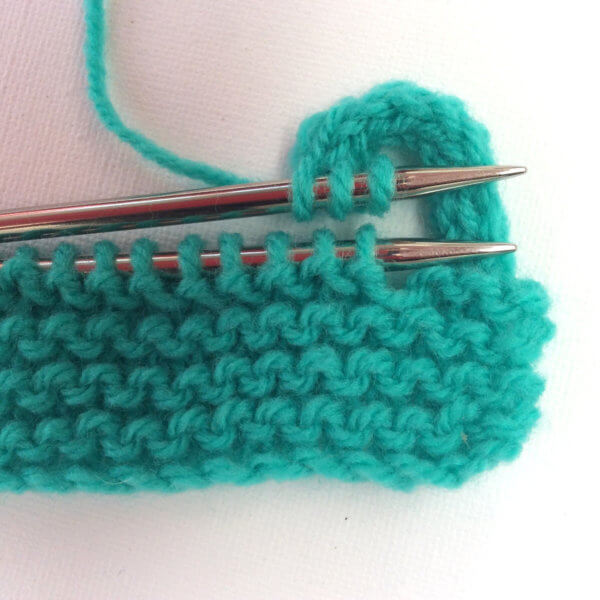
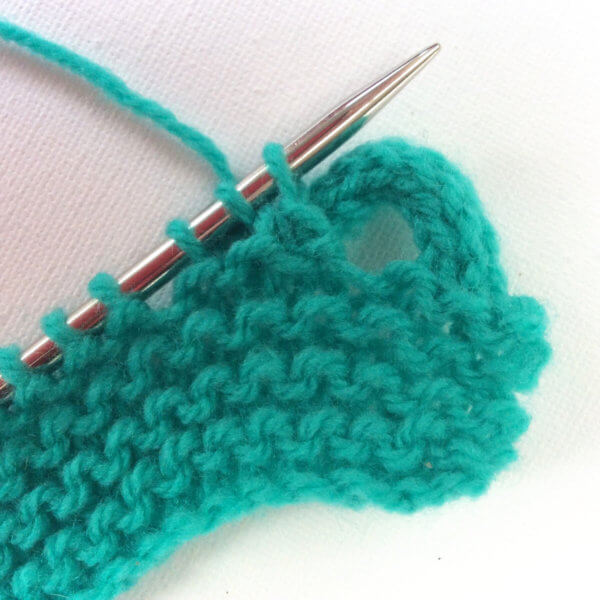
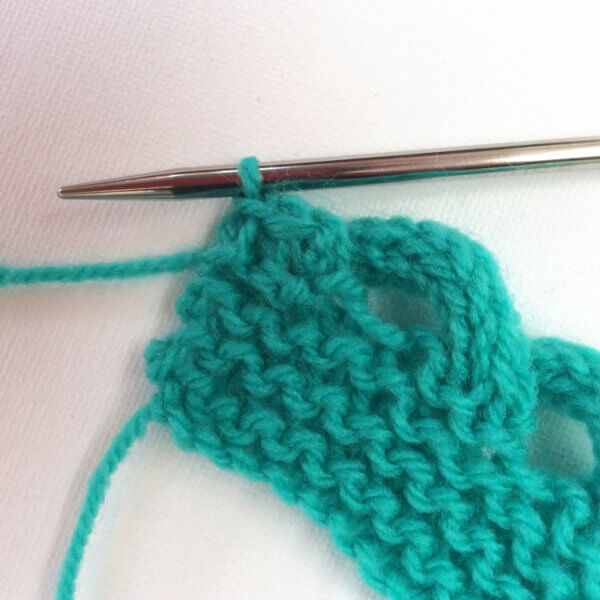
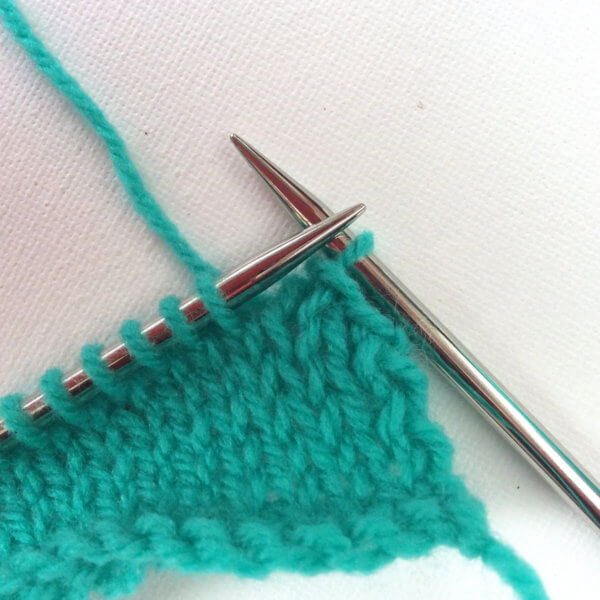
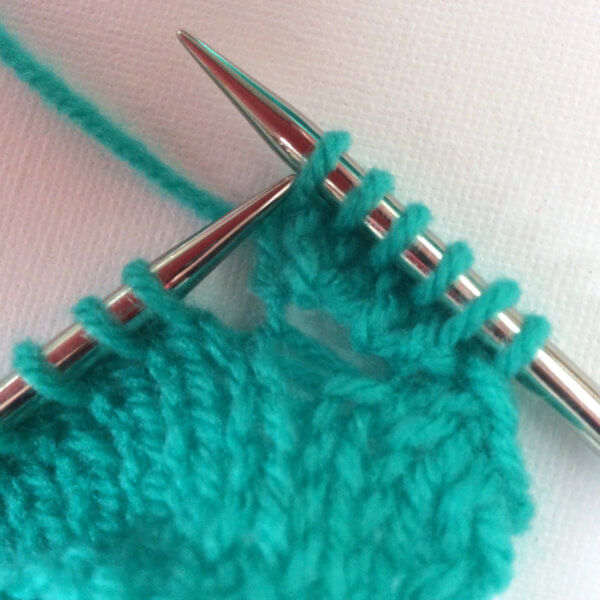
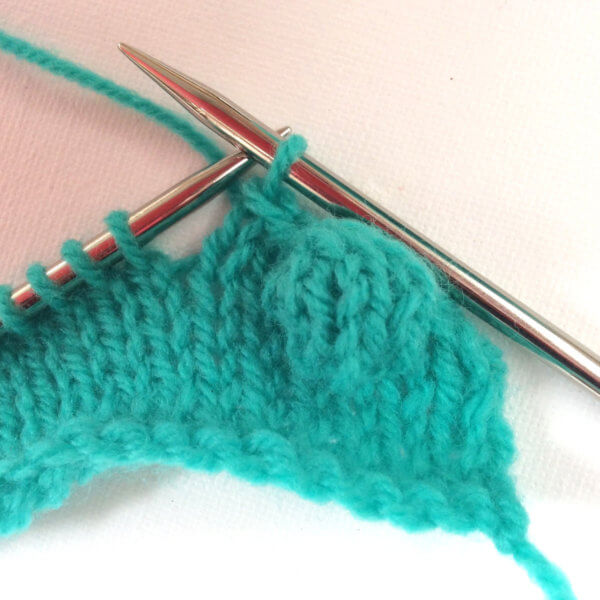
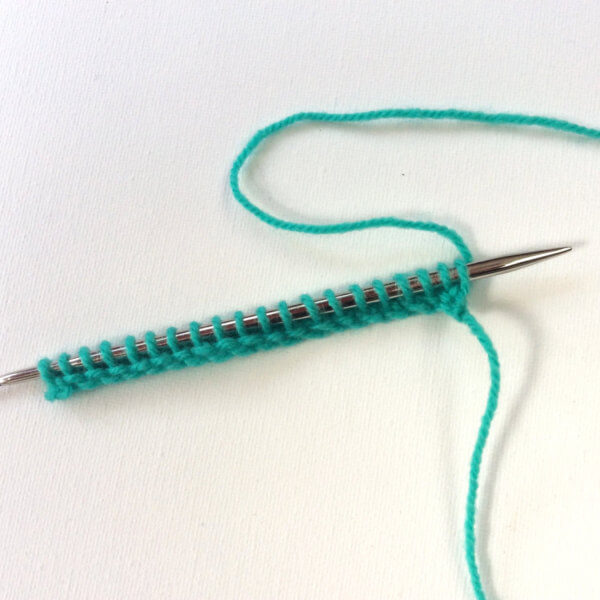
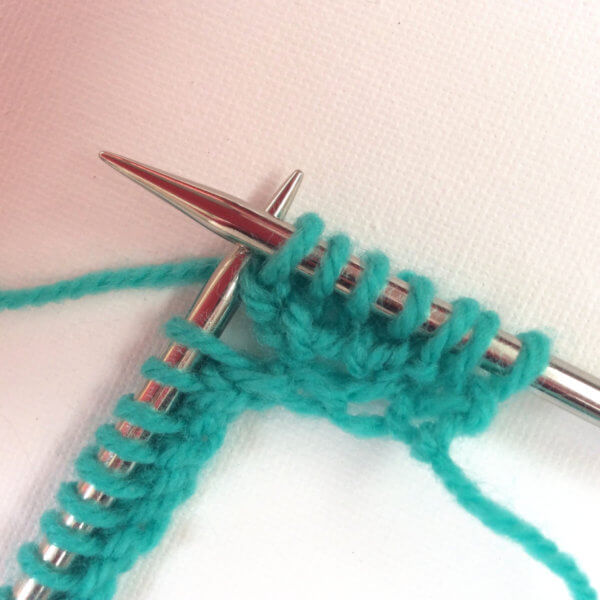
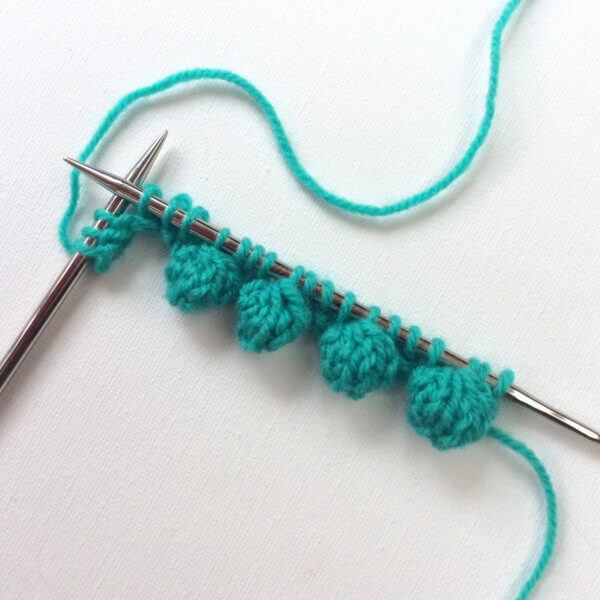
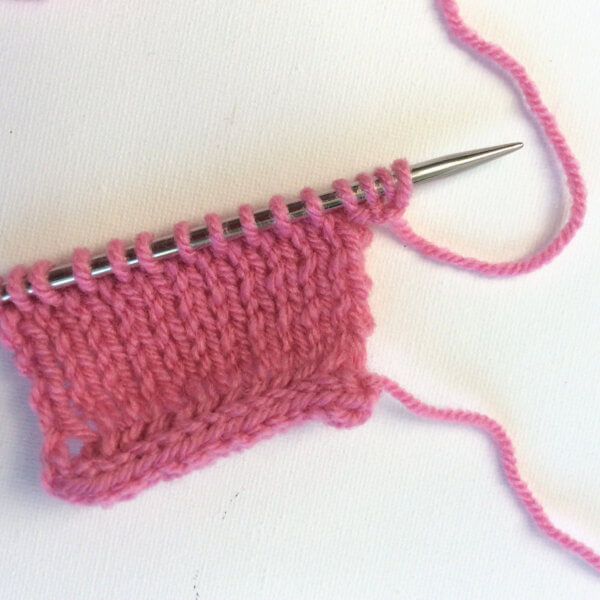
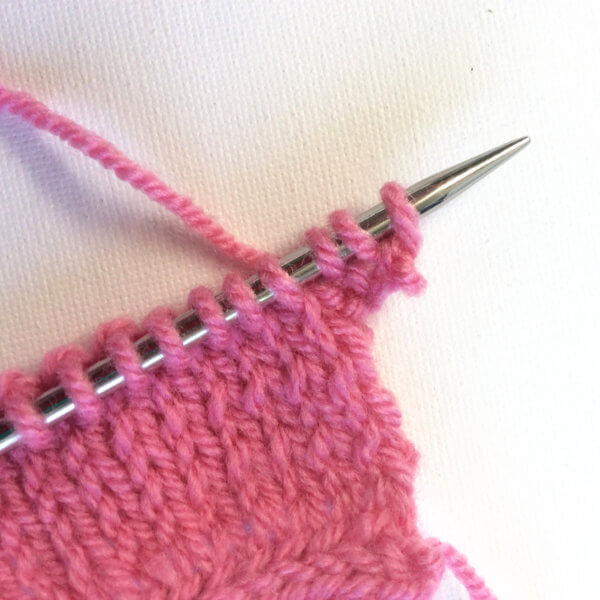
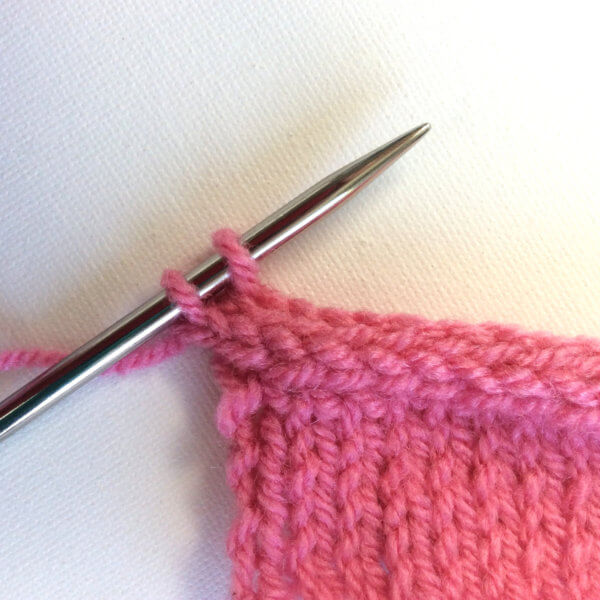
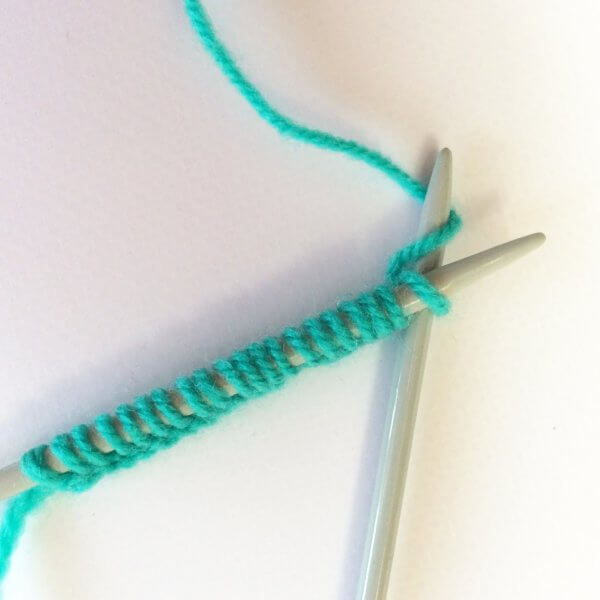
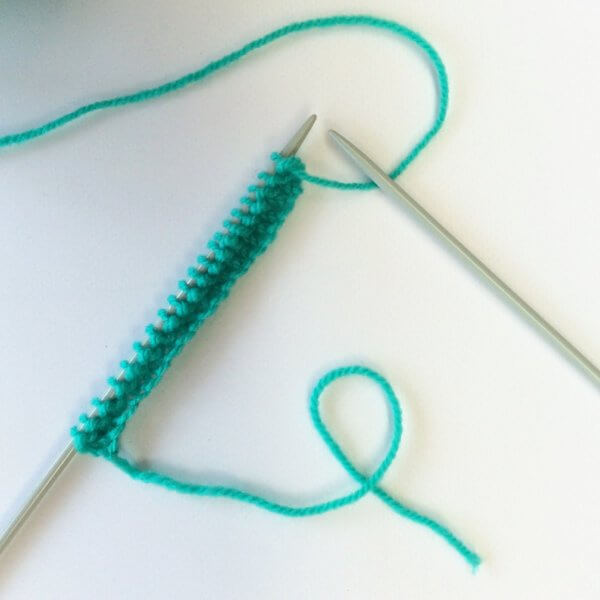
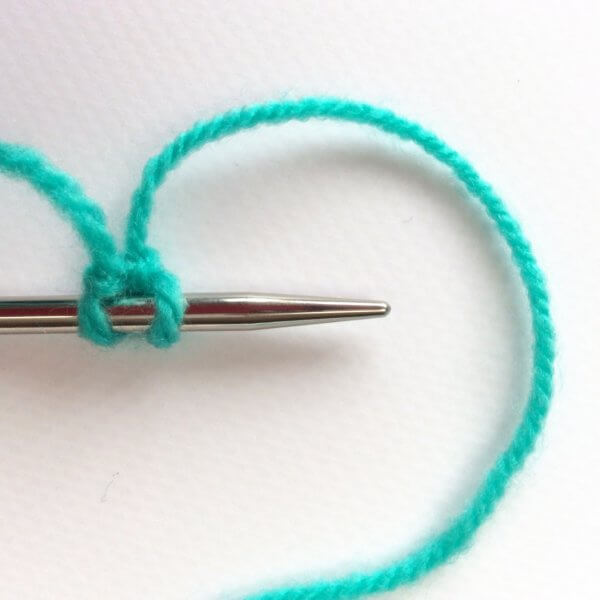
6. Repeat steps 2-5 until you’ve worked all stitches on your main needle. The second needle which now has all the stitches on it looks something like this:

7. Now switch the knitting needles around: the needle containing all the stitches becomes the main needle and the empty one becomes the second needle. I know I could also call them the left-hand and right-hand needles, but this could become confusing for those holding their needles differently.
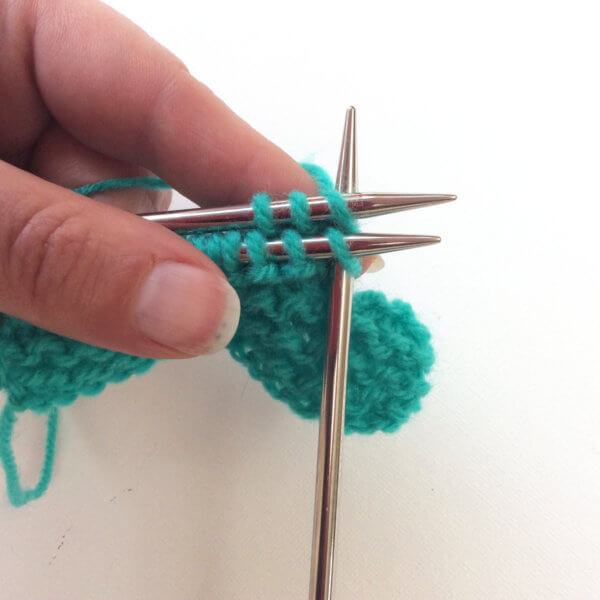
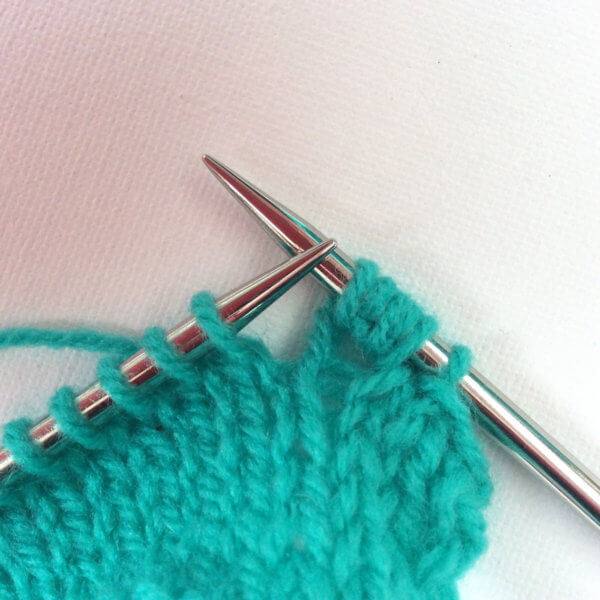
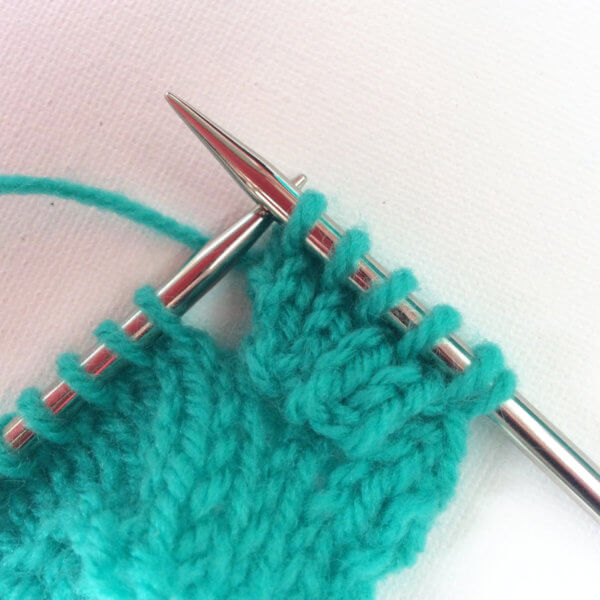
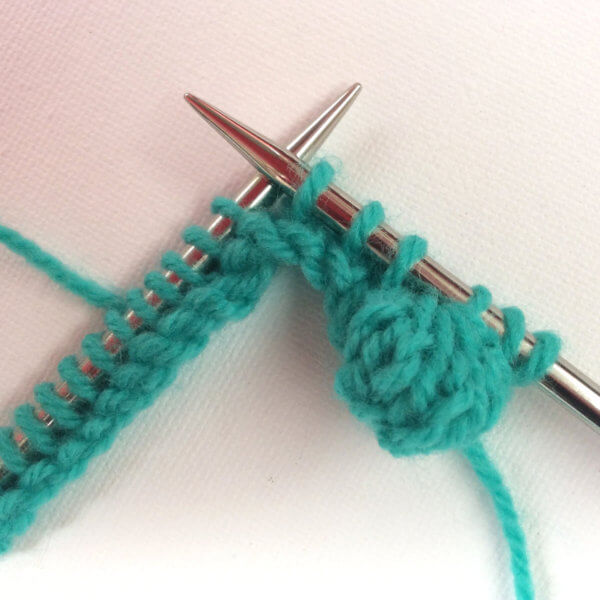
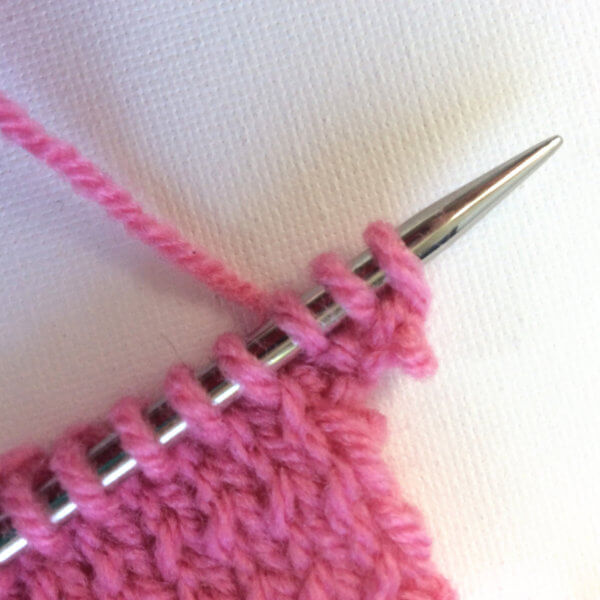
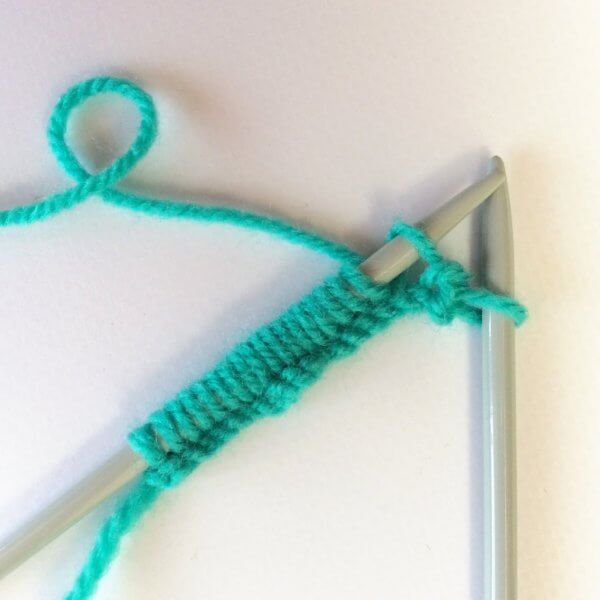
8. Make sure your yarn is behind the needle and again follow steps 2-5 until you’ve worked all stitches on your main needle. The second needle now again has all the stitches on it:

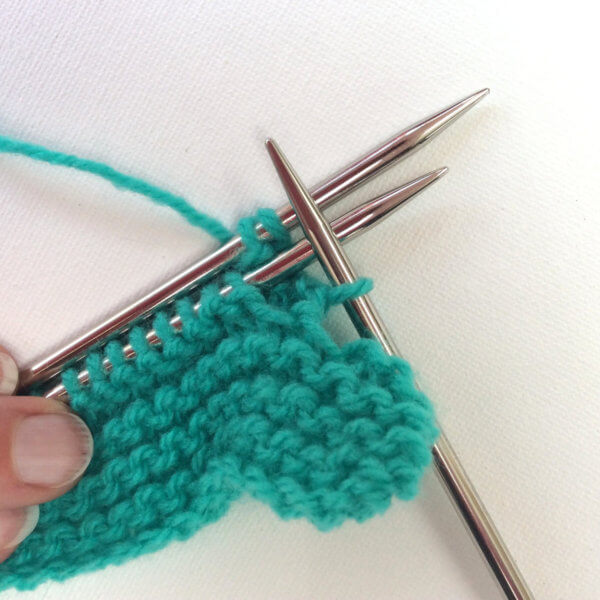
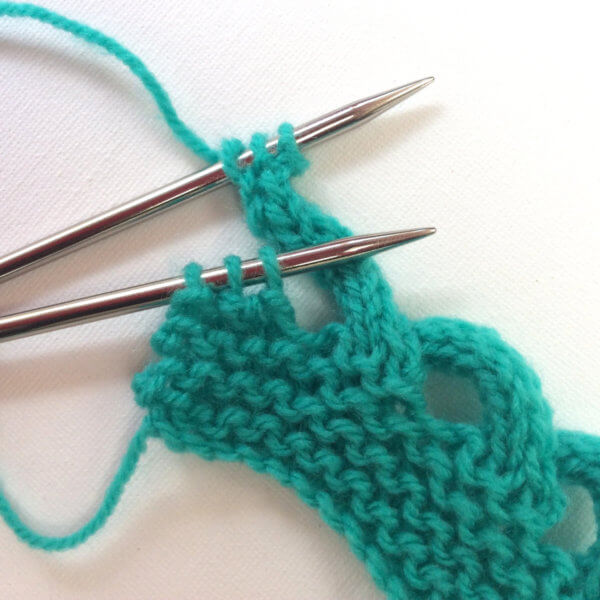
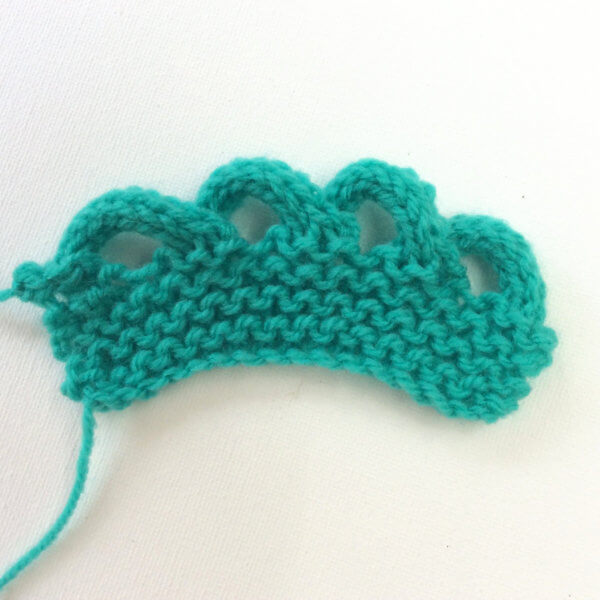
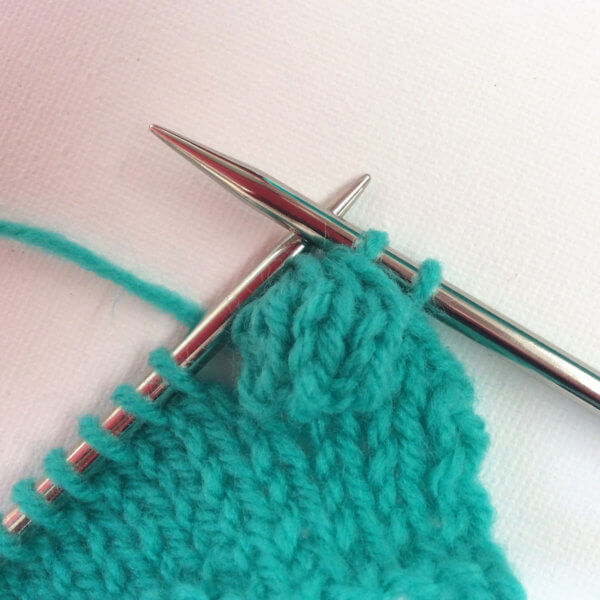
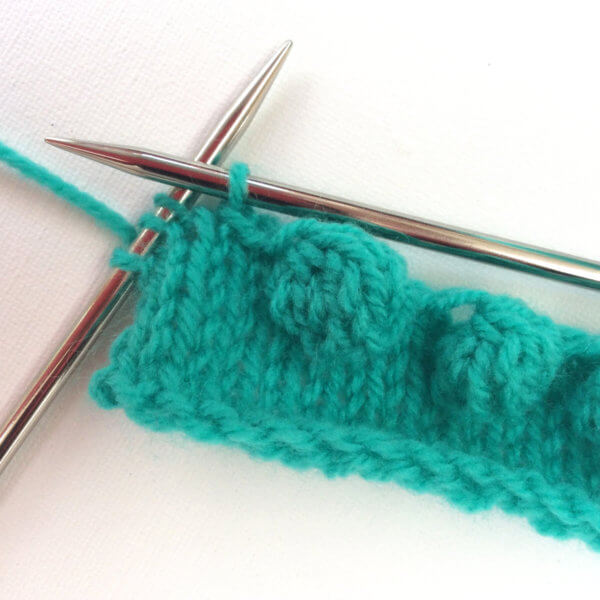
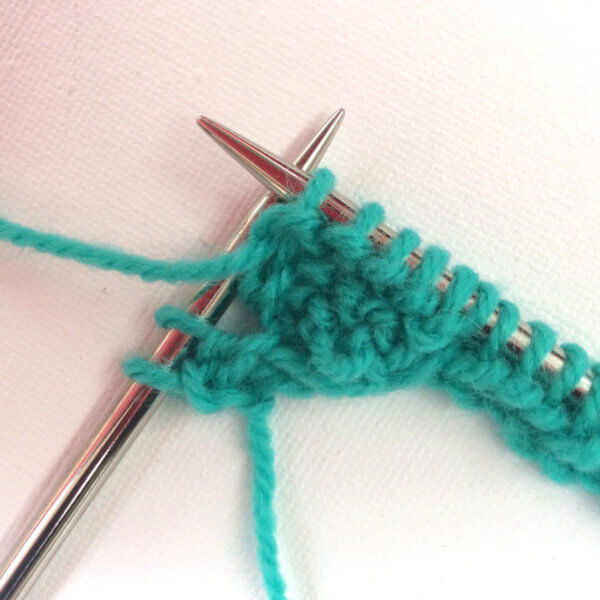
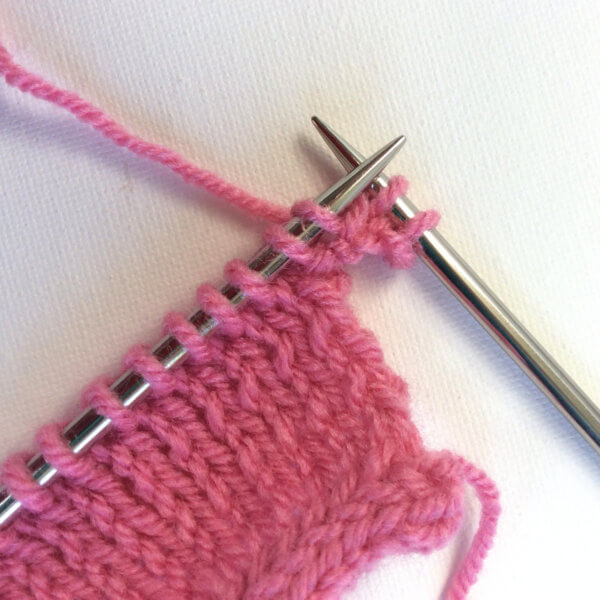
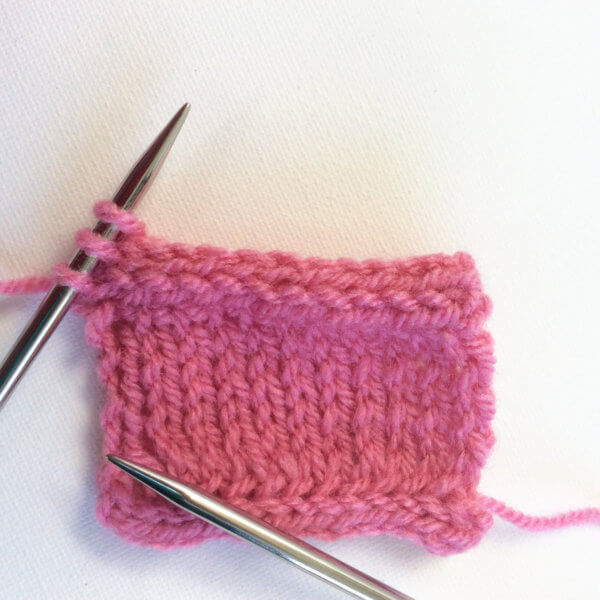
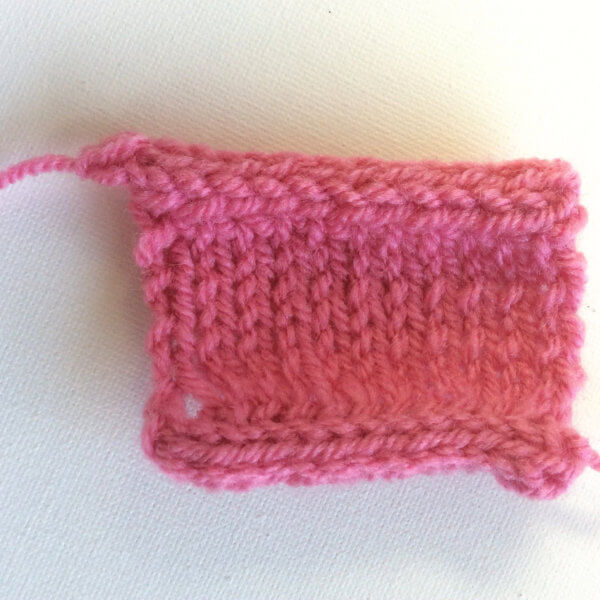
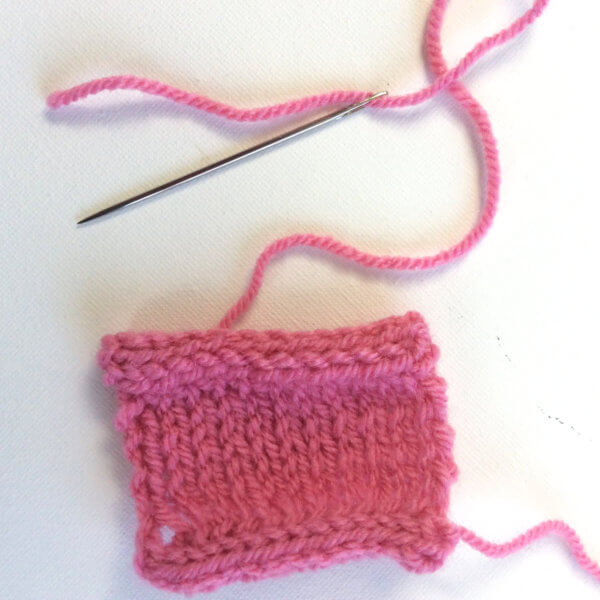
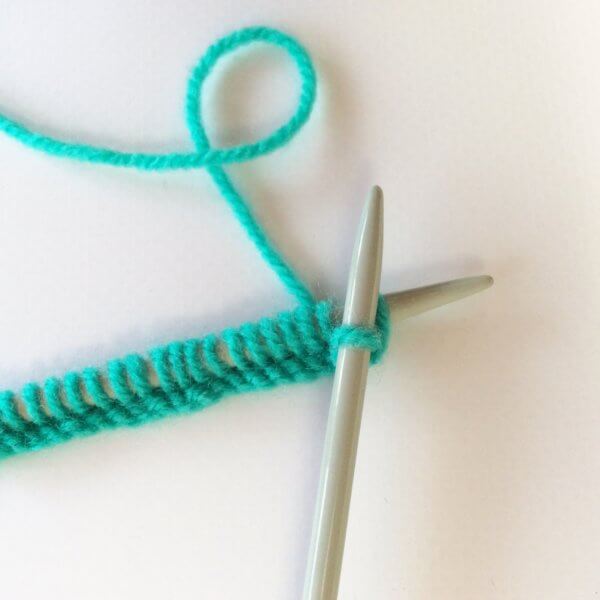
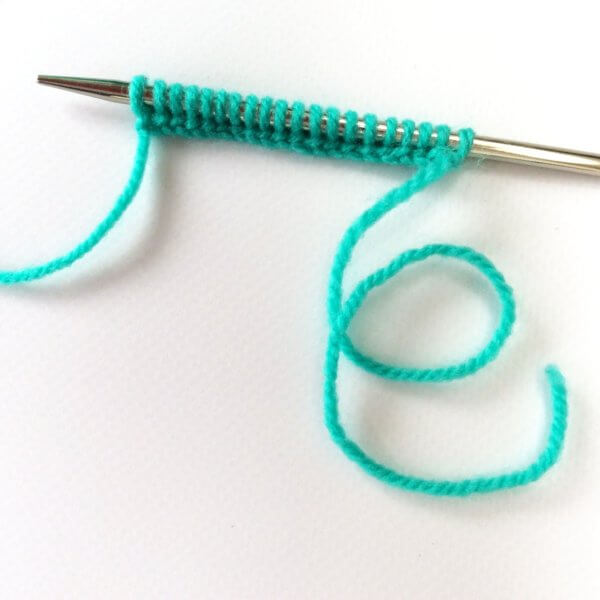
9. When switching needles again, you can now see the characteristic ridges of garter stitch starting to emerge:
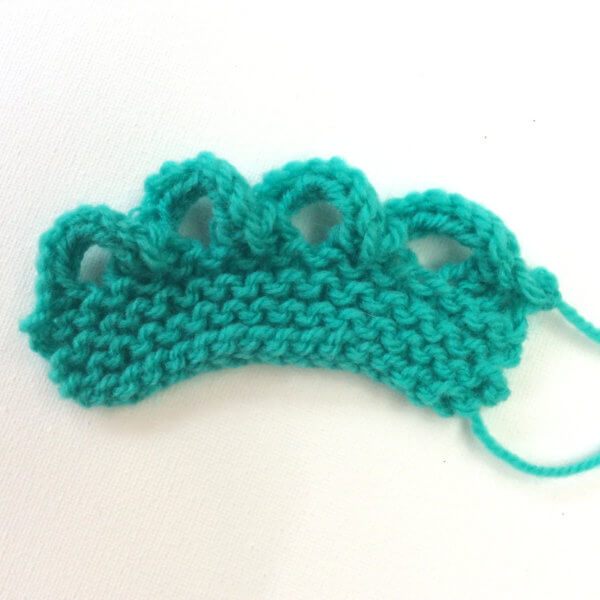
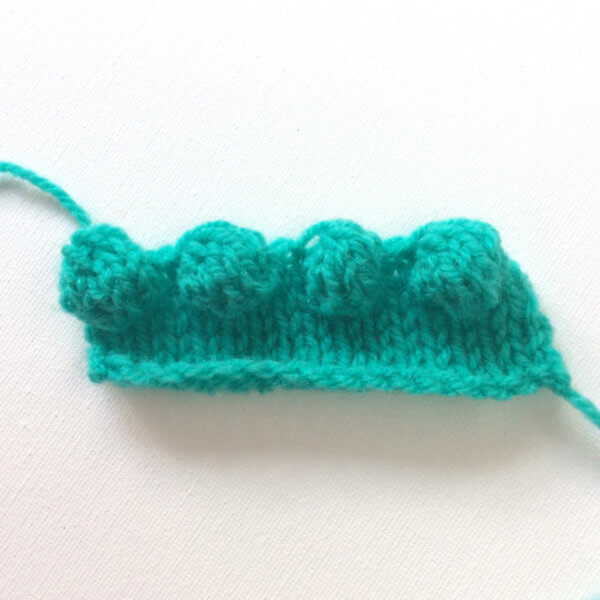
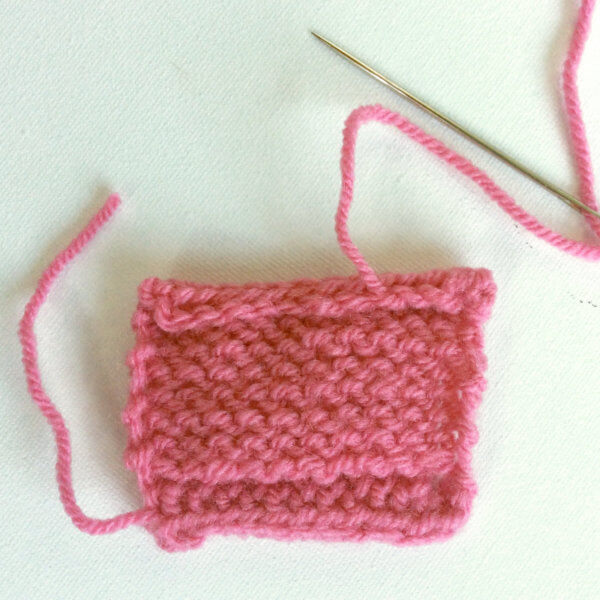
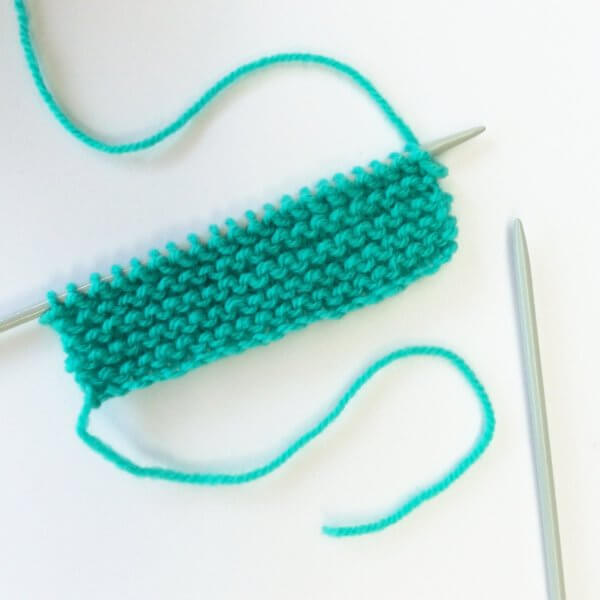
10. When I’ve knitted a couple of more rows we have a small swatch of garter stitch fabric! And this is how to work the knit and garter stitch.
Tips & tricks
- Garter stitch comes out in ridges and each ridge is 2 rows. To know how many rows you’ve knit you can just count the ridges and then double the number.
- Garter stitch looks the same on both right side (RS) and wrong side (WS) rows. There is, however, a trick to determine what side you are: Did you see in the picture with step 1 above where the yarn tail from casting on was? With the first row, I knit (which is usually called the RS) the yarn tail was on the bottom left. This means that every time I have my knitting on the main needle and the yarn tail is on the bottom left, I’m about to knit a RS row. You can of course also use a stitch marker or safety pin to see easily which side is what.
- In this tutorial, I showed you how to work garter stitch by working knit stitches on every row. By purling every row, however, you also get garter stitch!
- If you want to work in multiple colors, you should know that in garter stitch, if you switch colors on a right side row, there will be a line across the wrong side where you can see the loops of stitches connecting. This can, of course, be a design feature. If you don’t want this line visible, make sure to start the new color with the RS facing.
how to work the knit and garter stitch Read More »
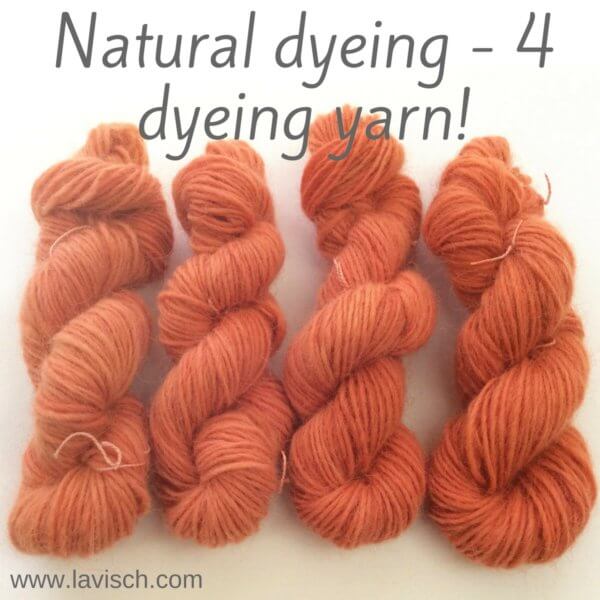

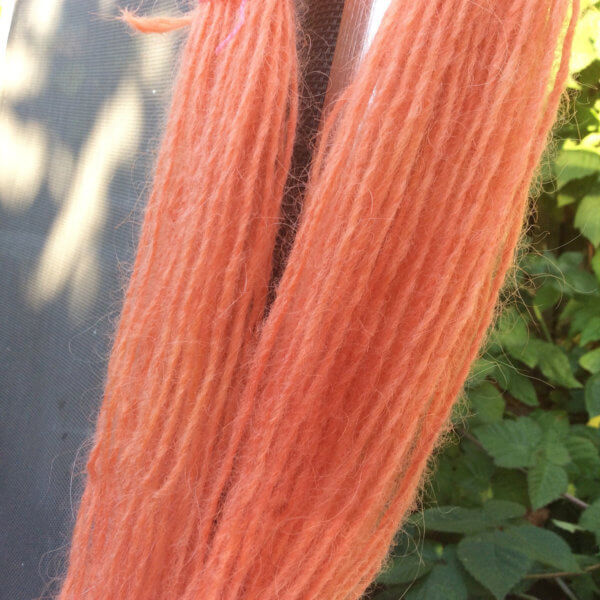
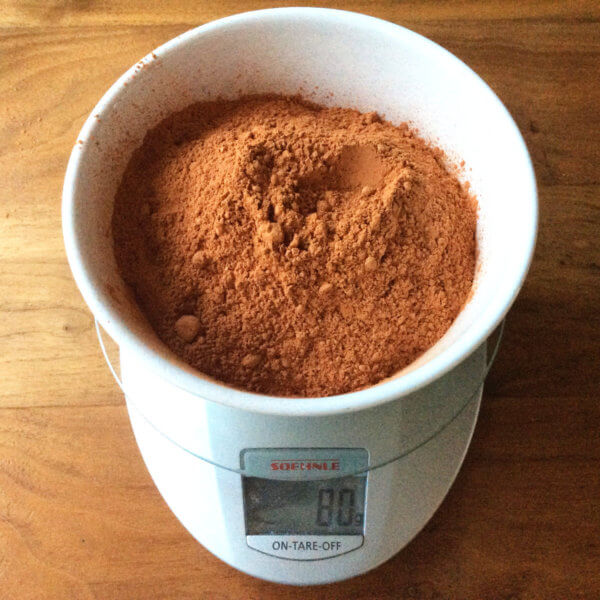
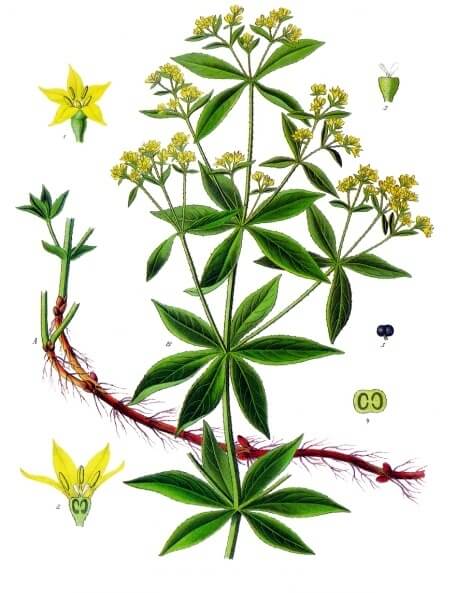 Madder (Rubia tinctorum) has been used as a dye for many thousands of years. The reason? It is one of the most light-resistant red dyes of natural origin. It was and is used for the coloring of textiles and leather. In the fifteenth century, the Netherlands was the main producer of the madder. Particularly in Zeeland there were many fields of madder plants in the 19th century. At least until synthetic dyes became available.