tutorial: crochet fringe
It can be fun to decorate the edges of a scarf or shawl with fringe. The traditional way to make fringe consists of cutting yarn into equal lengths, bundle these and tie them to the edge of your work. I personally think the result can be very pretty, but rather a hassle to get it that way.
The fact is that I always have trouble to get all the pieces of wool to the same length. And when tying the yarn bundles together, everything shifts, making it very difficult to get an even result. In this post, I will show you an alternative way to attach lovely crochet fringe to a project.
You can directly crochet this fringe onto a scarf or shawl. This can of course also be a store-bought knit or crochet item. Also, you can follow this tutorial to make a fringe attached to a crocheted chain to sew on the item of choice as well. In this example, we will do the latter. These instructions are written in American English crochet terminology.
Crochet fringe step by step
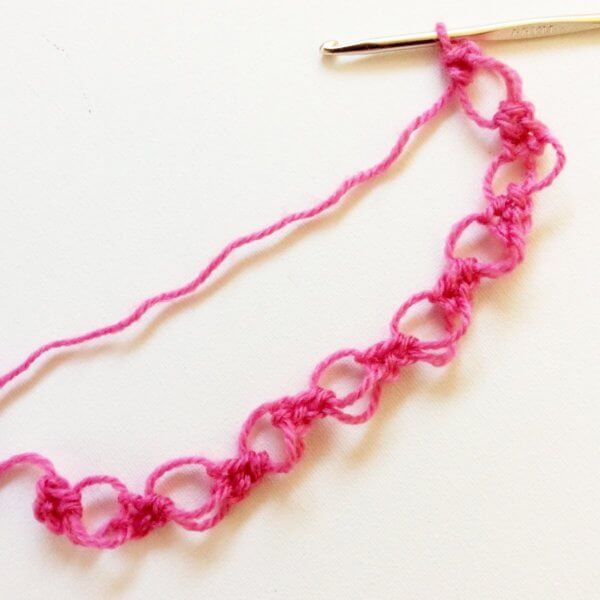
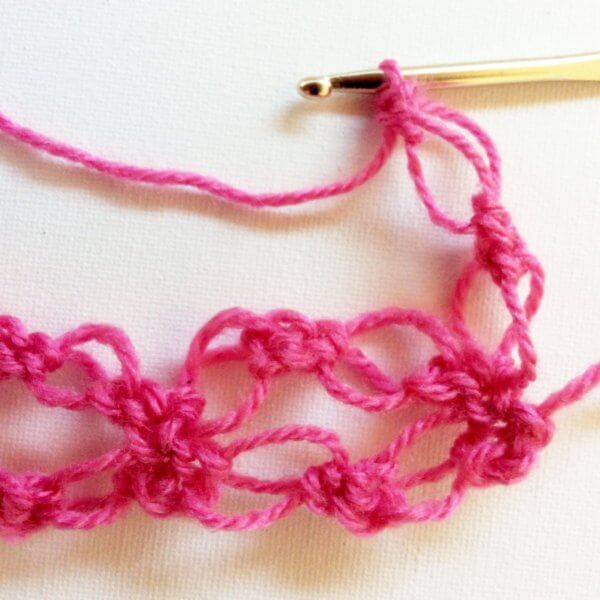
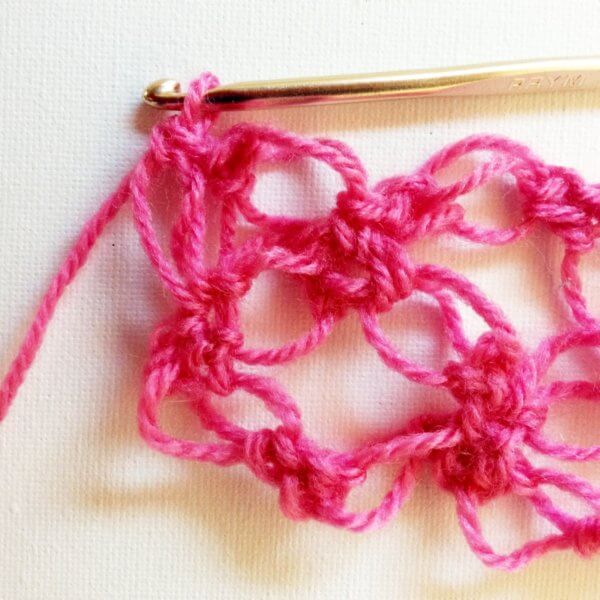
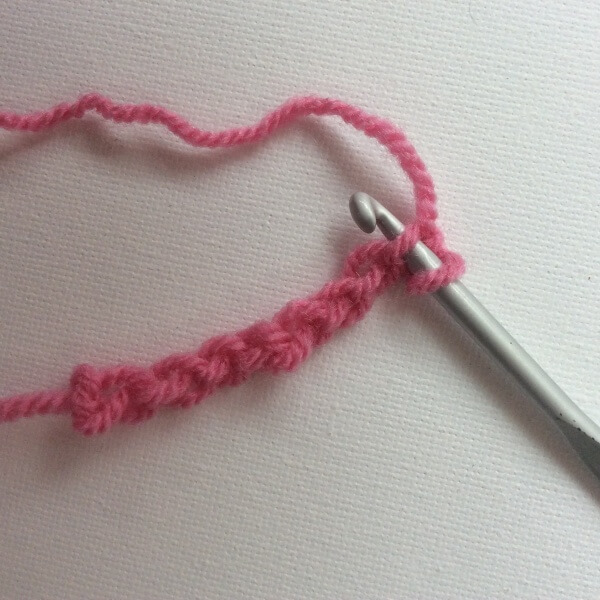
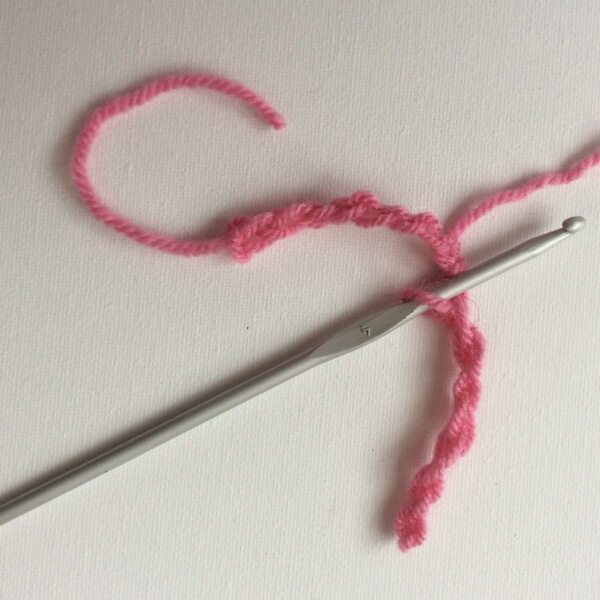
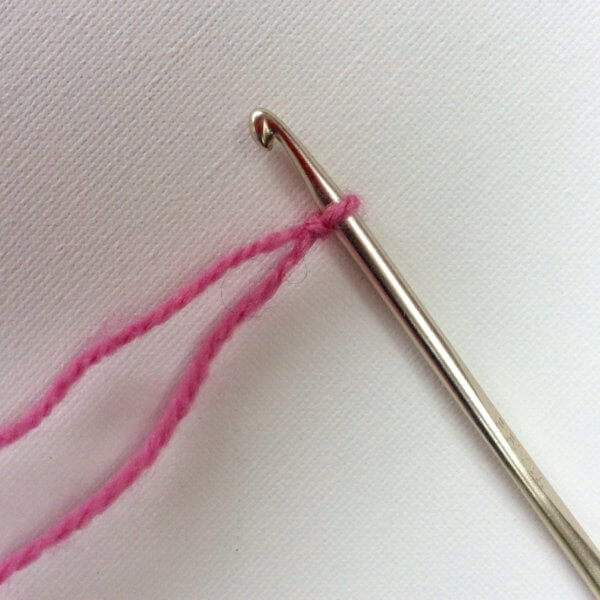
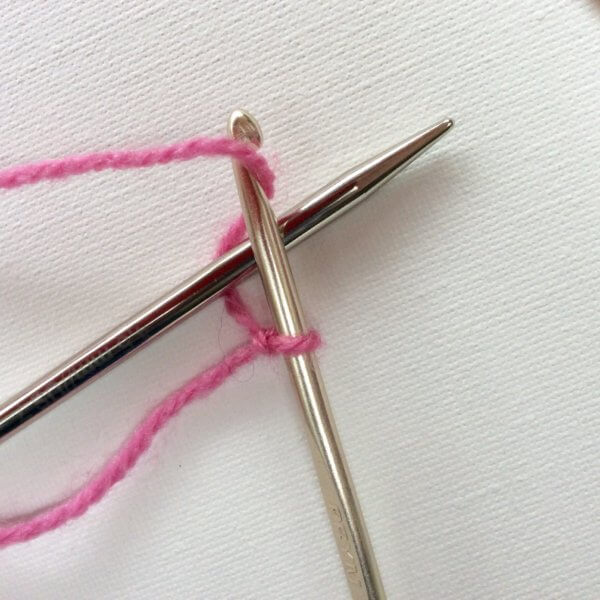
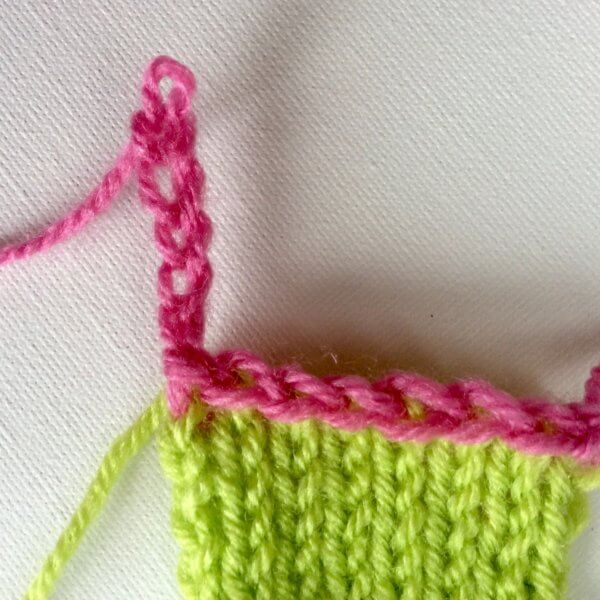
1. As indicated, in this example, I will show you how to make a “loose” fringe attached to a crochet chain. To start, make a chain of the desired length.
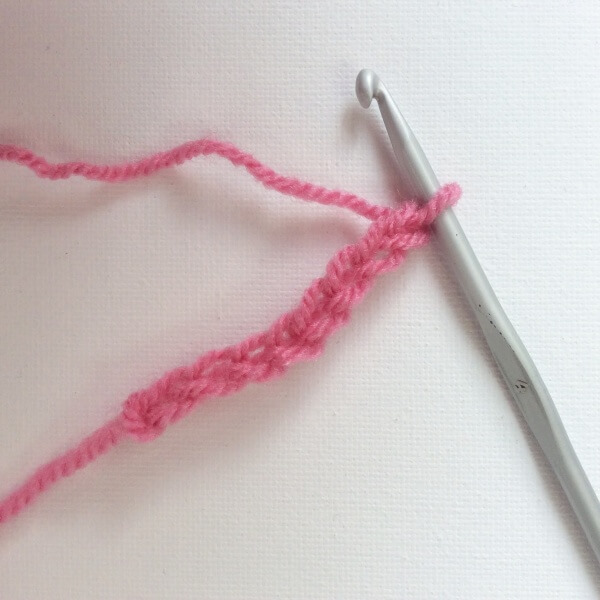
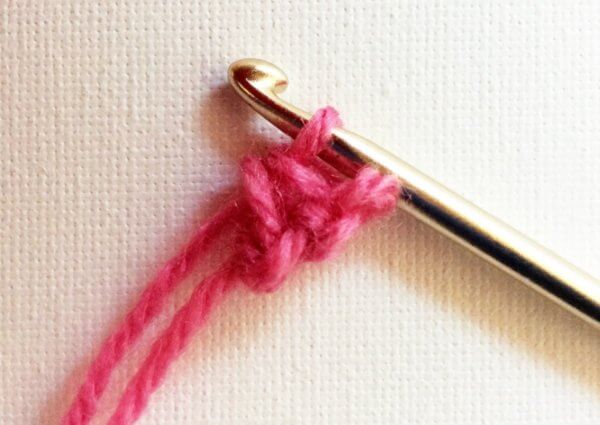
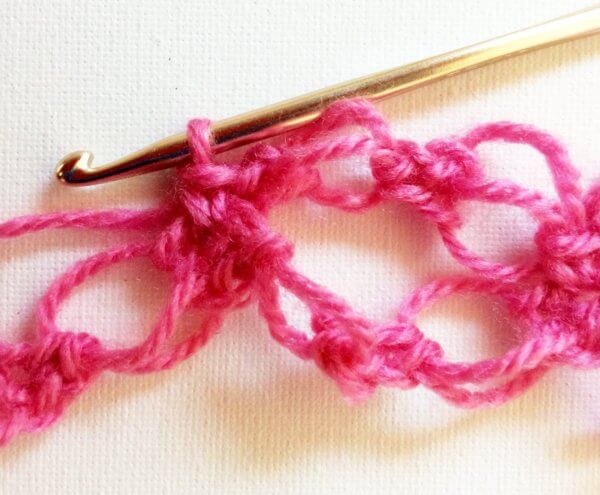
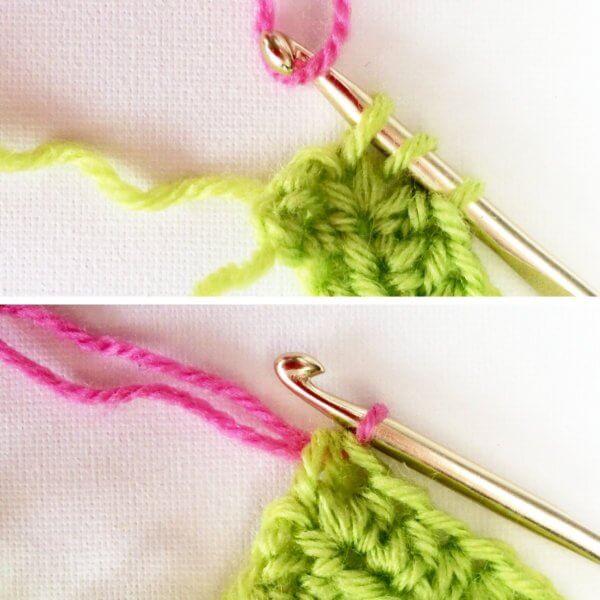
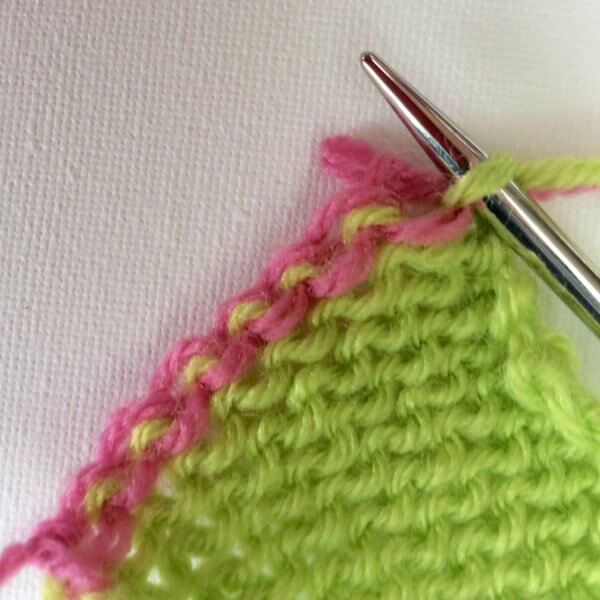
2. Insert your hook into that point of the item where you want to make the fringe. If this fringe is based on a loose chain, I think it looks best to insert the hook in the “bump” at the back of the chain stitch. Of course, you can insert the hook in the other parts of the stitch, but it will look slightly different.
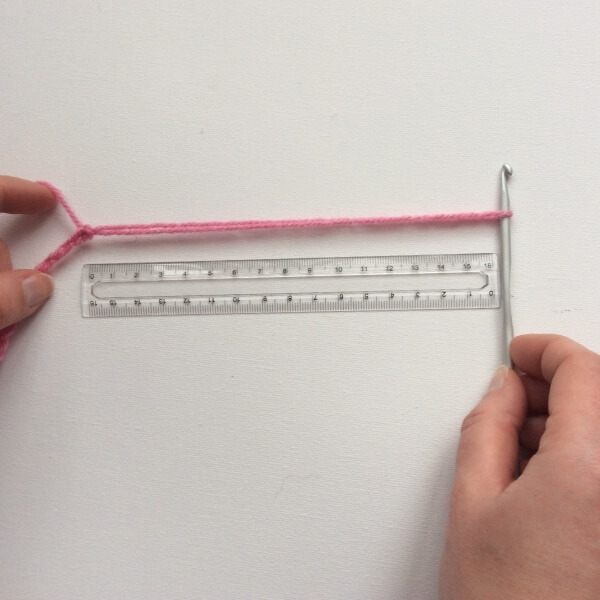
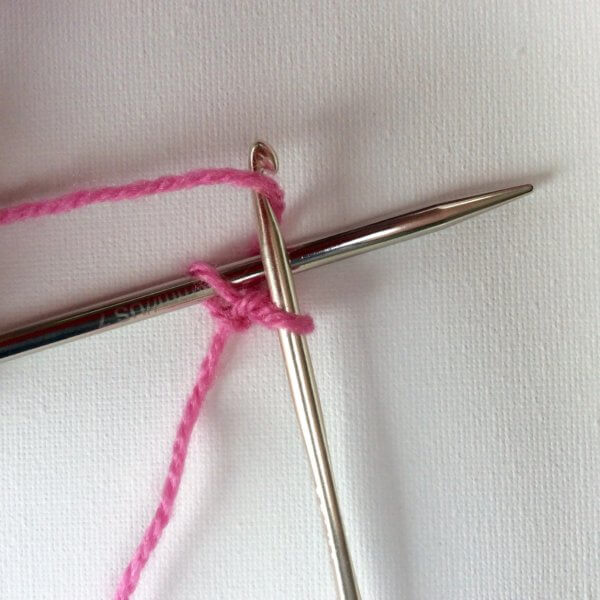
3. Next, pull up a loop and pull it through the loop already on your hook. Pull the loop out to the desired length. Here I have used a ruler, to make sure all fringes will be the same length.
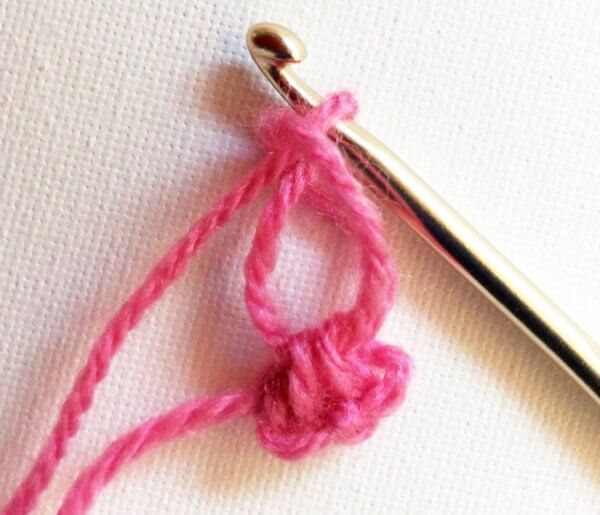
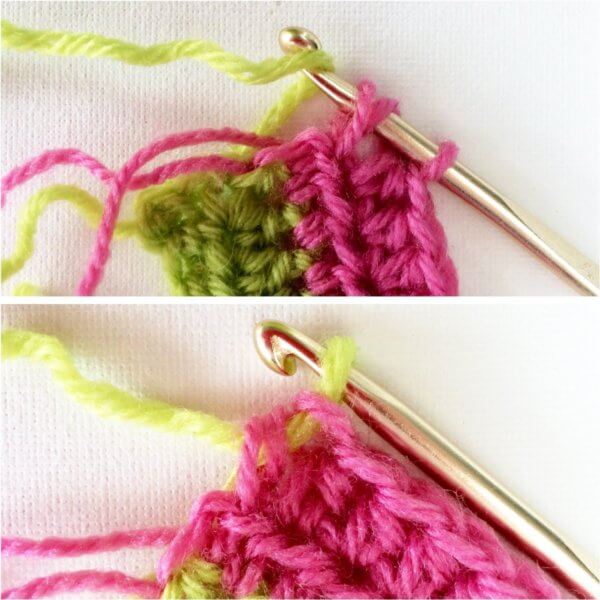
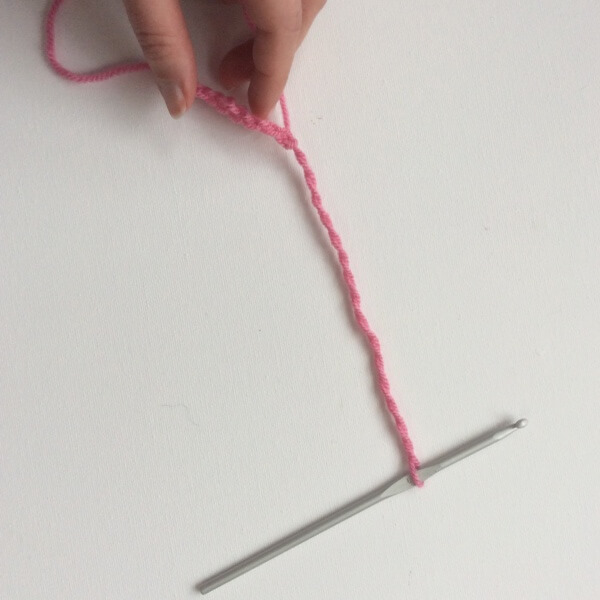
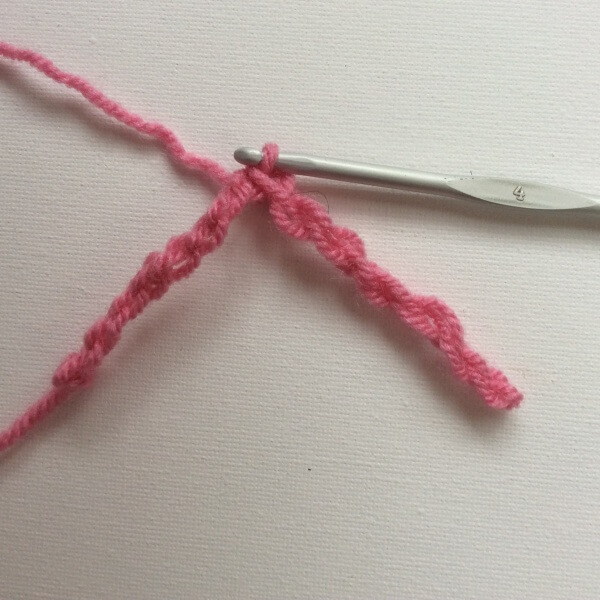
4. Then turn the hook around, it does not matter if you do this clockwise or counterclockwise. Just make sure you remain consistent with the direction of your entire project. Continue turning until the loop wants to fold back onto itself. In this example, that happened at about 25 twists. Make sure you make about the same number of twists for every fringe in your project to keep them looking alike.
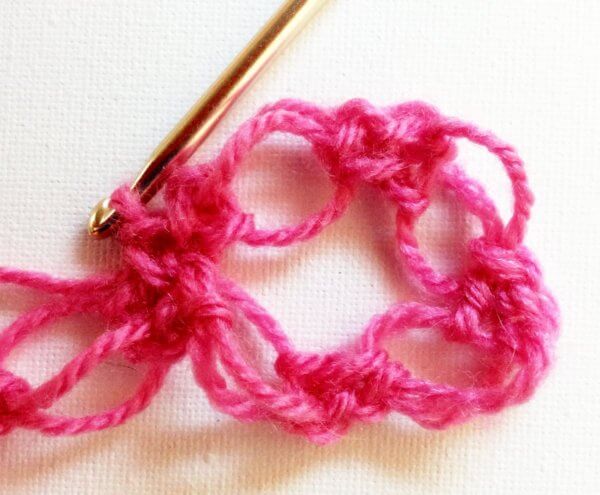
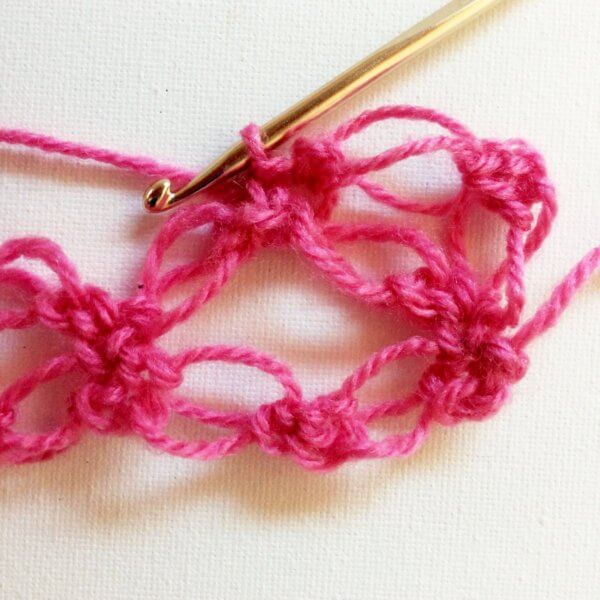
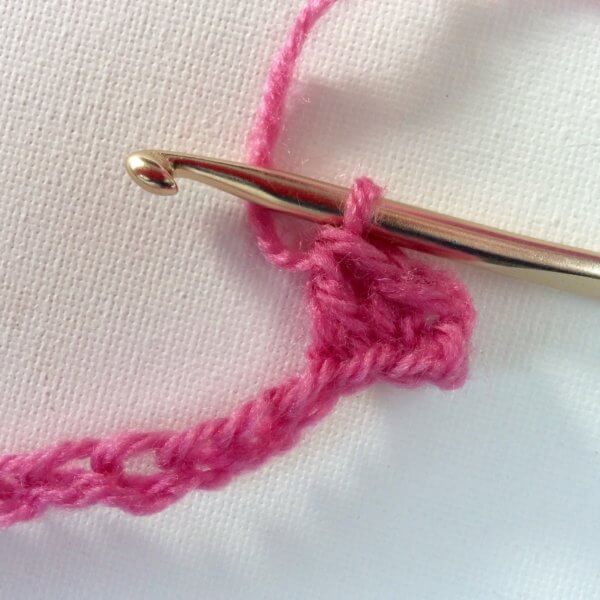
5. Next, fold back the loop onto itself. I often use my finger to ensure that the loop folds in the right spot.
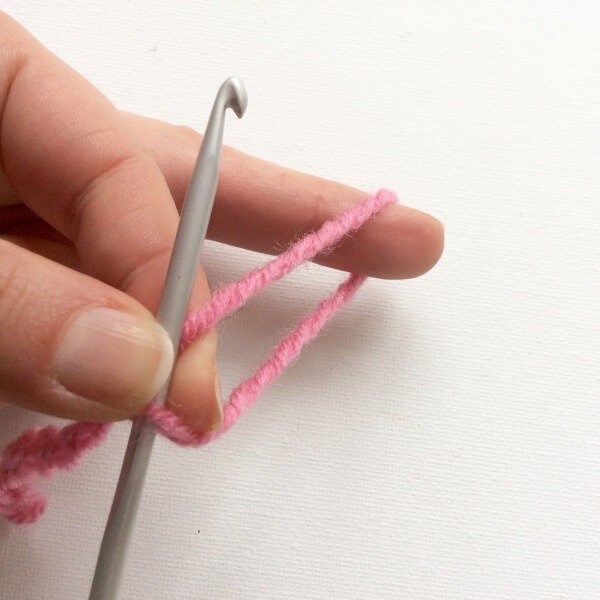
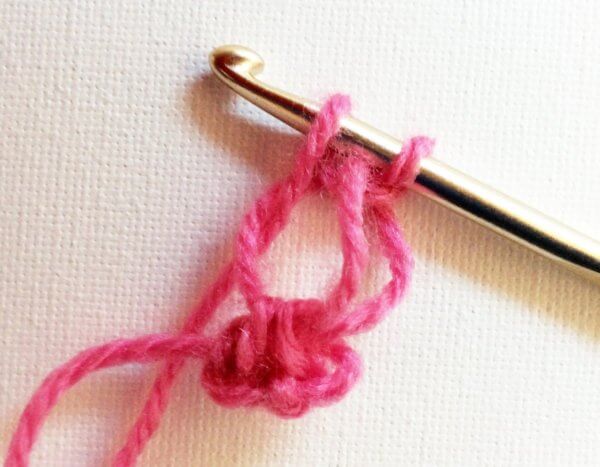
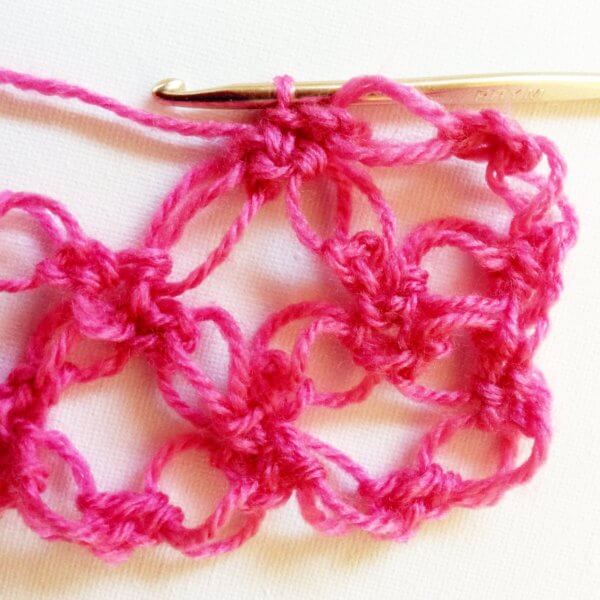
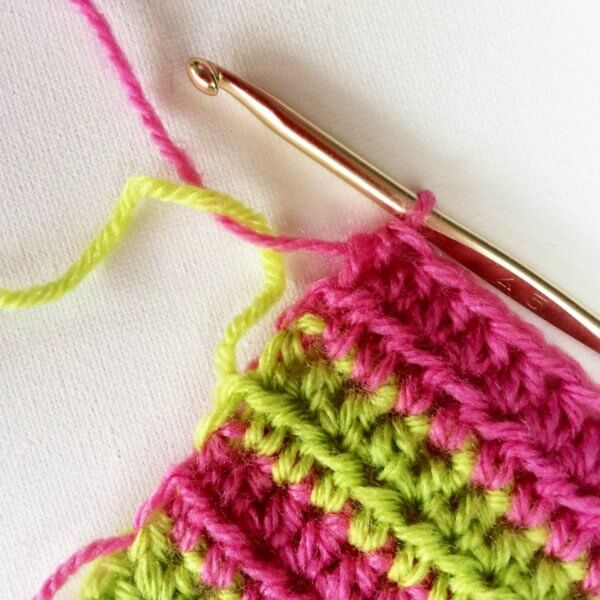
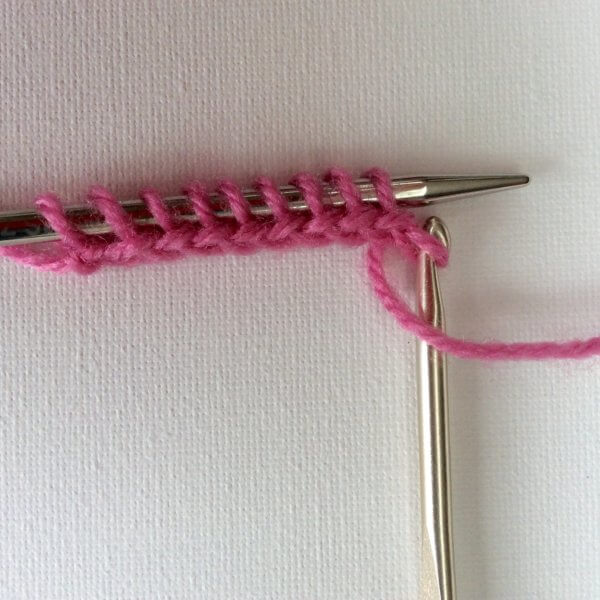
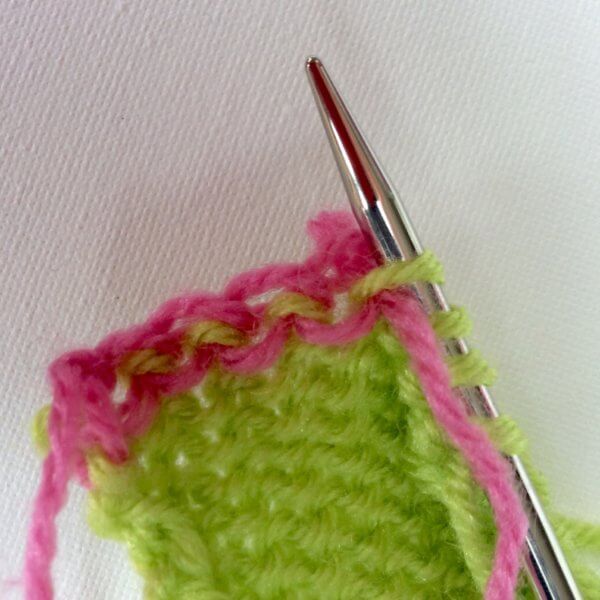
6. This will look something like this:
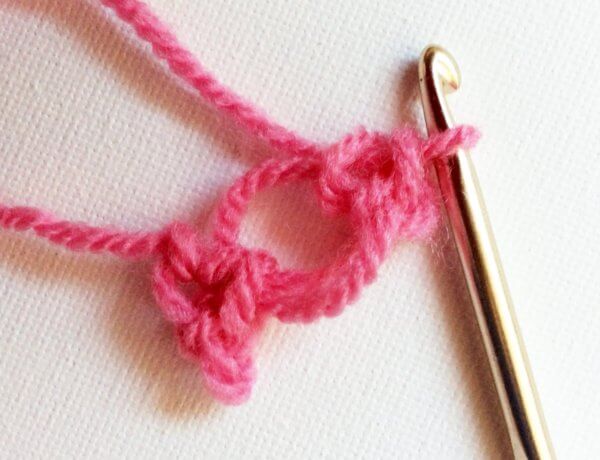
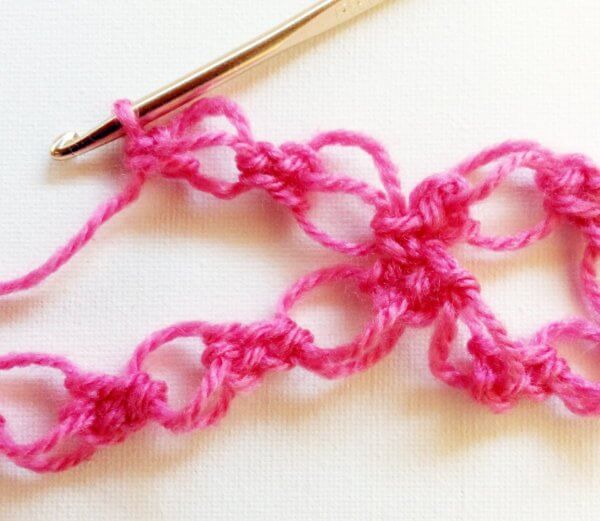
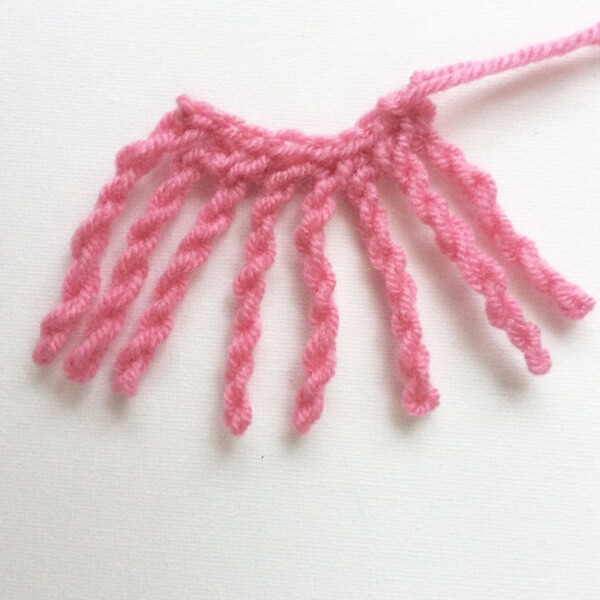
7. Finish your first fringe by securing it with a slip stitch in the same stitch you started it in.
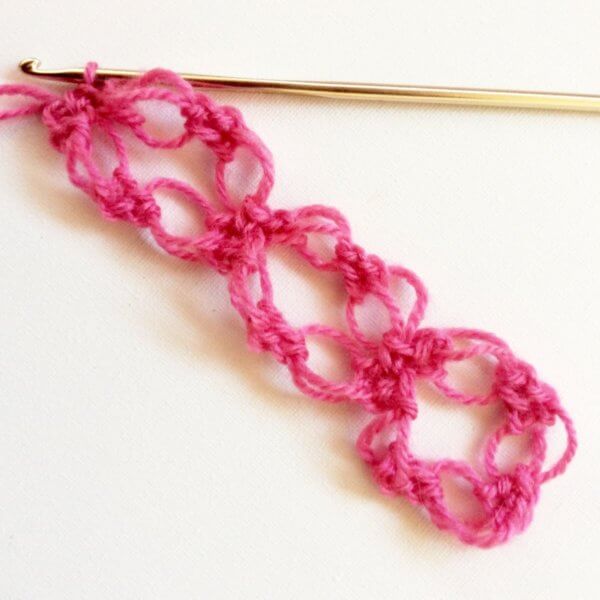
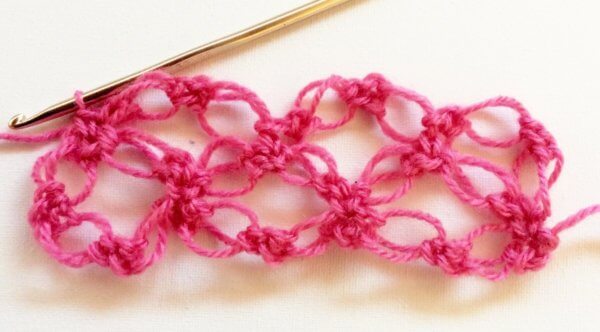
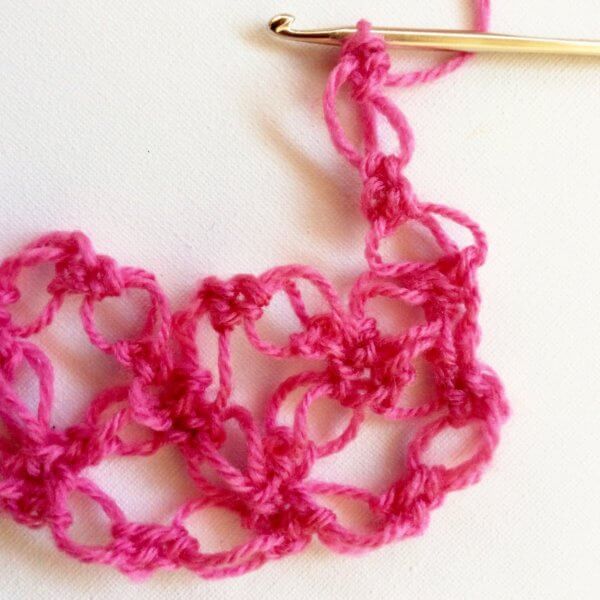
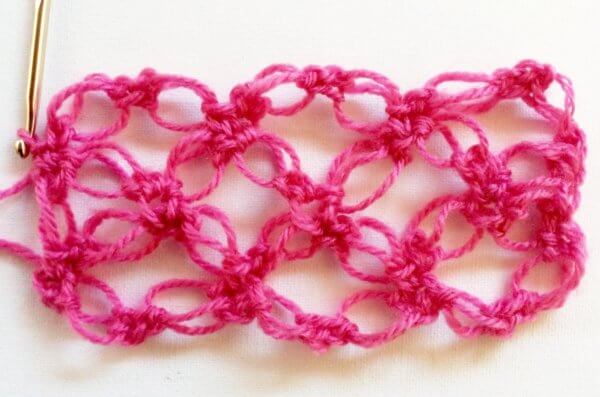
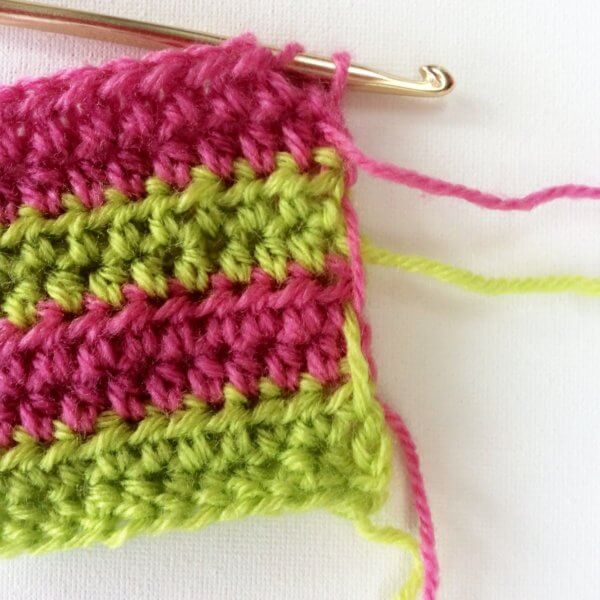
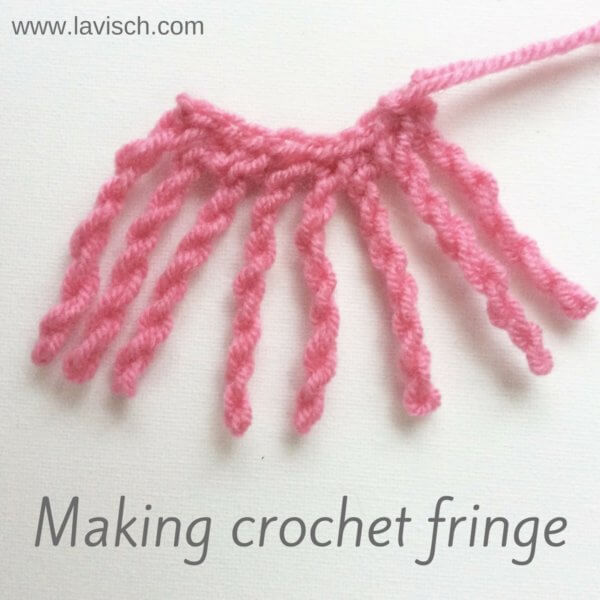
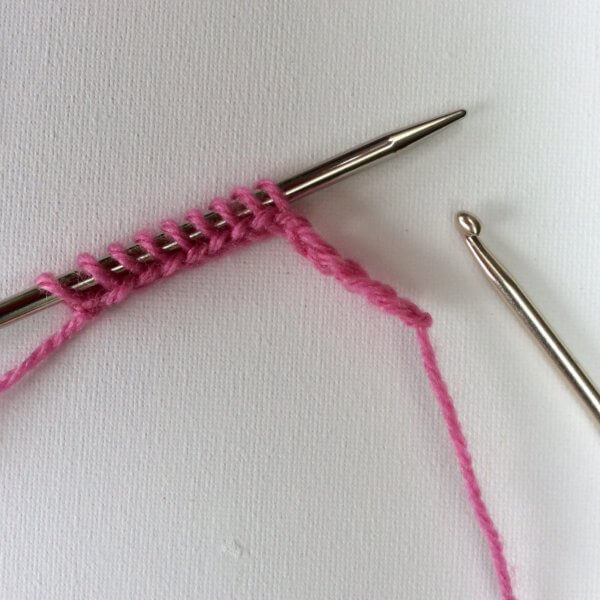
8. Repeat steps 2 to 7 until the complete edge or chain is worked. The result will look something like this:
Enjoy embellishing your projects with this lovely crochet fringe!
tutorial: crochet fringe Read More »


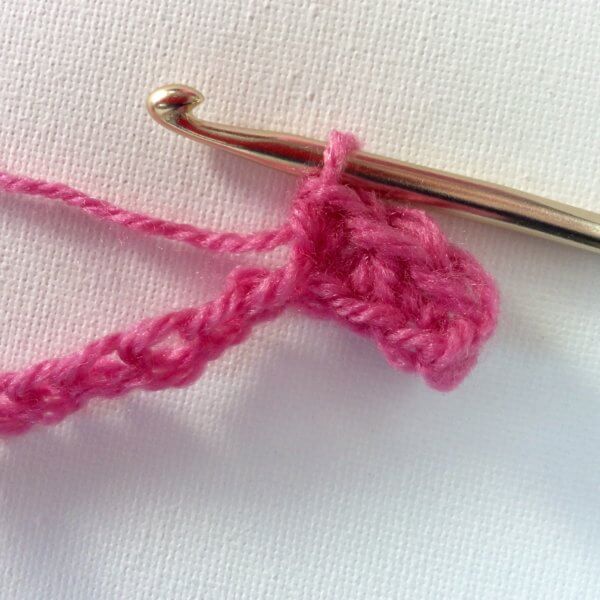
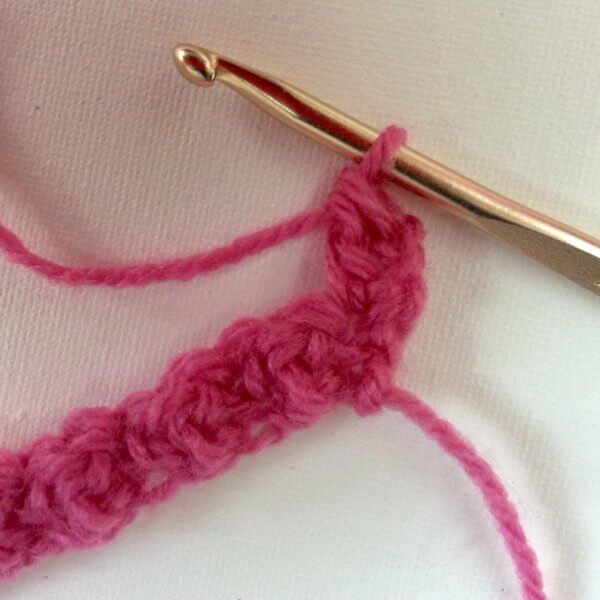
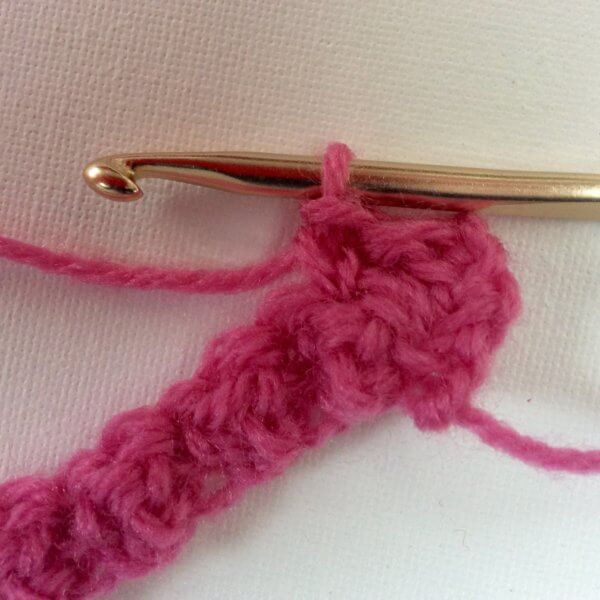
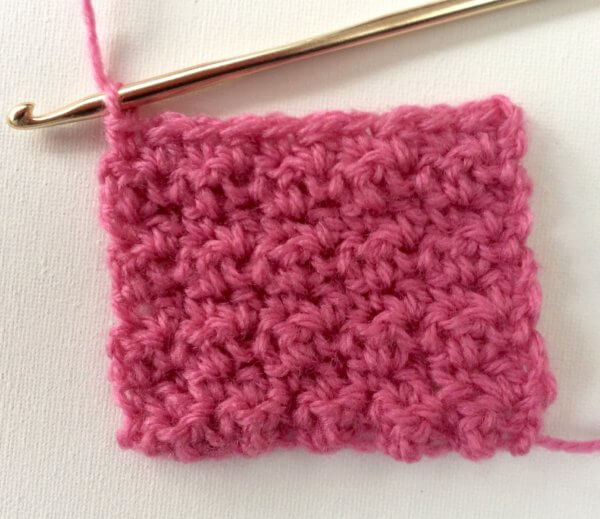
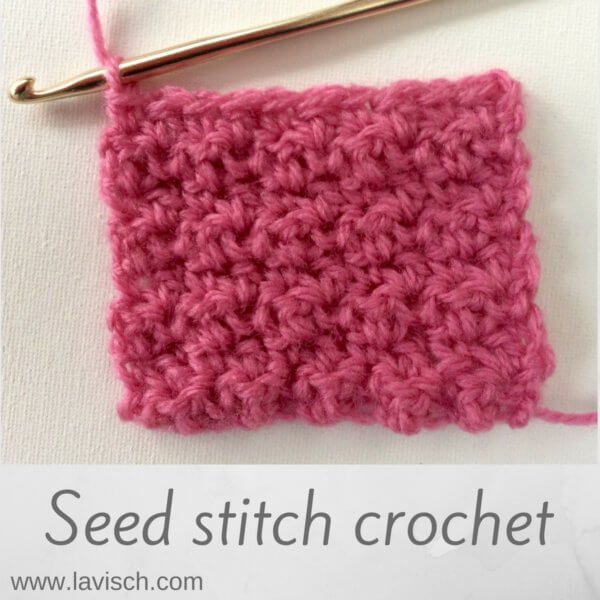 In this post I will show you how to crochet the “seed stitch”. In this stitch single crochet stitches are alternated with double crochet stitches (US crochet terminology!). This gives a really lovely and dense fabric, very suitable for projects like scarves, blankets and bags. Let me show you step by step how it is done.
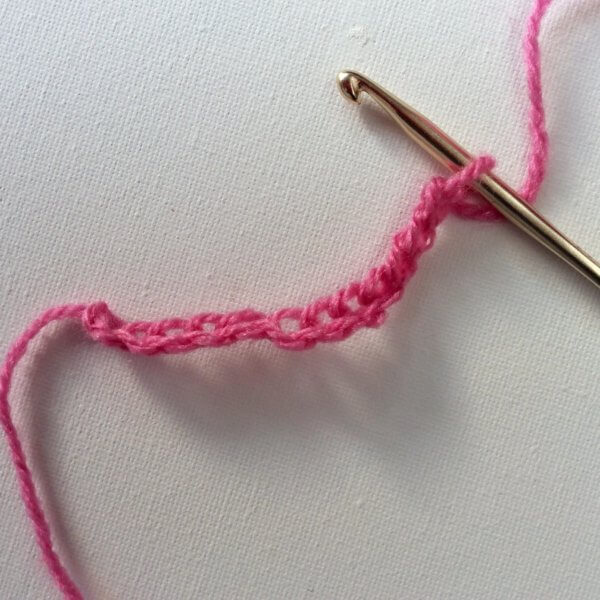


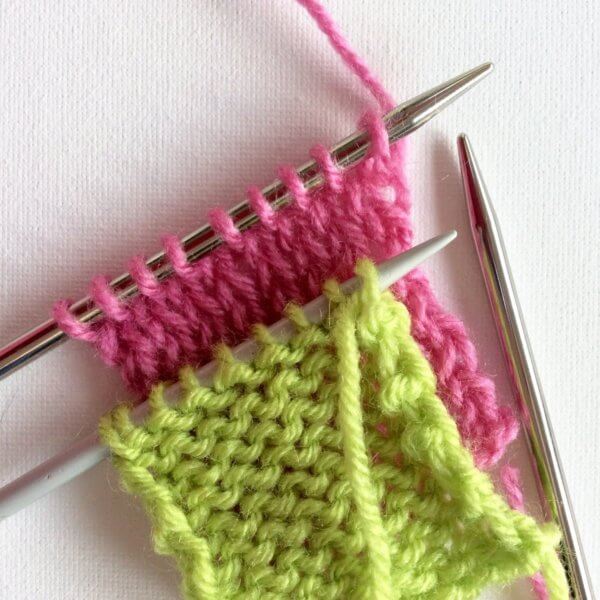
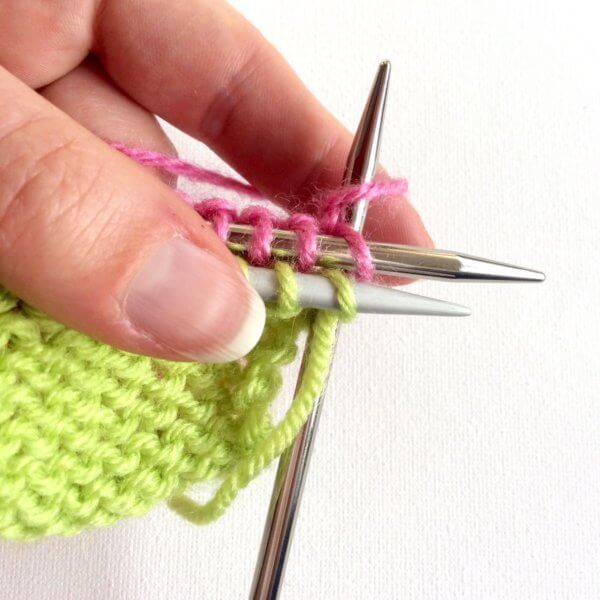
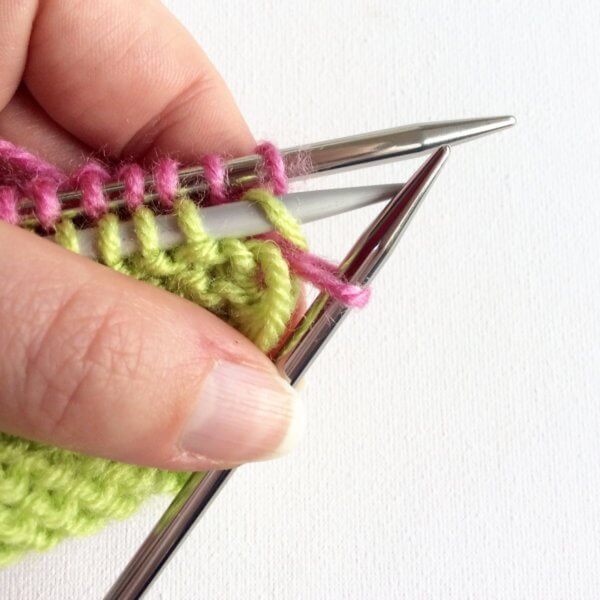

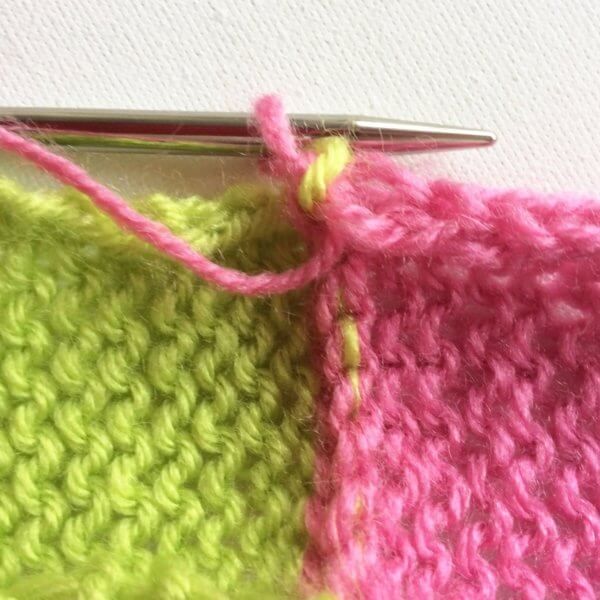
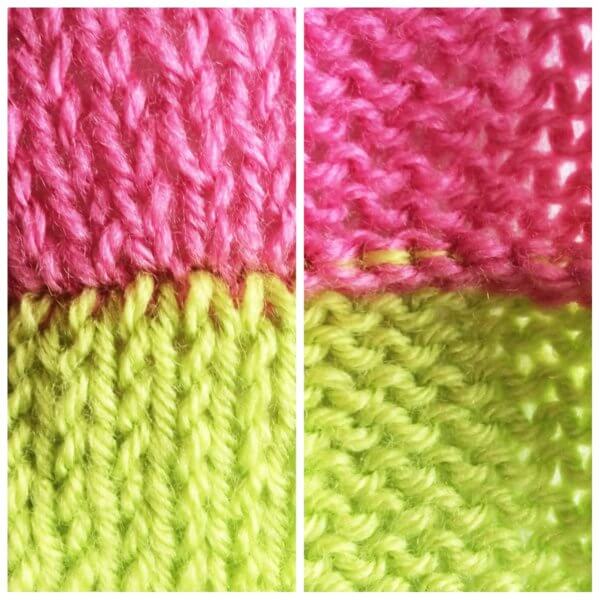

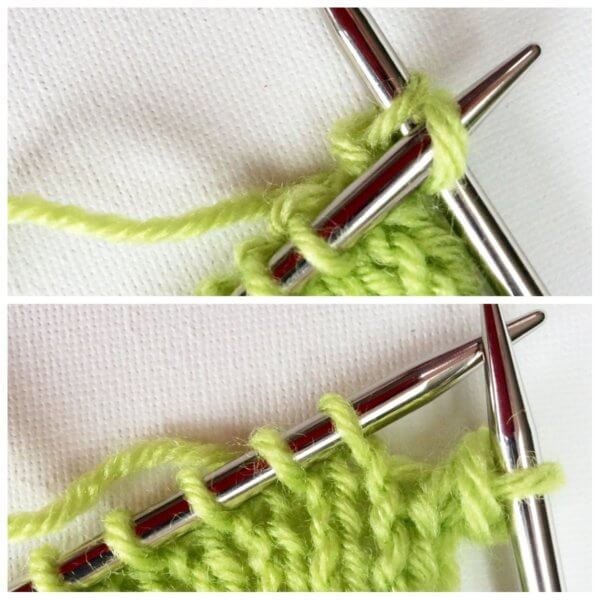
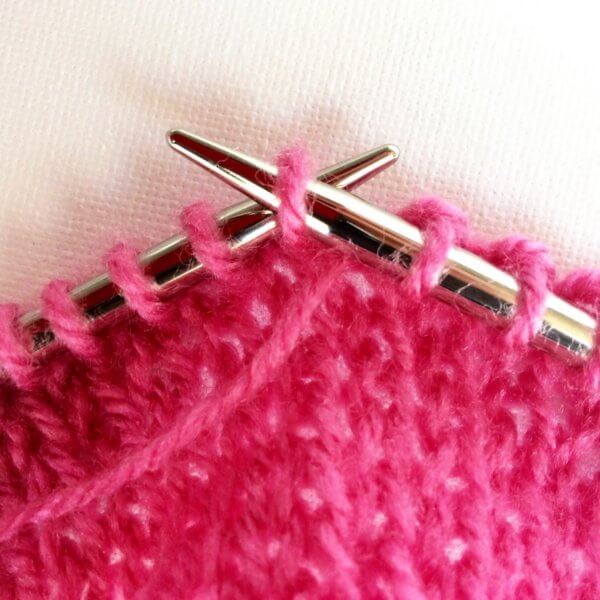
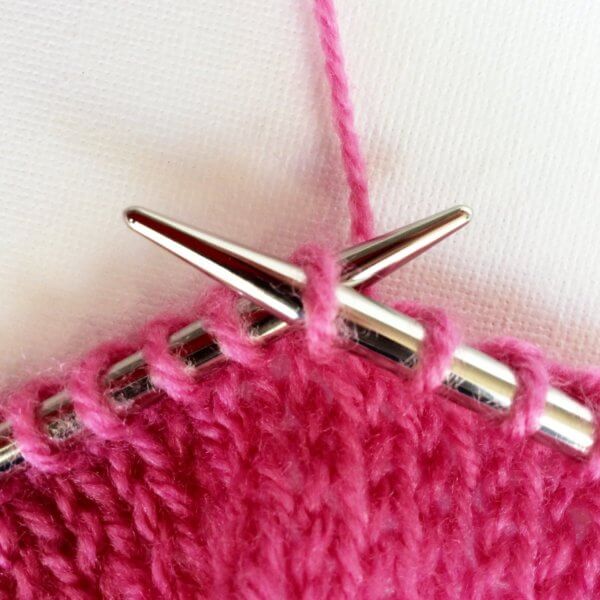
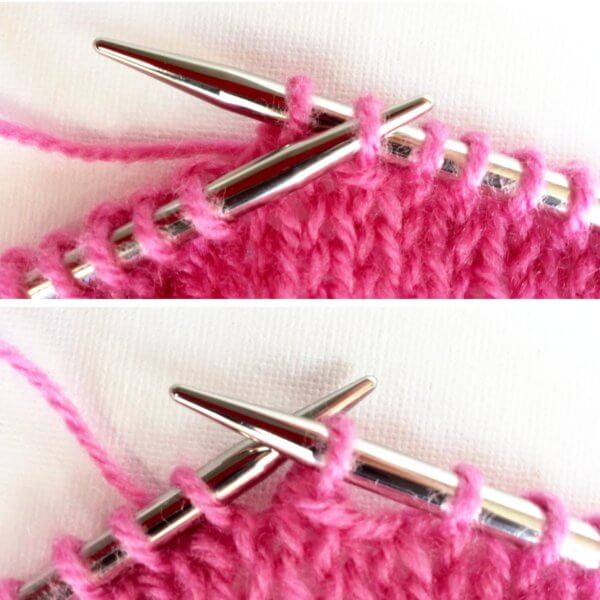
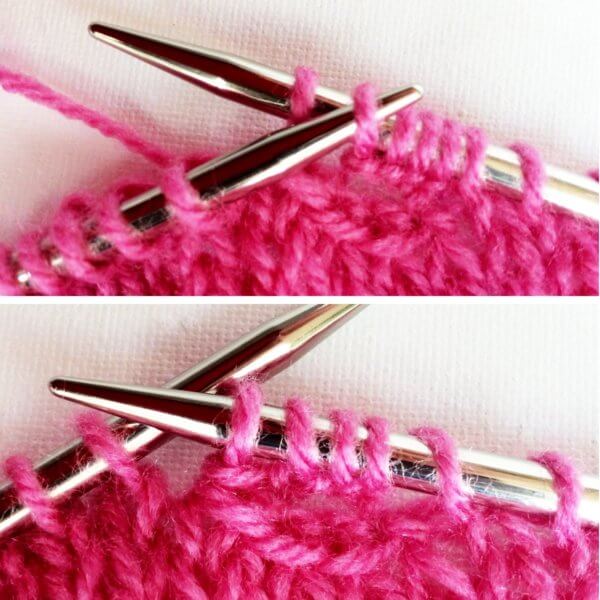
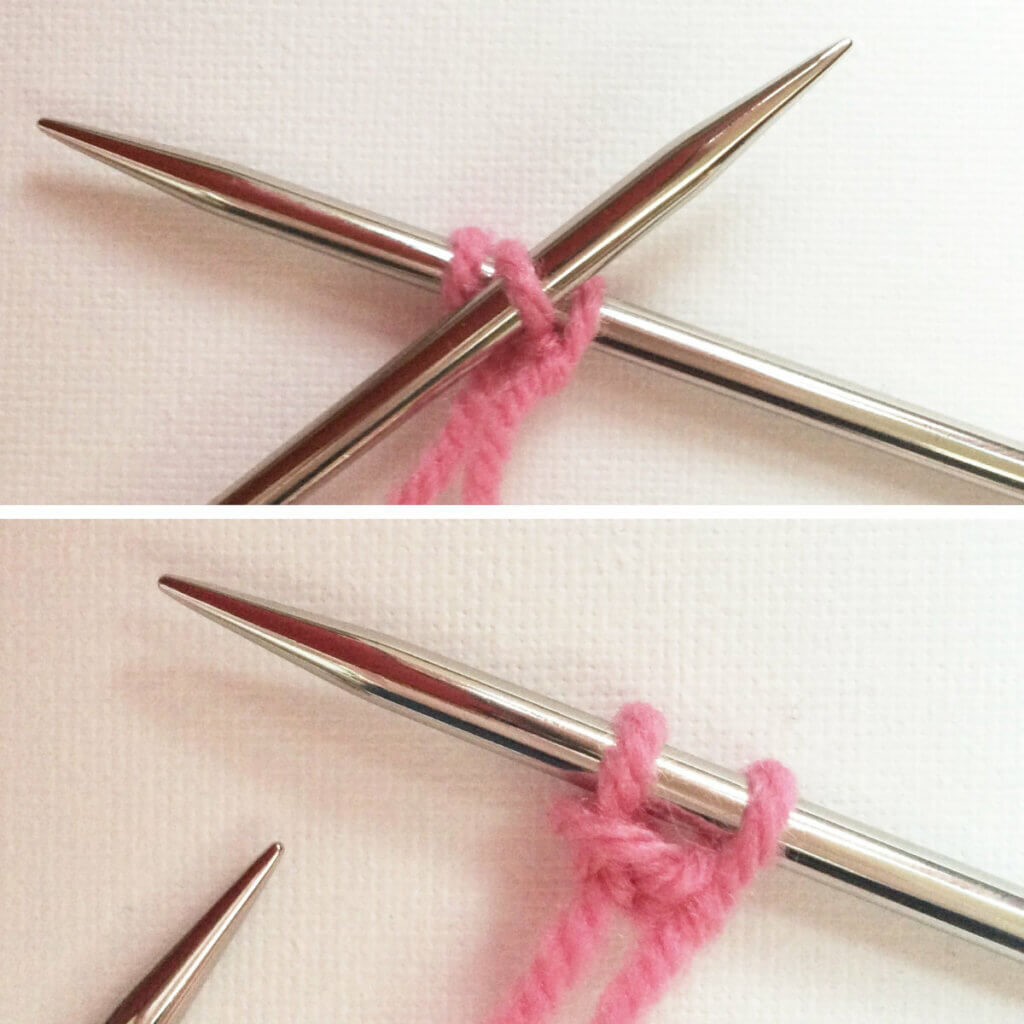
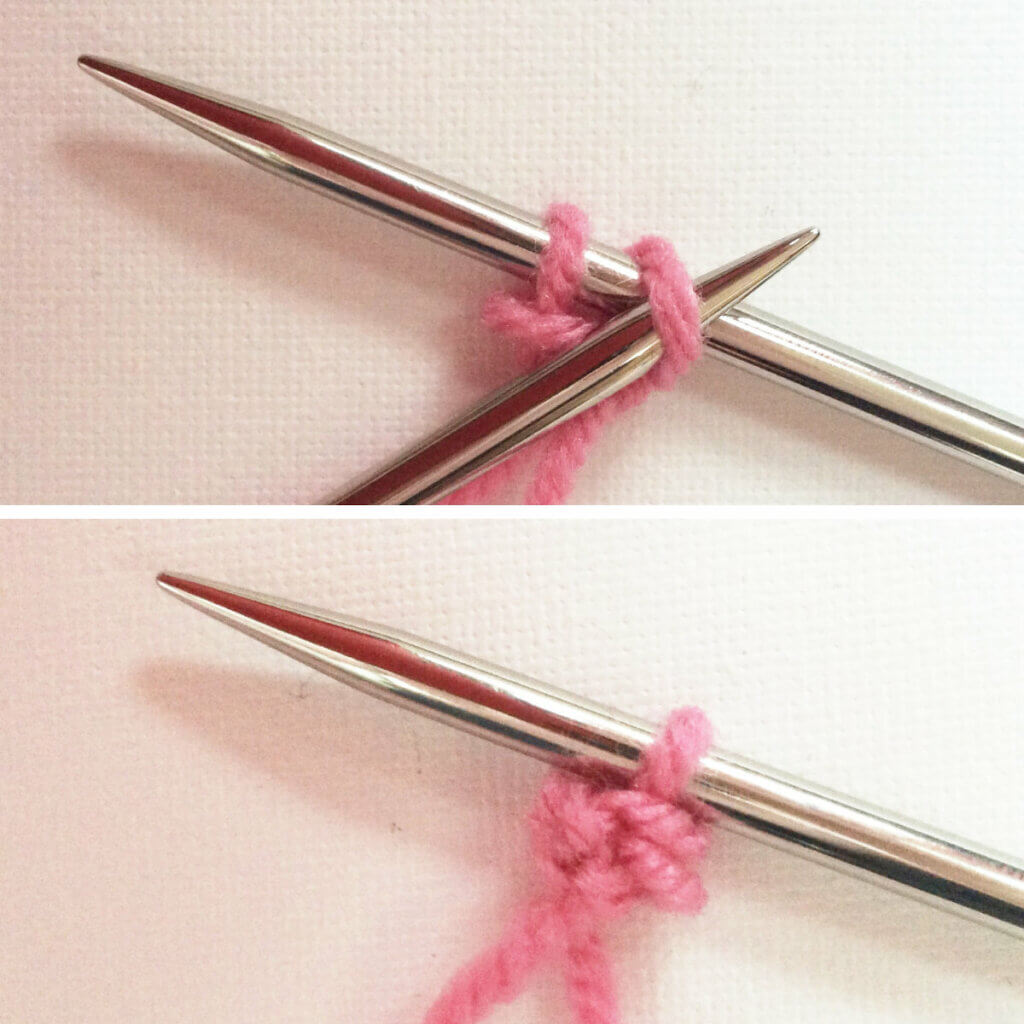
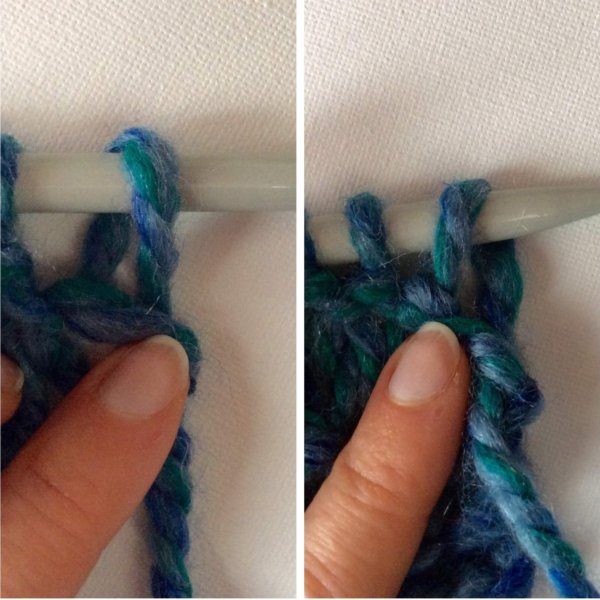 Left in this picture is the regular orientation, on the right, there is a twisted stitch on the needle. This is no problem though: Just knit (or purl) the twisted stitch through the back loop to untwist the stitch mount.