Casting on your knitting project using either the thumb or backward loop method, knitting-on, the long-tail cast-on or a similar method is of course perfectly fine. But sometimes using a cast-on that is just a little more decorative can be so much more fun. In this post I want to show you how to work a picot cast-on. There are various ways to do a picot CO, all giving slightly different results, this is just one possible variation.
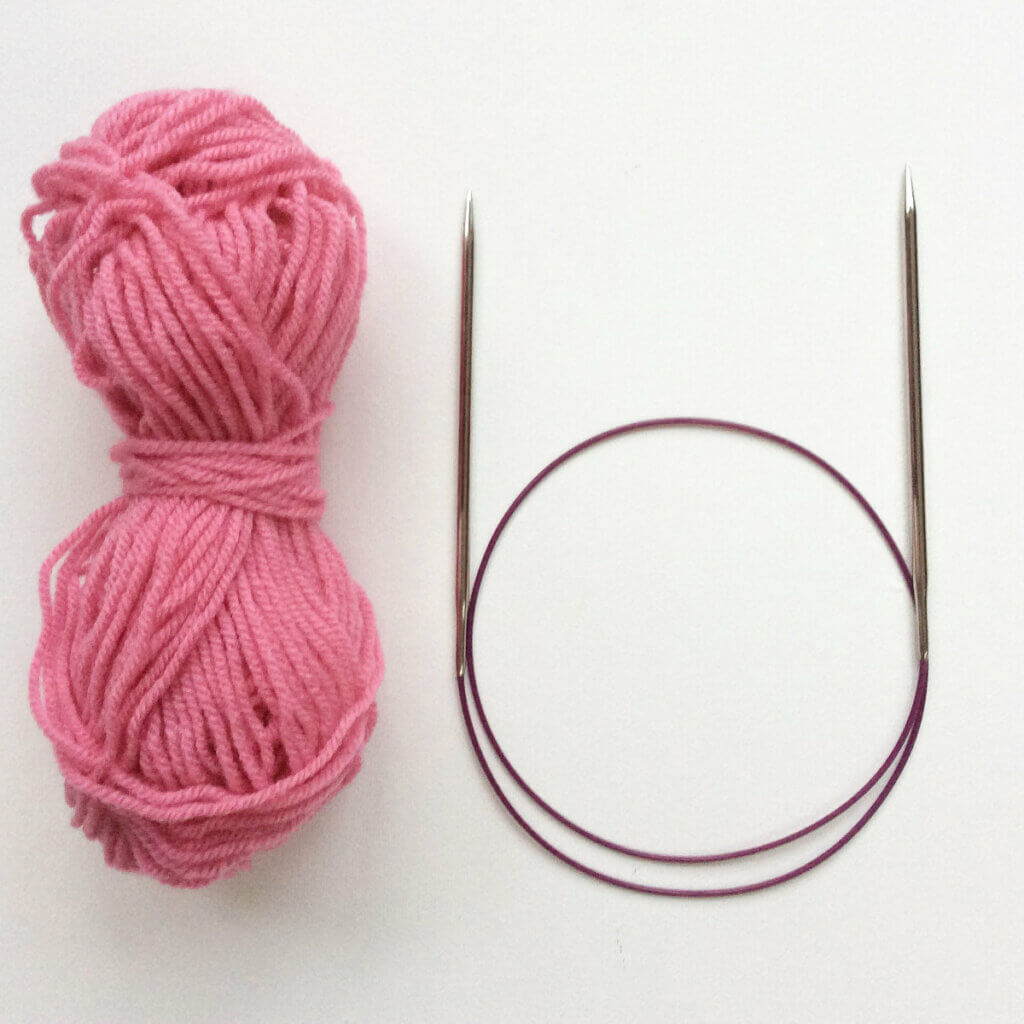
In this example, I am using needles size 4 mm (US 6) and a generic worsted weight acrylic yarn.
Picot cast-on step by step
1. Cast-on 3 stitches with any preferred method, in this example I have used the cable cast-on. However, the long-tail or thumb method, or another method can also be used.

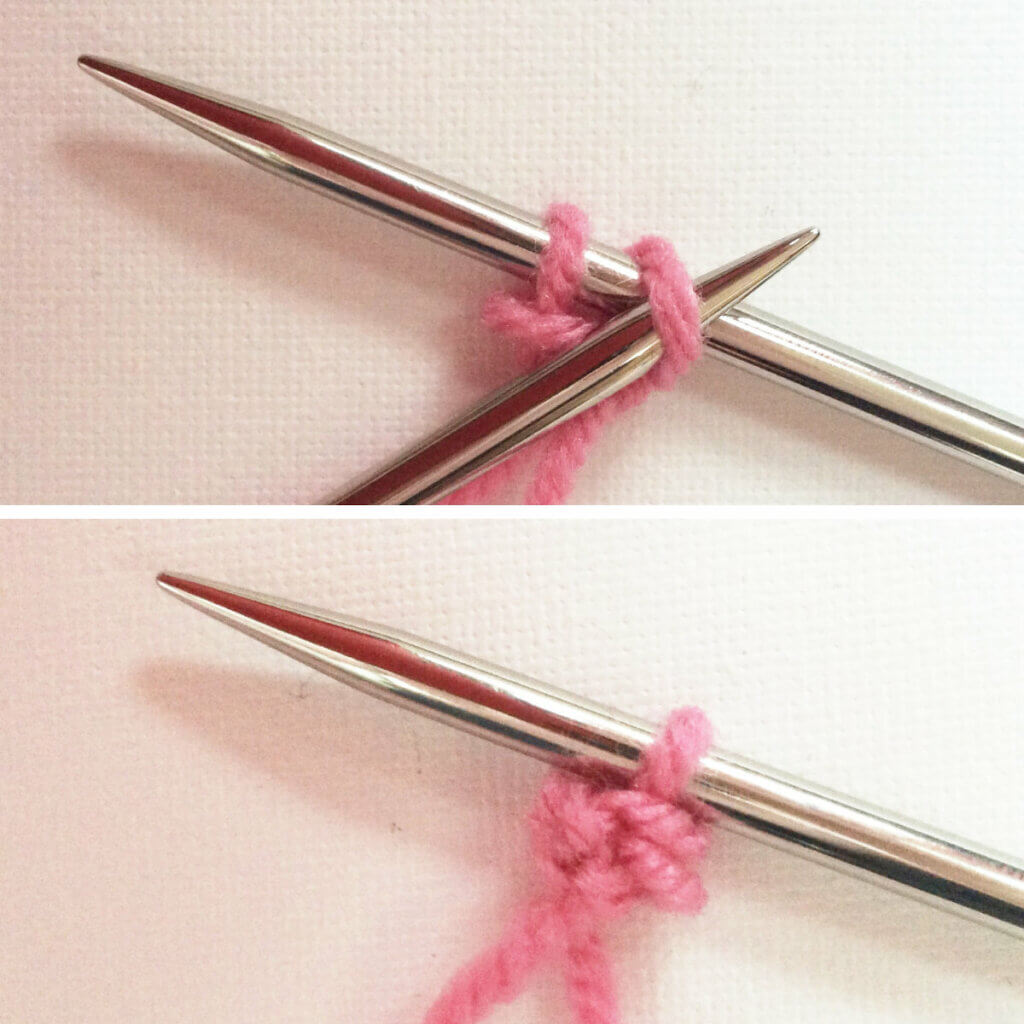
2. Insert the left needle into the second stitch on the right needle and pass this stitch over the first stitch.
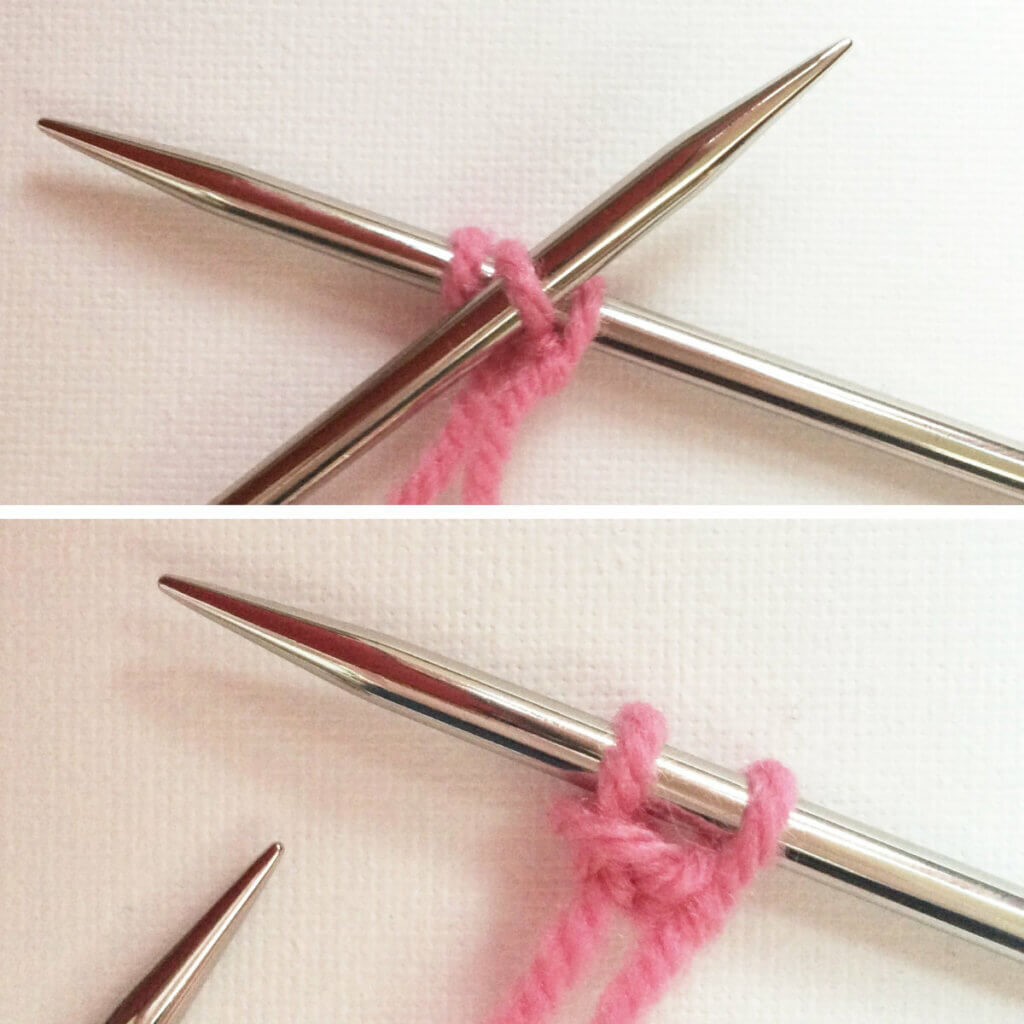
3. Insert the left needle again in the second stitch on the right needle and pass it over the first stitch. From the initial 3 stitches you had CO, there is now only 1 left and 1 picot has been completed.
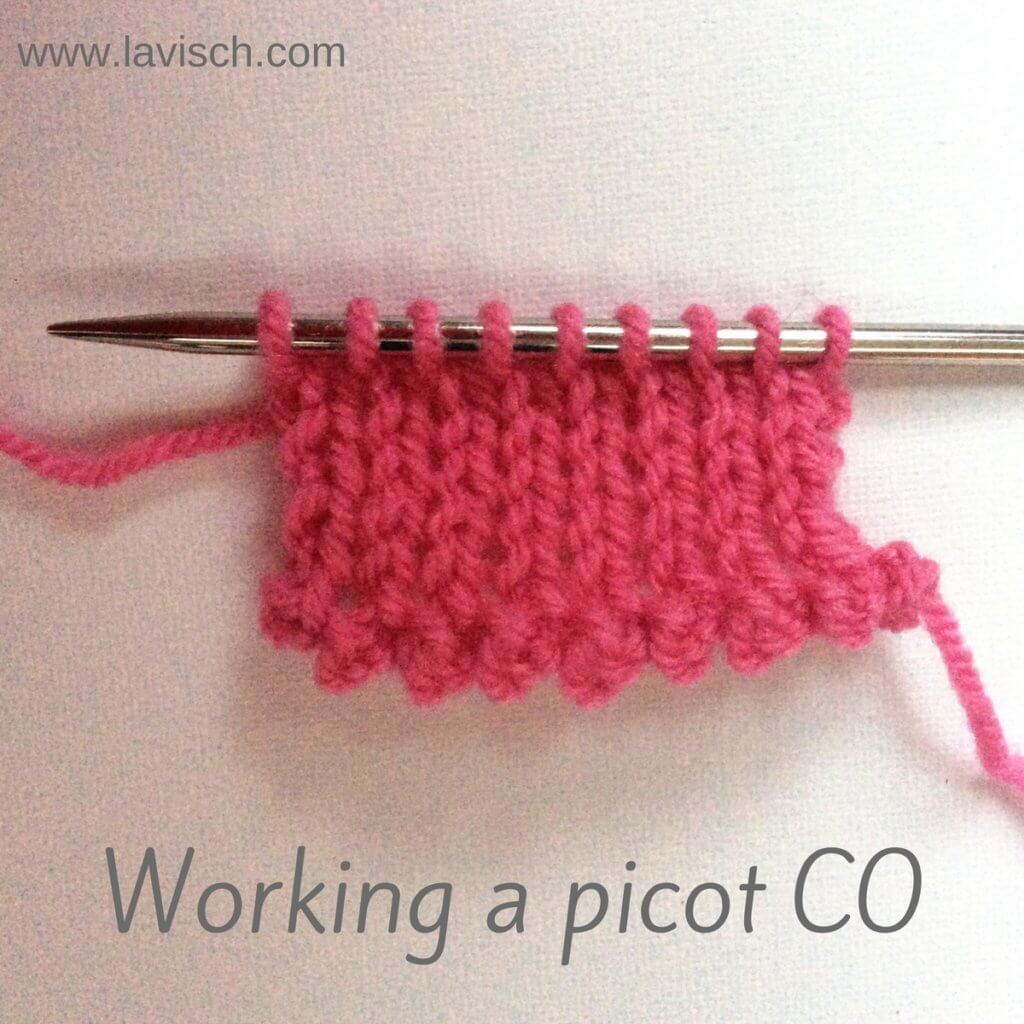
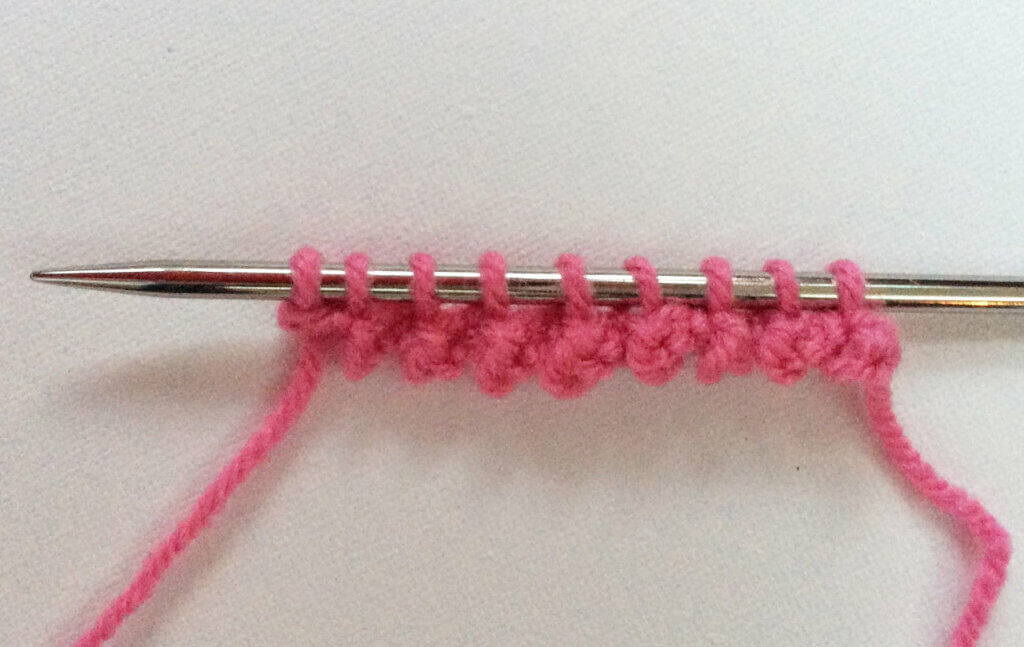
4. Repeat steps 1 to 3 as often as desired for your project. The result will look something like this:
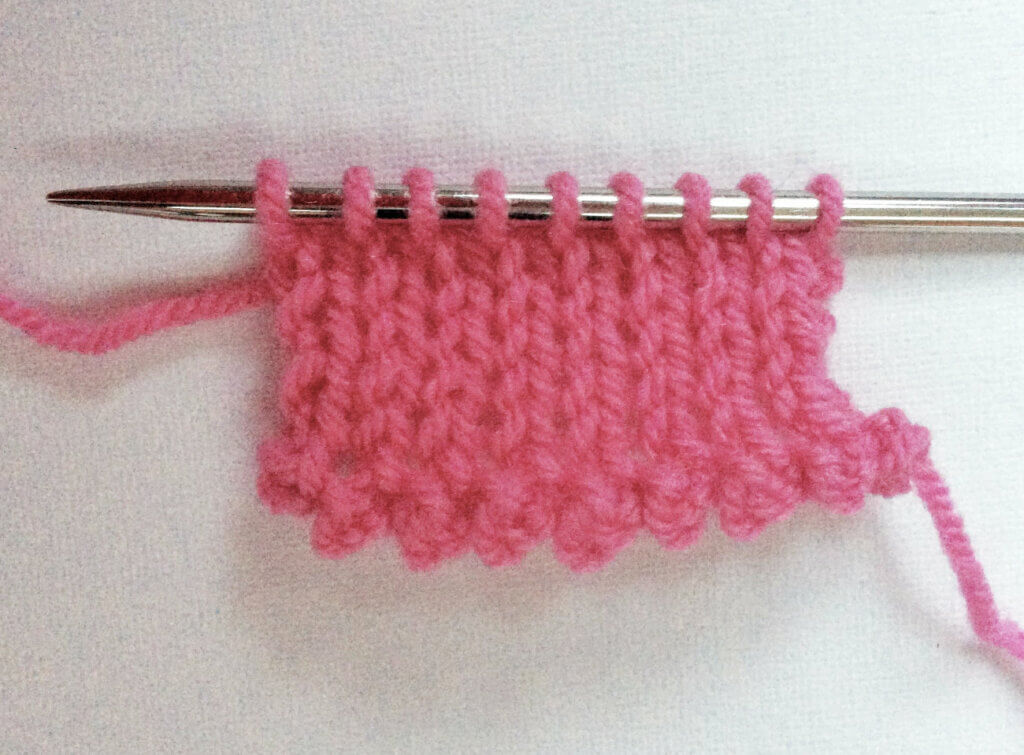
5. You can then continue to knit in any pattern desired. In this example, I knitted a few rows in stockinette stitch, this will however not always be the best choice because of rolling of the fabric.
What you need to consider with this casting-on method, is that you are actually casting-on three times the number of stitches that you will eventually need. This means that also three times the usual amount of yarn is needed. Good to know if you like to use the long-tail cast-on!

Thanks to my Patreon supporters for bringing you this freebie! Creating quality patterns and tutorials is a lot of work and resource-intensive. However, I find it important to give you free content like this tutorial. Thanks to the generous support of my Patreon supporters, I can make it happen. Thank you, patrons! Click here to join, or click here to read more about La Visch Designs on Patreon.


