tutorial: Estonian lace knitting – nupps
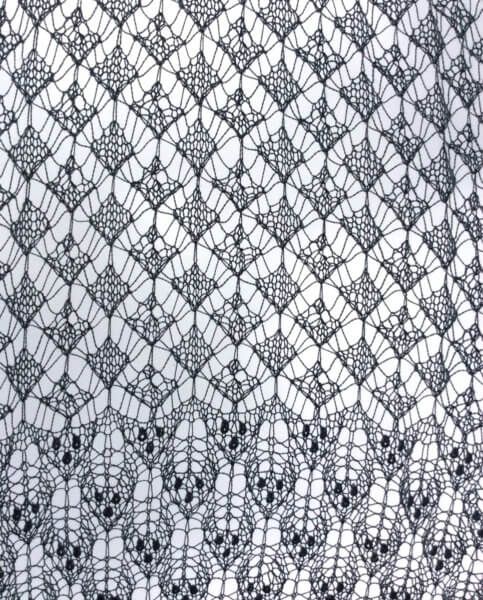
Maybe you are already familiar with them: Those funny little buttons that give beautiful lace shawls texture. Take for example the beautiful Luule shawl pictured below. A nupp (rhymes with “soup”) is a characteristic of lace as traditionally knit in Estonia.
The special thing of Estonian lace knitting is that besides the openwork it also contains a lot of texture. As a result, in lace knitting in the Estonian tradition there are many stitches that you will probably encounter (almost) nowhere else.
History of lace knitting in Estonia
The tradition of knitting lace shawls in Estonia, began about 200 years ago in the city Haapsalu. From the early 18th century until about 1918 Haapsalu was a popular destination for Russian tourists. To benefit from this tourism the women of Haapsula started selling their knitted lace shawls.
The story goes that these shawls were sold by weight. And because nupps consume a lot of yarn, a pattern with many nupps increase the weight of the resulting shawl considerably. This is the reason that the characteristic Estonian lace patterns have been devised in such a way that they combine the so popular delicate appearance as well as many nupps.
In this post I want to show you how to knit nupps.
Knitting nupps step by step
Knitting nupps is actually a 2-step process: first stitches are increased and in the following wrong side row all these stitches are decreased back to 1 stitch by purling them all together.
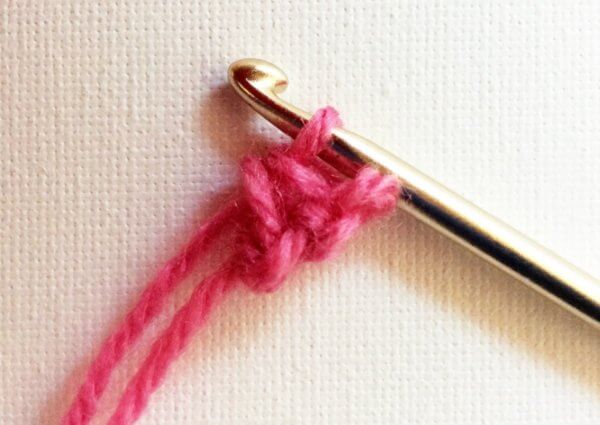
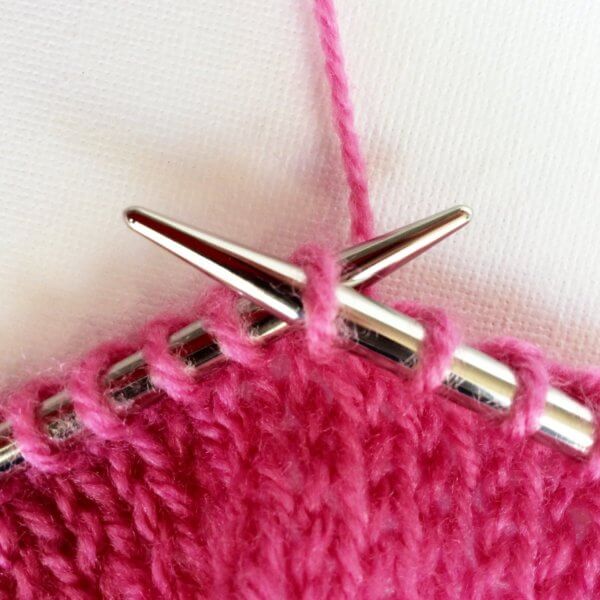
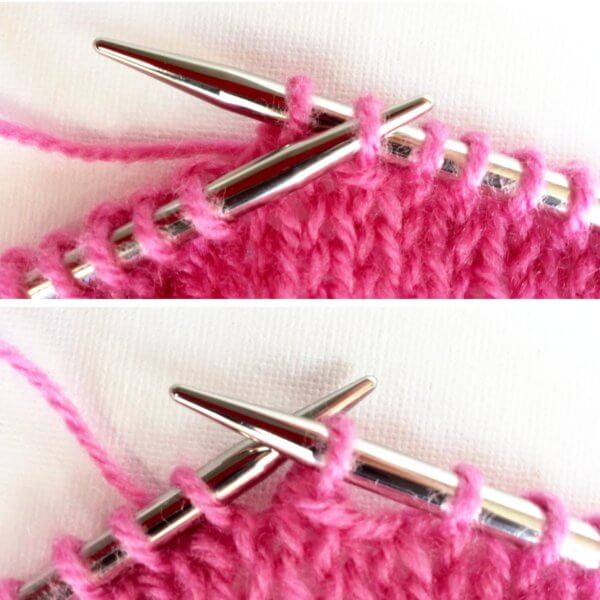
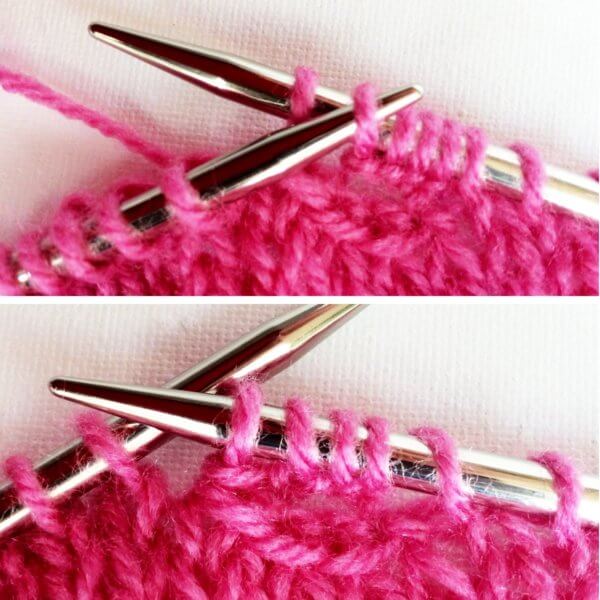
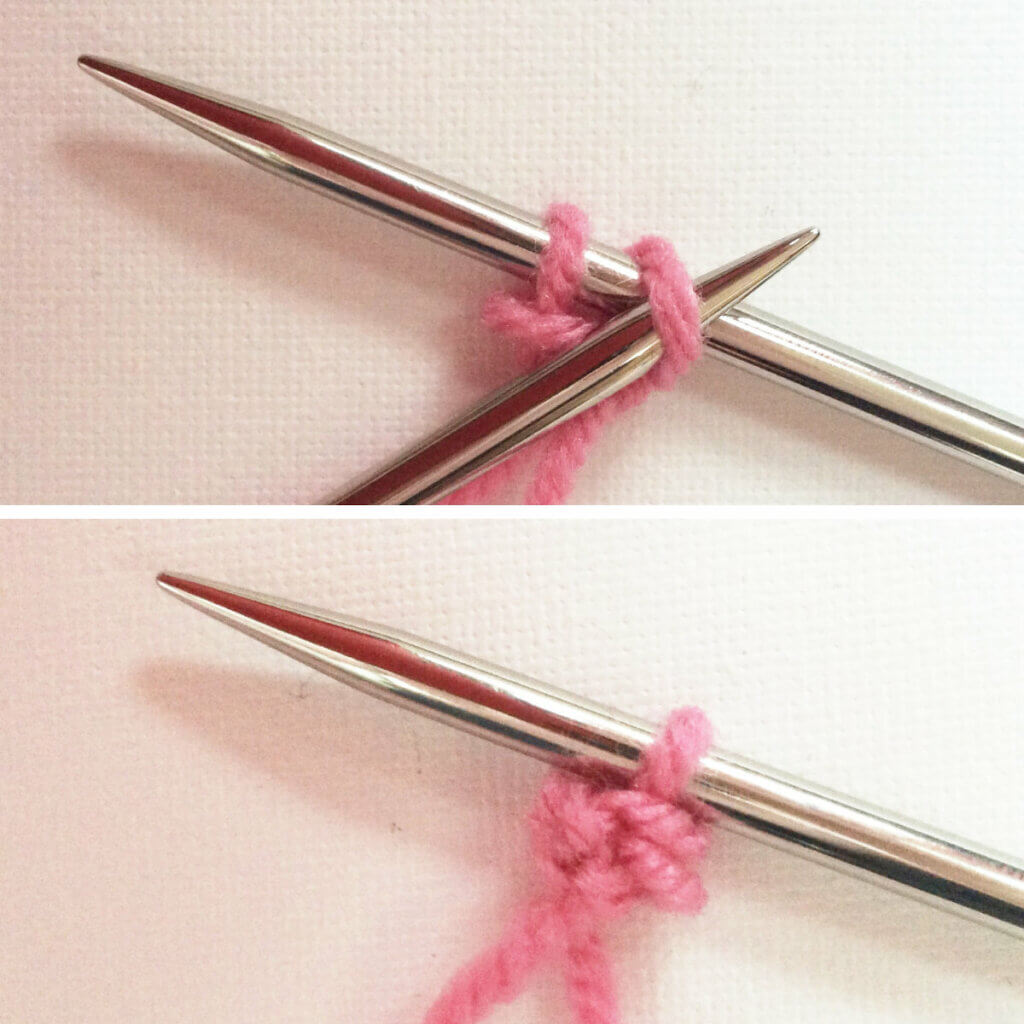
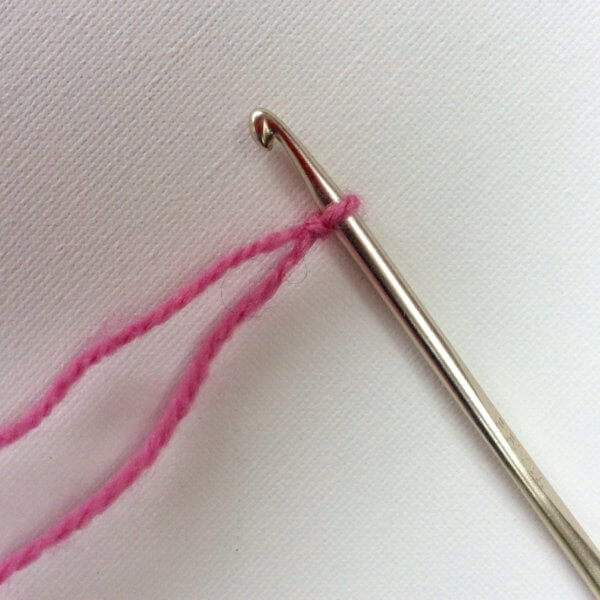
1 . To start knit 1 stitch, leaving the original stitch on the left hand needle. Make sure to knit loosely.
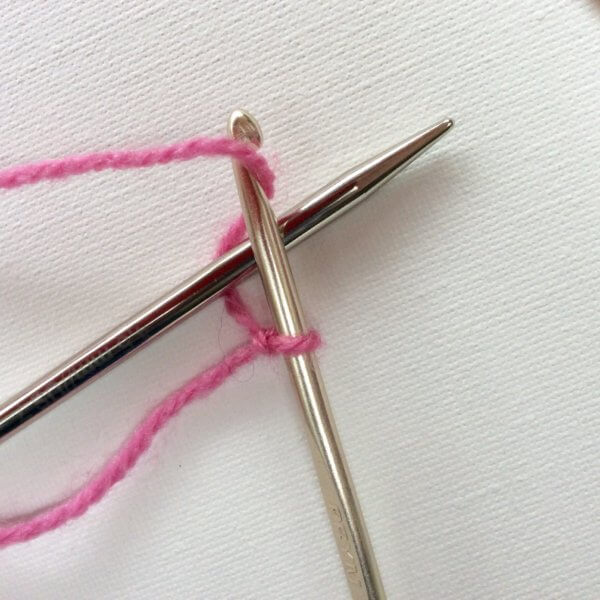
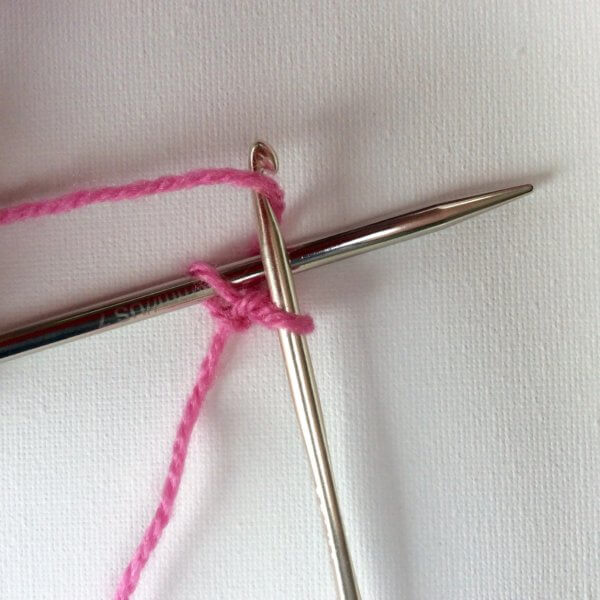
2. Make a yarn over on the right hand needle.
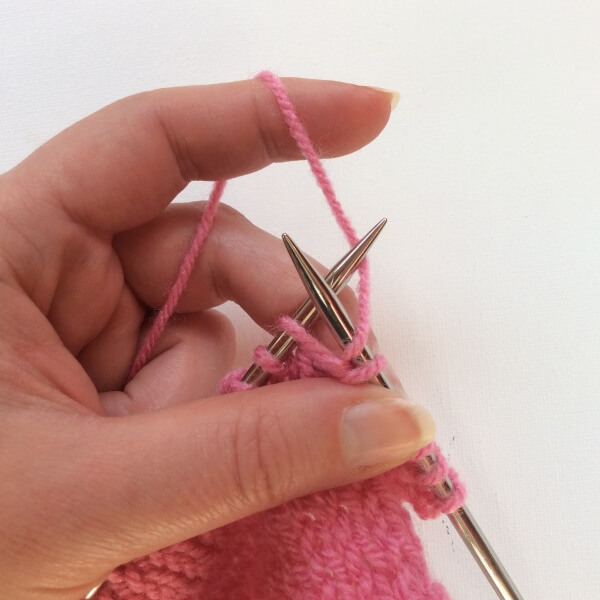
3. Again knit 1 stitch loosely, leaving the original stitch on the left hand needle.
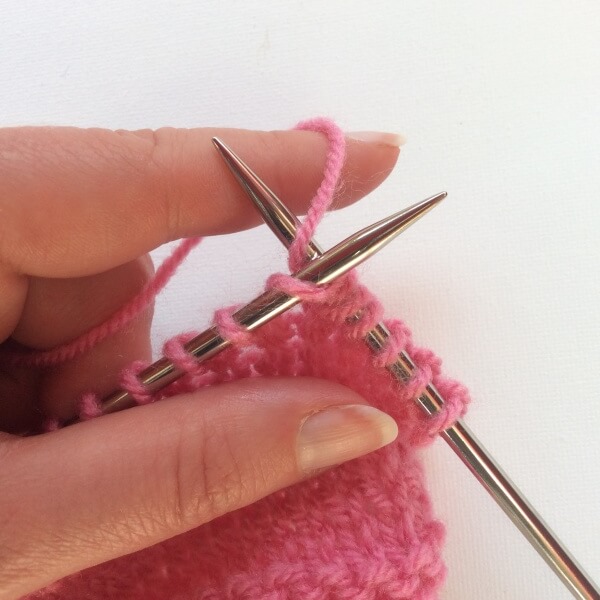
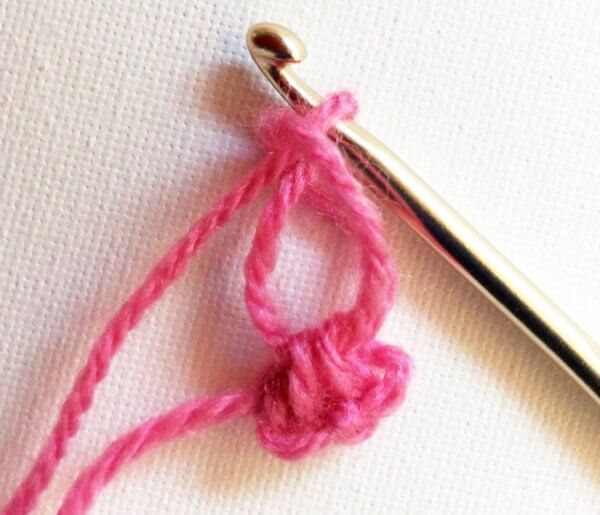
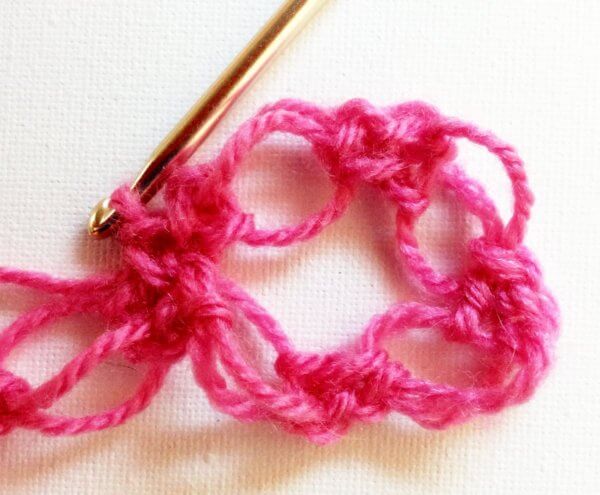
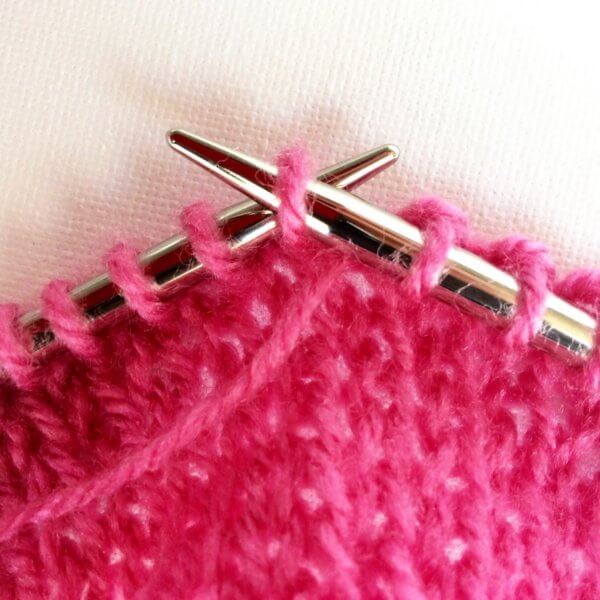
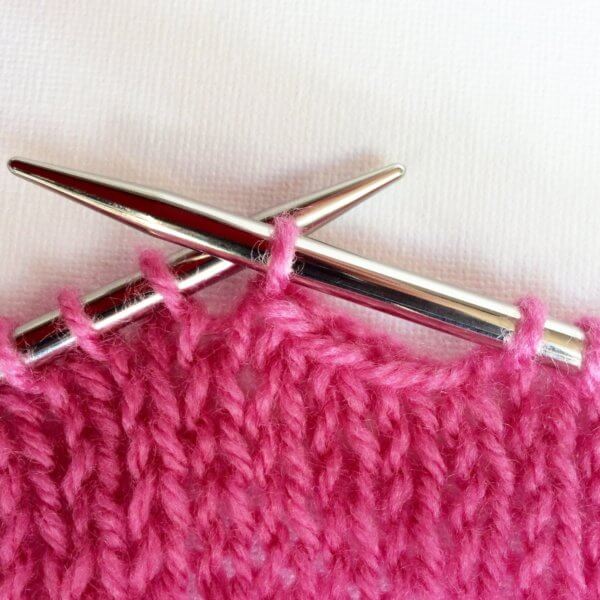
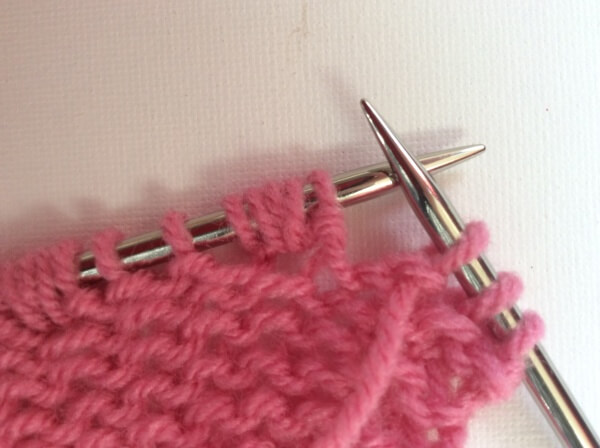
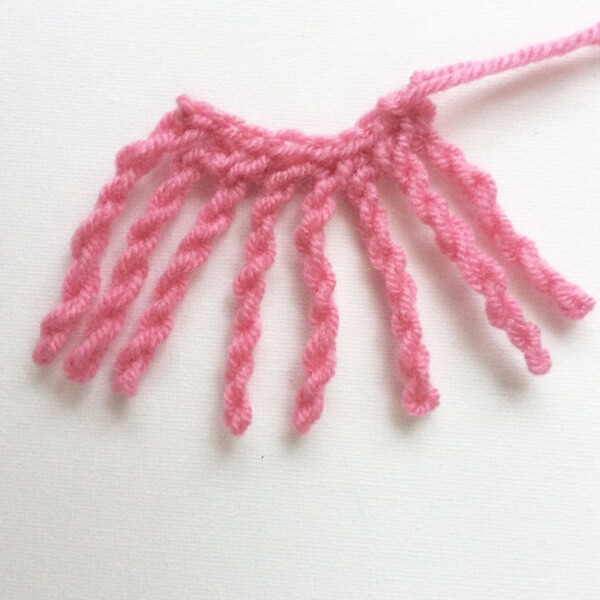
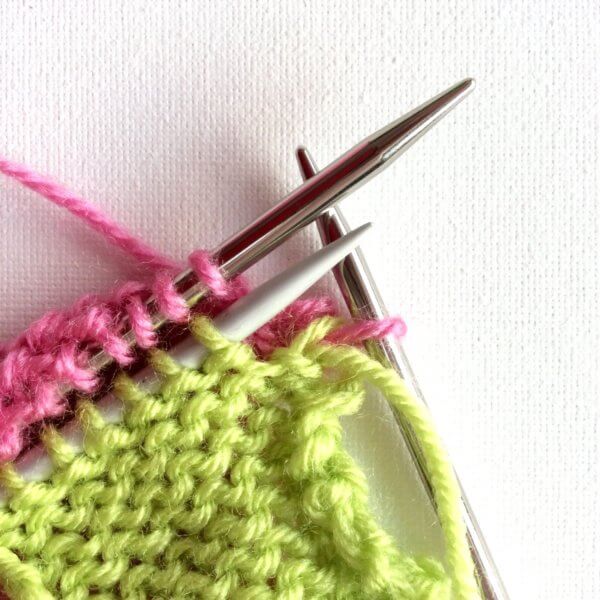
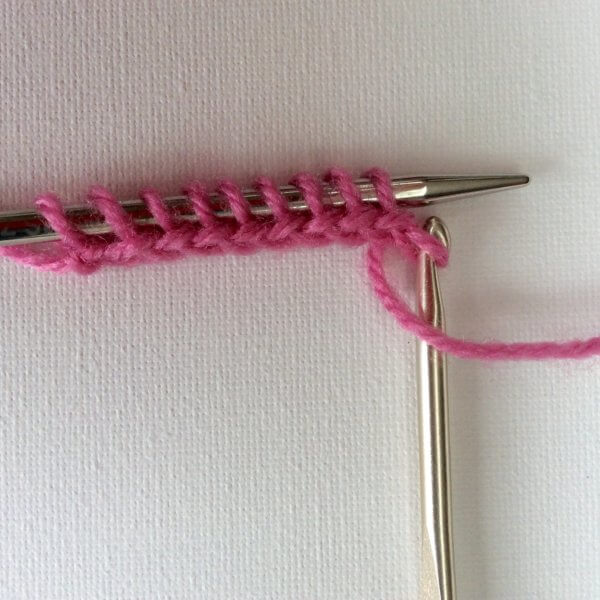
4. Repeat steps 2 and 3 once more (for a five-stitch nupp), and then slip the original stitch of the left hand needle. You know have 5 stitches where there originally only was 1. The result will look something like this:
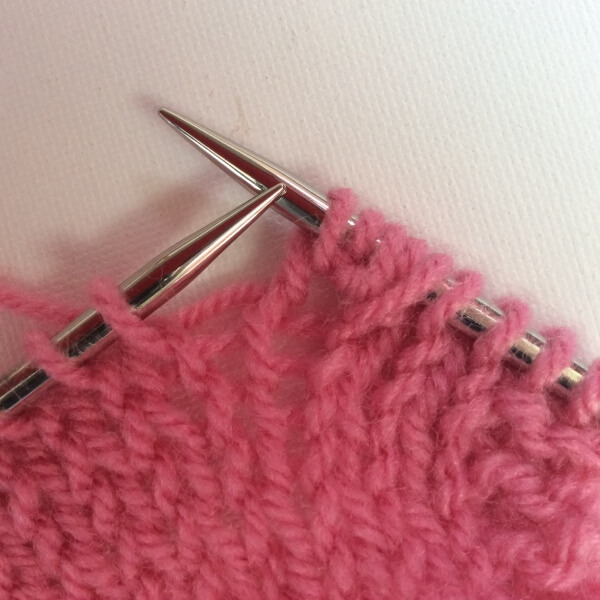
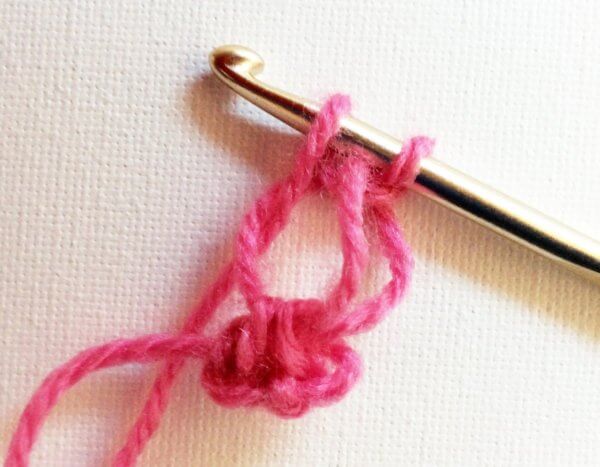
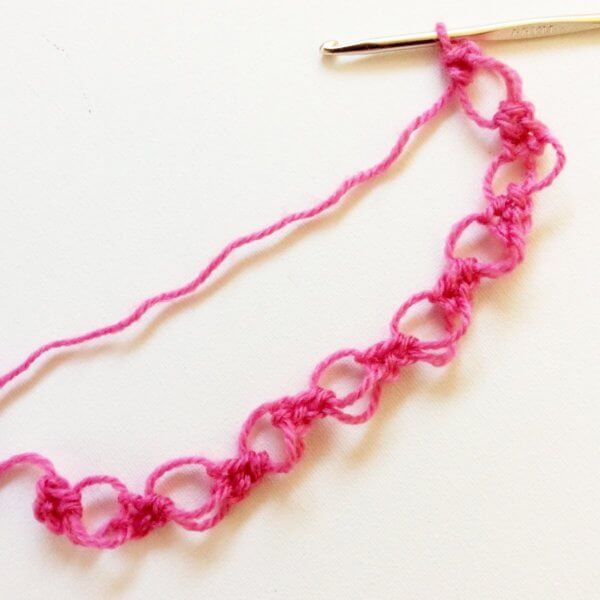
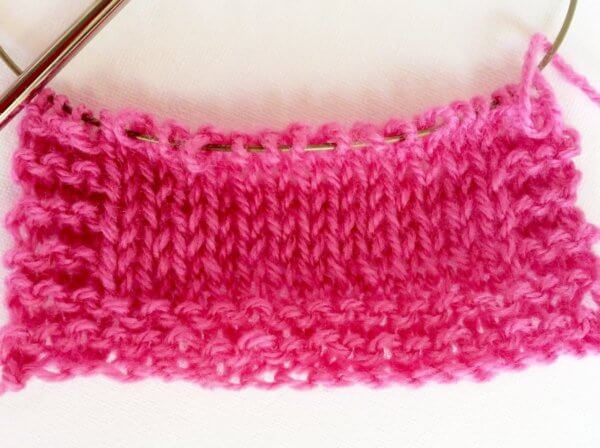
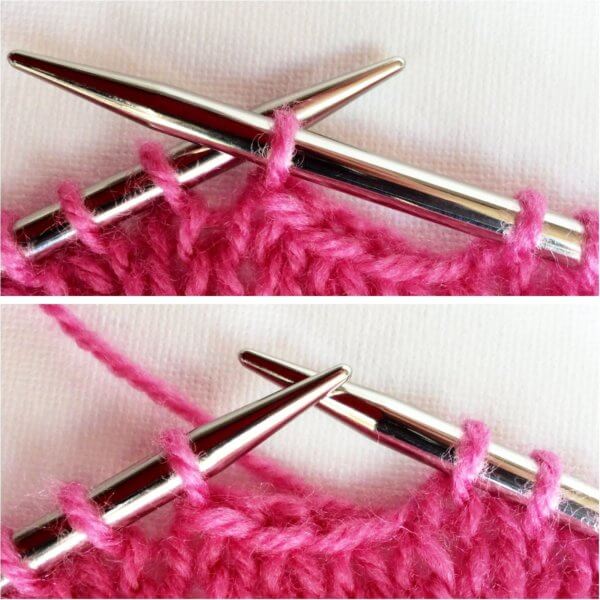
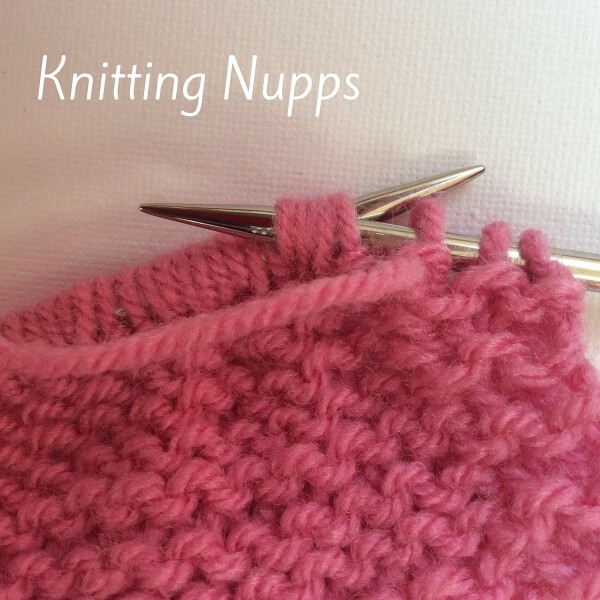
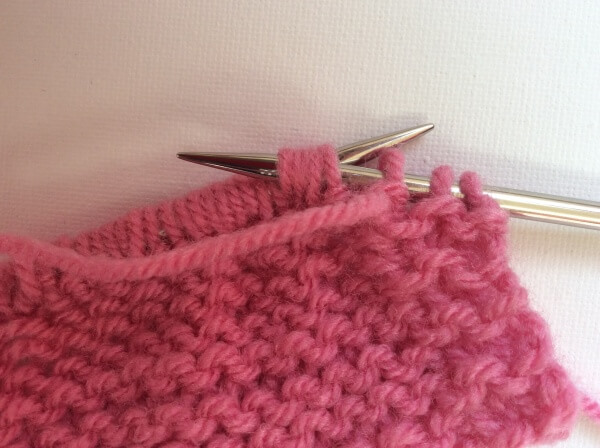
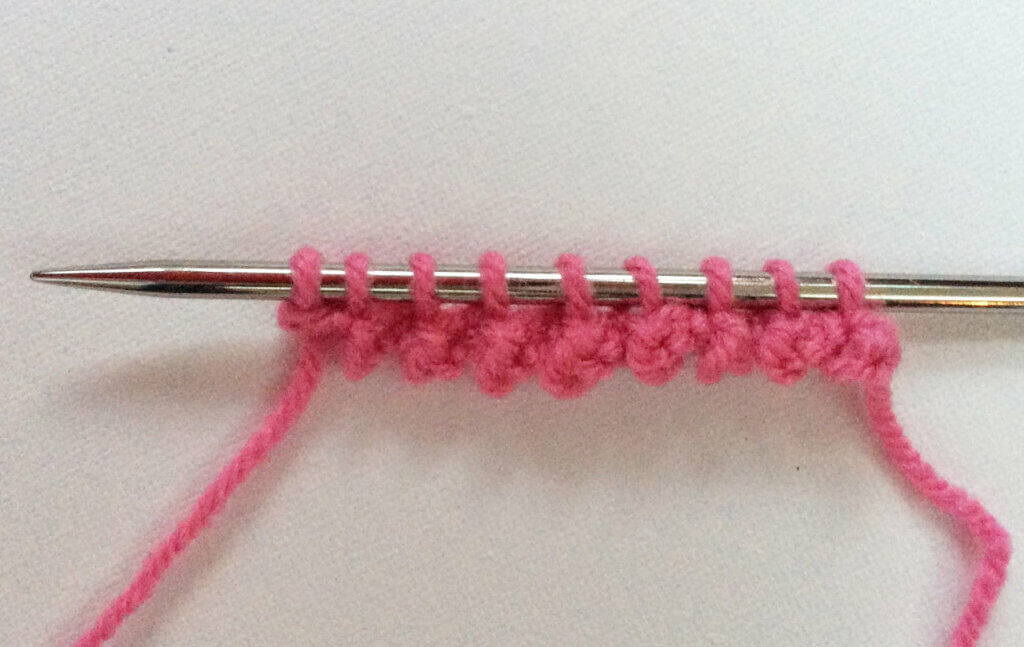
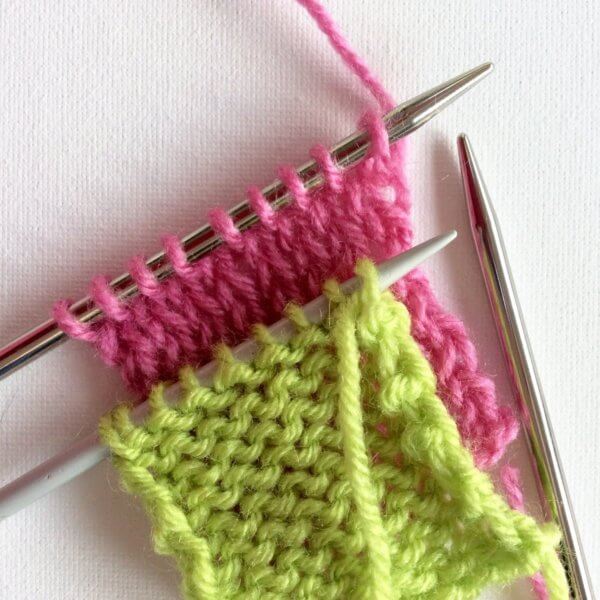
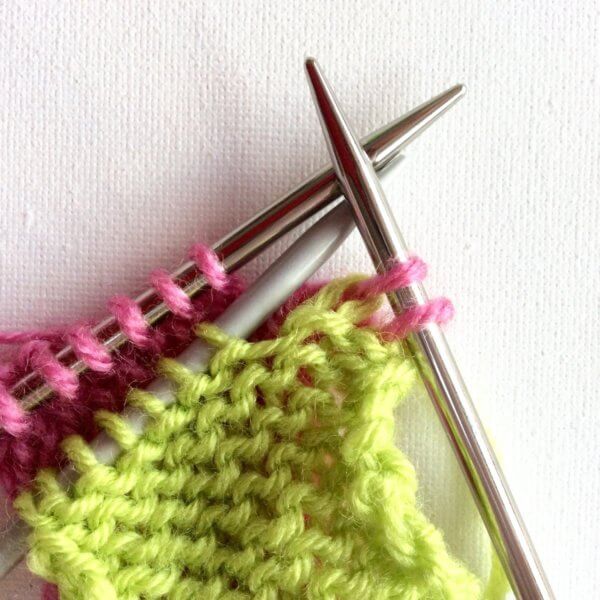
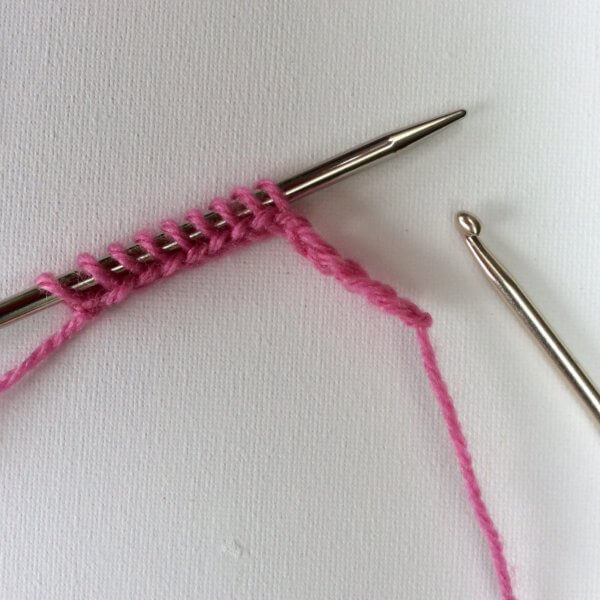
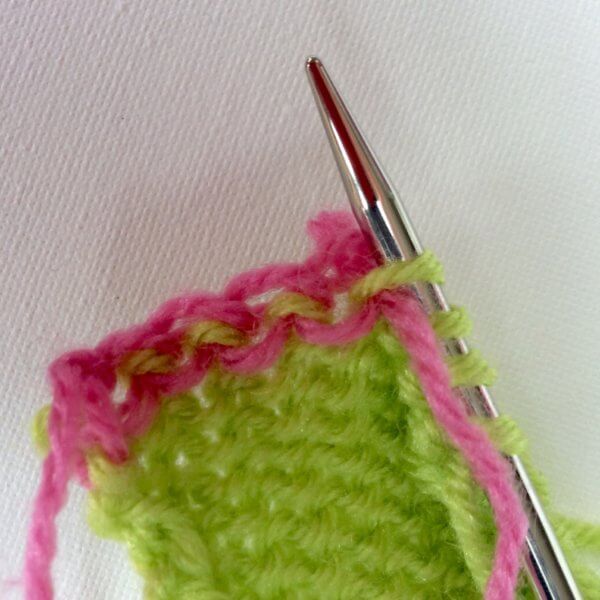
5. For this example, I set up several nupps in the same row:
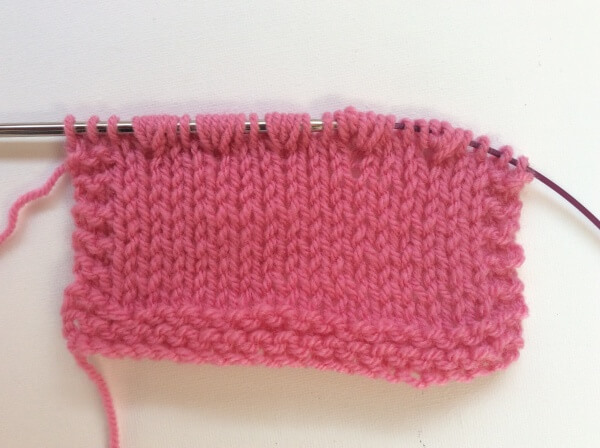
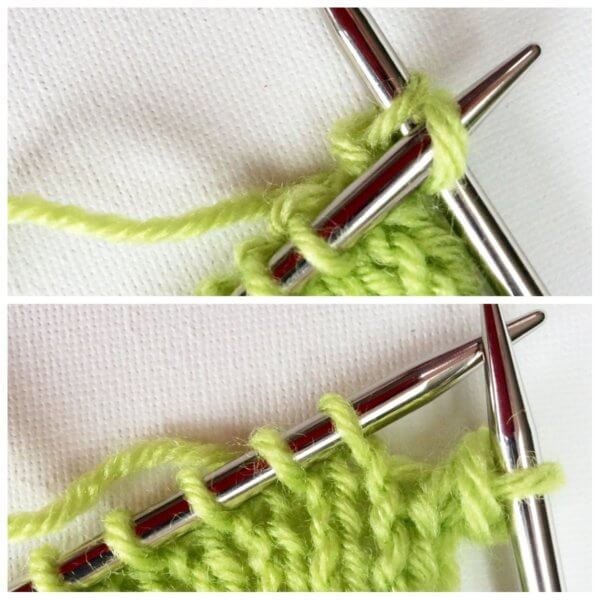
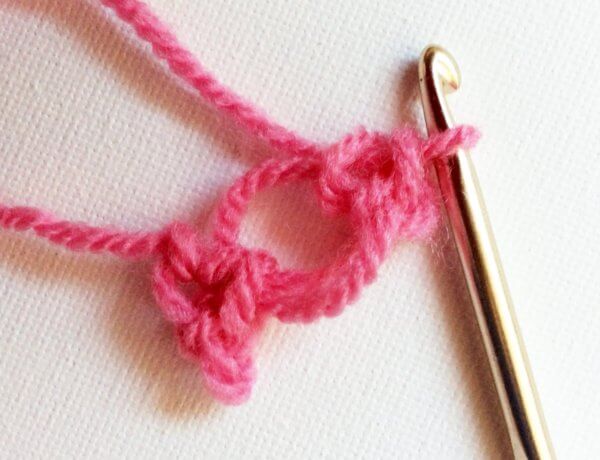
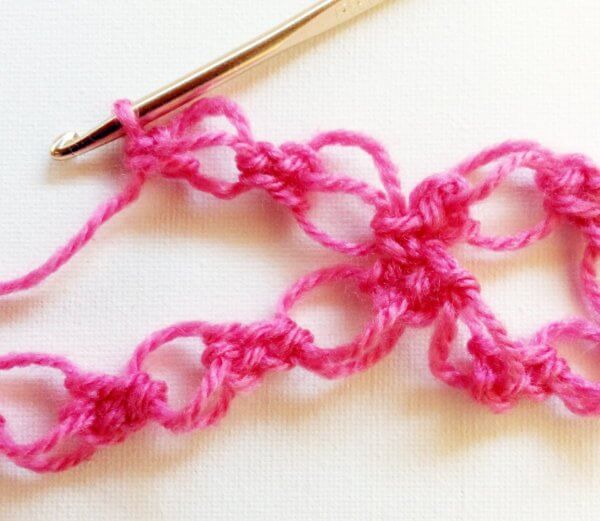
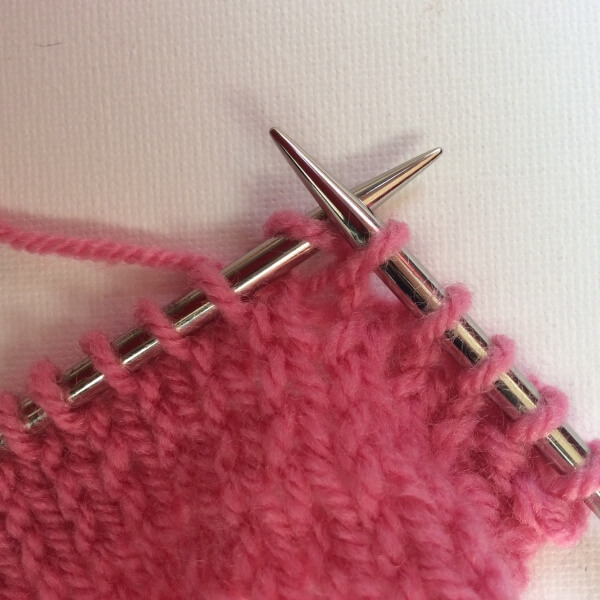
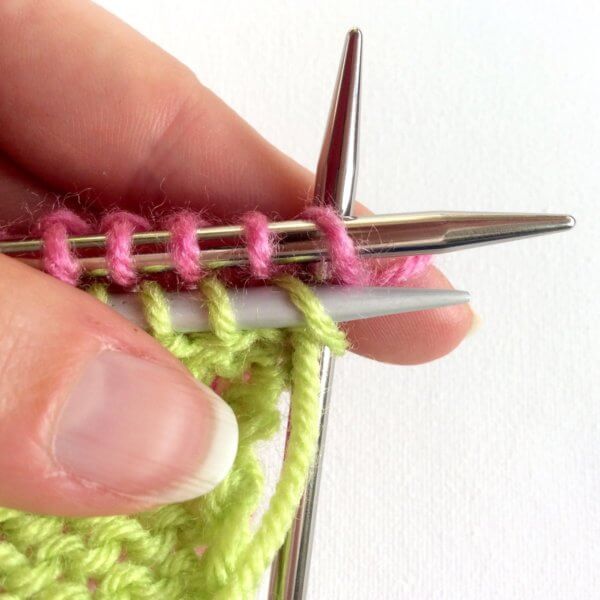
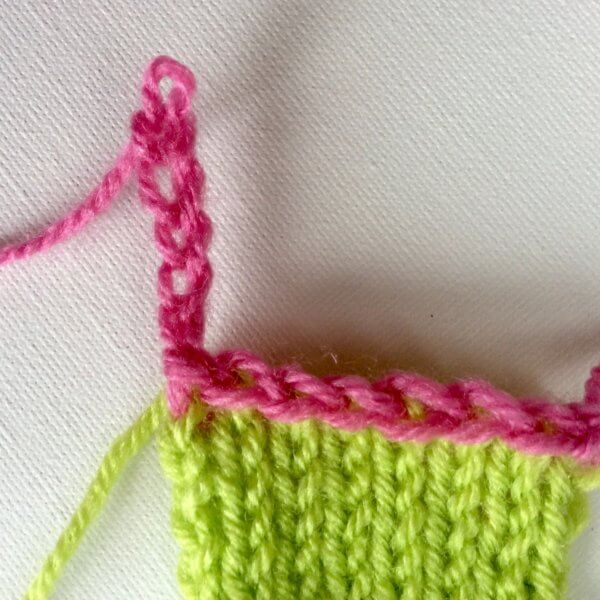
6. On the following wrong side row the nupps will be completed. The clusters of five stitches look like this from the wrong side of the fabric:
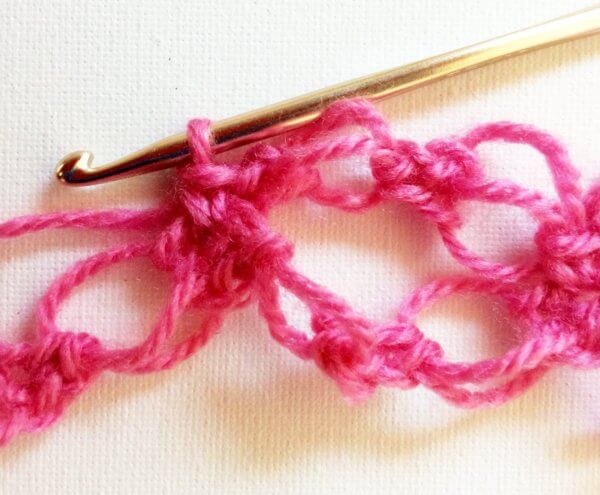
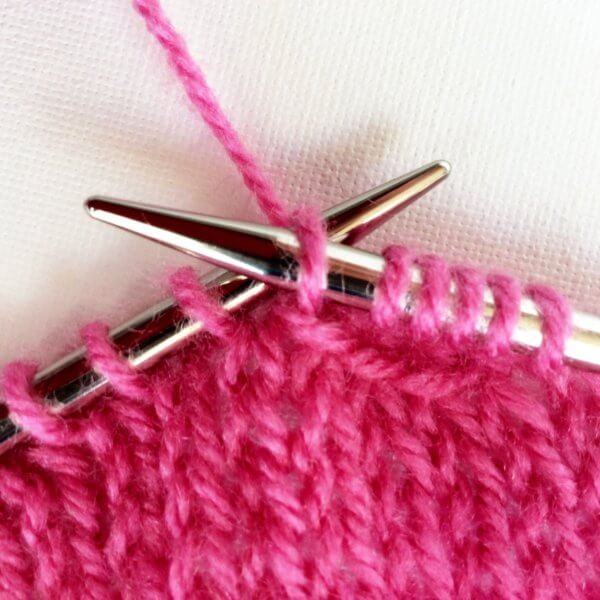
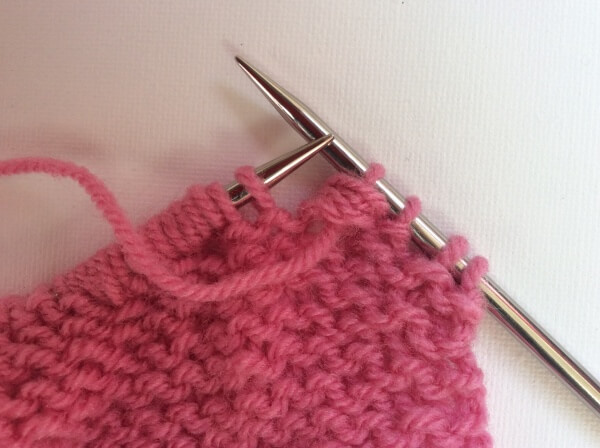
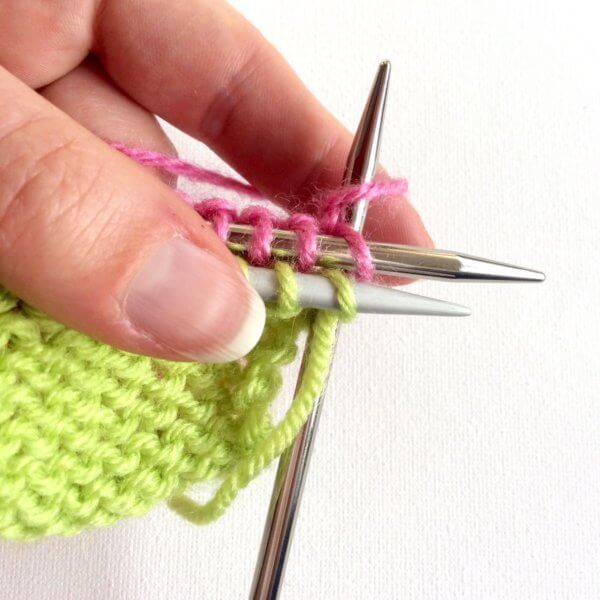
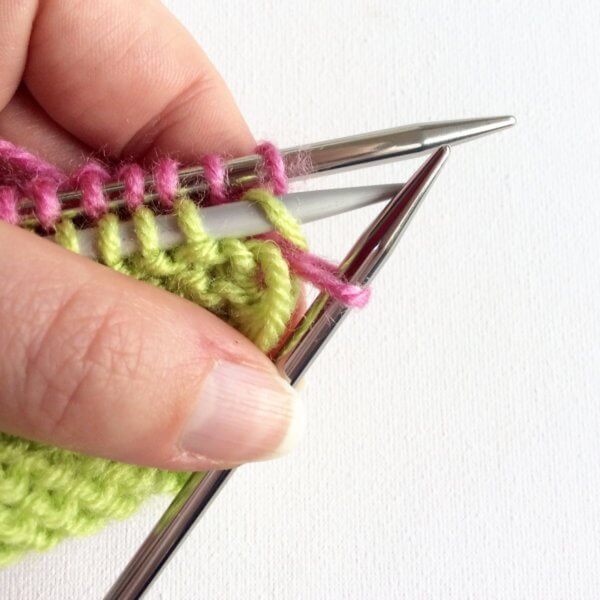
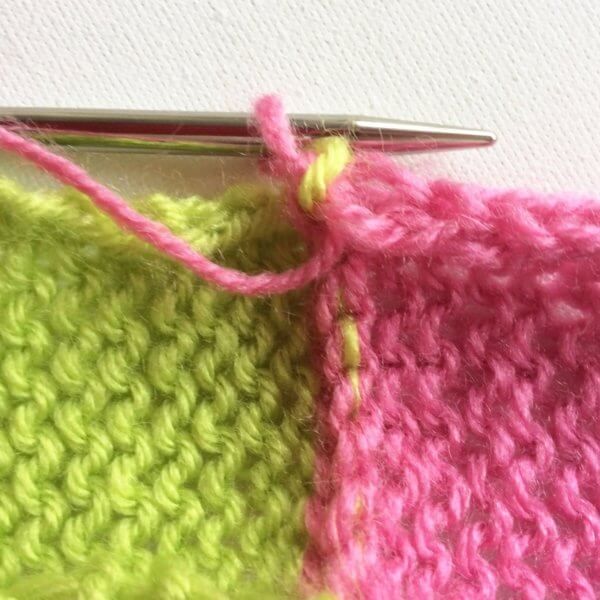
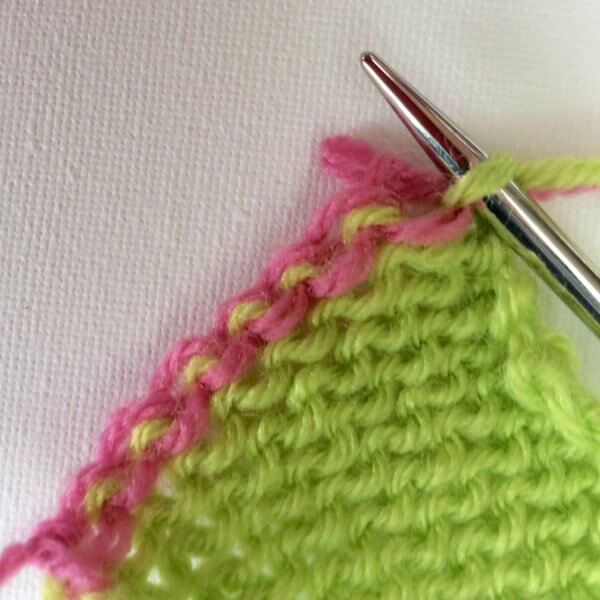
7. Insert your needle in all five stitches at the same time to purl them together. This works best if you have made the new stitches for the nupps loosely and when using sharp knitting needles.
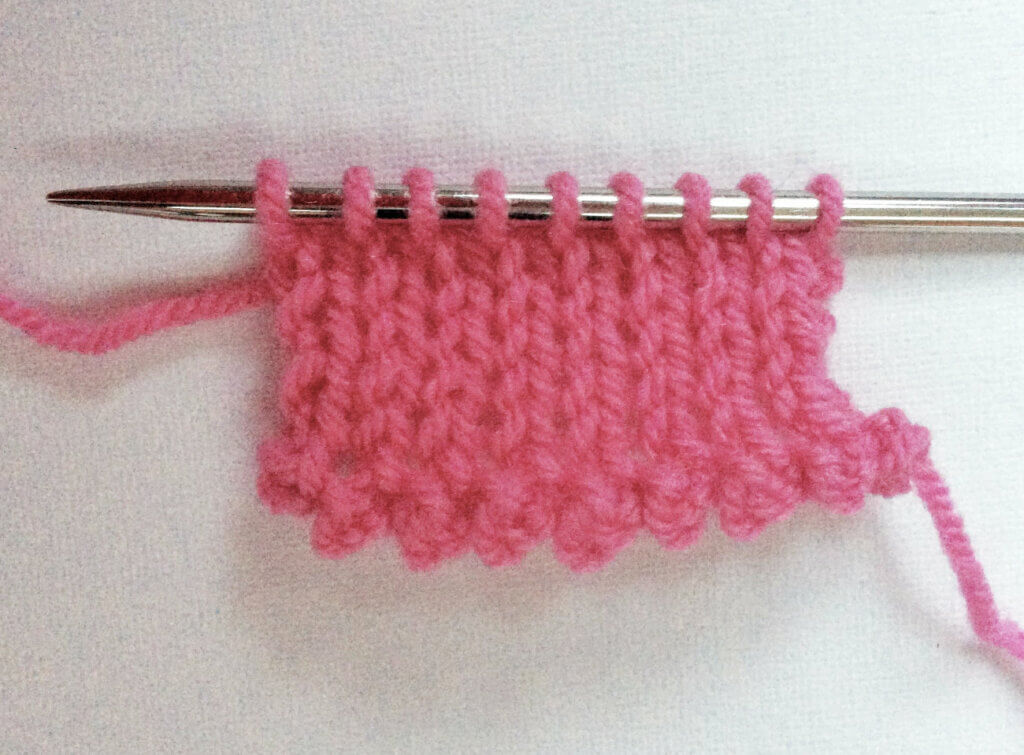
8. Once purled together it looks like this:
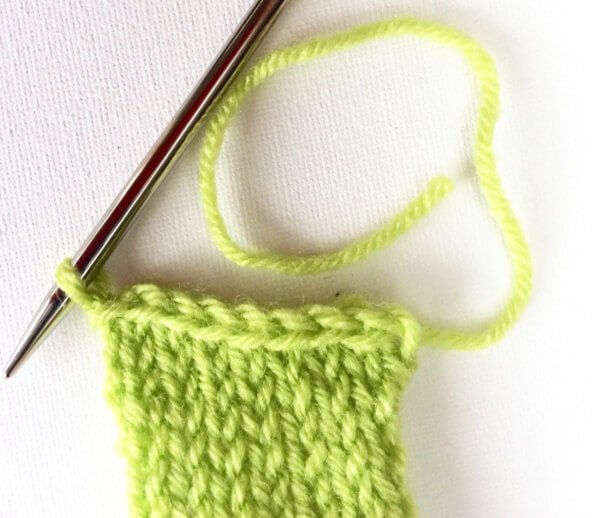
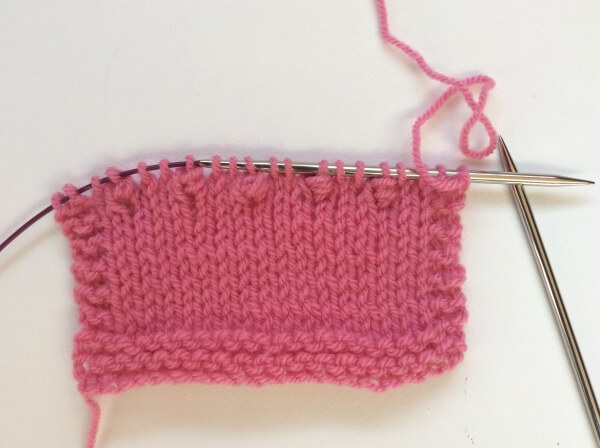
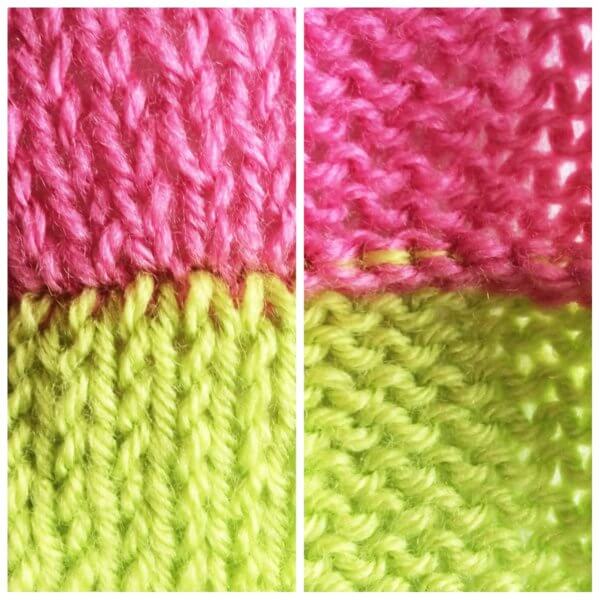
And this is how it looks on the right side of the work:
When knit in a thin yarn nupps will of course look very different from the ones in the worsted weight yarn I used for this tutorial. Depending on the effect you want to achieve you can make 5-stitch, 7-stitch or even 9-stitch nupps. Just repeat steps 2 and 3 as desired.
And don’t forget:
- Knit loosely.
- Use sharp needles.
- Use a crochet hook to purl the nupps stitches together if you have to.
- Don’t sweat it if they don’t turn out the way you want at first: it is only yarn!
tutorial: Estonian lace knitting – nupps Read More »


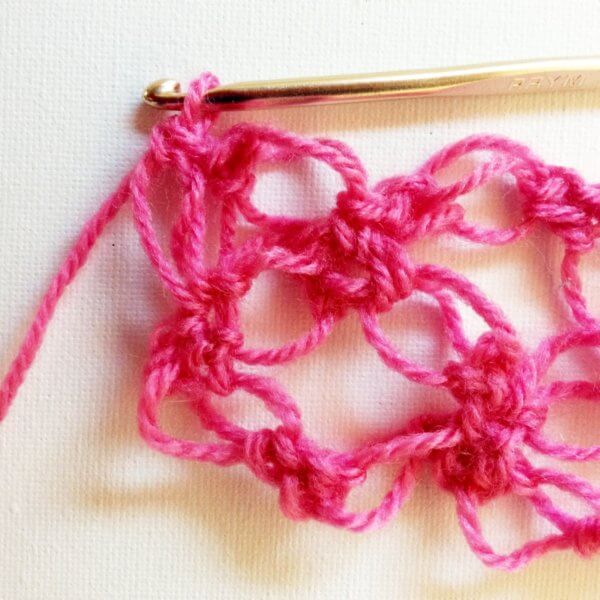
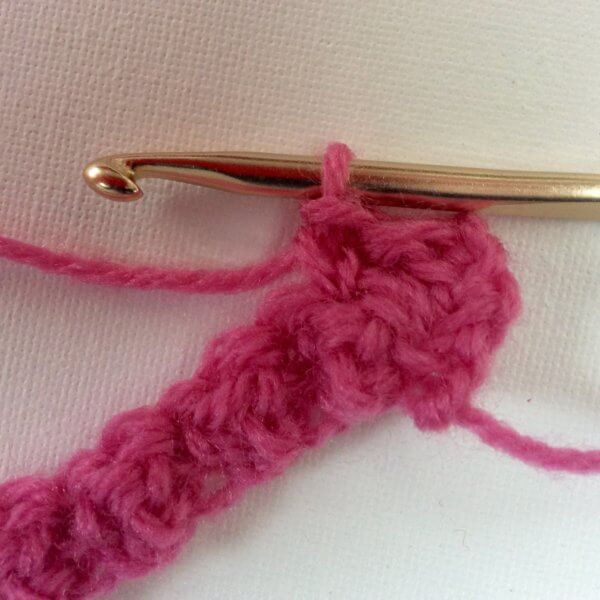
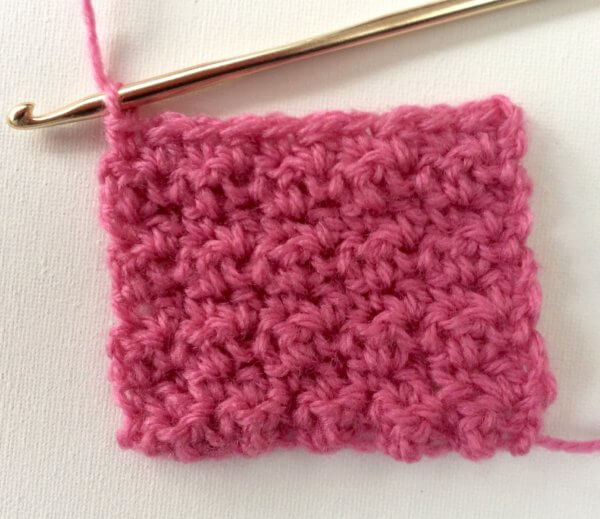
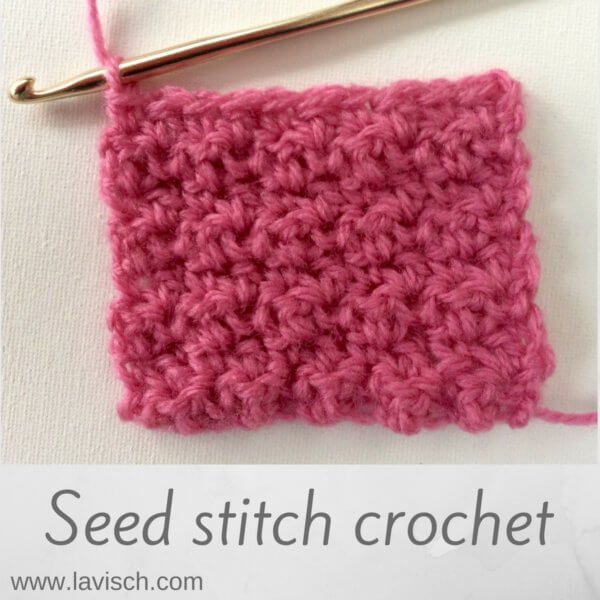 In this post I will show you how to crochet the “seed stitch”. In this stitch single crochet stitches are alternated with double crochet stitches (US crochet terminology!). This gives a really lovely and dense fabric, very suitable for projects like scarves, blankets and bags. Let me show you step by step how it is done.
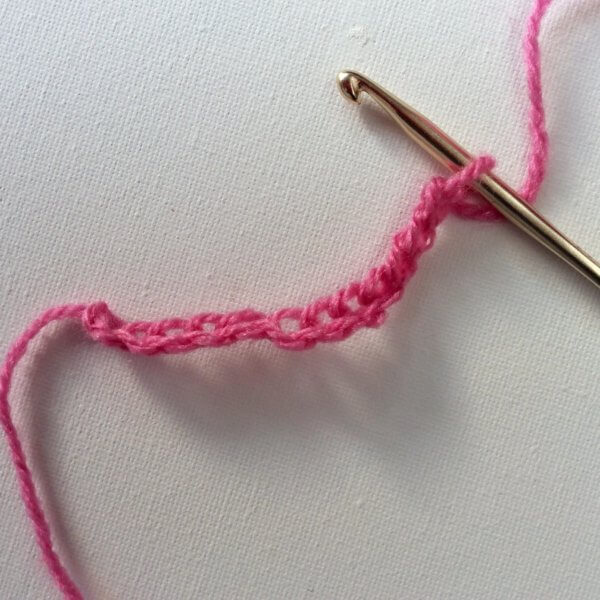


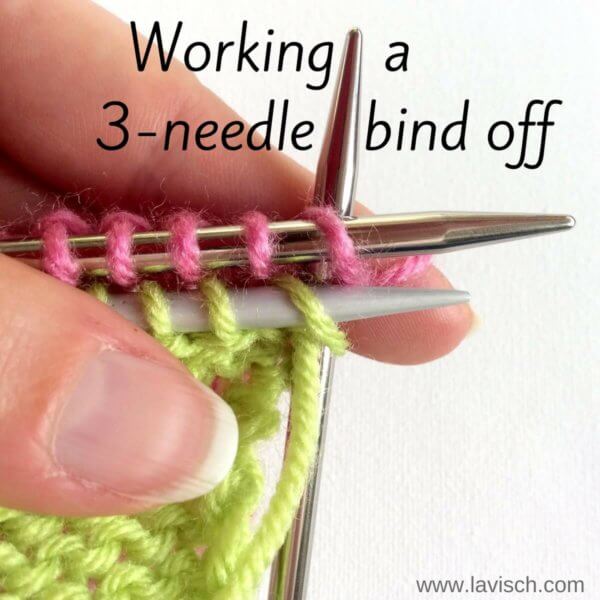


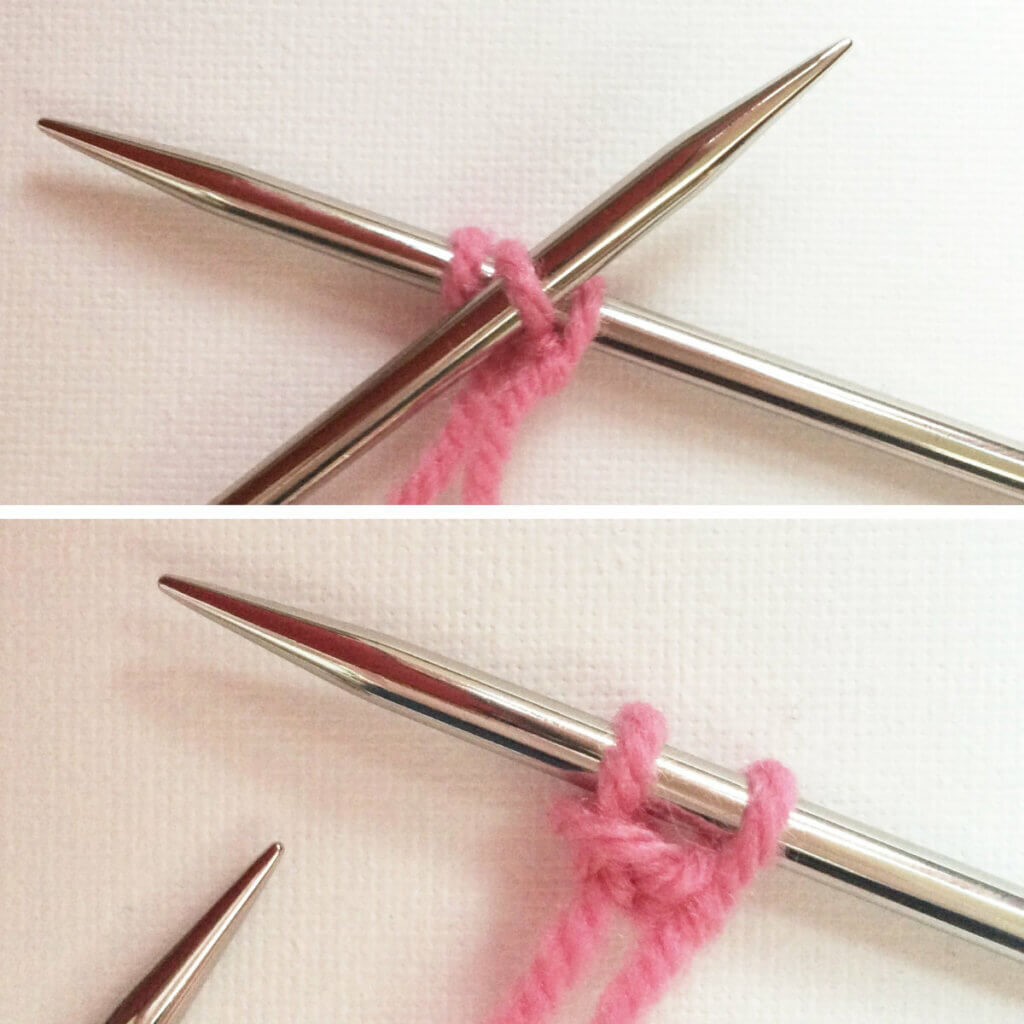
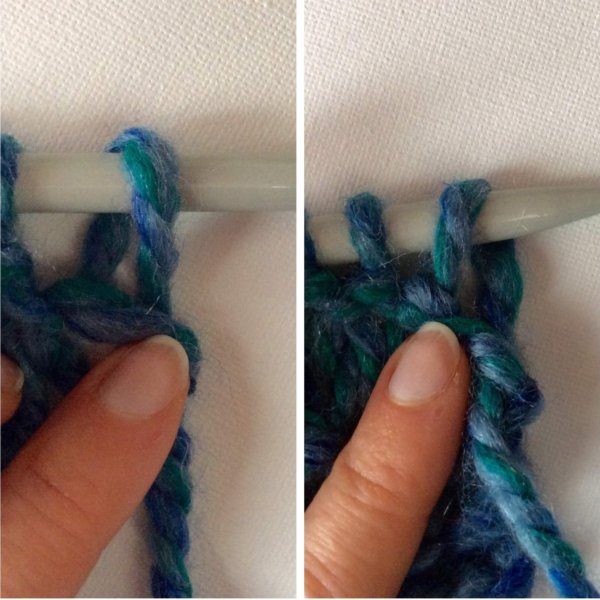 Left in this picture is the regular orientation, on the right, there is a twisted stitch on the needle. This is no problem though: Just knit (or purl) the twisted stitch through the back loop to untwist the stitch mount.