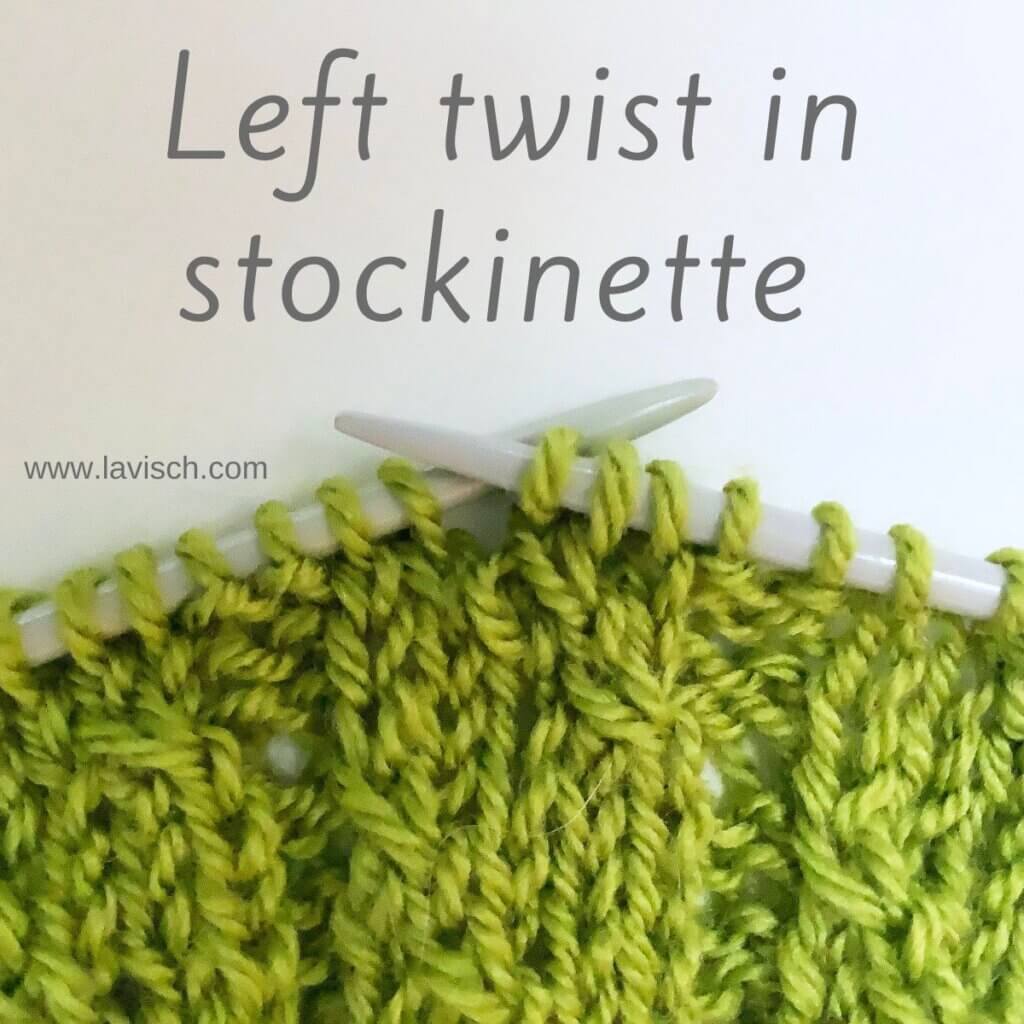
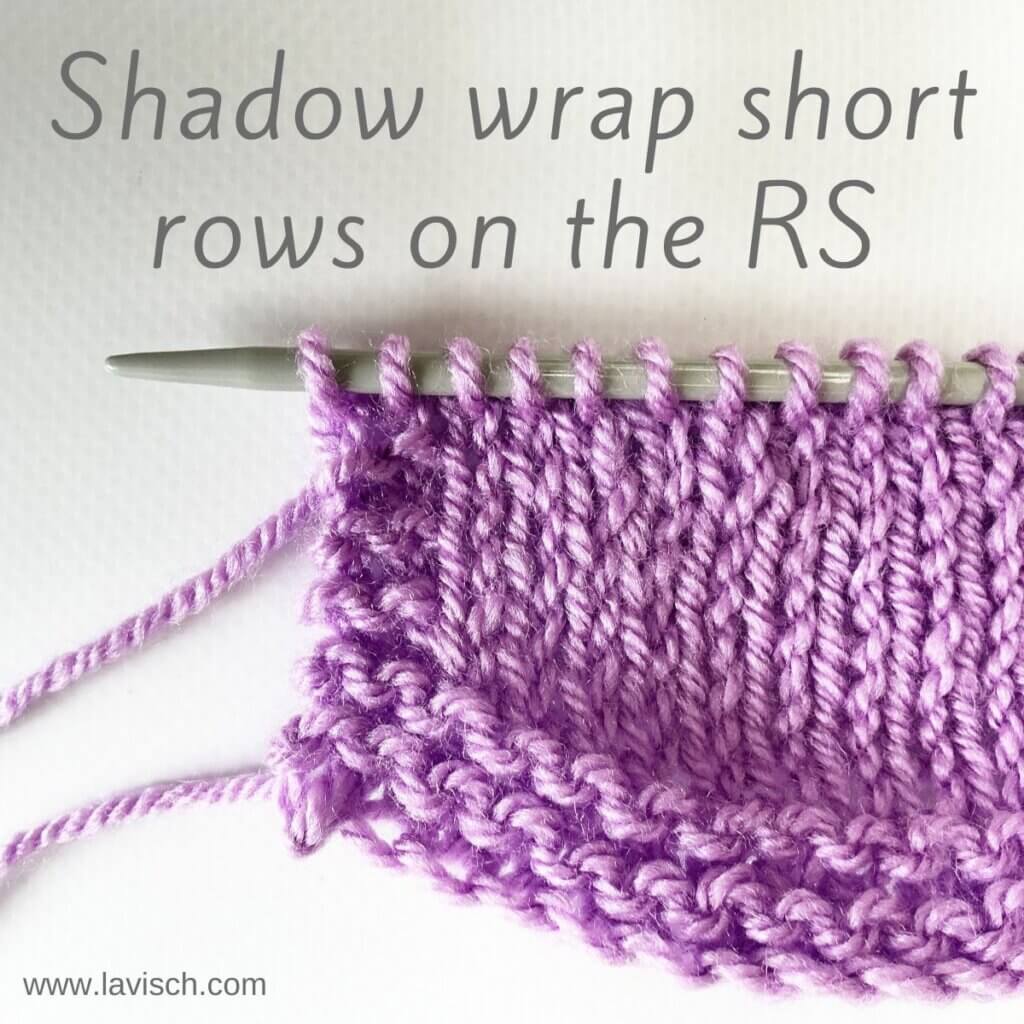
tutorial – working shadow wrap short rows on the RS
Short rows are a very handy way to create shaping in knitted fabric. Use it, for example, to raise the back of the neck in sweaters, or turn the heel in socks. As a matter of fact, I first encountered these shadow wrap short rows in this sock project I was knitting. I really like them, because just like German short rows, you end up with some sort of “double stitch” that is pretty invisible in the resulting fabric. The way to go about making that double stitch is quite different, though.
Grab your materials and let’s get started! As with all short rows, they can be worked on both right side and wrong side rows. In this tutorial, I’ll focus on the working the shadow wrap short rows on the right side of the fabric.
Materials used


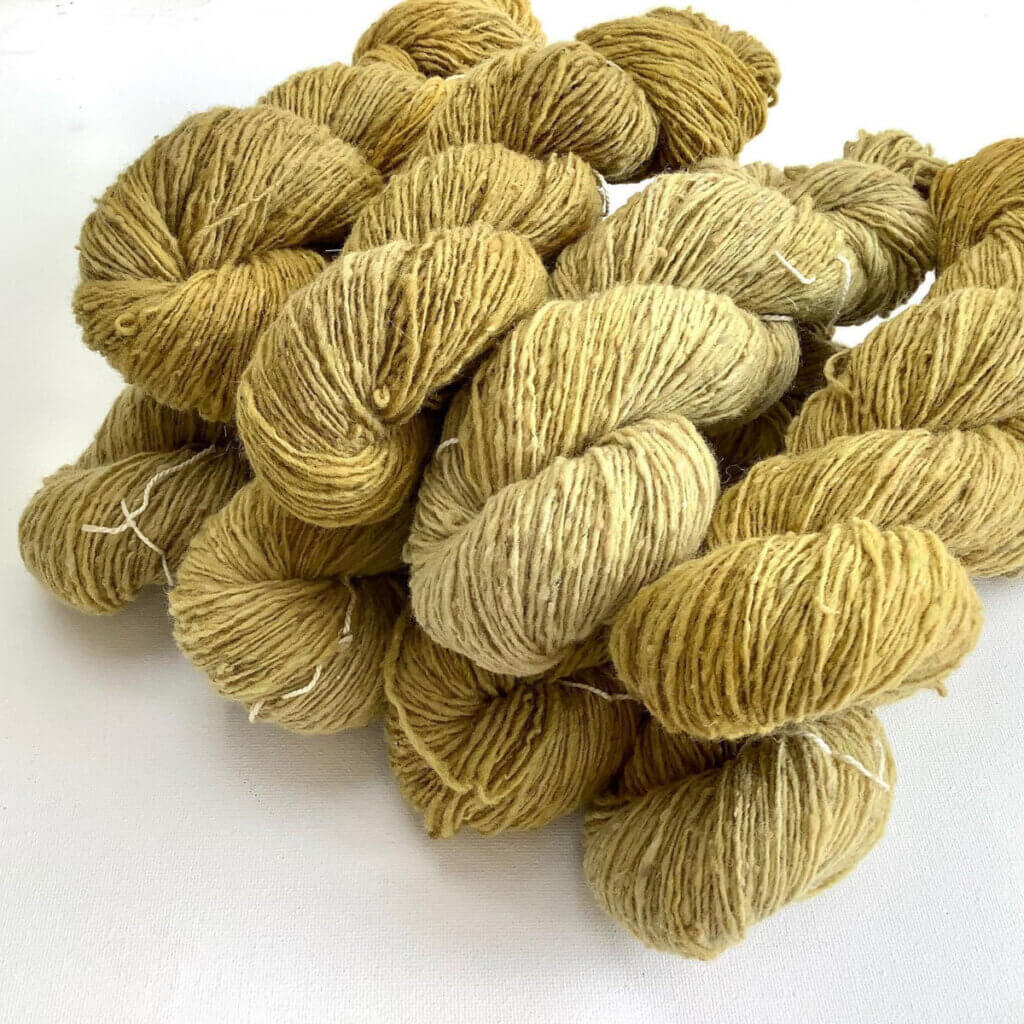
Yarn: Paintbox Yarns Simply DK, a good value, good quality 100% acrylic yarn, here in the color Tea Rose.
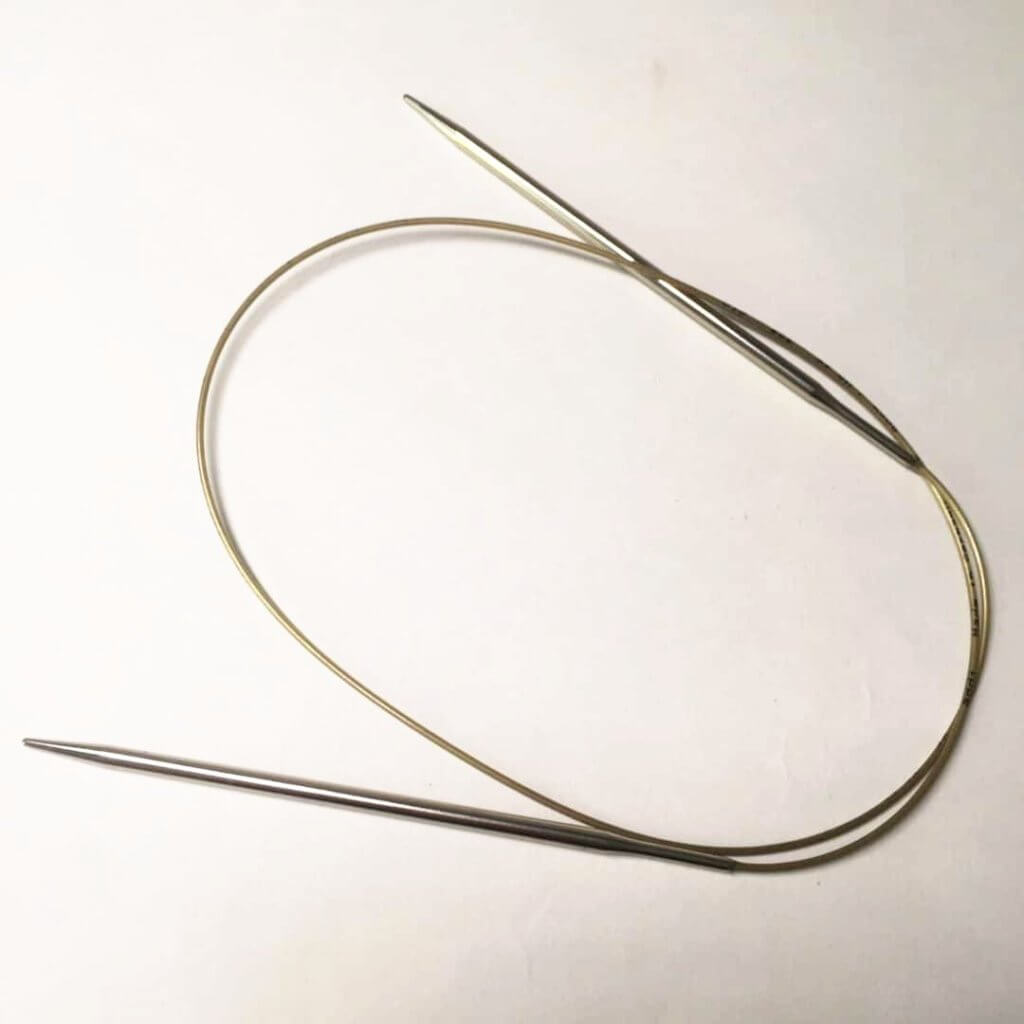
Knitting needles: This is a pair of straights that I picked up at the second-hand store when I started knitting. Brand unknown.
Working shadow wrap short rows on the RS step by step
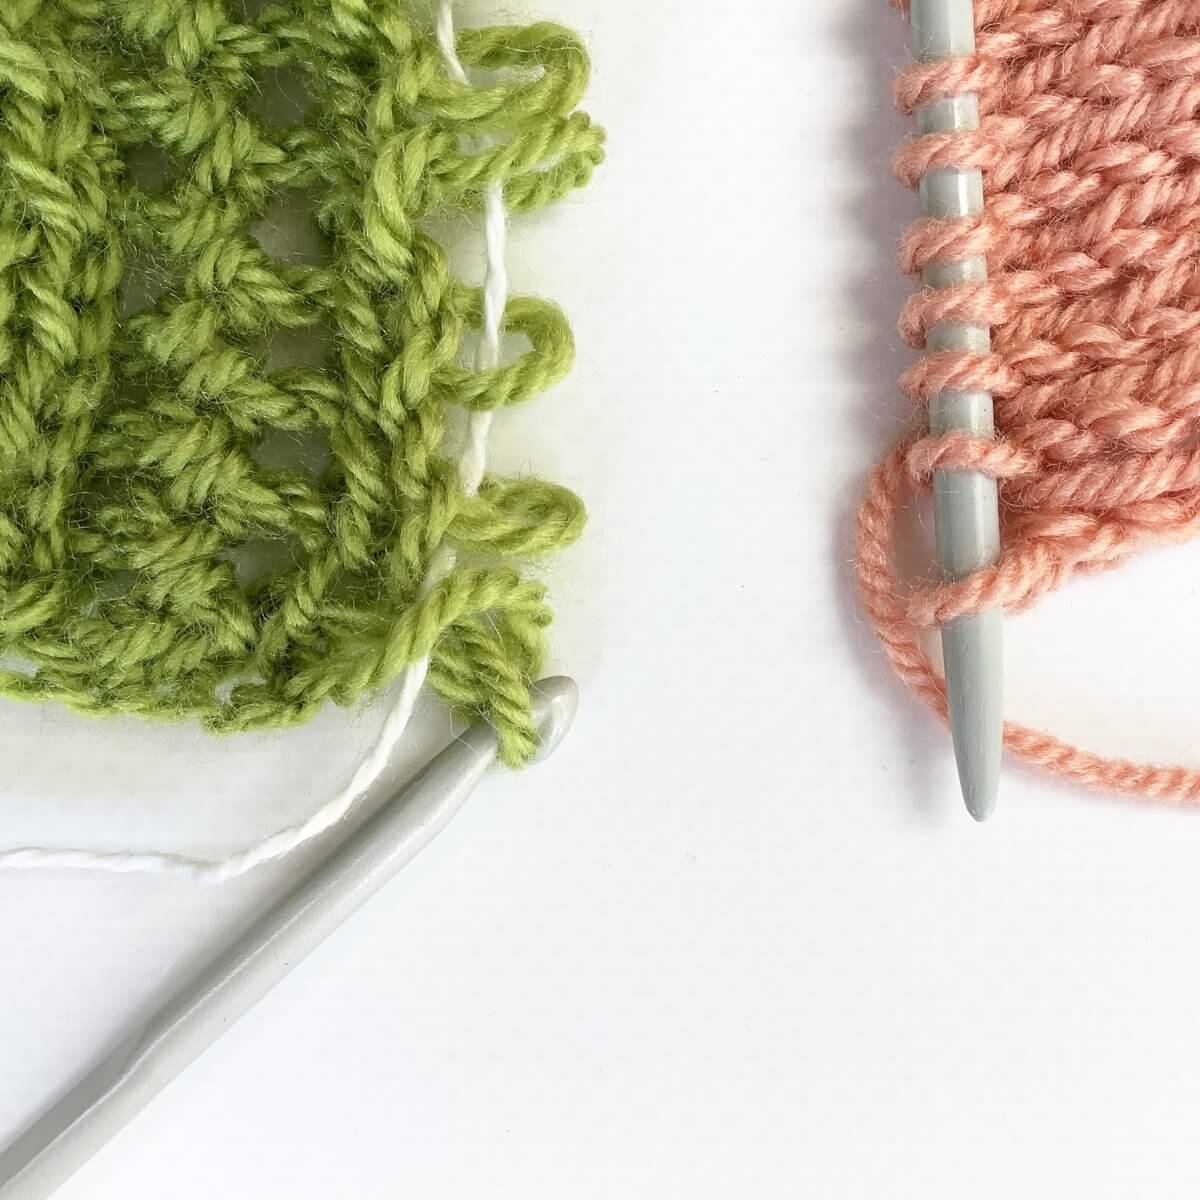
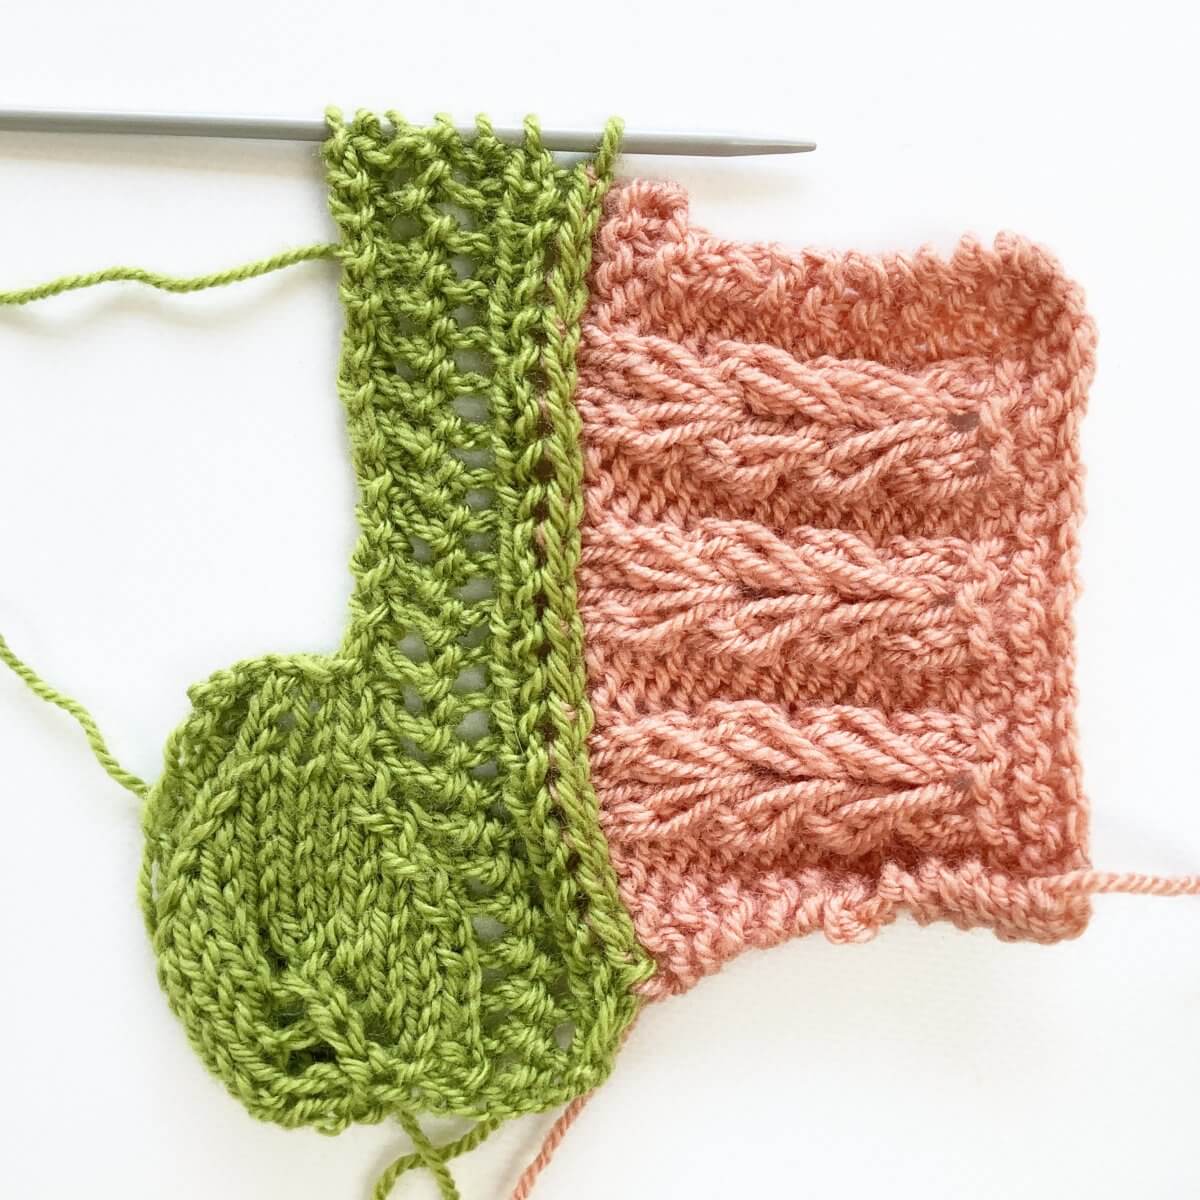
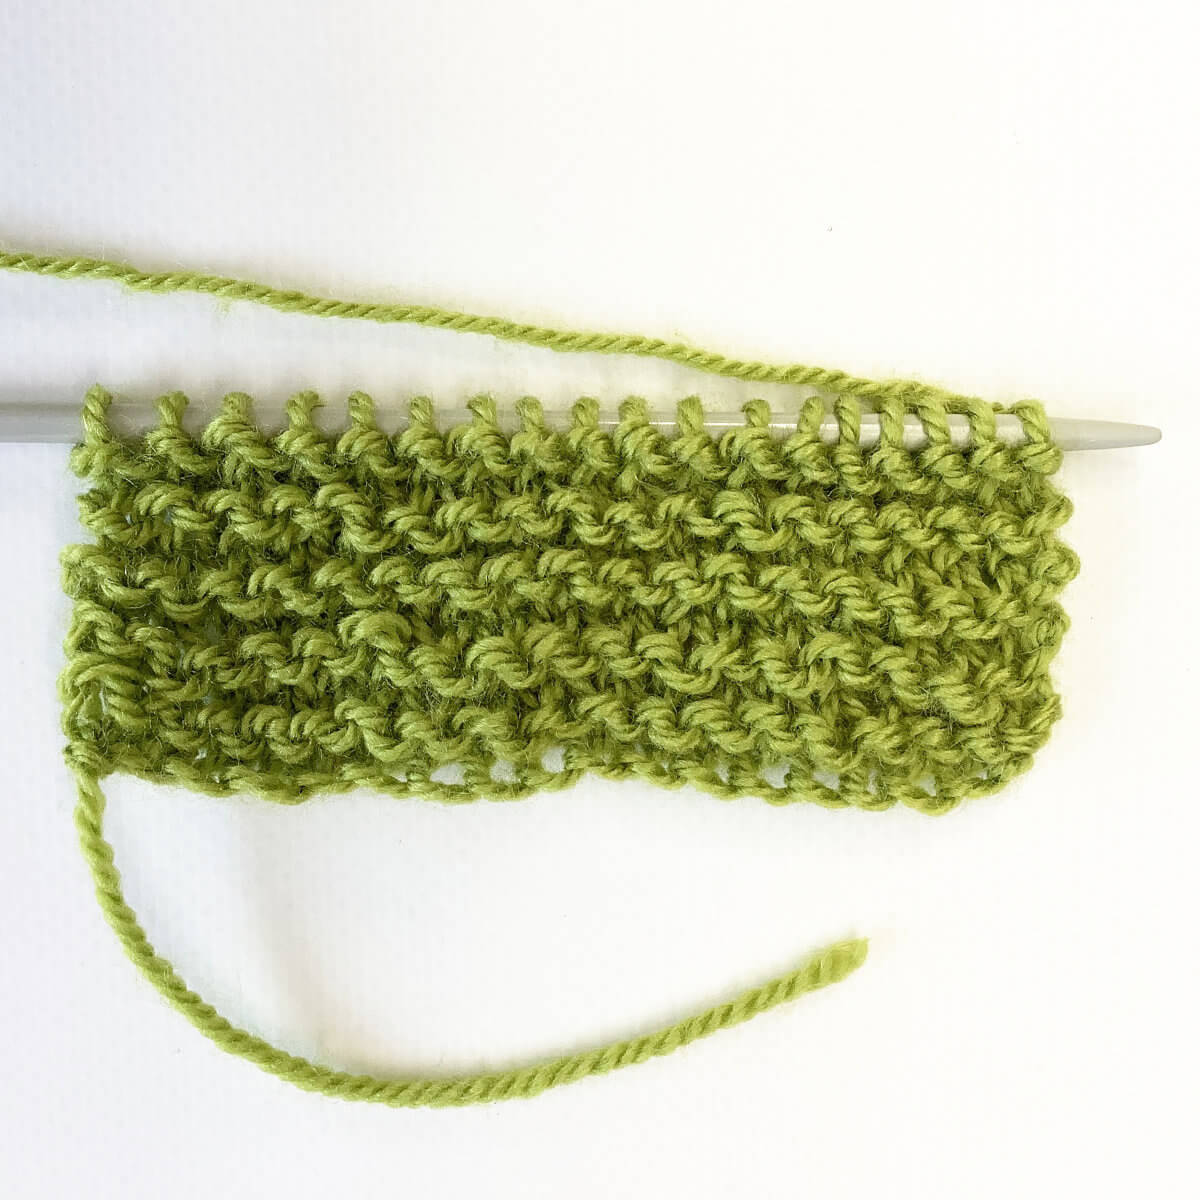
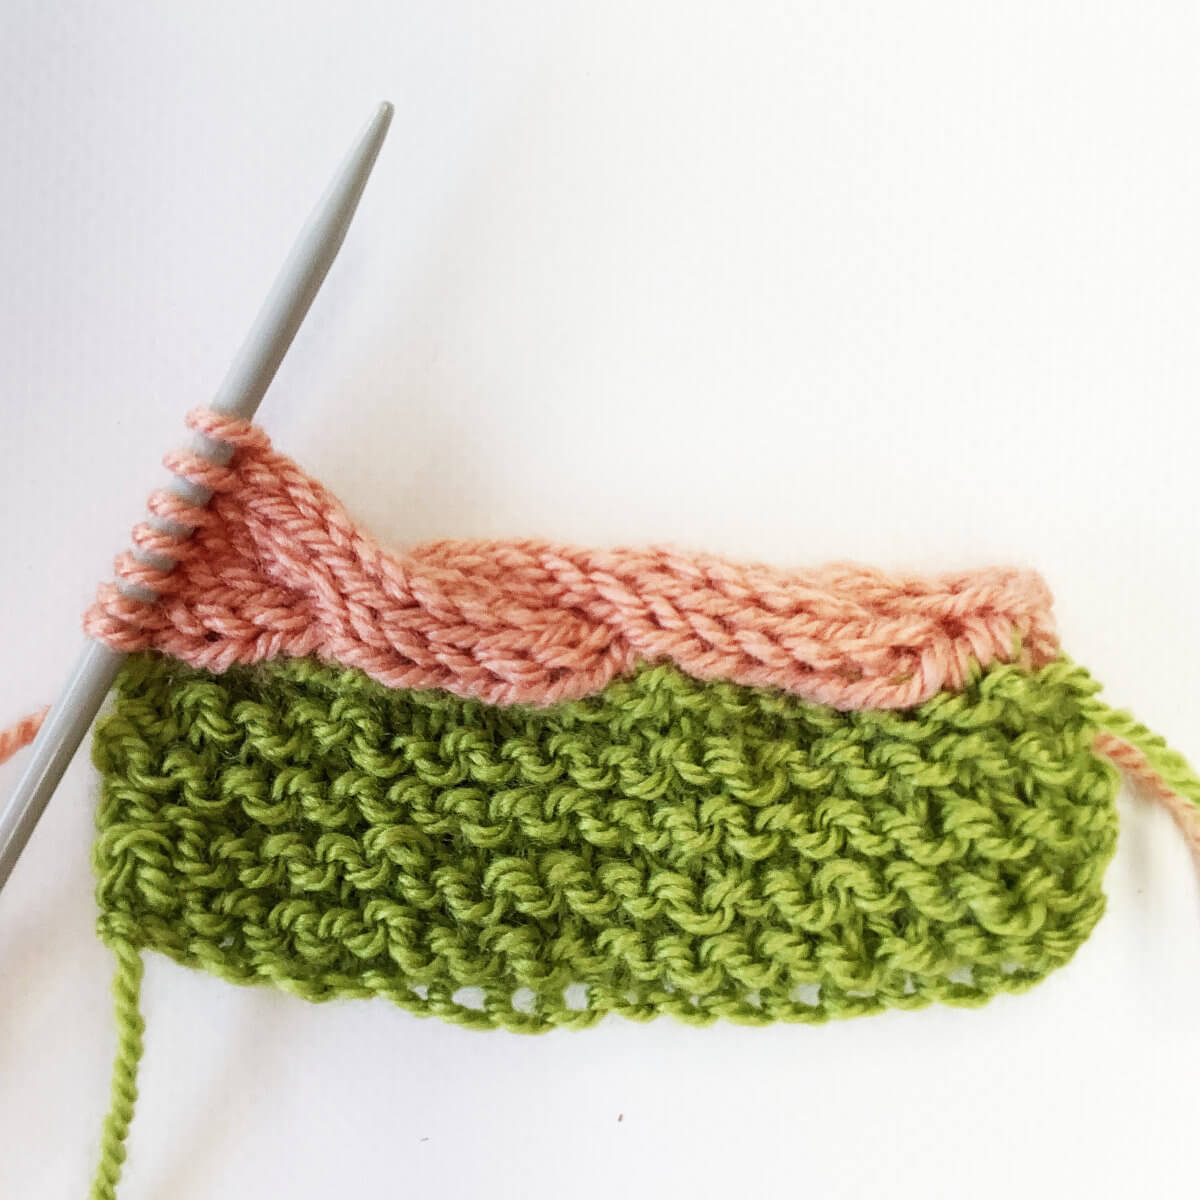
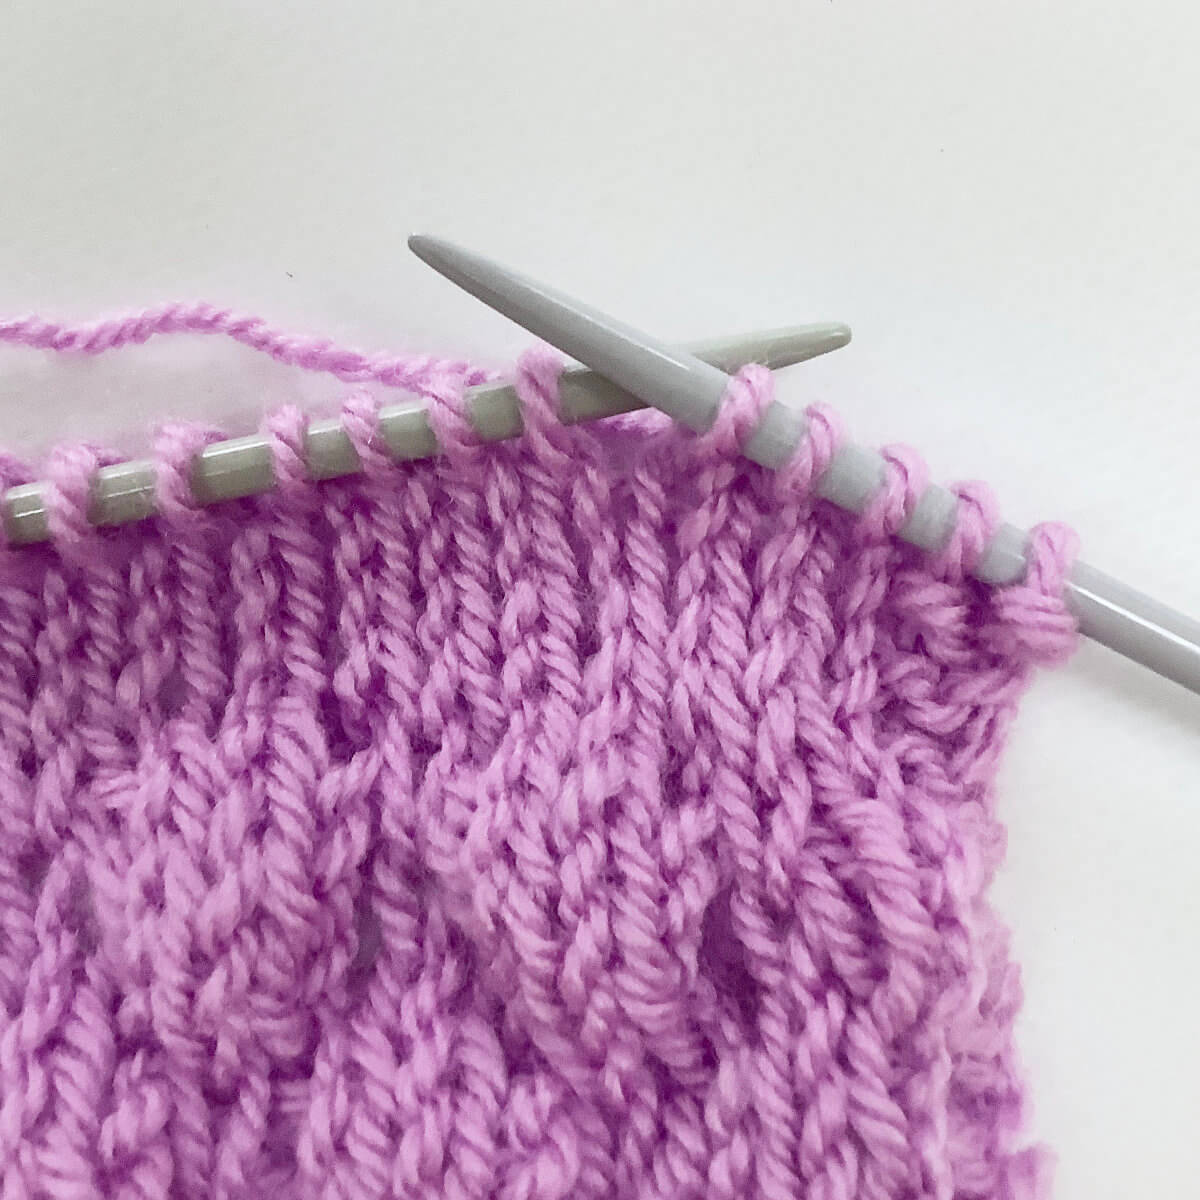
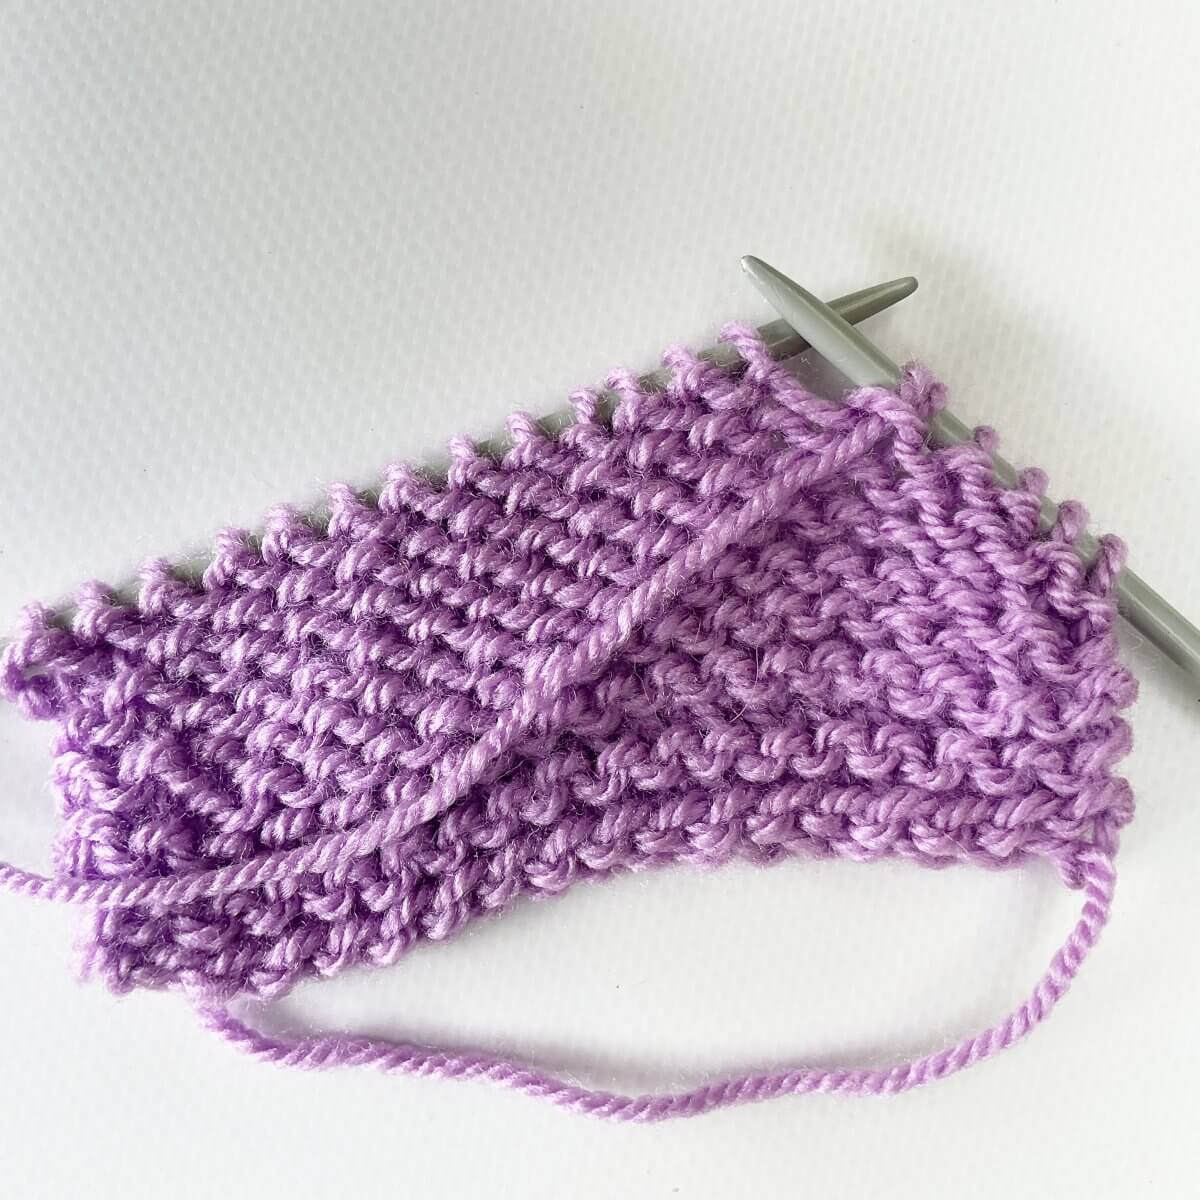
- I will show you how to work the shadow wrap short row, using this little swatch.
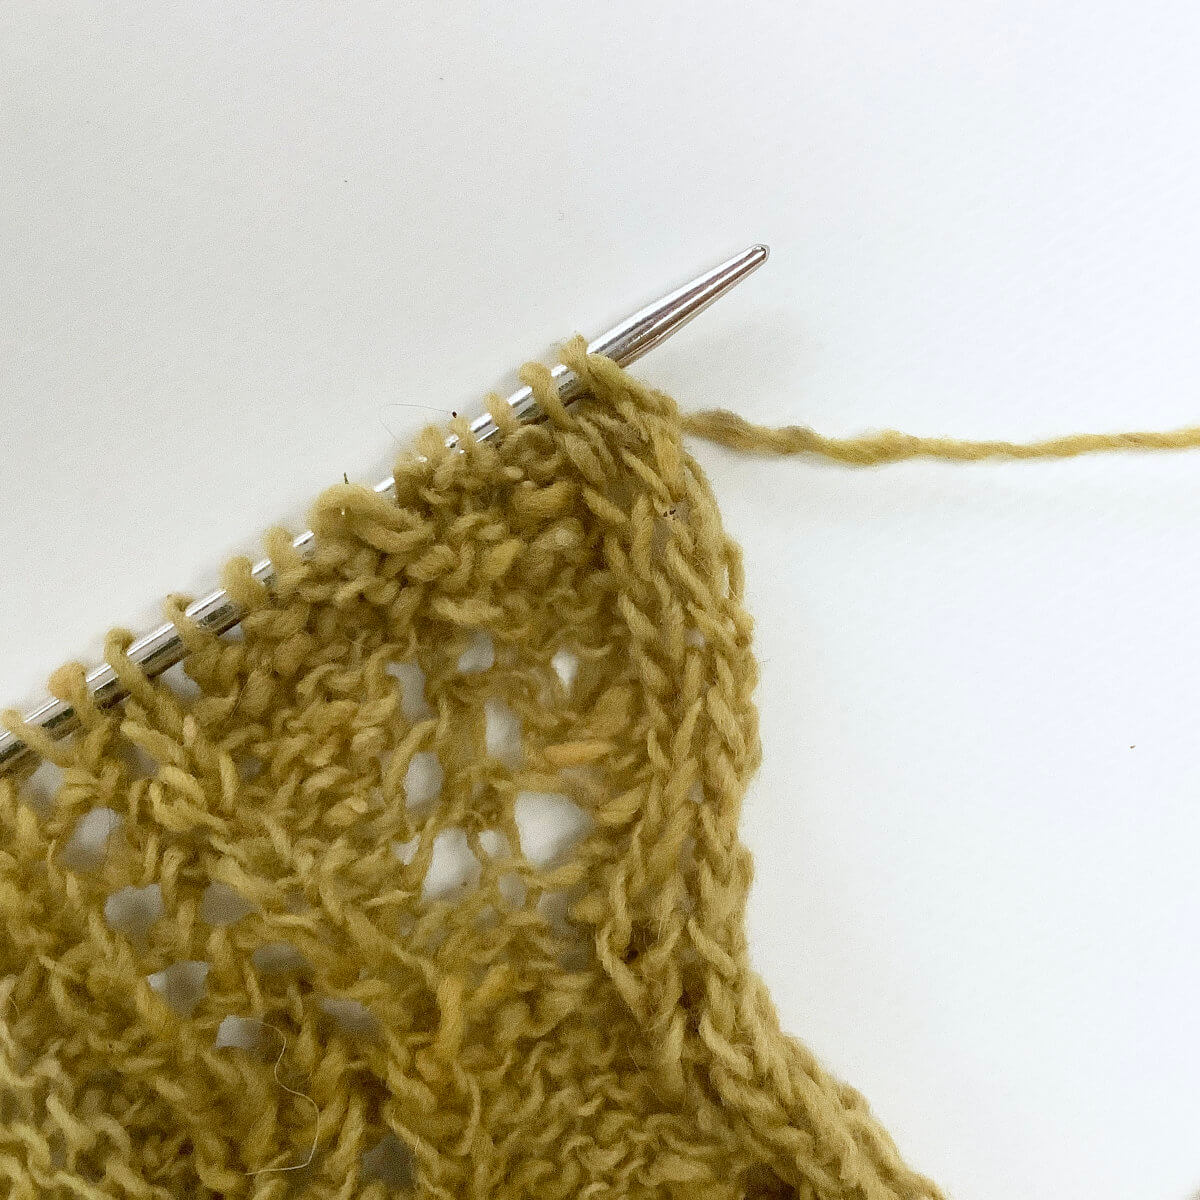
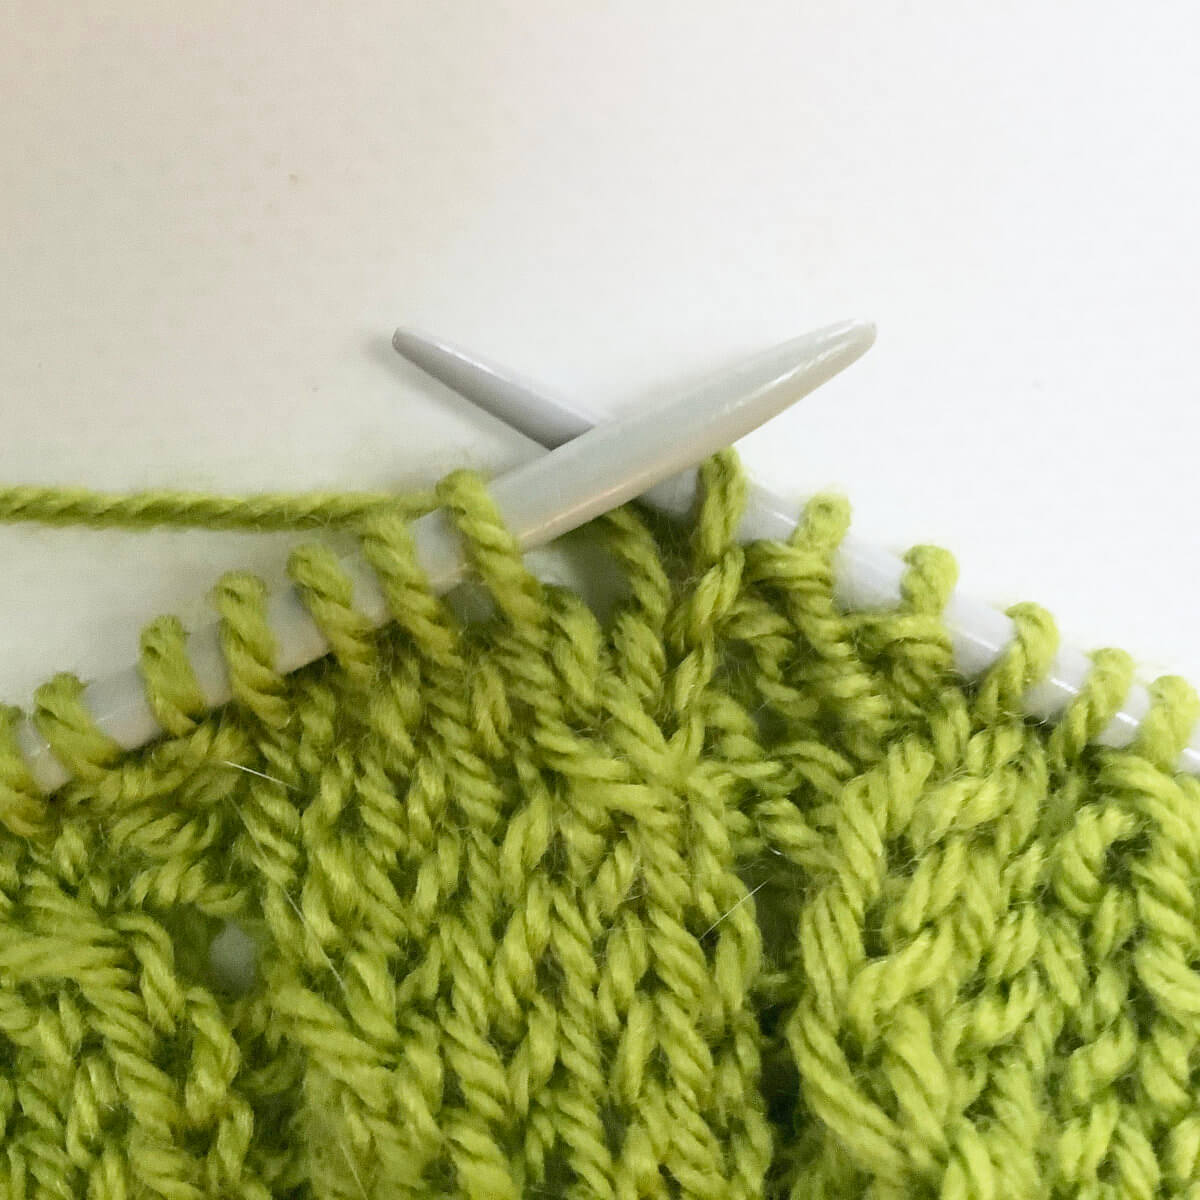
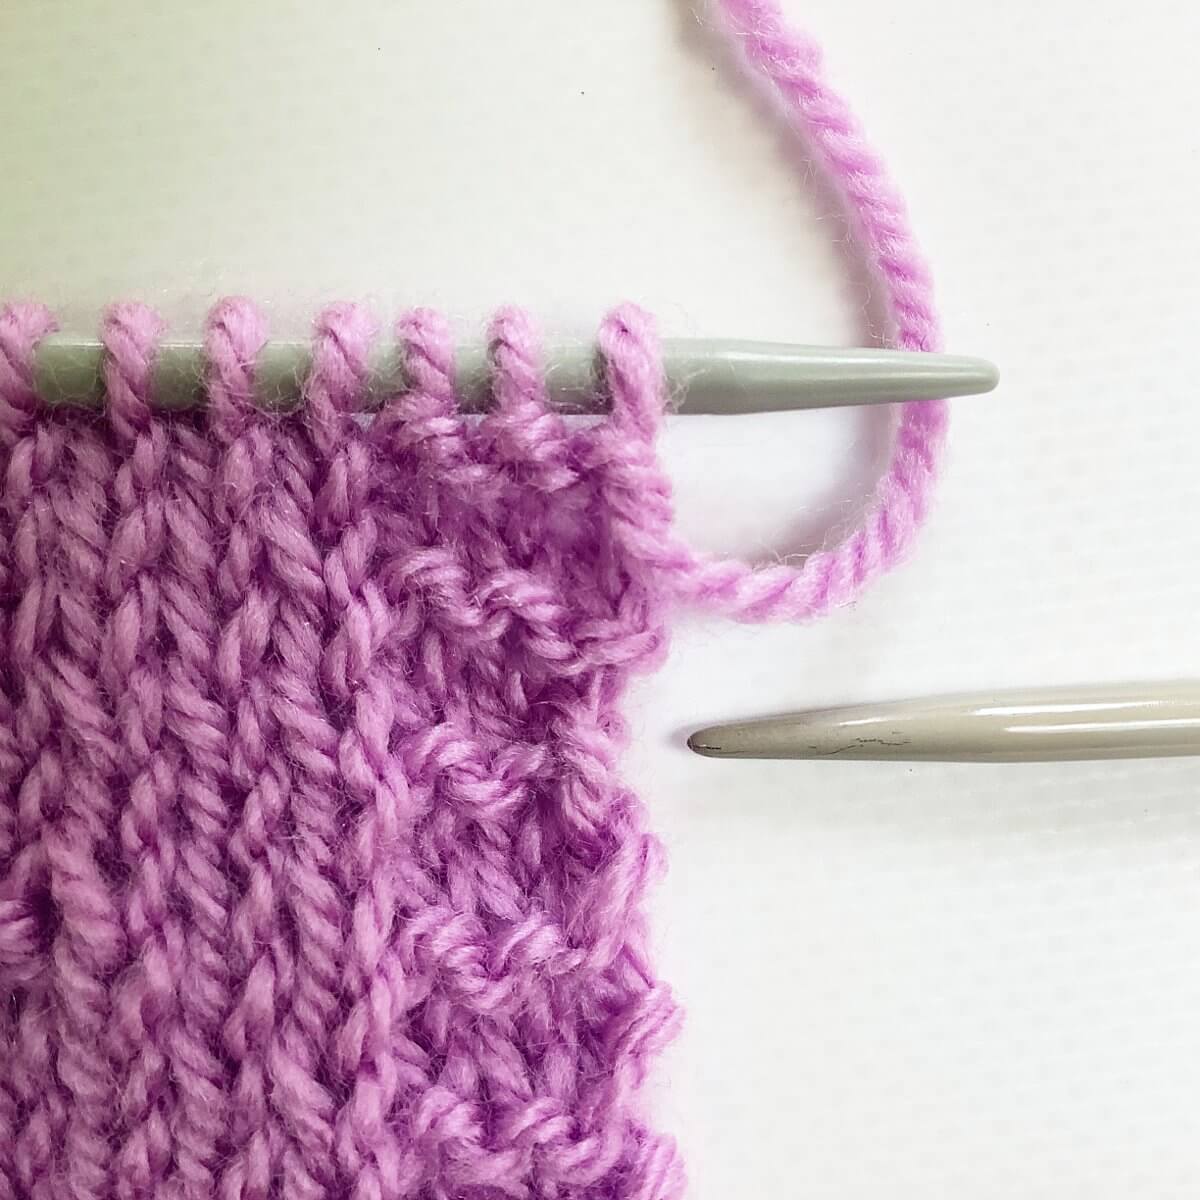
- Work as instructed by your pattern on the RS of the fabric, until the point where you are to turn for the short row.
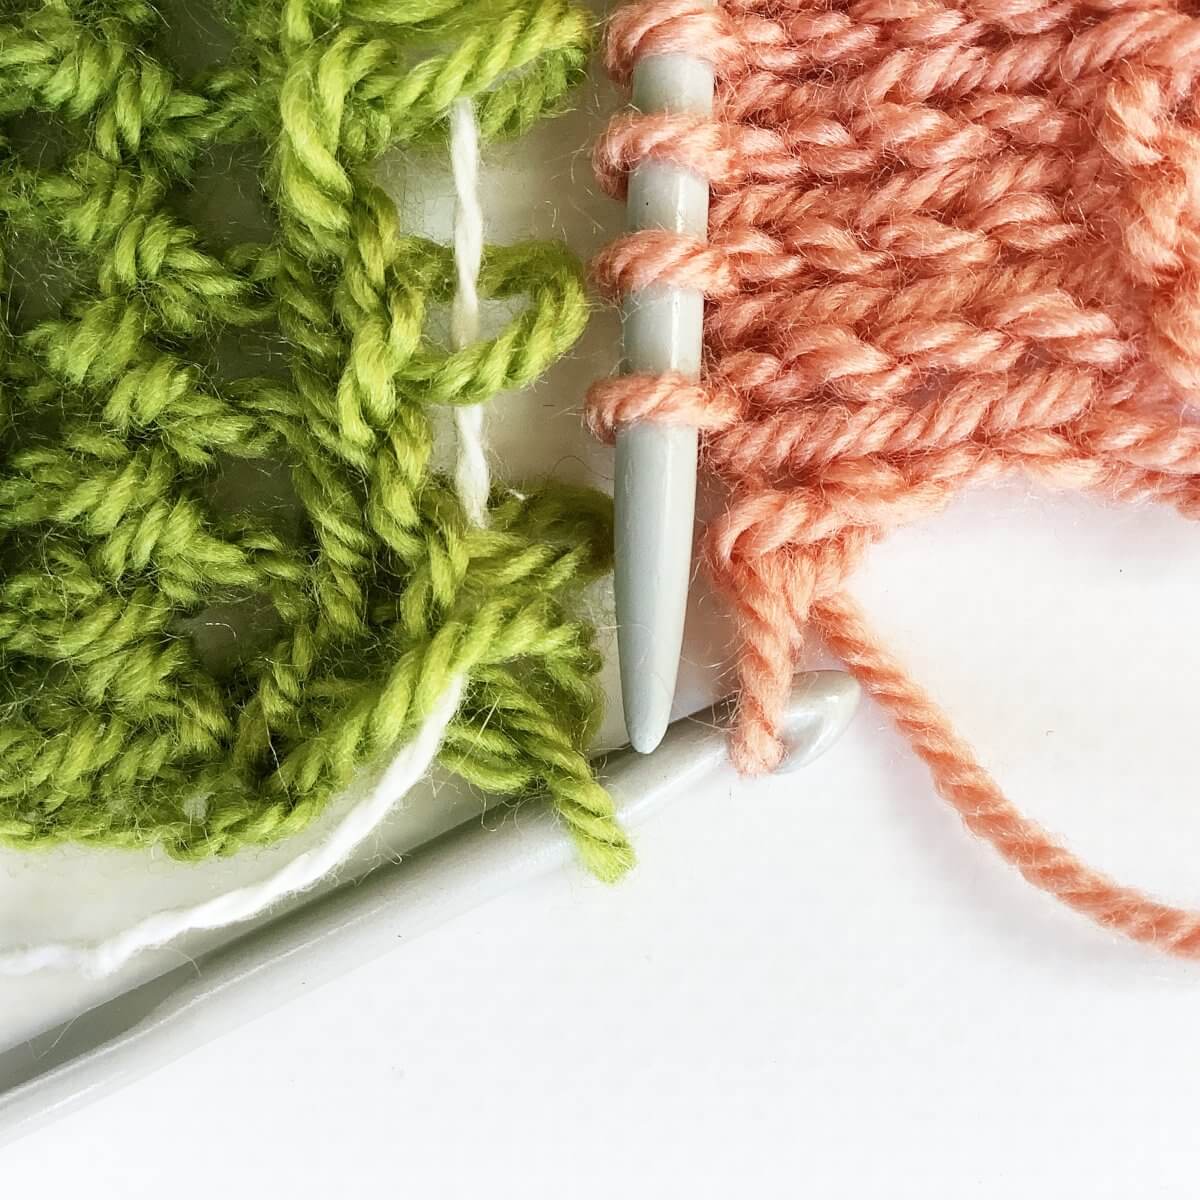
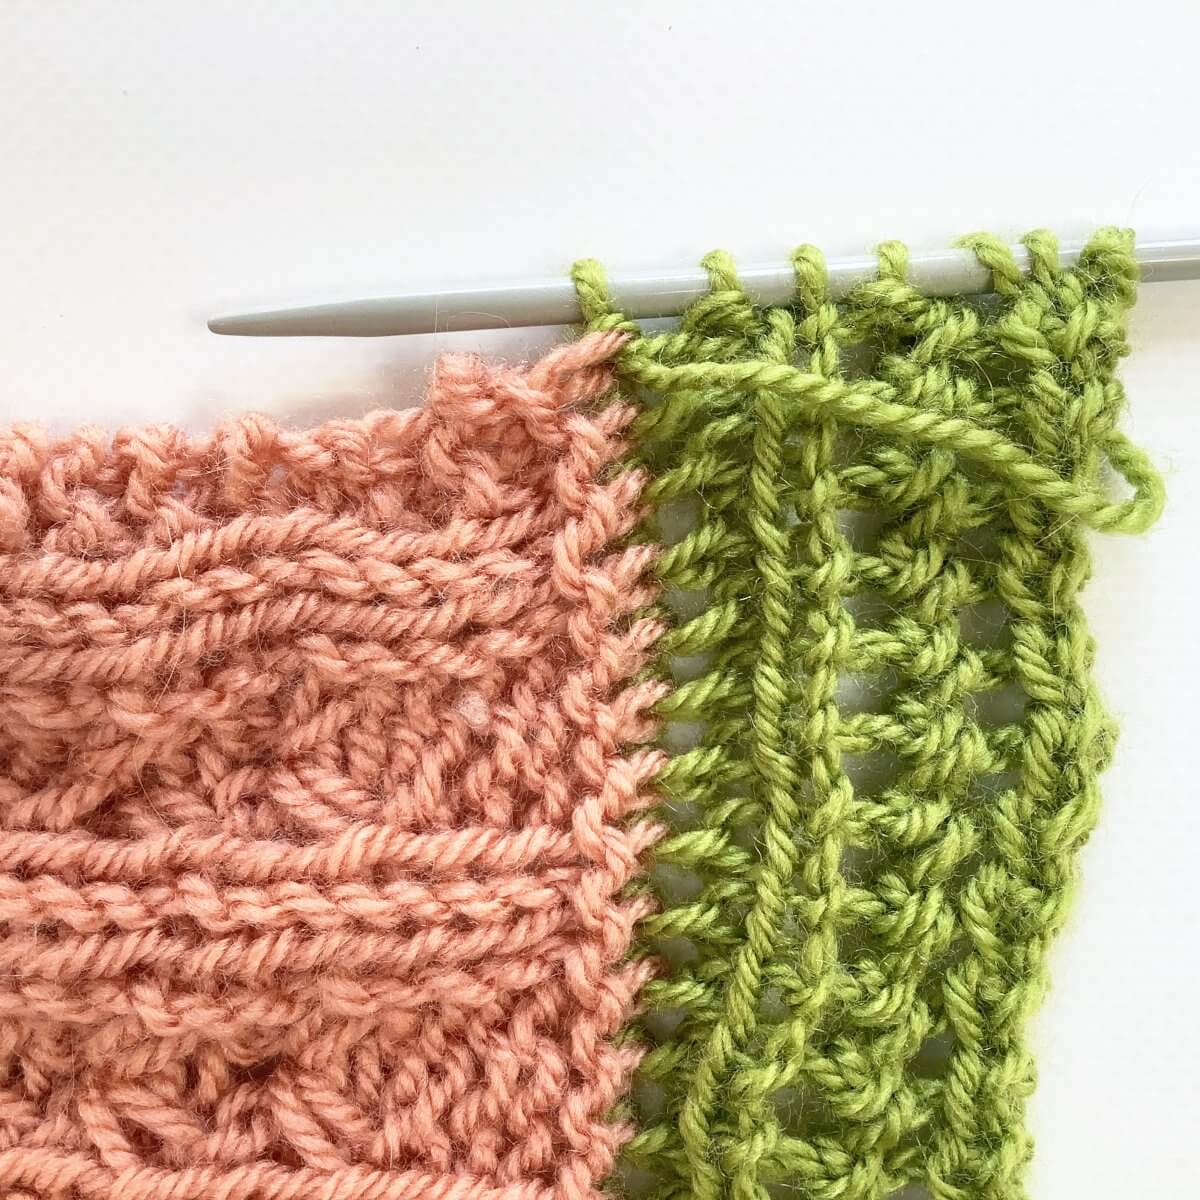
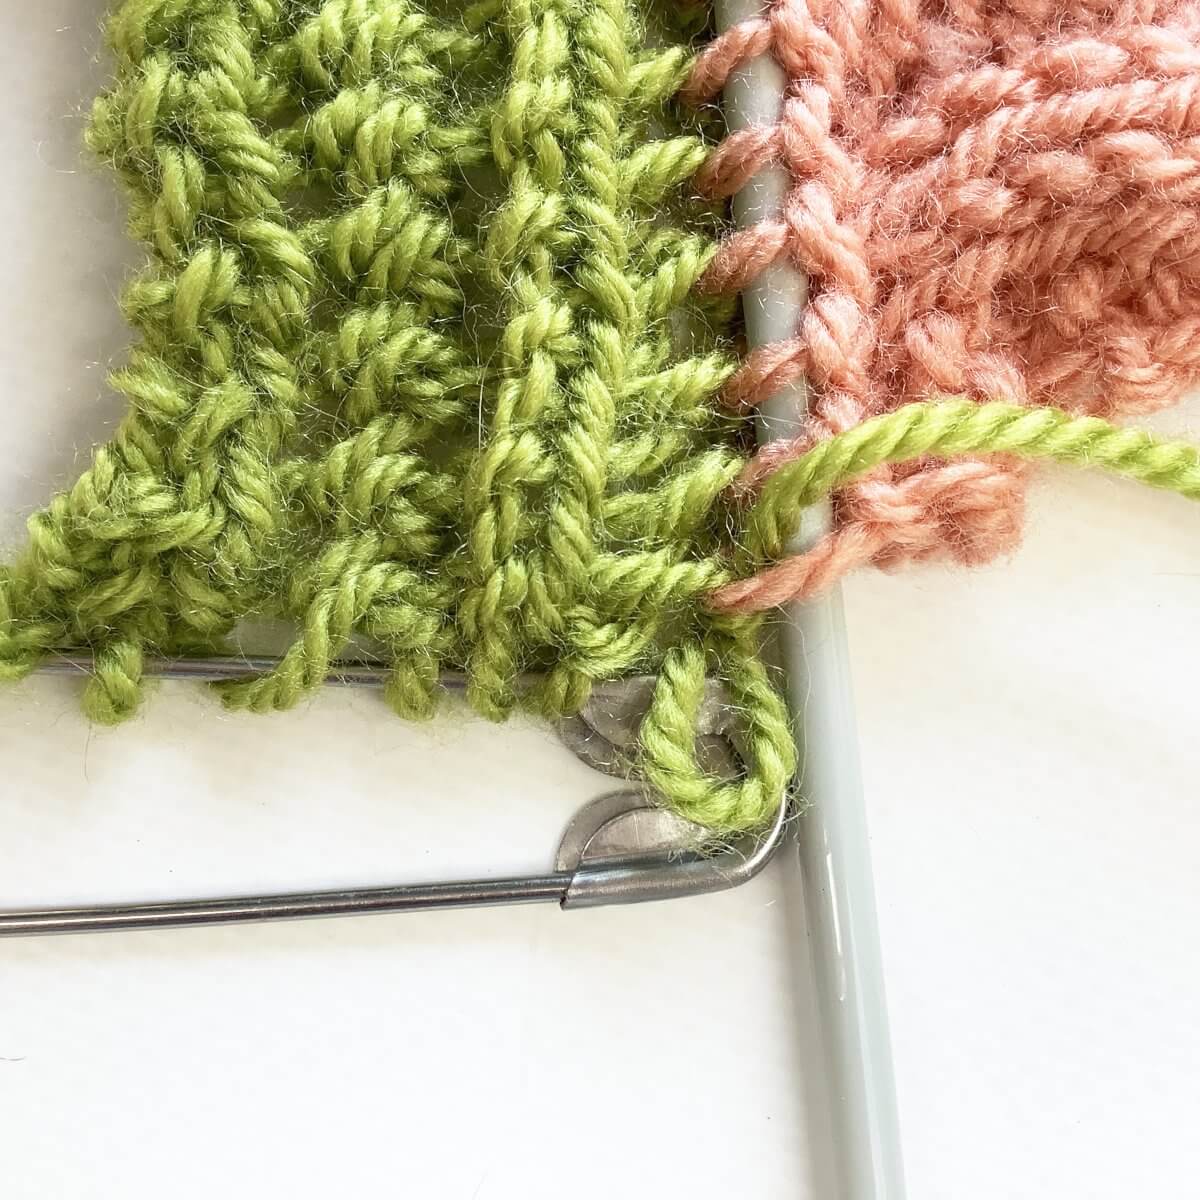
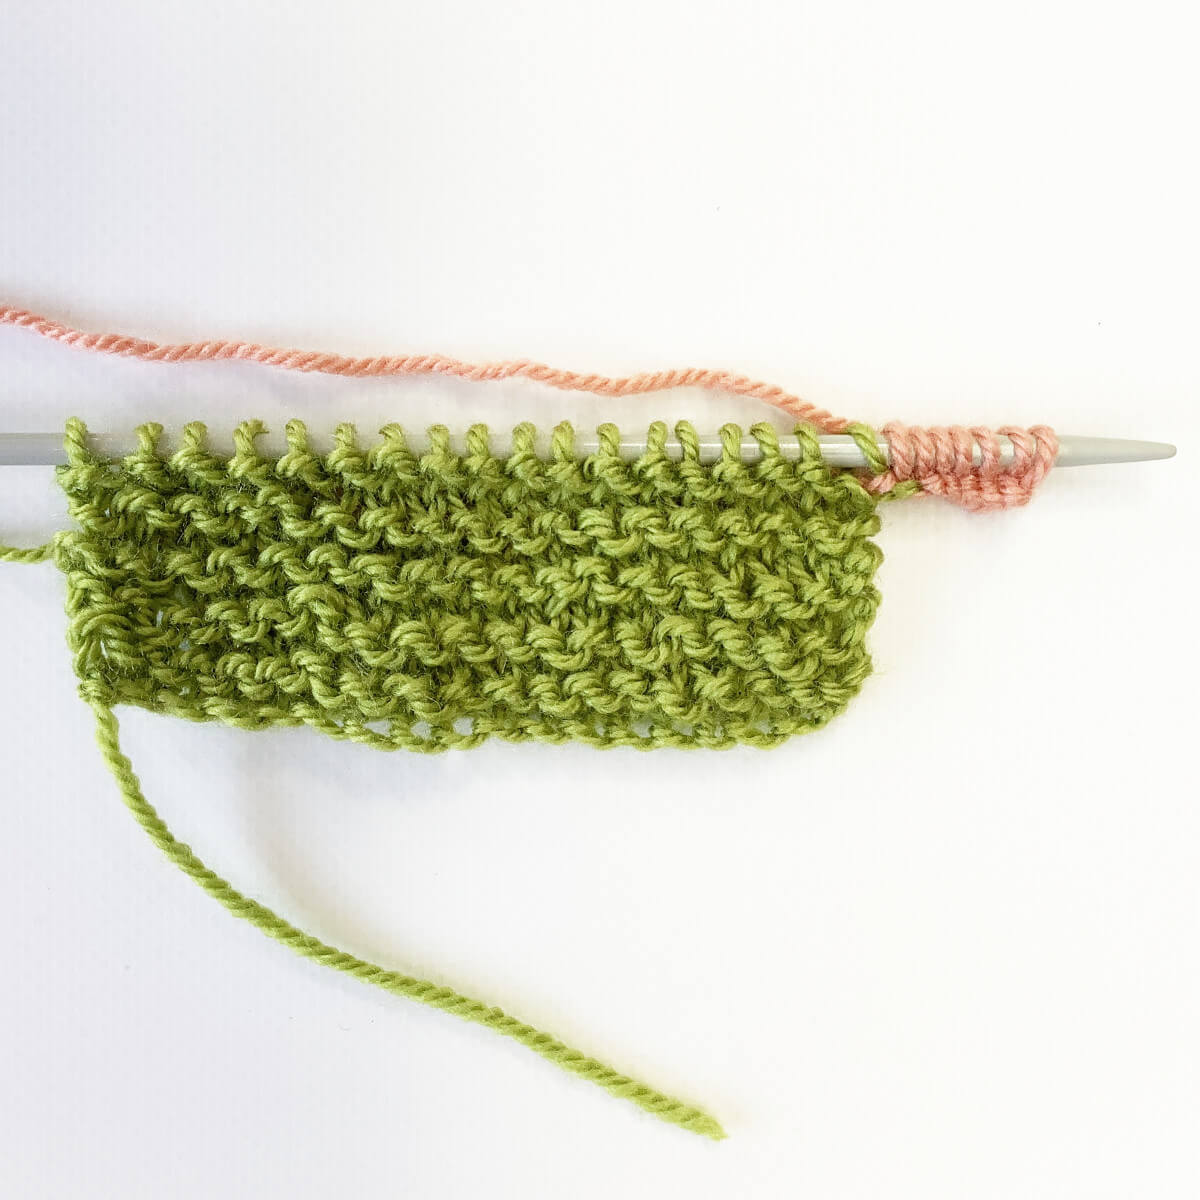
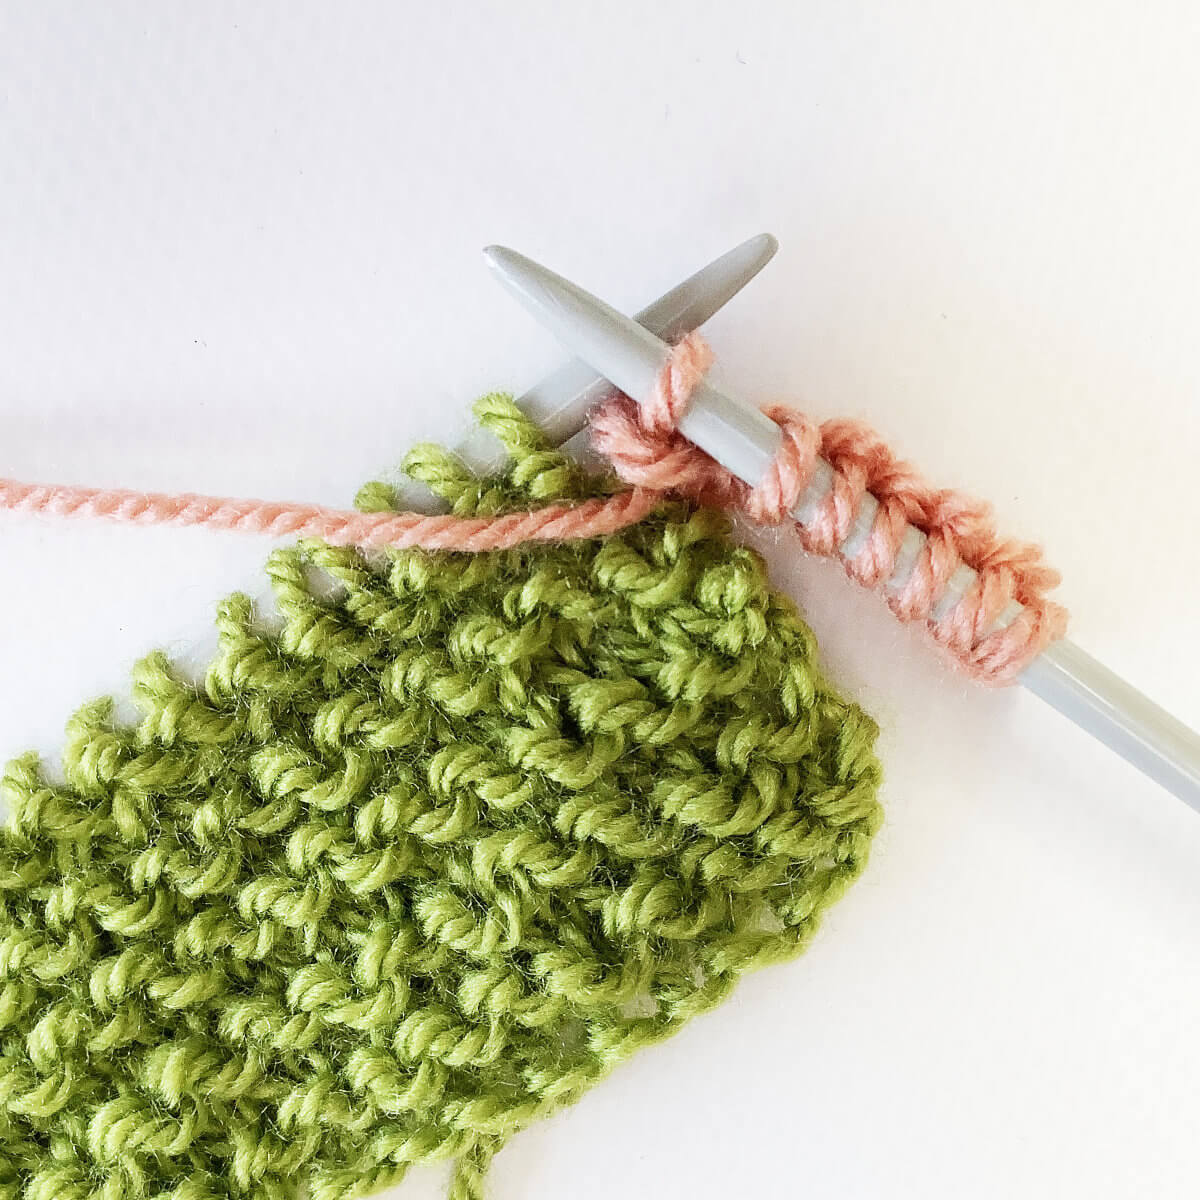
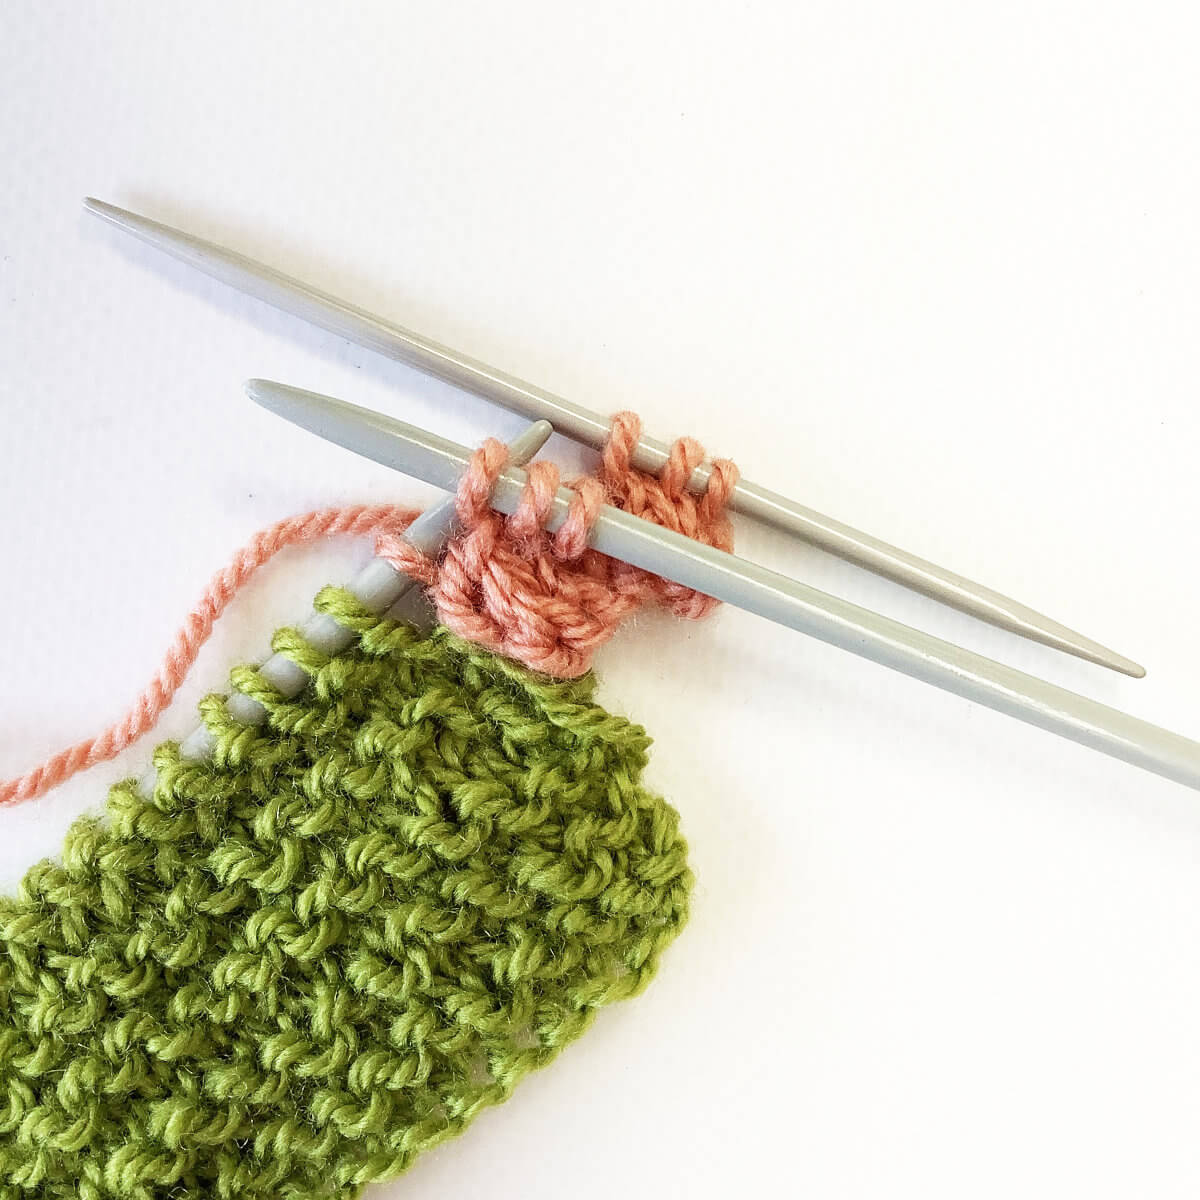
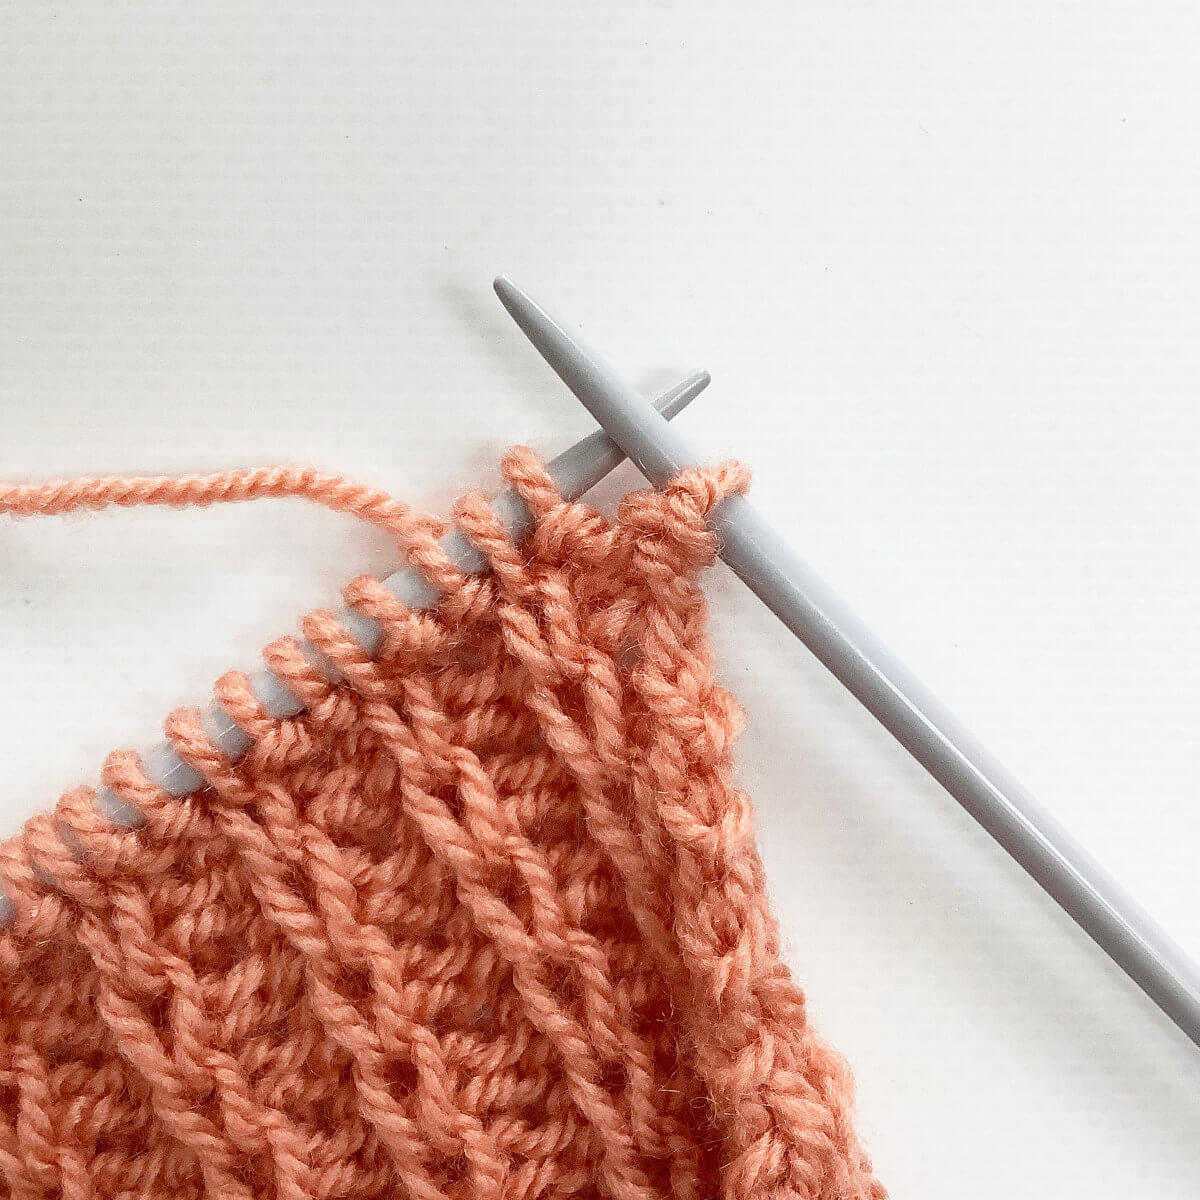
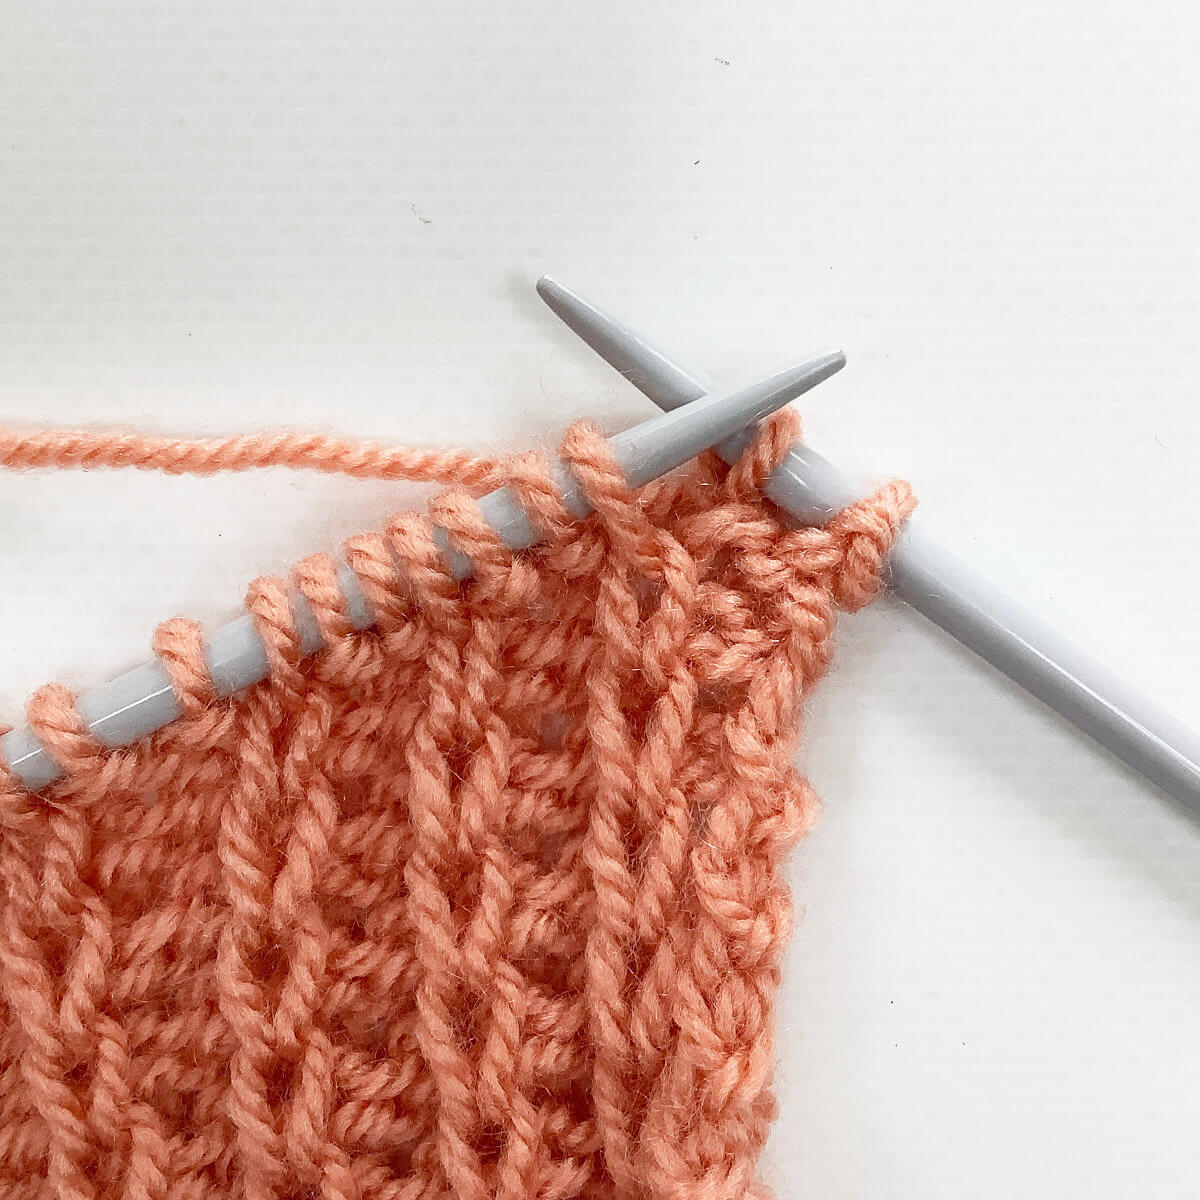
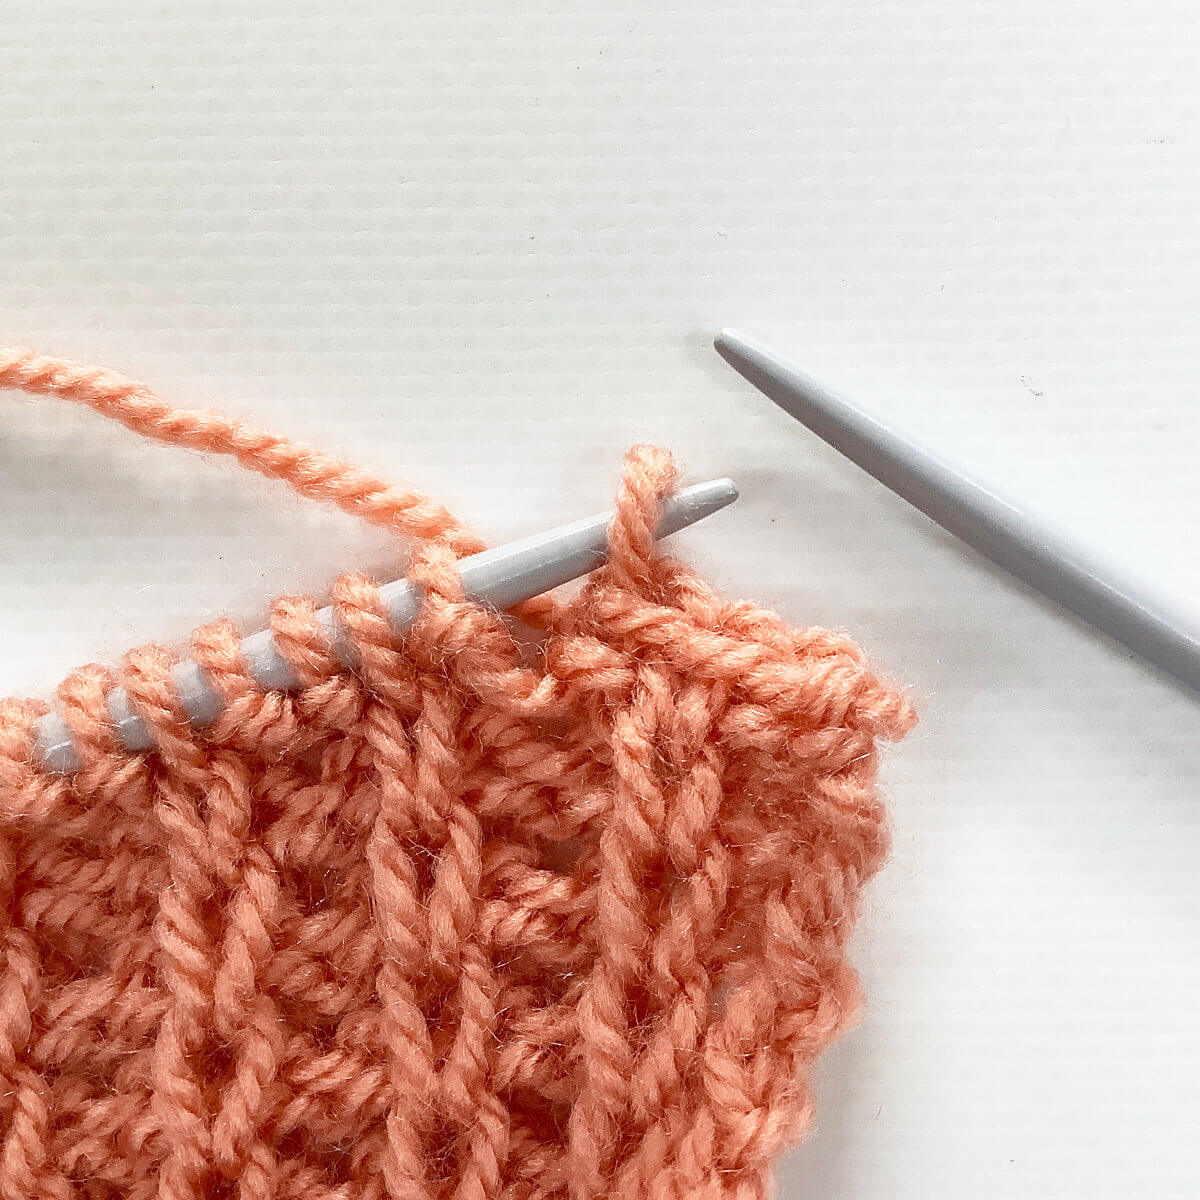
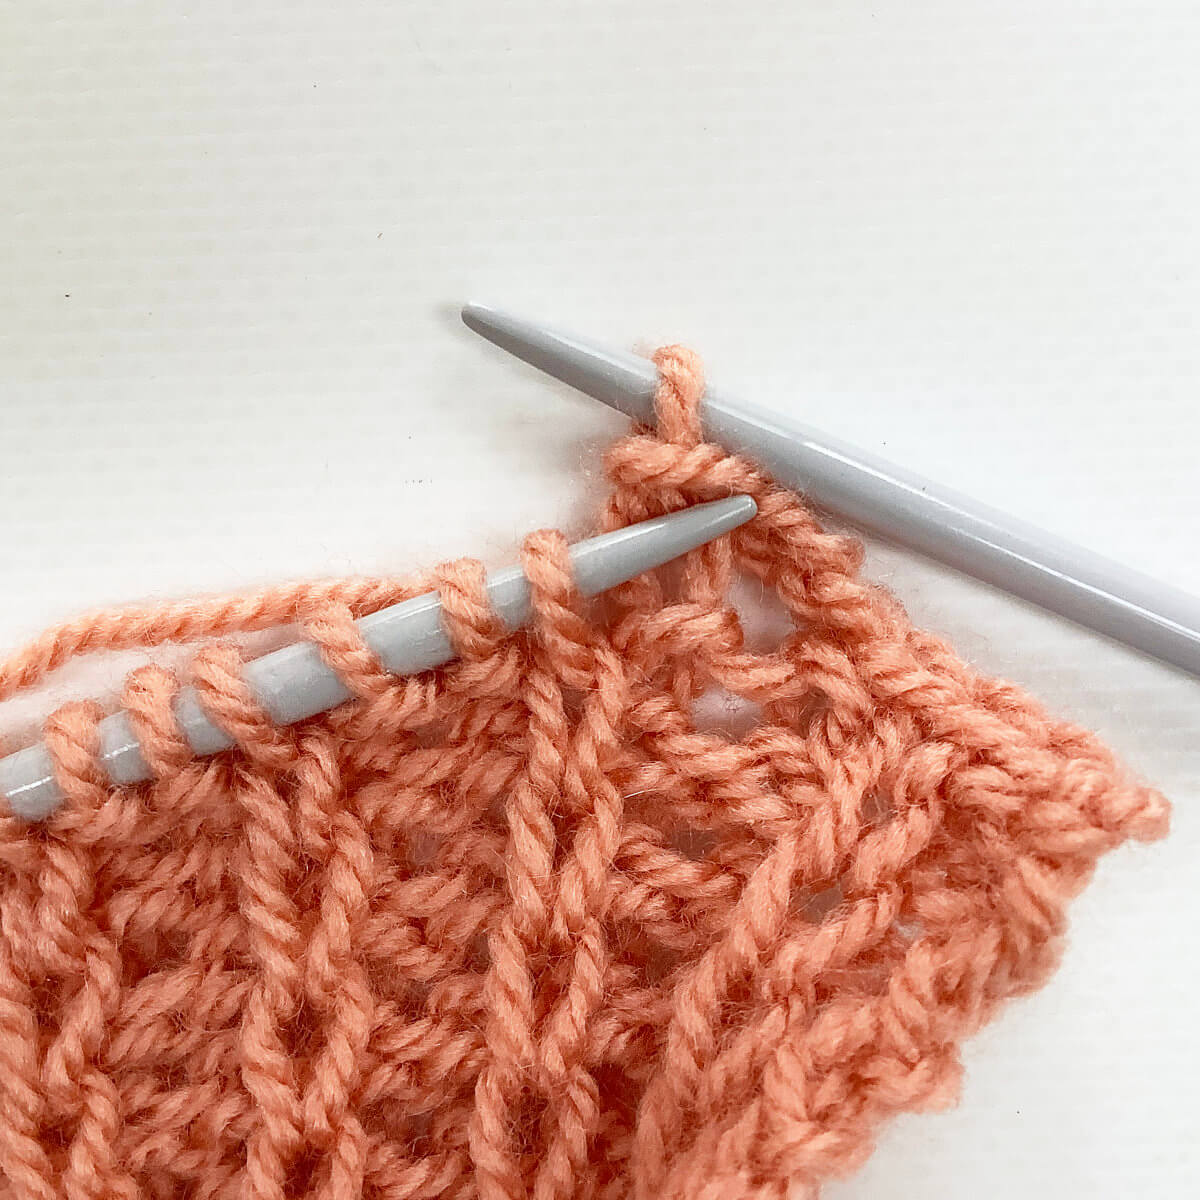
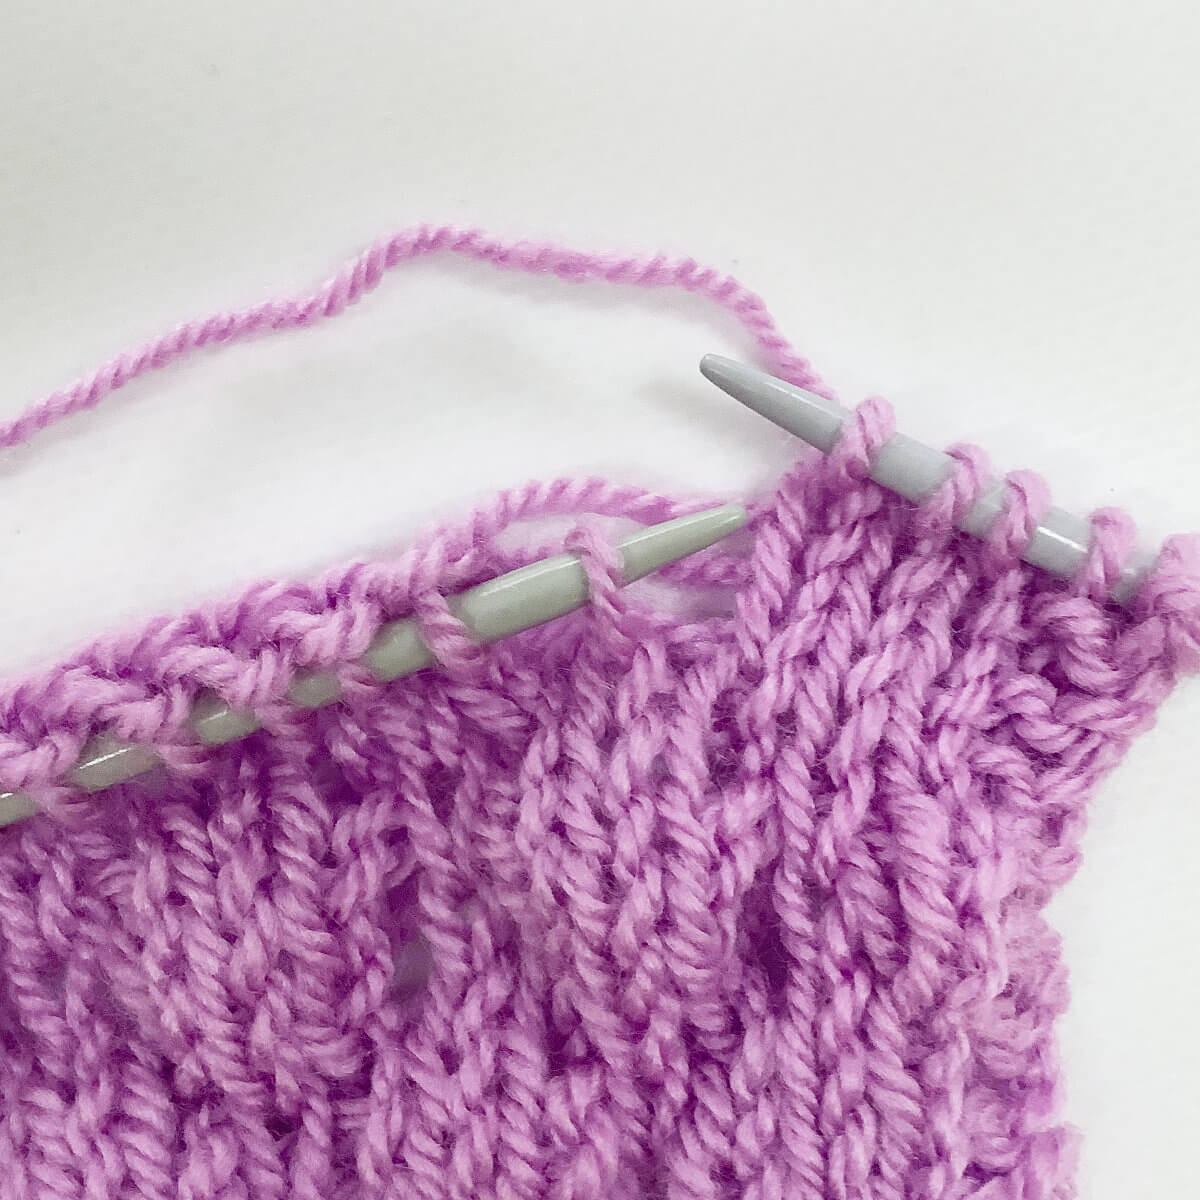
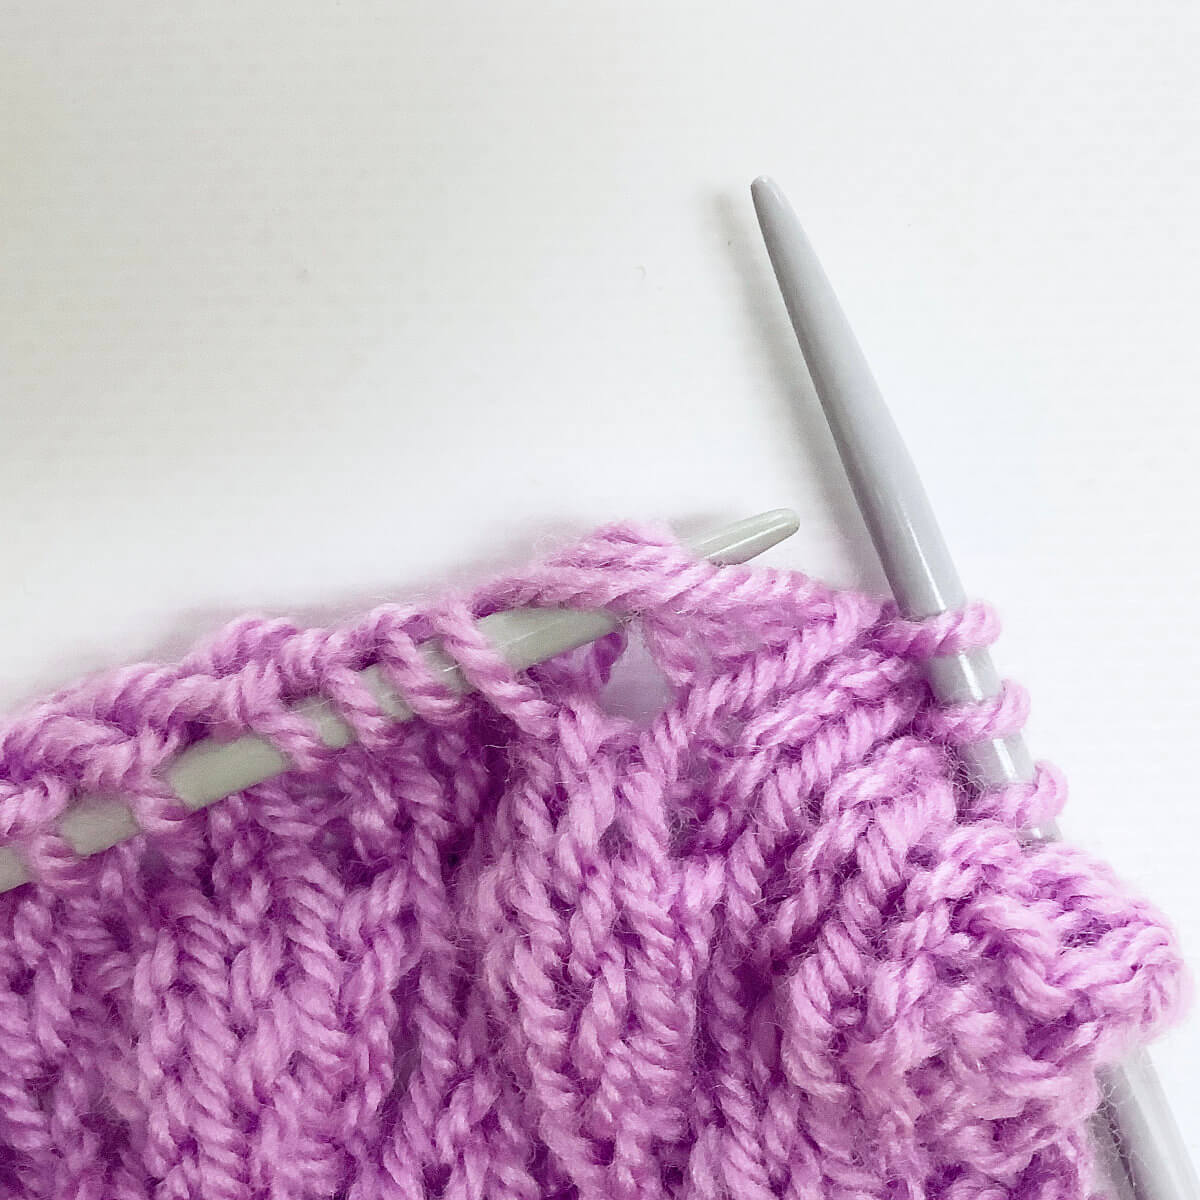
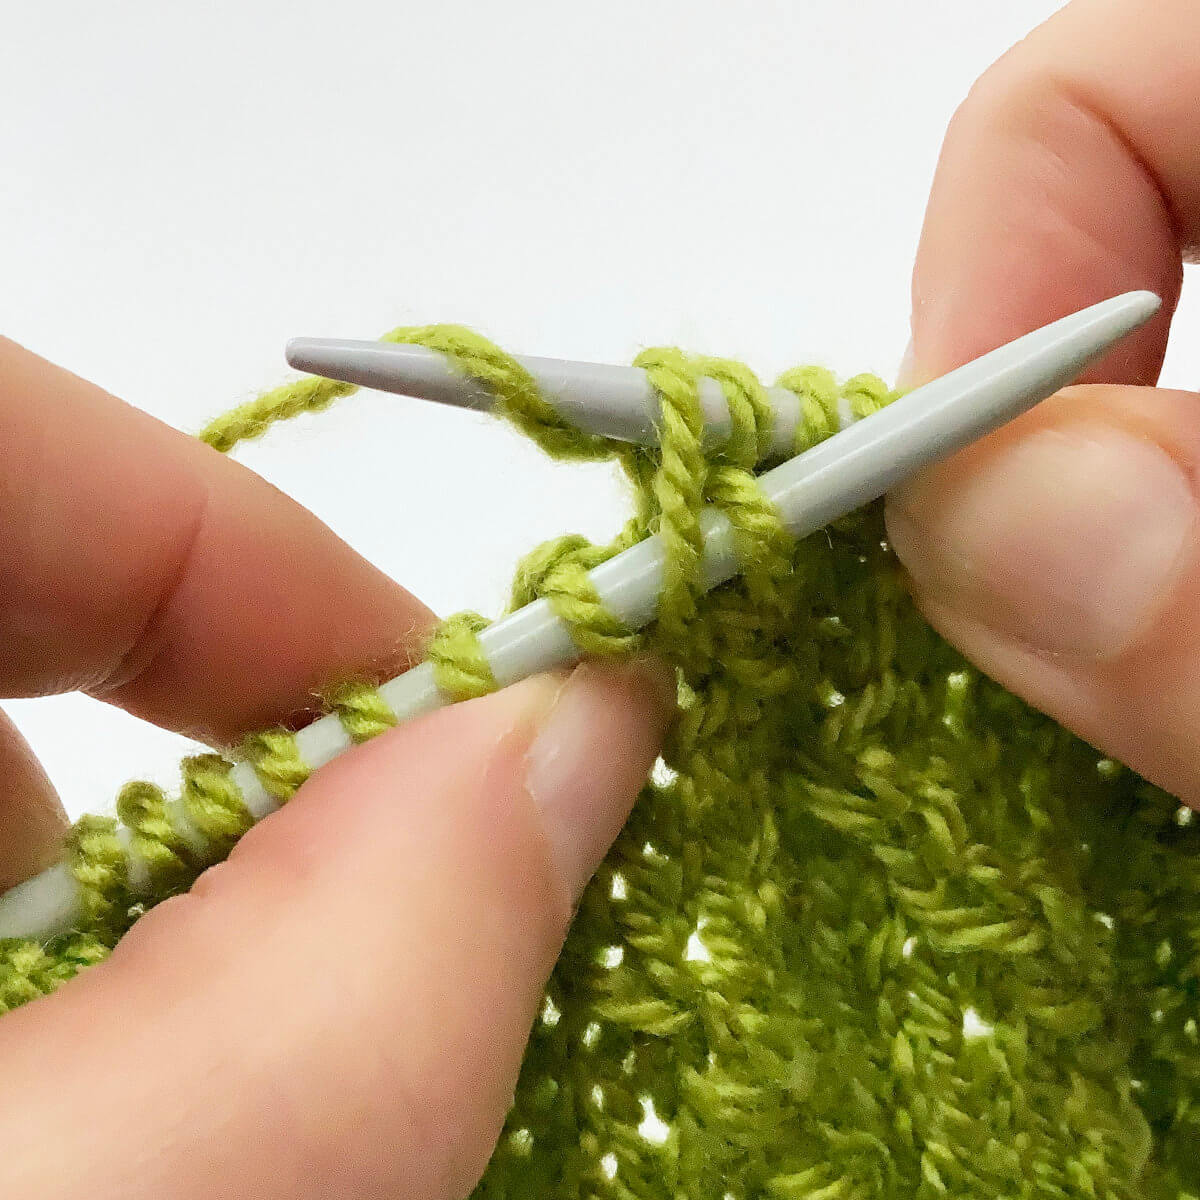
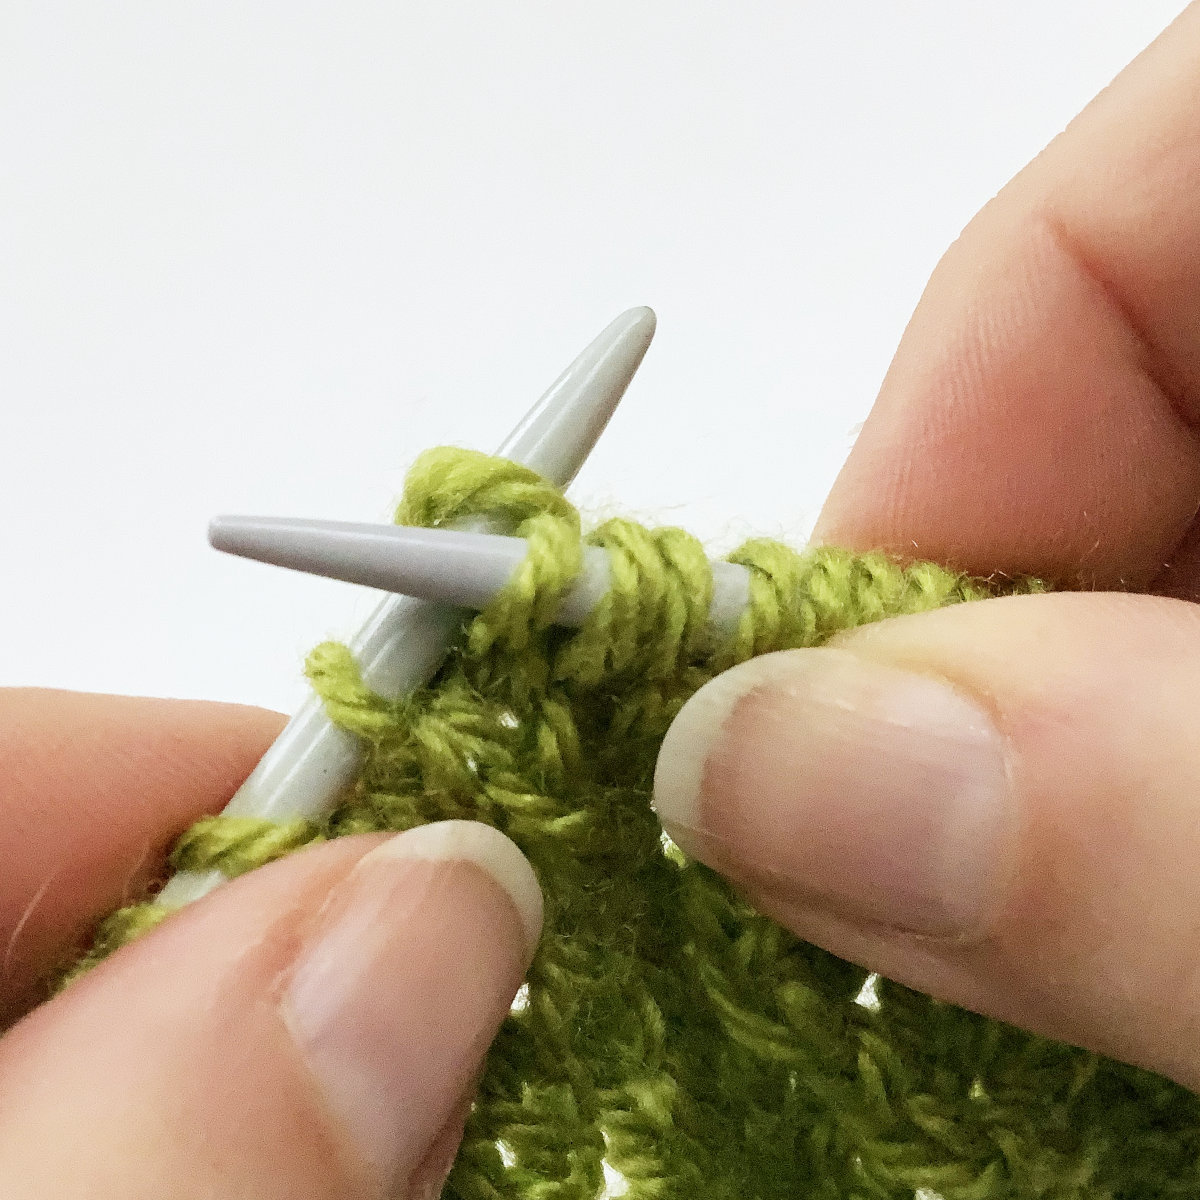
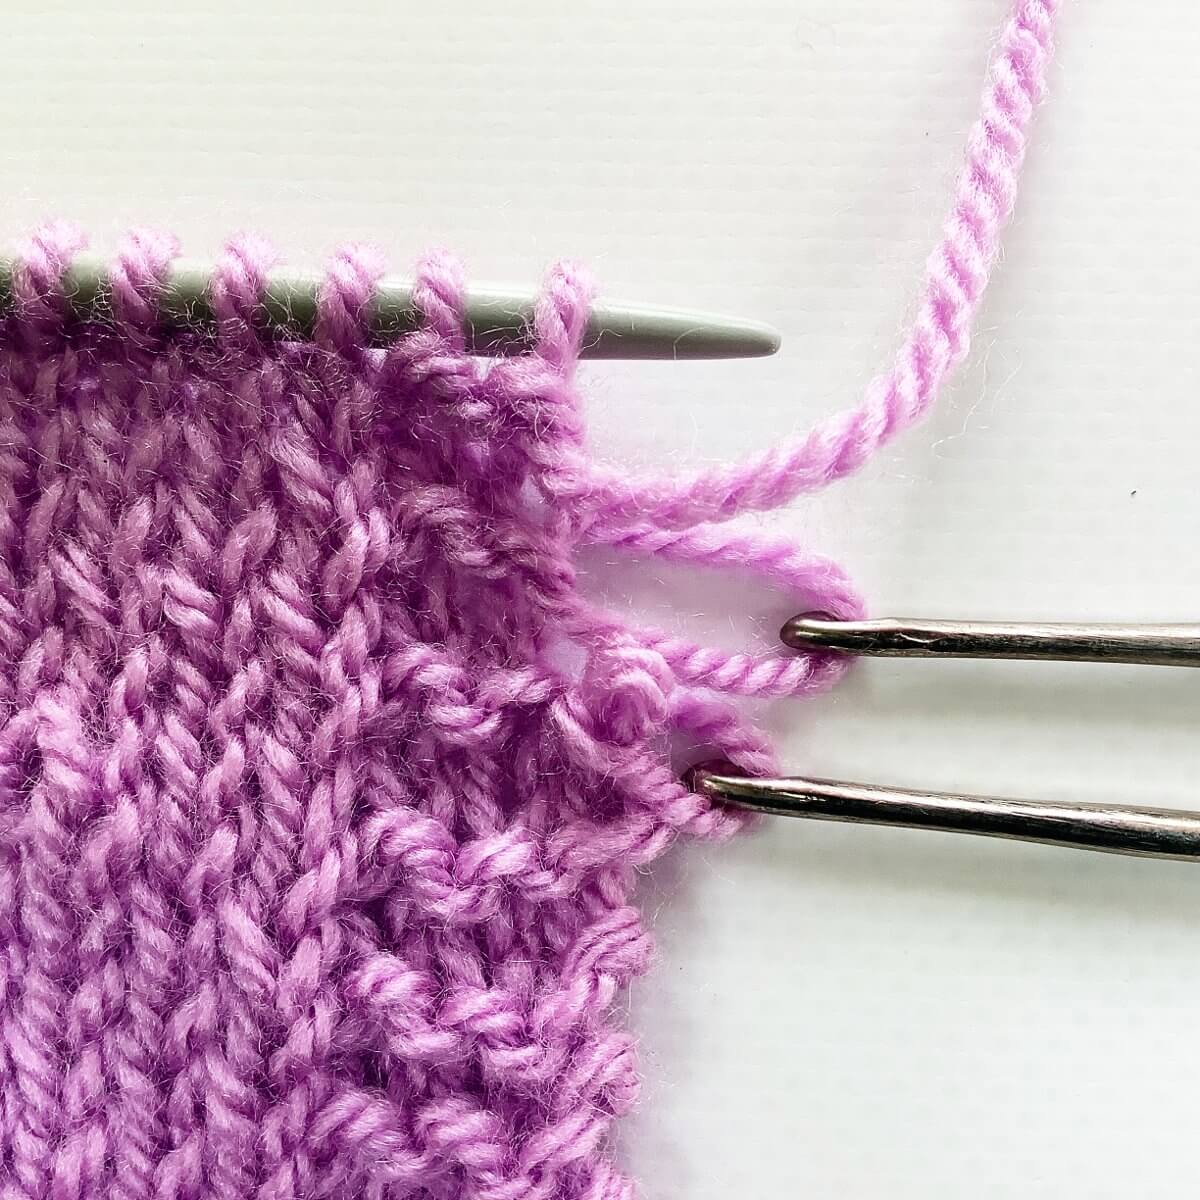
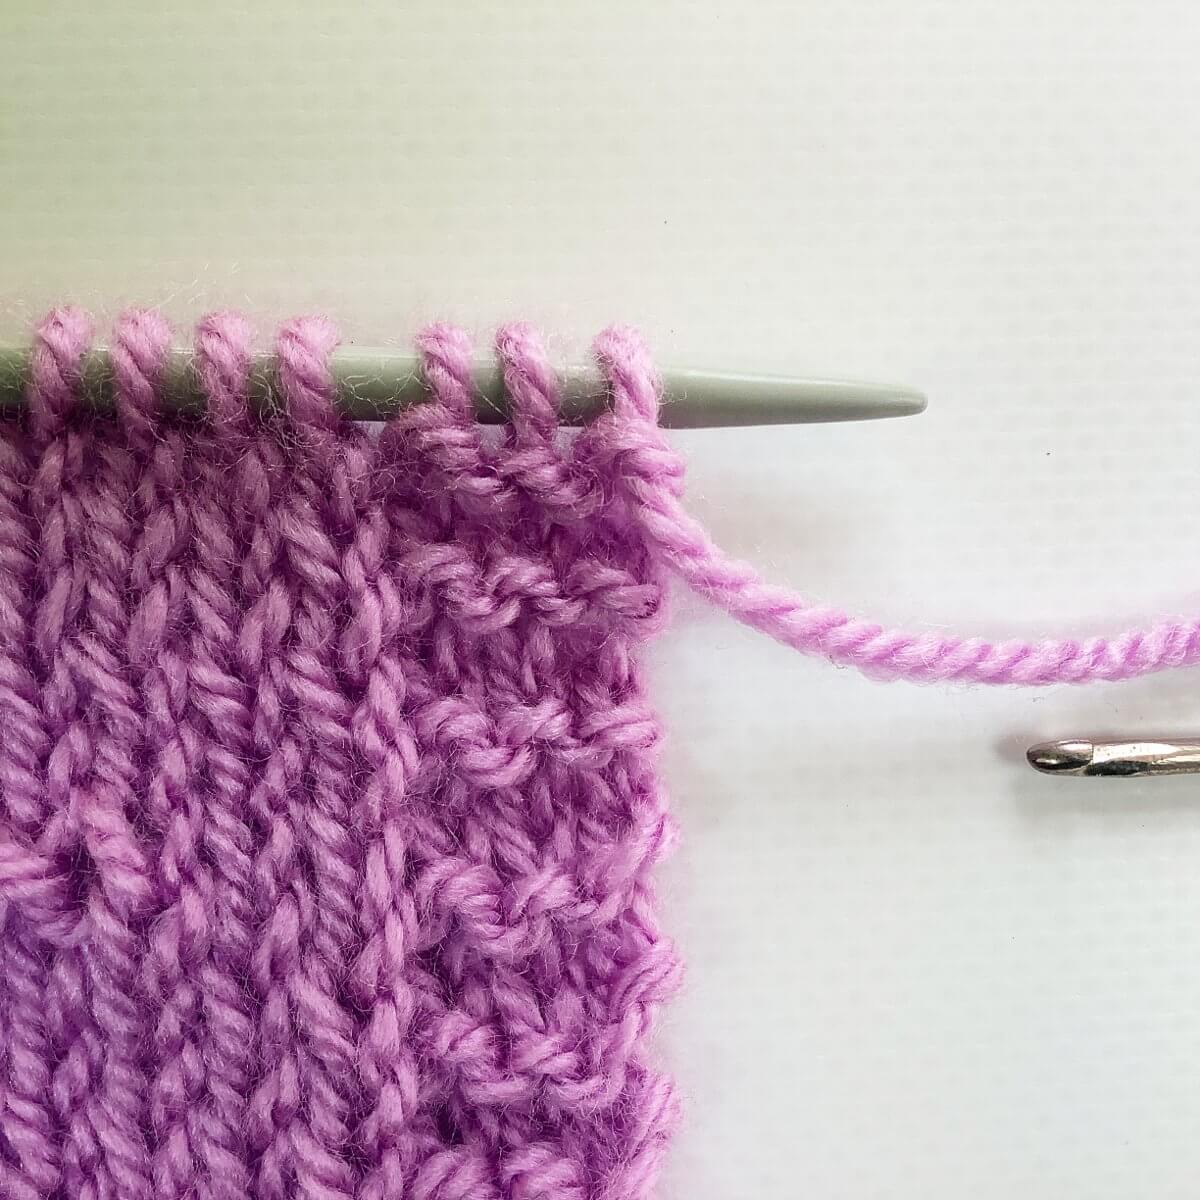
- Before you turn, work a Right-leaning Lifted Increase (RLI) into the next stitch on your left-hand needle.
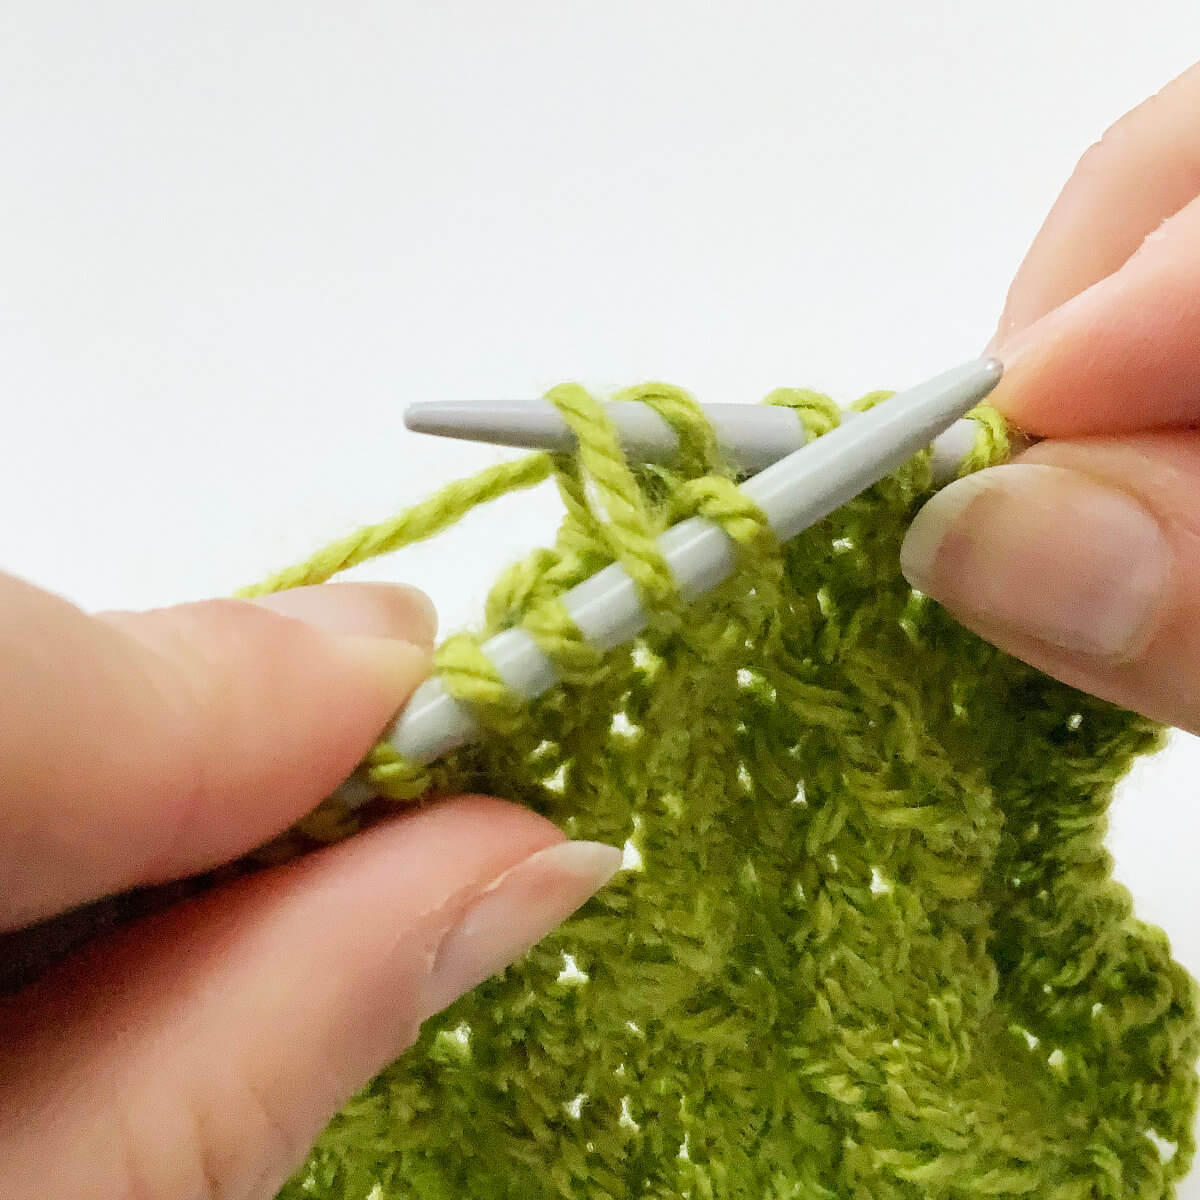
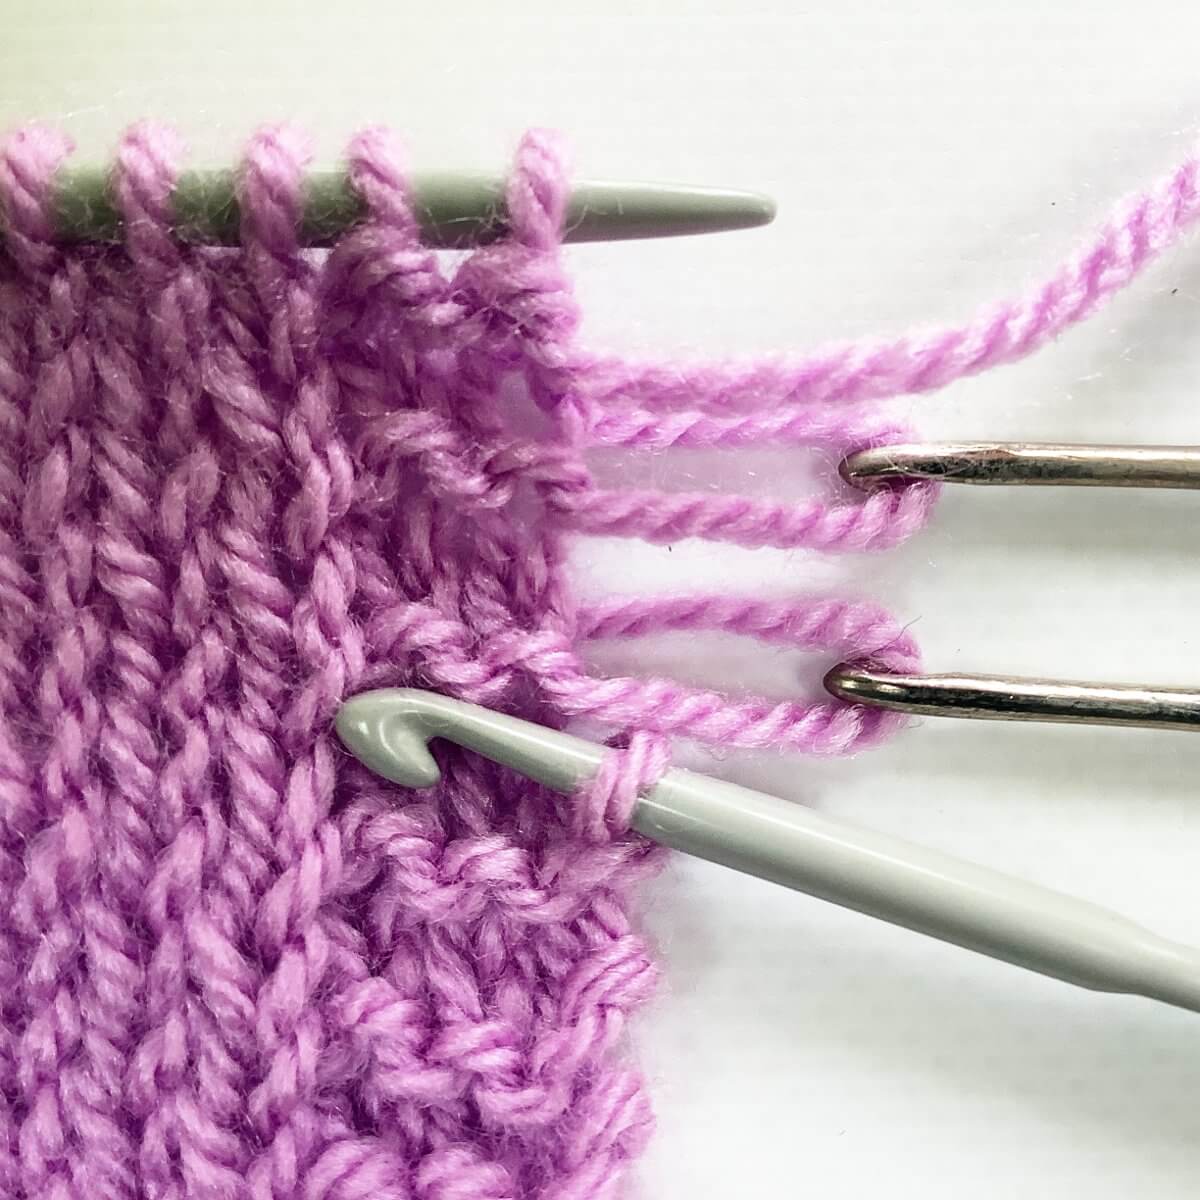
To do so, insert your right-hand needle from back to front into the right leg of the stitch that is directly below the next stitch on the needle…
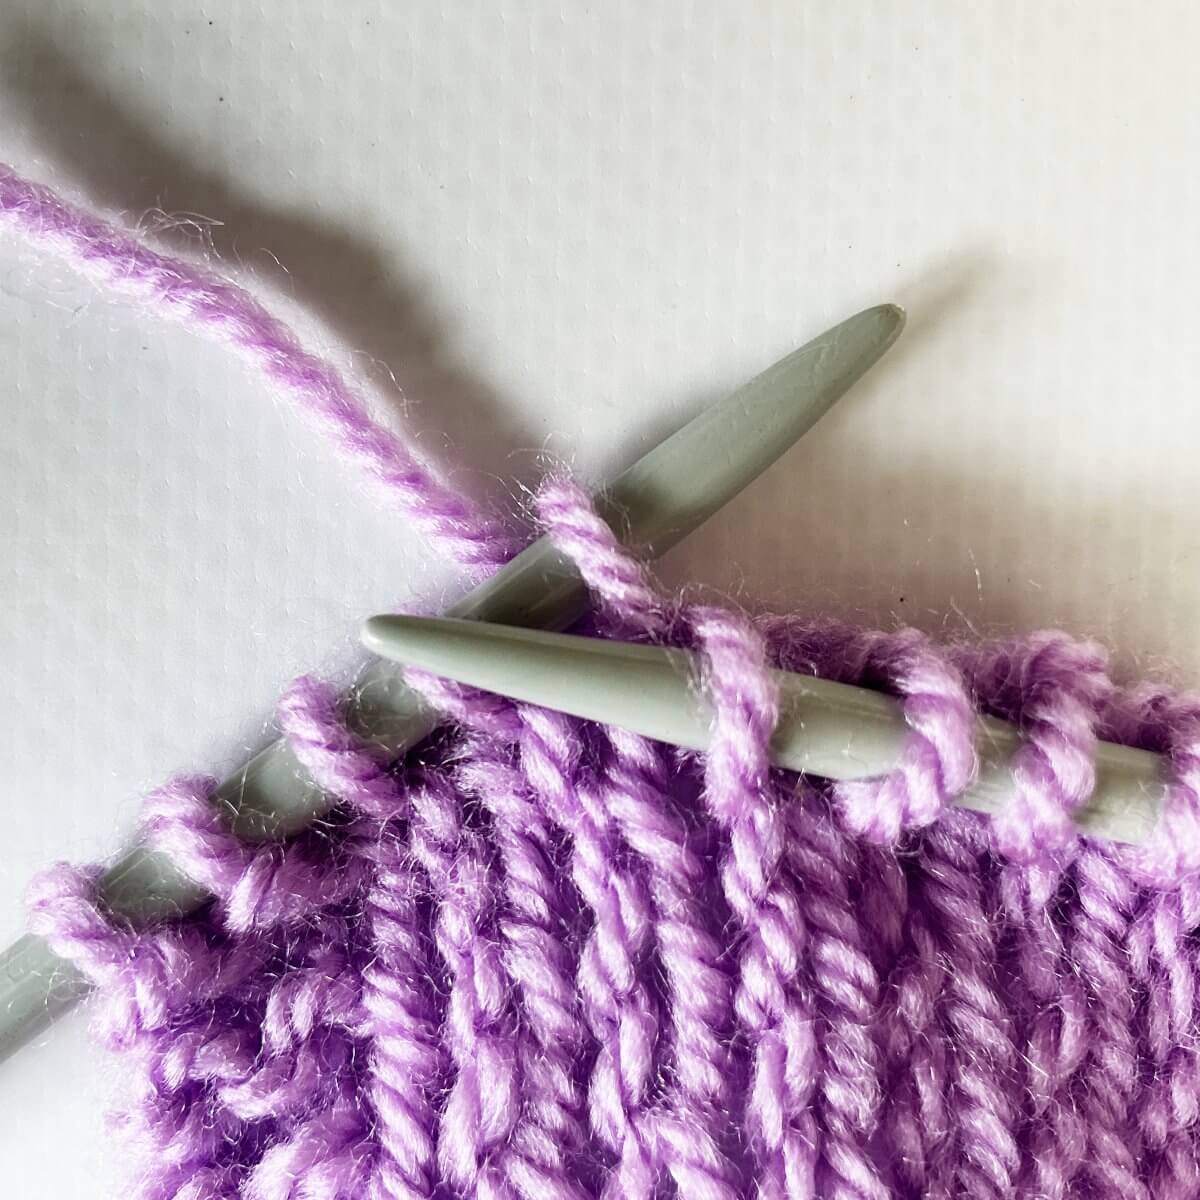
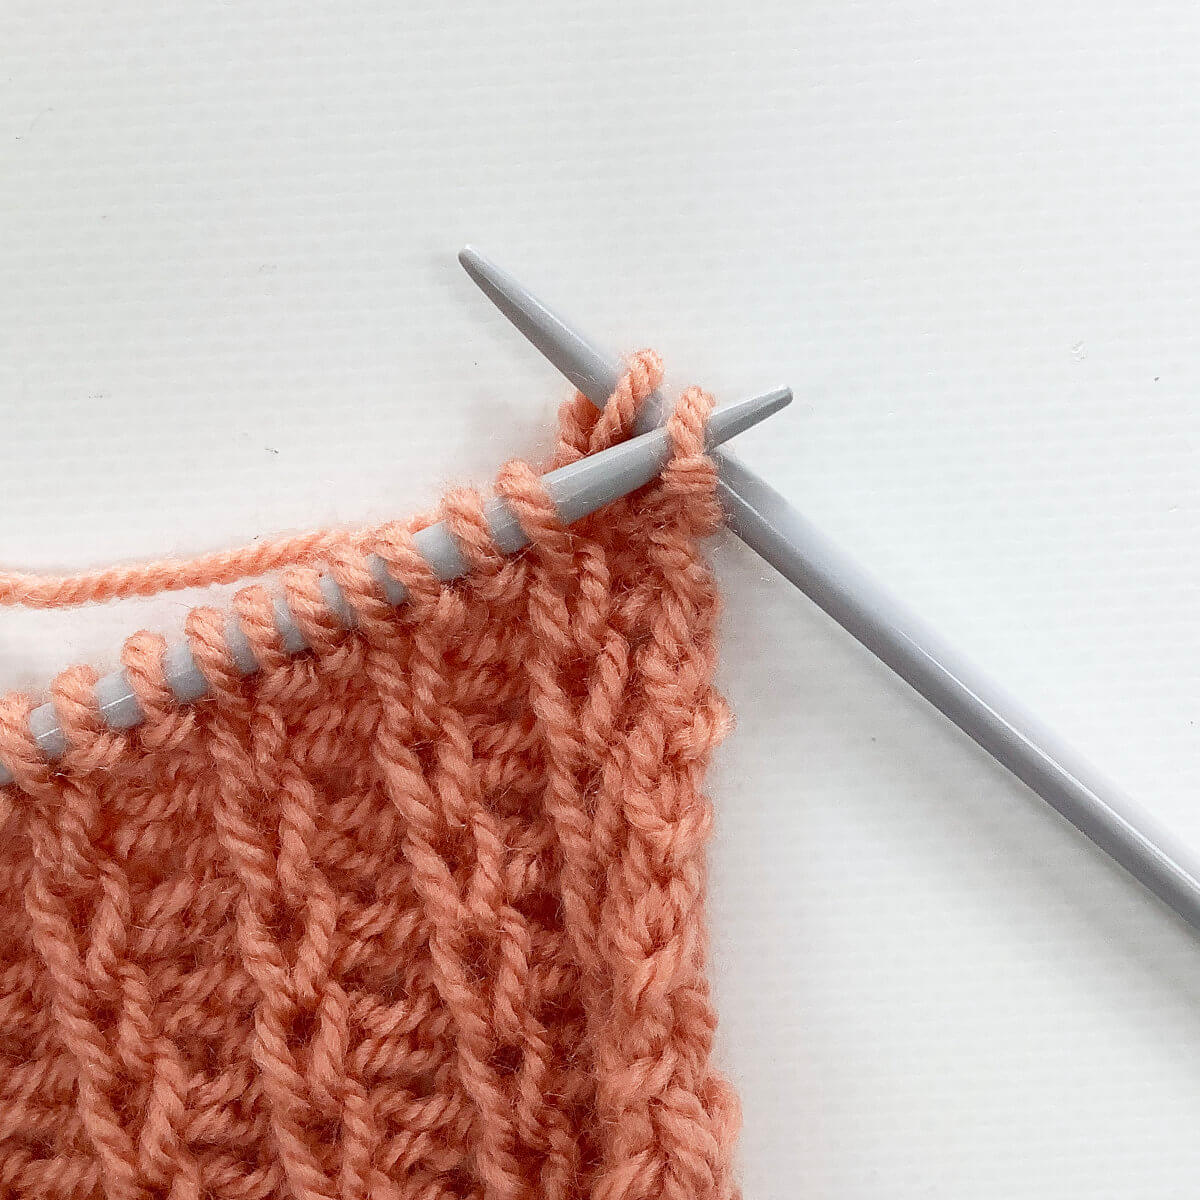
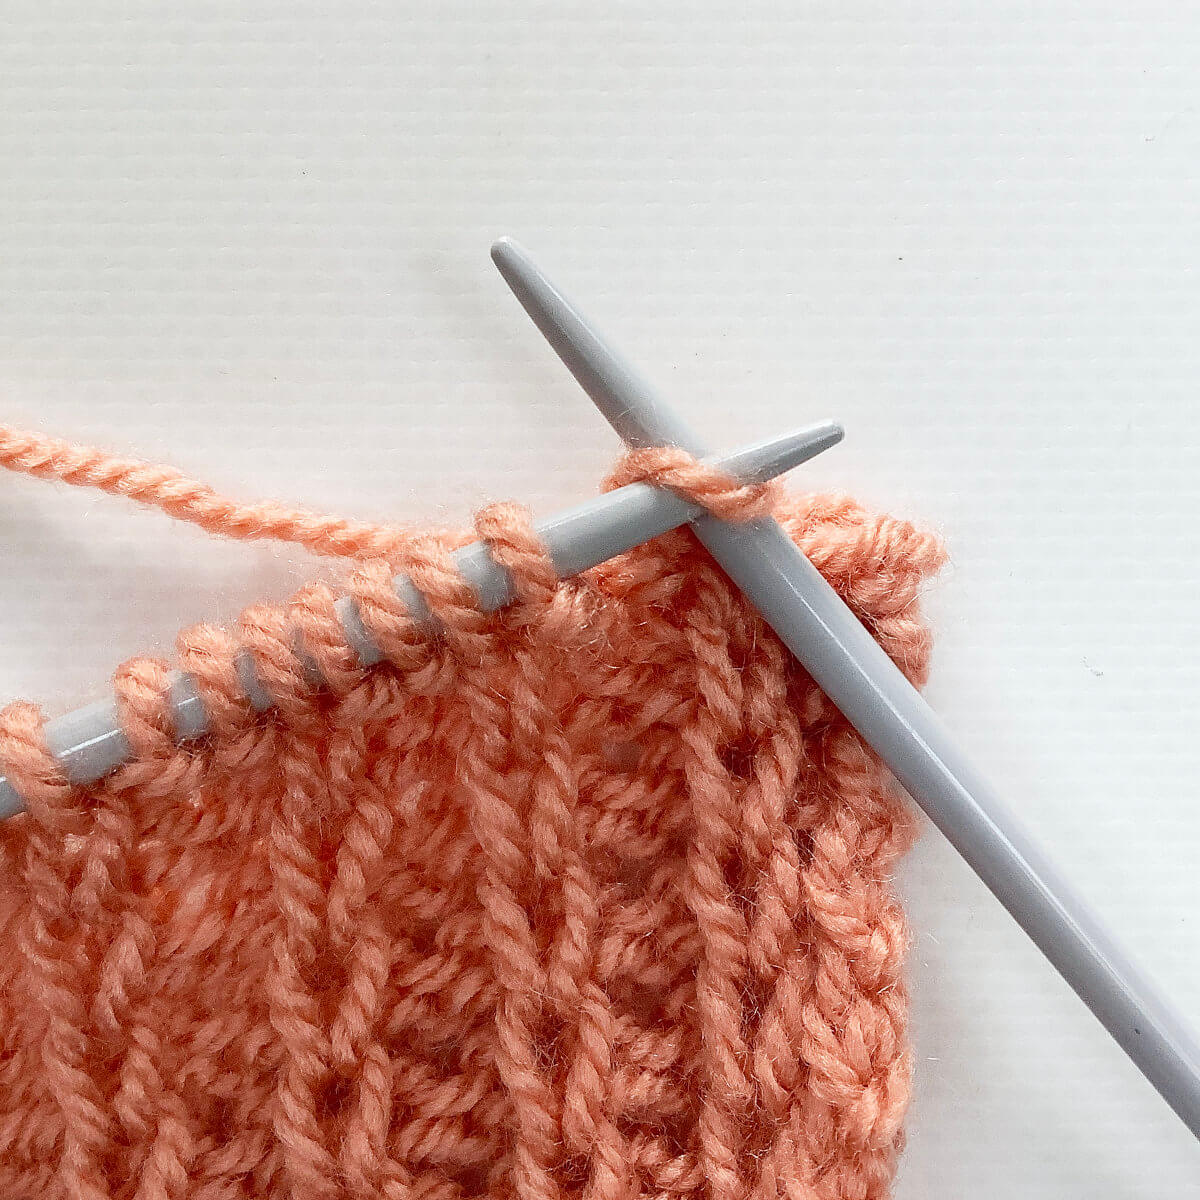
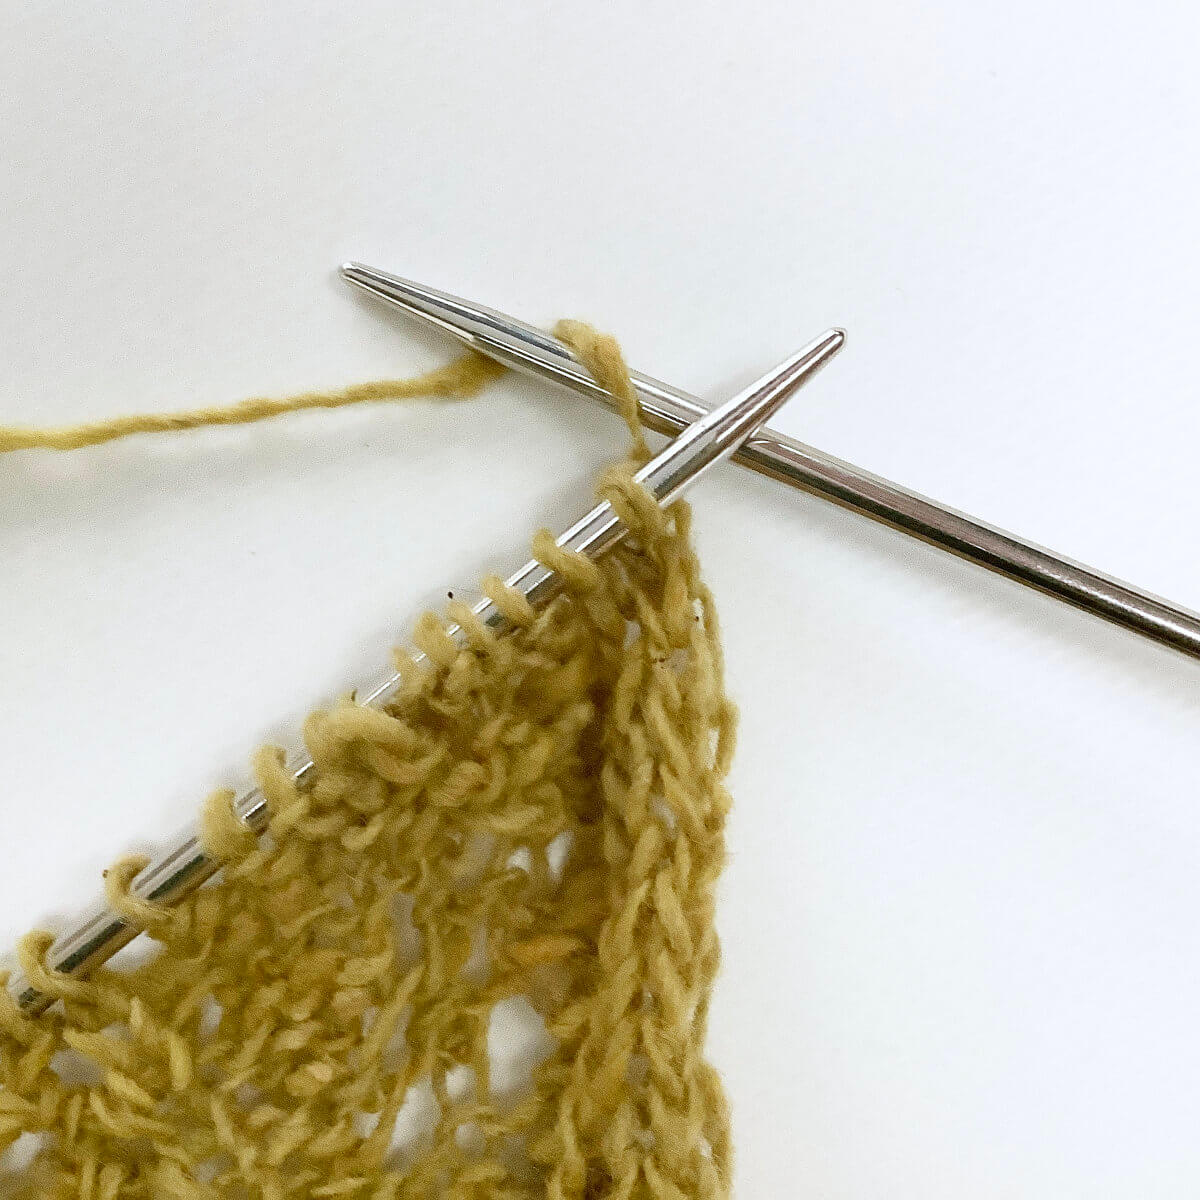
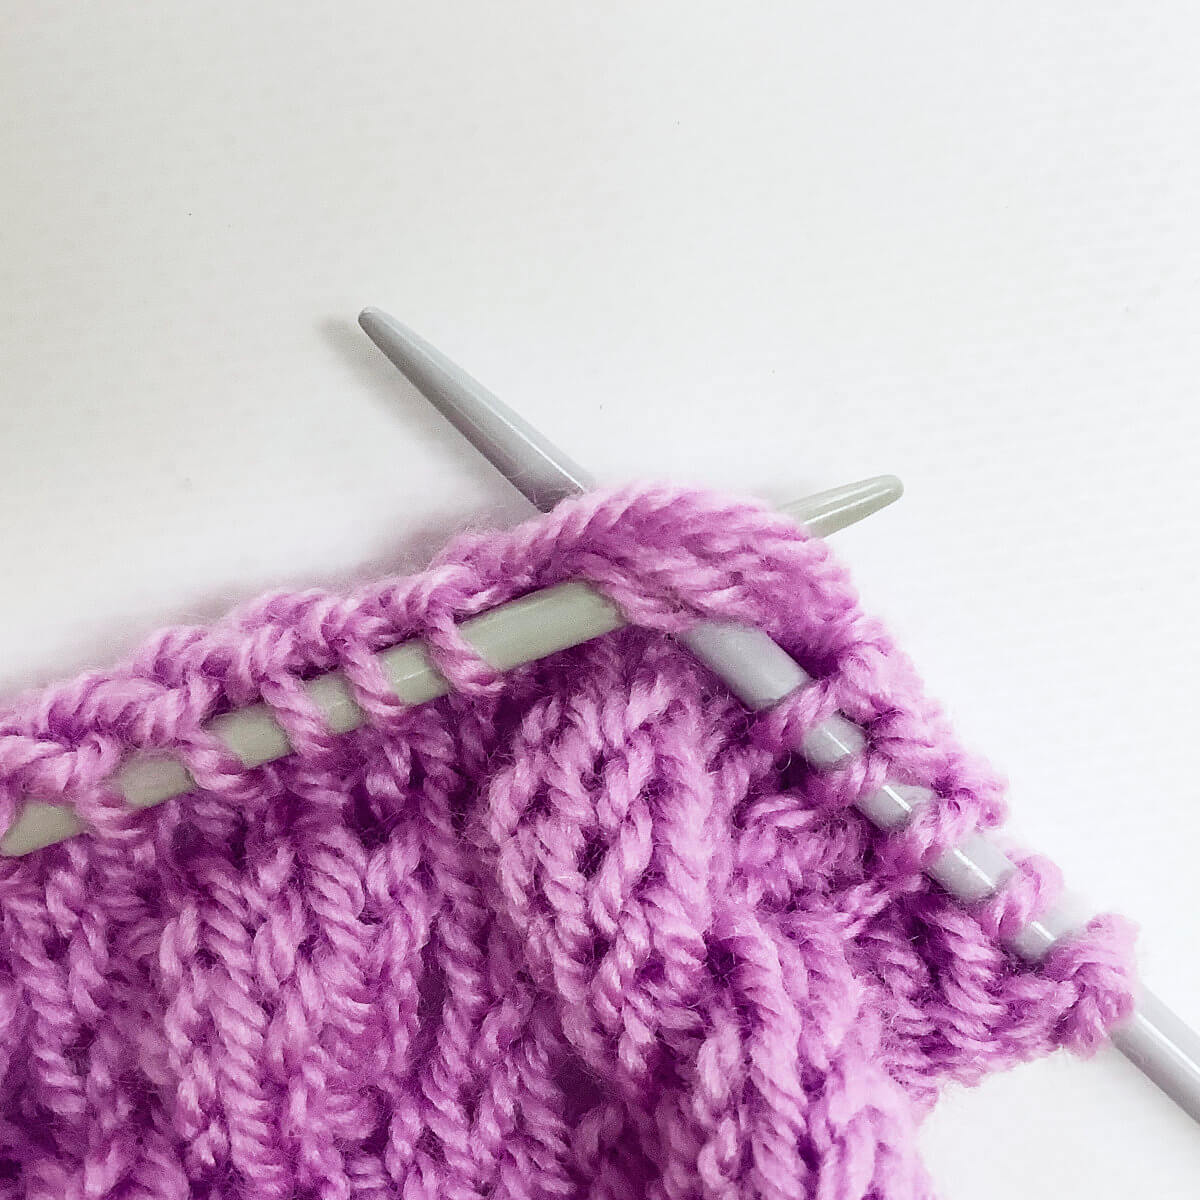
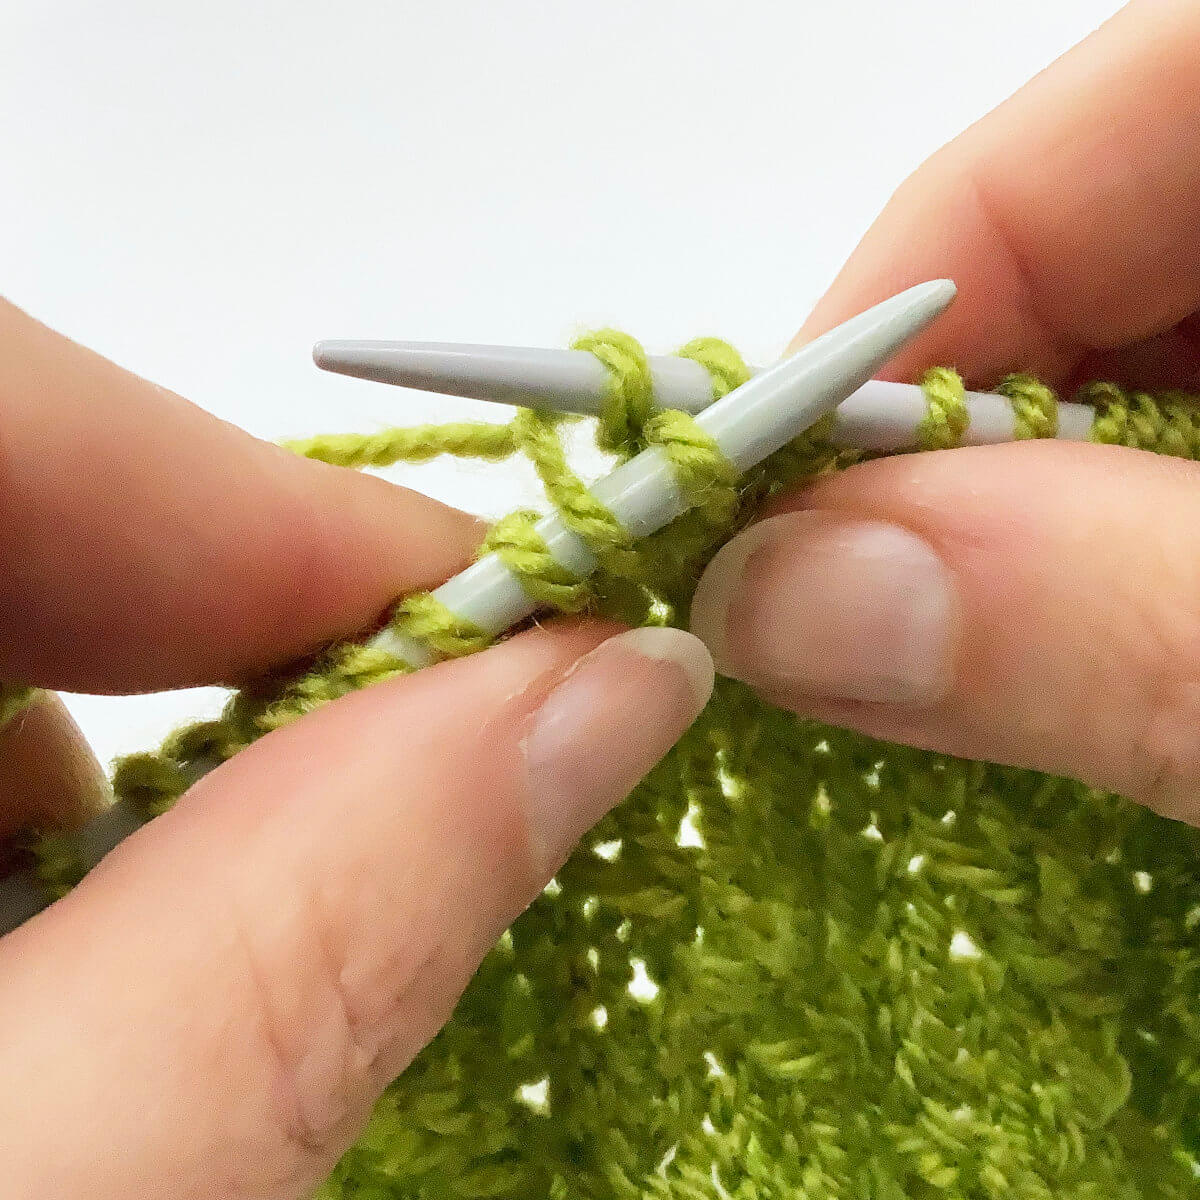
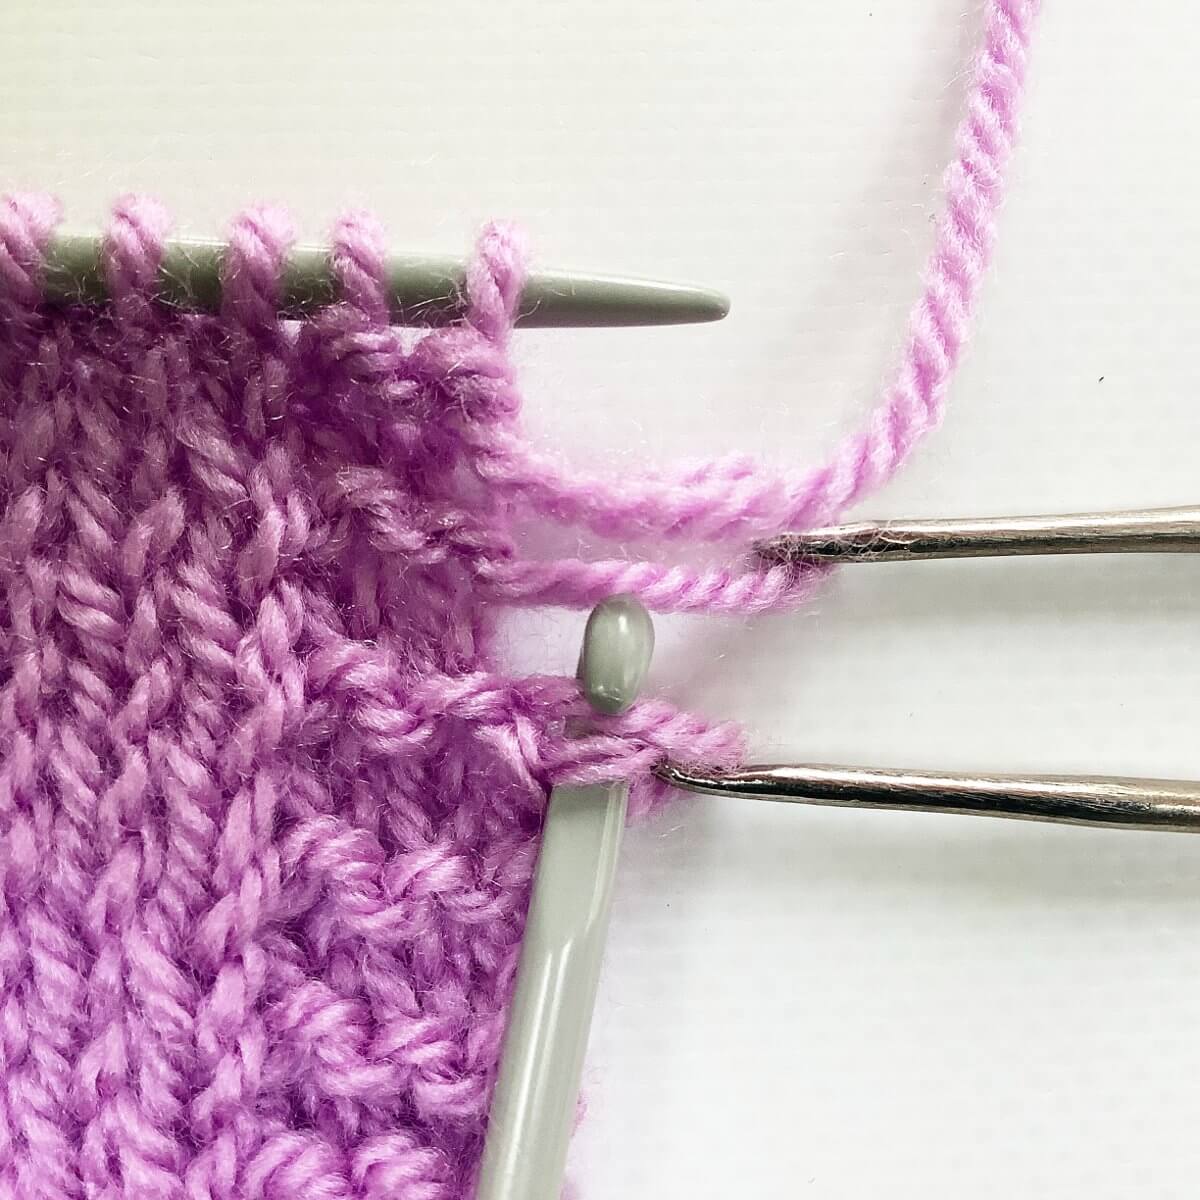
- … and place it on the left-hand needle.
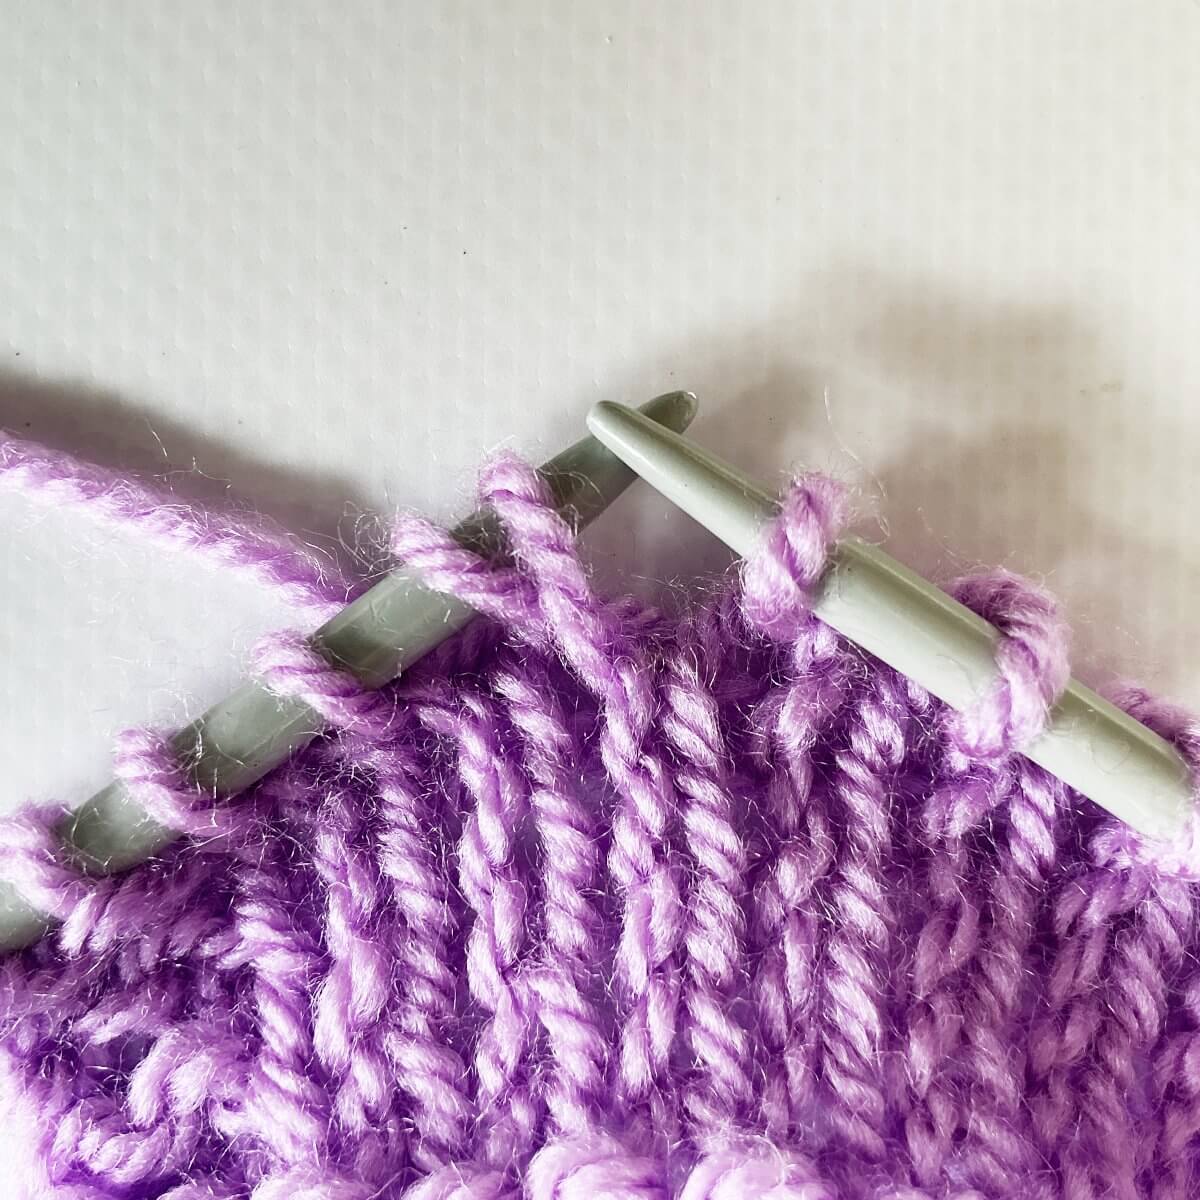
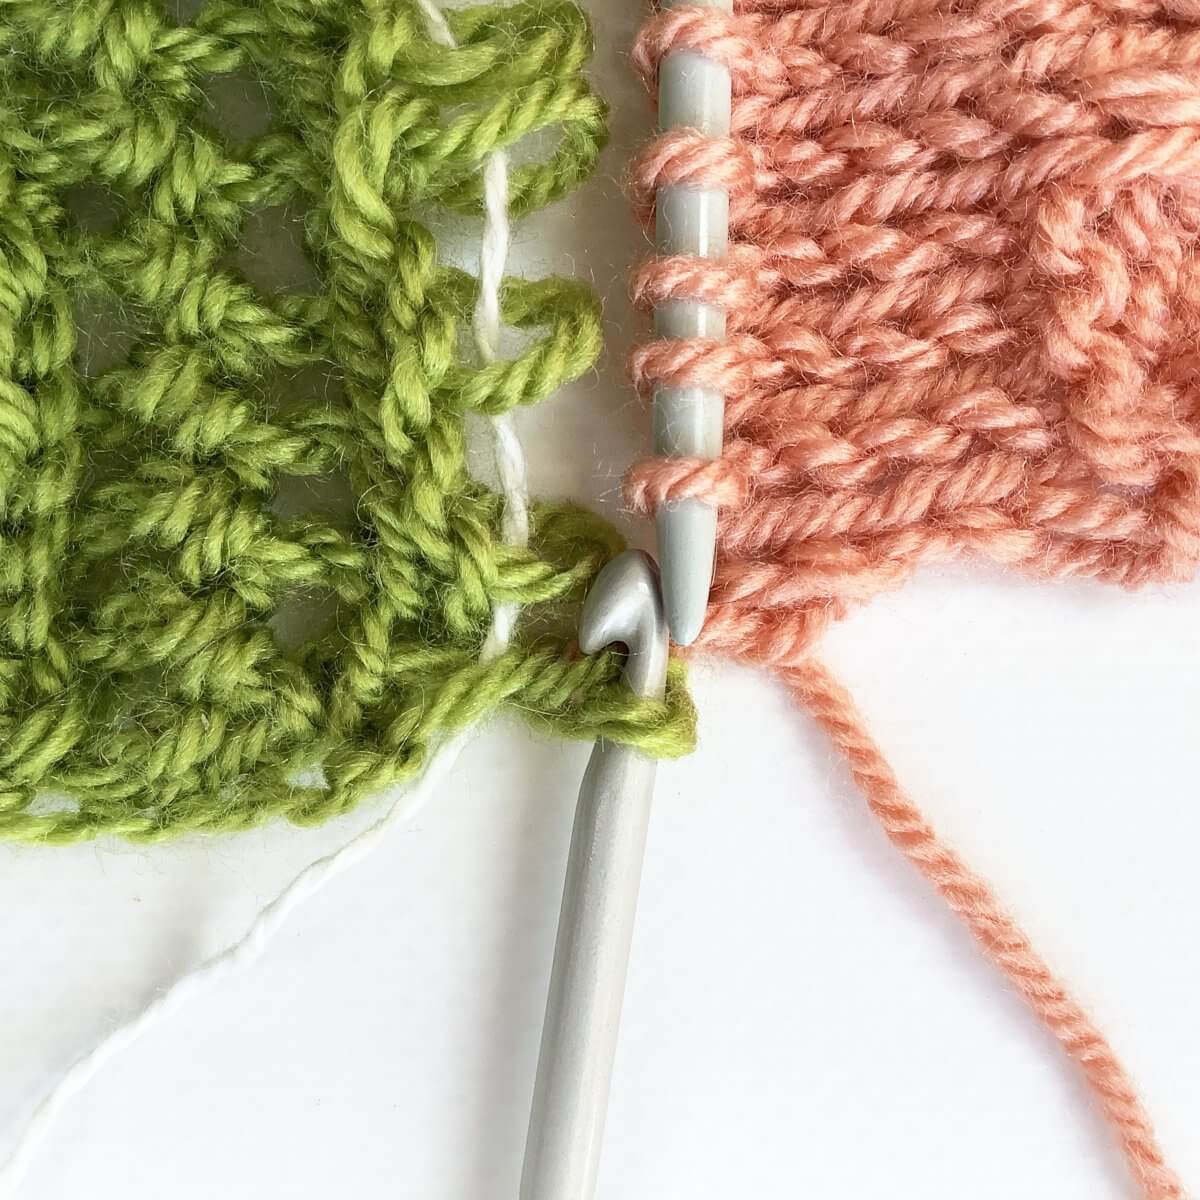
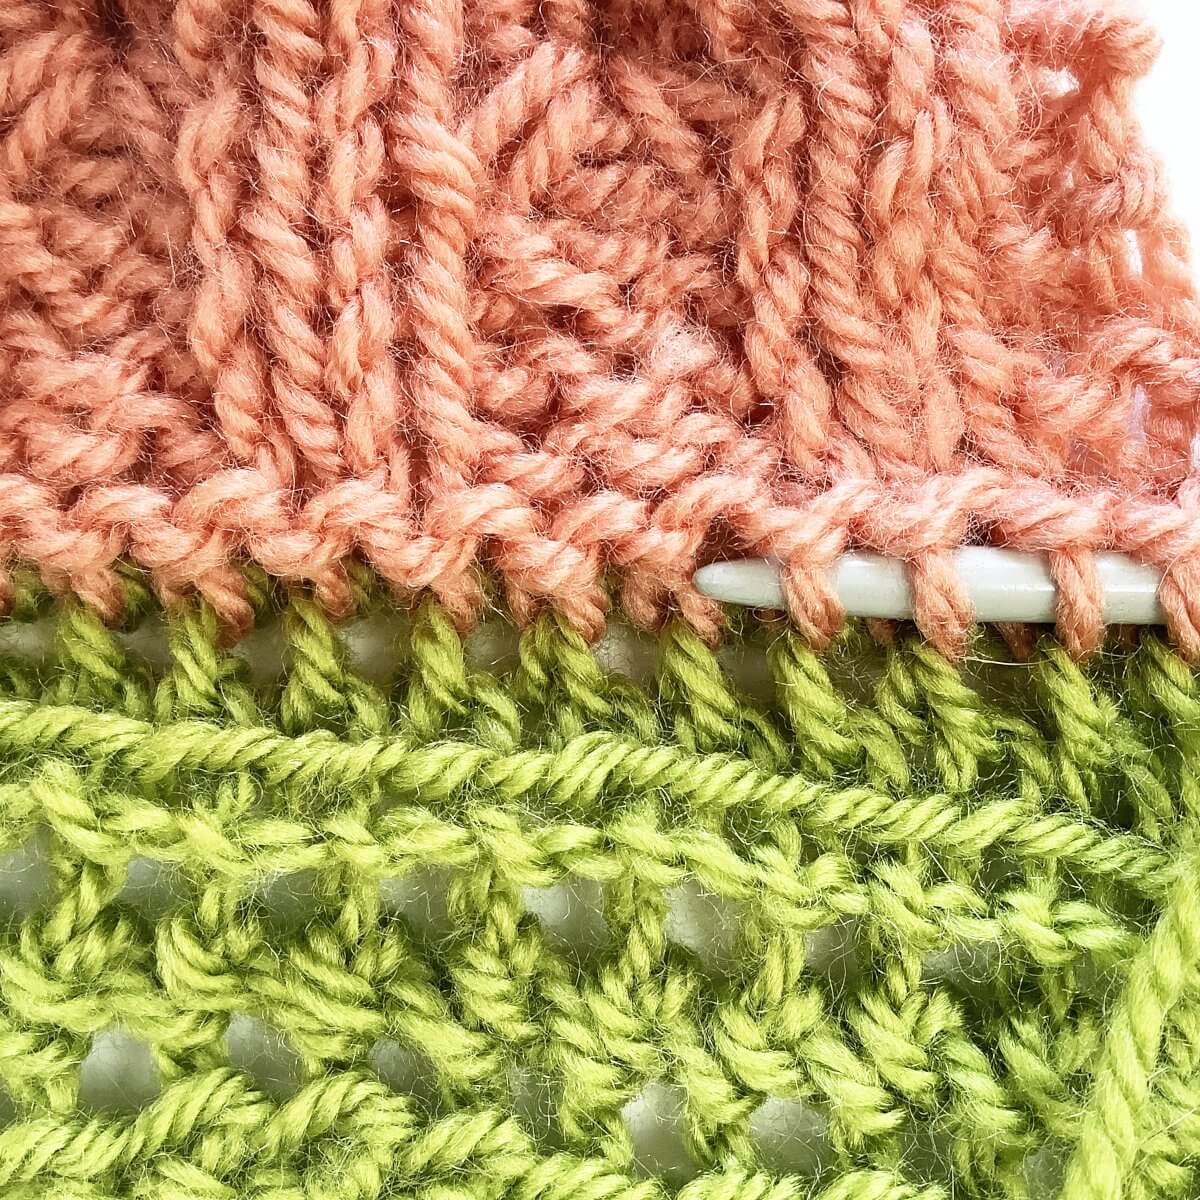
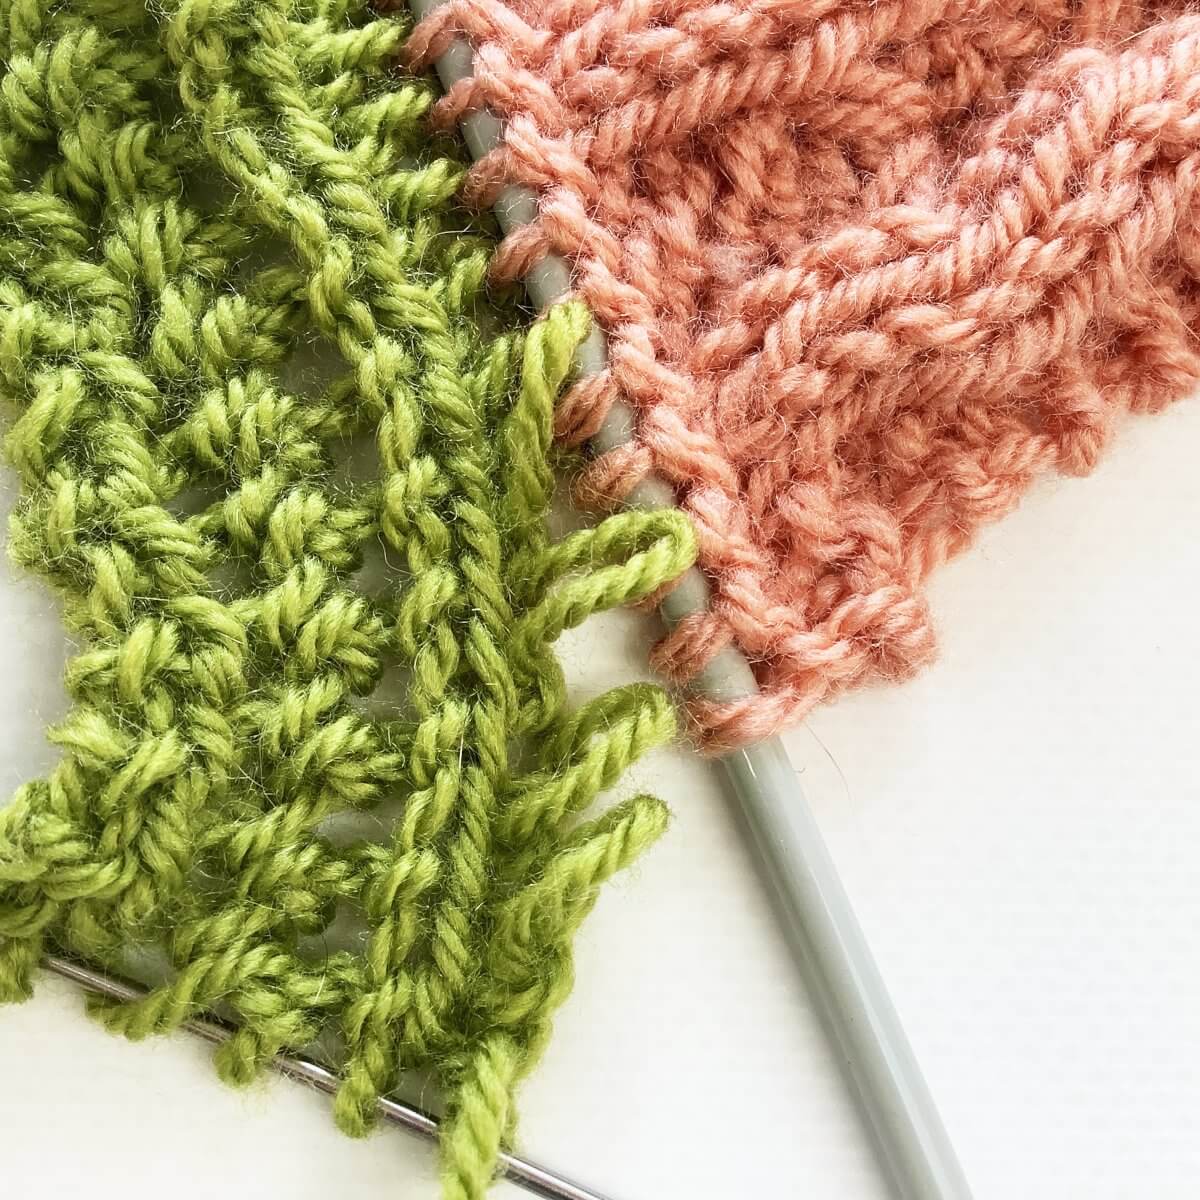
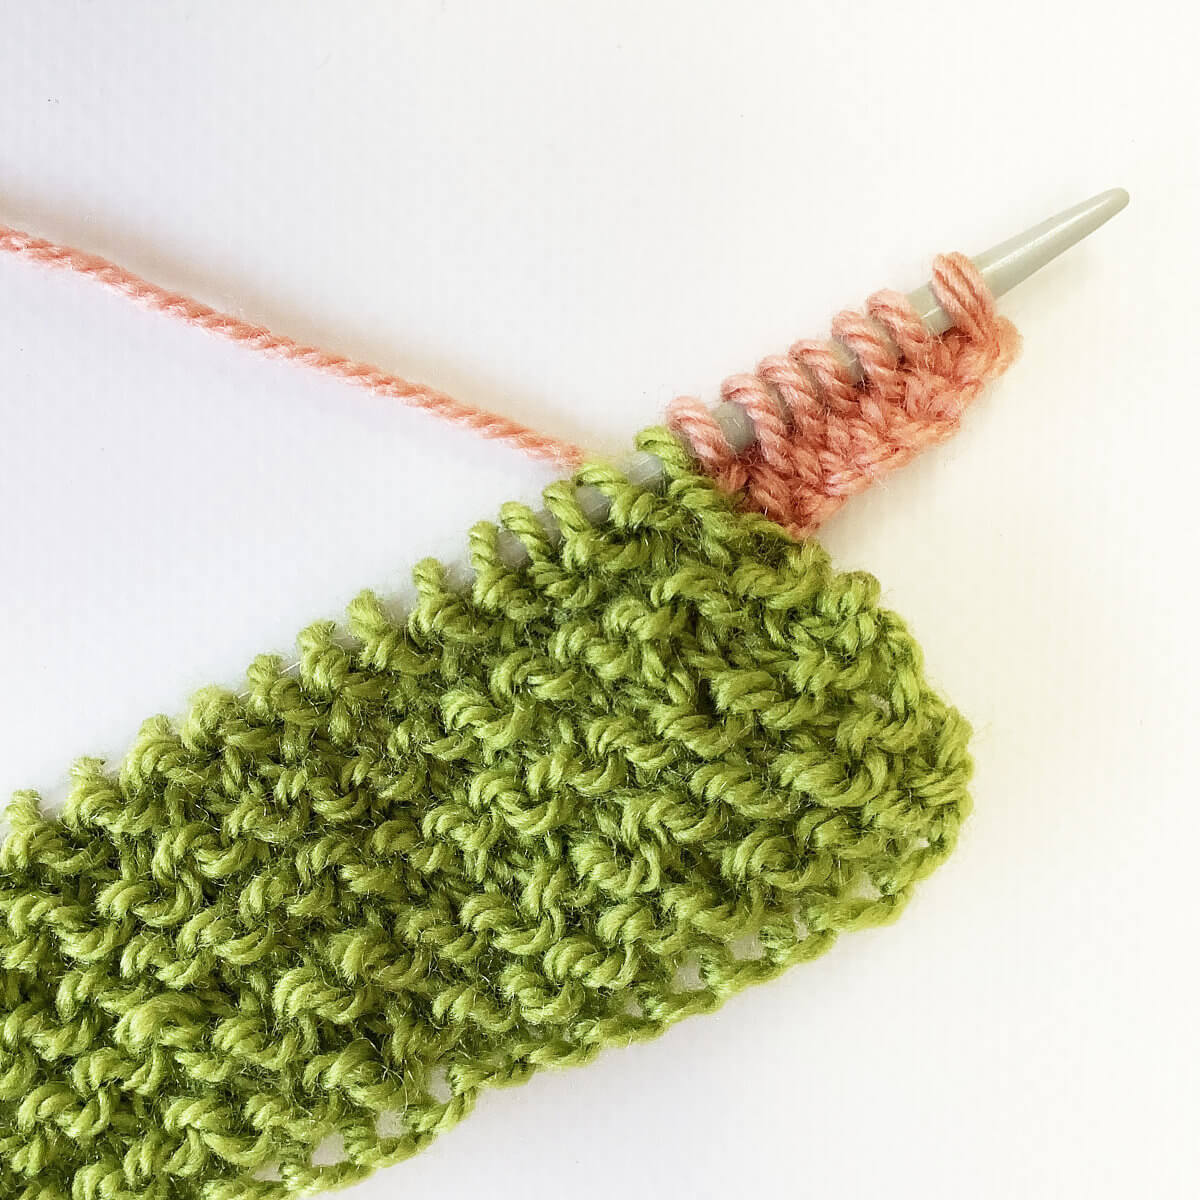
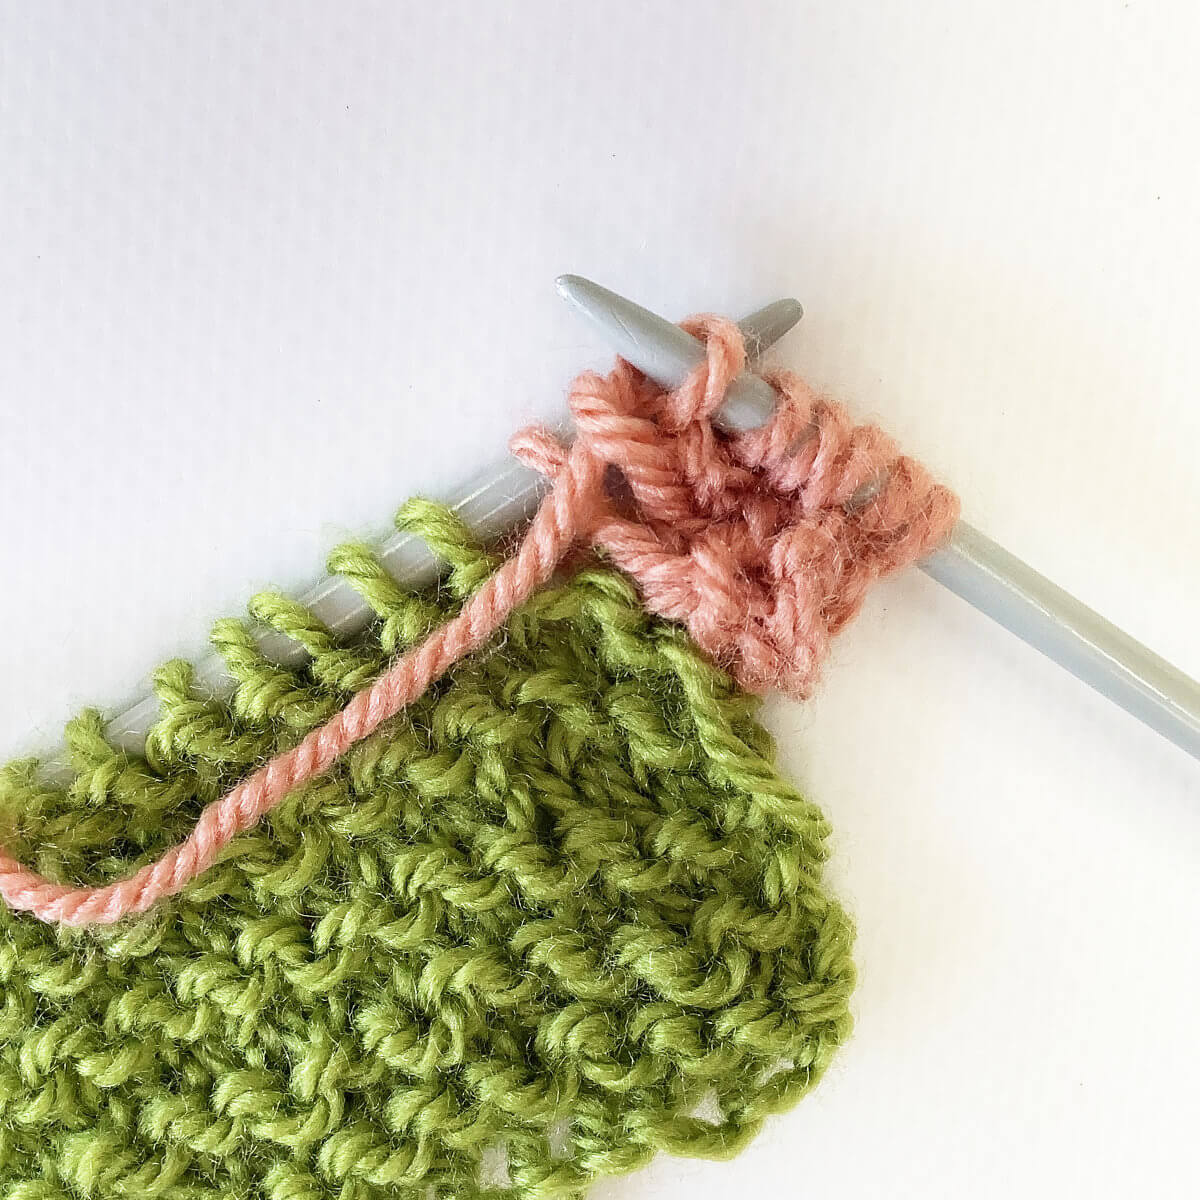
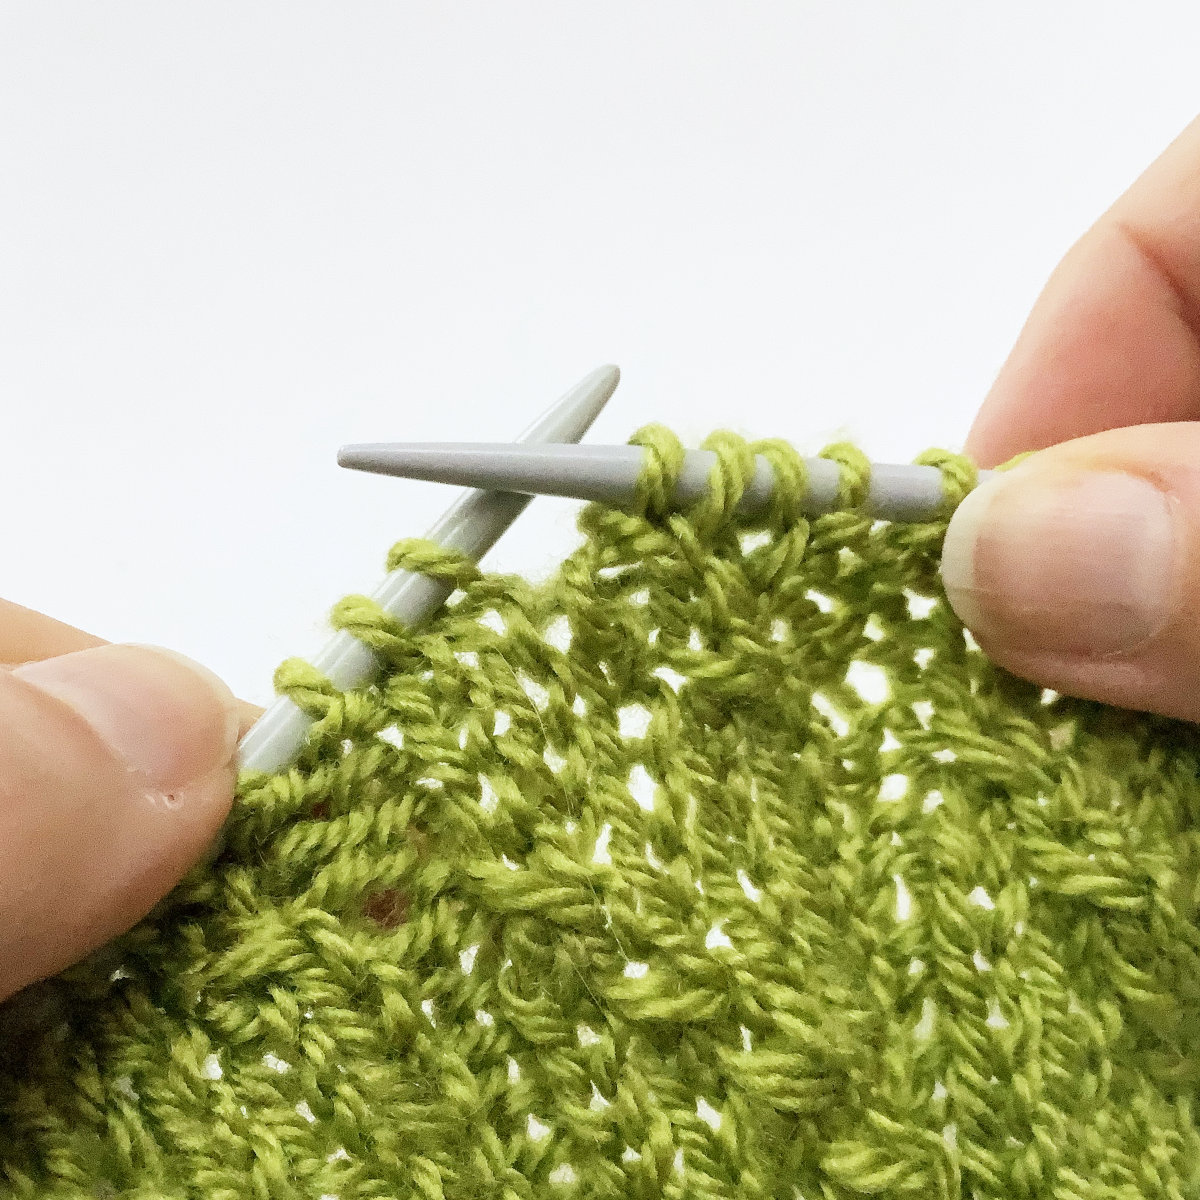
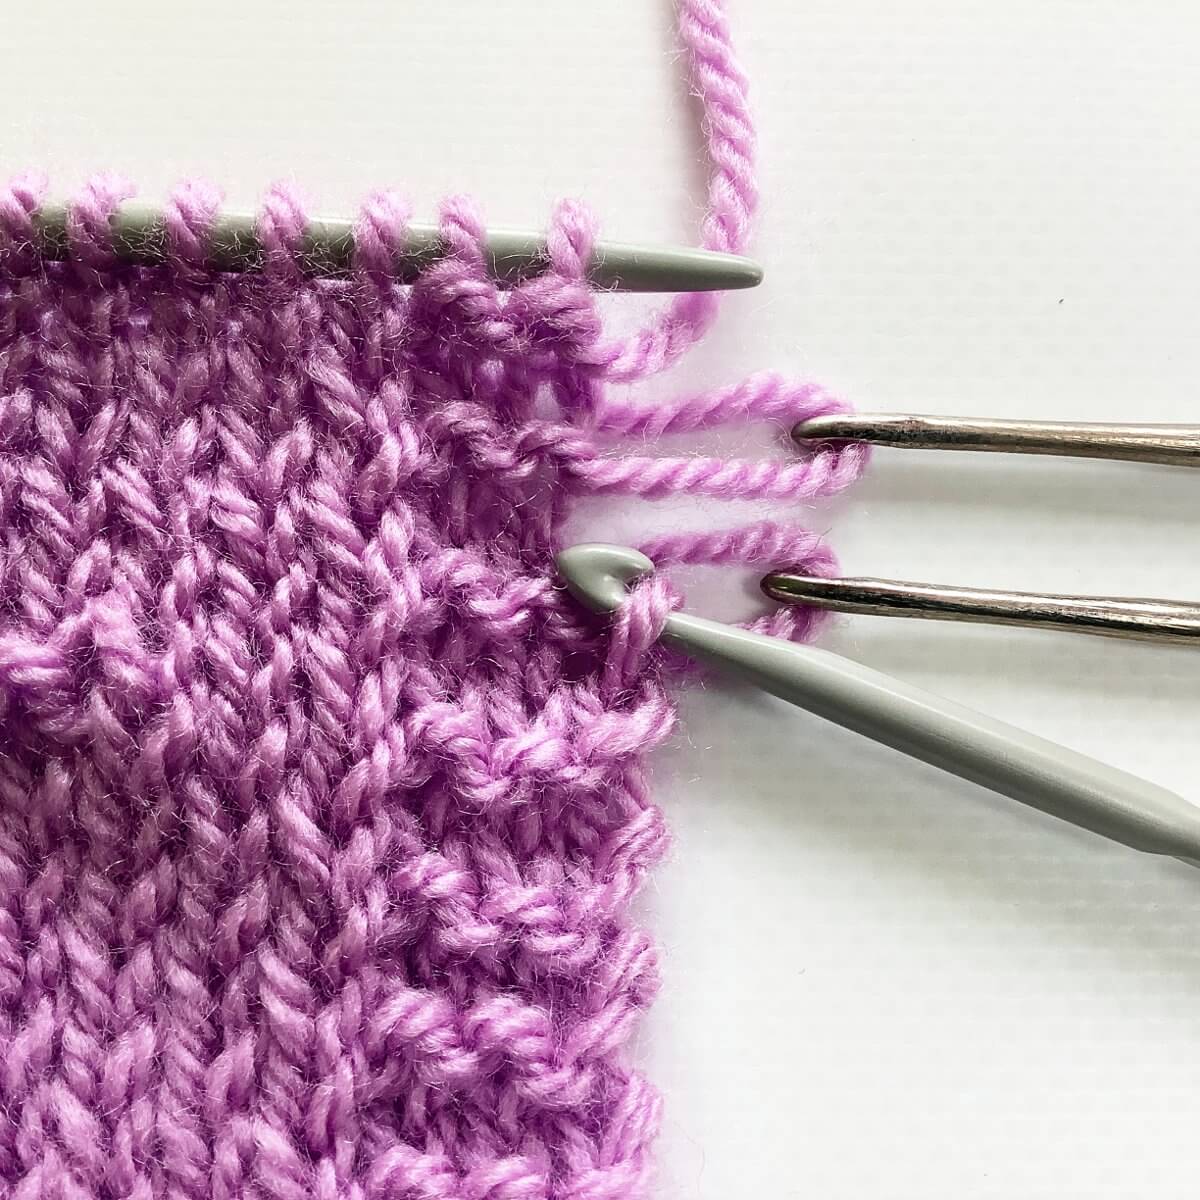
- Next, knit this new loop…
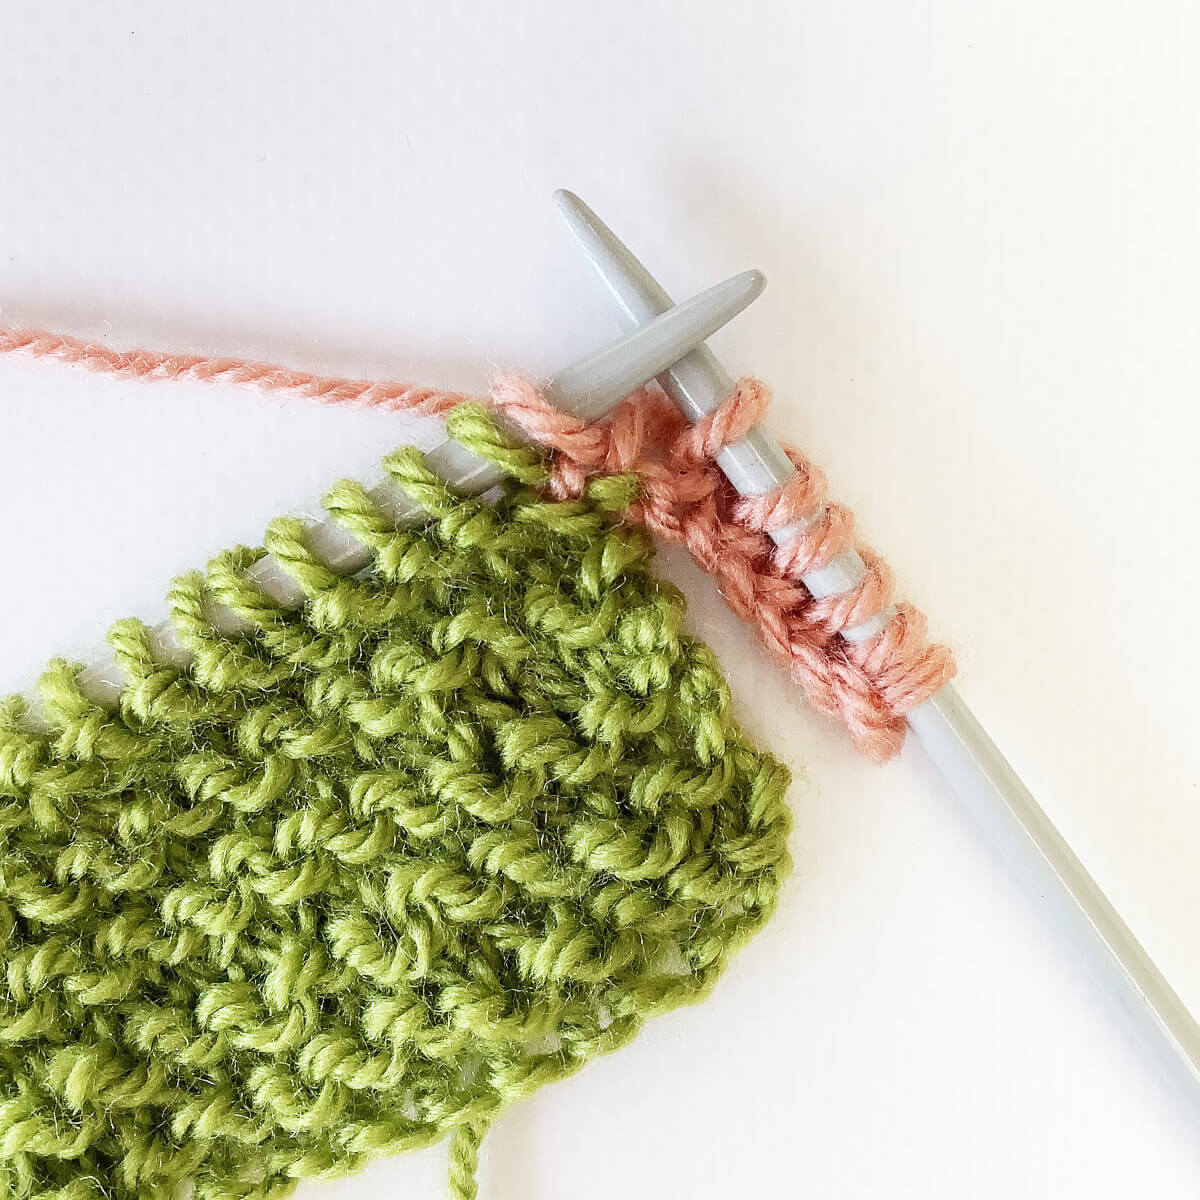
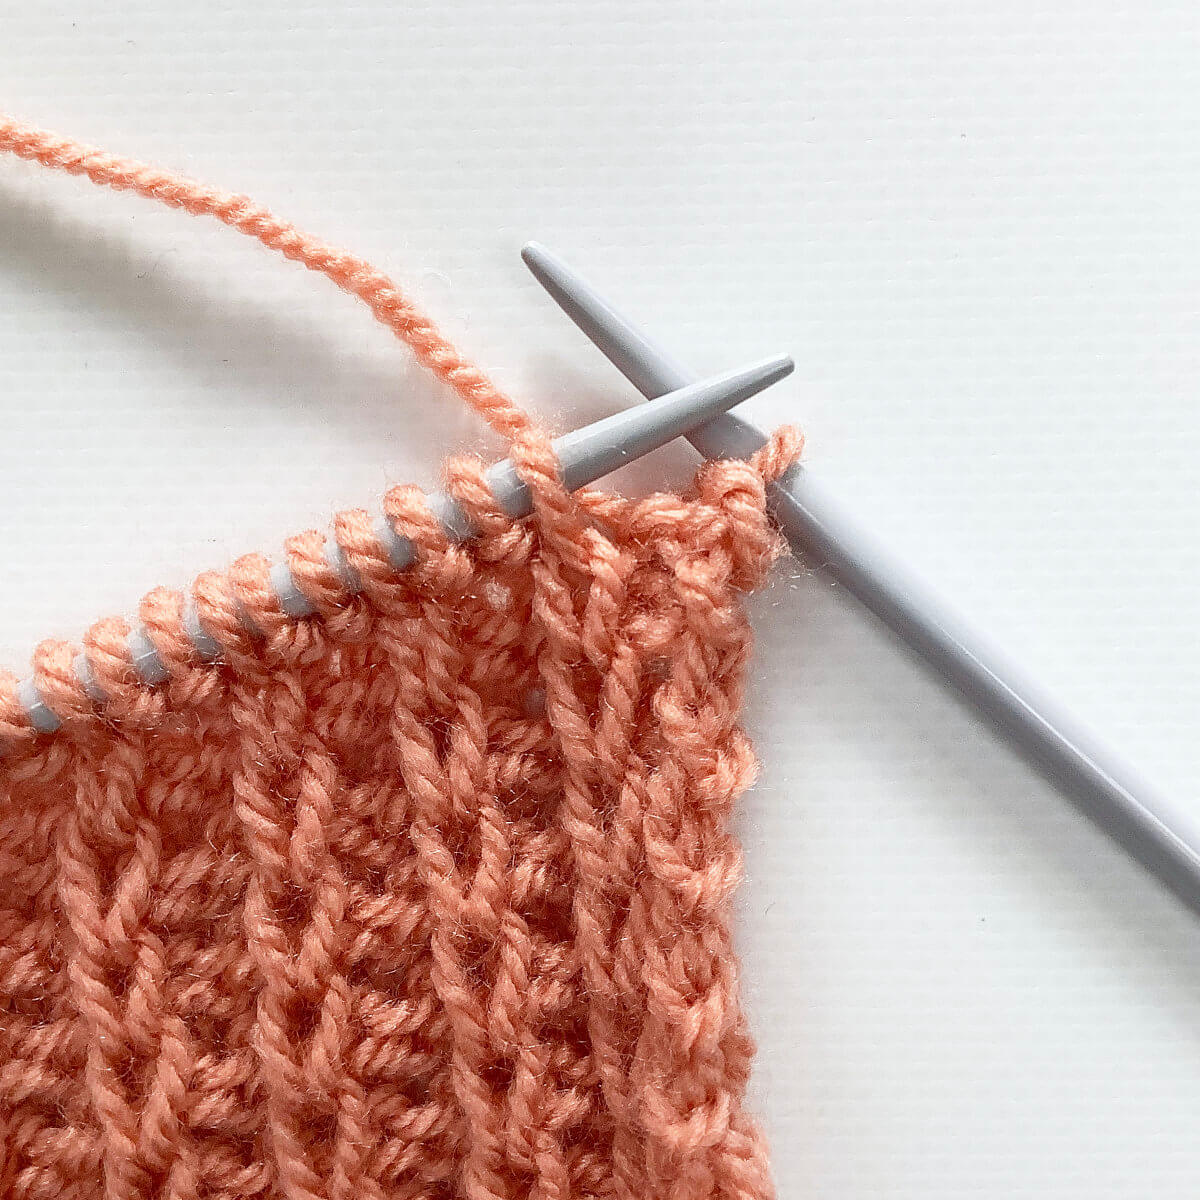
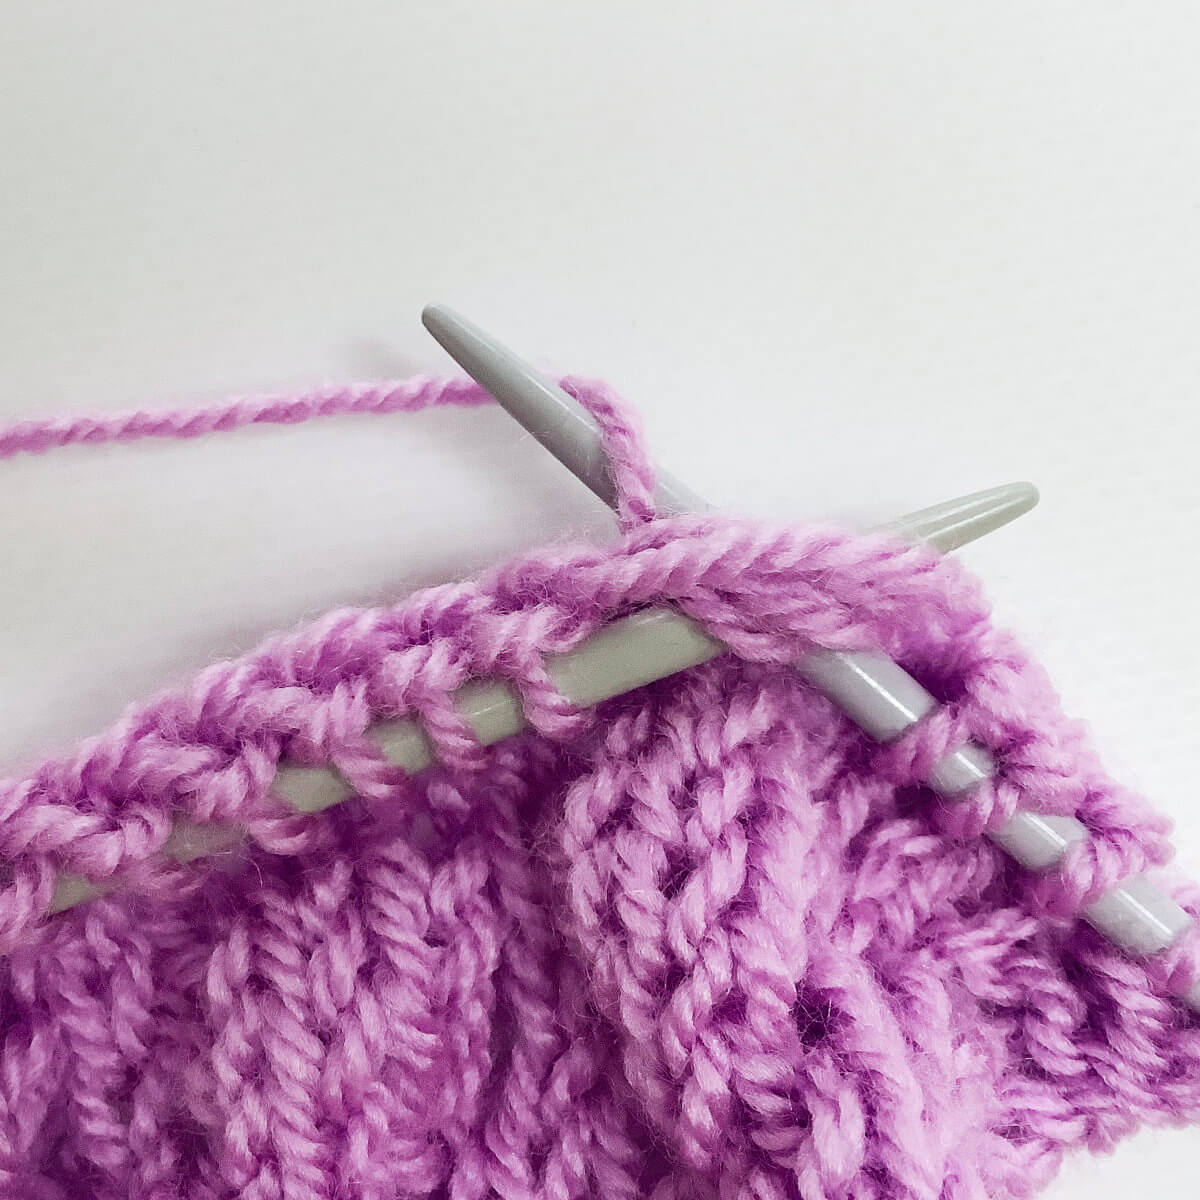
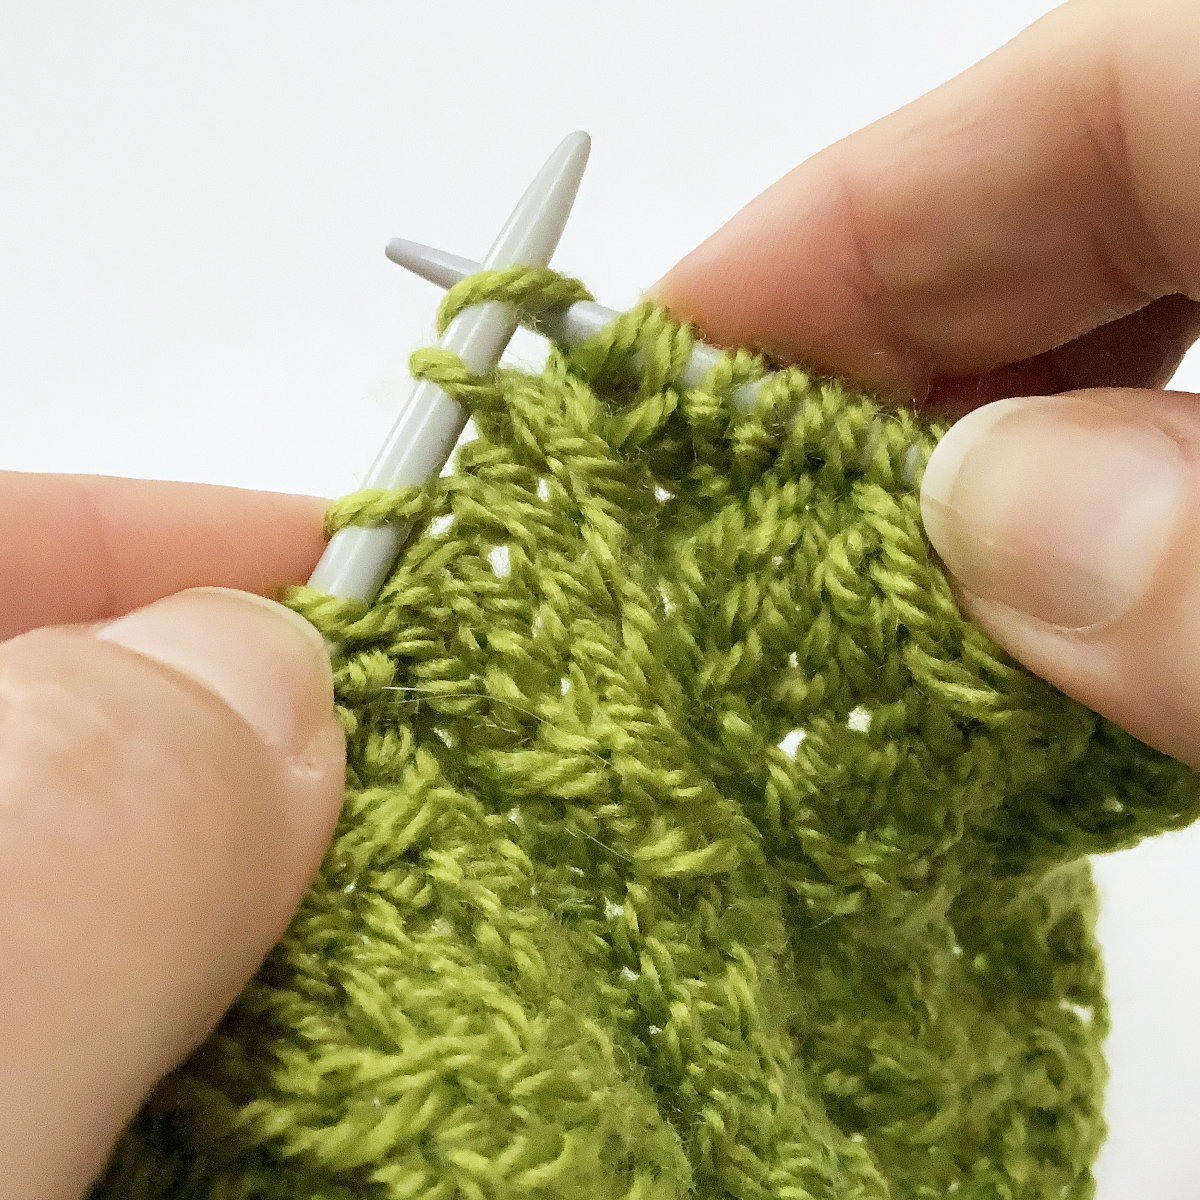
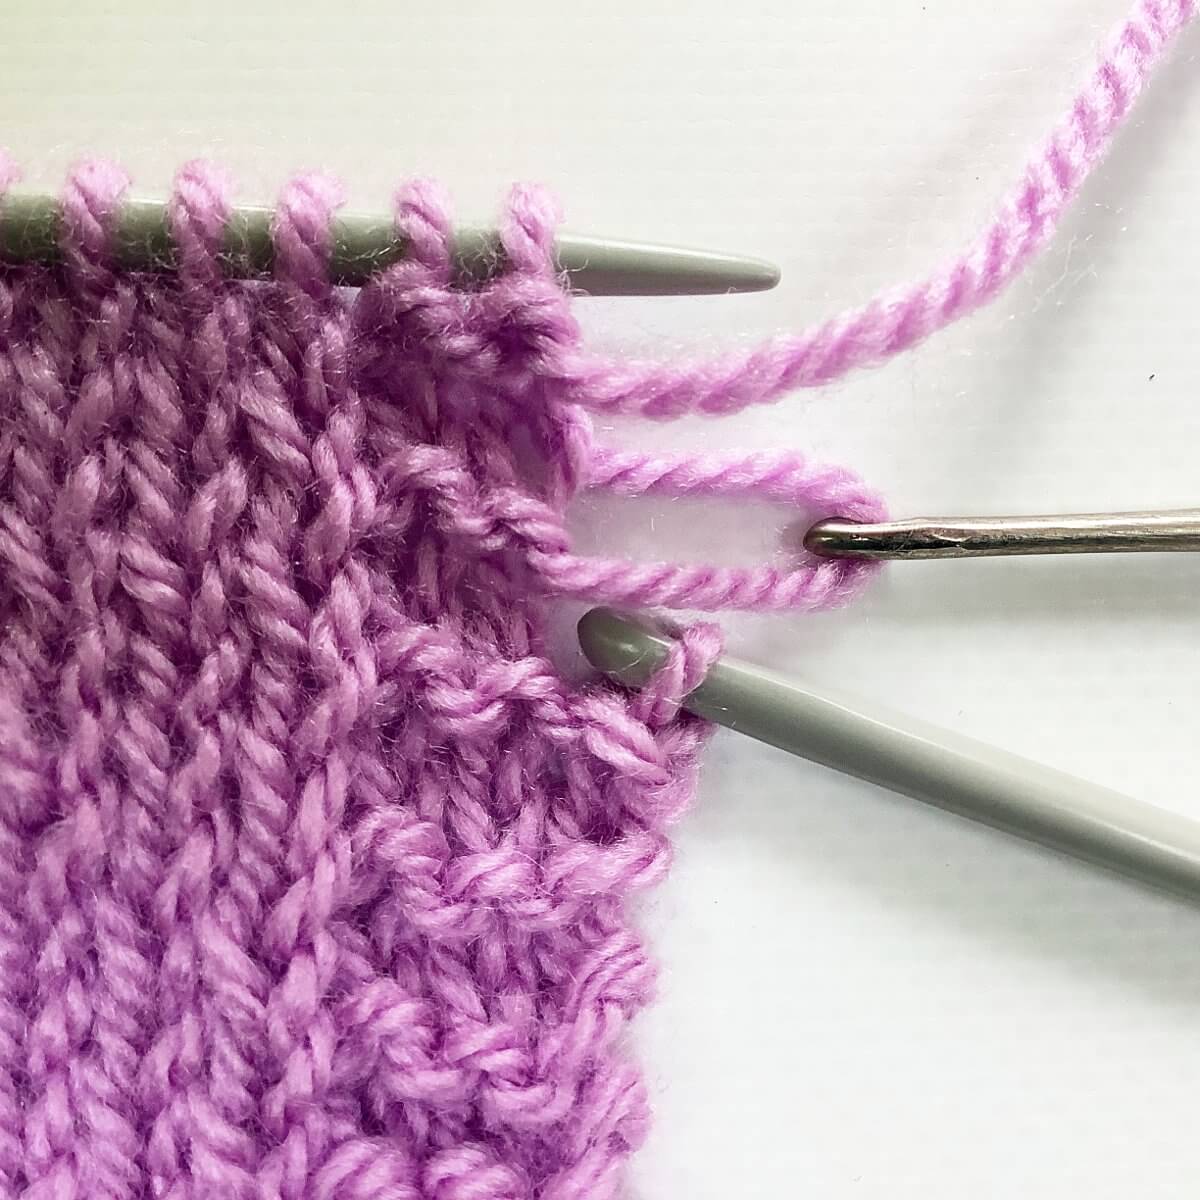
- … and place it back on the left-hand needle.
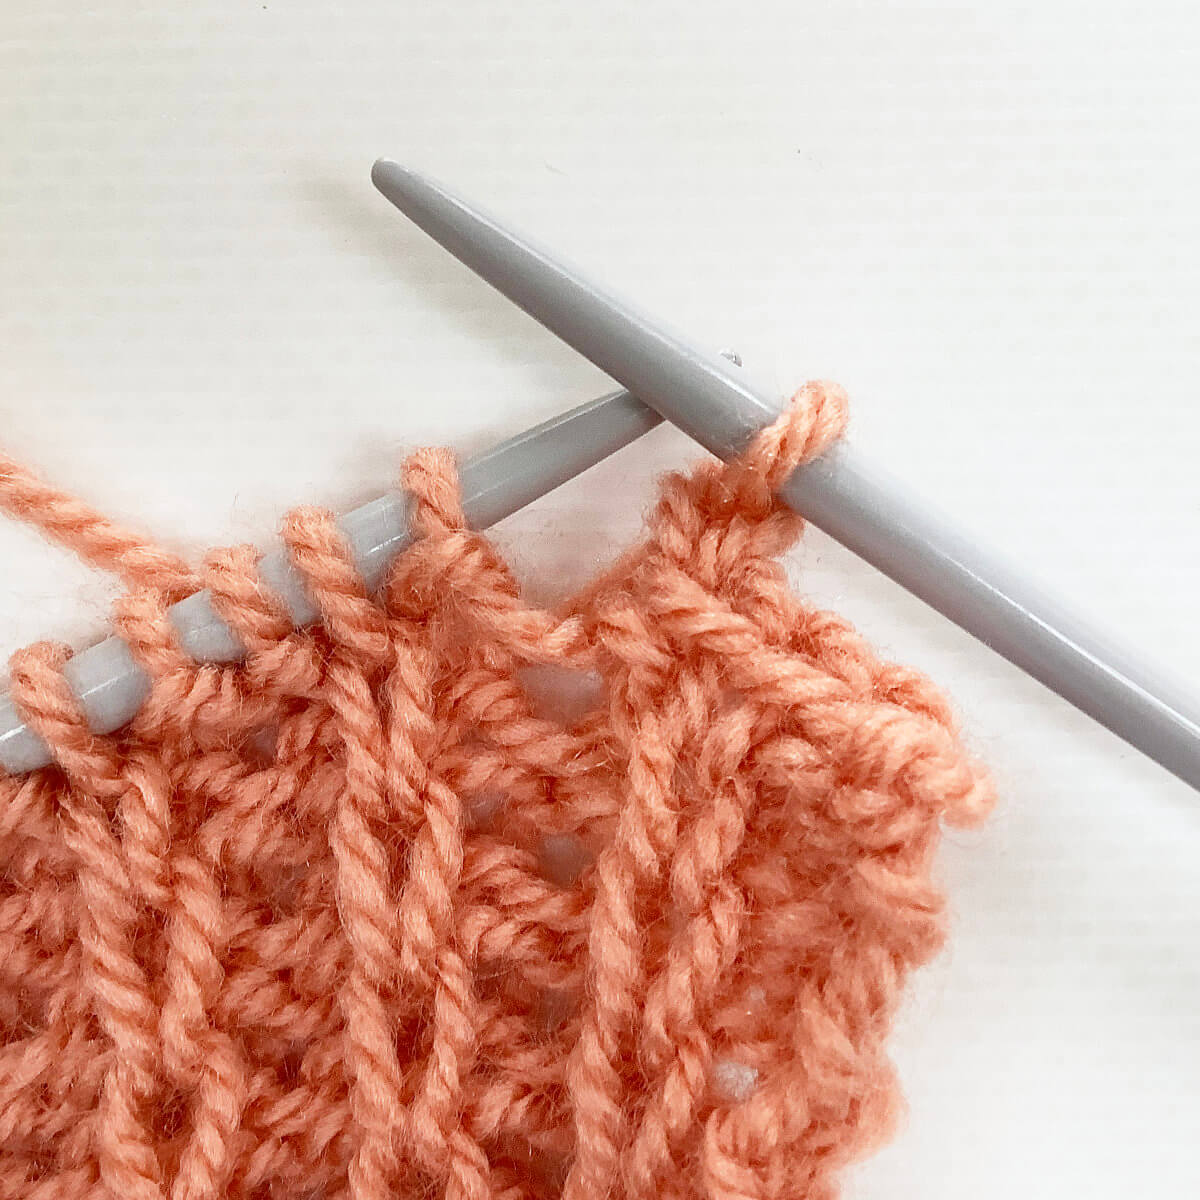
Do you see how it sits next to its “shadow stitch”?
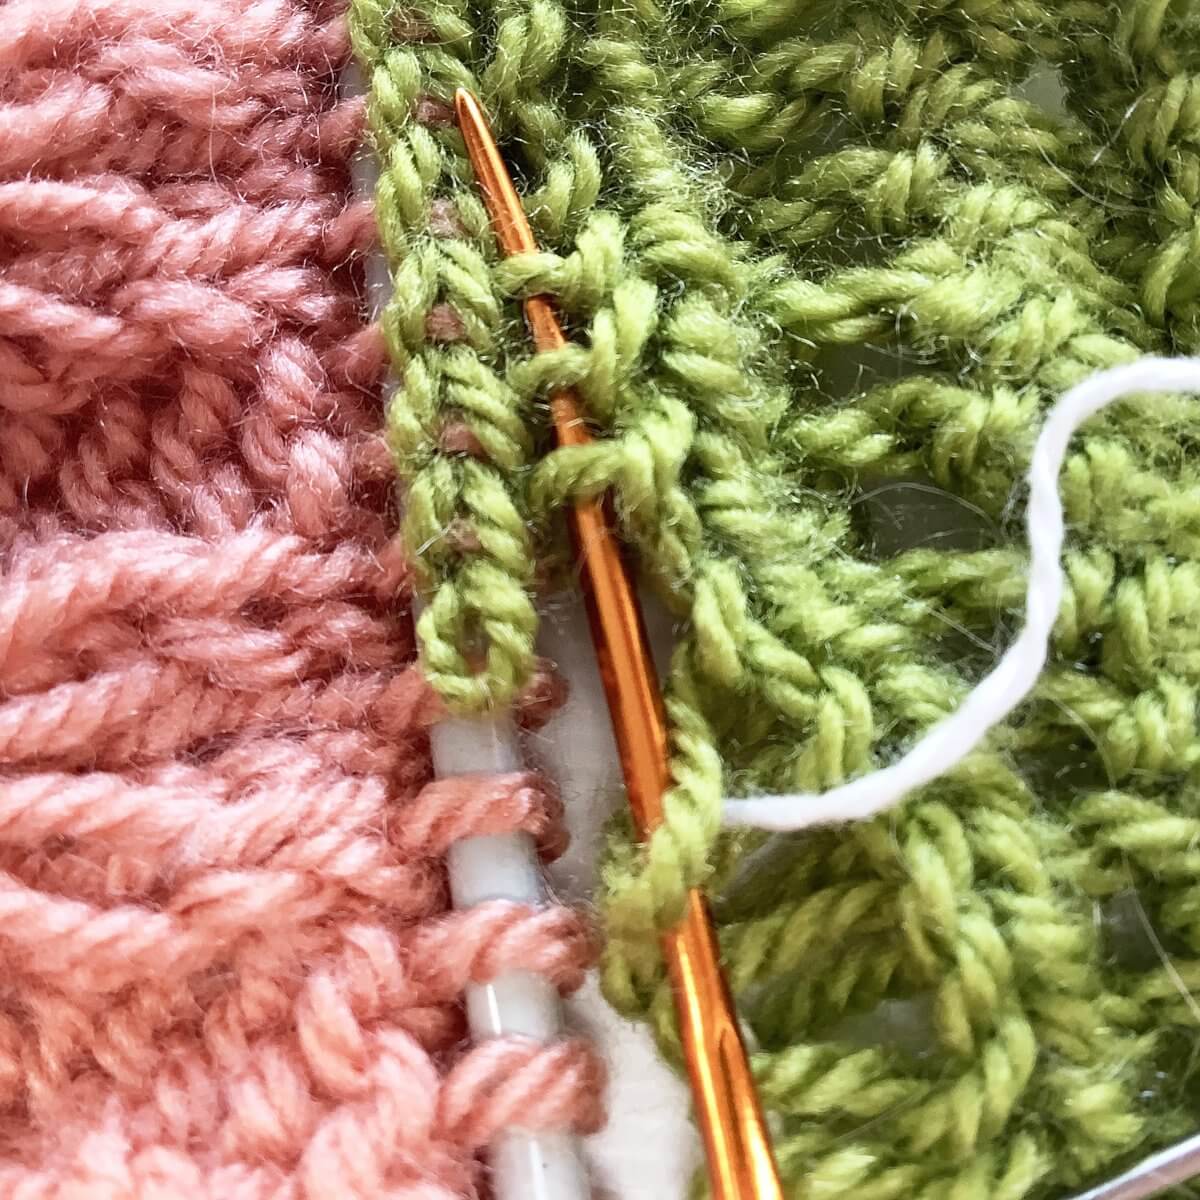
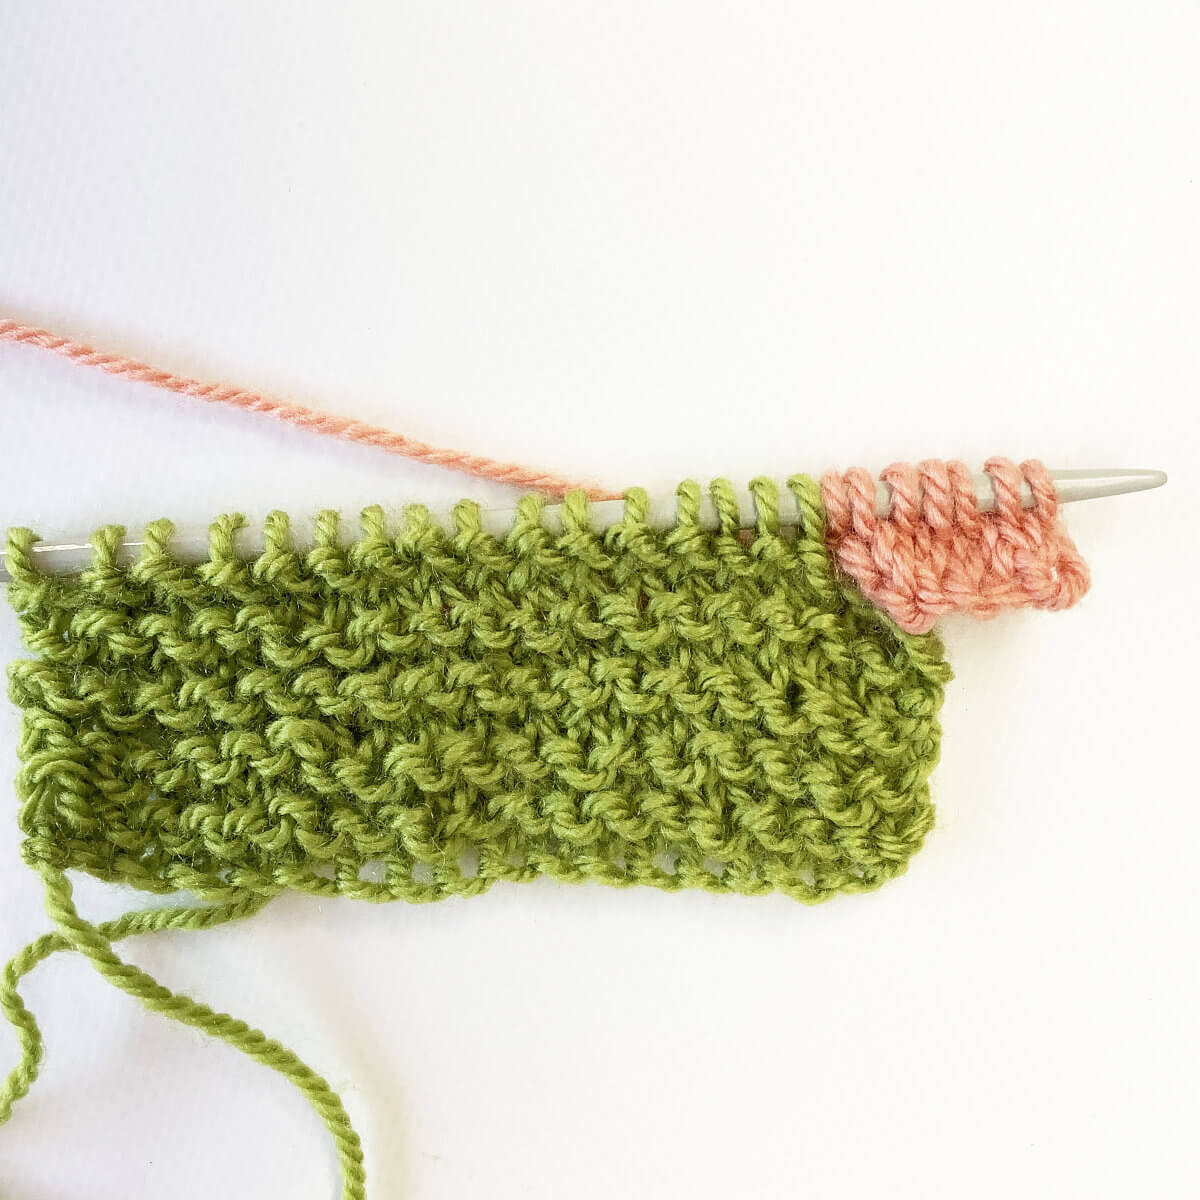
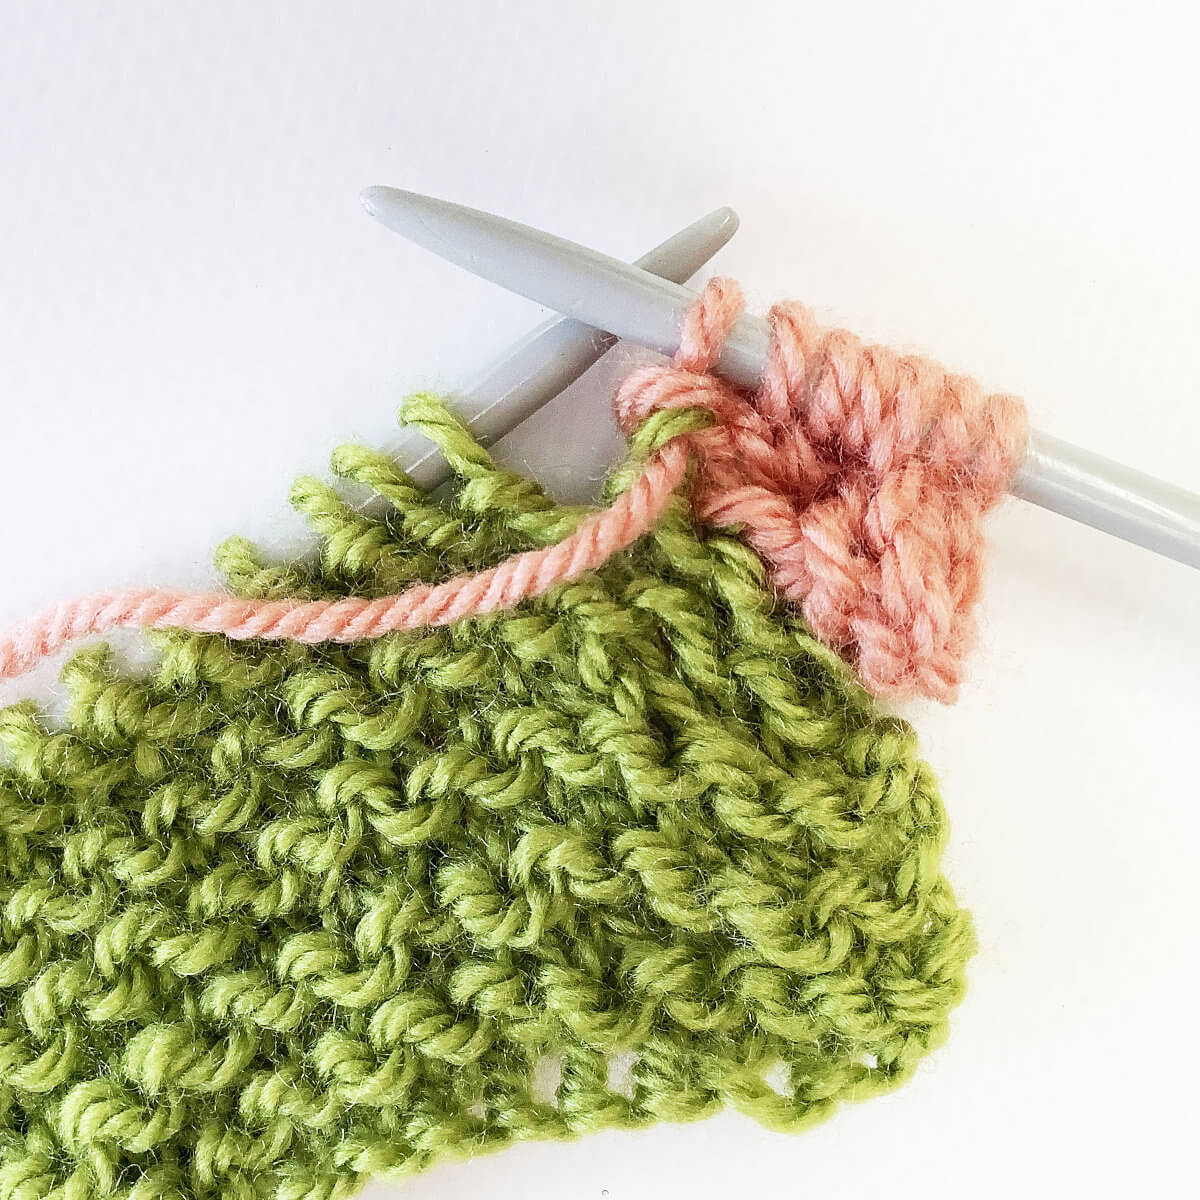
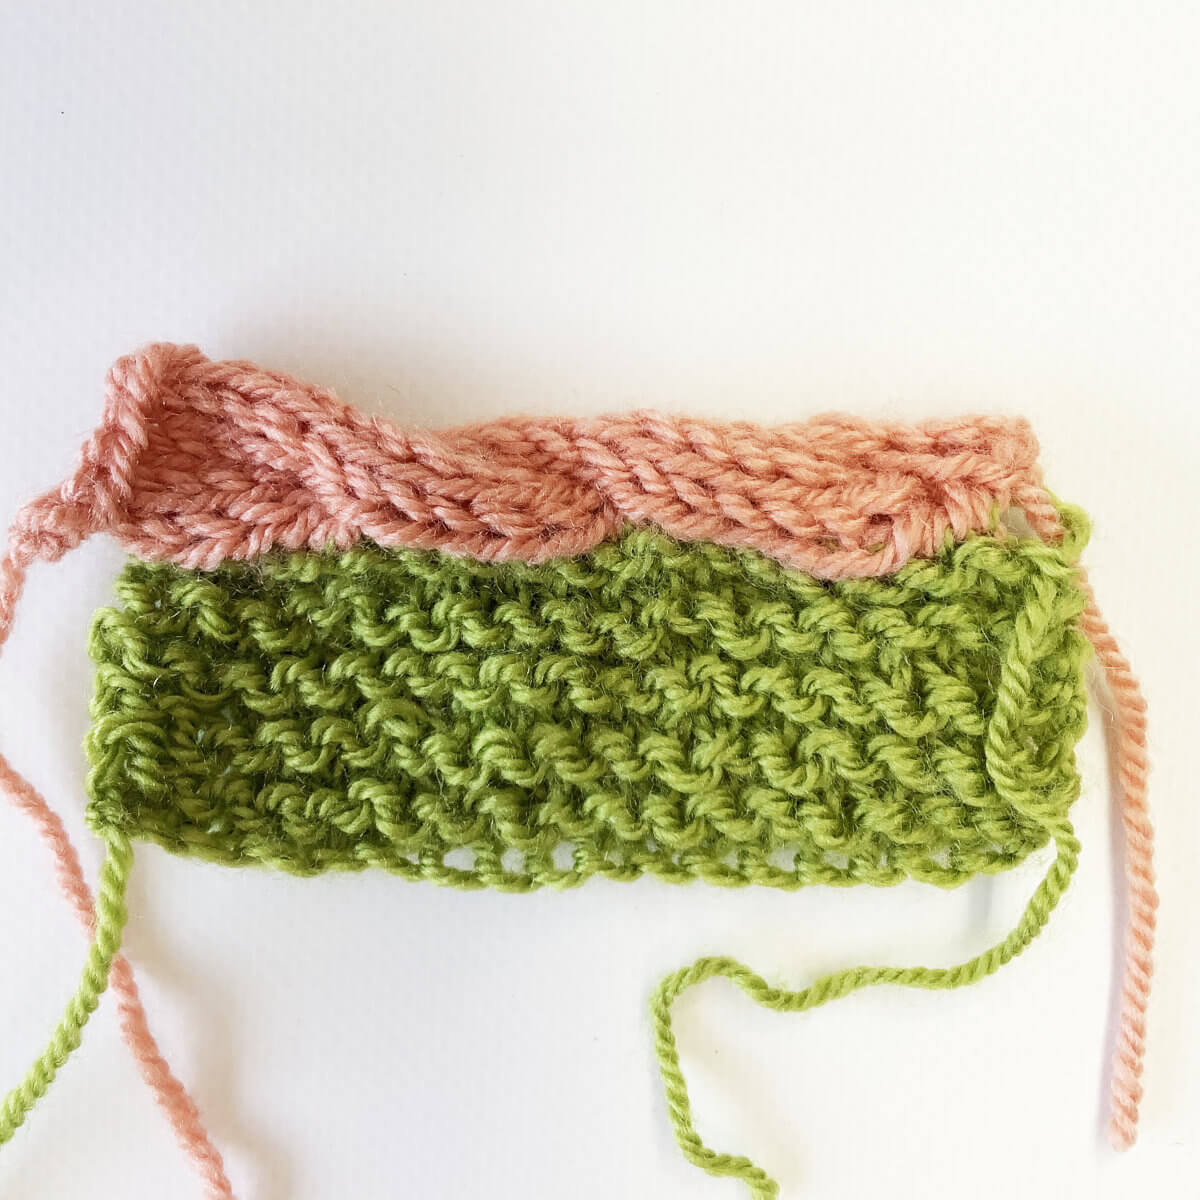
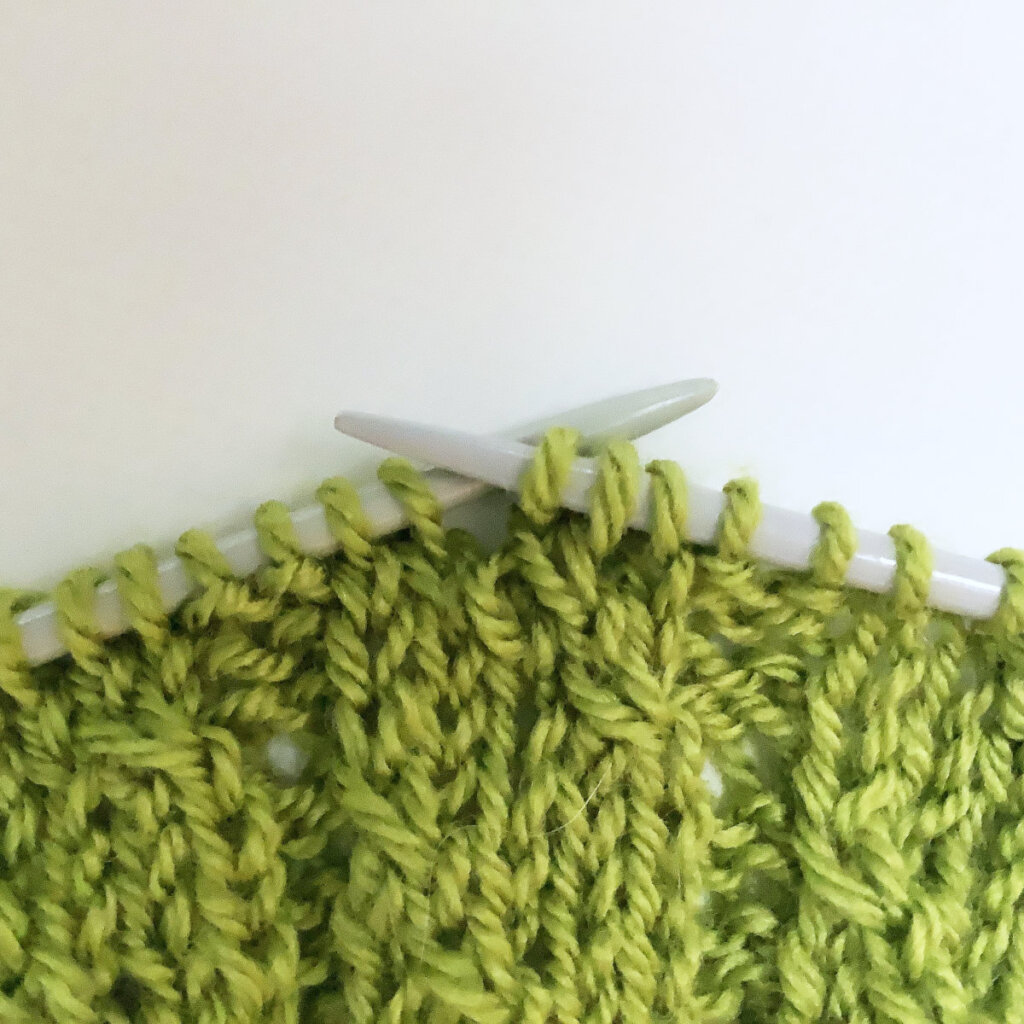
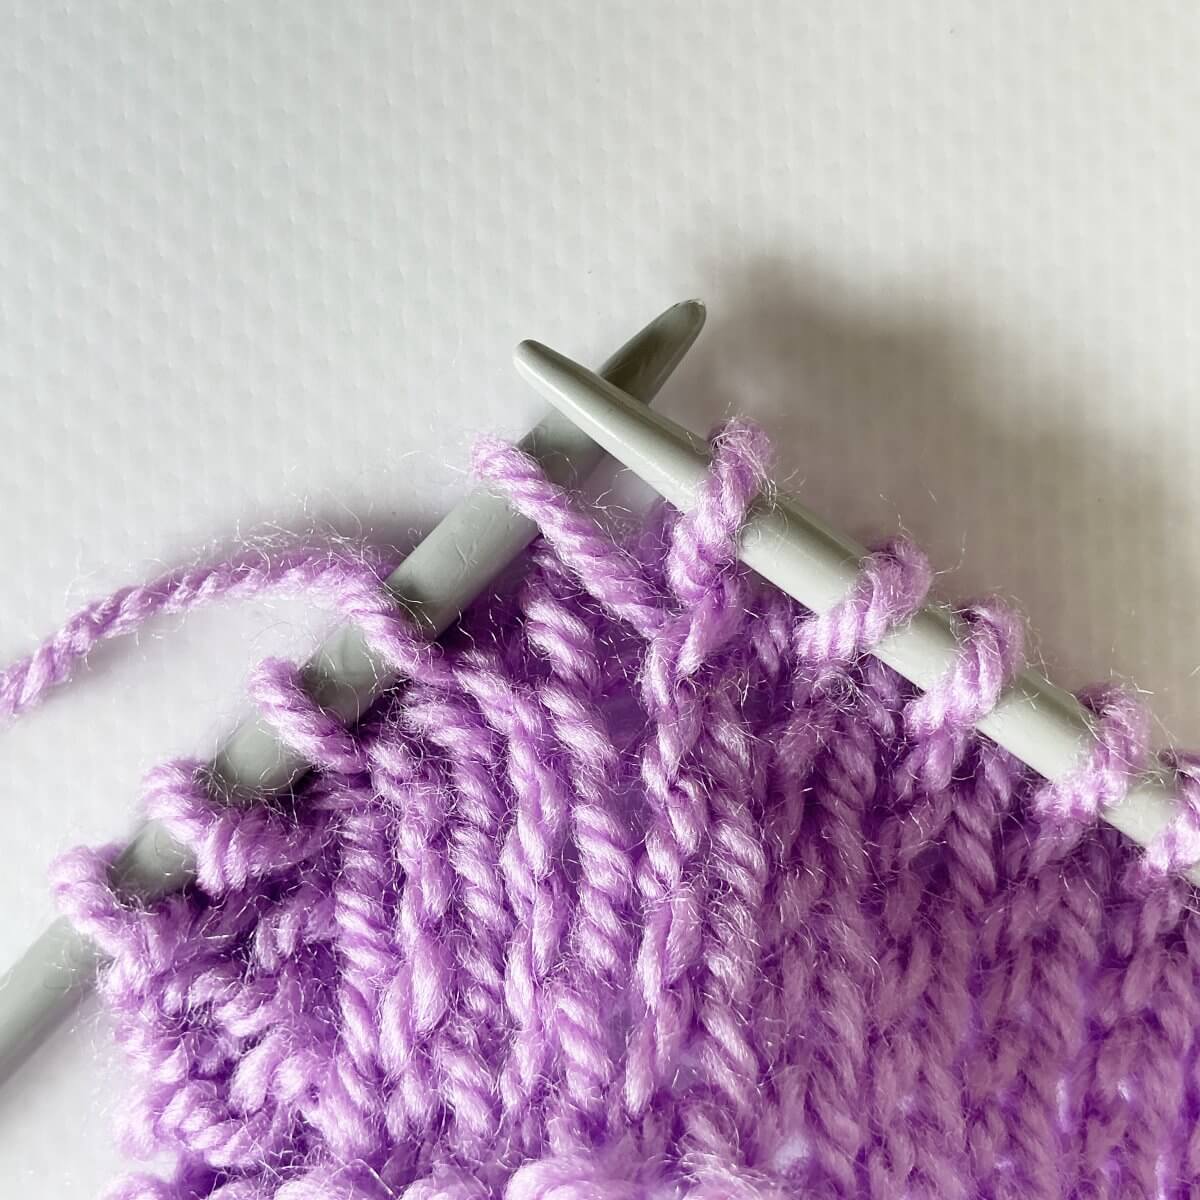
- Next, turn your work and purl back to where your pattern says.
Your pattern may also tell you to work another short row on the WS of the fabric.
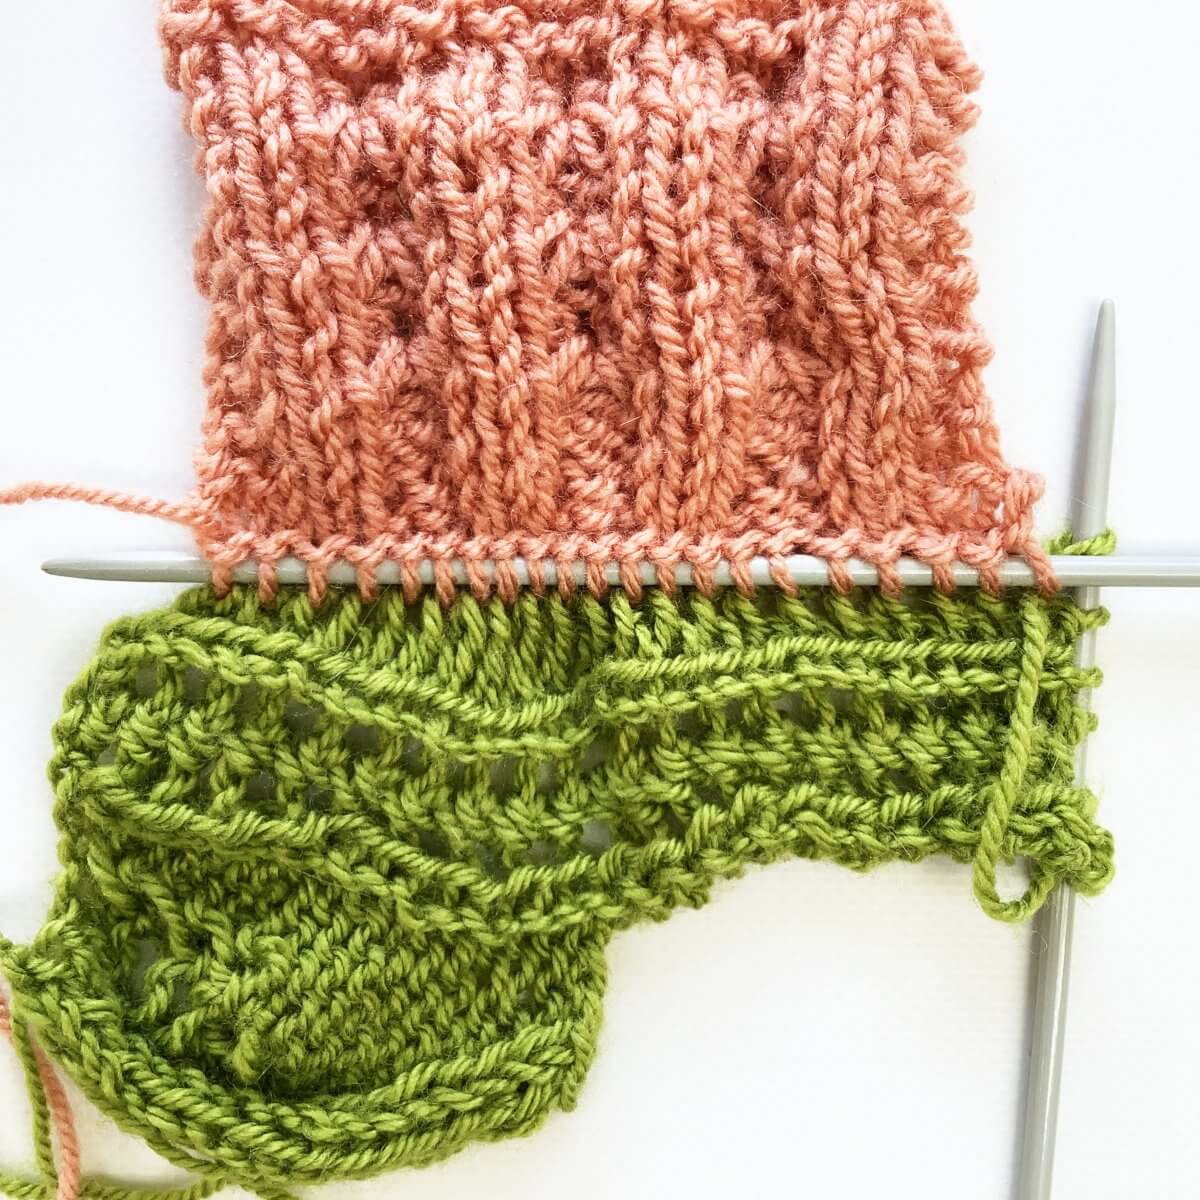
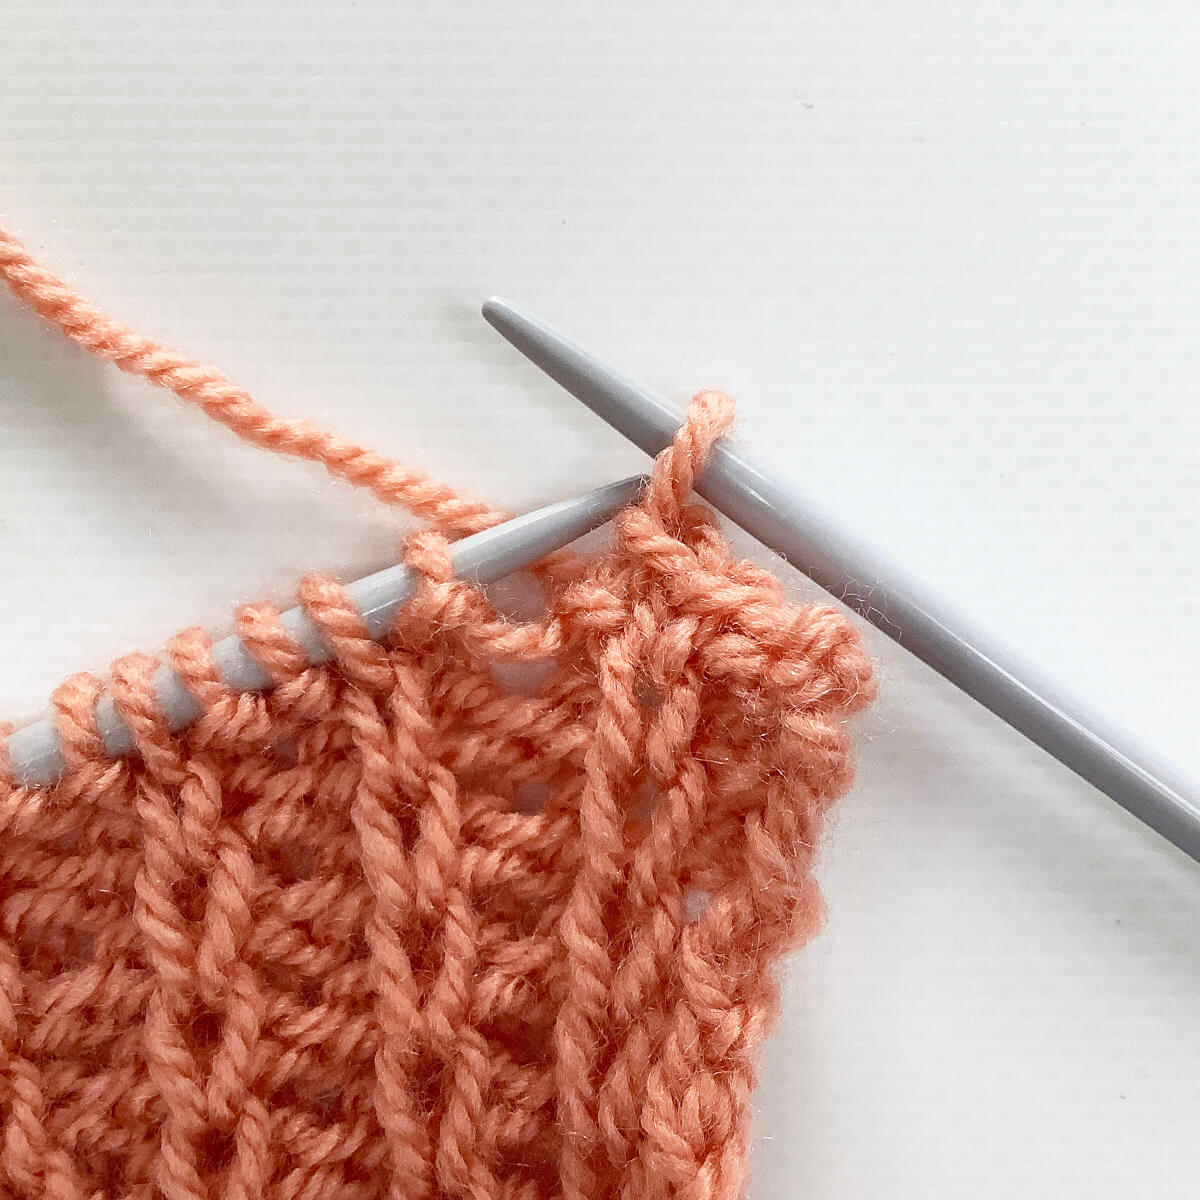
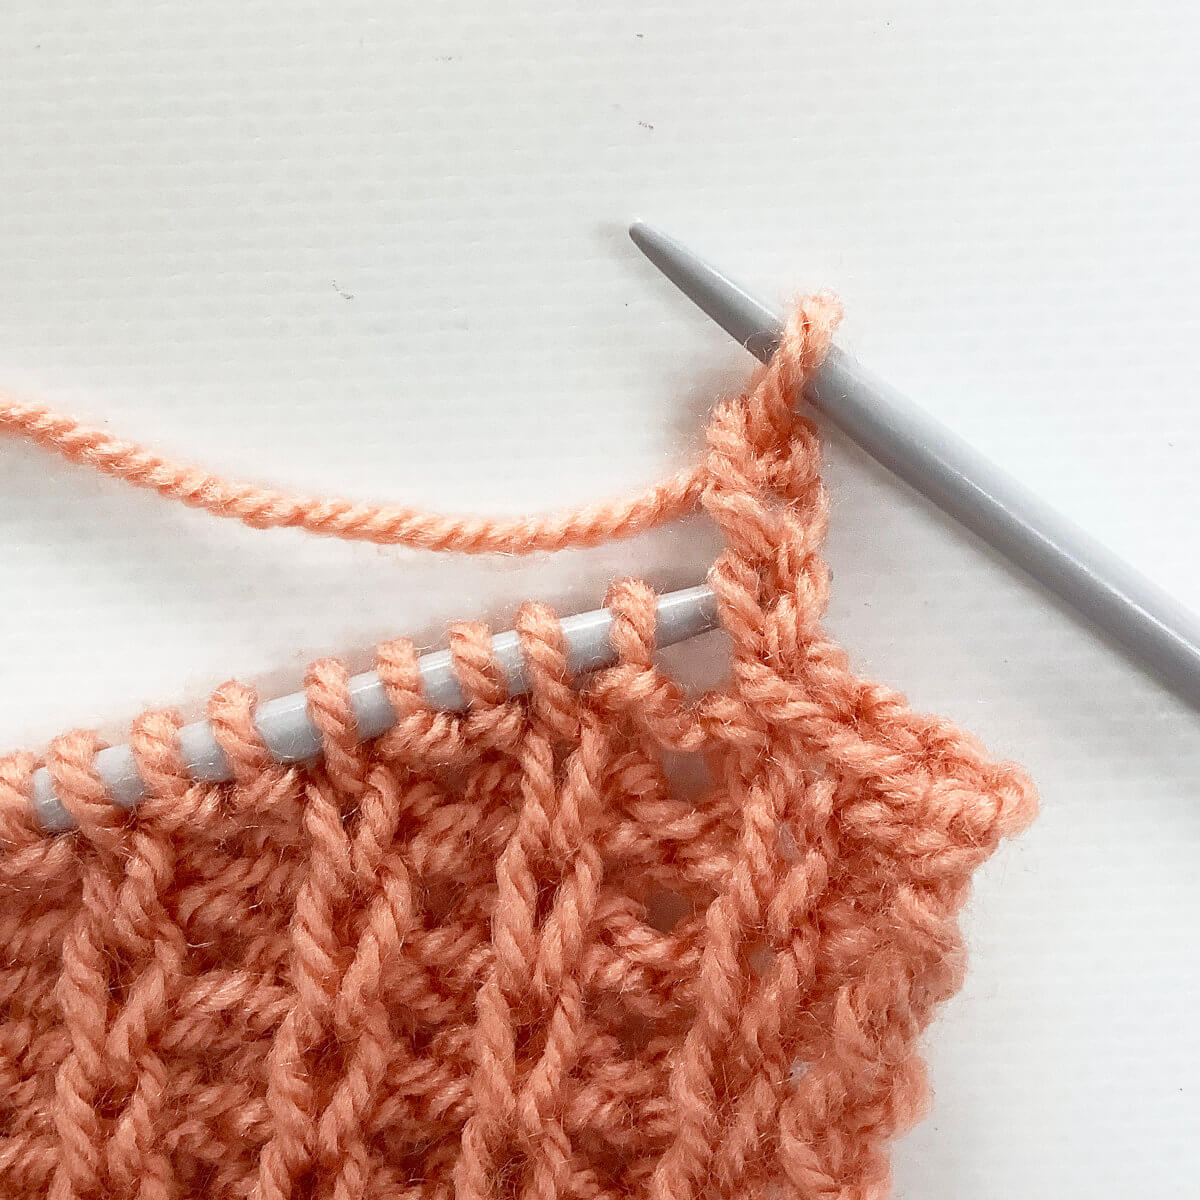
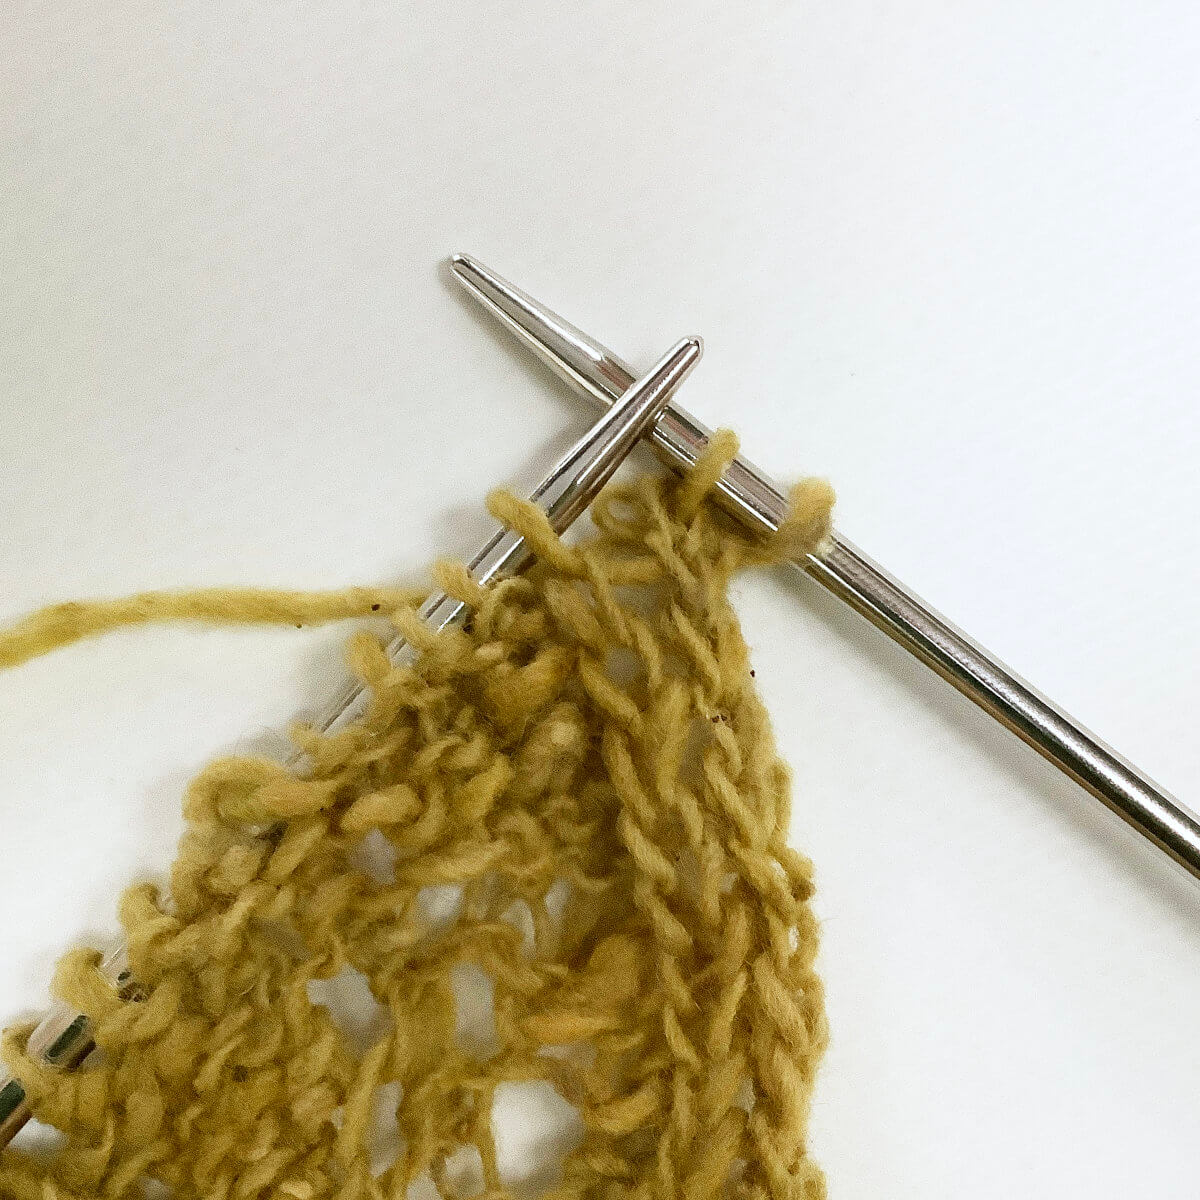
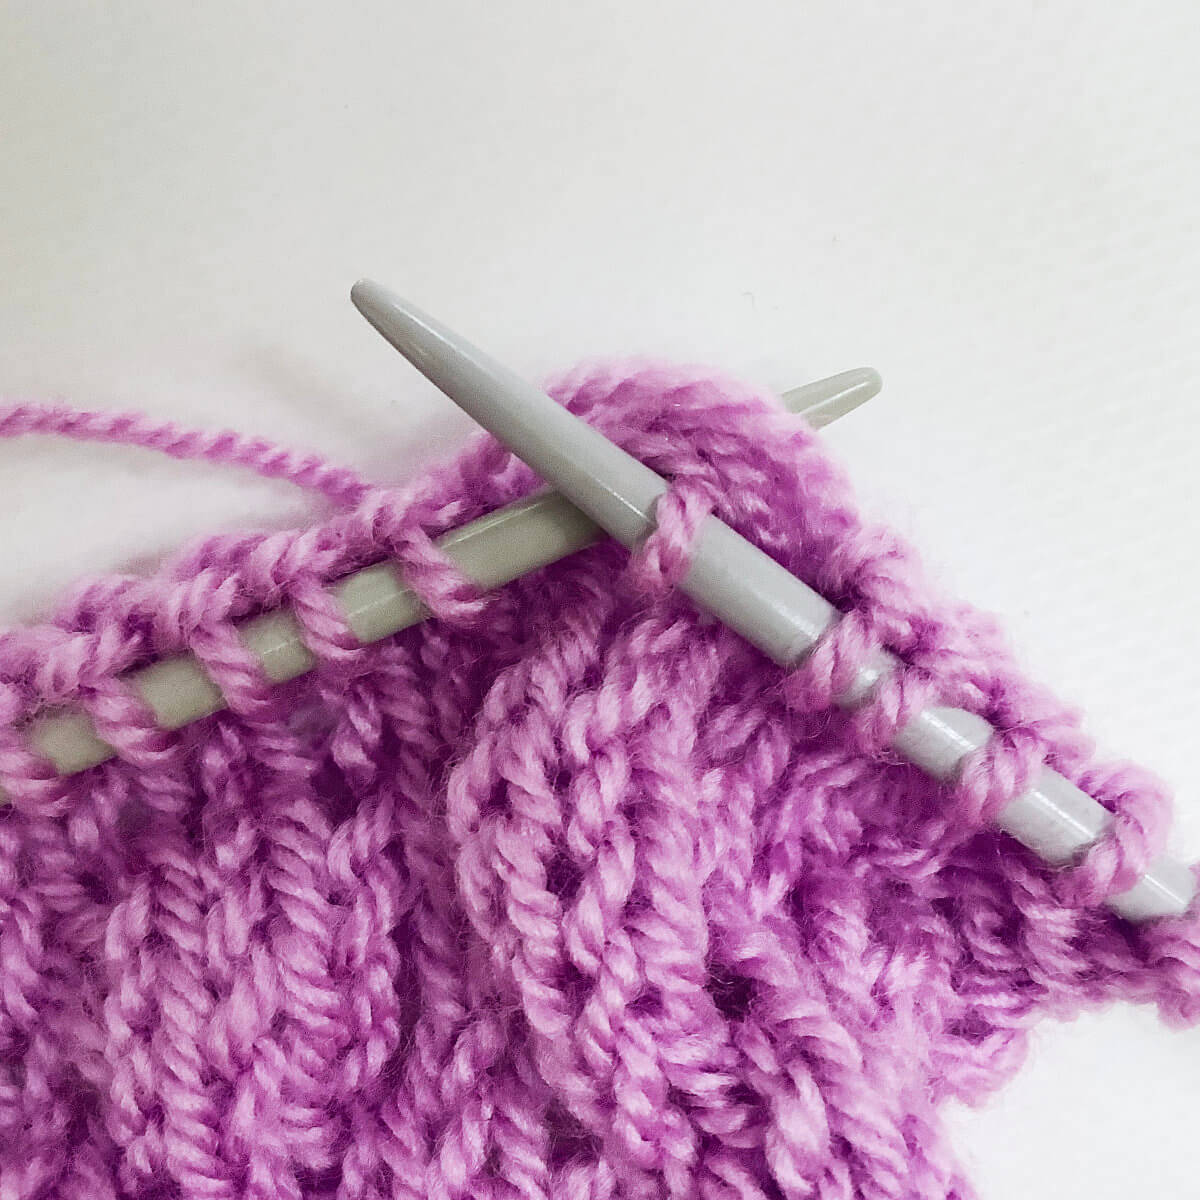
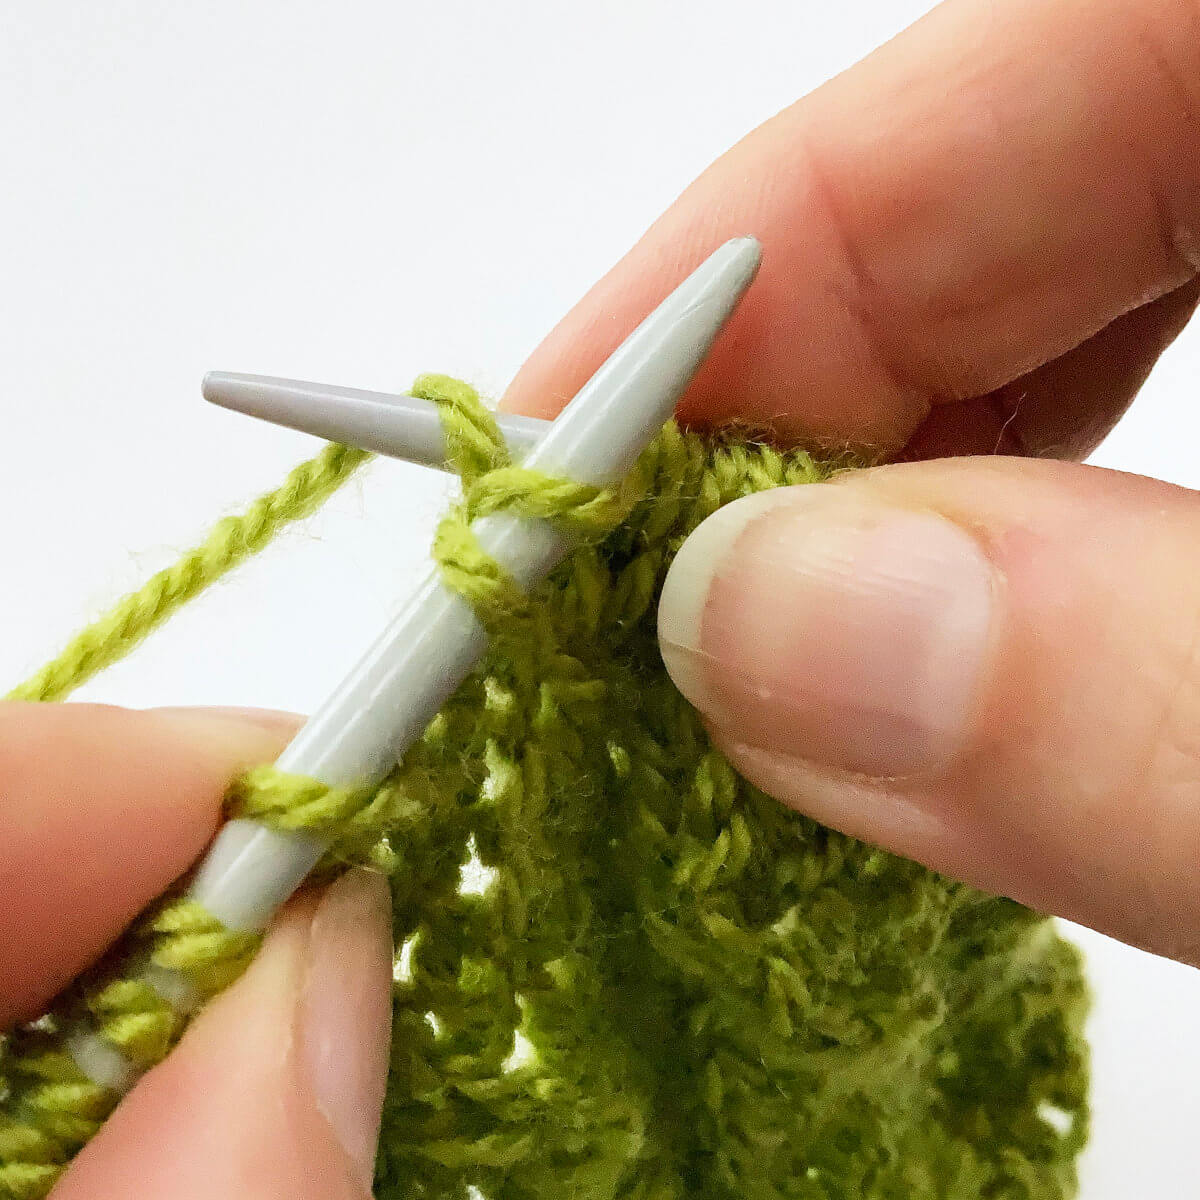
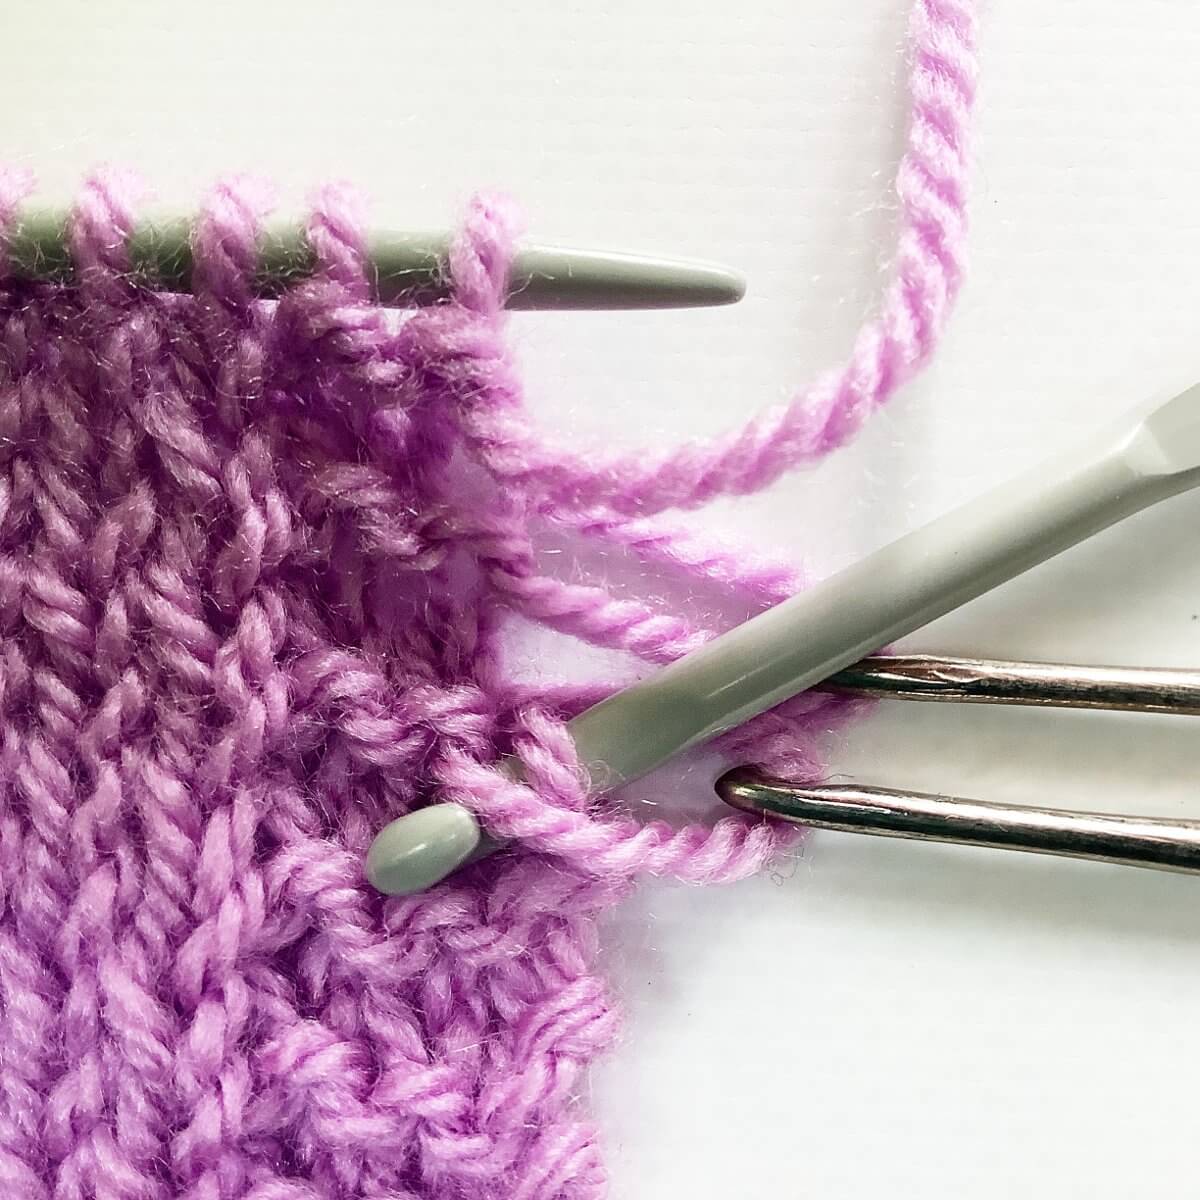
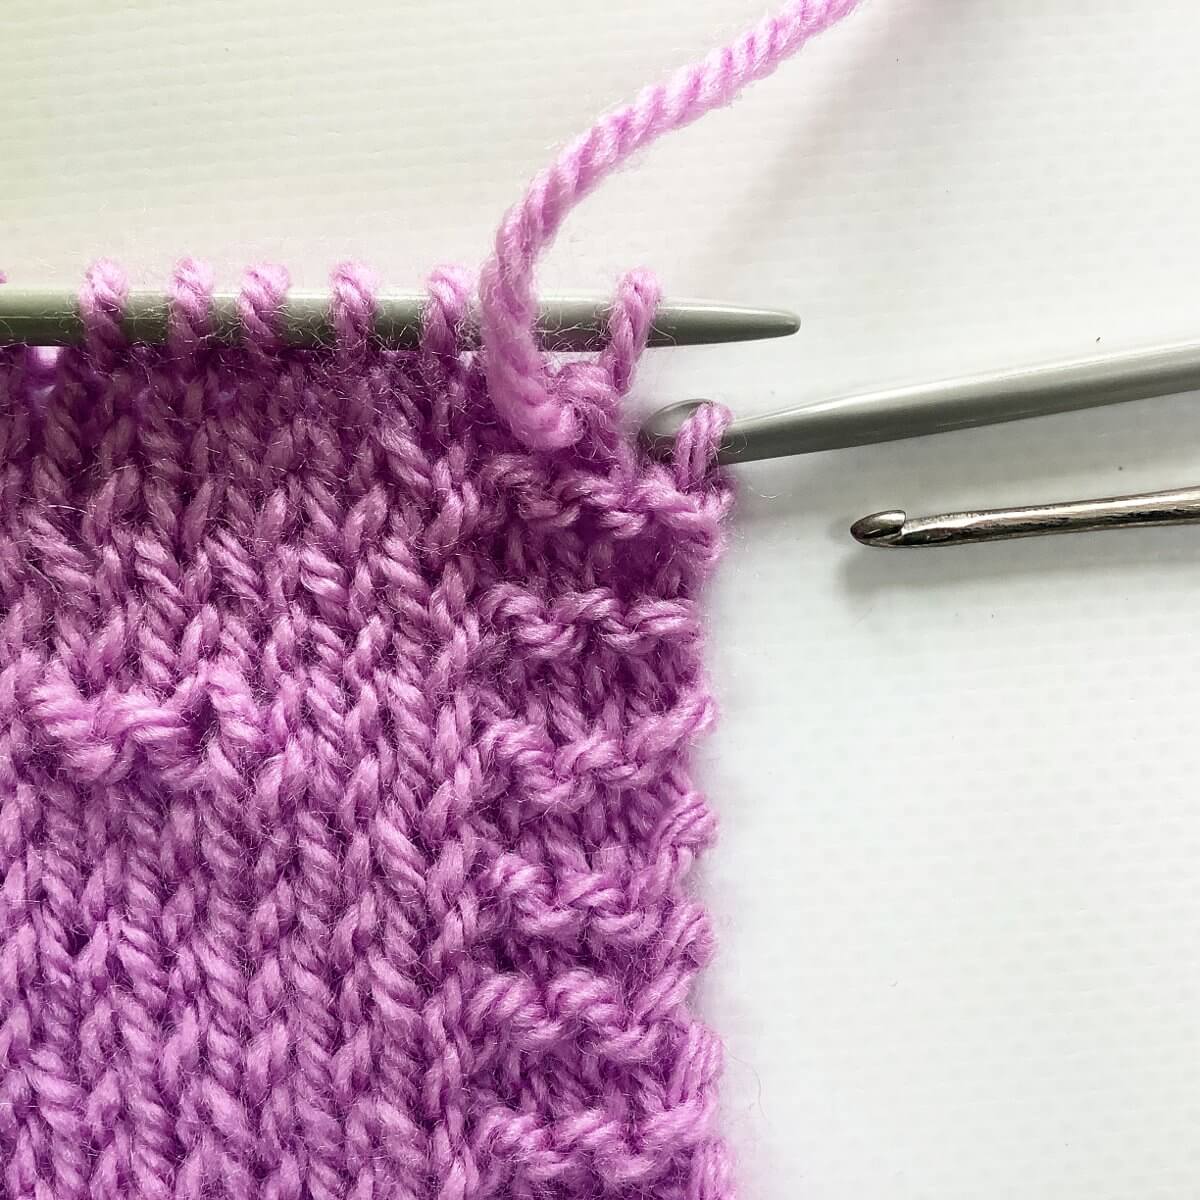
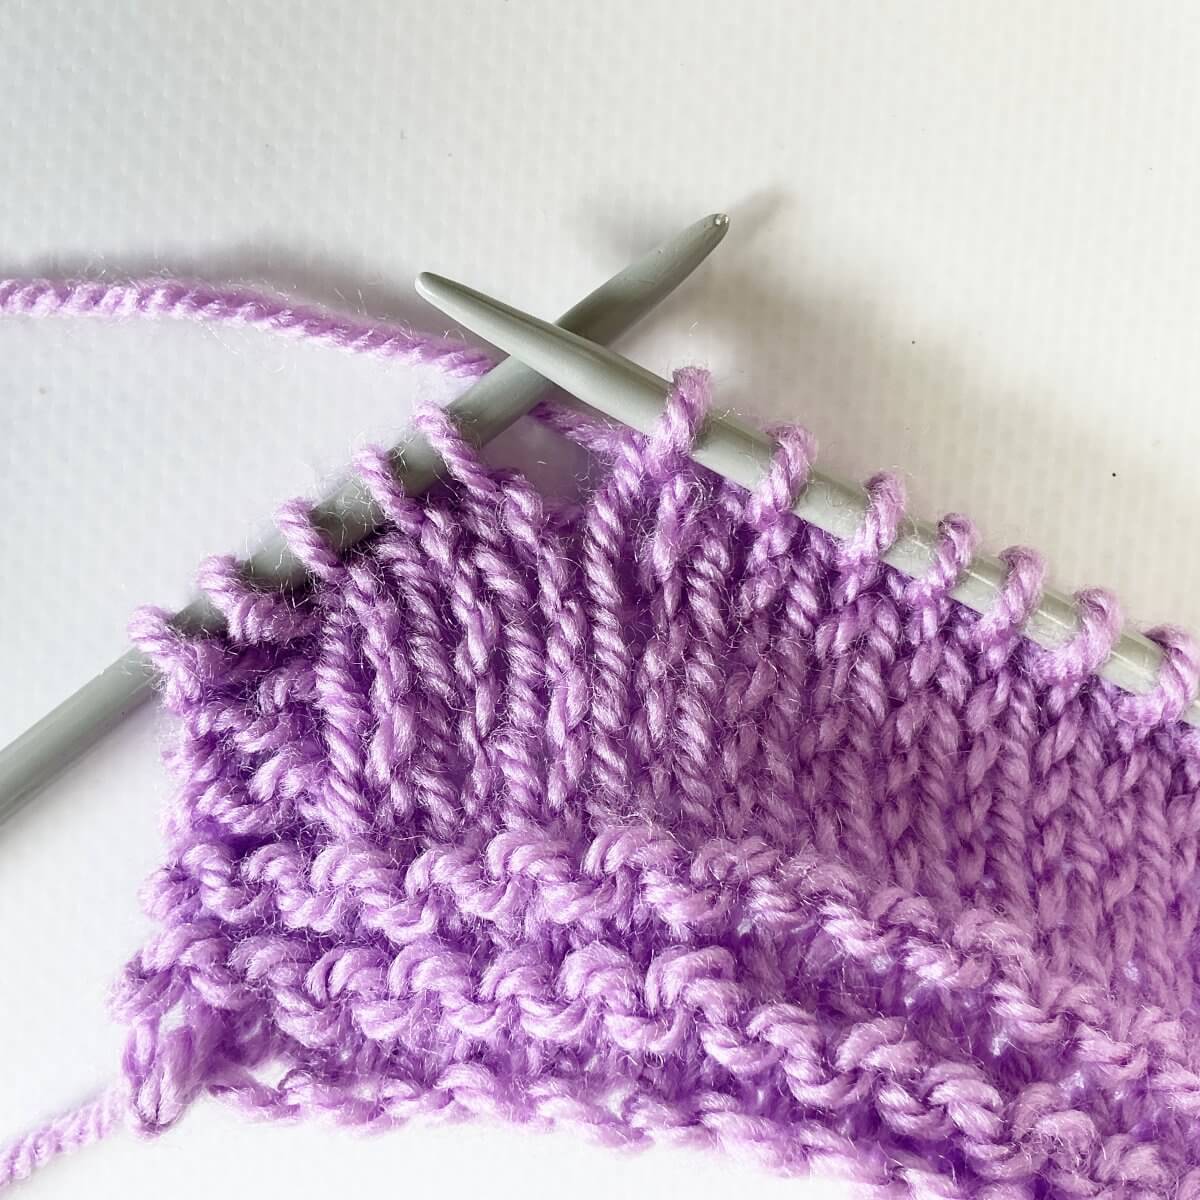
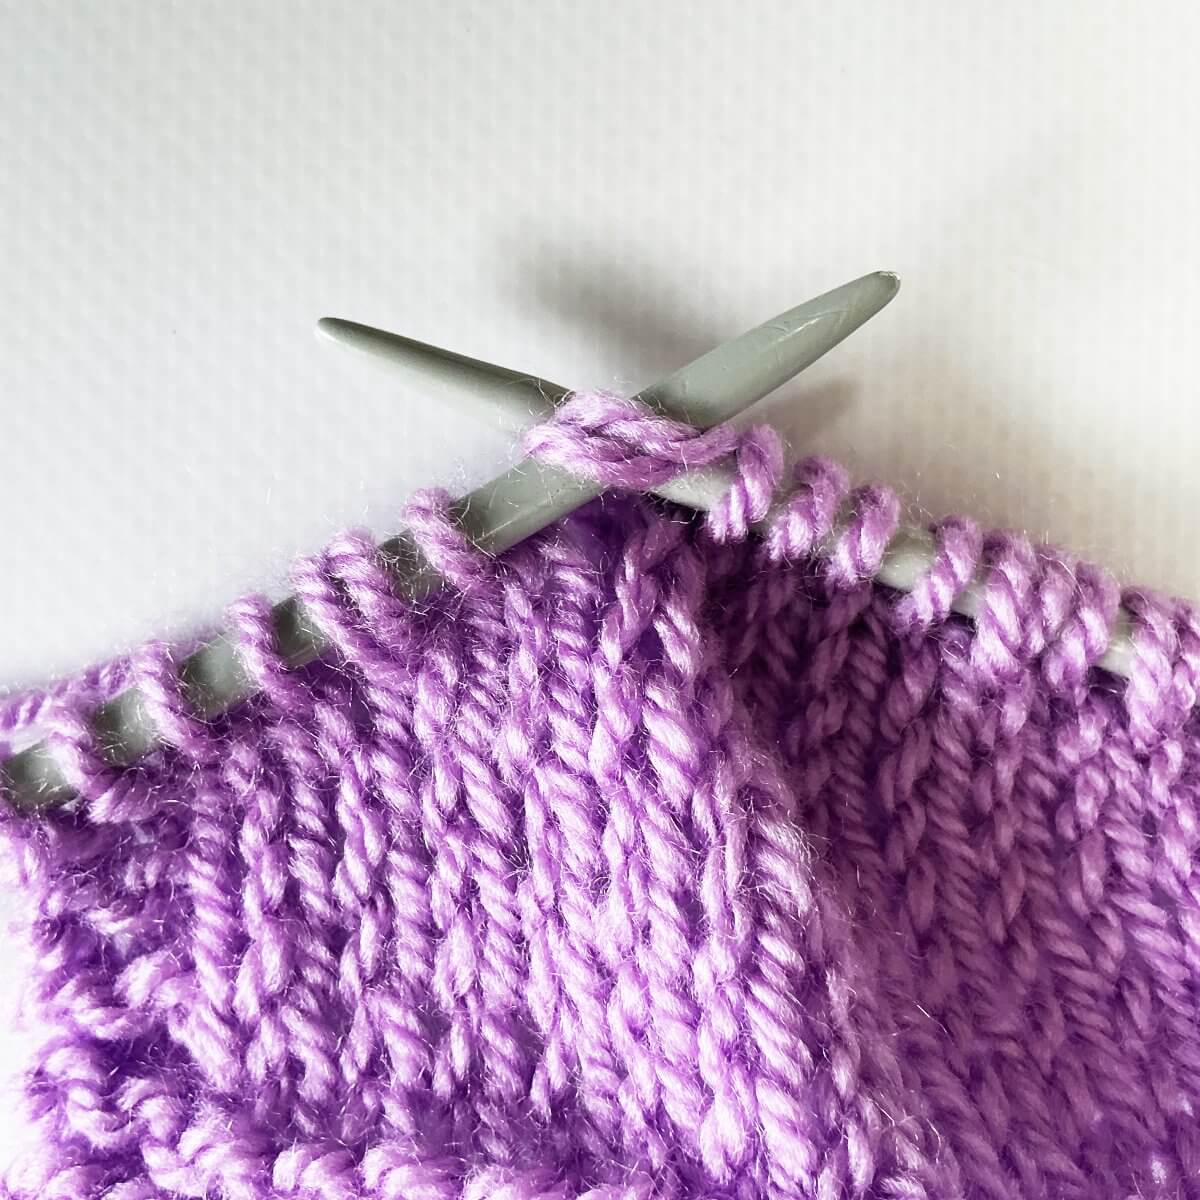
- When you work back to the shadow wrap on the right side, just knit the 2 shadow stitches together as if they are a single stitch, to close the short row without any gaps in your fabric.
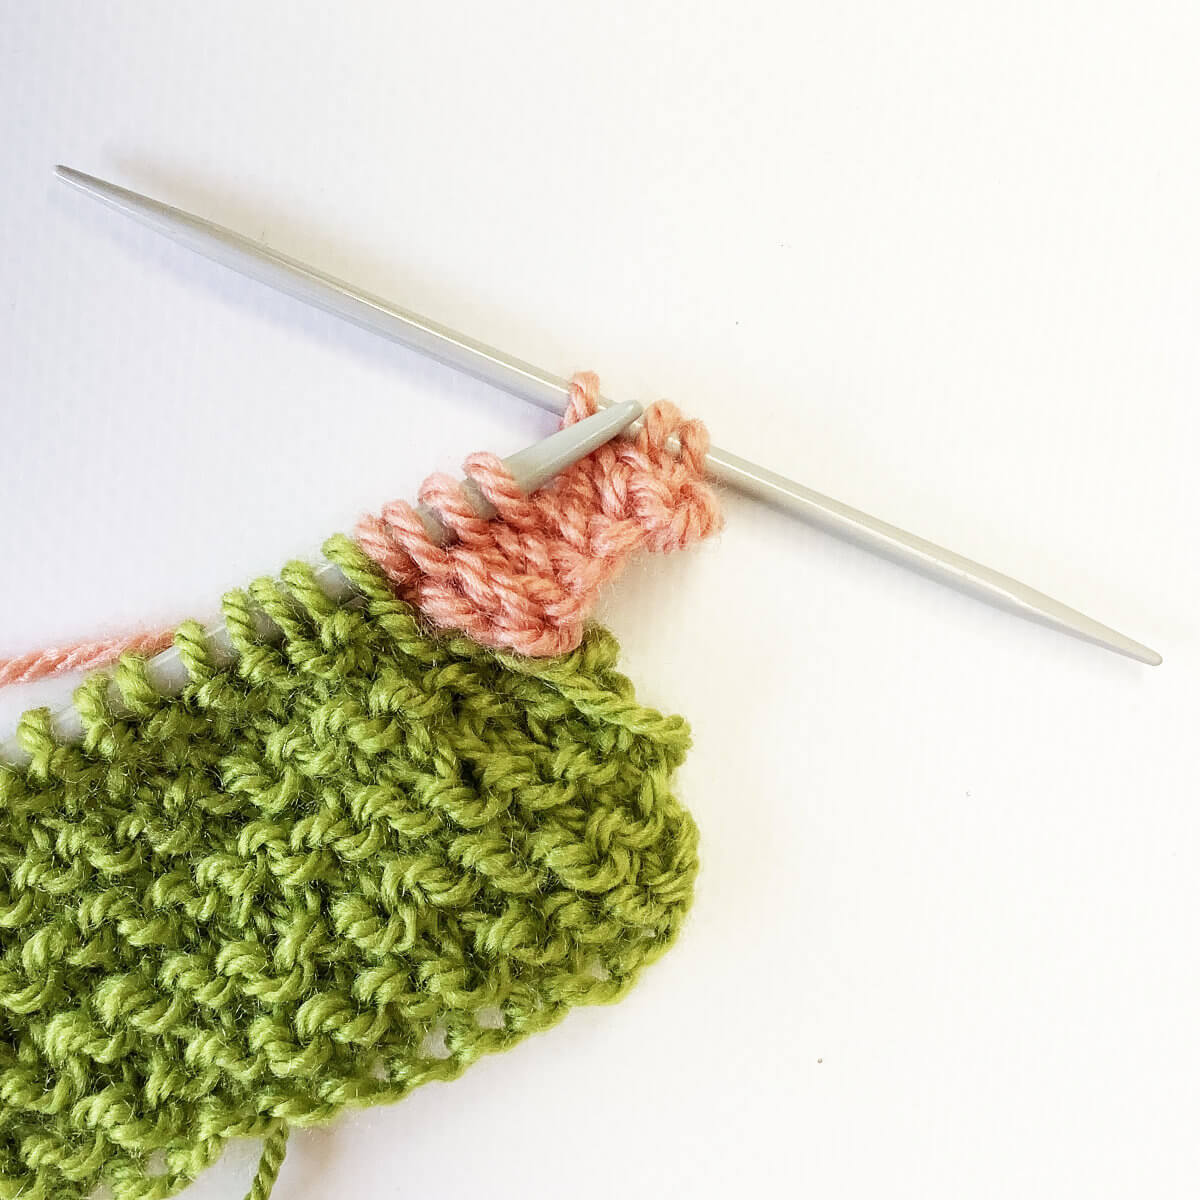
Do you also see the other stitch with a shadow stitch on the left-hand needle?
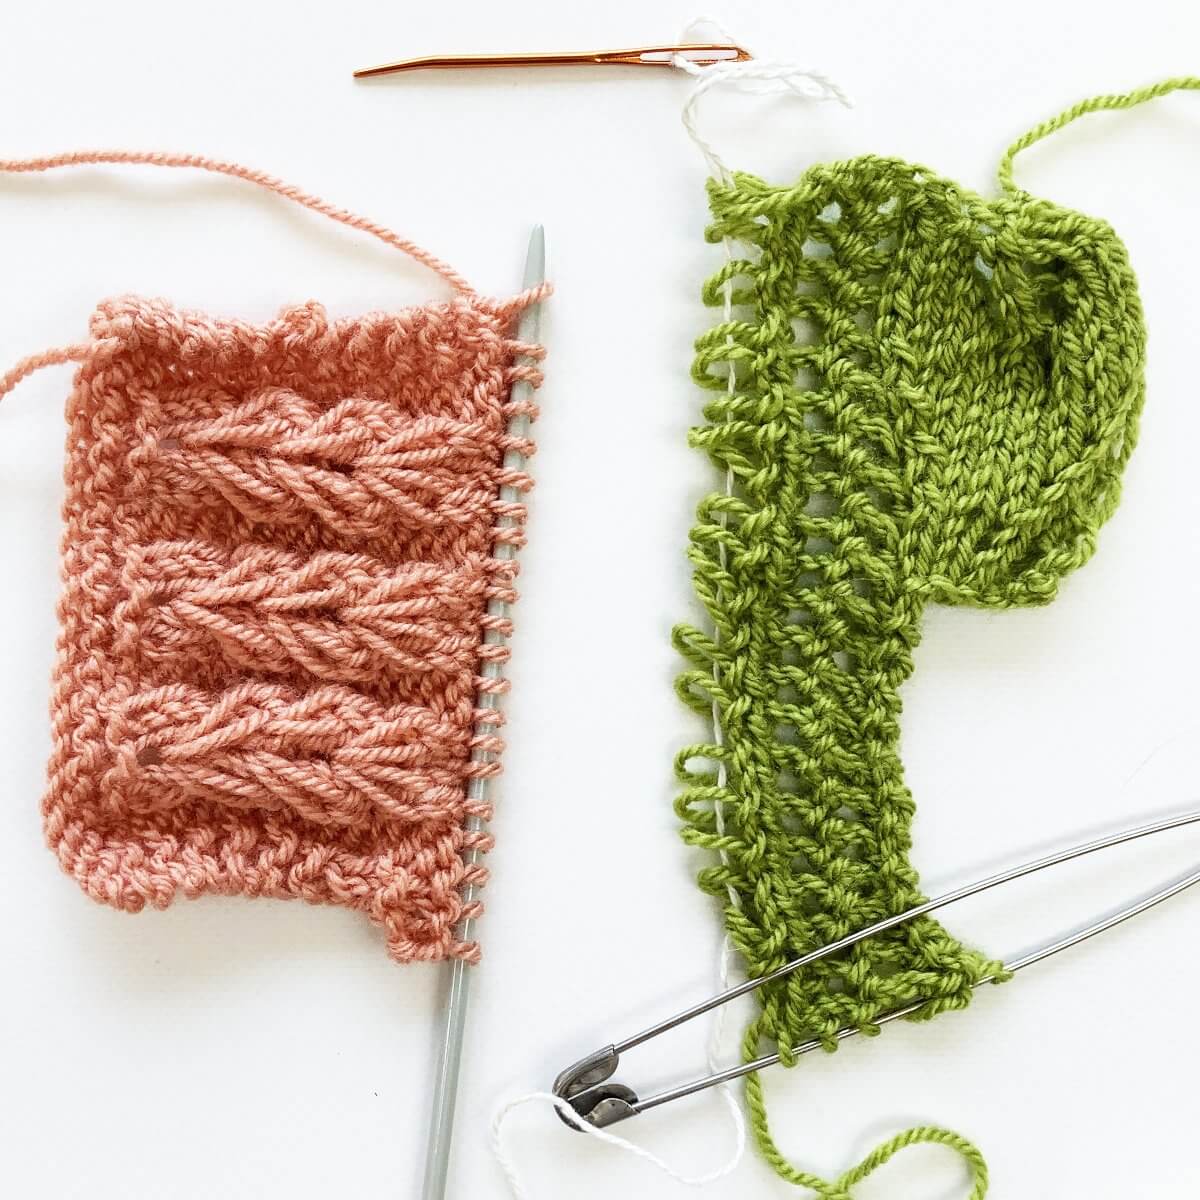
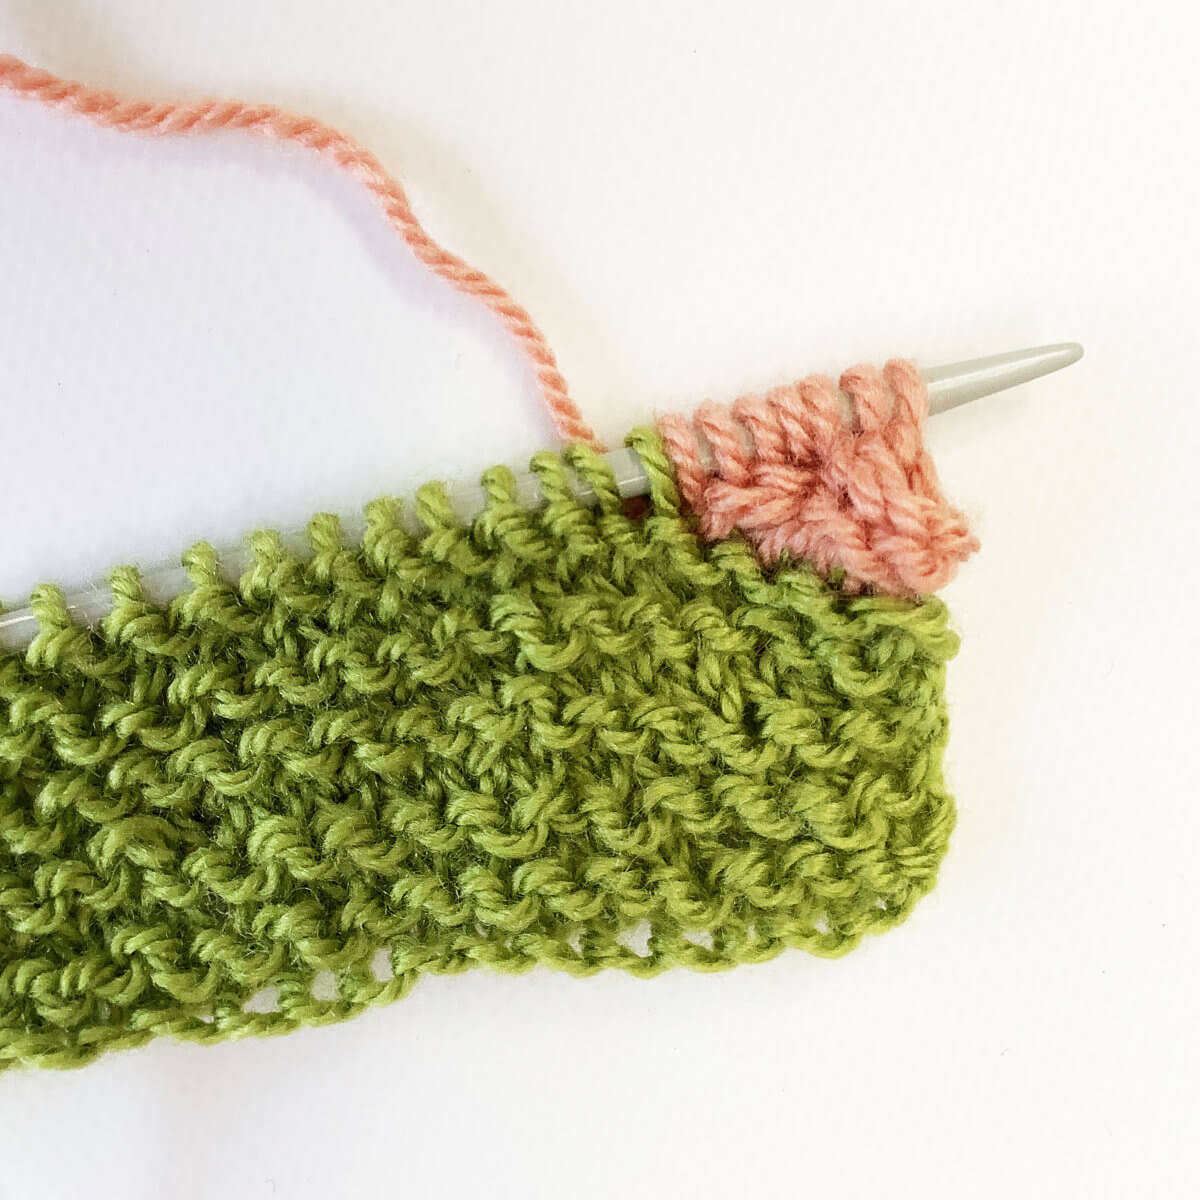
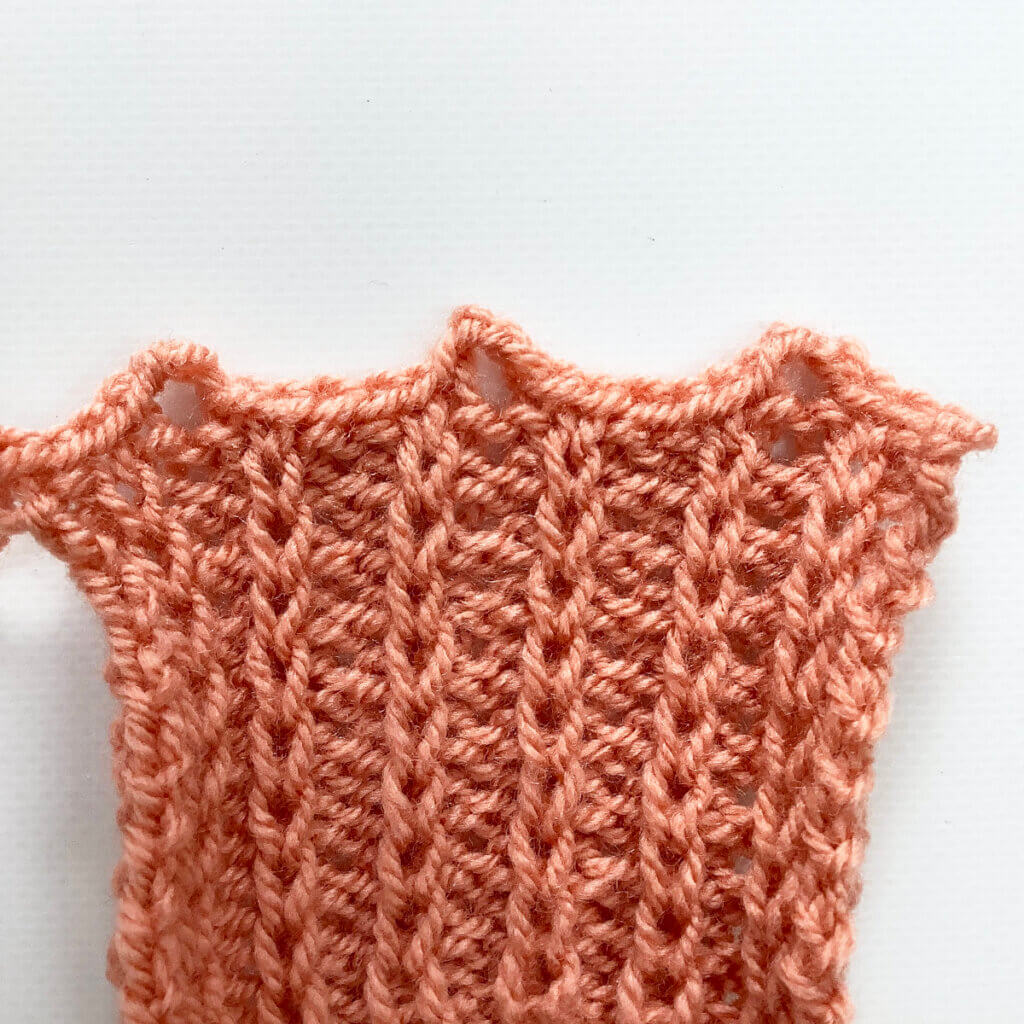
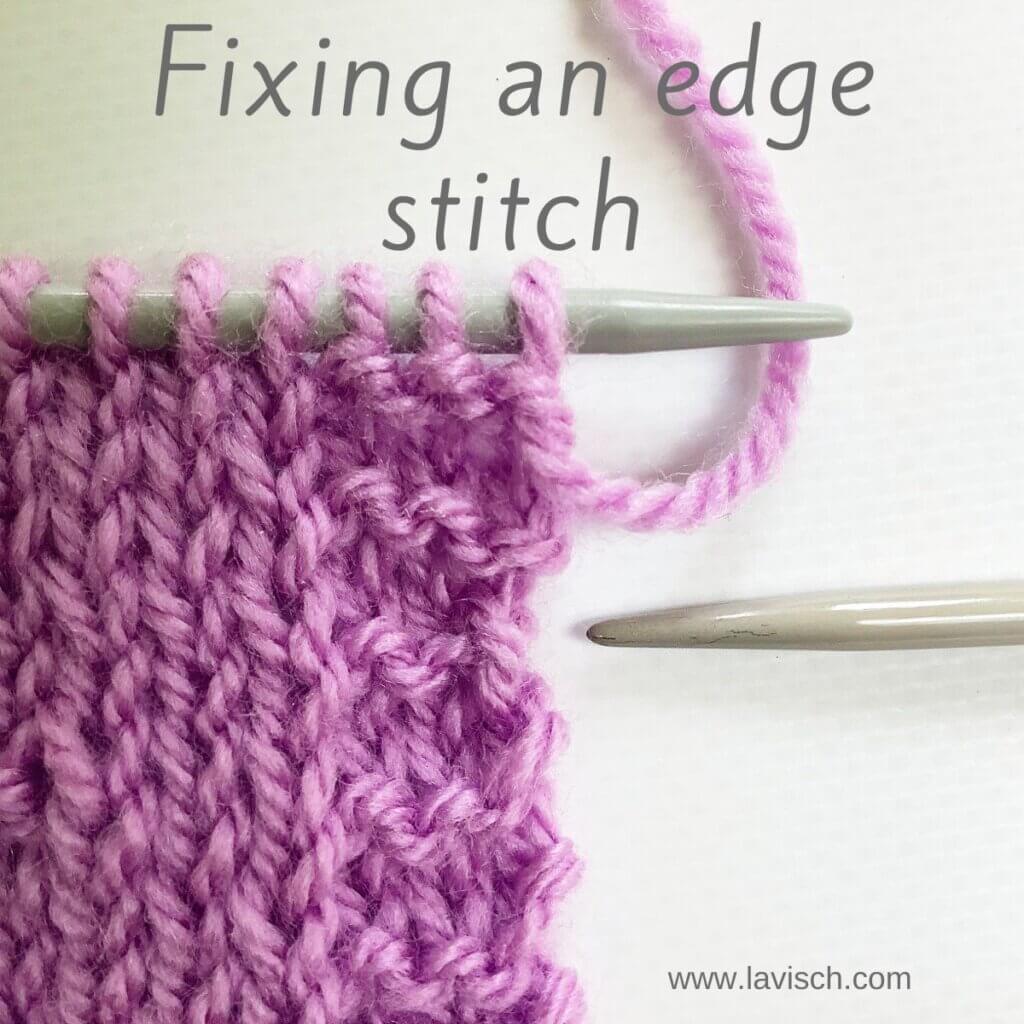
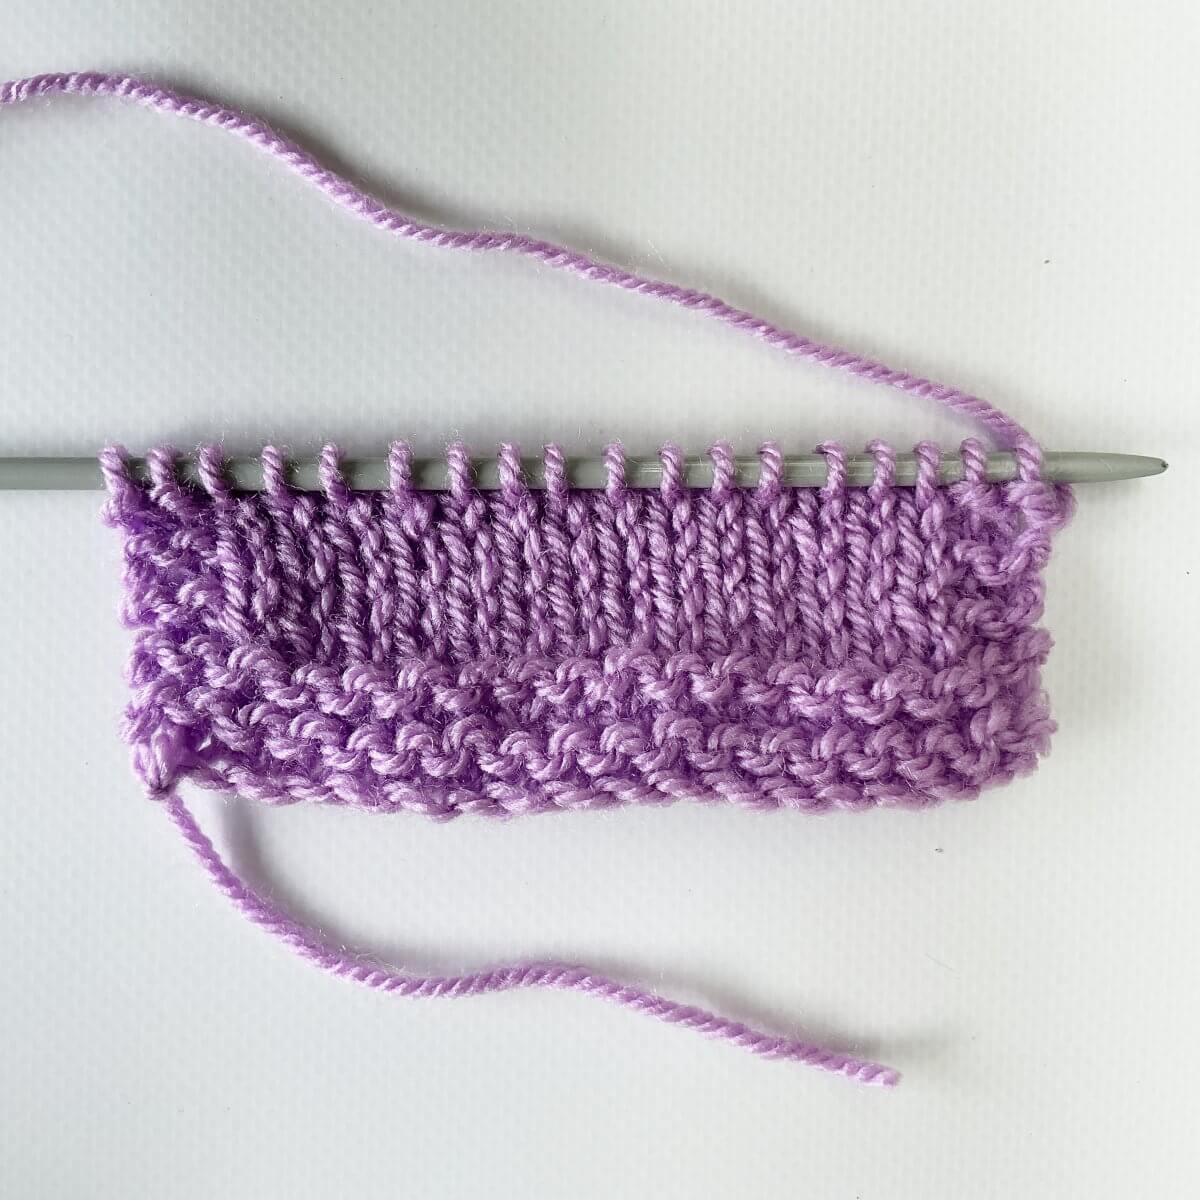
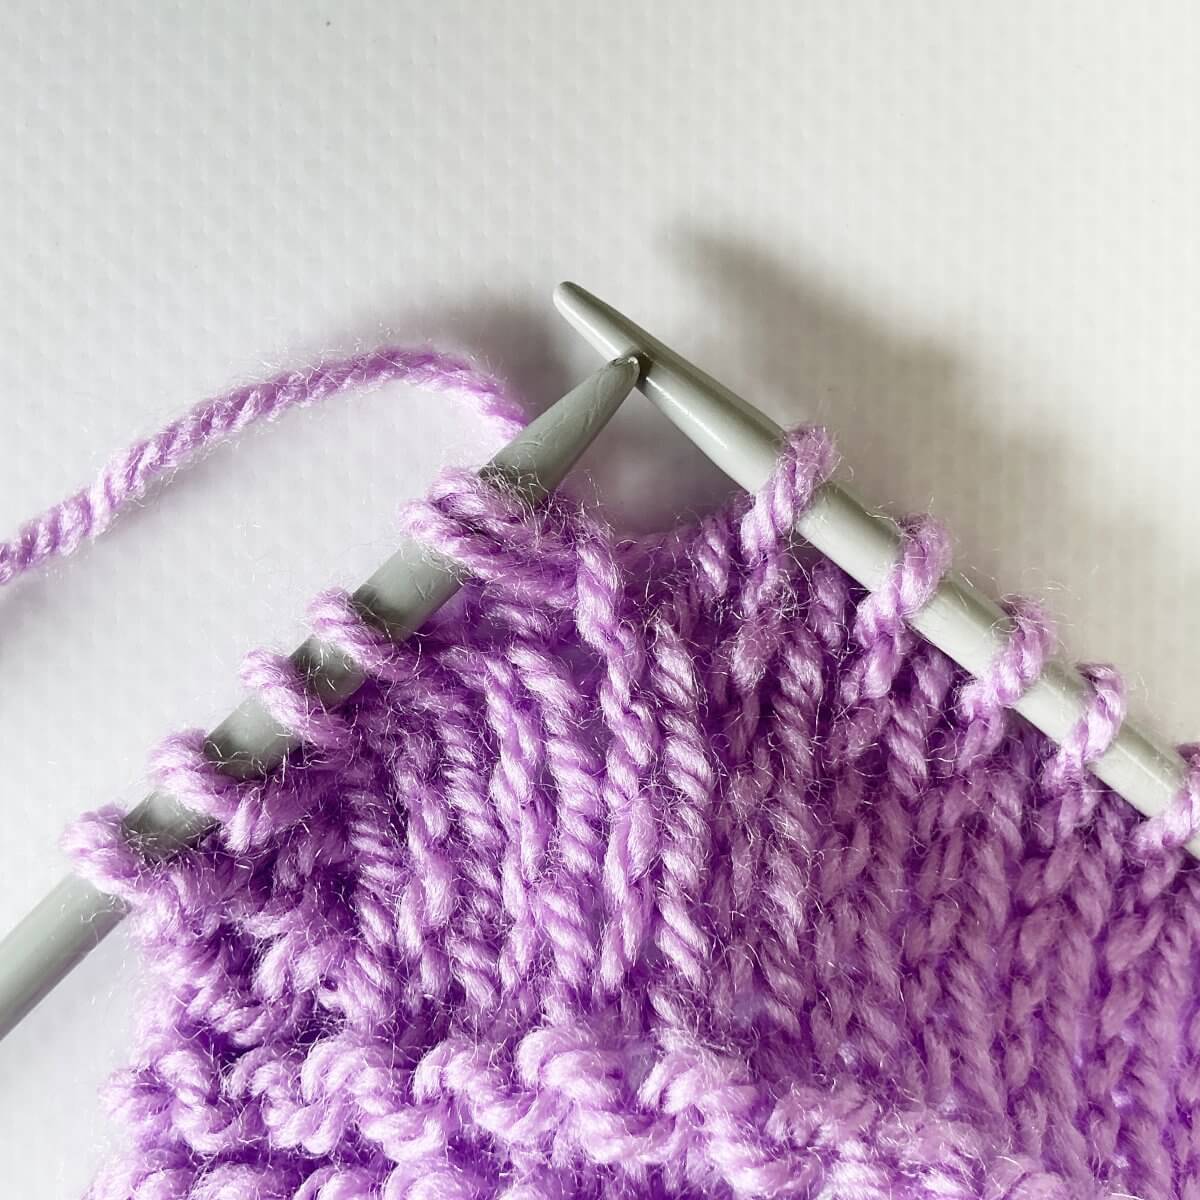
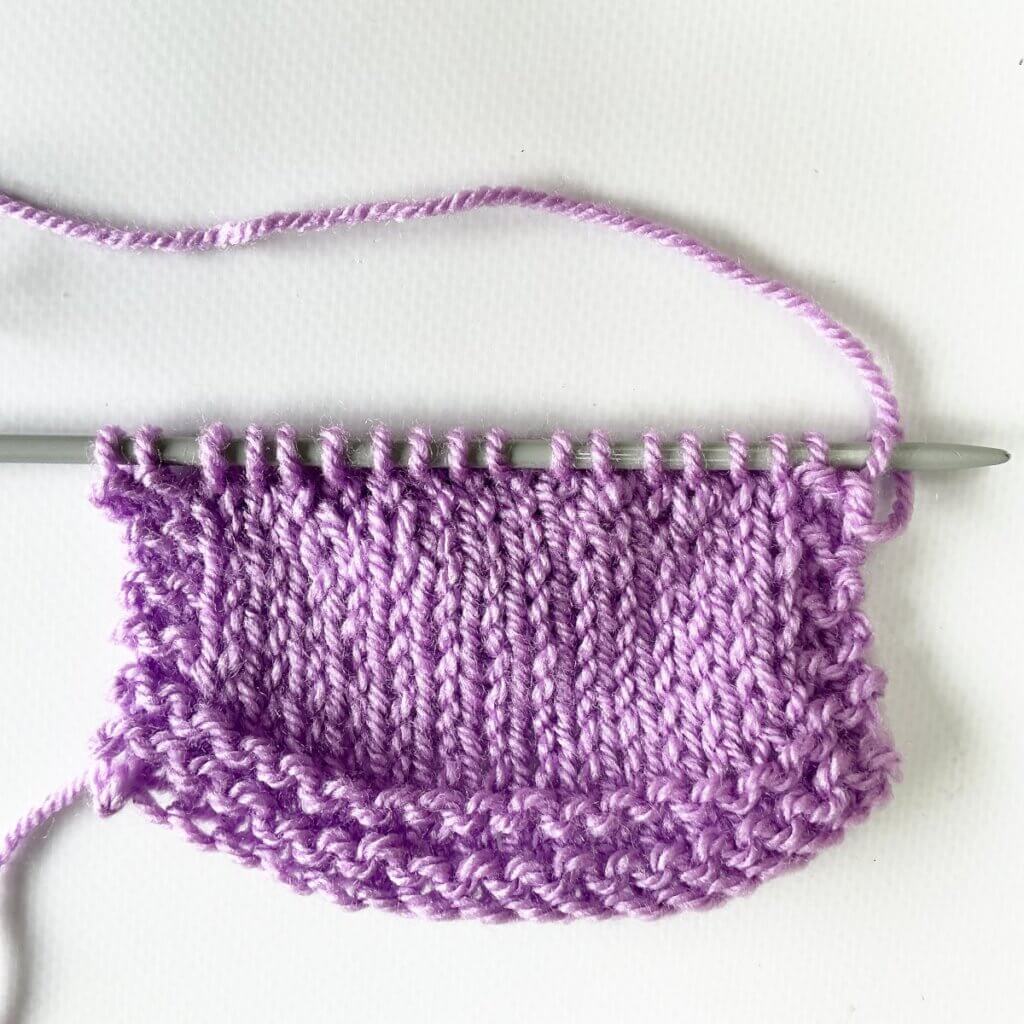
The result
This is how to work shadow wrap short rows on the RS! Please note that in the below picture, I’ve worked 2 sets of shadow wrap short rows on the right, as well as 2 on the wrong side. The tutorial on how to work shadow wrap short rows on the WS will be published soon.

Thanks to my Patreon supporters for bringing you this freebie! Creating quality patterns and tutorials is a lot of work and resource-intensive. However, I find it important to give you free content like this tutorial. Thanks to the generous support of my Patreon supporters, I can make it happen. Thank you, patrons! Click here to join, or click here to read more about La Visch Designs on Patreon.
tutorial – working shadow wrap short rows on the RS Read More »