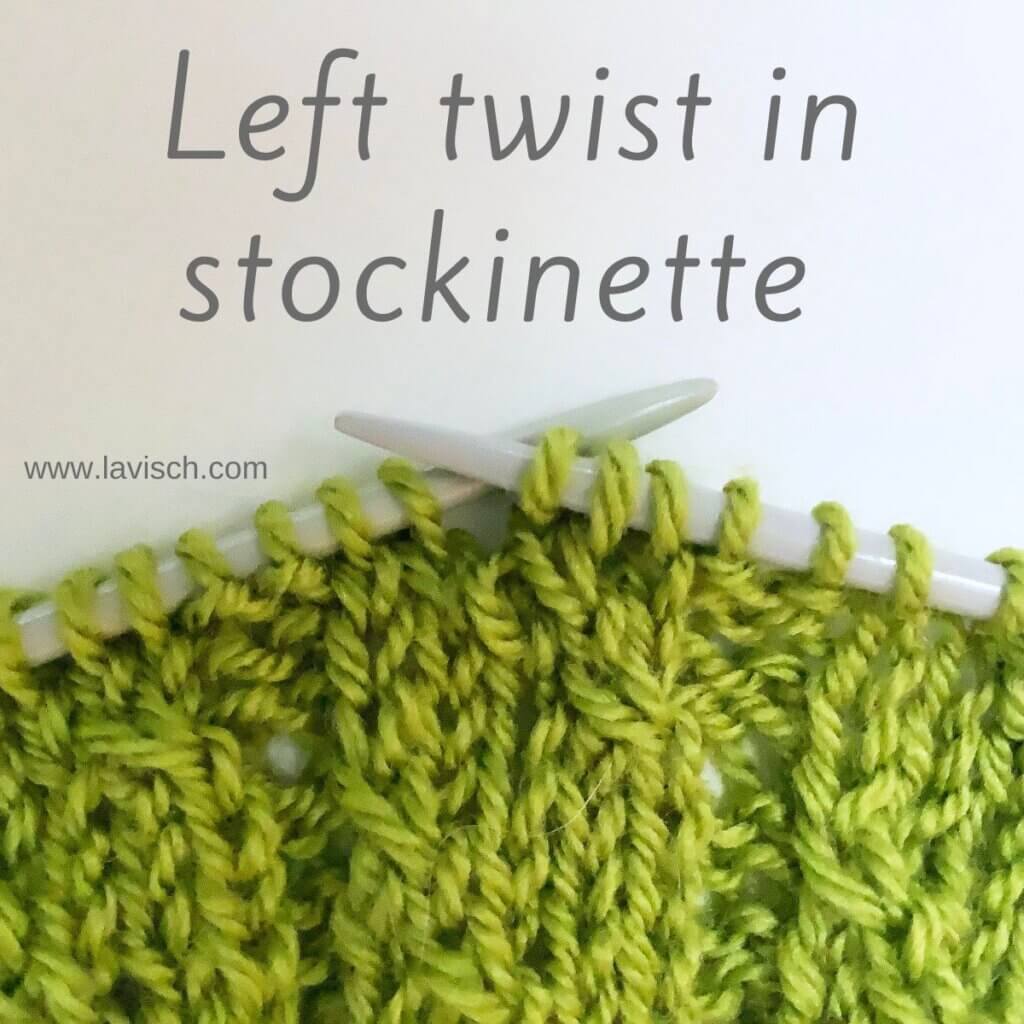
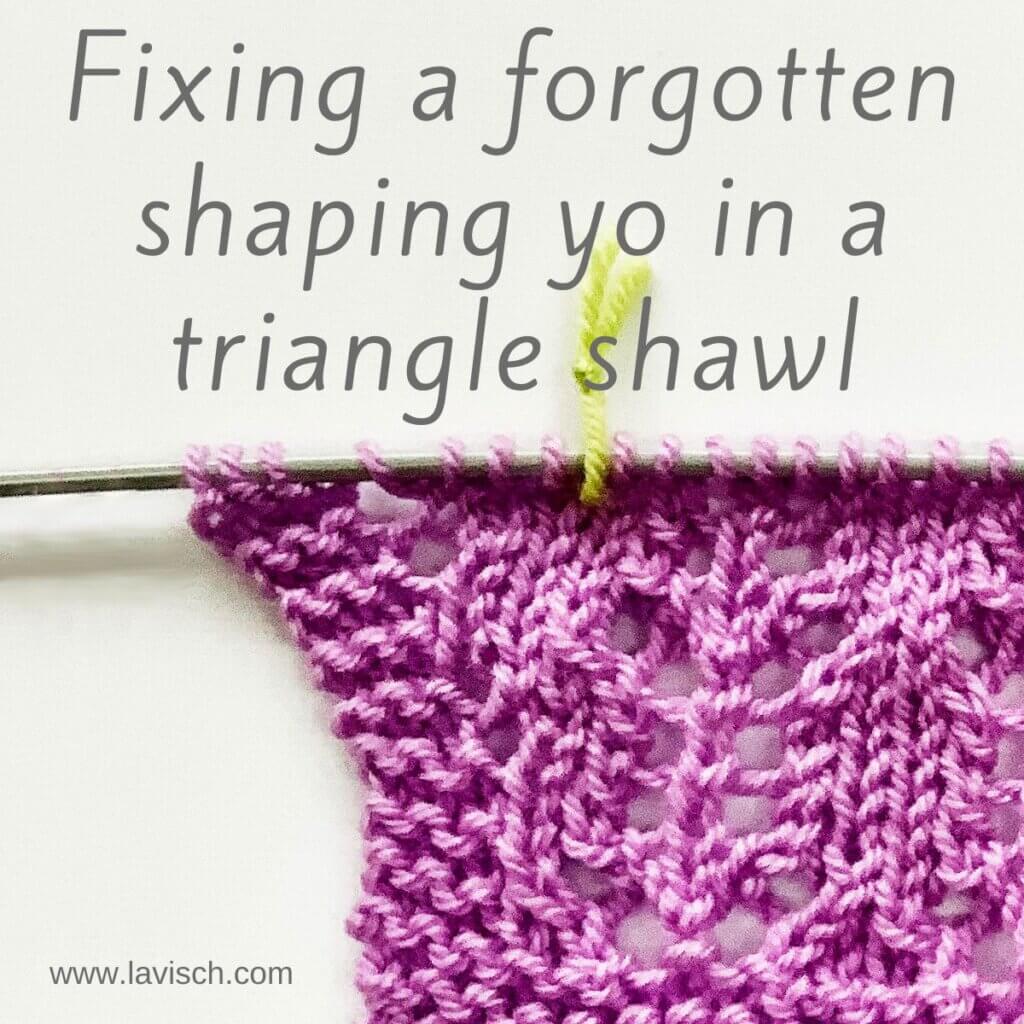
tutorial – working a yo at the beginning of a row
Recently, I read about someone wondering why and how to work a yarn over at the beginning of a row. Since this is a technique I regularly use, I thought to write a tutorial about it. So, first: why would you want to work a yarn over at the beginning of a row?
When I do this, I usually do that at the beginning of a wrong side (inwards going) row on a knitted-on or applied border. This can be in a project where a border is actually applied. Take for example my Sunglow Forest shawl. This however also applies to designs that are knit sideways, and in which the border is worked at the same time as the body of the shawl. My Kurkuma shawl is an example of this type of project. In both examples, I work “yo, k2tog” at the beginning of every wrong side (inwards going) row. It creates a nice loopy edge that can be used to place your blocking pins in. I also feel this yarn over gives a bit of extra stretch, right at the edge of the project.
Read on to see how to work a yarn over at the beginning of a row!
Materials used
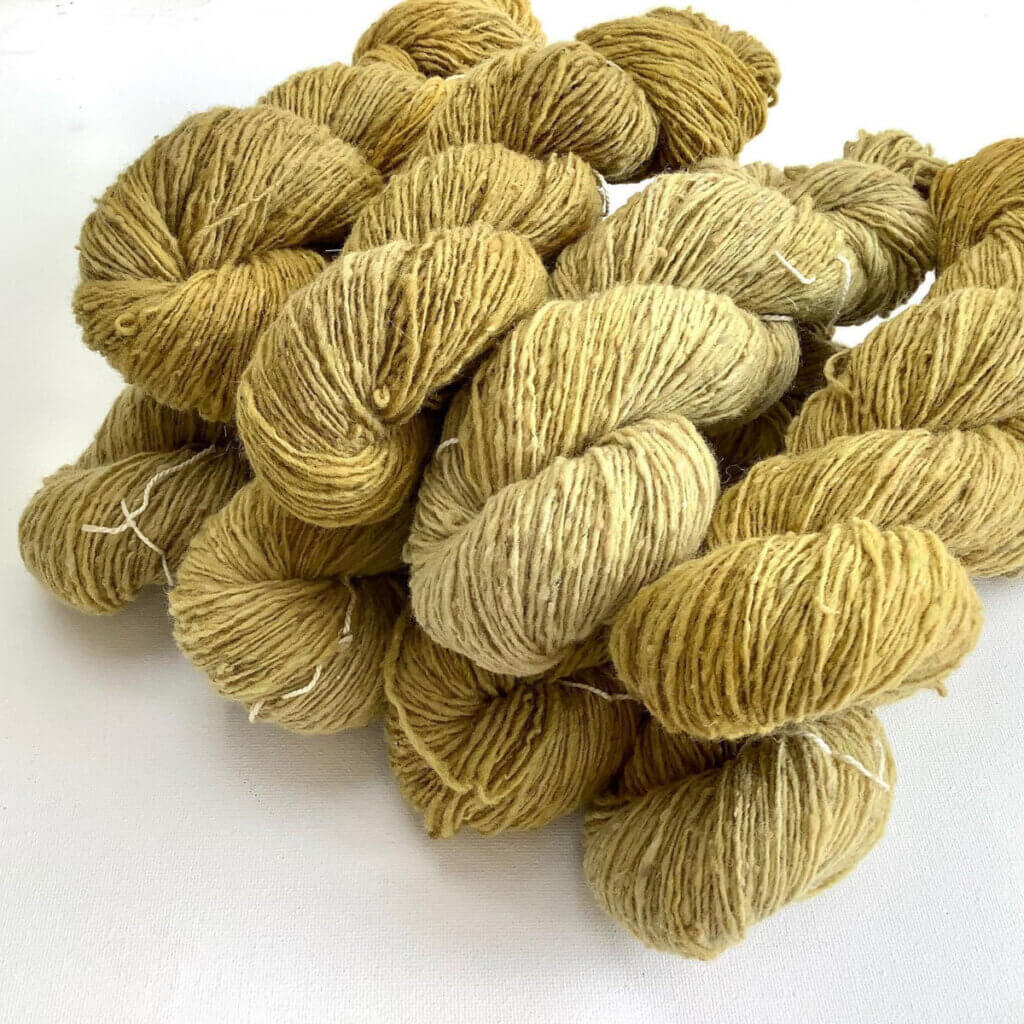
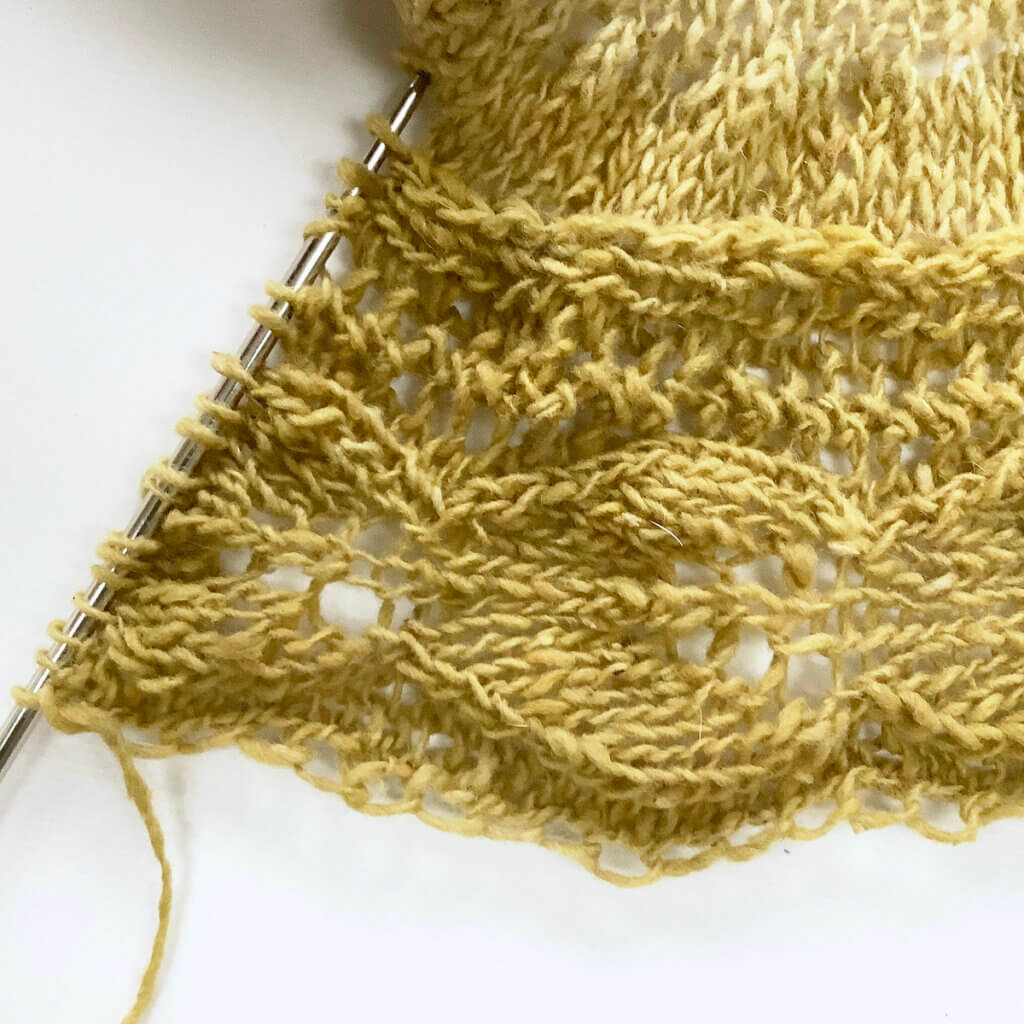
Yarn: Ice Yarns Merino Silk (95% Merino, 5% Silk; 225 m (246 yds) / 50 g) that I overdyed with the exhaust from an onion skin dye bath. This yarn is unfortunately discontinued.
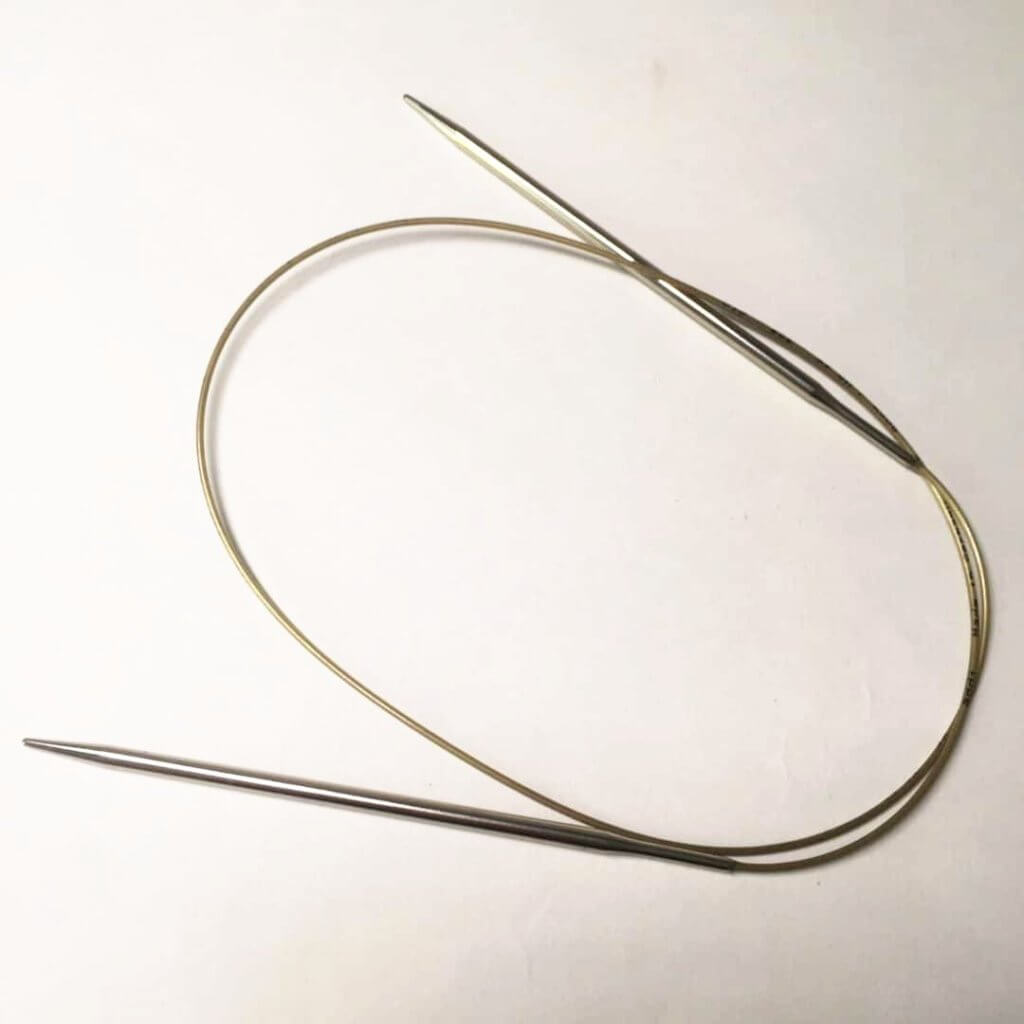
Needles: Some Addi circular needles.
Working a yo at the beginning of a row step by step
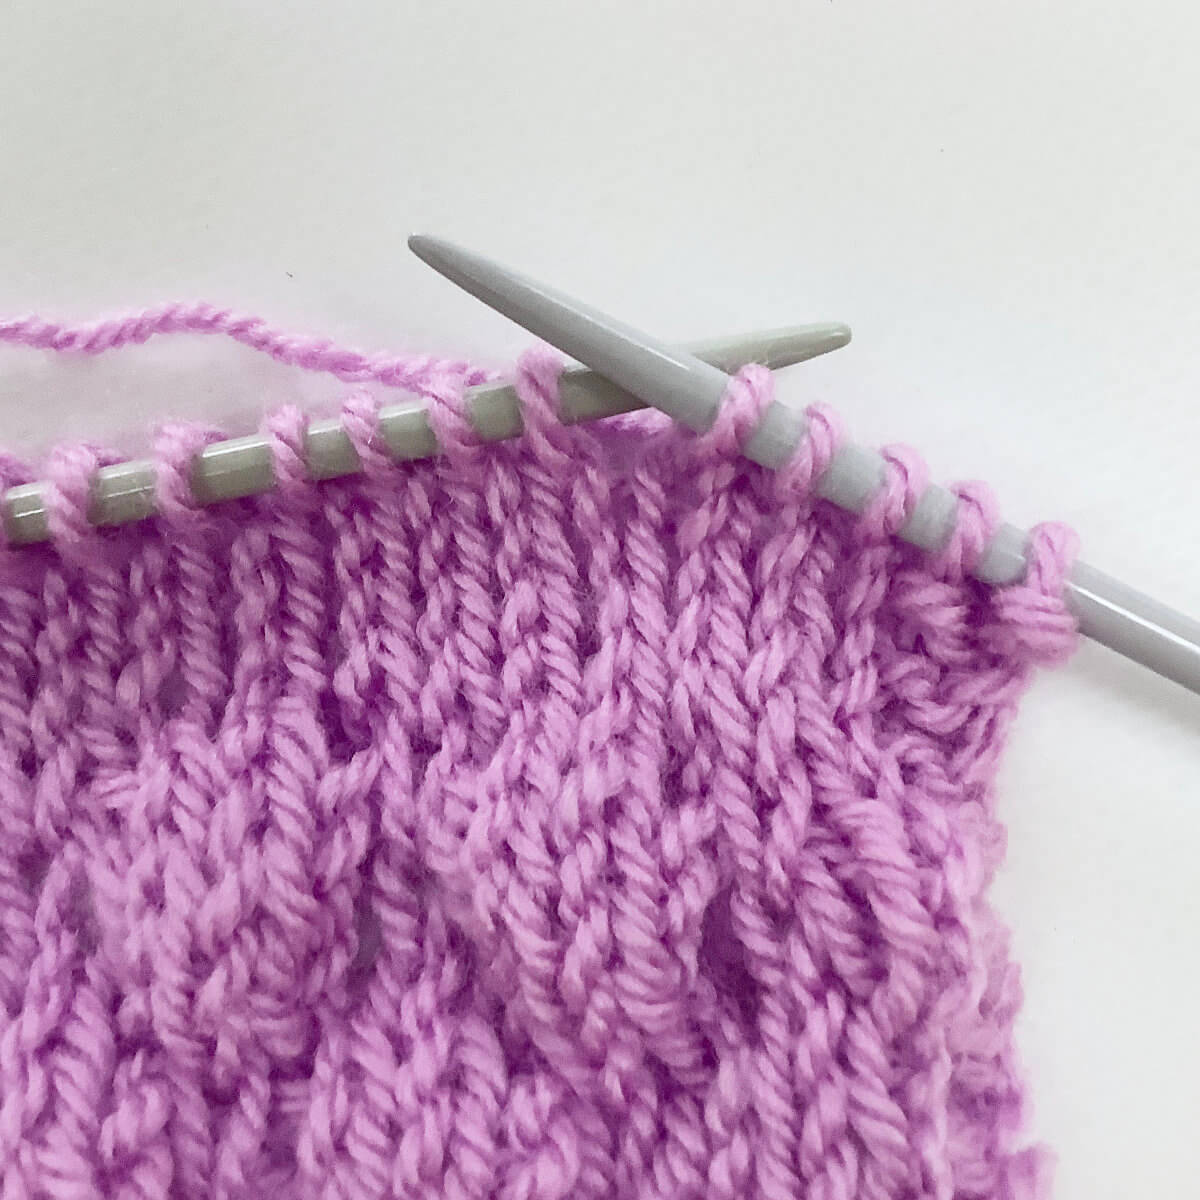
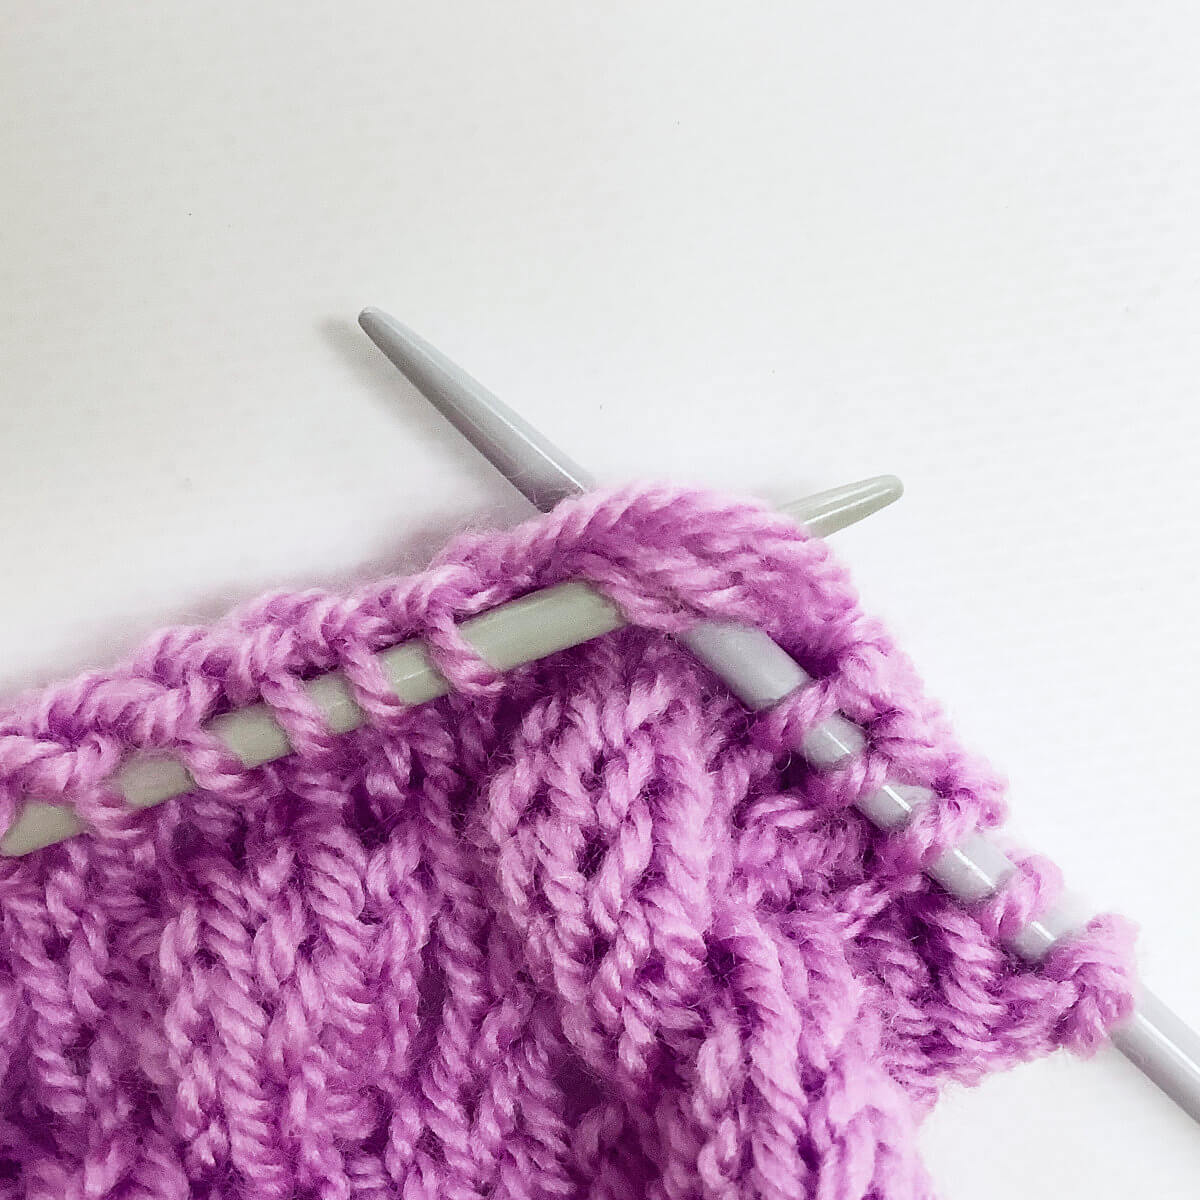
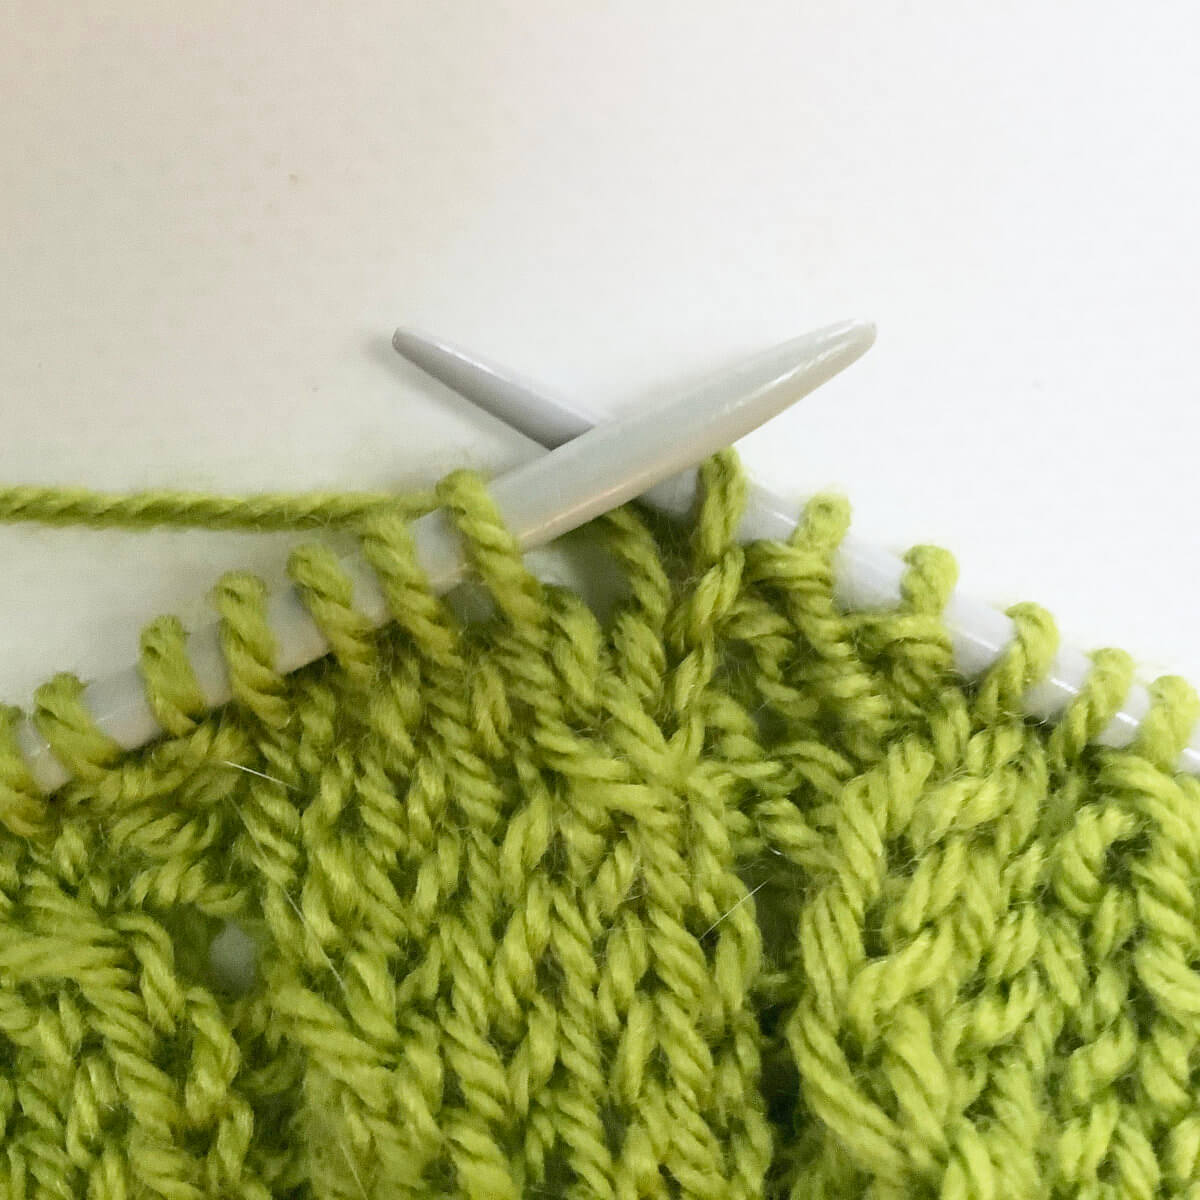
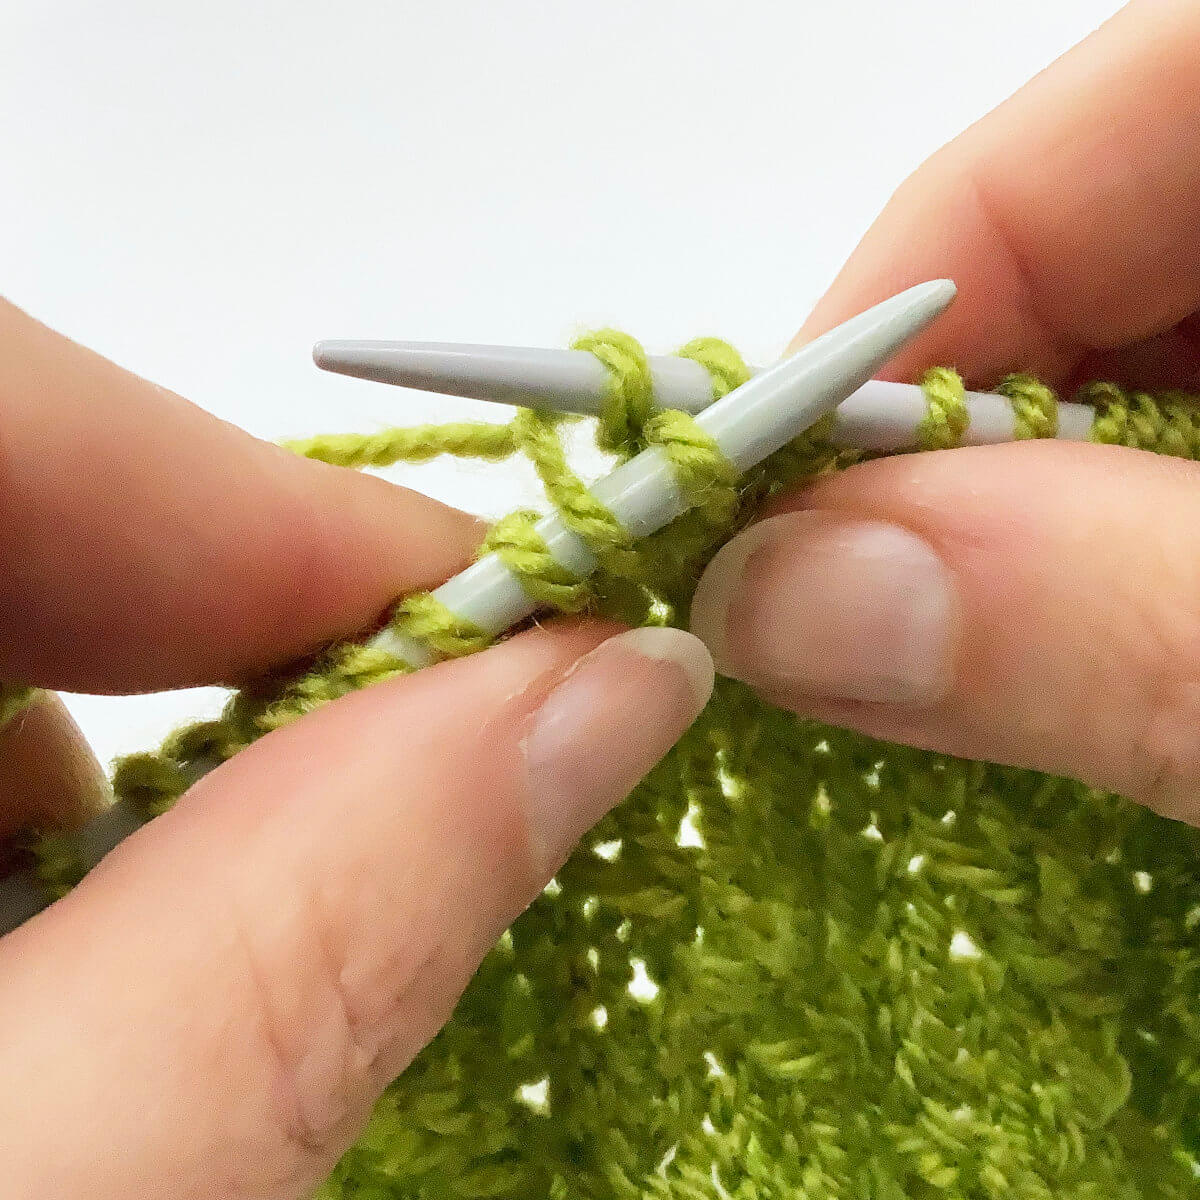
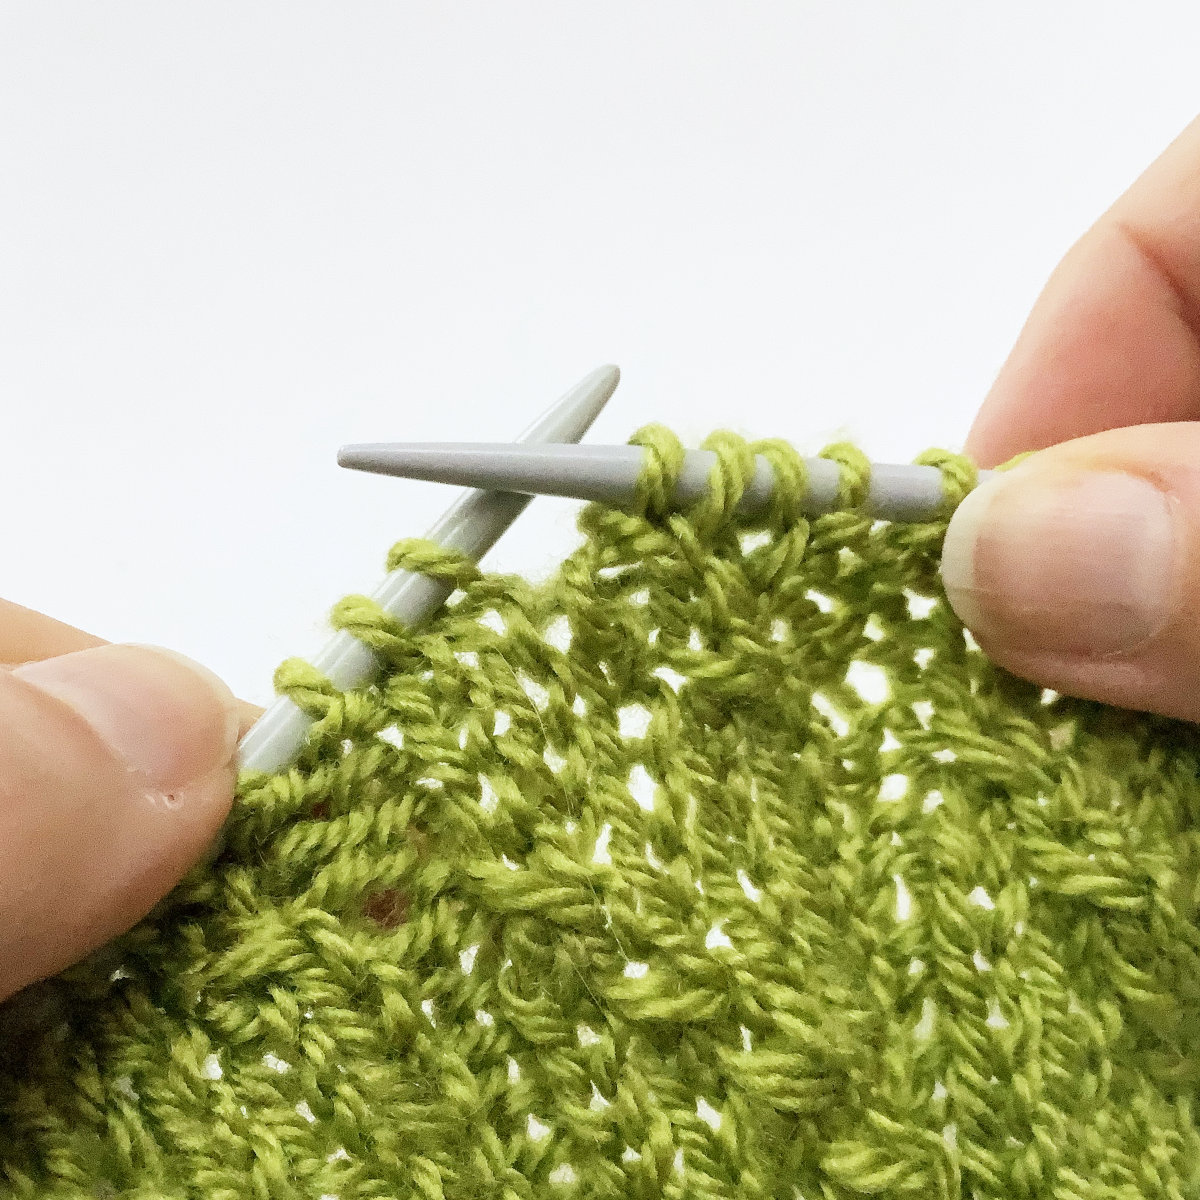
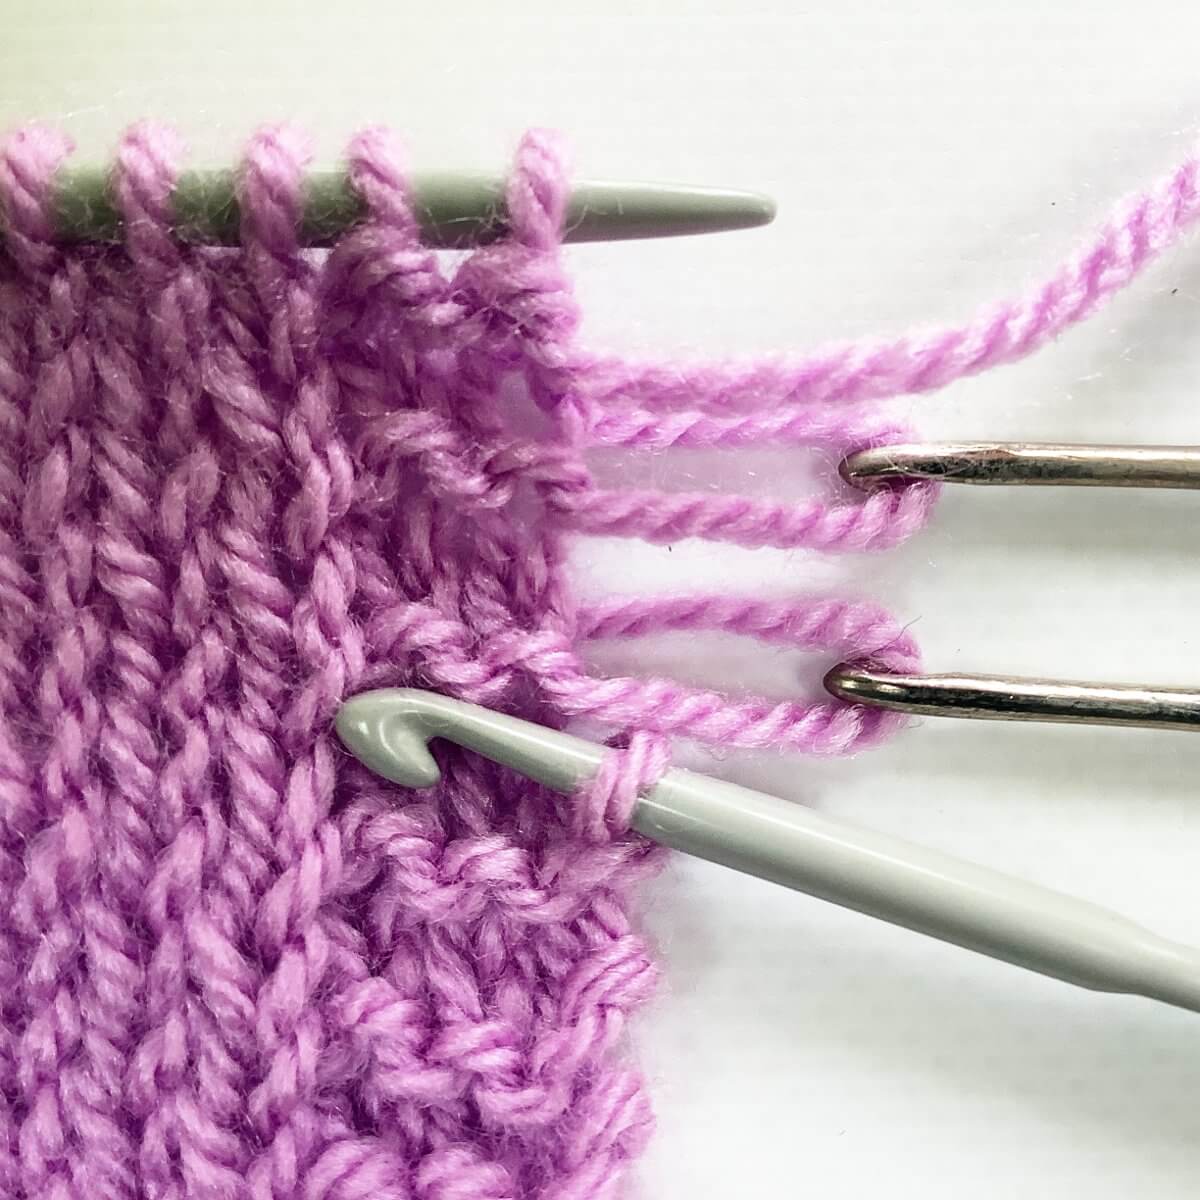
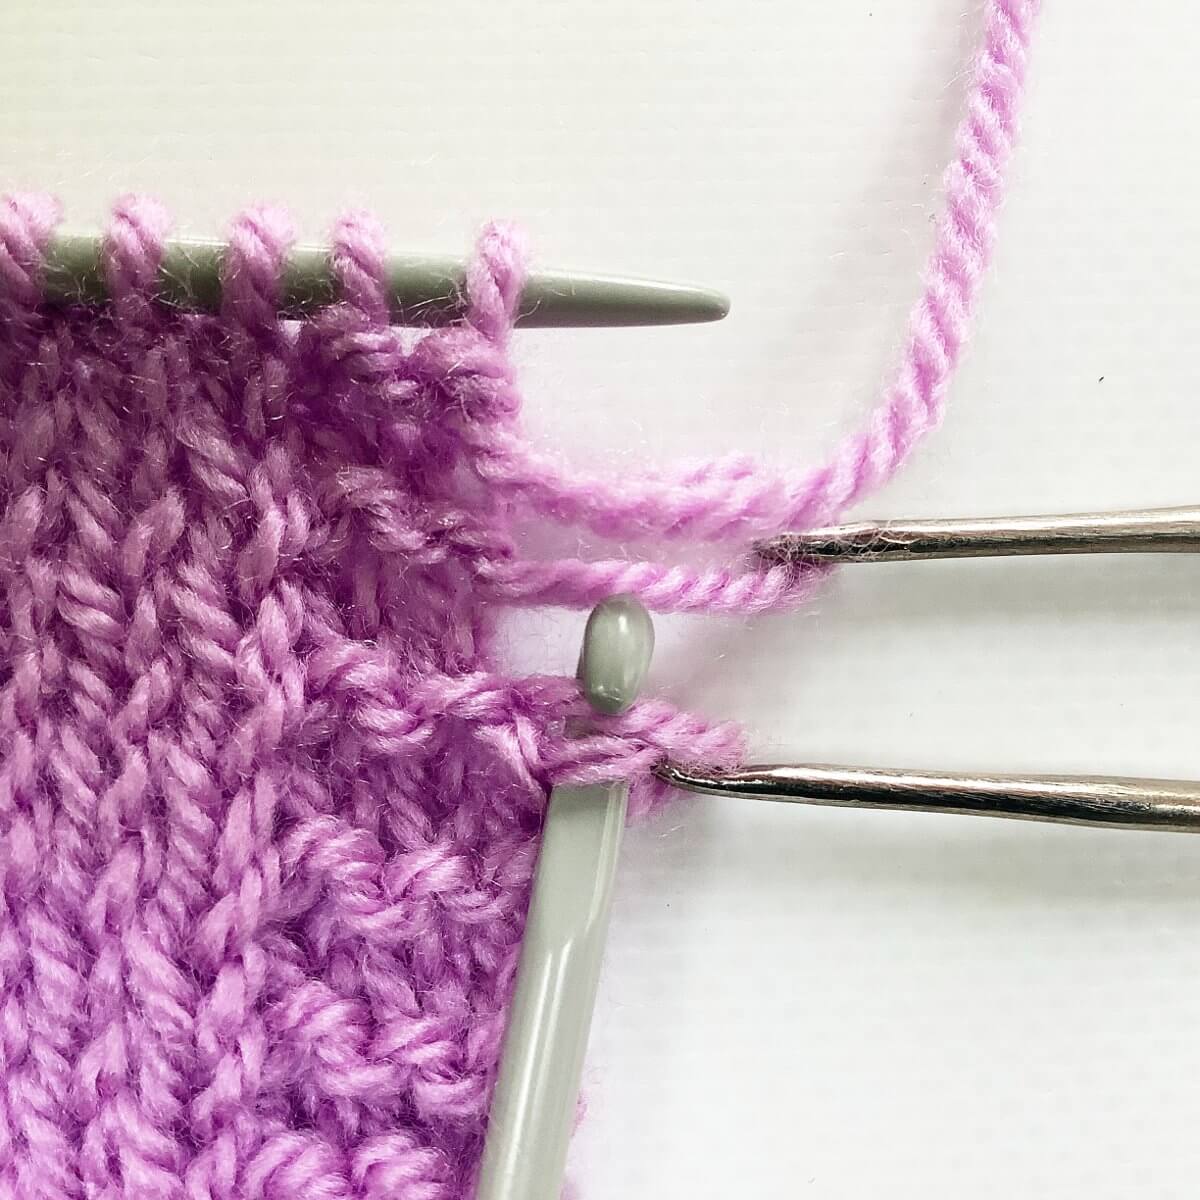
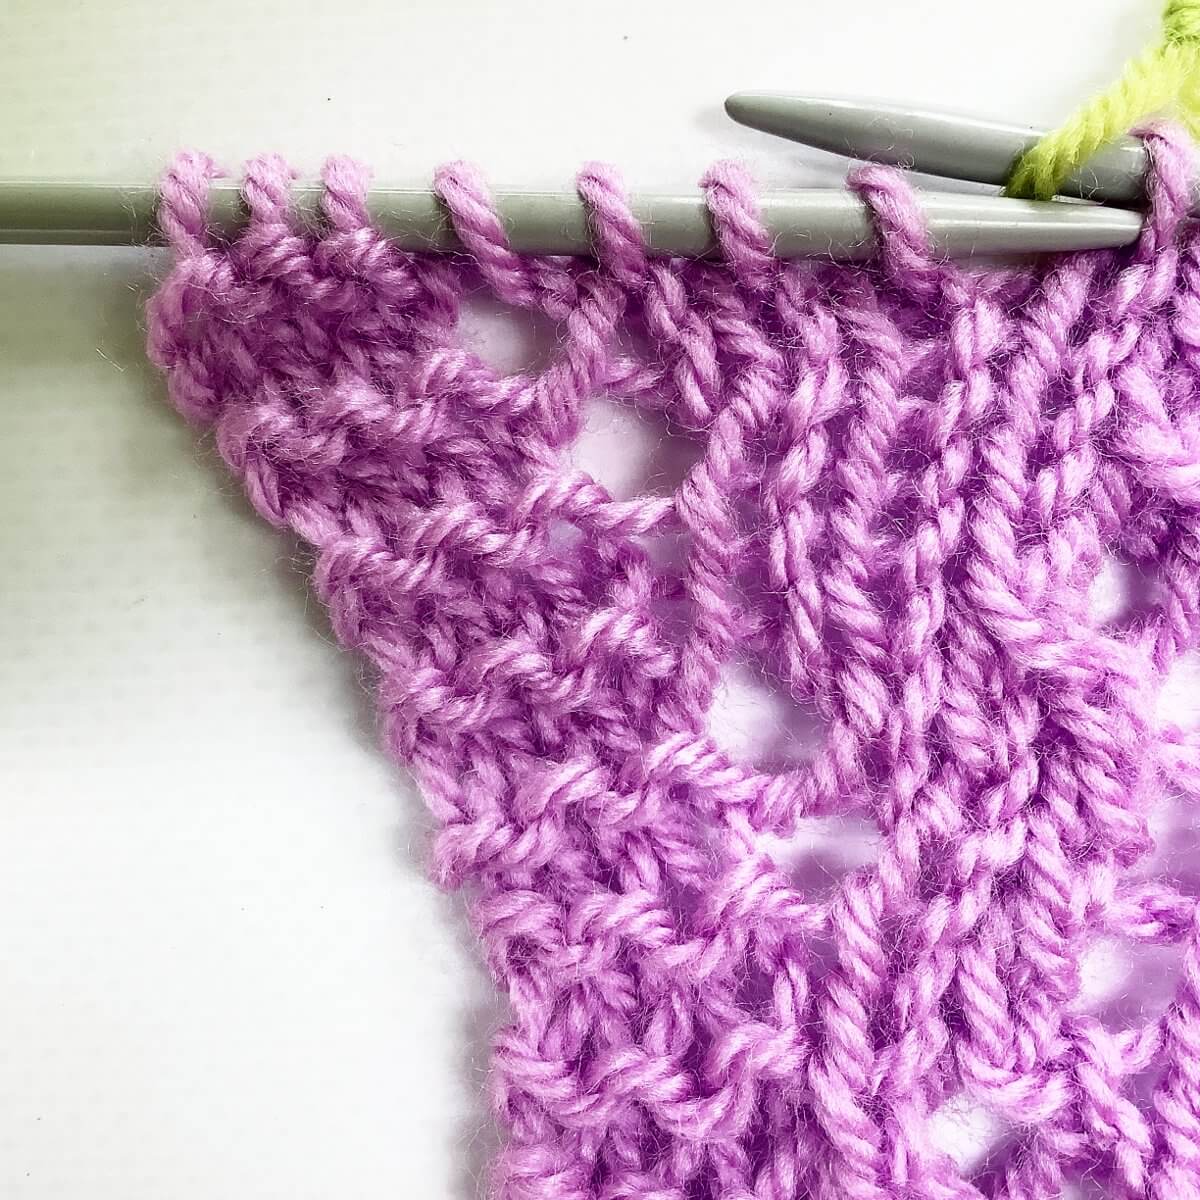
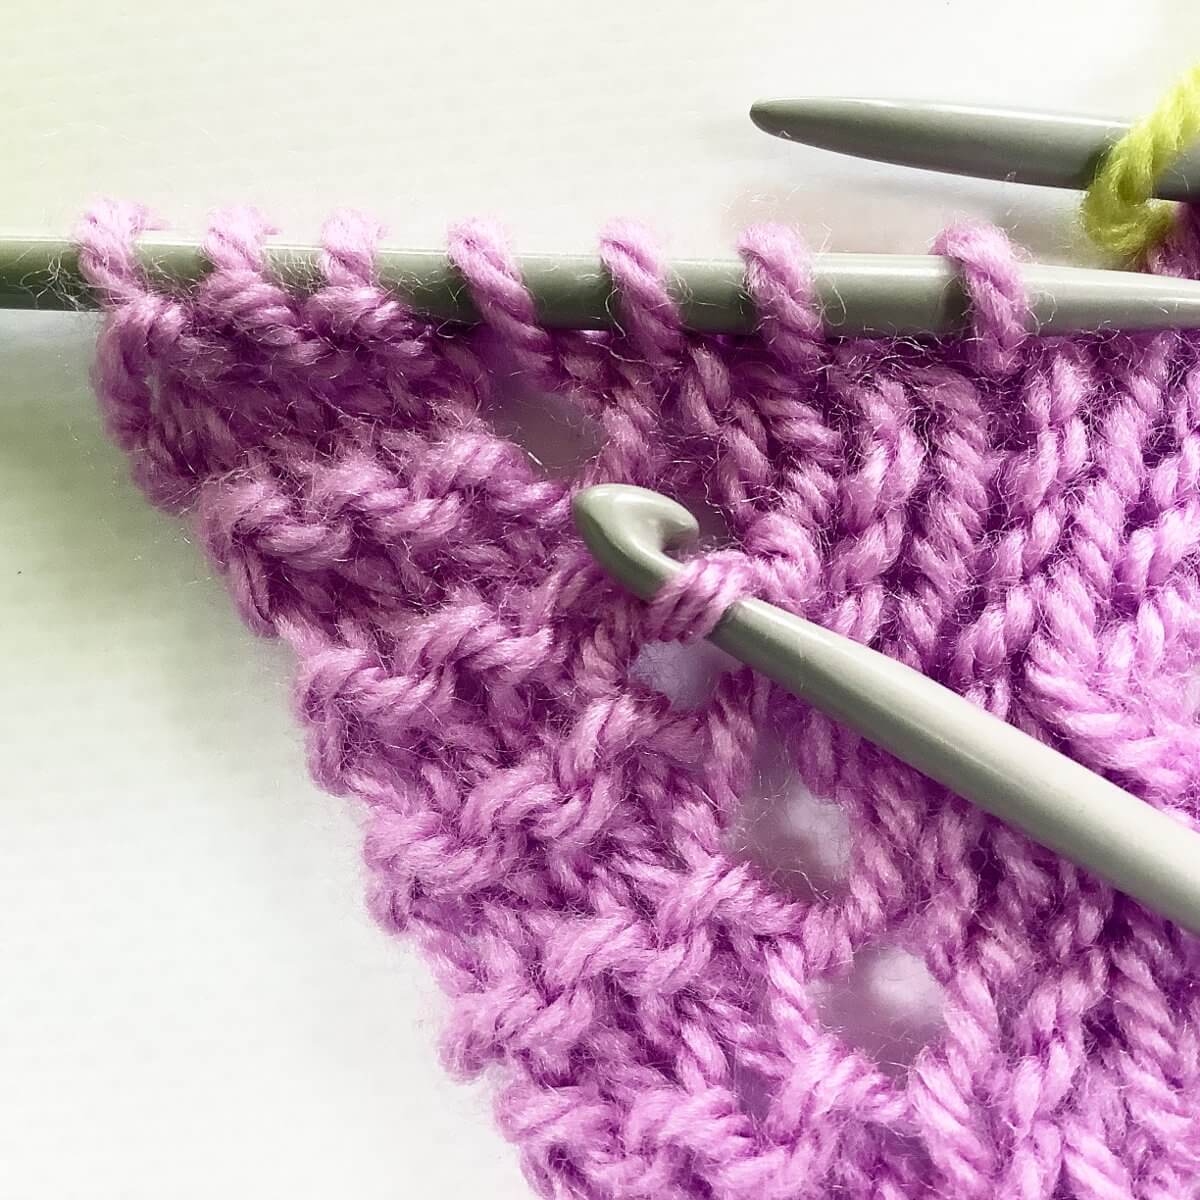
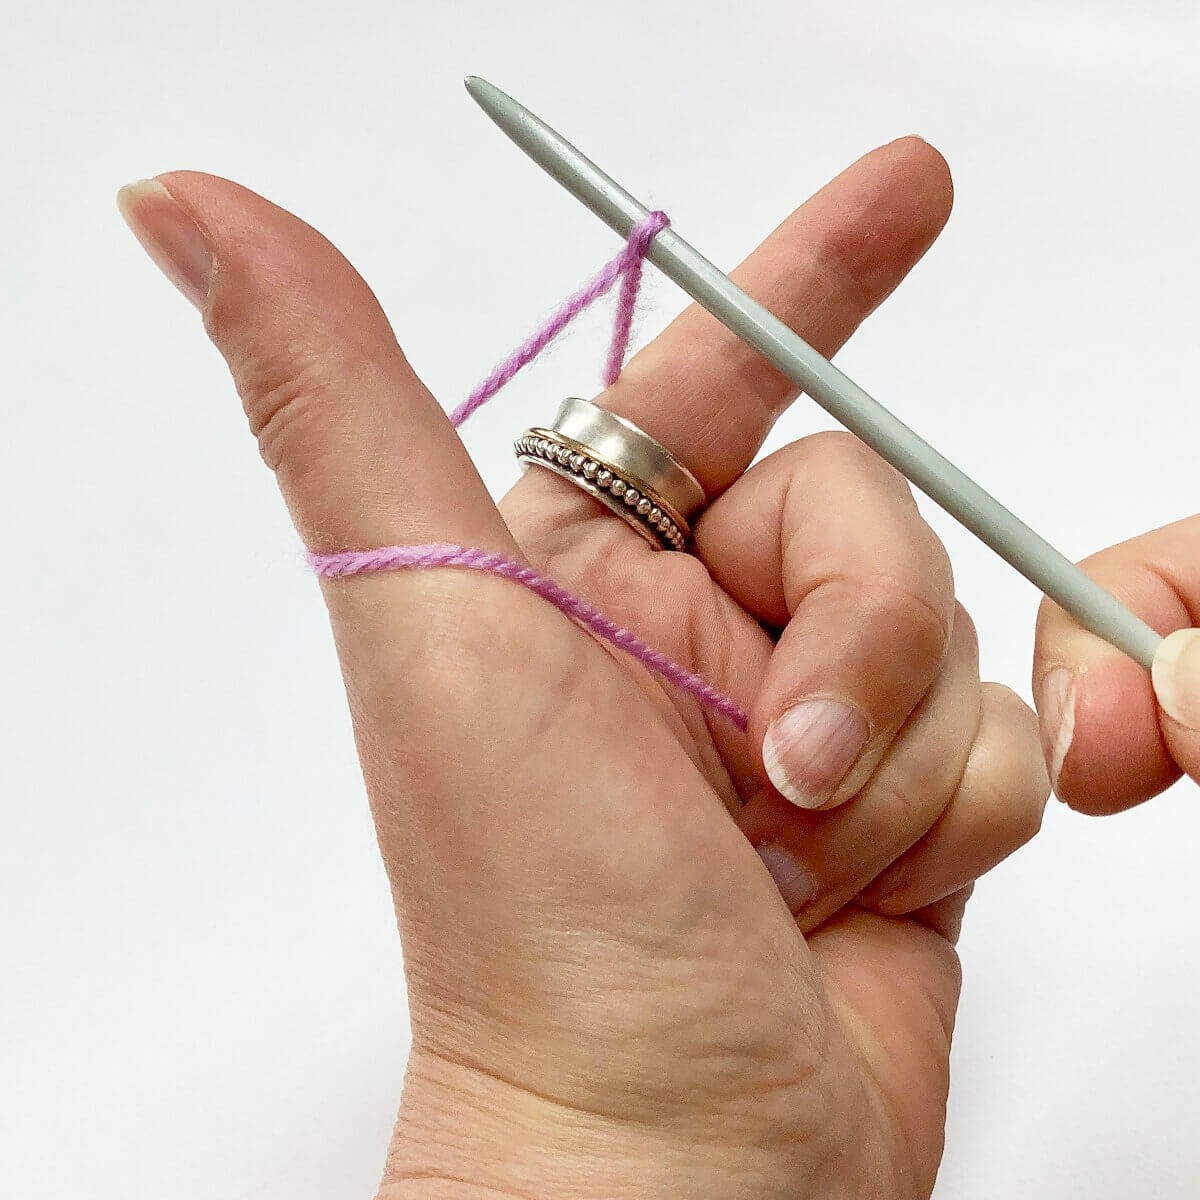
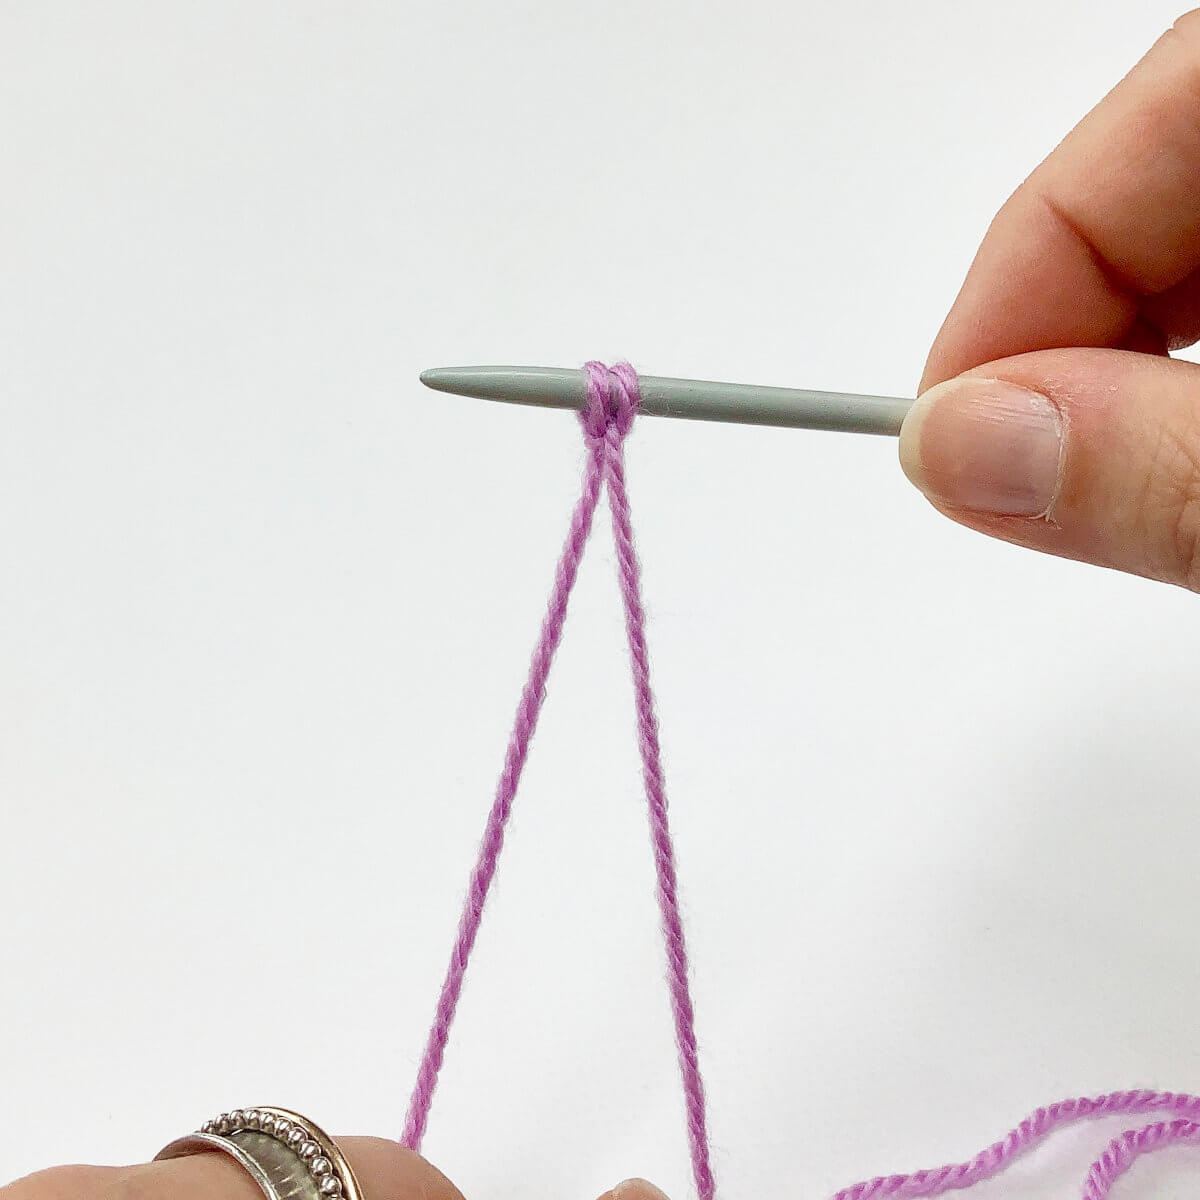
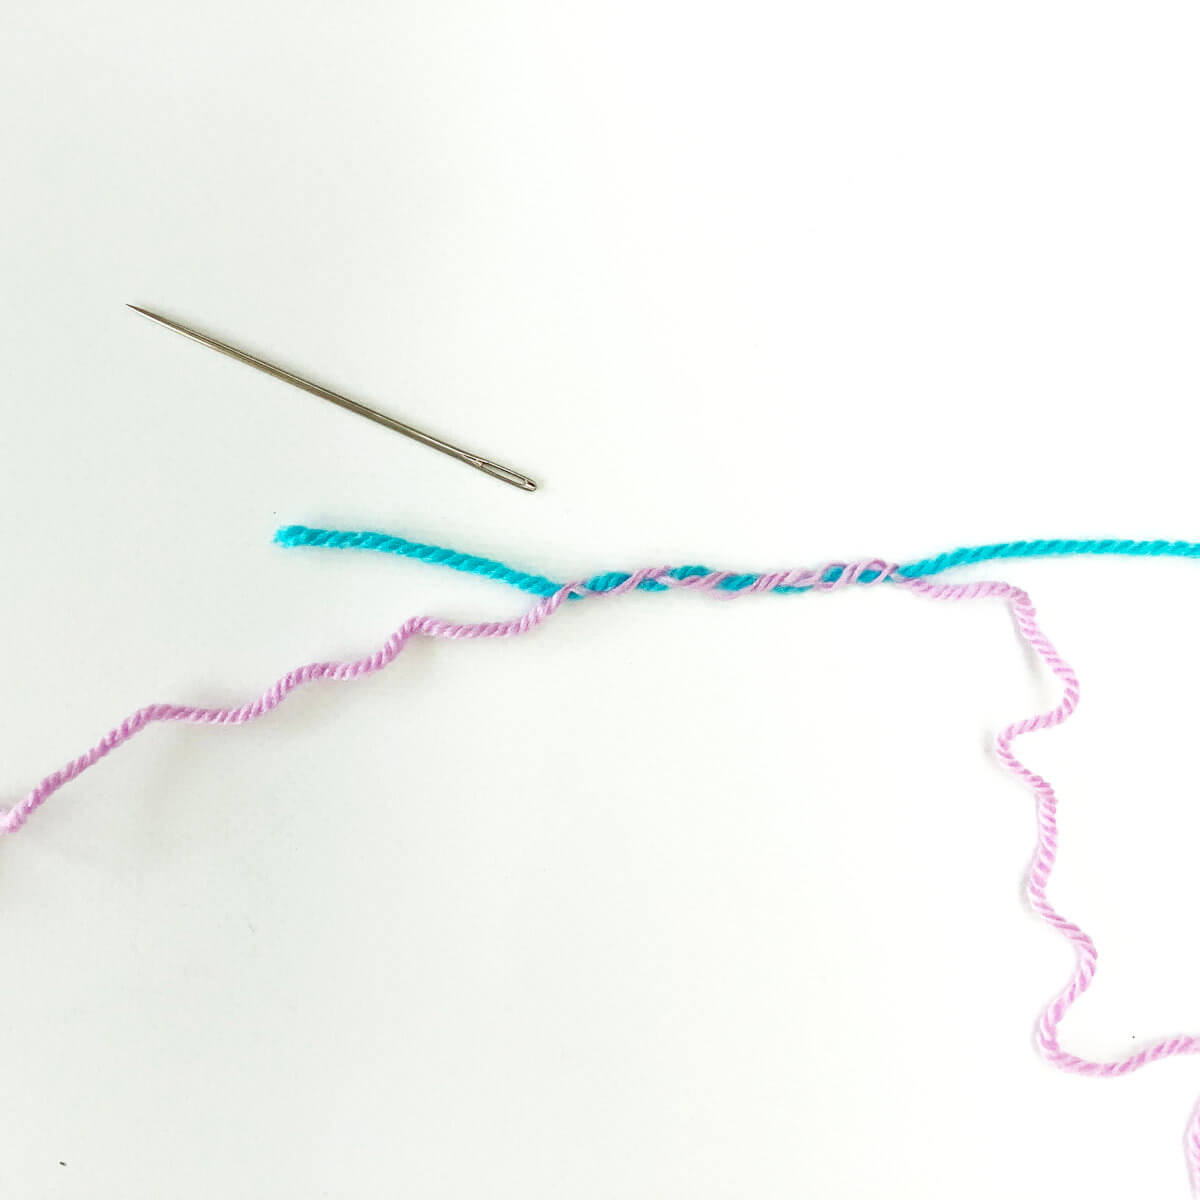
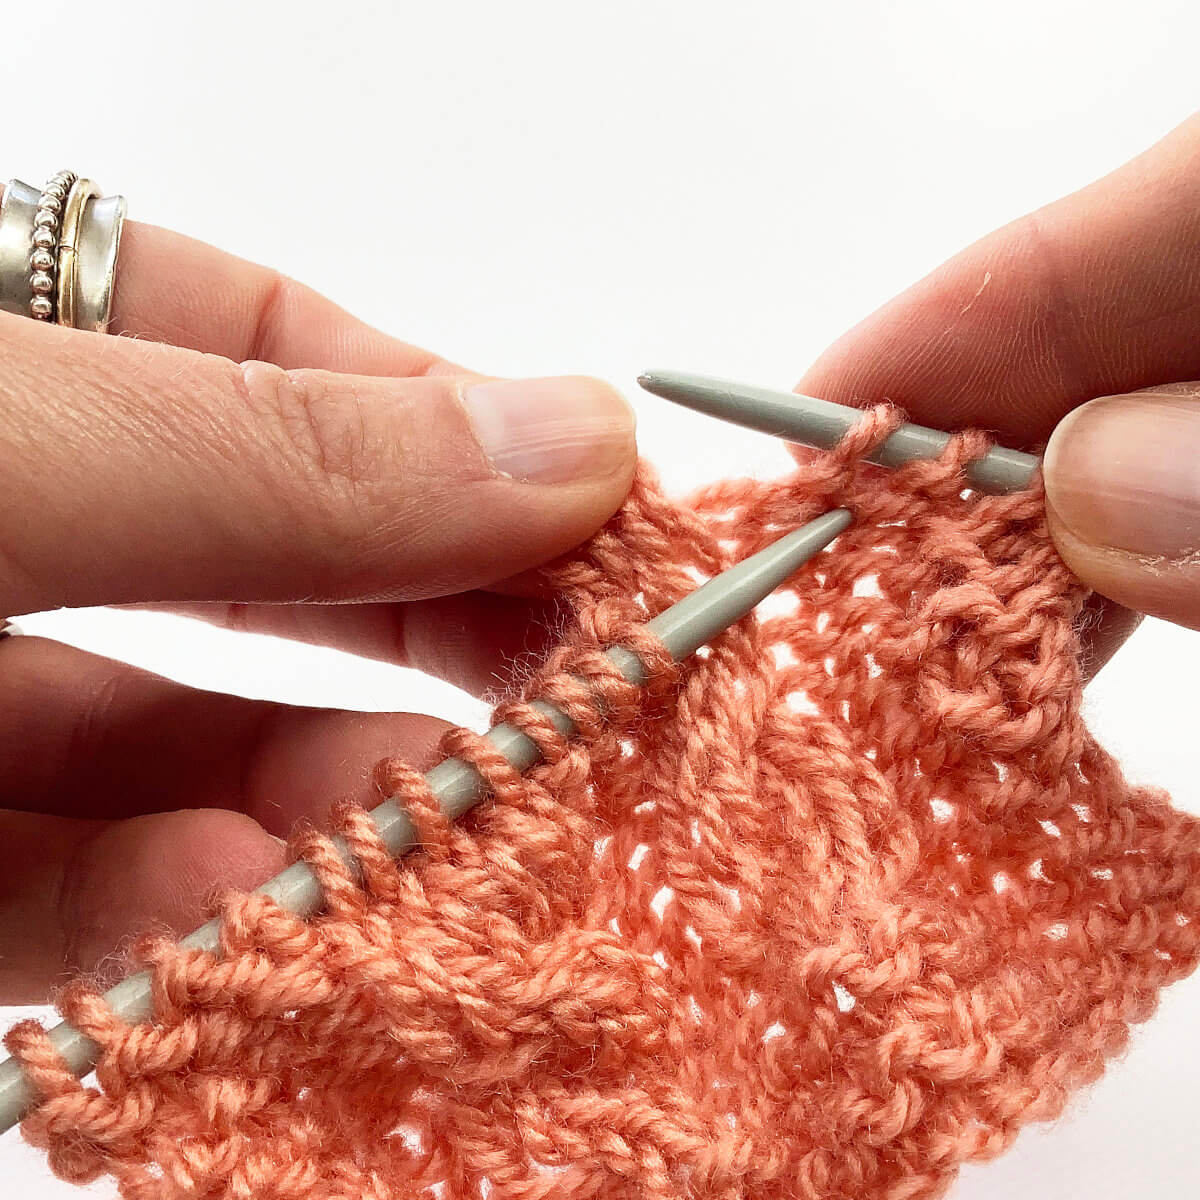
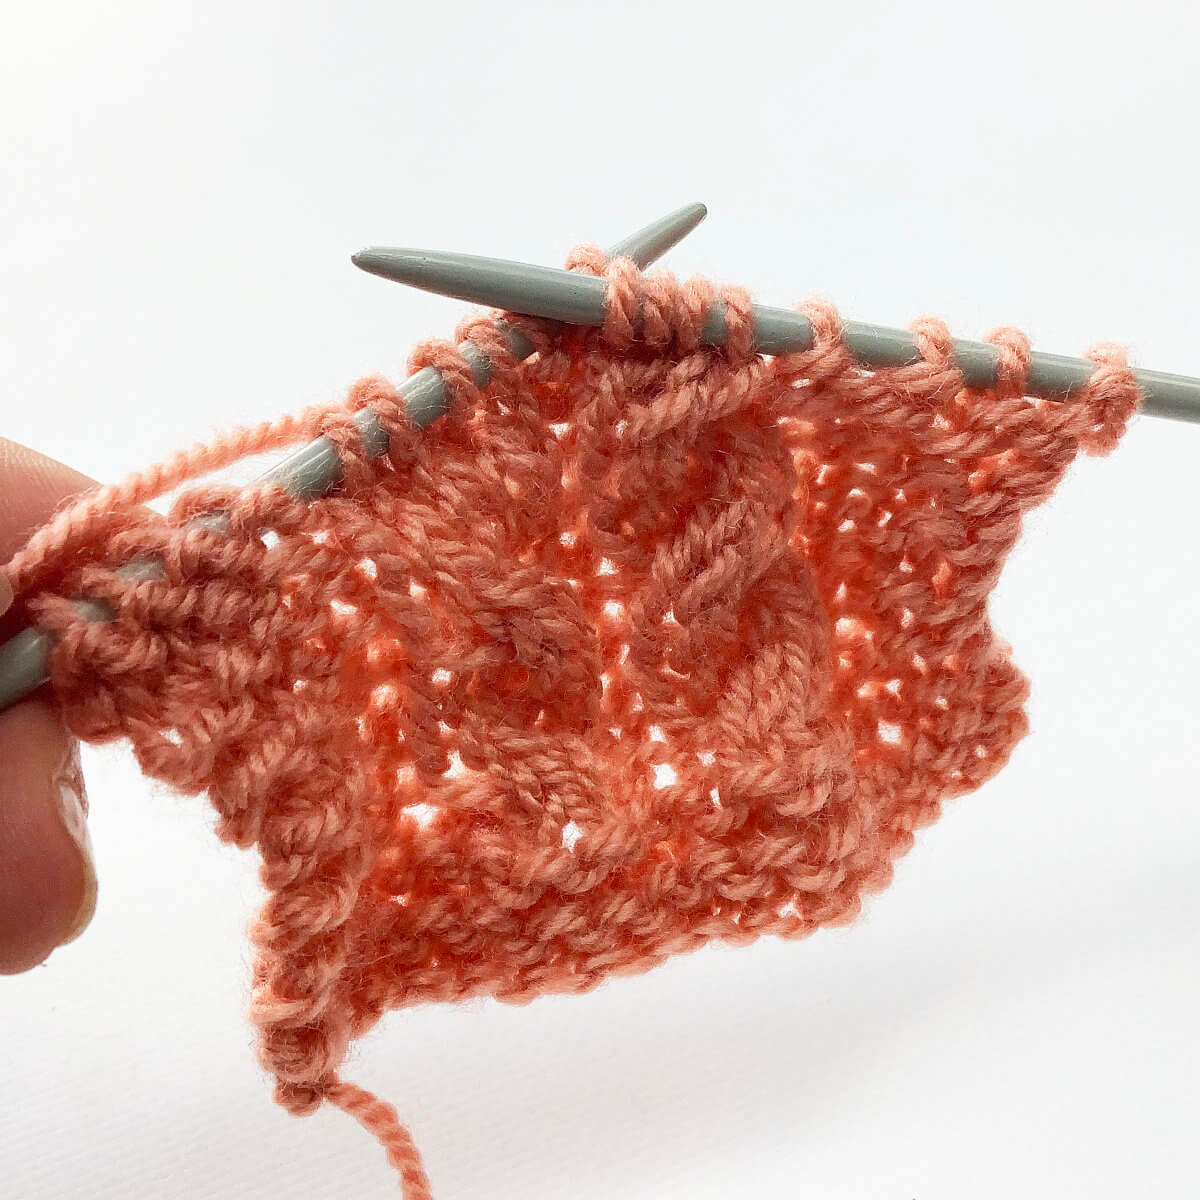
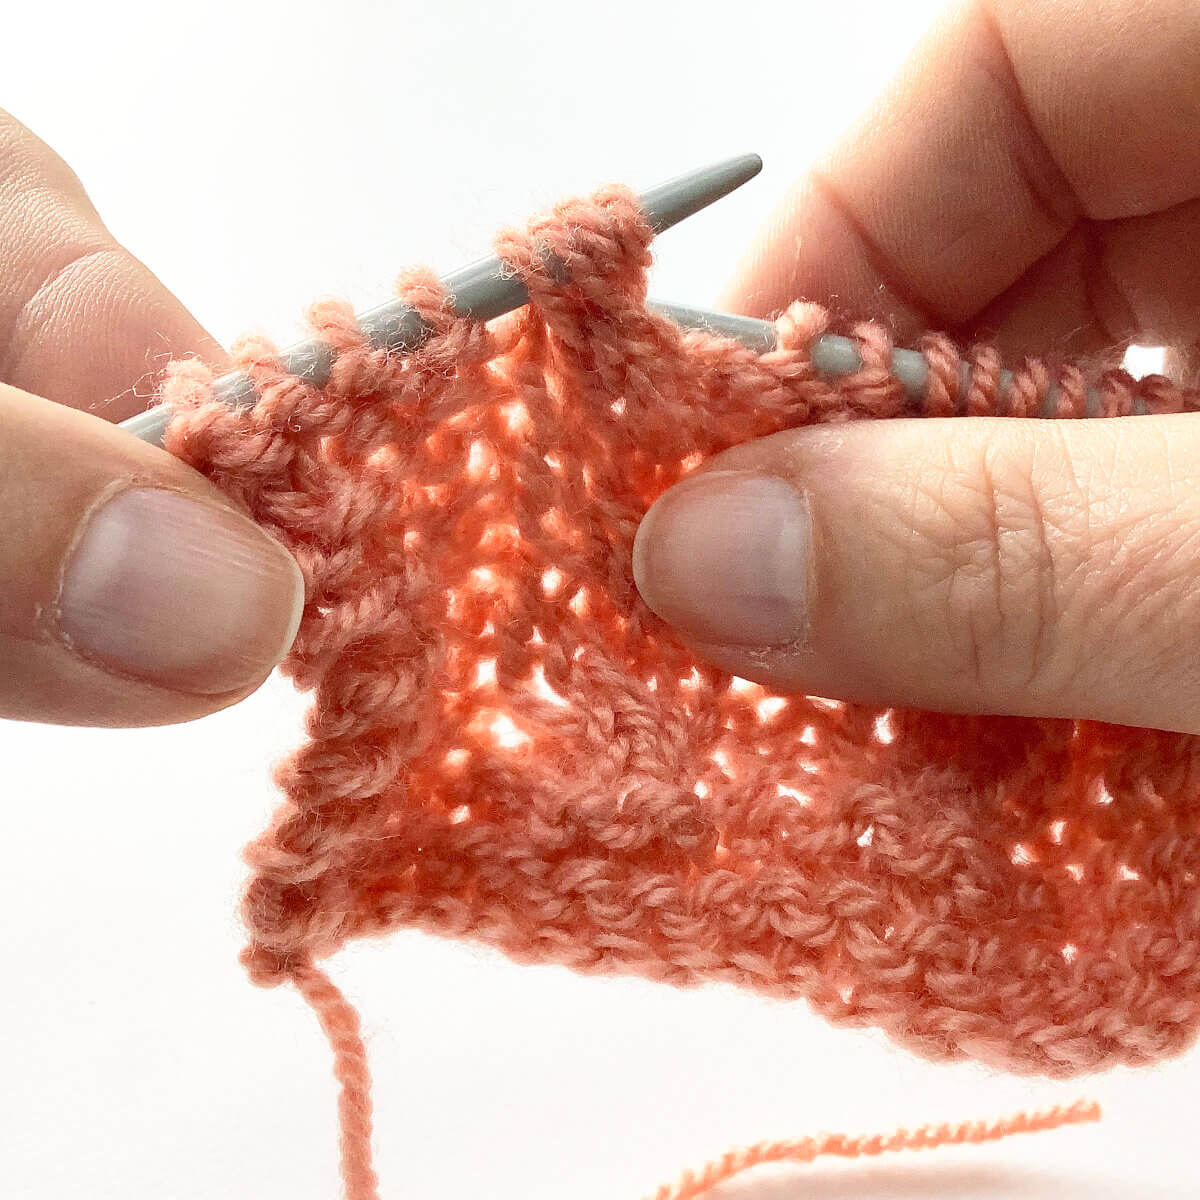
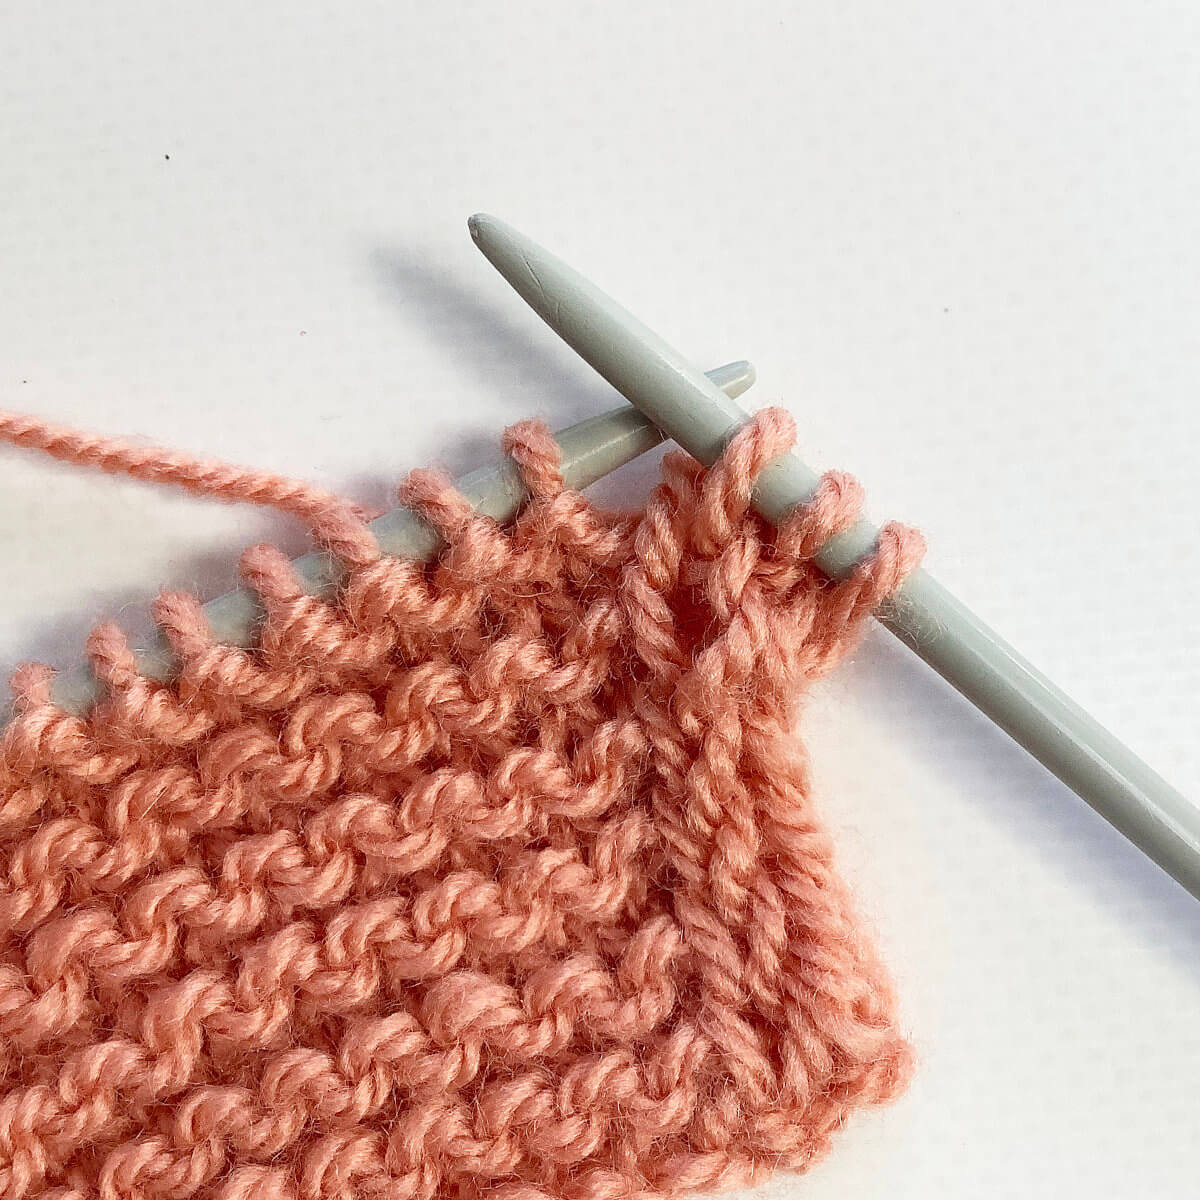
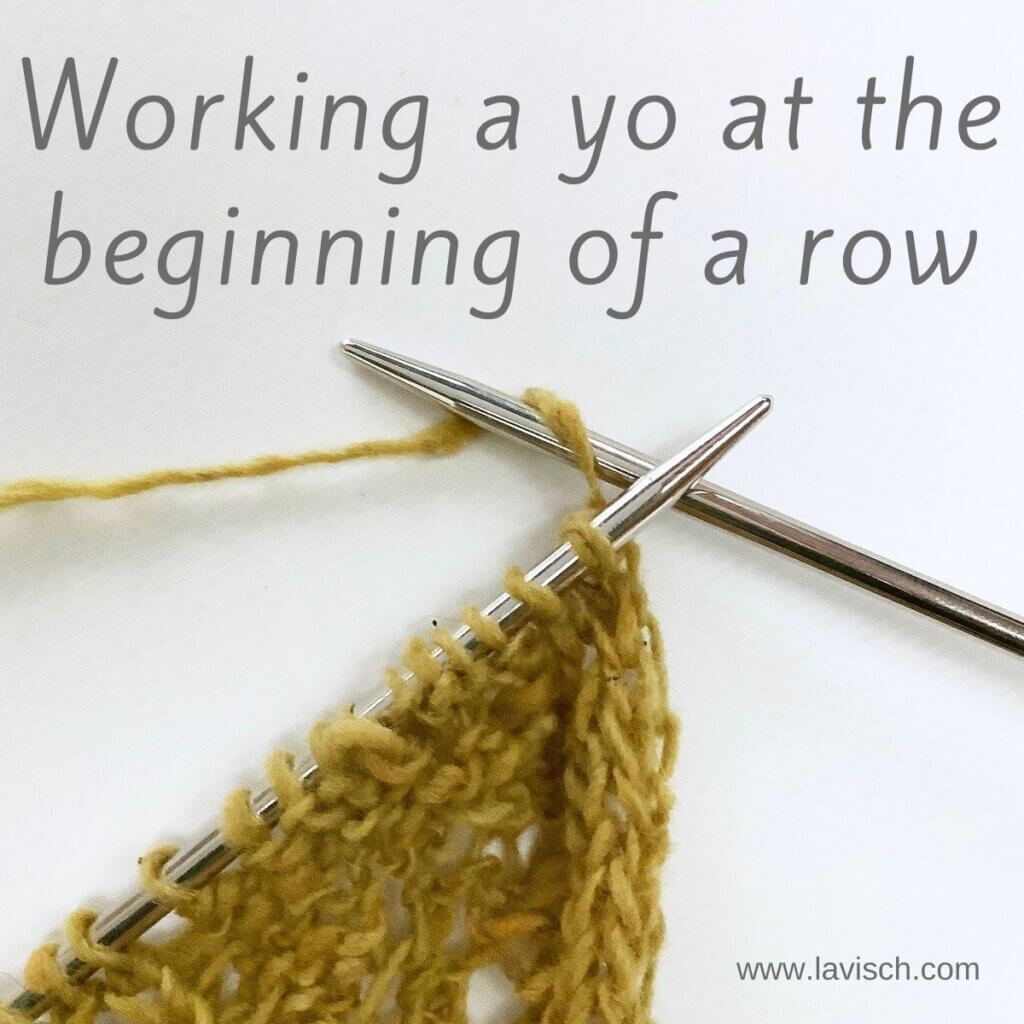
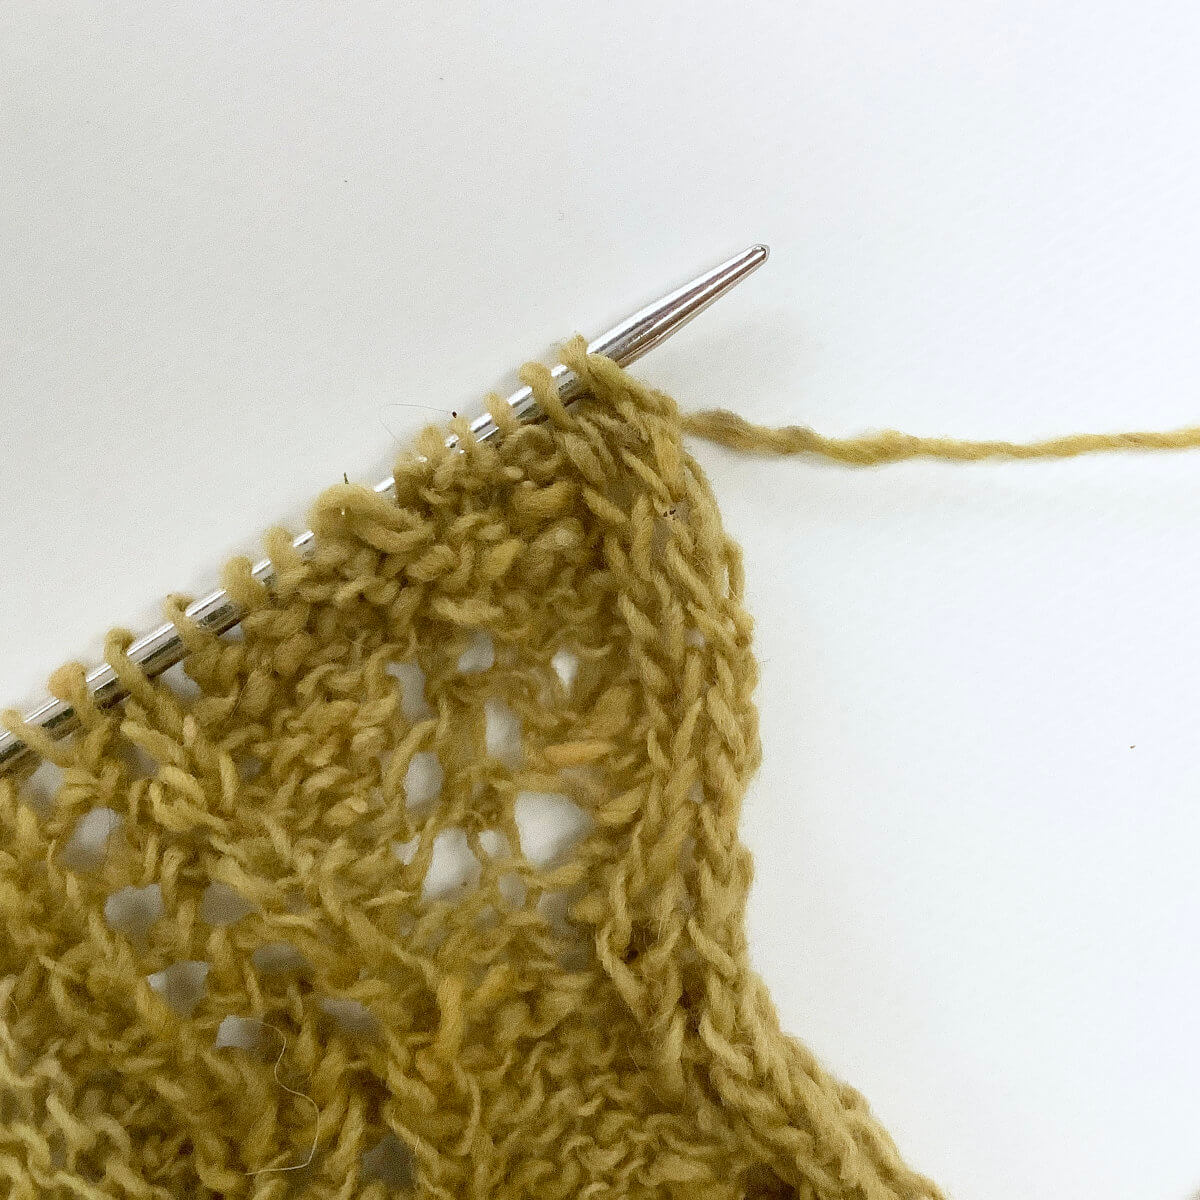
- First, make sure, you’re right at the beginning of the row where you want to make the yarn over.
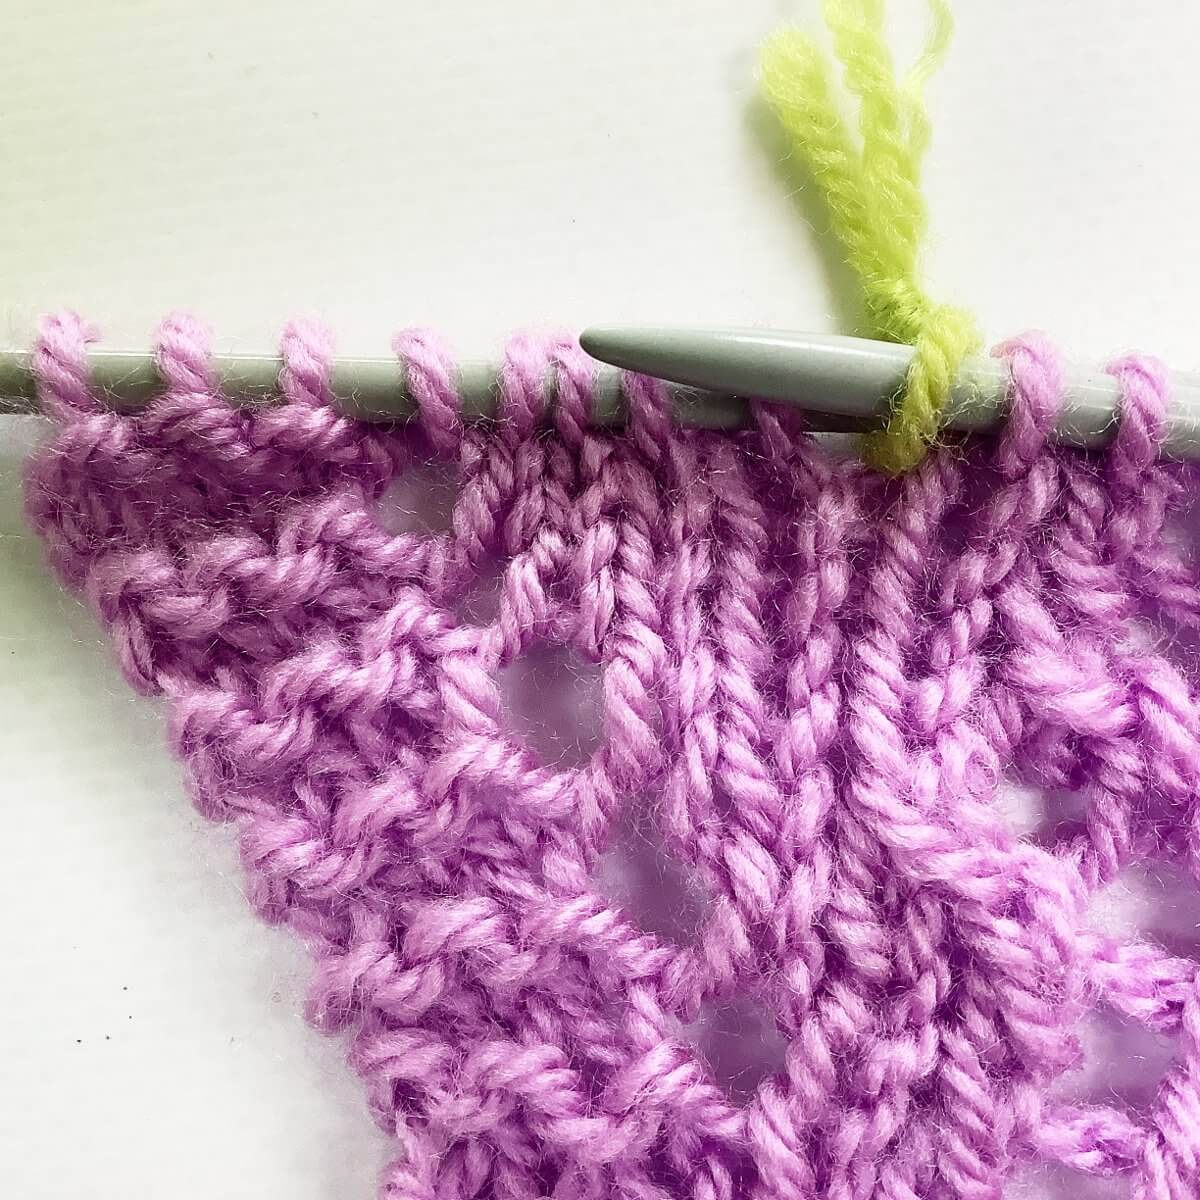
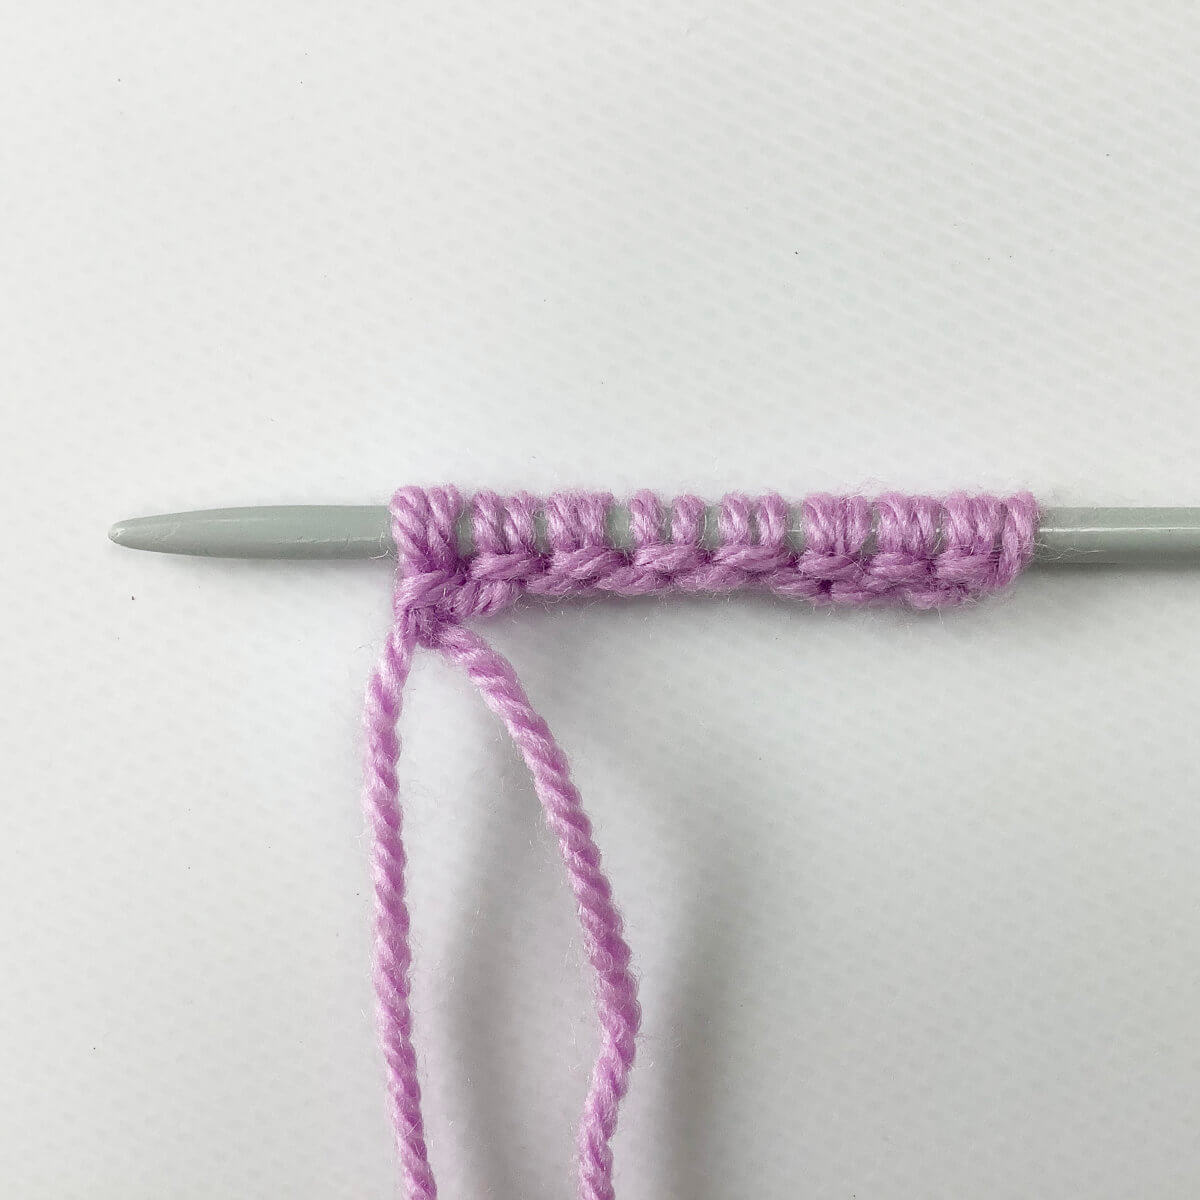
It’s a bit hard to see because the first 2 stitches on the needle overlap each other a bit, but the first 3 stitches are to be worked as knit stitches to make stockinette.
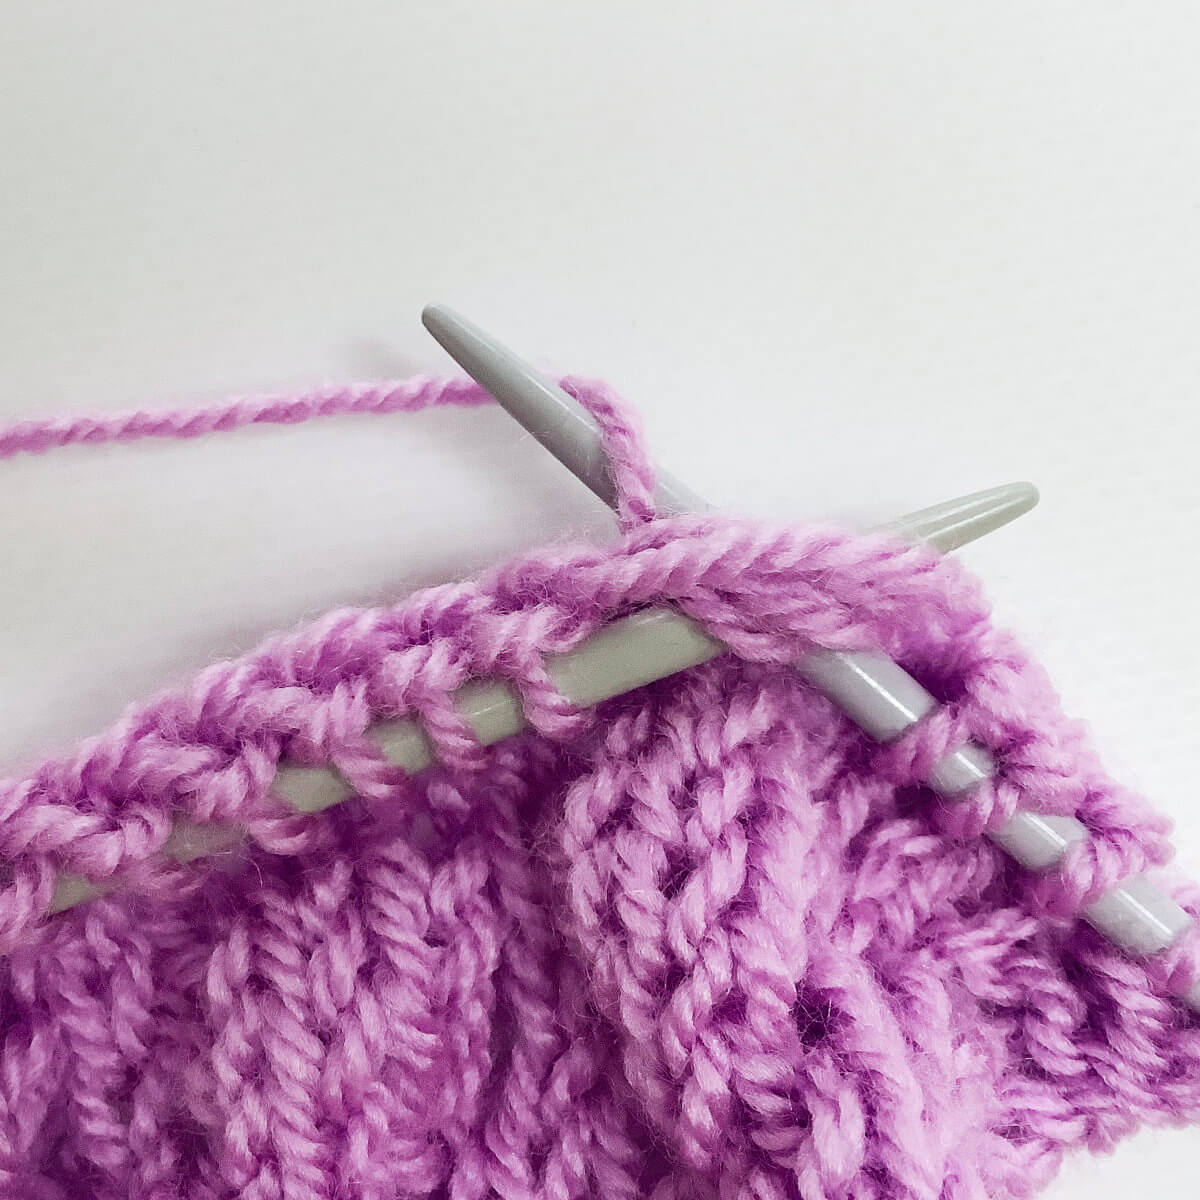
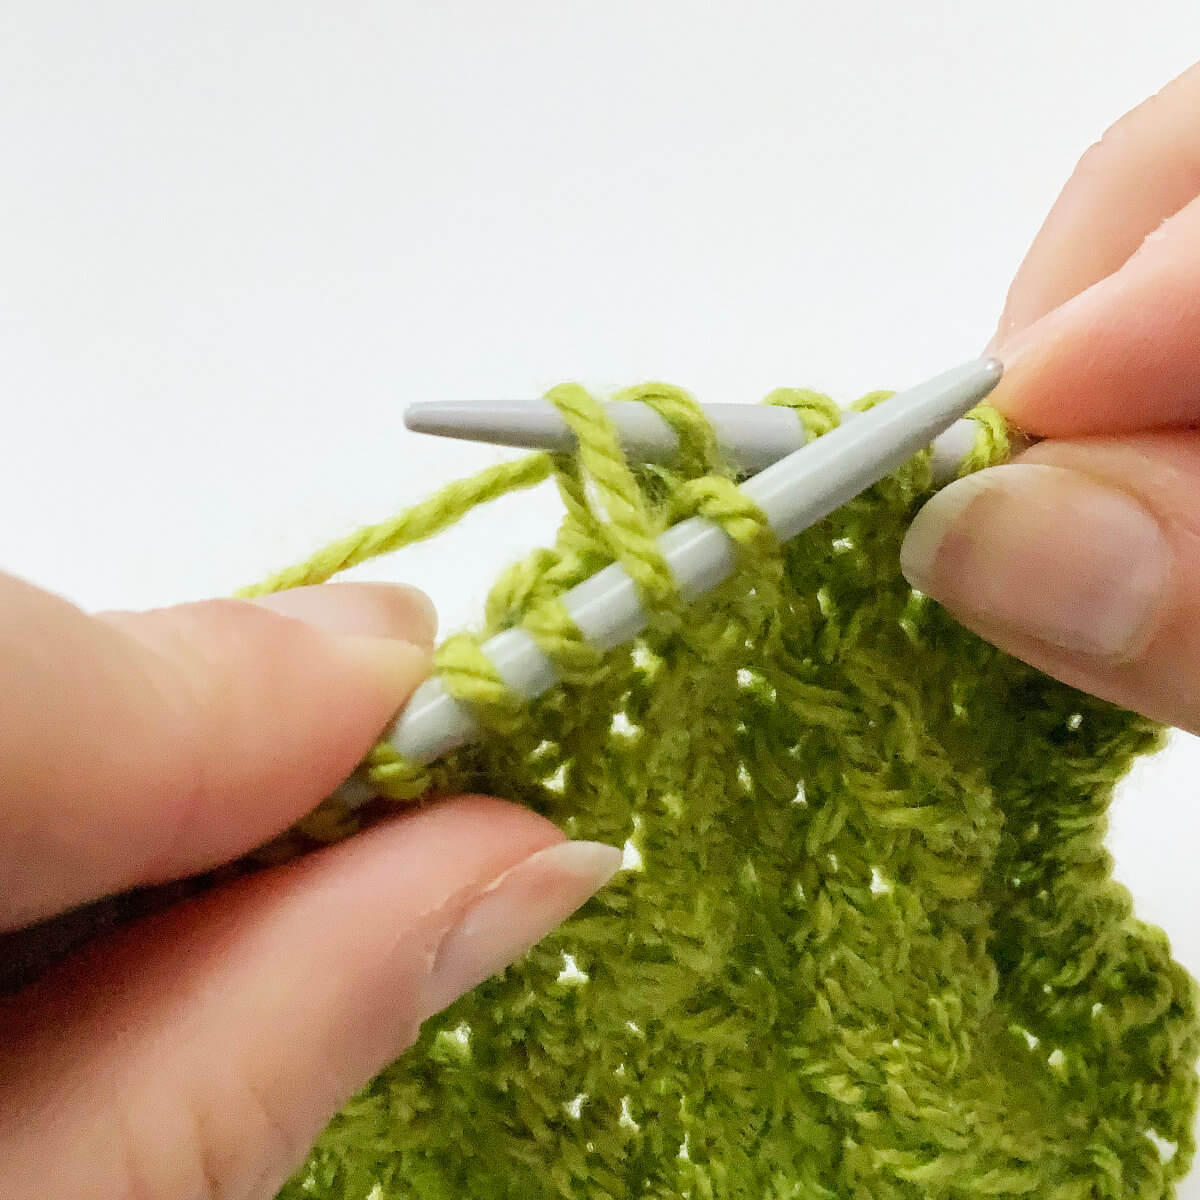
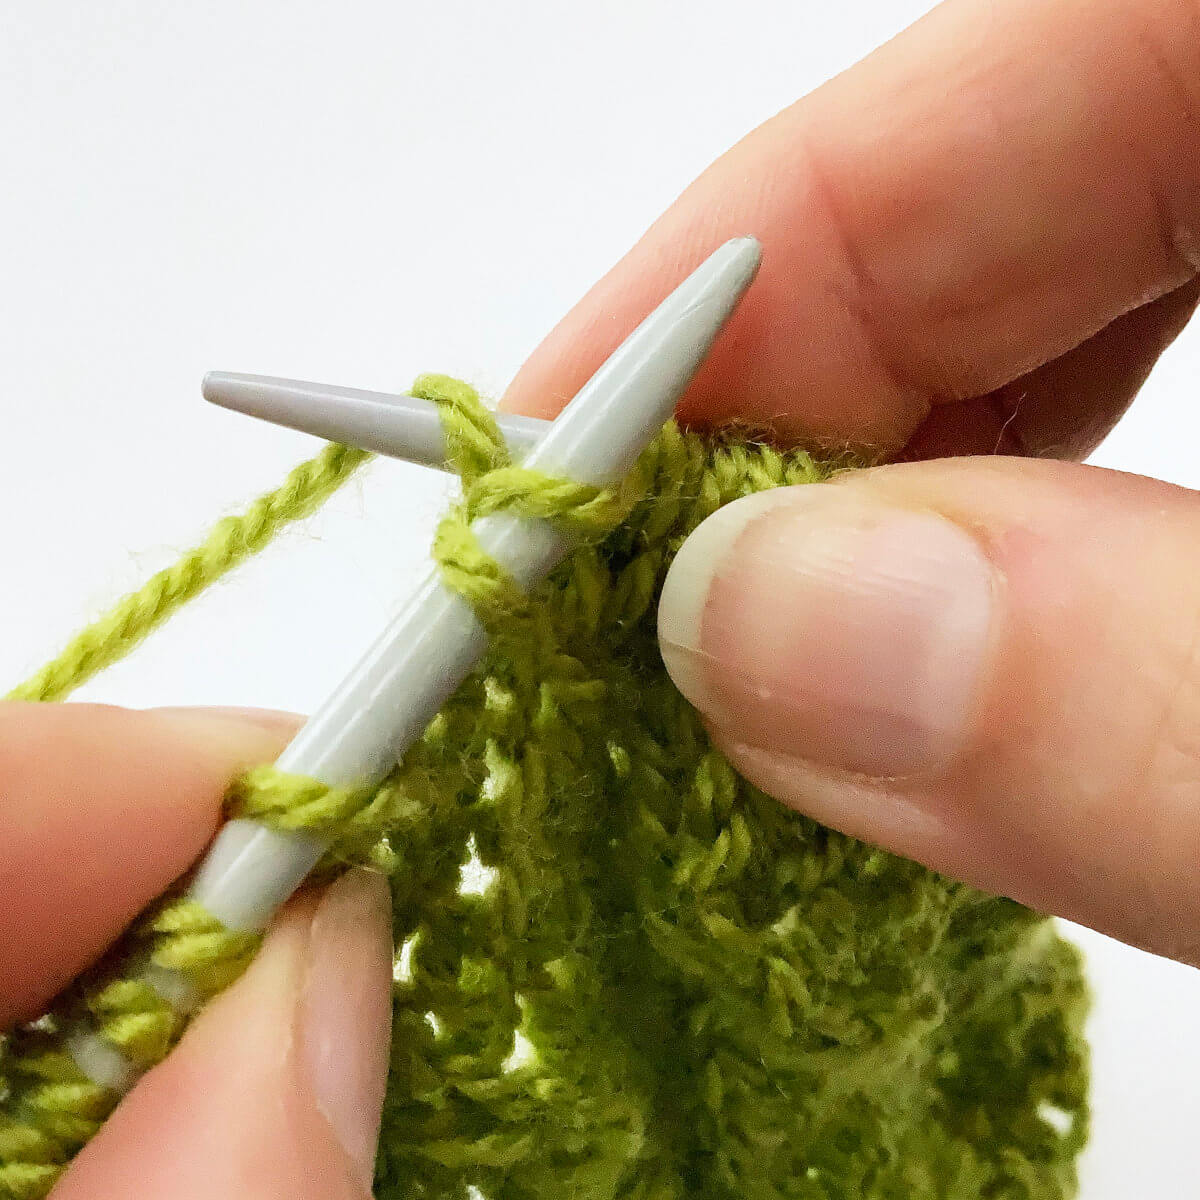
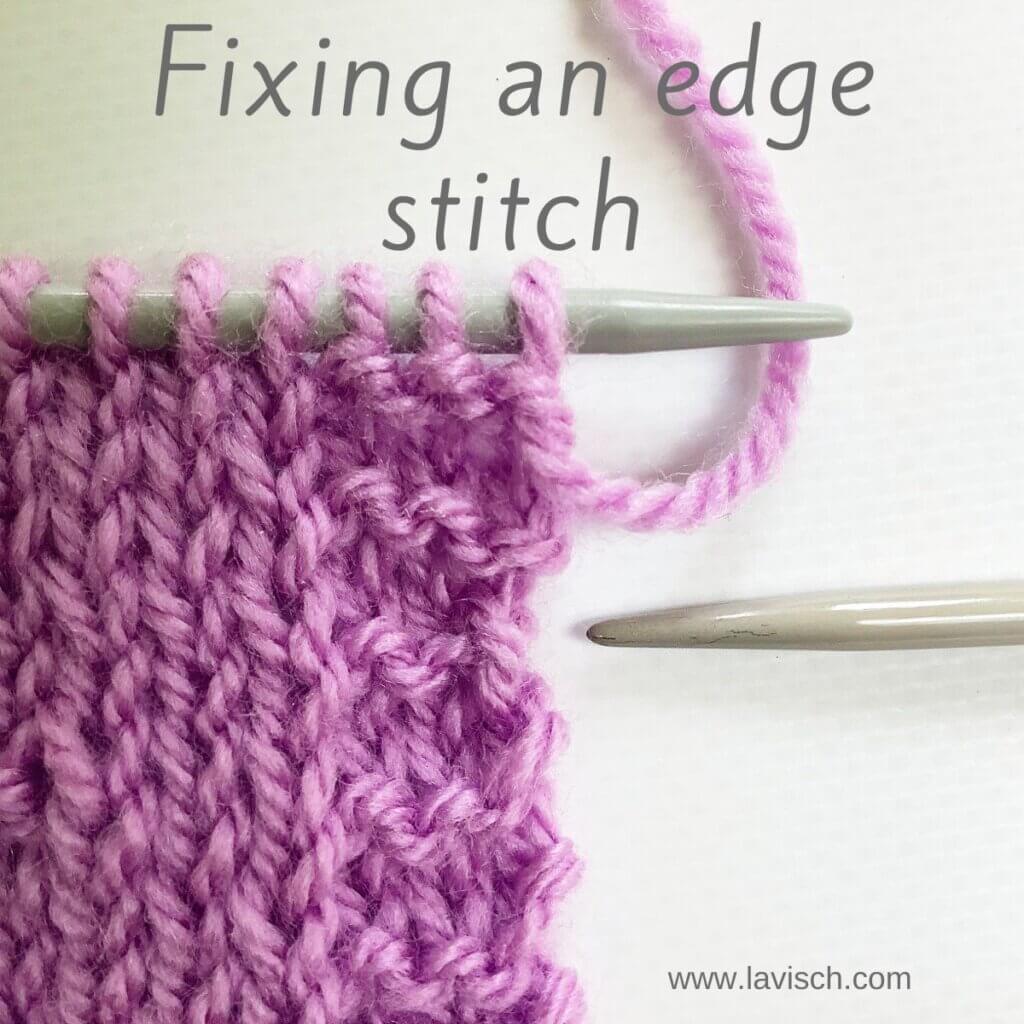
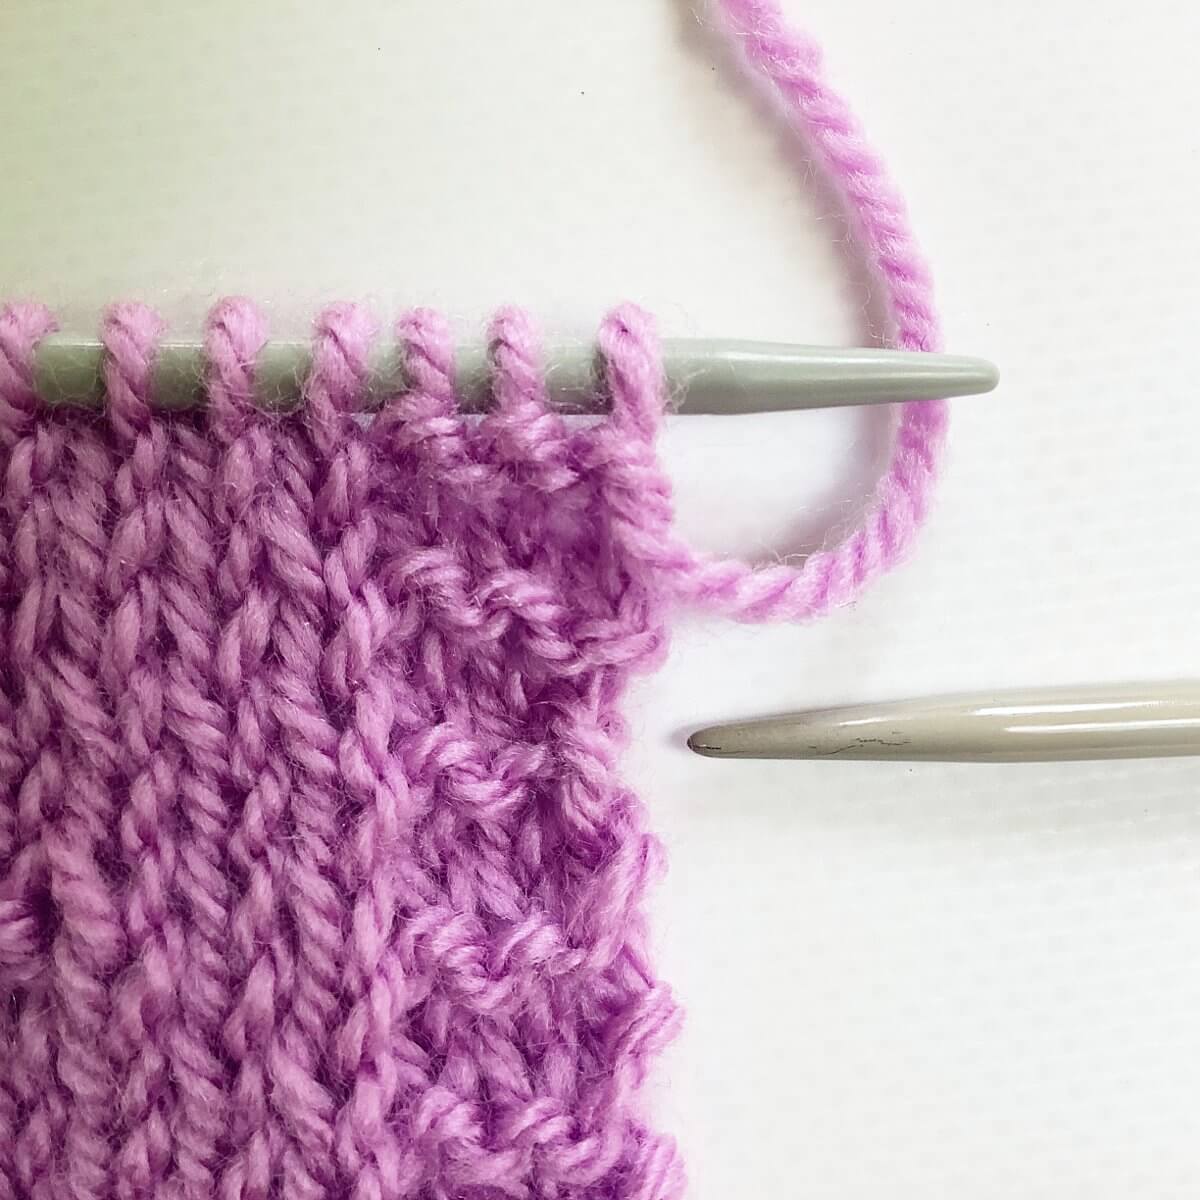
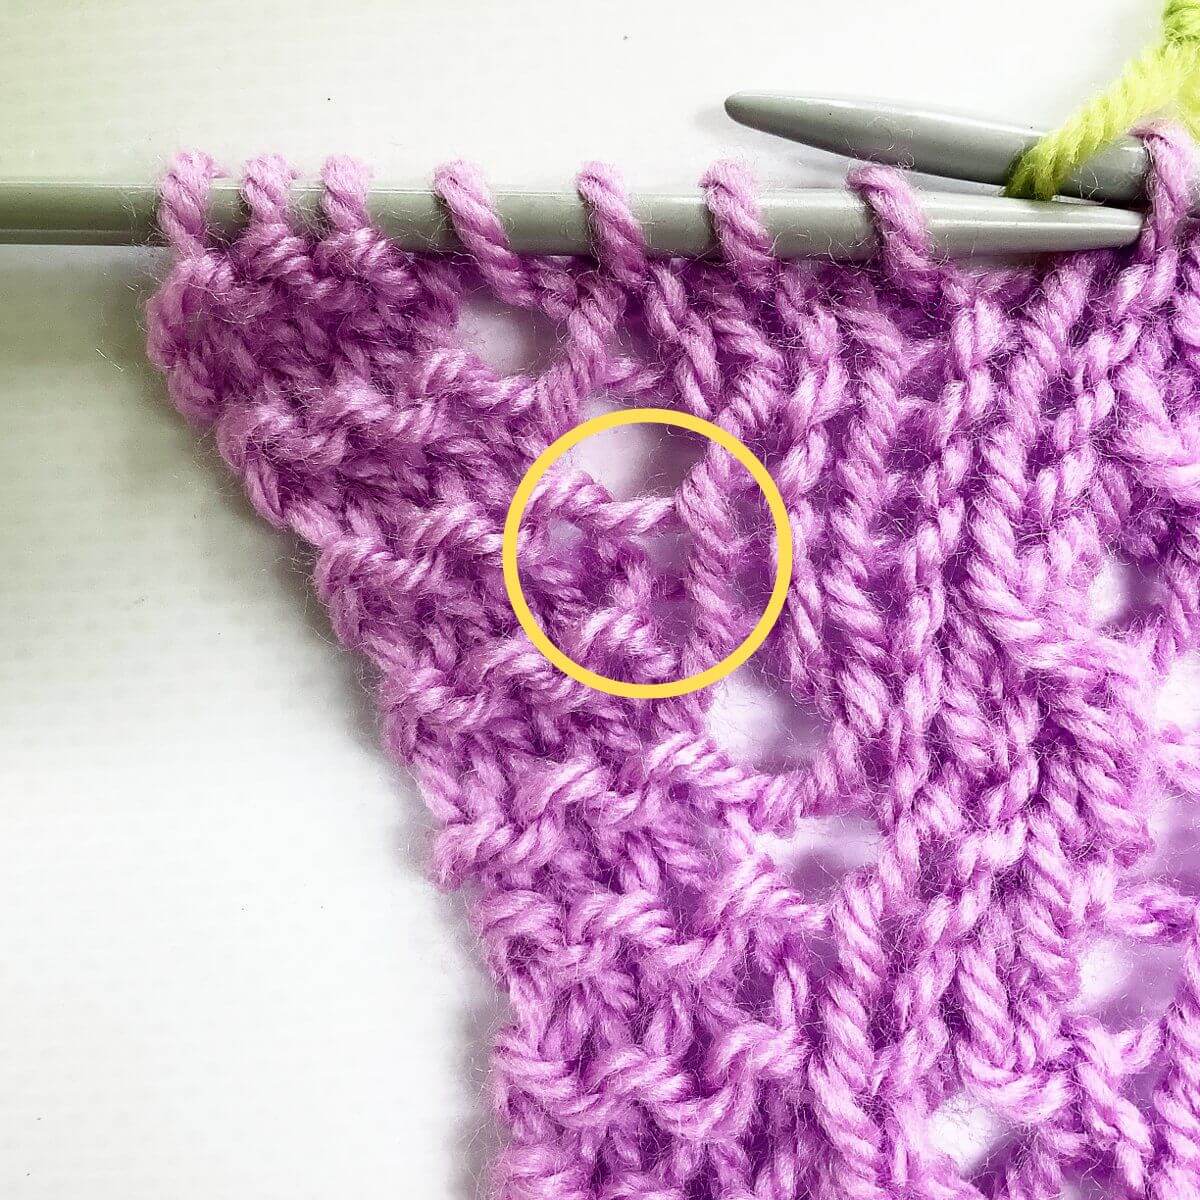
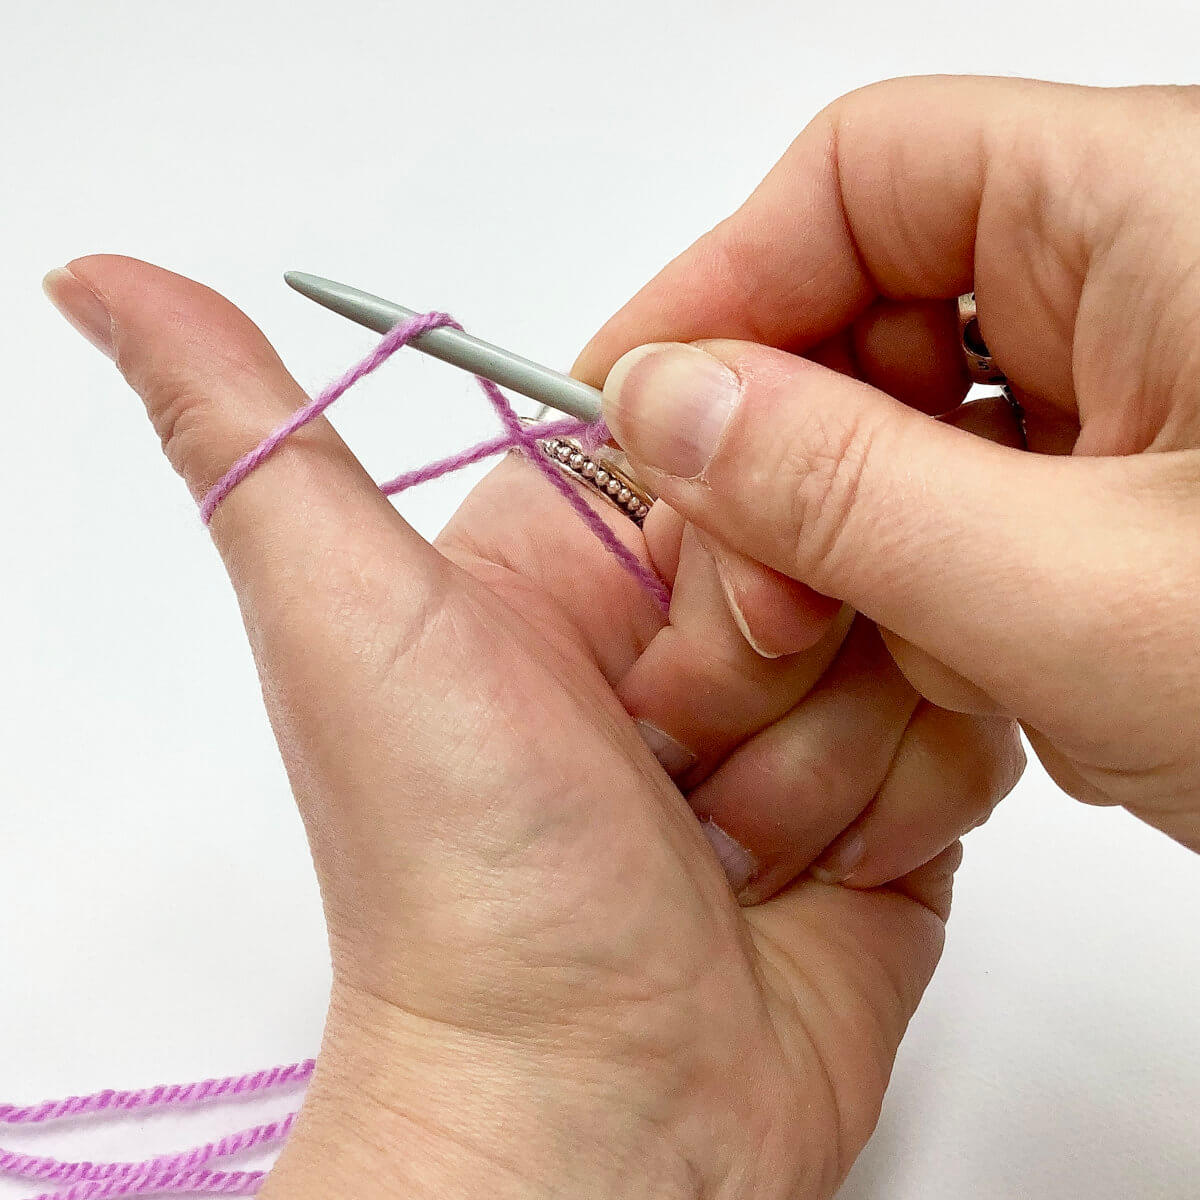
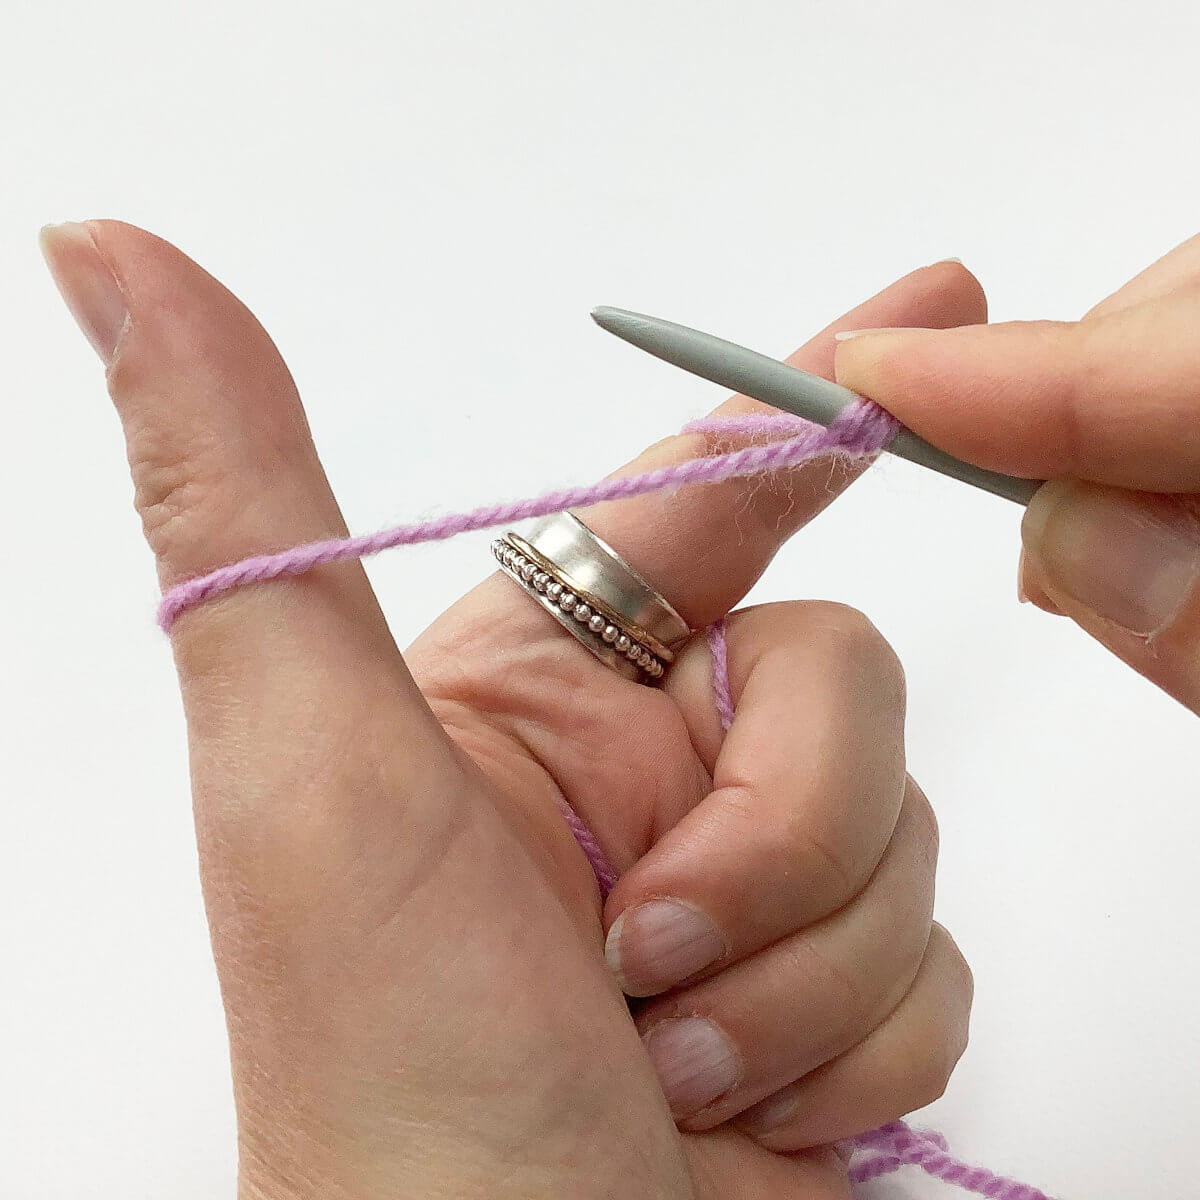
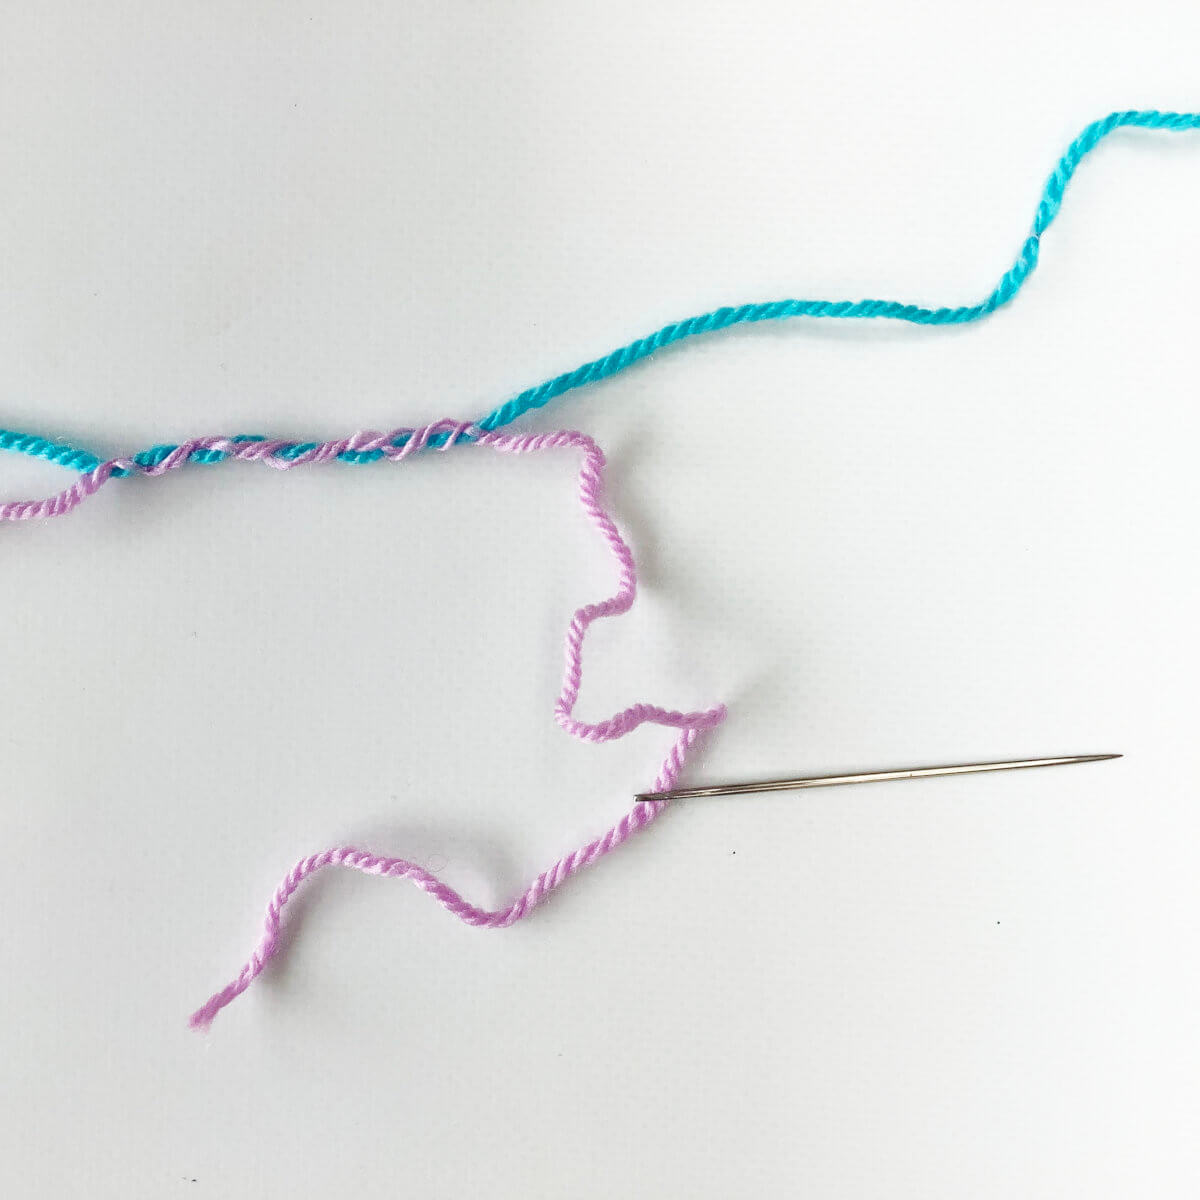
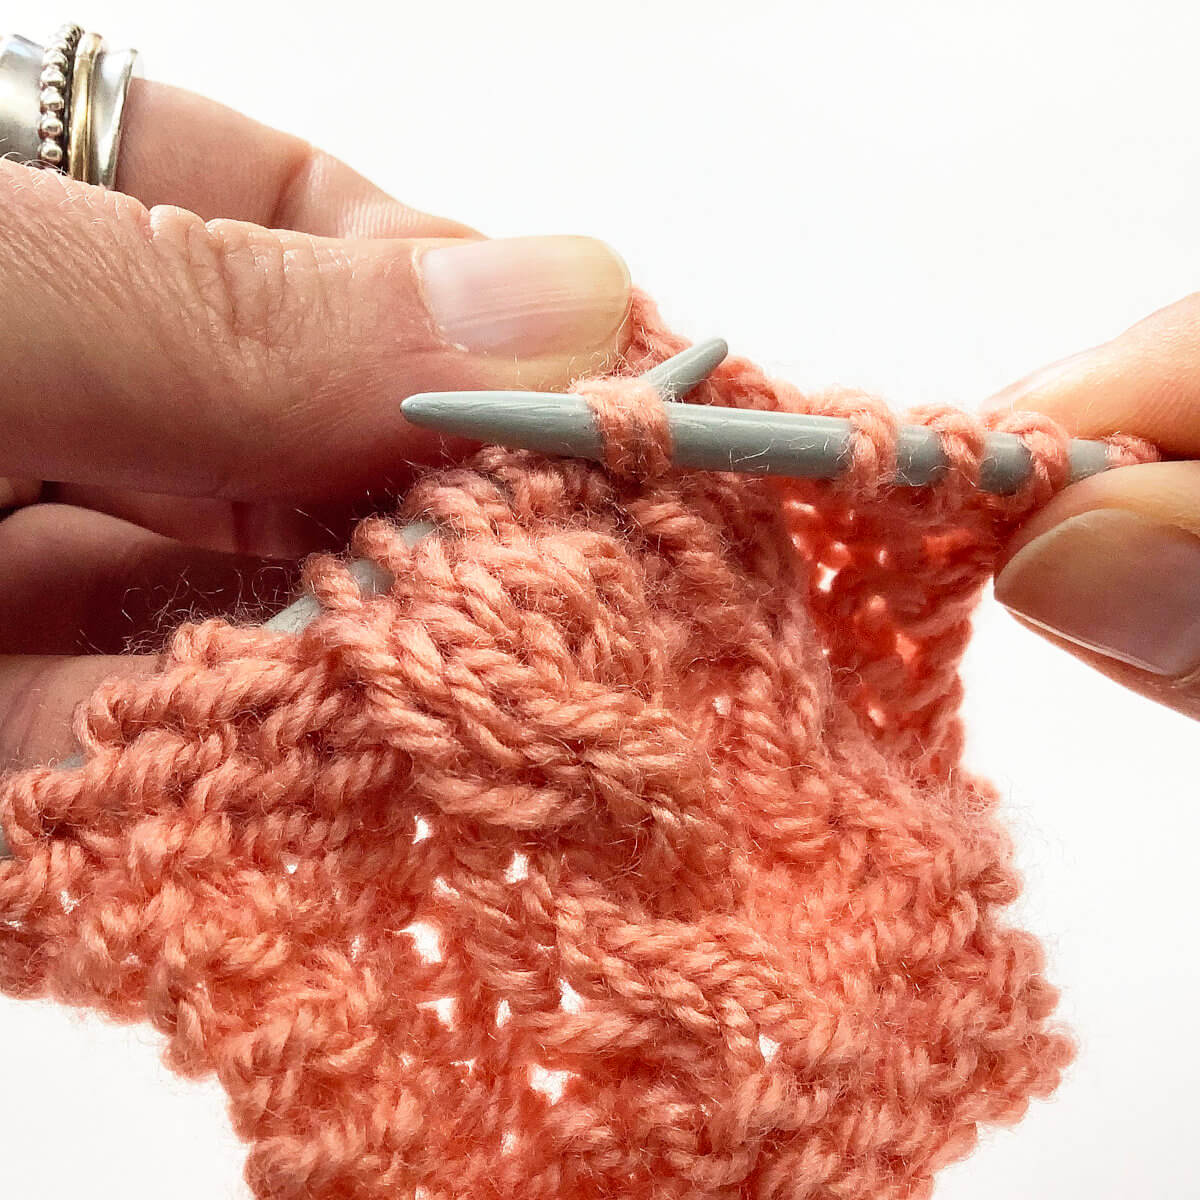
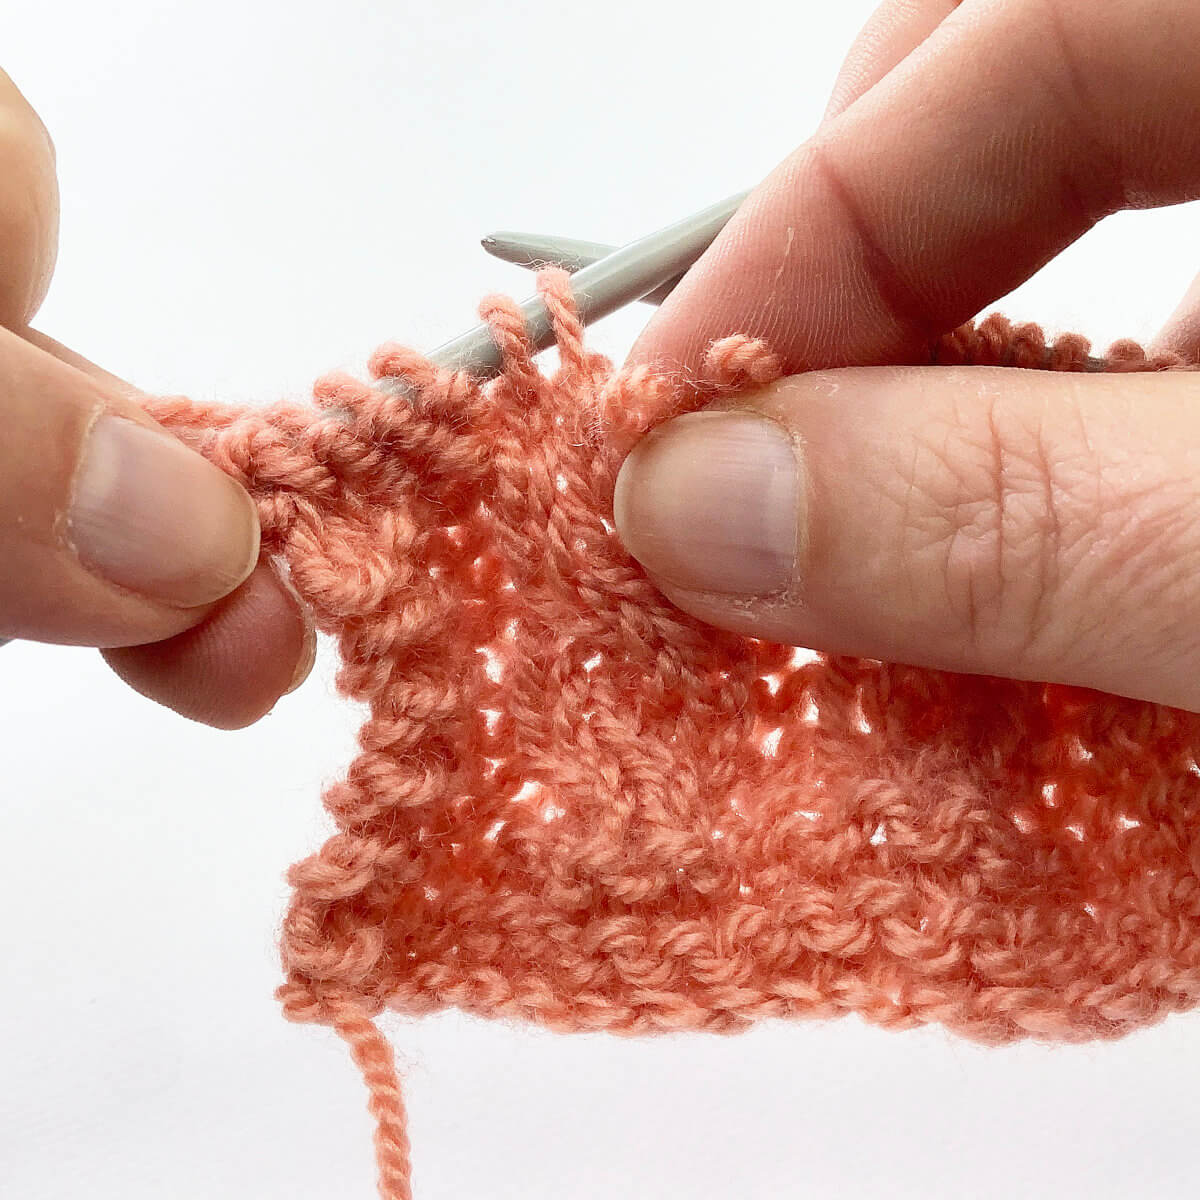
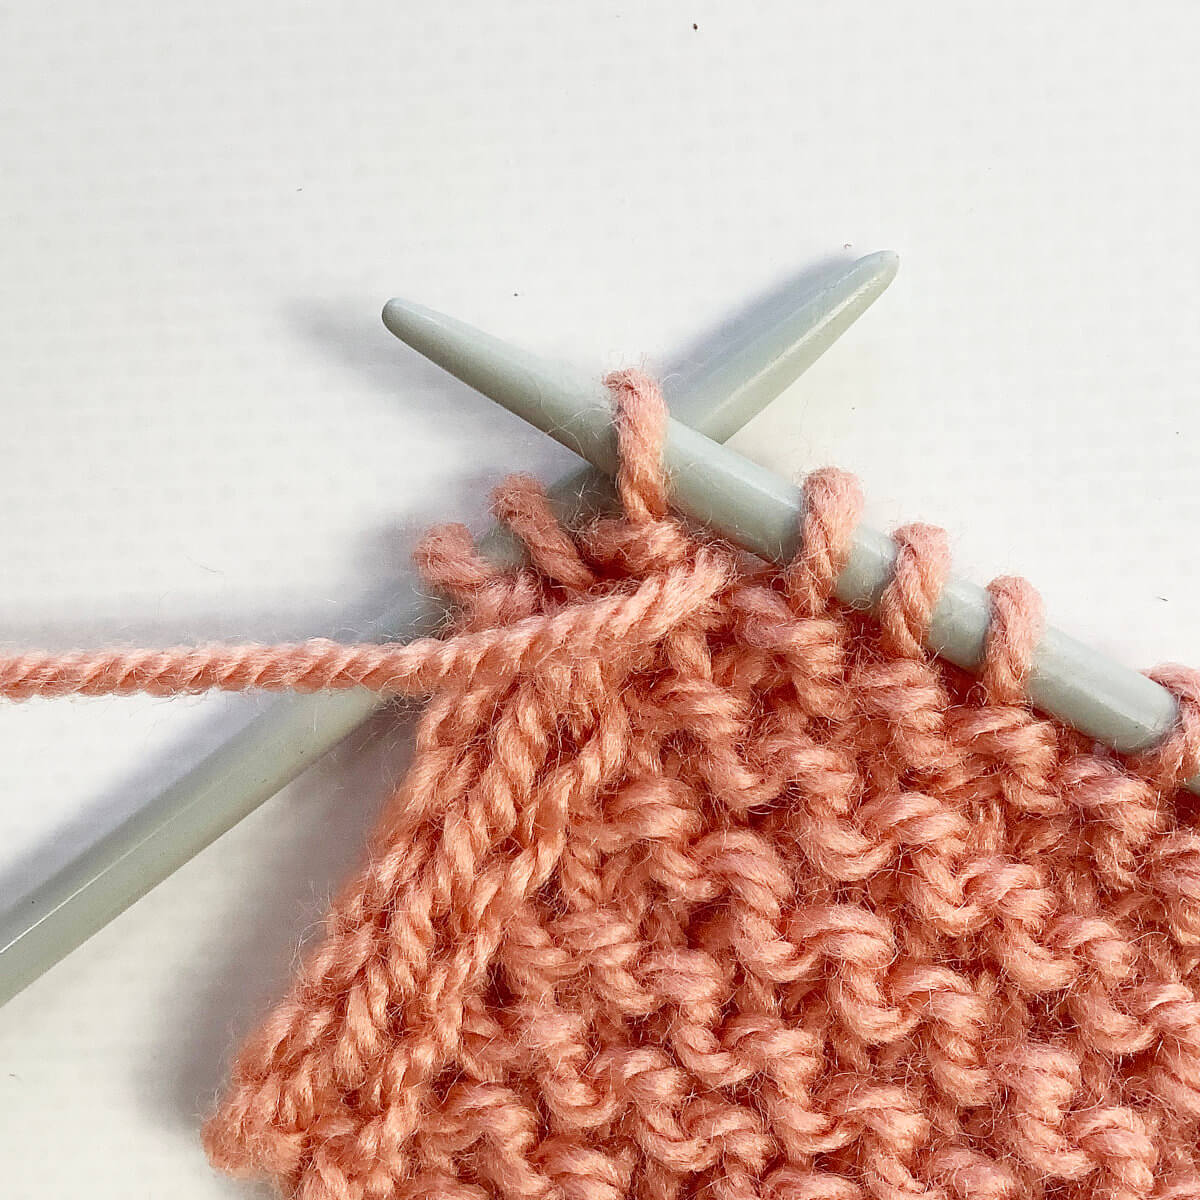
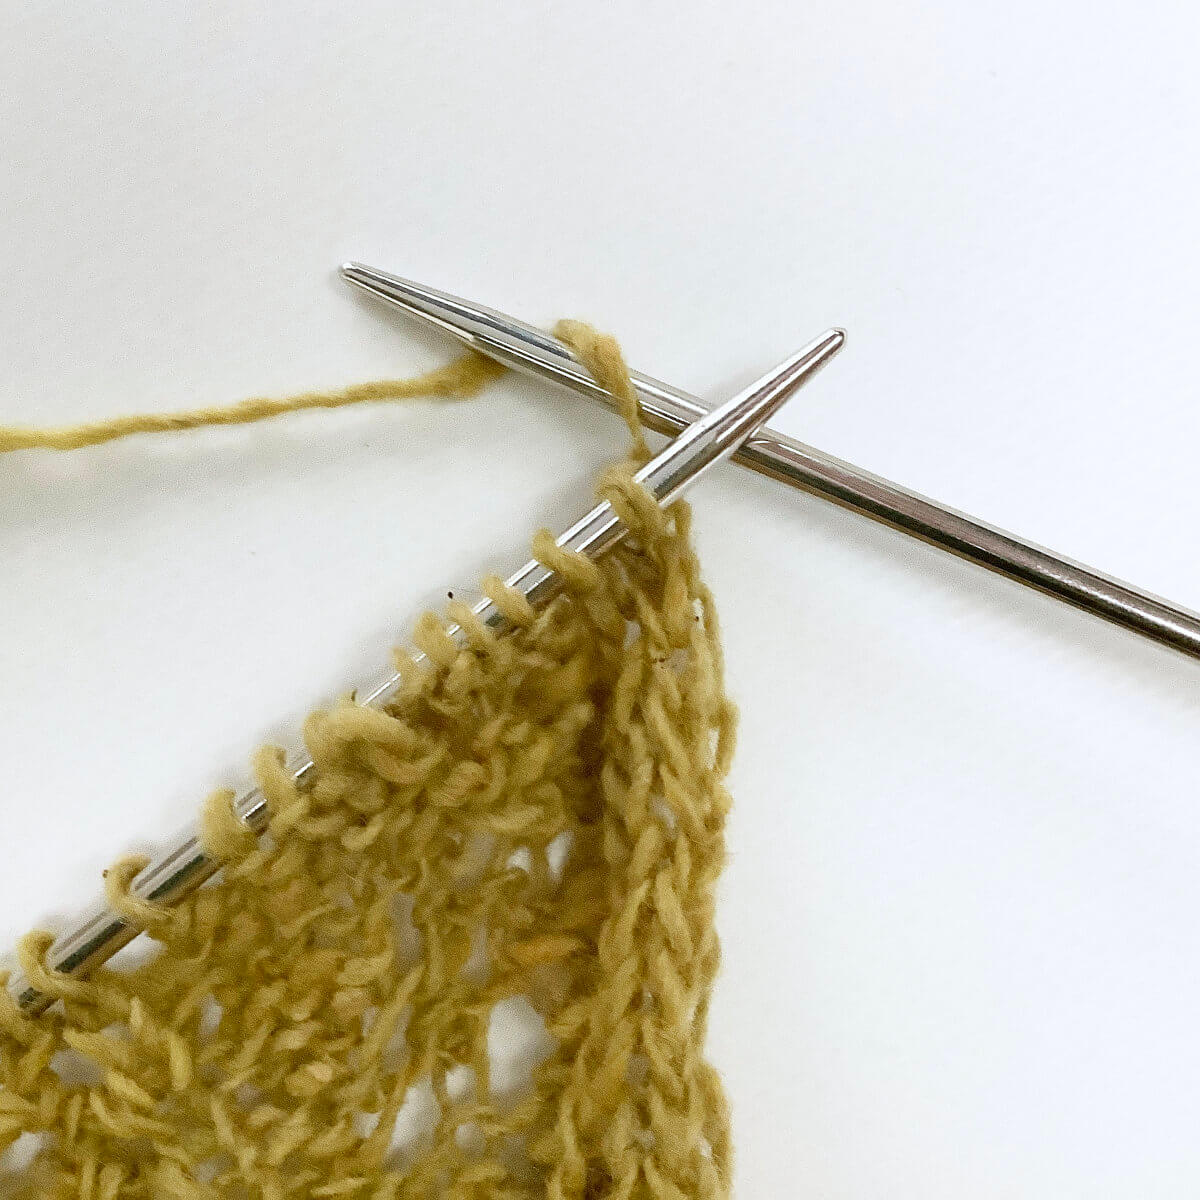
- To make a yarn over, I usually just wrap it around the right-hand needle. So that’s what I also do here. Just ignore that it’s at the beginning of the row.
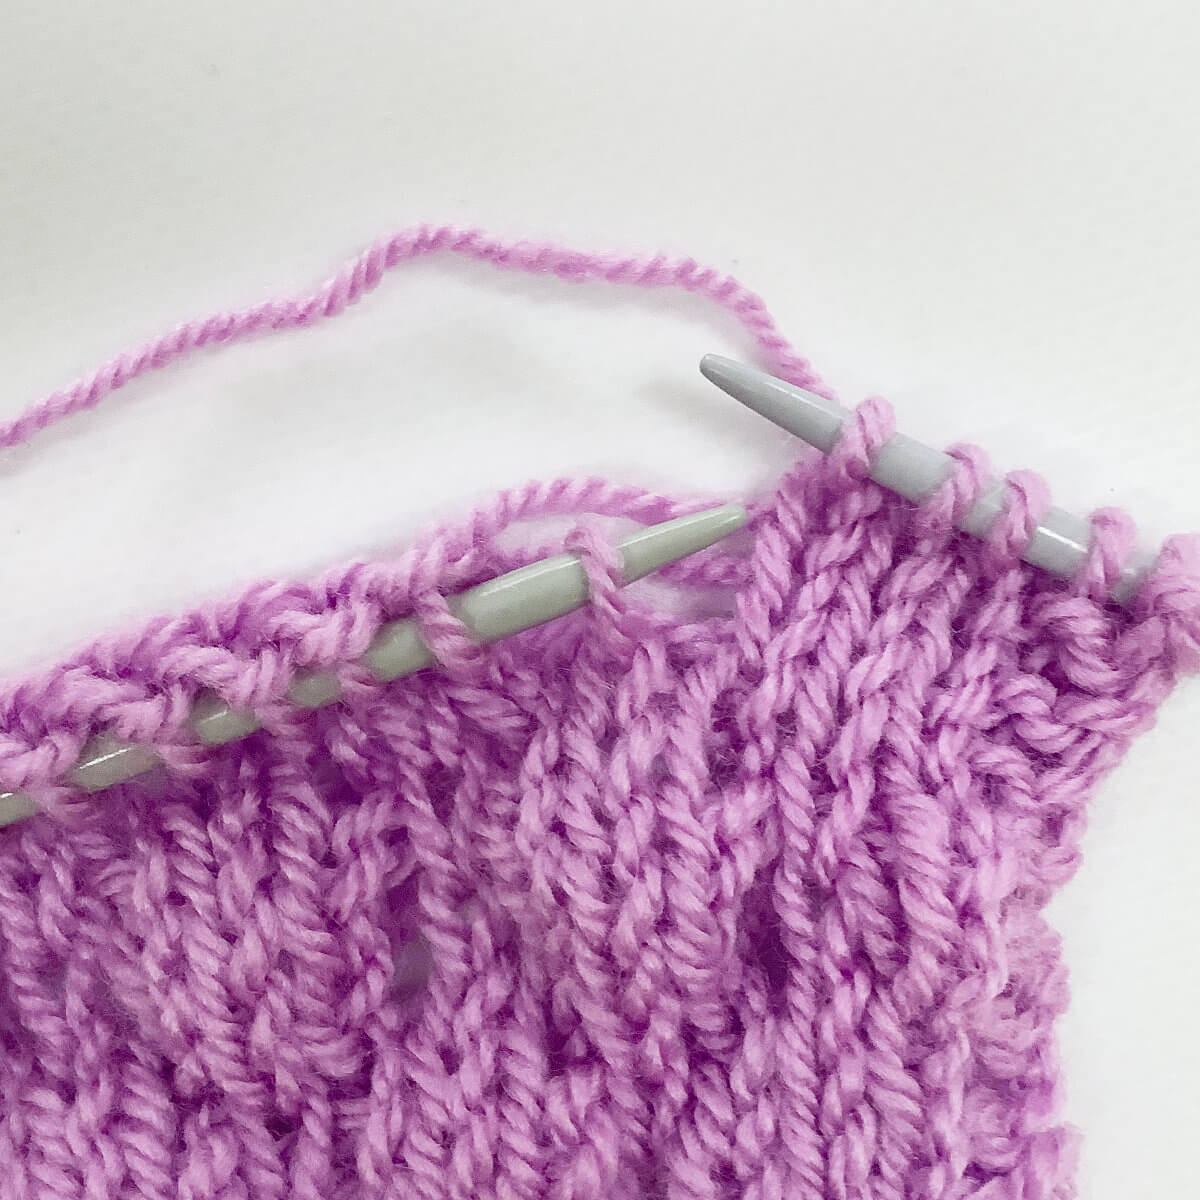
You may want to hold the yarn on the right-hand needle to make sure it doesn’t slip off, until you’ve worked the next stitch. Once the next stitch is worked, the yo will be fixed in place on the knitting needle.
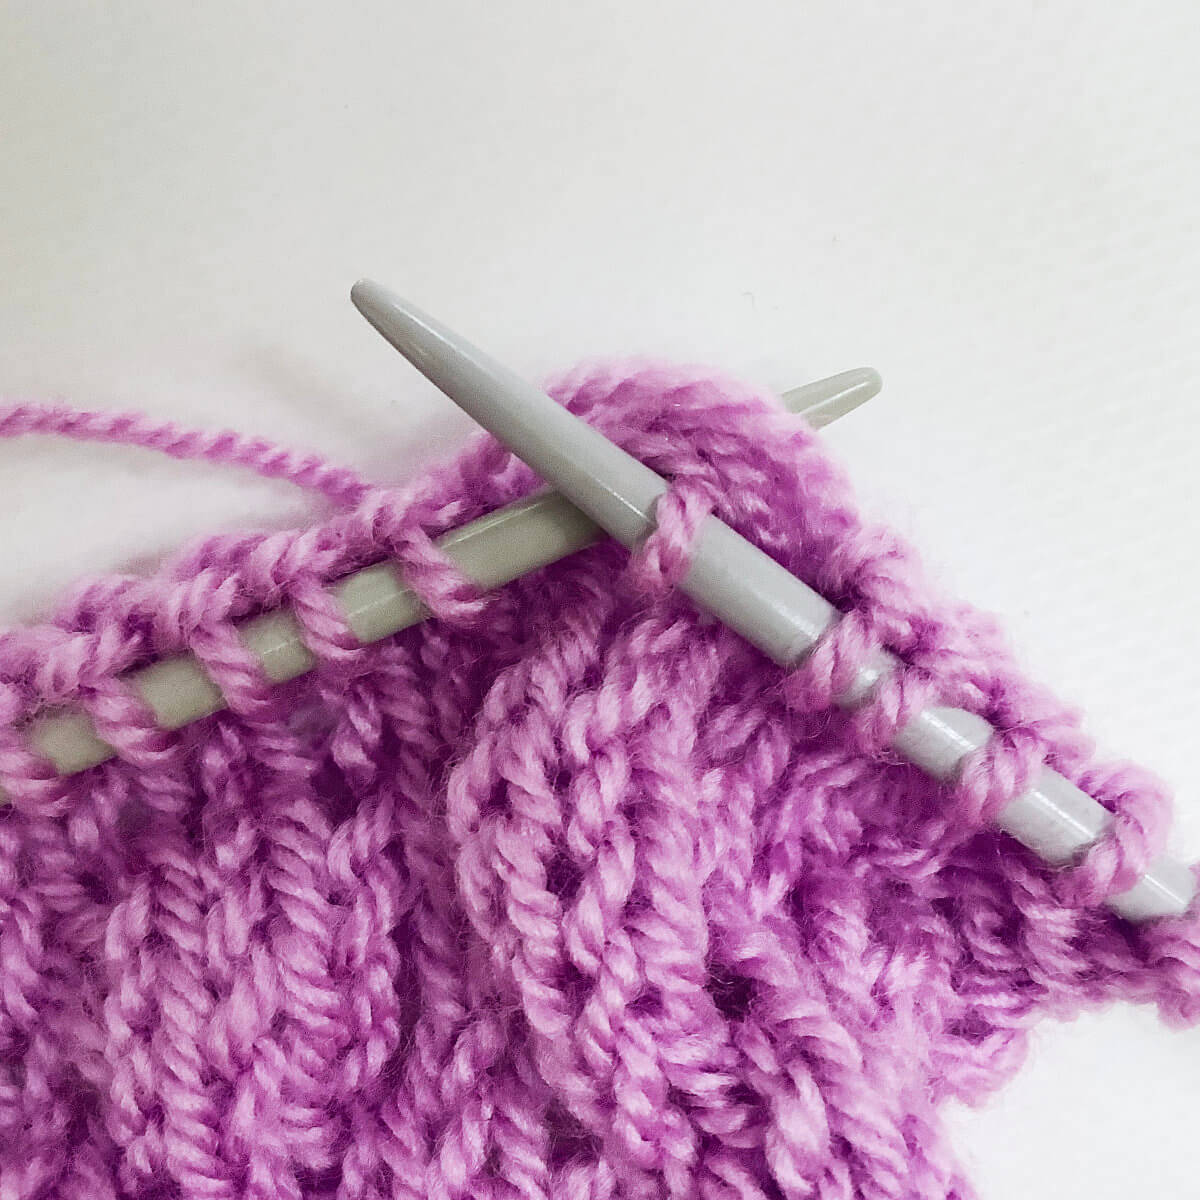
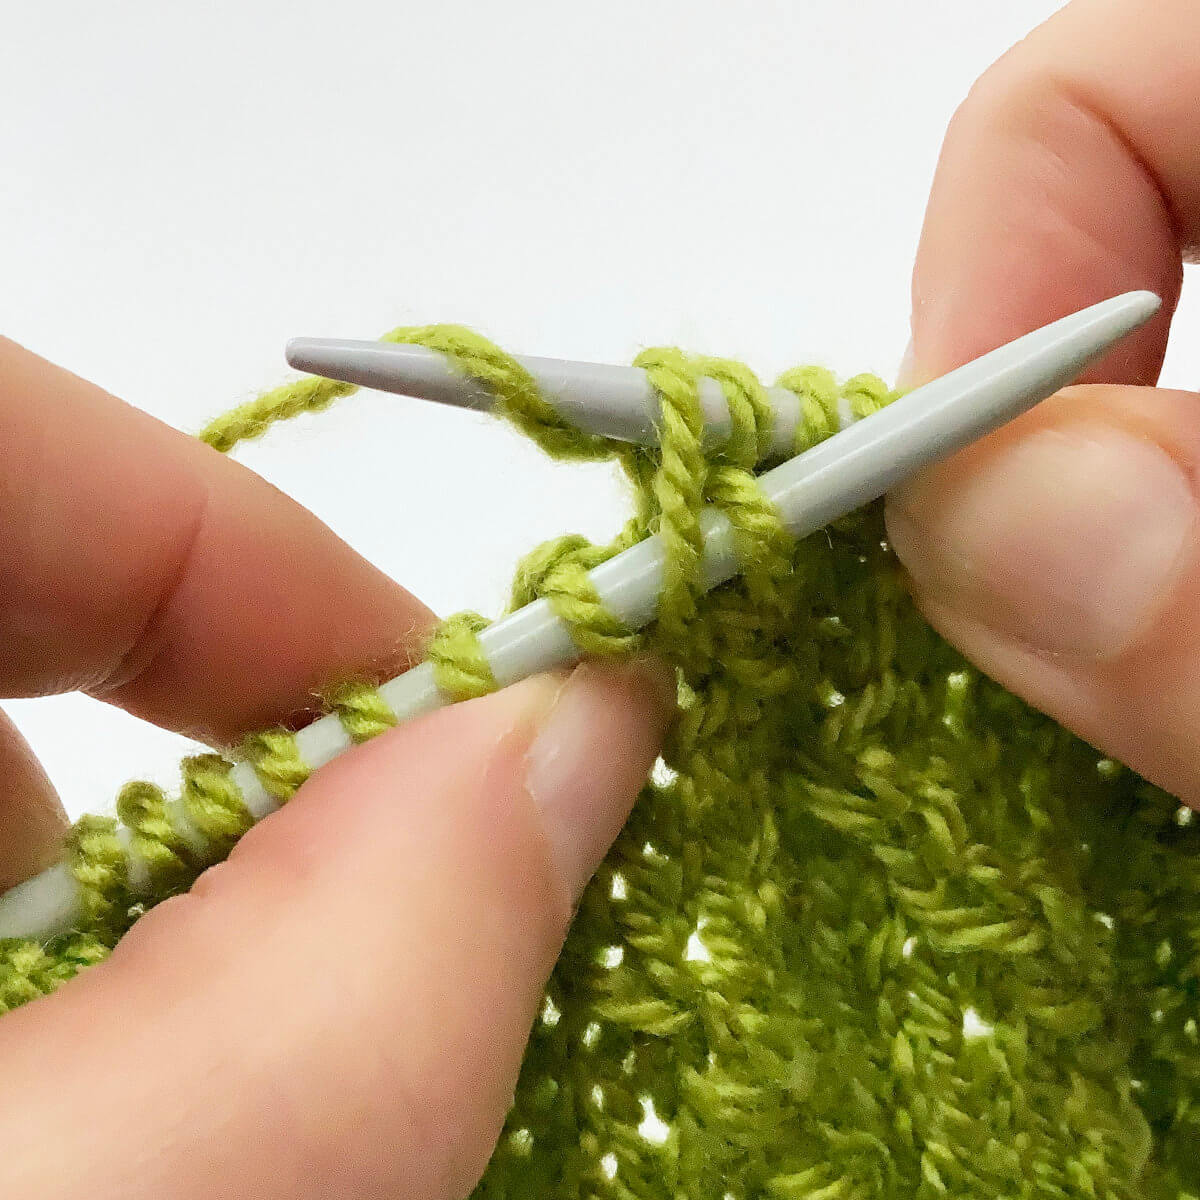
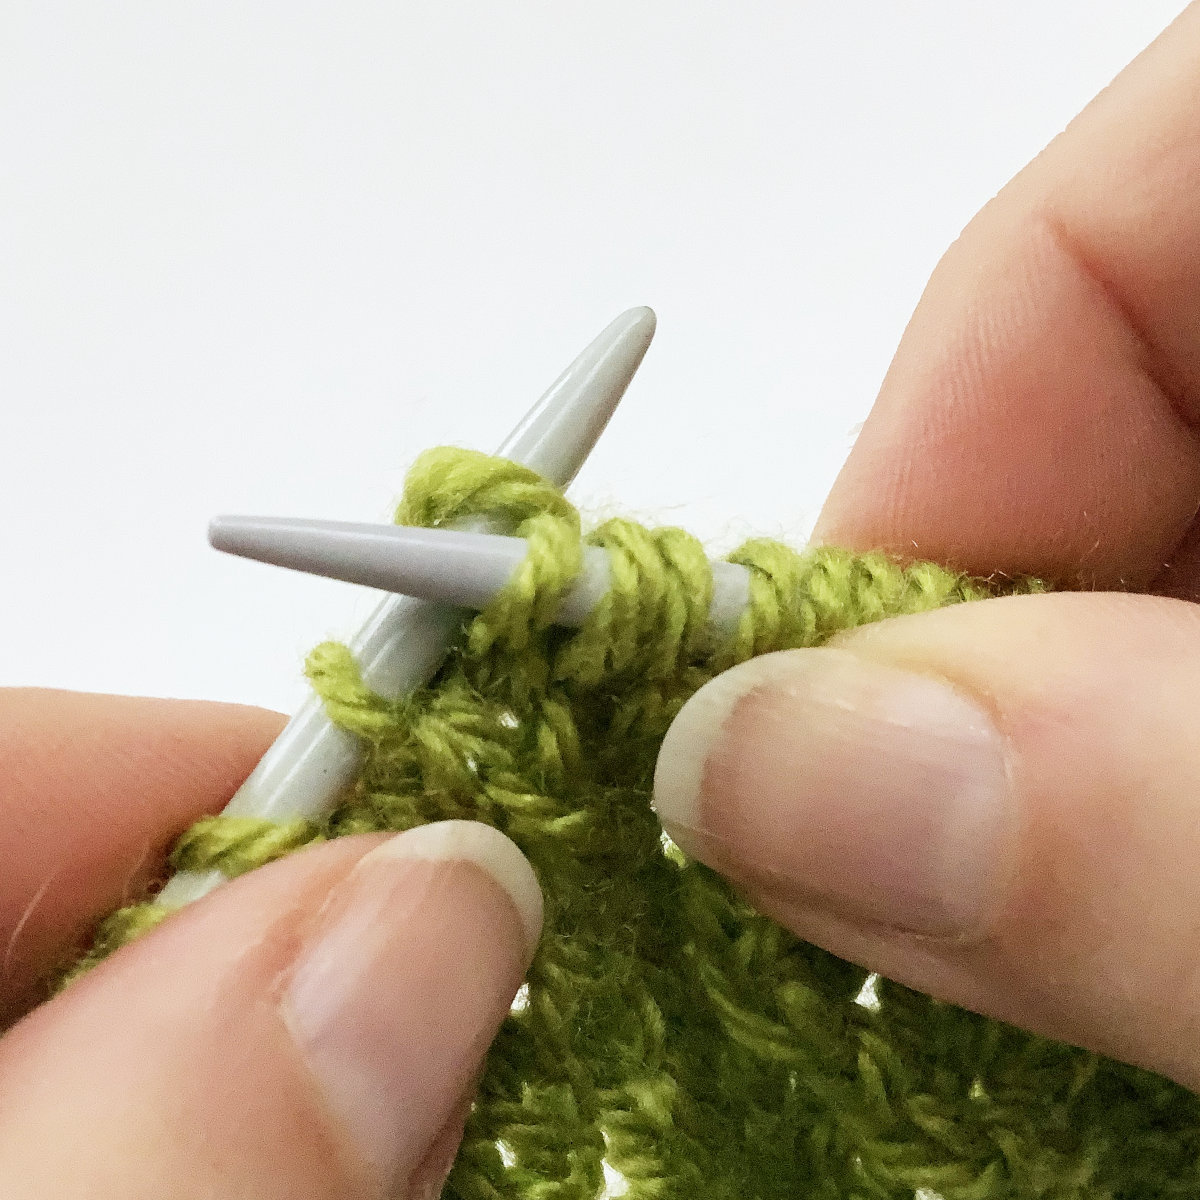
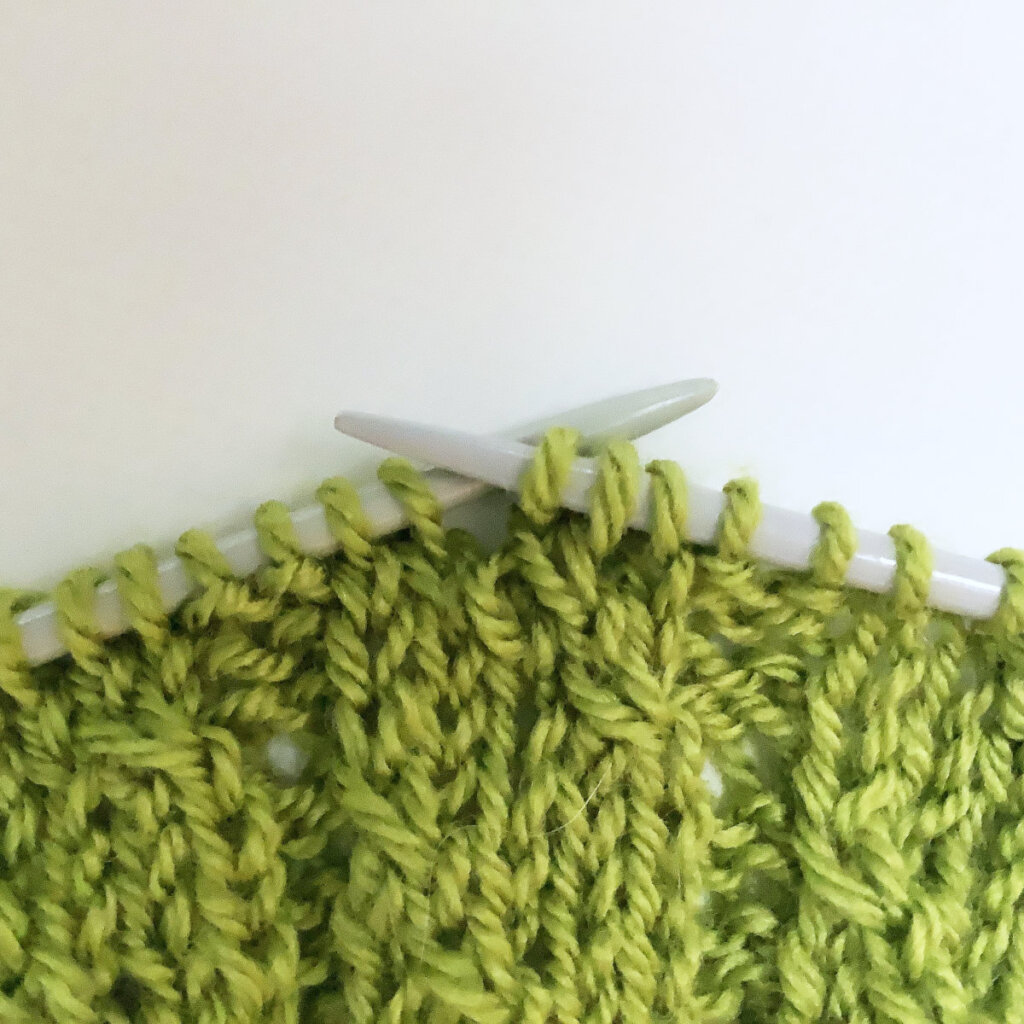
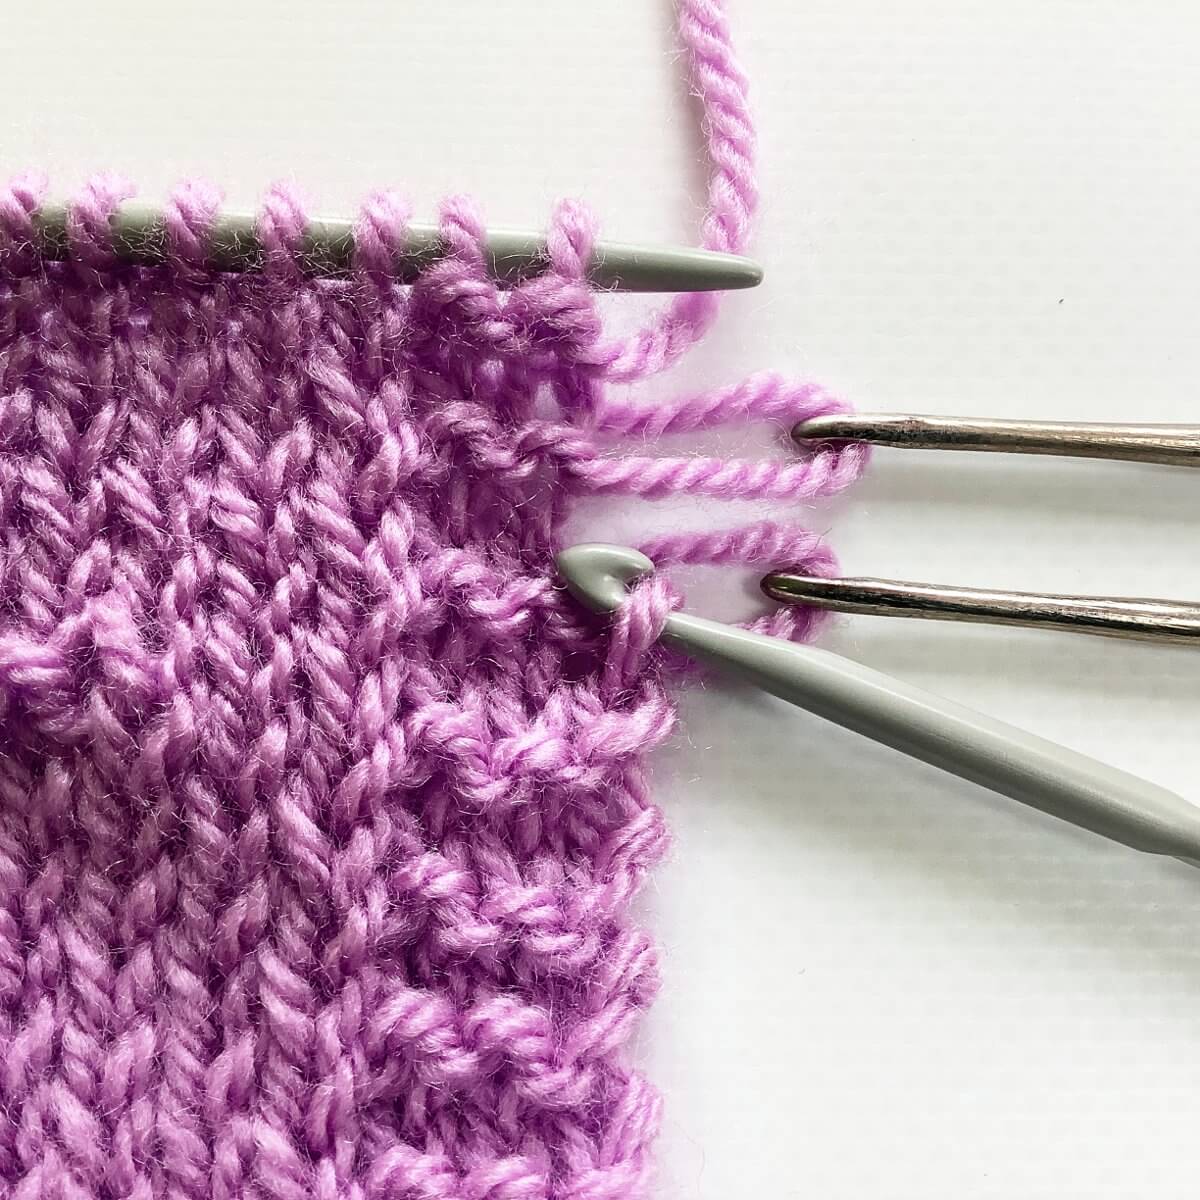
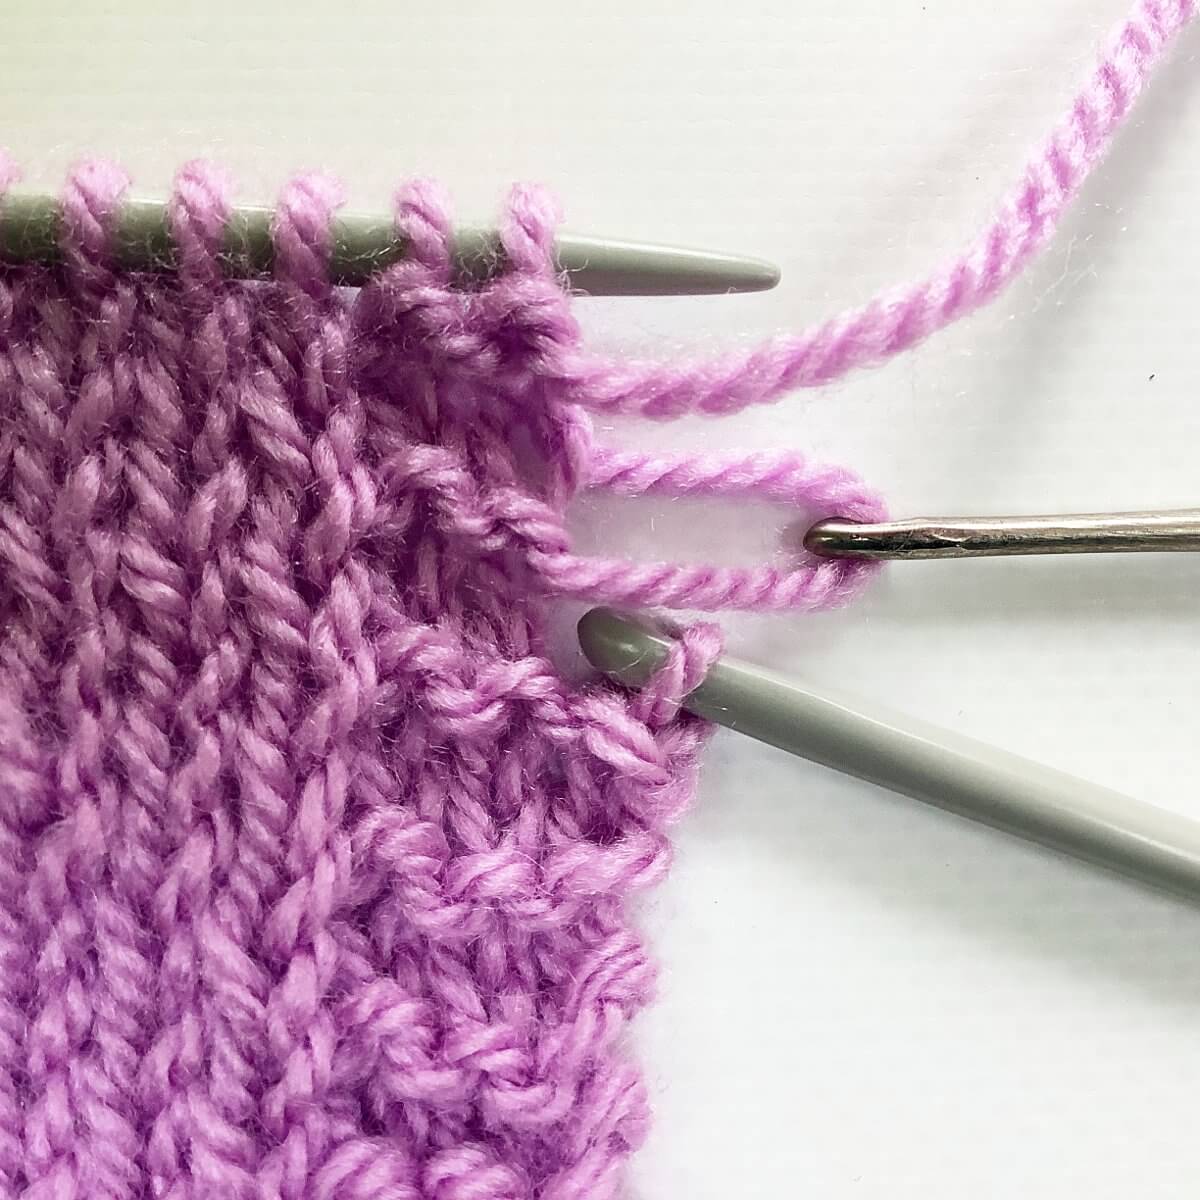
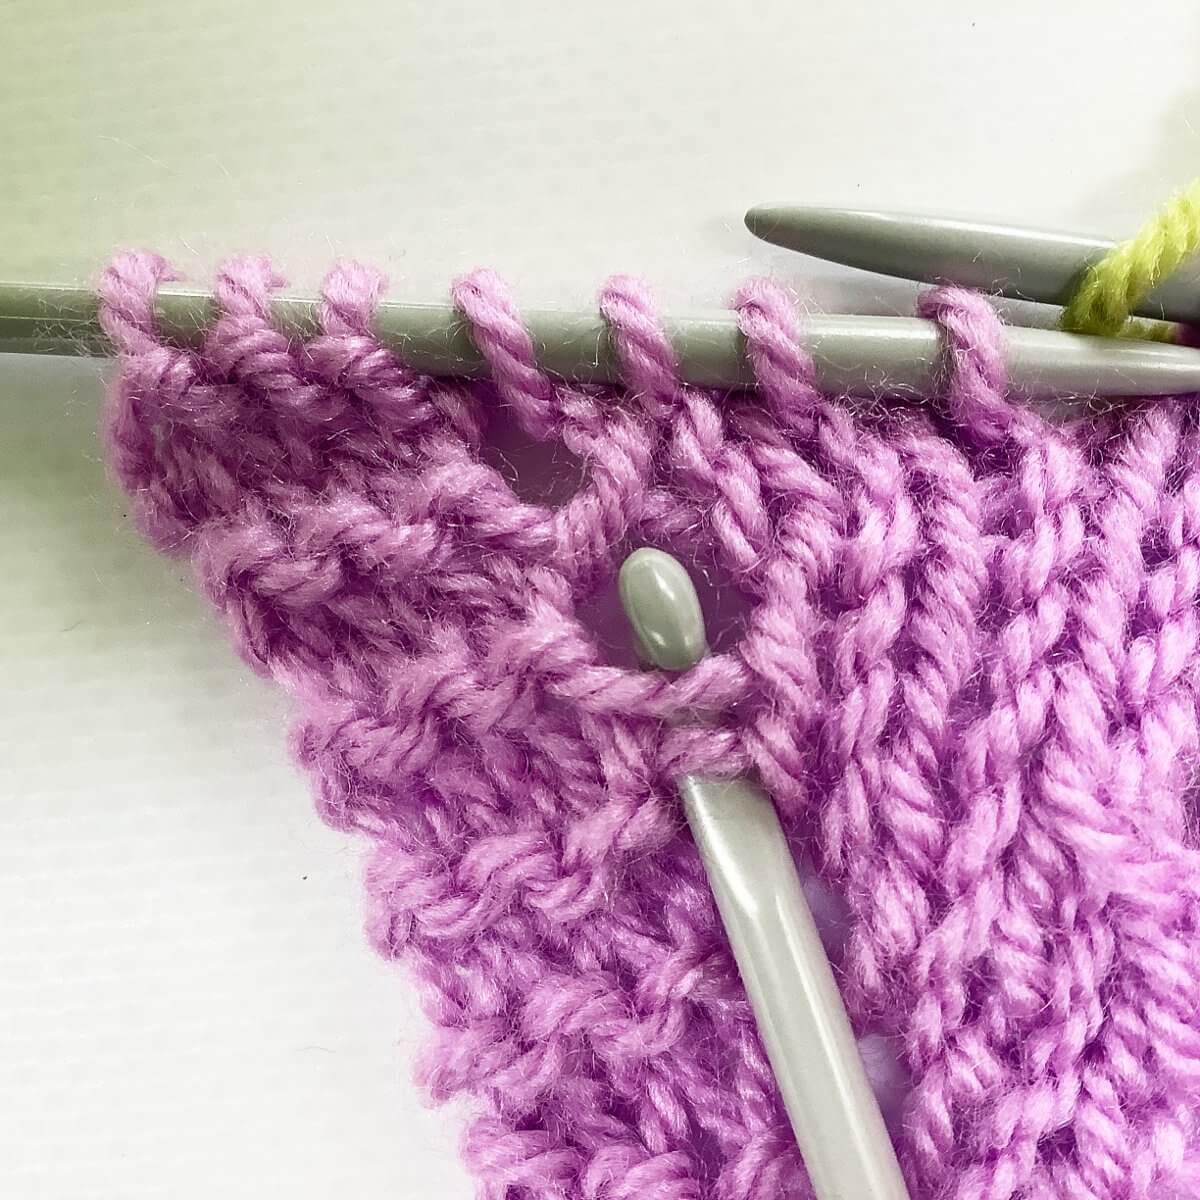
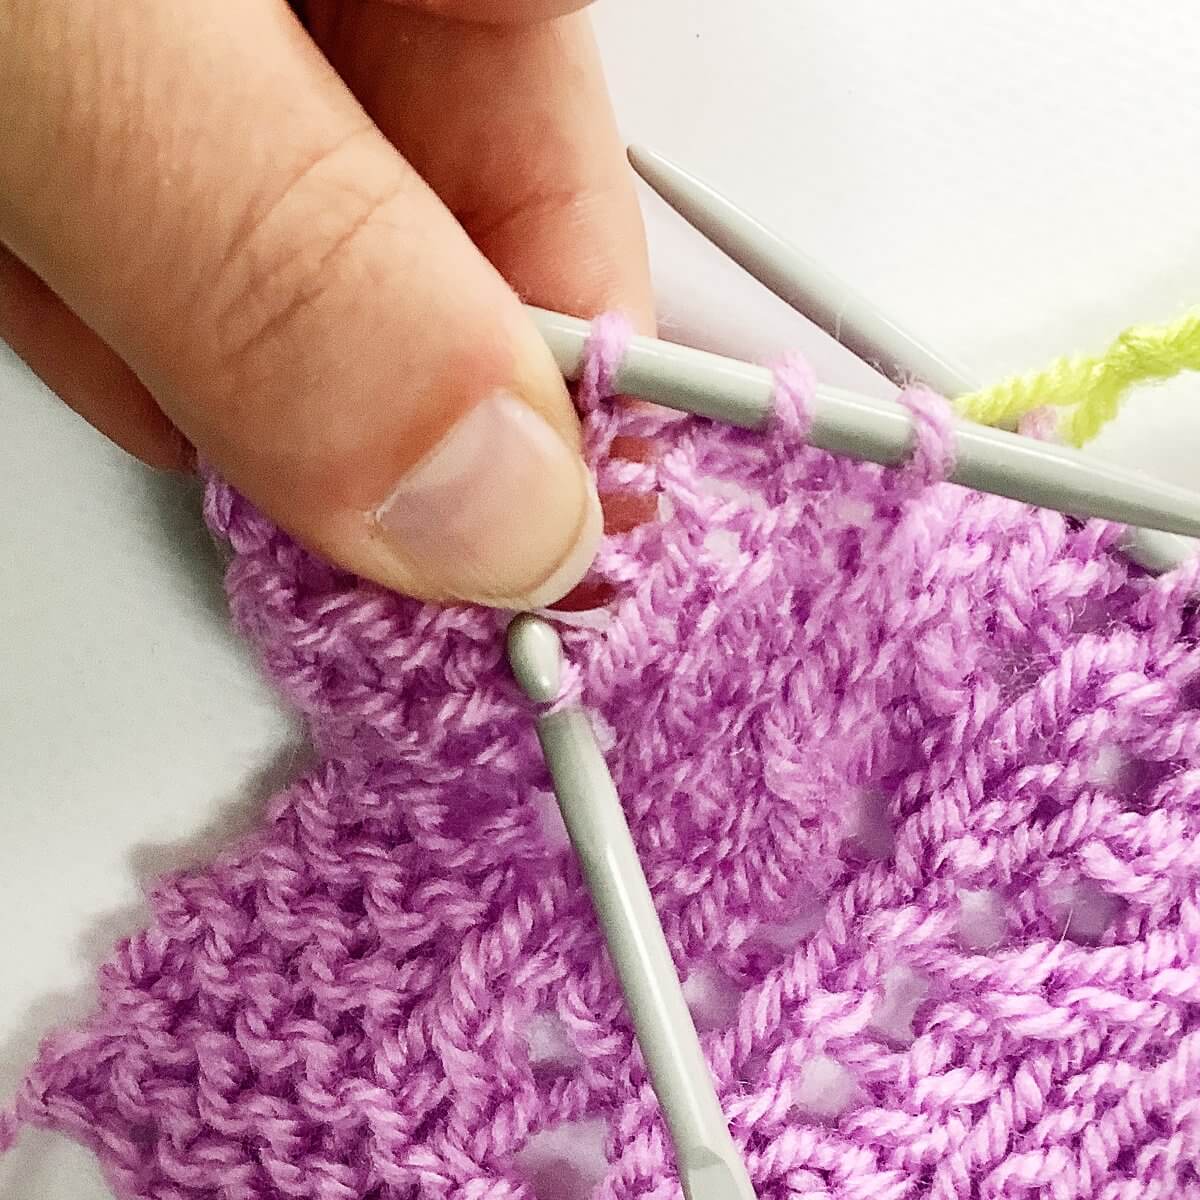
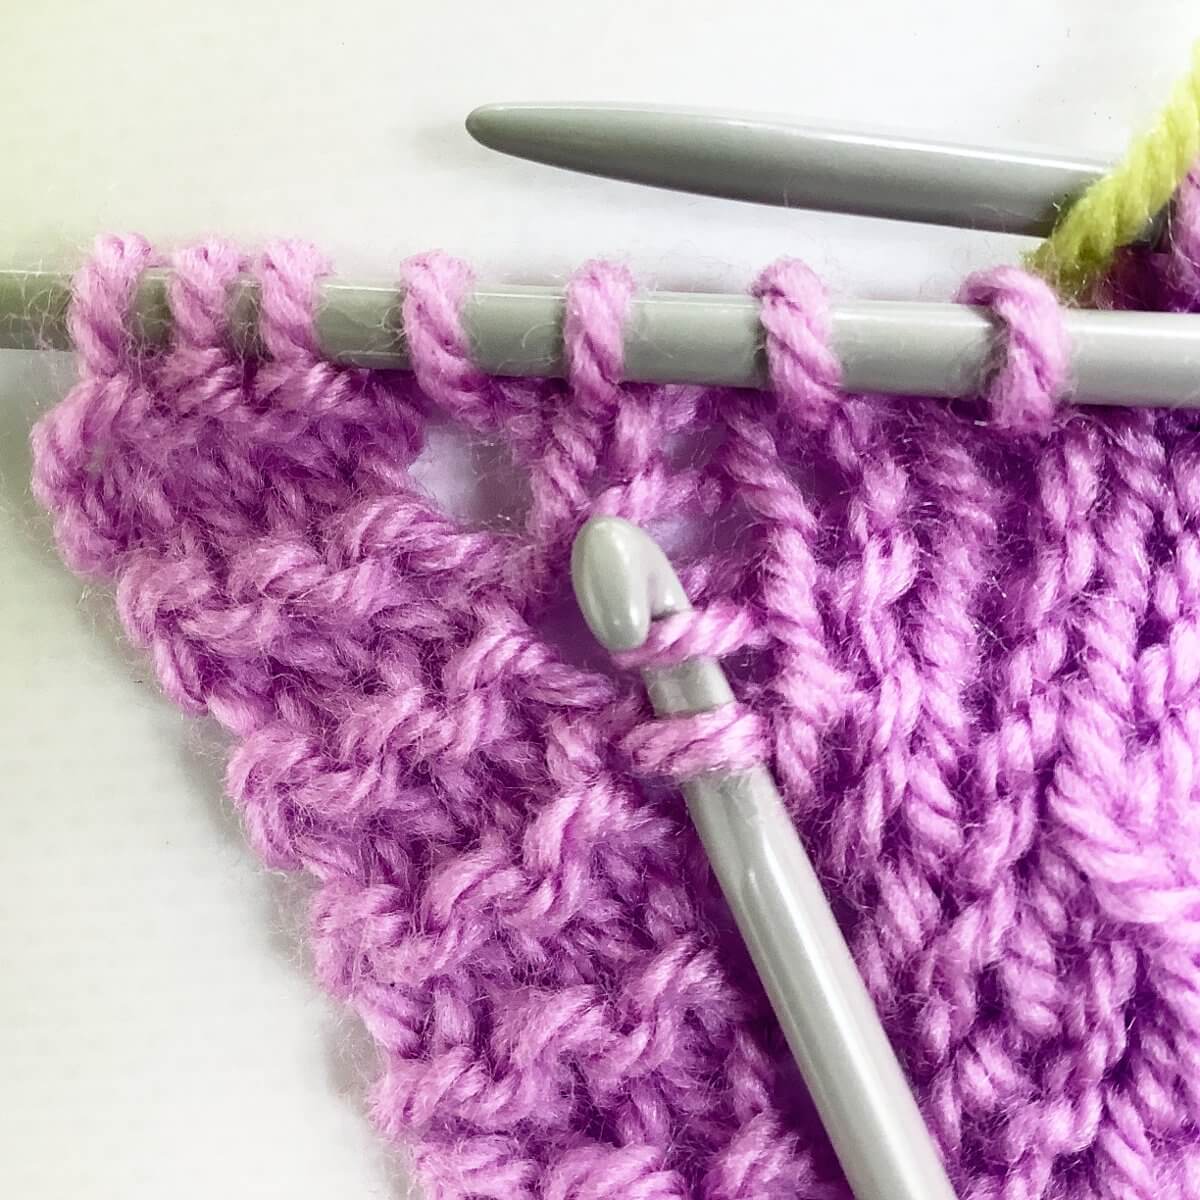
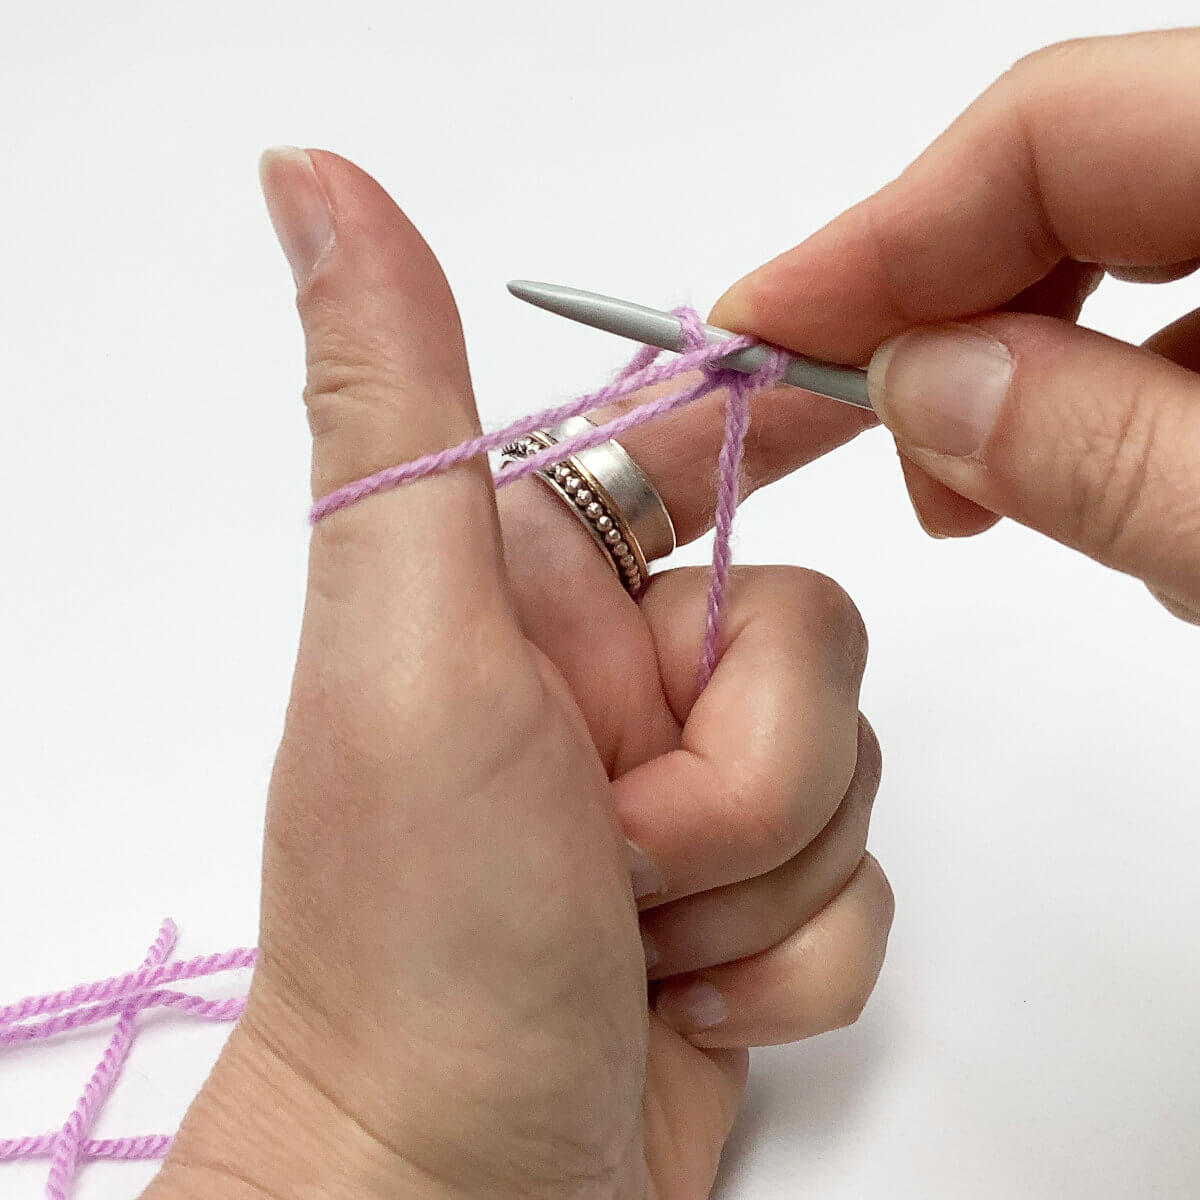
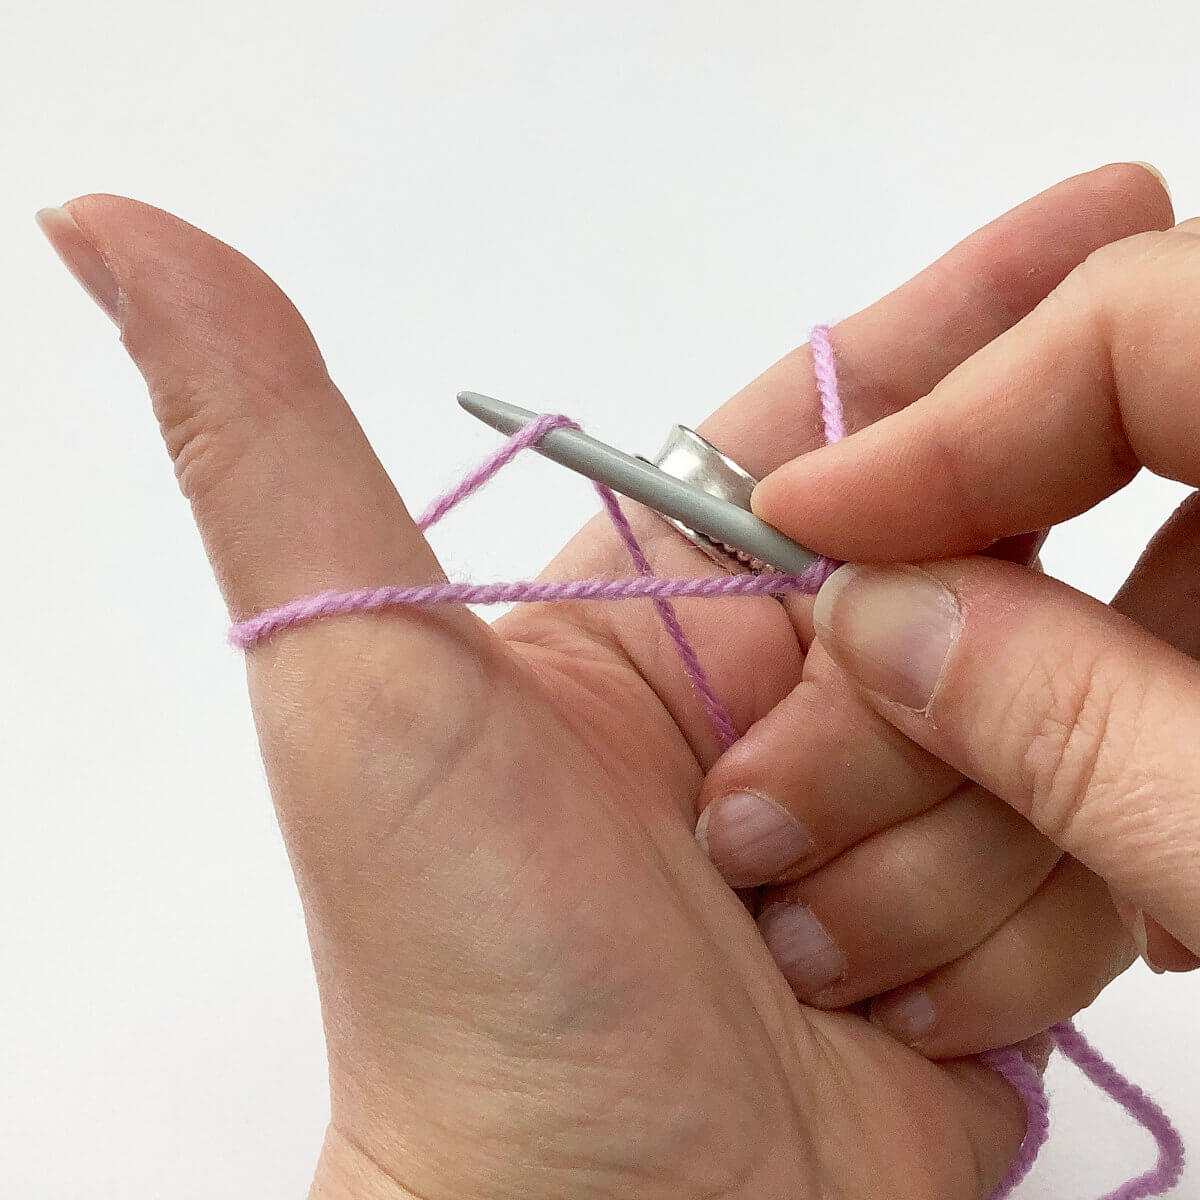
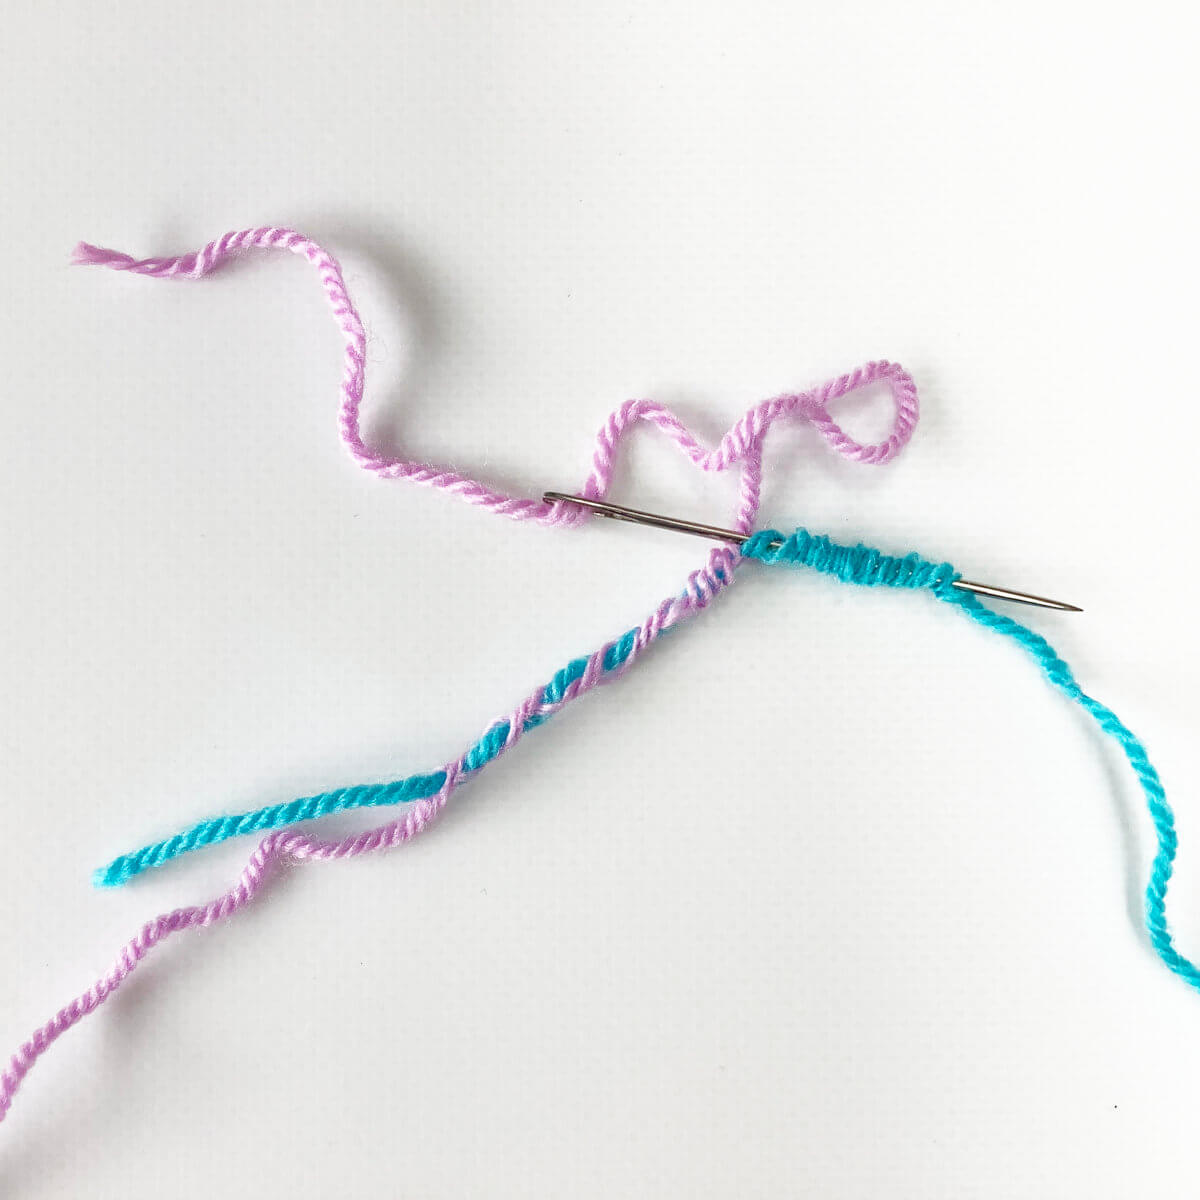
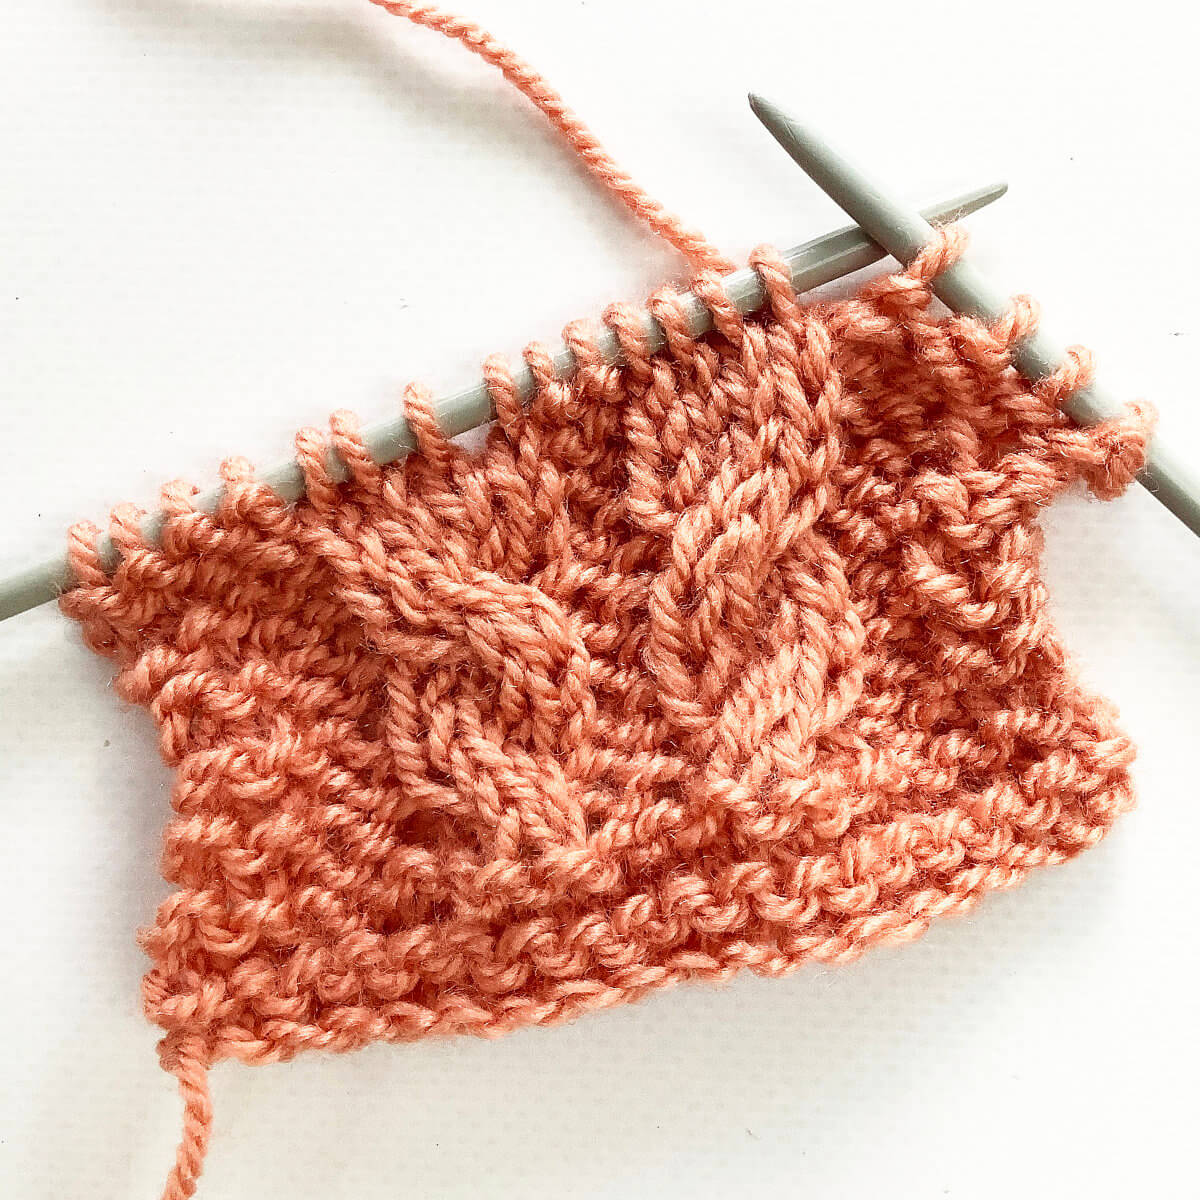
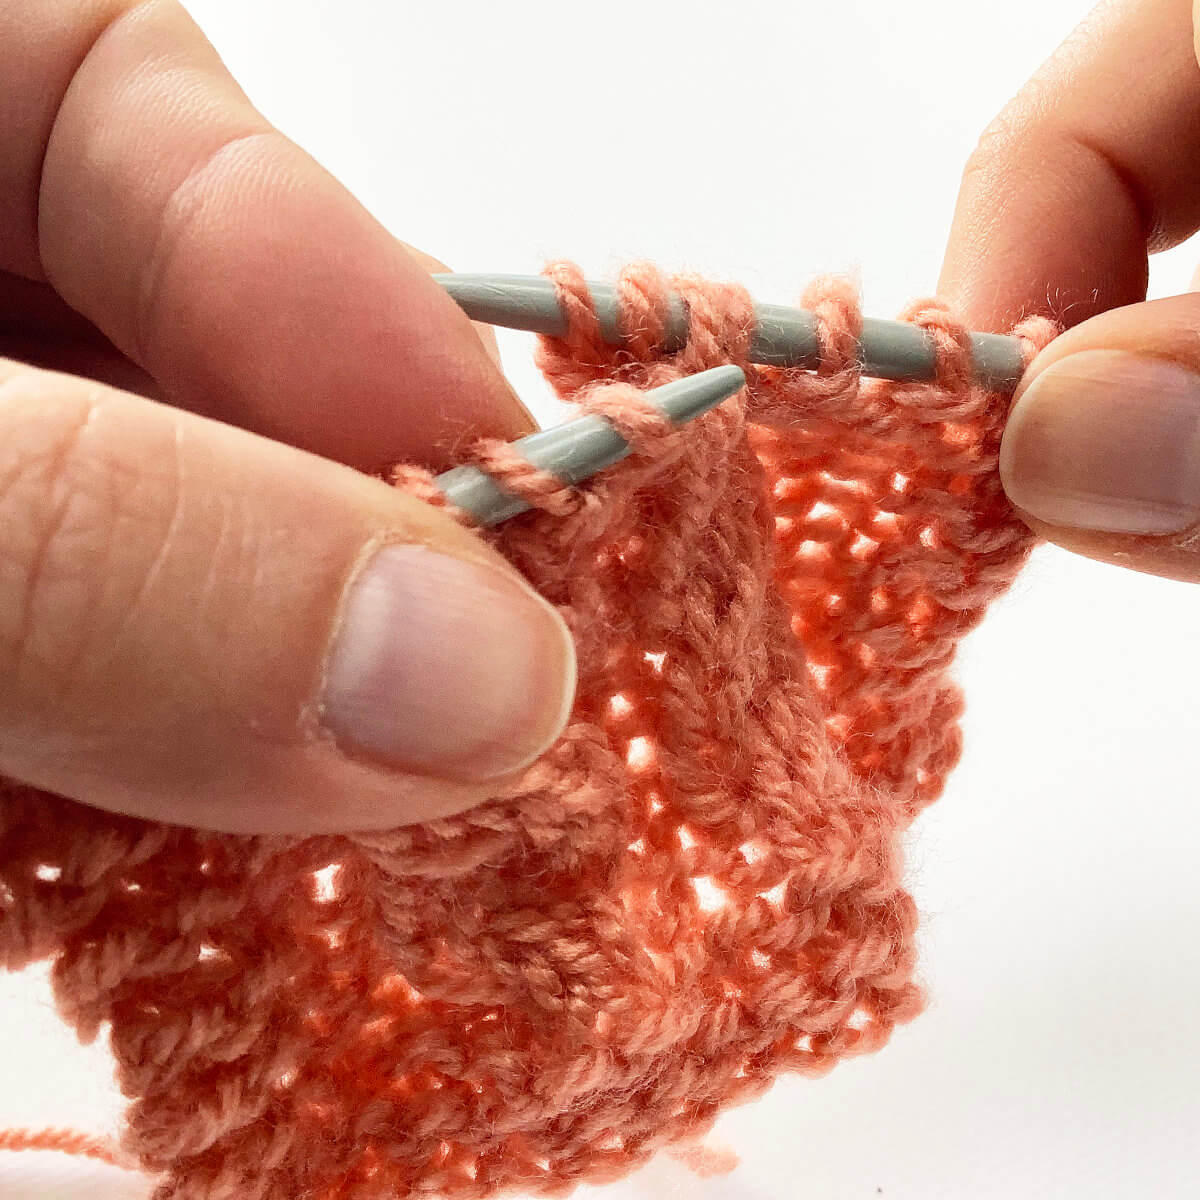
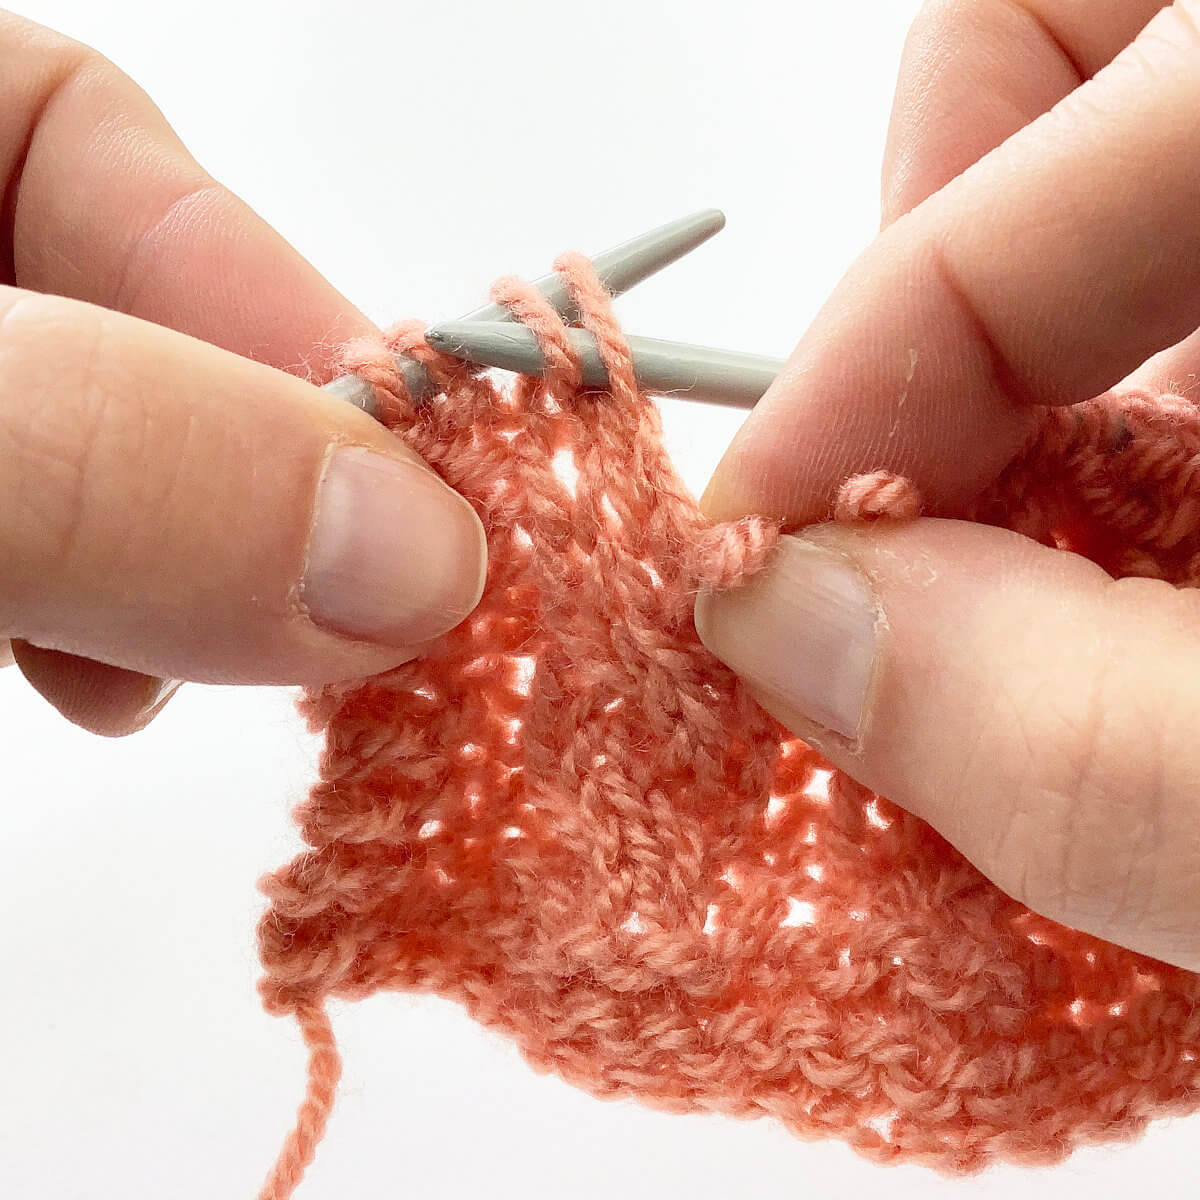
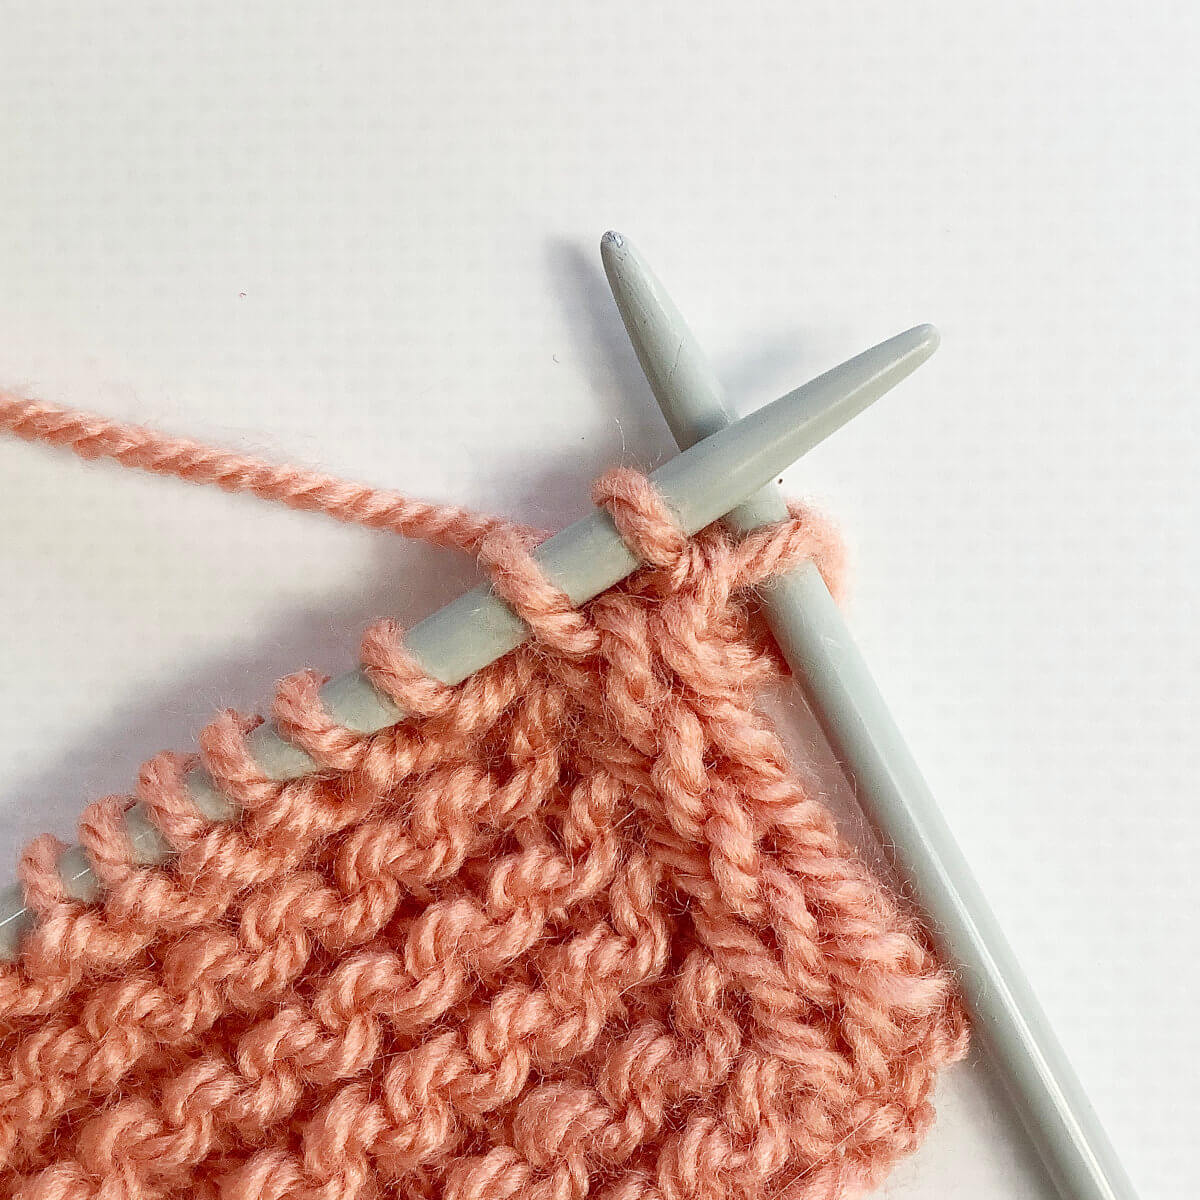
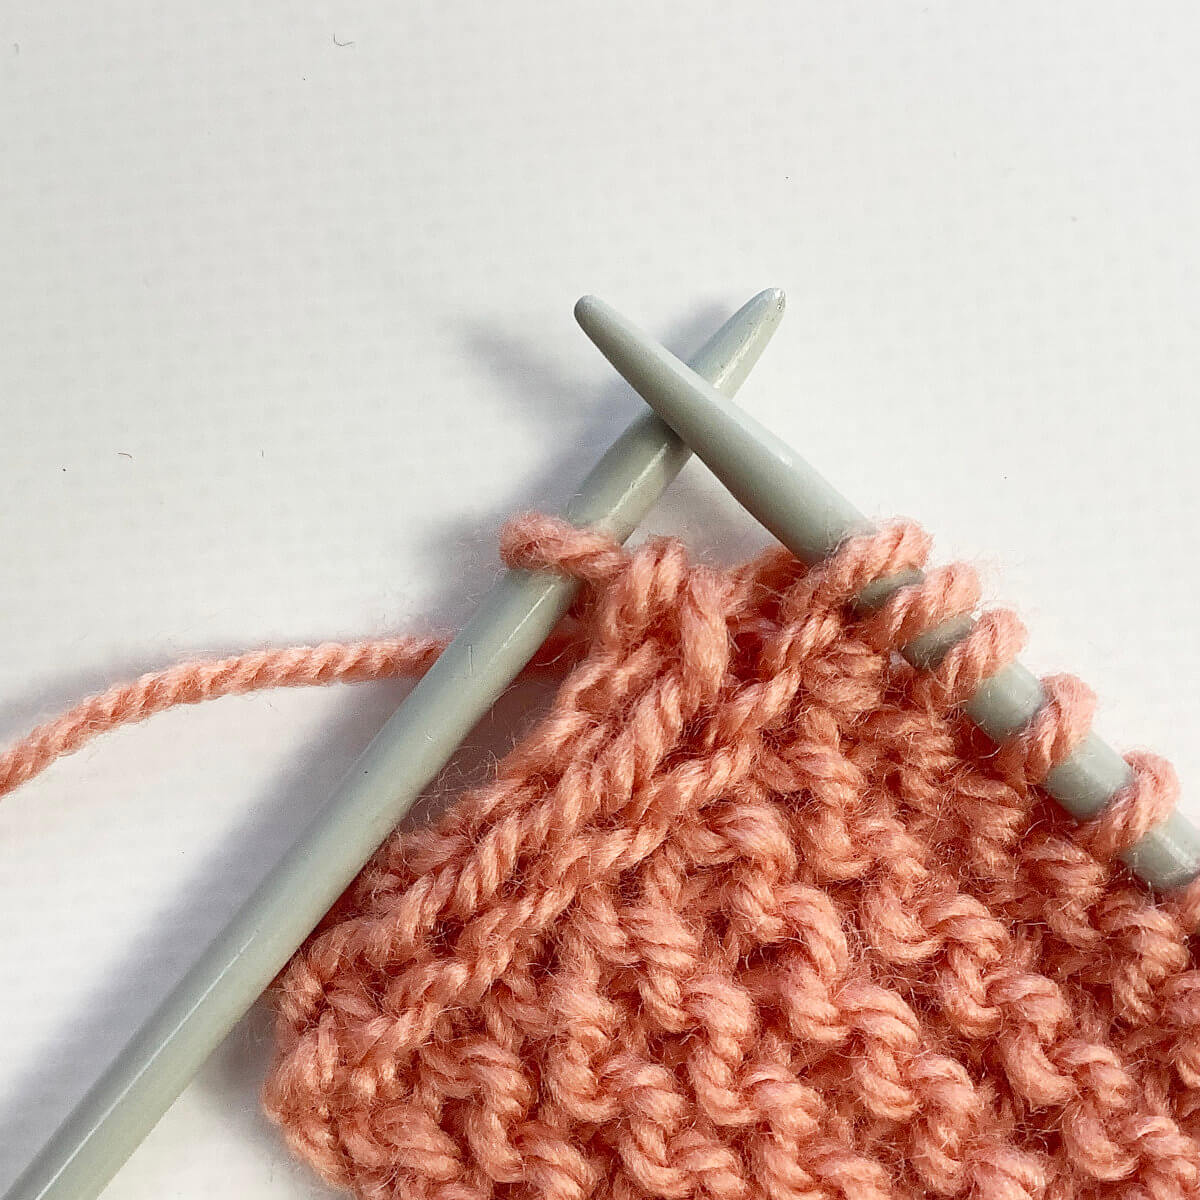
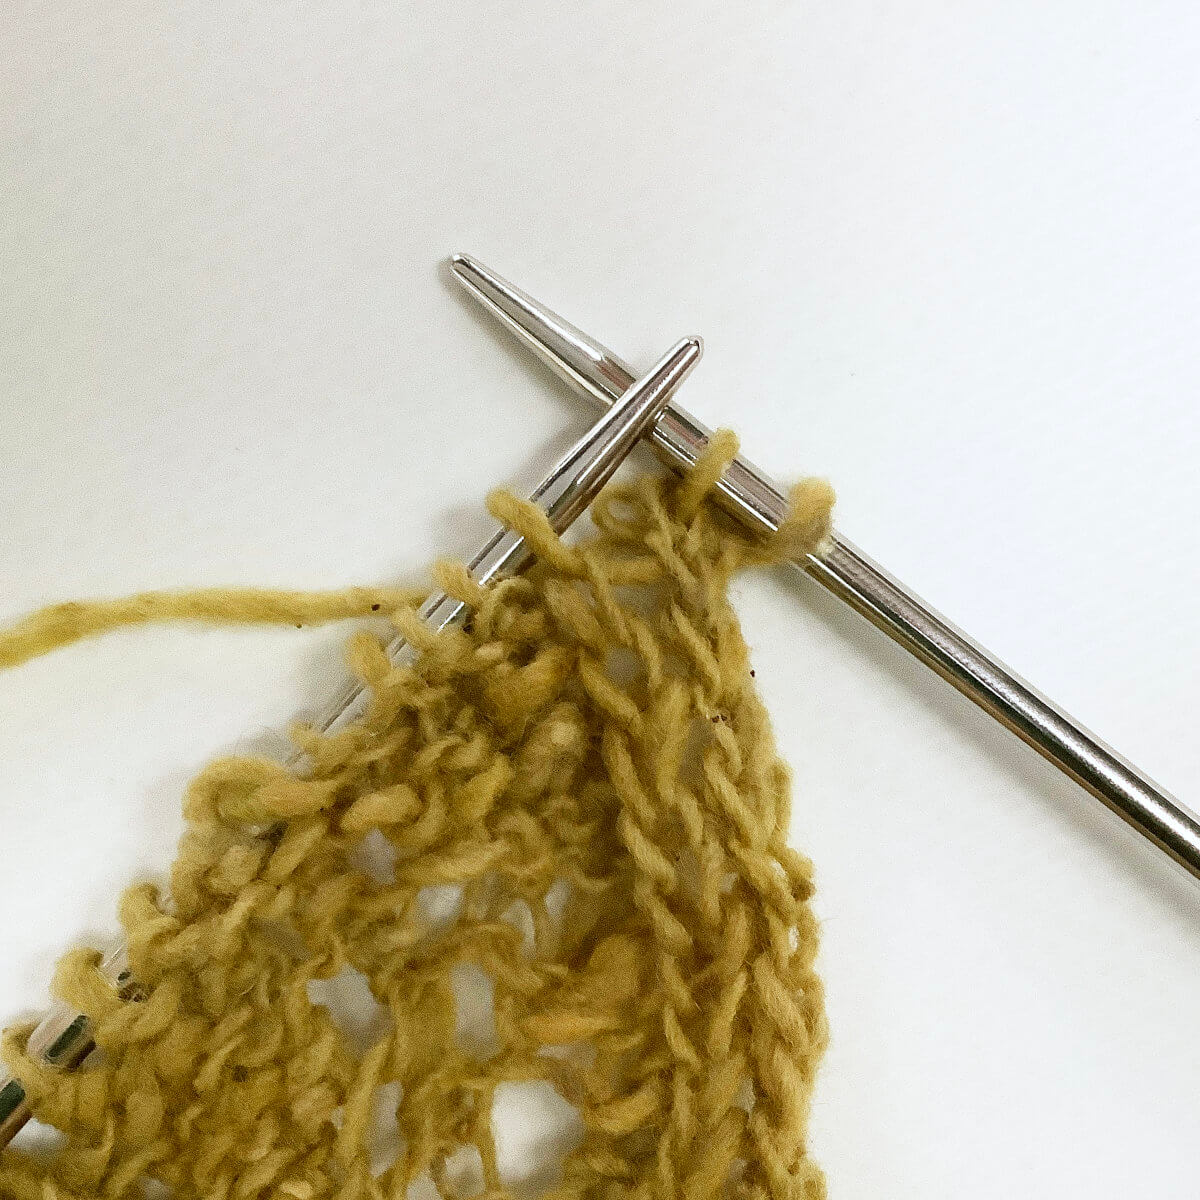
- Below, you can see the result after I’ve worked a k2tog over the first 2 stitches on the left-hand needle.
As you can see, that yarn over isn’t going anywhere now!
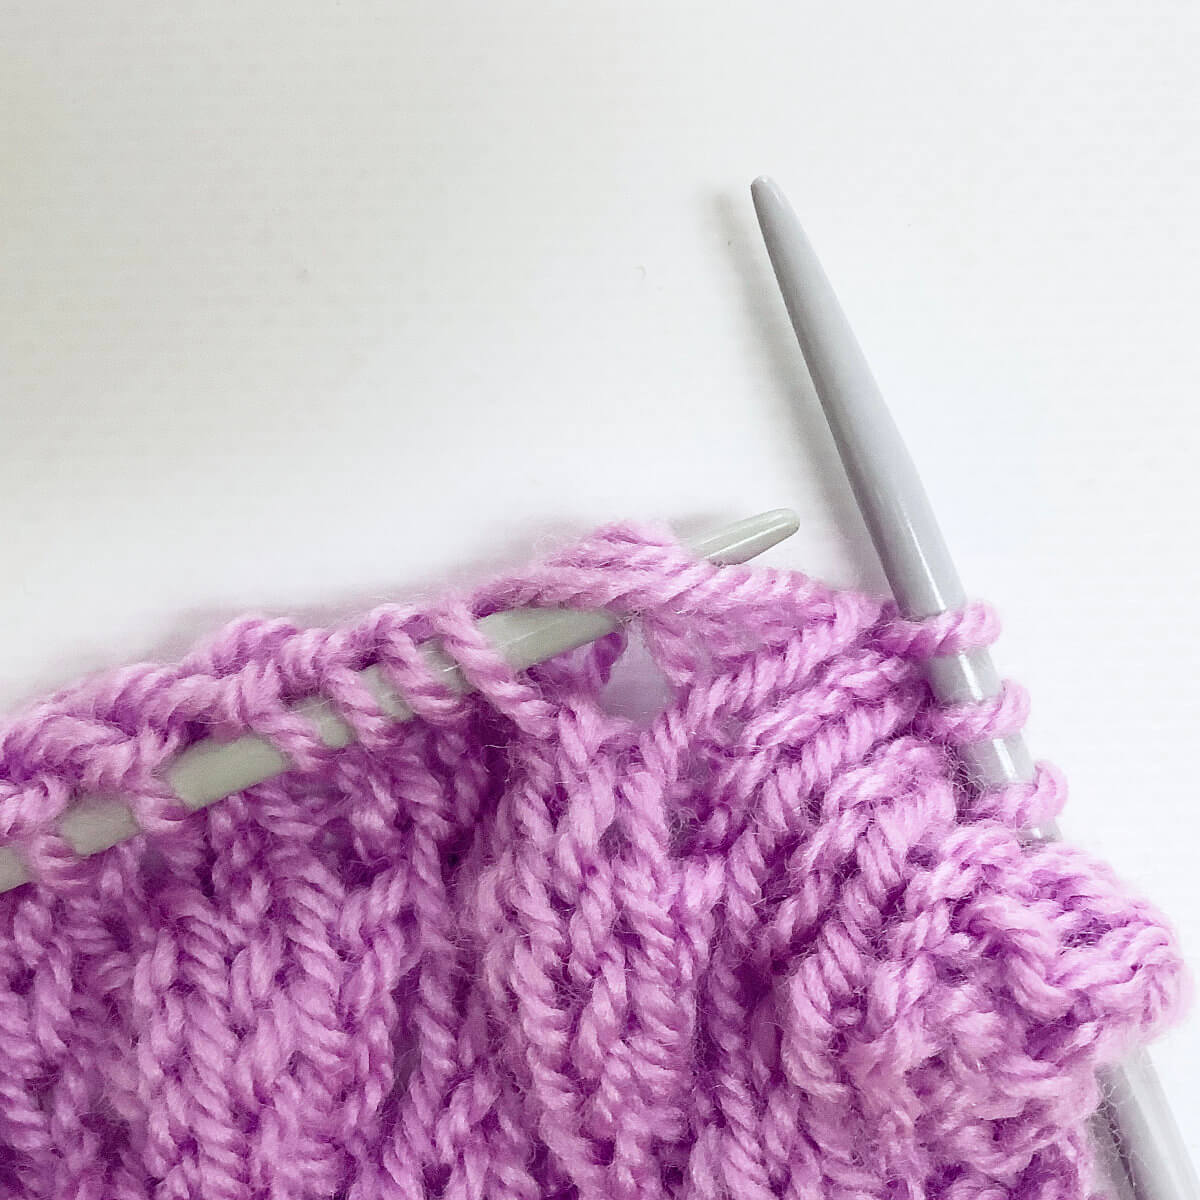
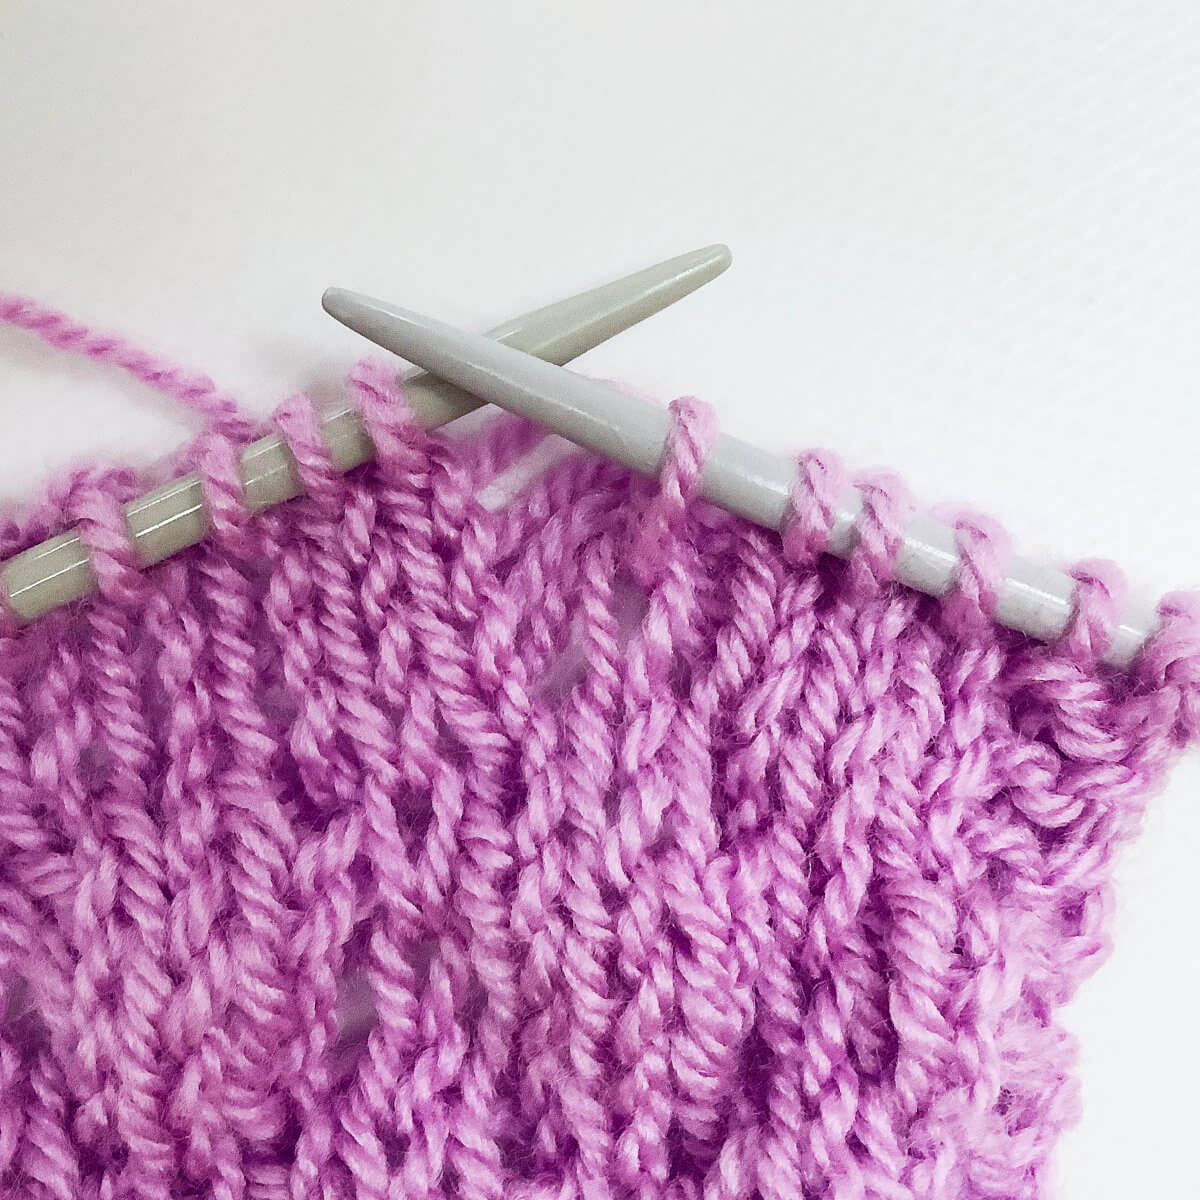
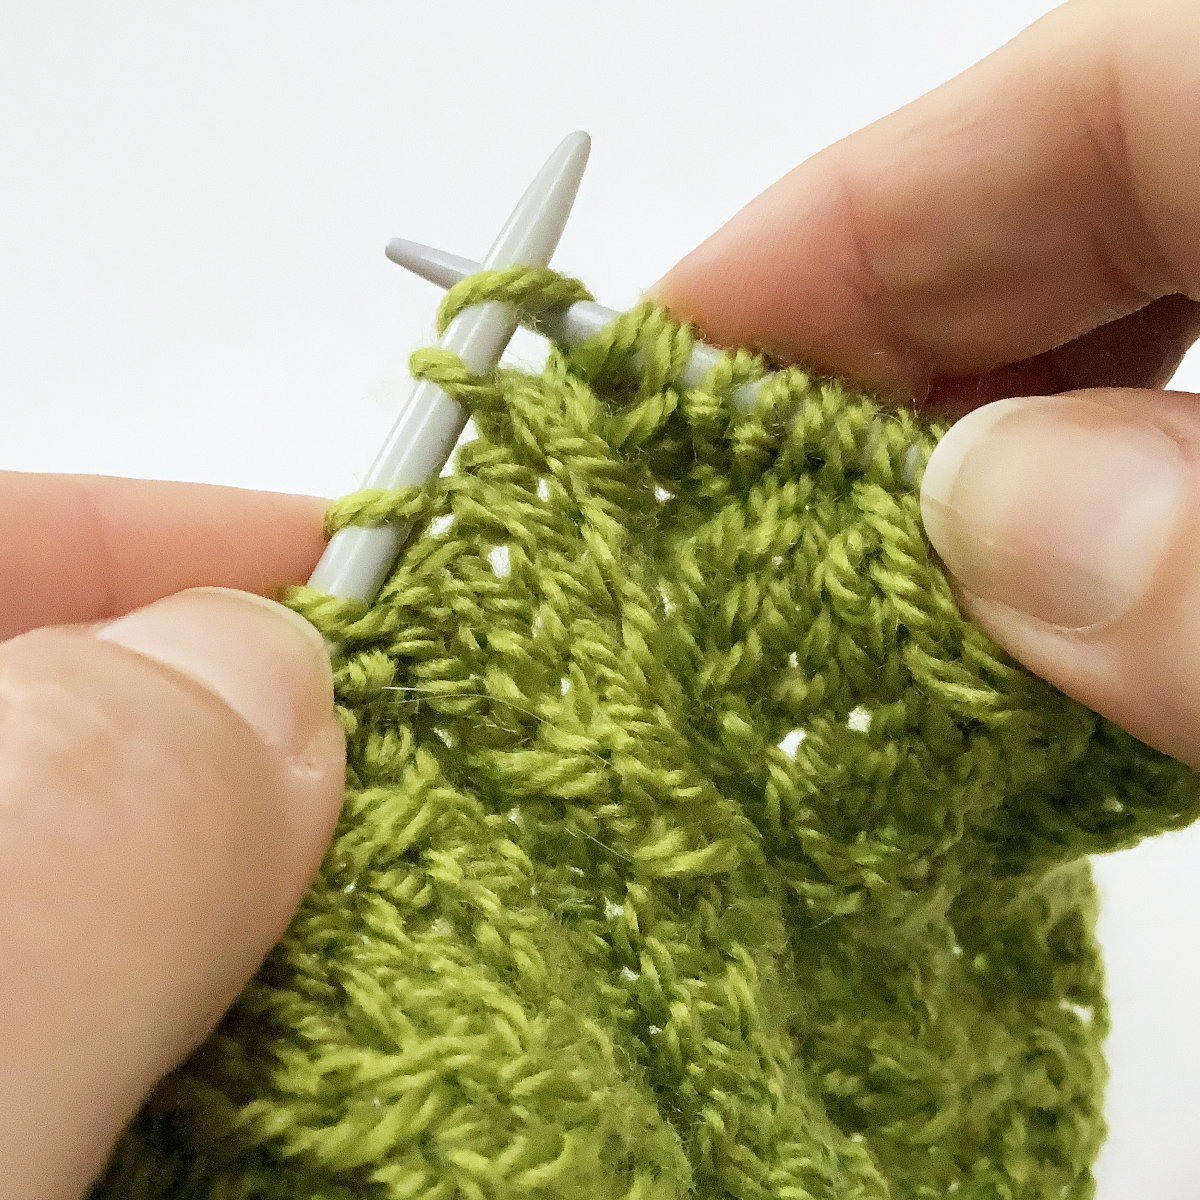
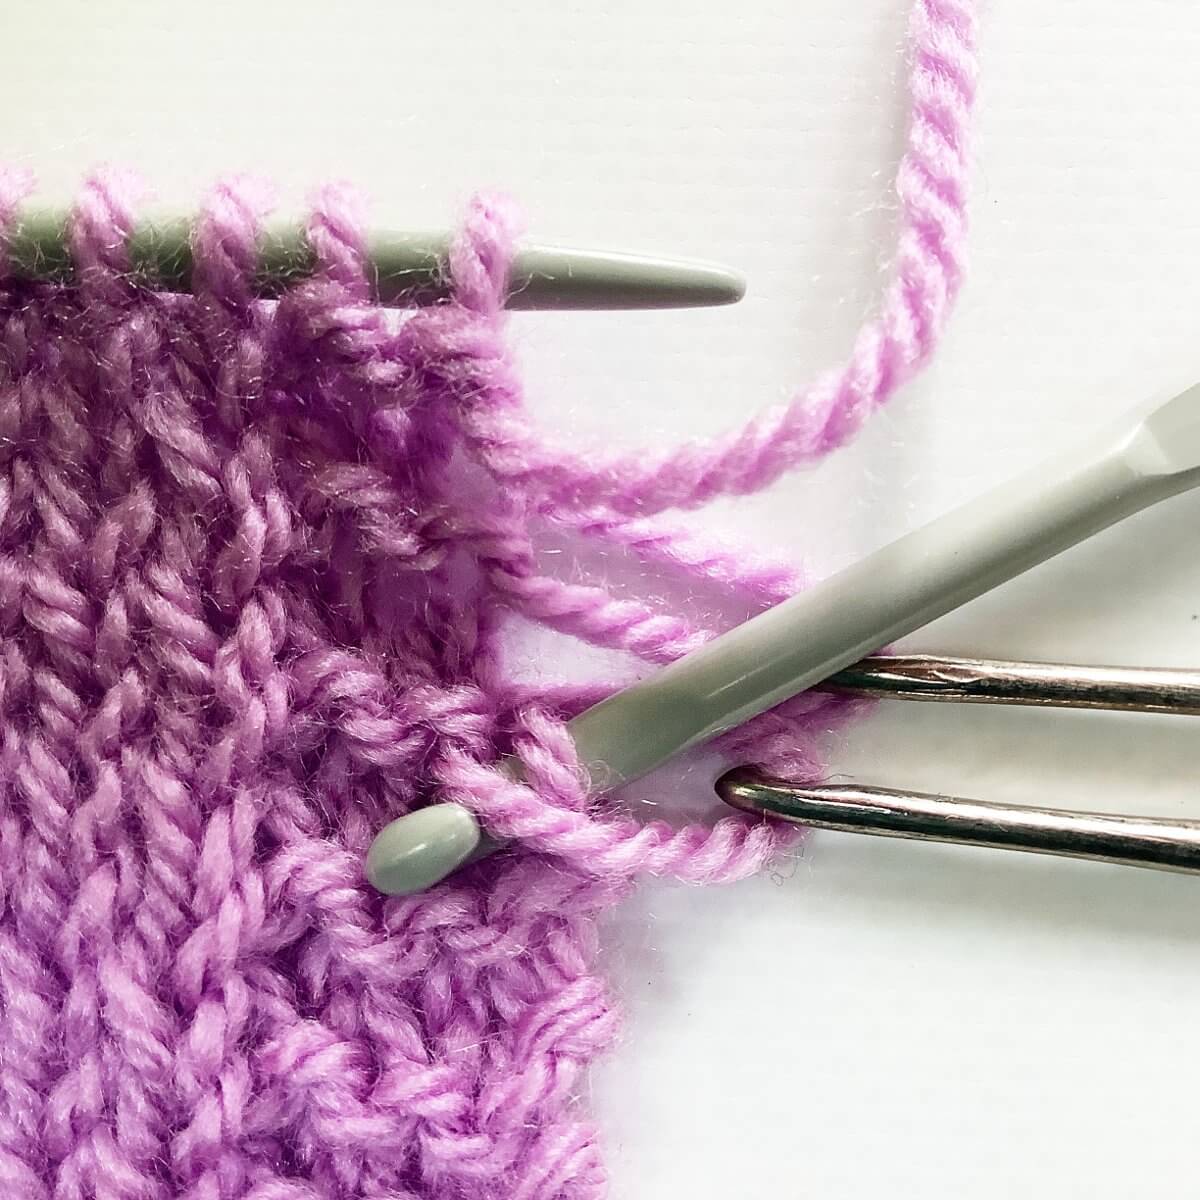
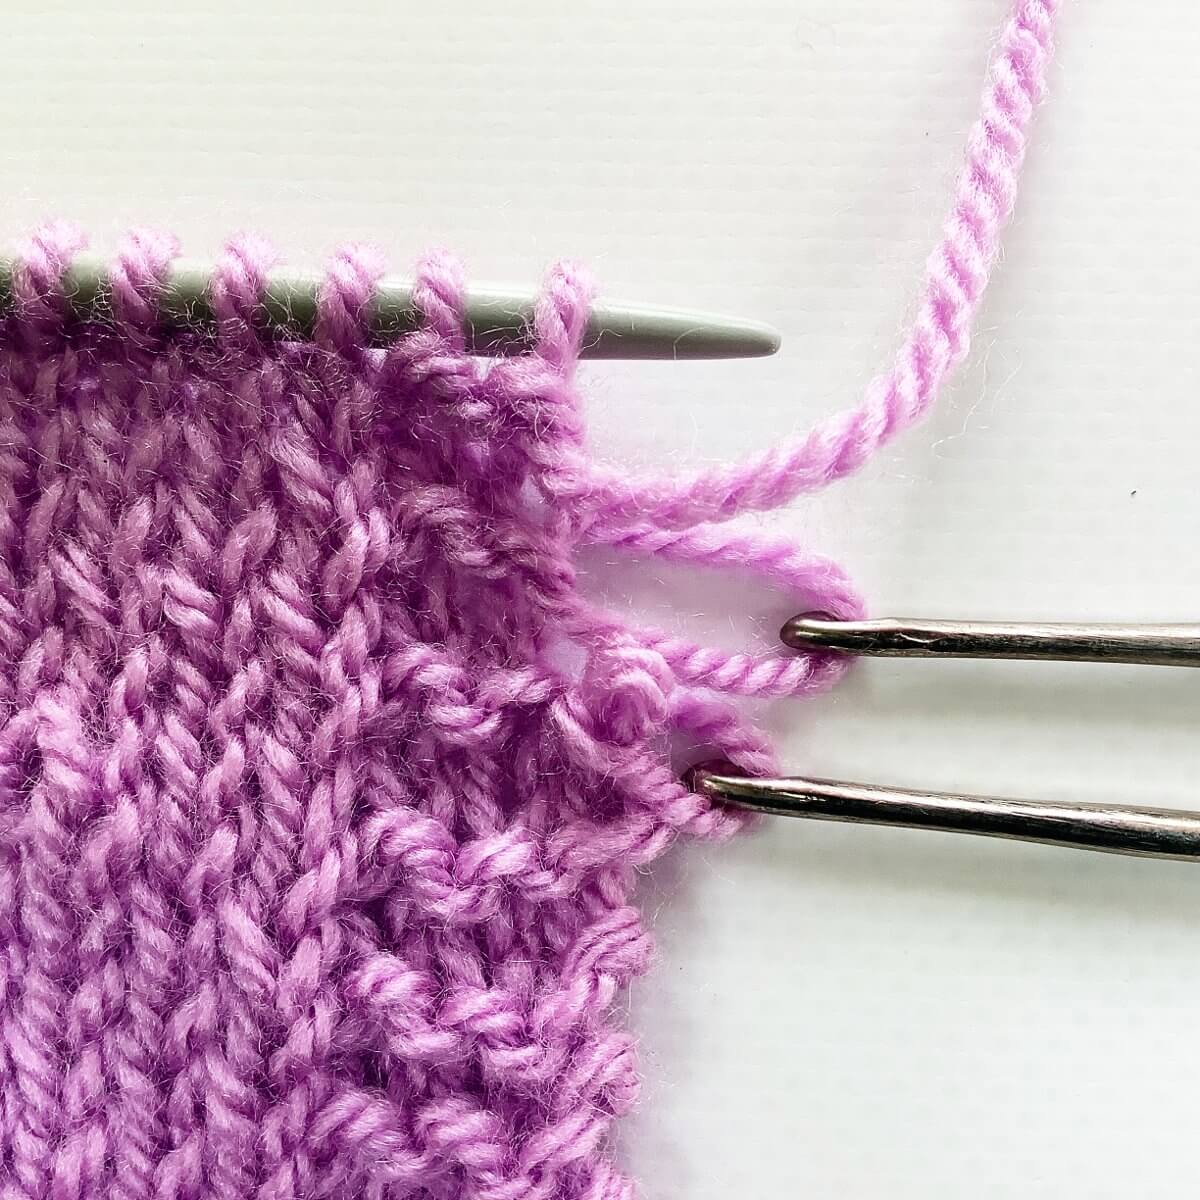
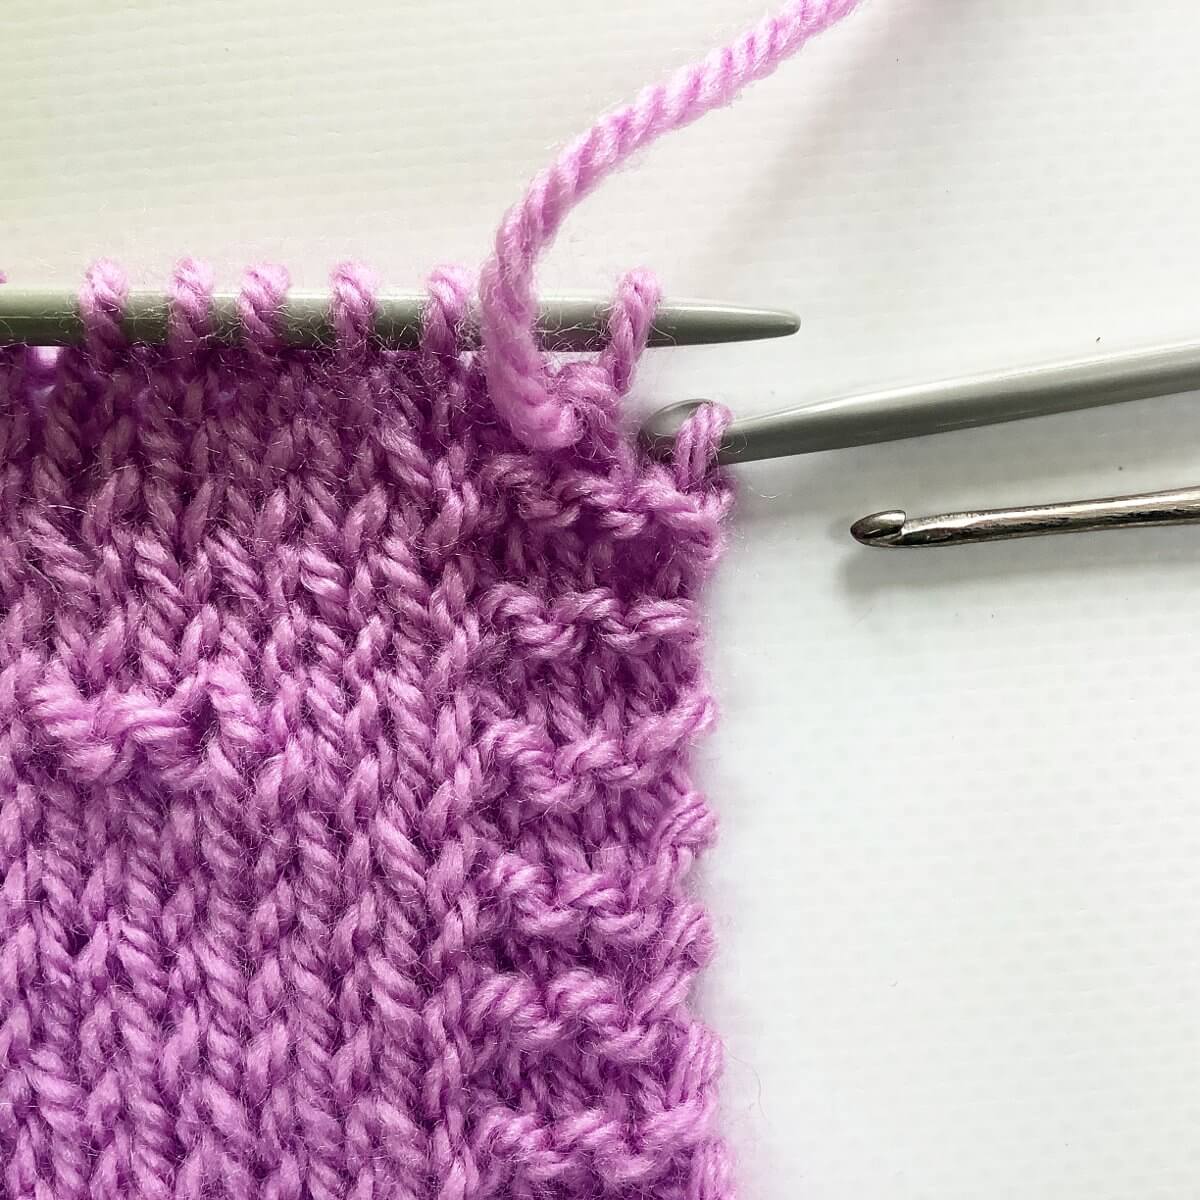
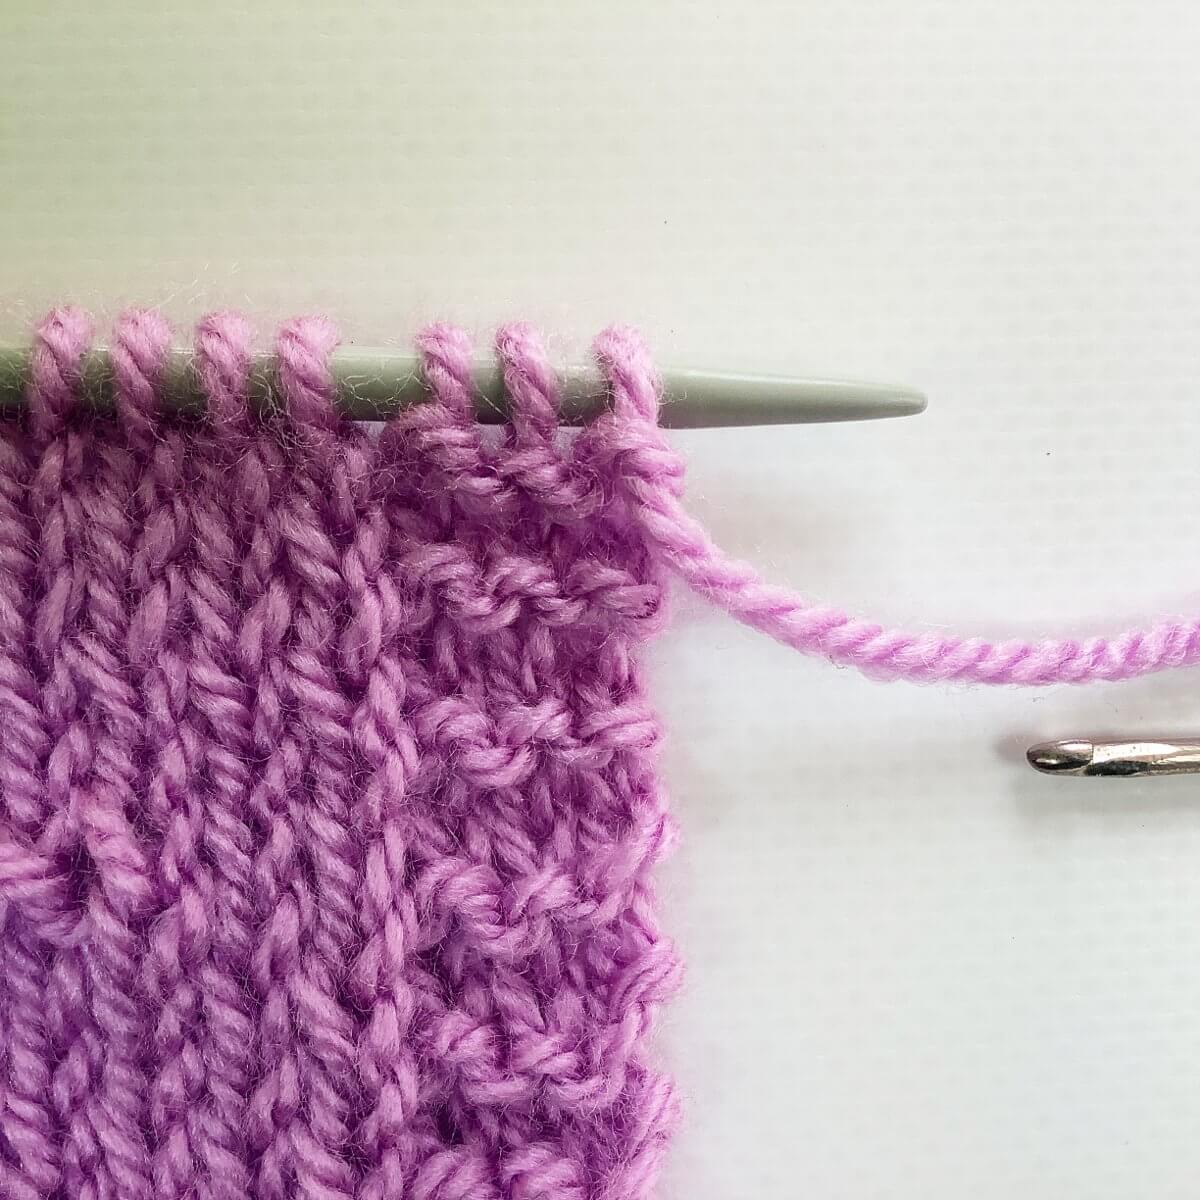
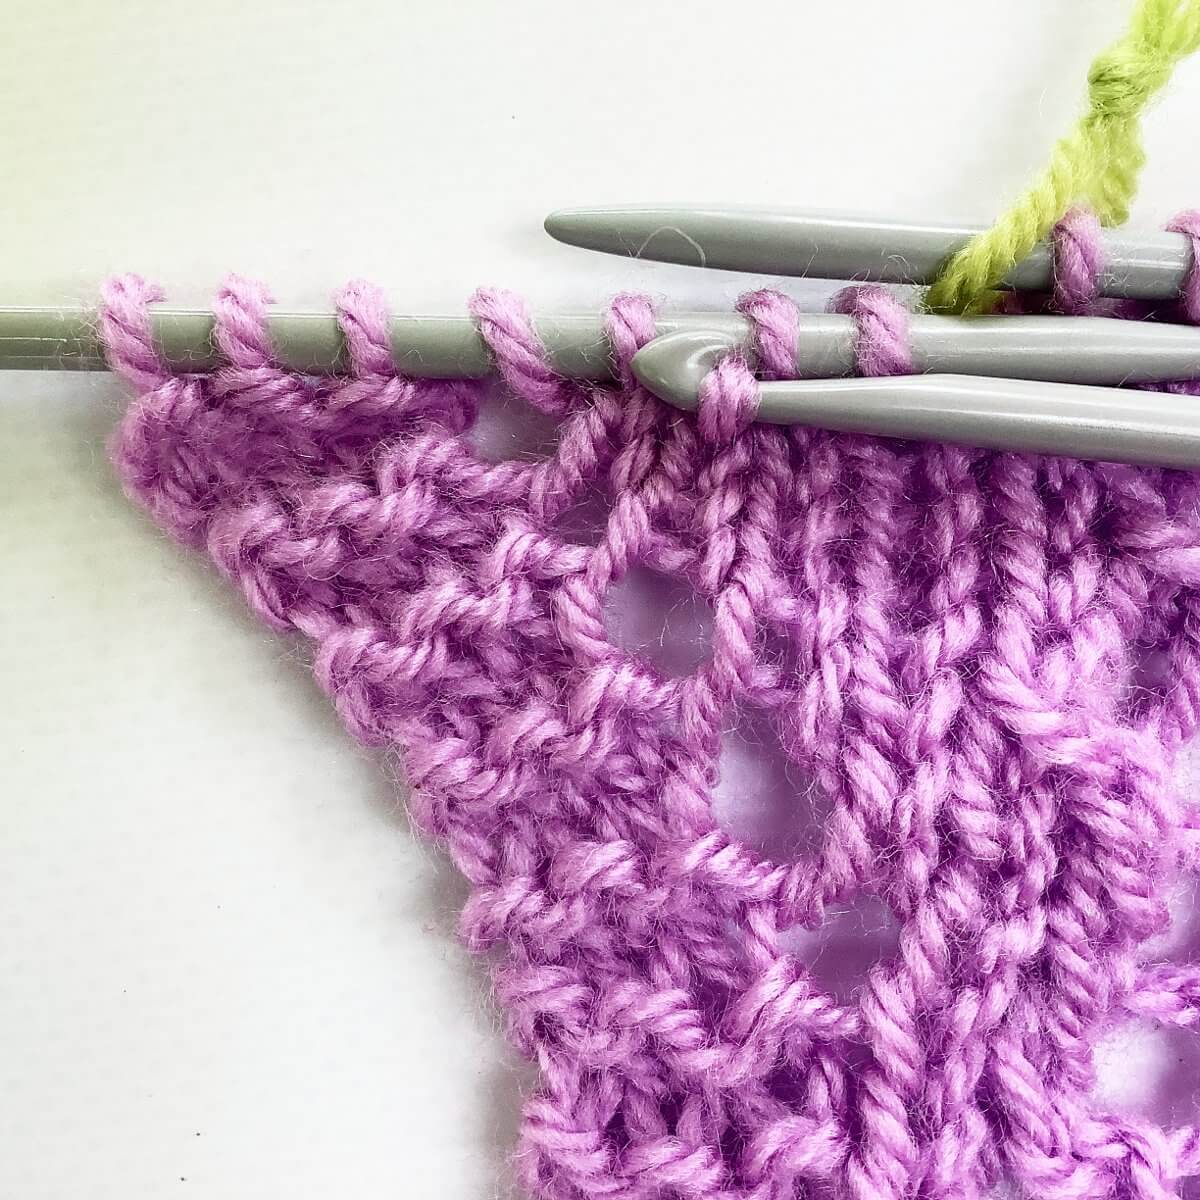
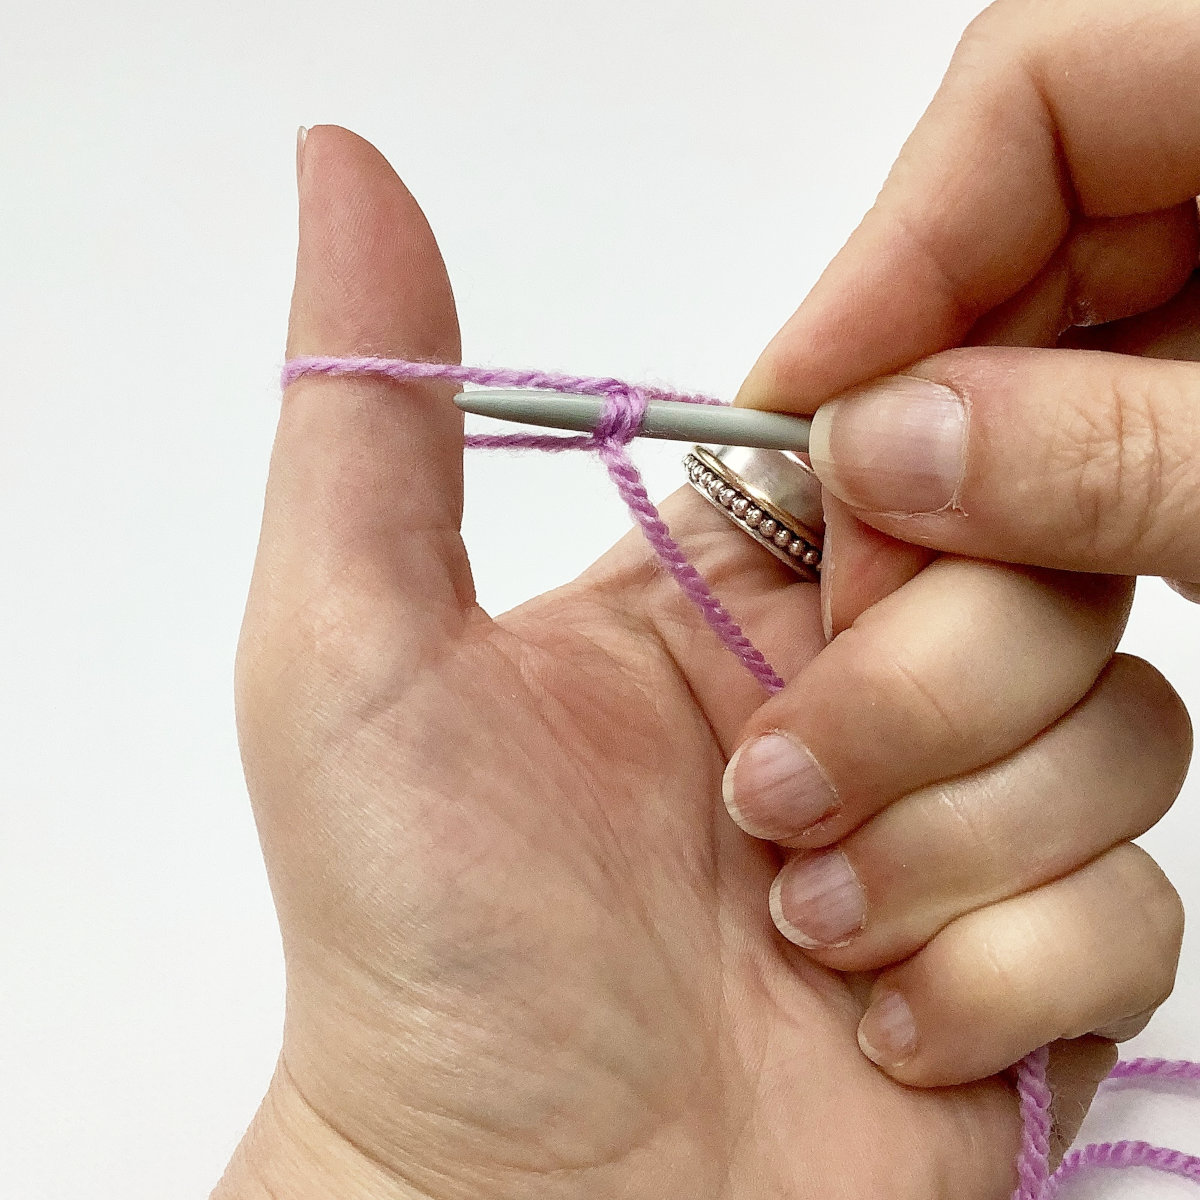
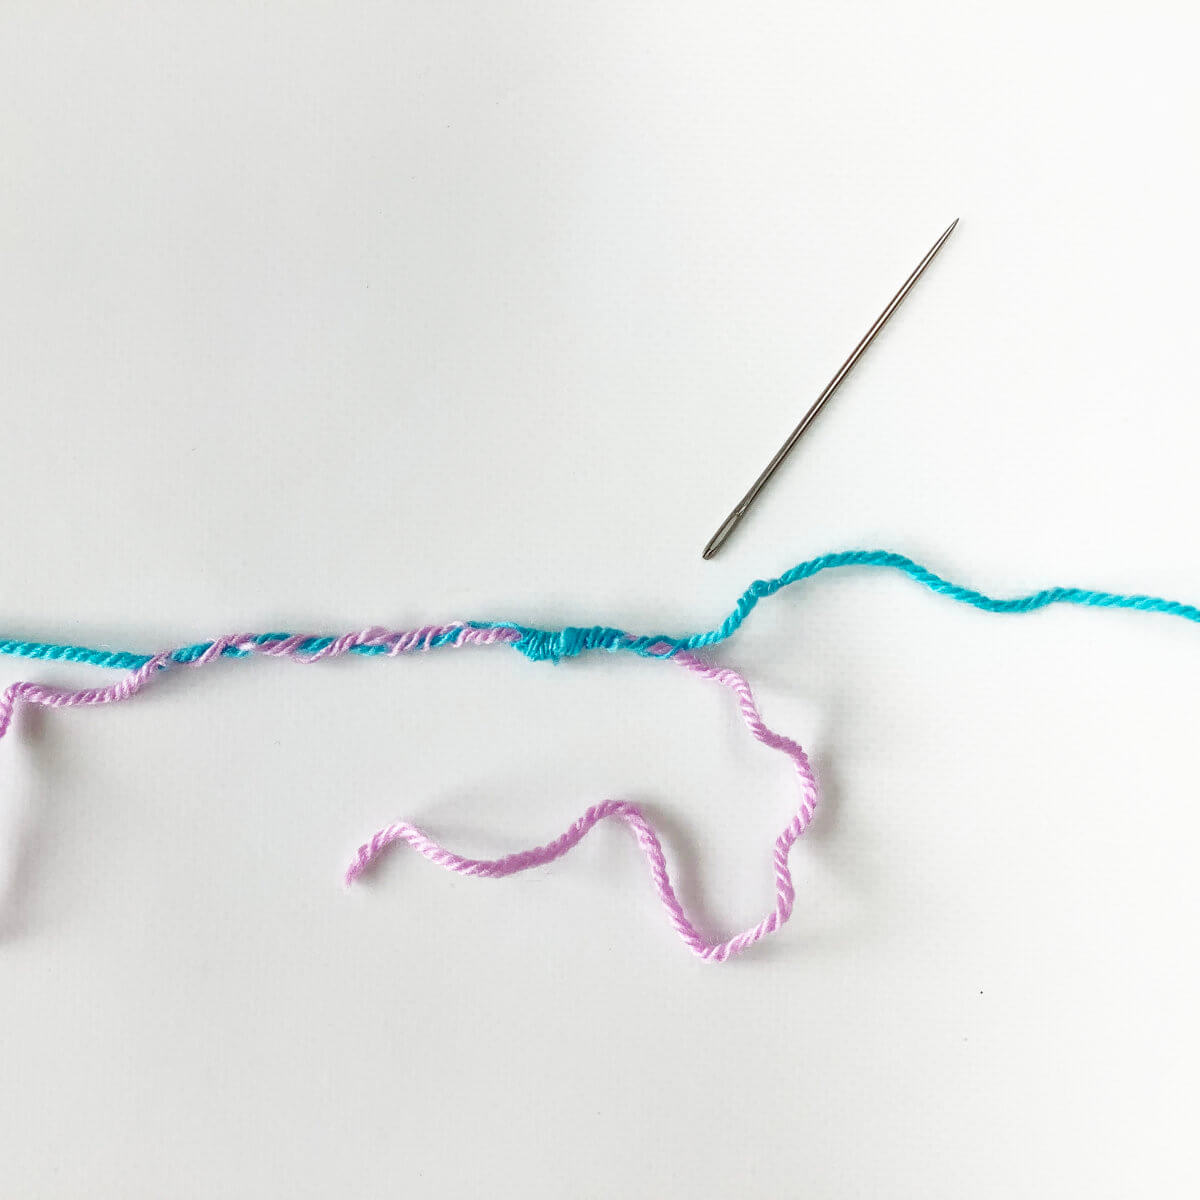
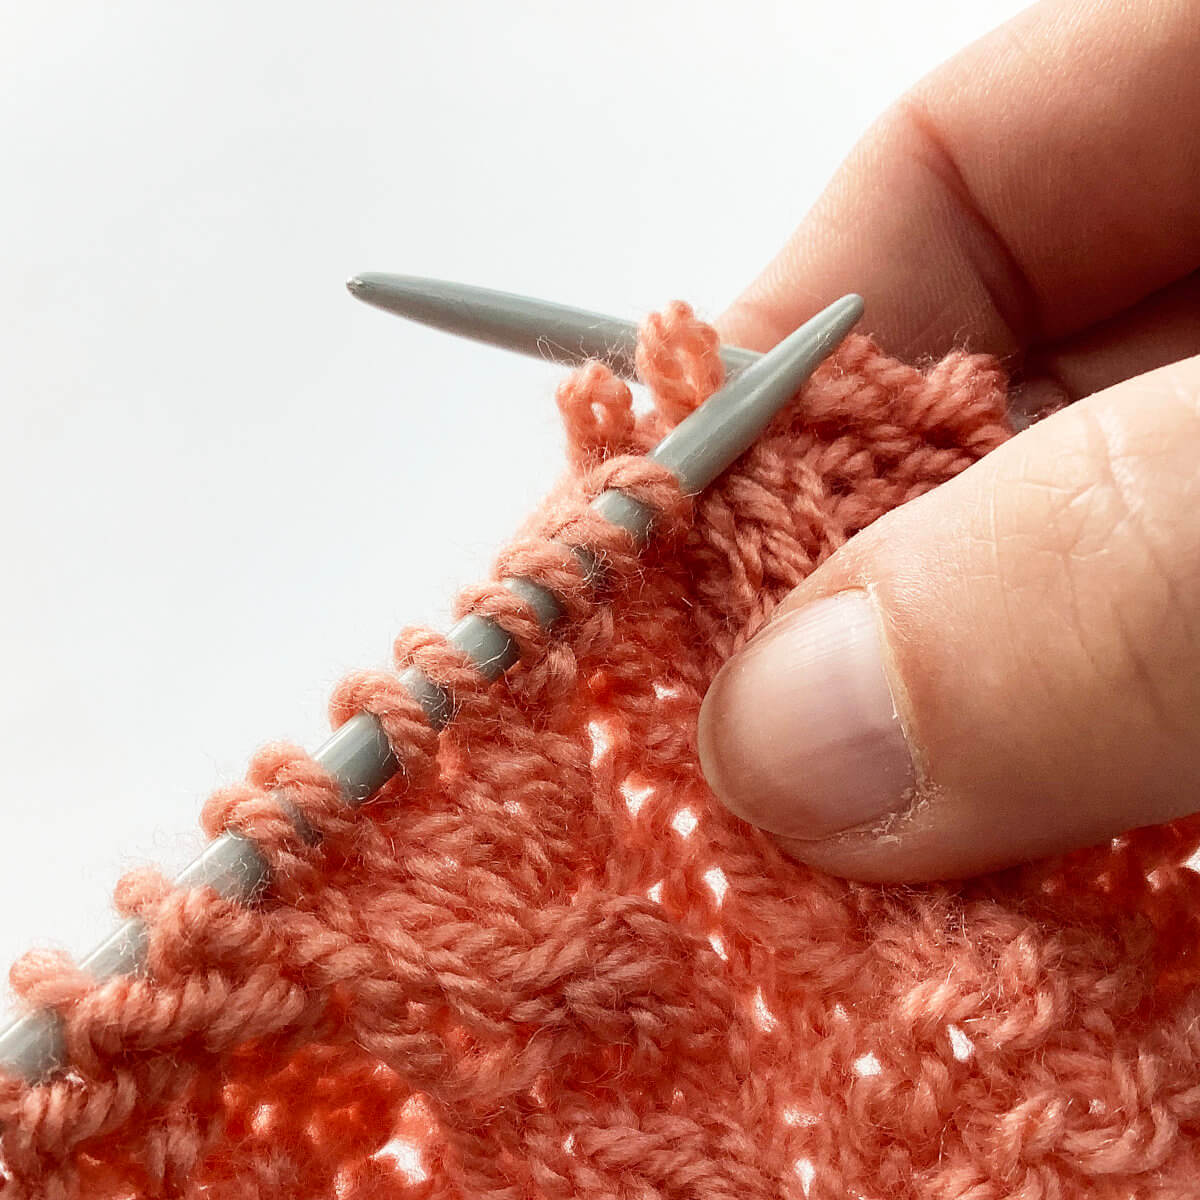
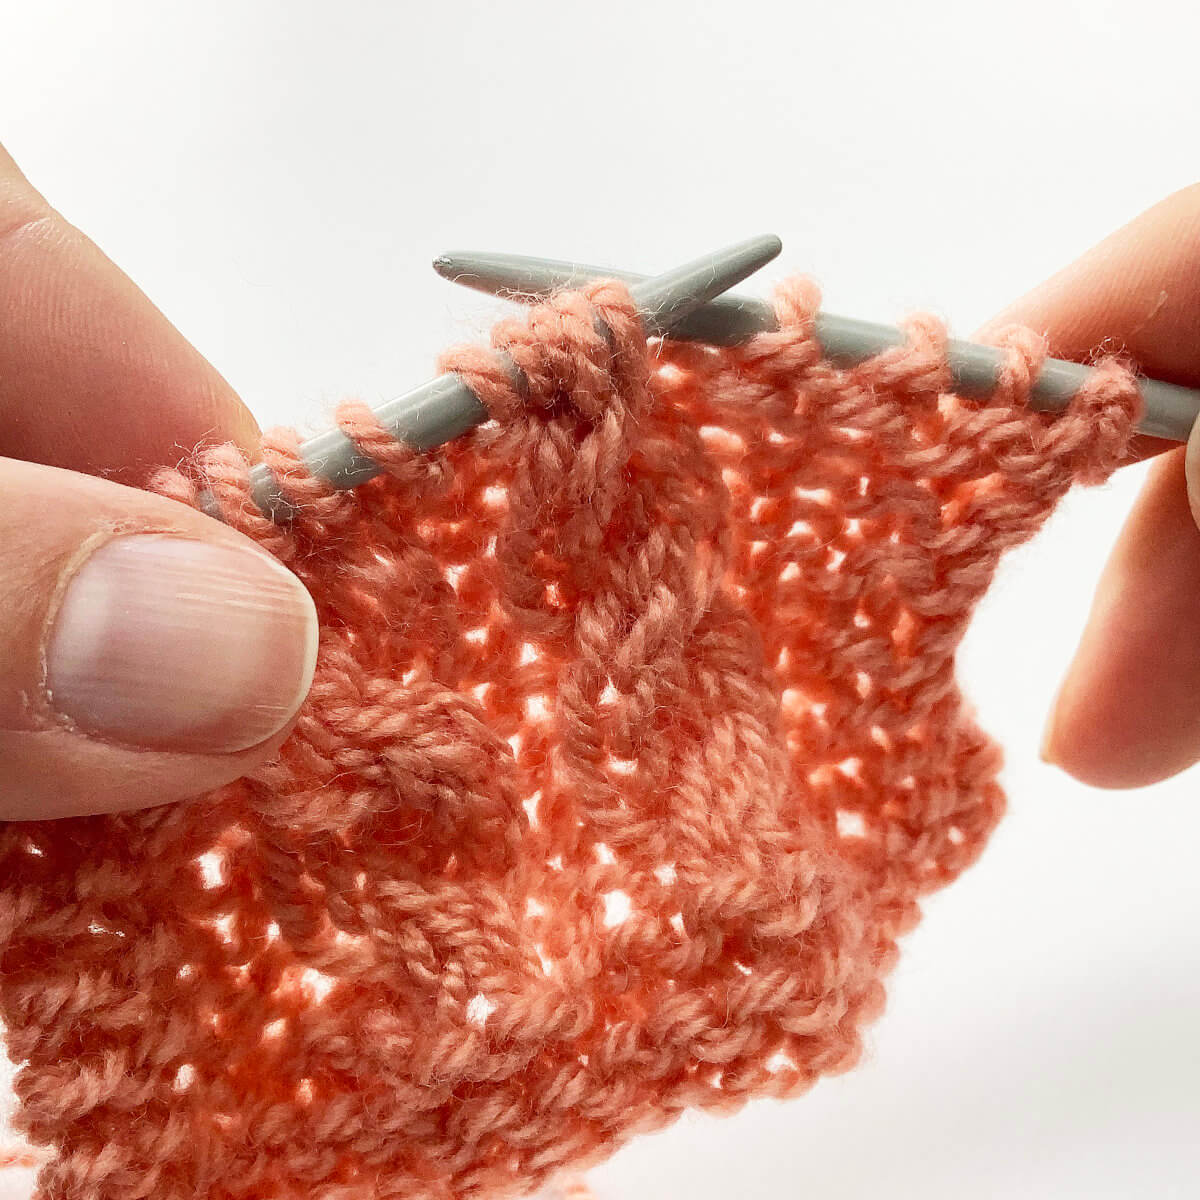
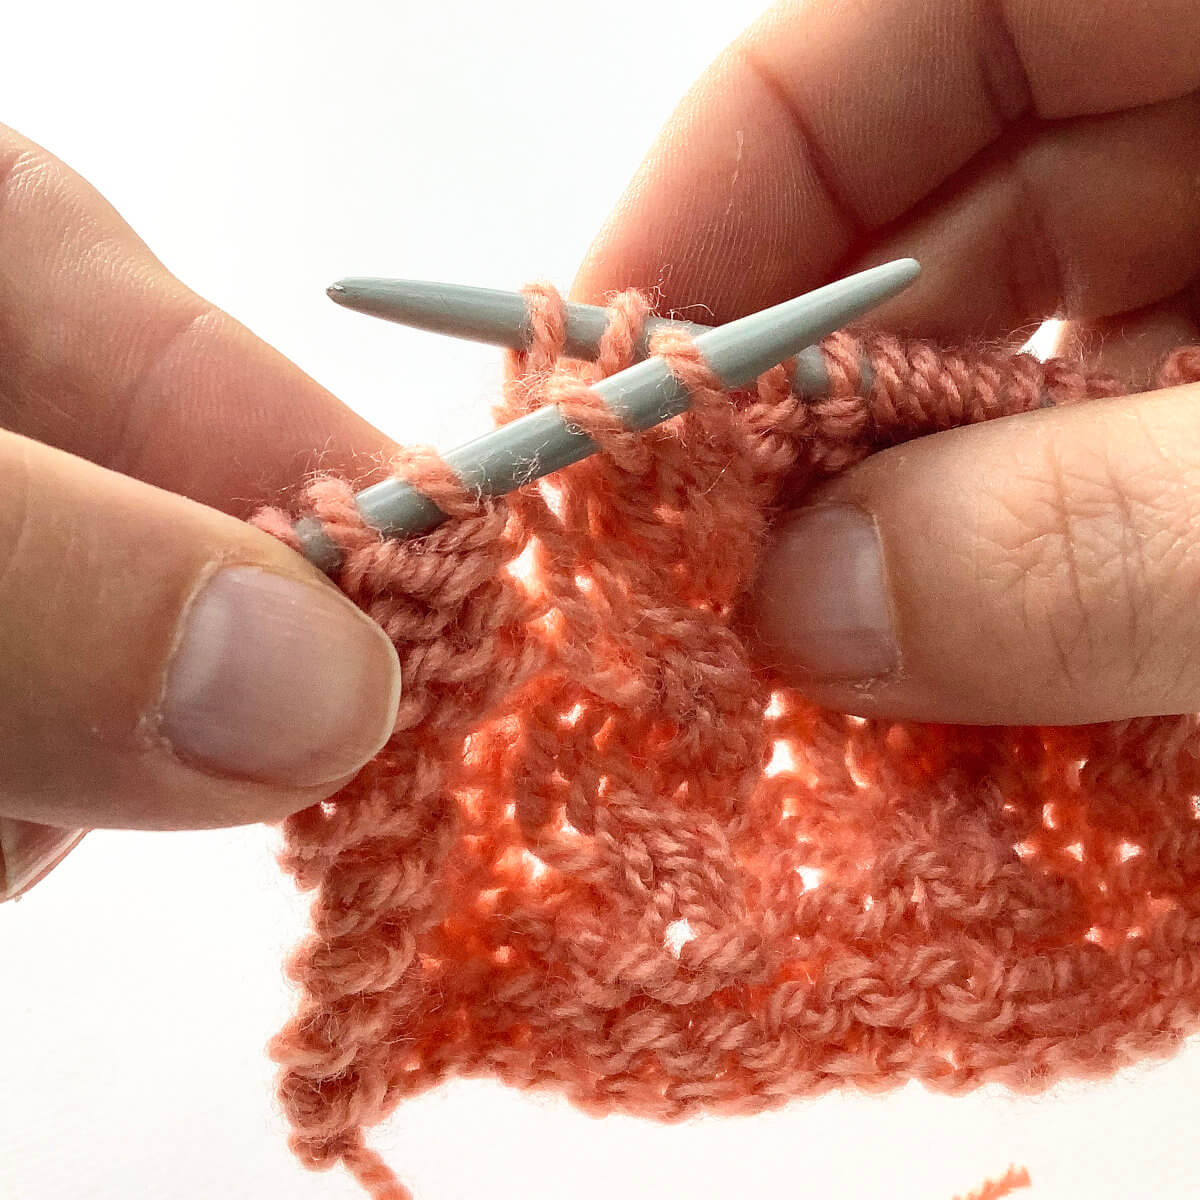
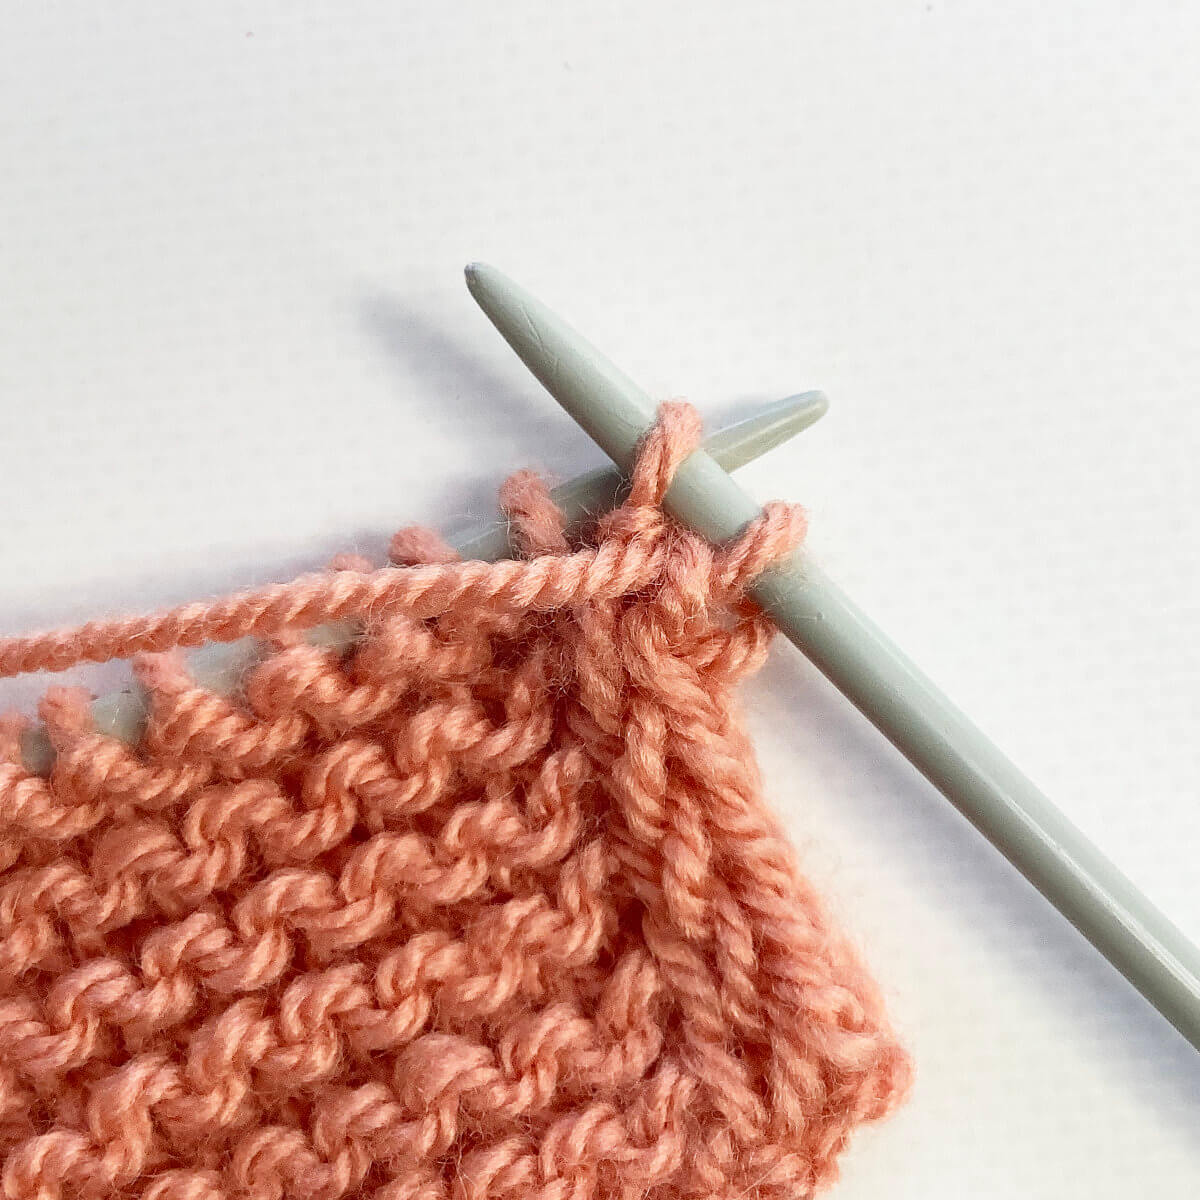
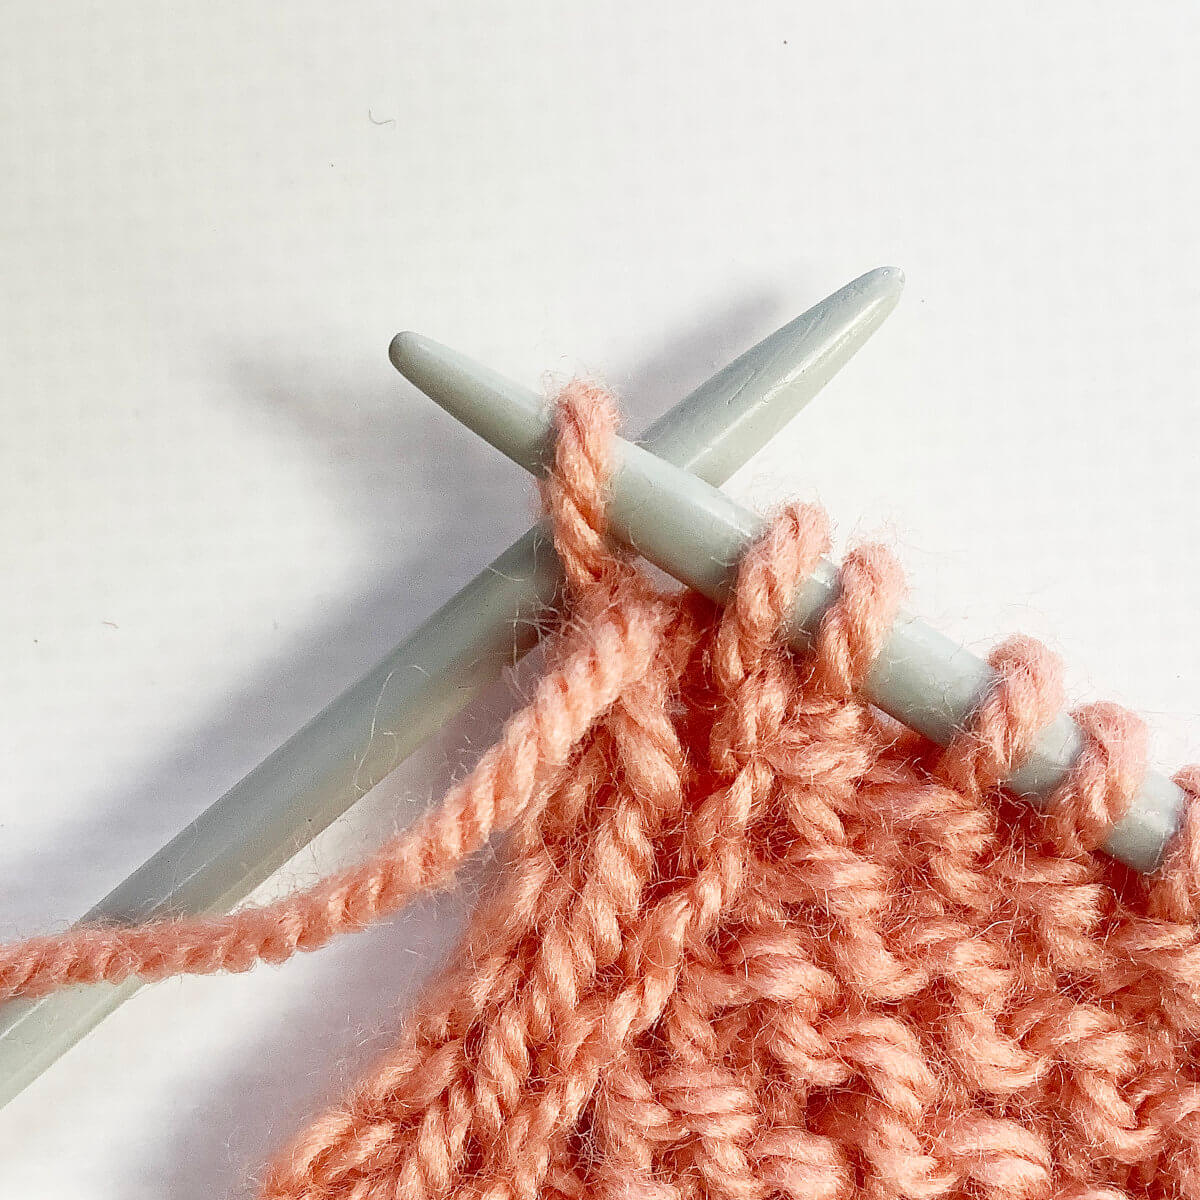
And that is all there is to it! Just work further as your pattern describes, and treat the yarn over like the regular stitch on the needle it really is. Below, you can see how that edge looks like, when viewed from the right side of the fabric. Pretty, right?!

Thanks to my Patreon supporters for bringing you this freebie! Creating quality patterns and tutorials is a lot of work and resource-intensive. However, I find it important to give you free content like this tutorial. Thanks to the generous support of my Patreon supporters, I can make it happen. Thank you, patrons! Click here to join, or click here to read more about La Visch Designs on Patreon.
tutorial – working a yo at the beginning of a row Read More »