tutorial: knitting a folded hem

Knitting a folded hem - a tutorial by La Visch Designs

Making a folded edge or or hem on a knitted garment is the way to give a project an edge in stockinette stitch that does not roll. Ideal if you’re looking for an understated and elegant finish of your garment. Because this border is composed of two layers, it is a strong and wear-resistant finish, which is very suitable for example for sleeves and collars.

As is often the case, there are multiple ways to create a folded hem. In this post I will show you the version using a provisional cast-on.

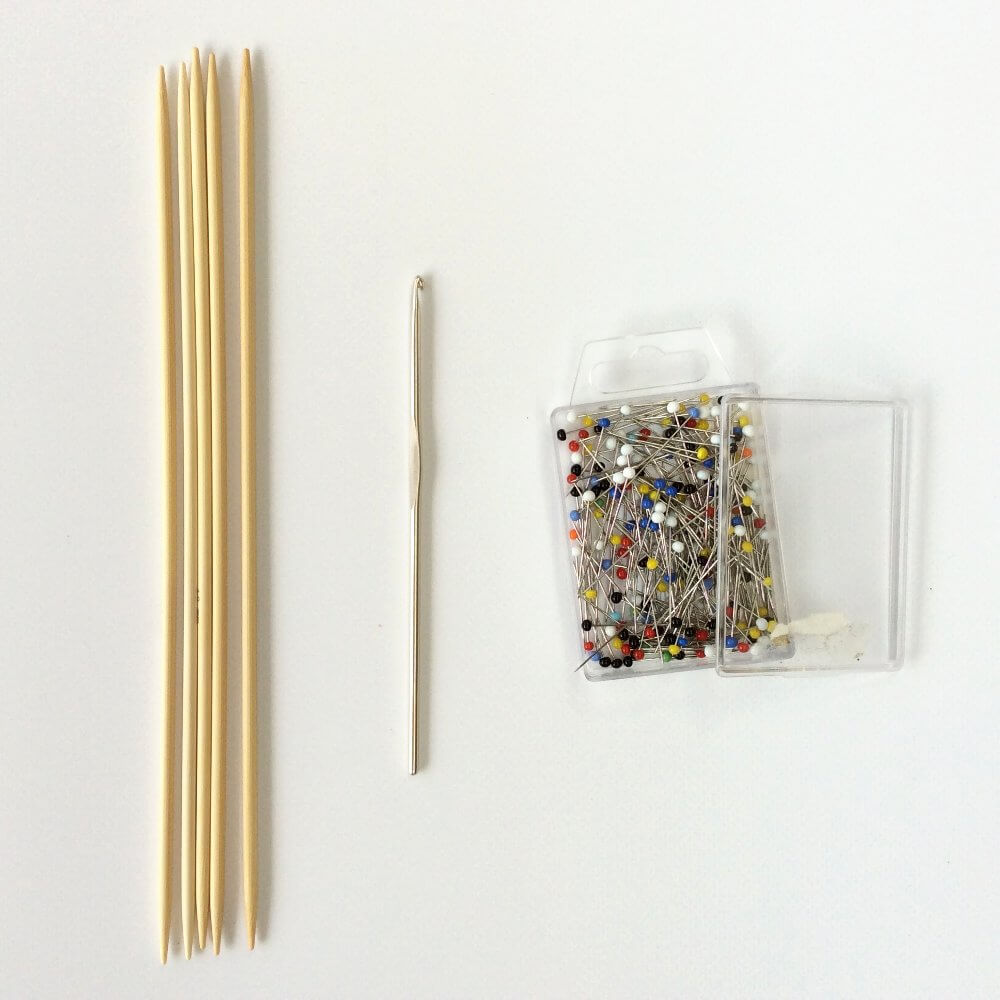
Materials needed

  • Yarn for your project
  • Smooth waste yarn in a similar thickness as your main or slightly thinner for the provisional cast-on
  • Knitting needles
  • An additional knitting needle in the same or slightly smaller size
  • A crochet hook

Knitting a folded hem step by step

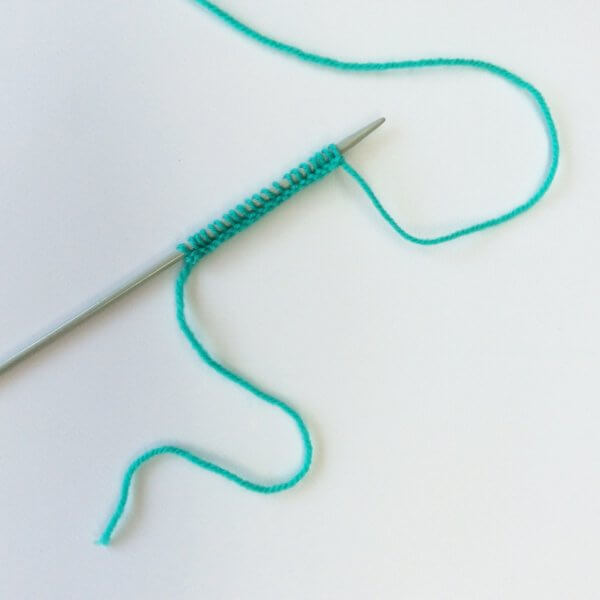
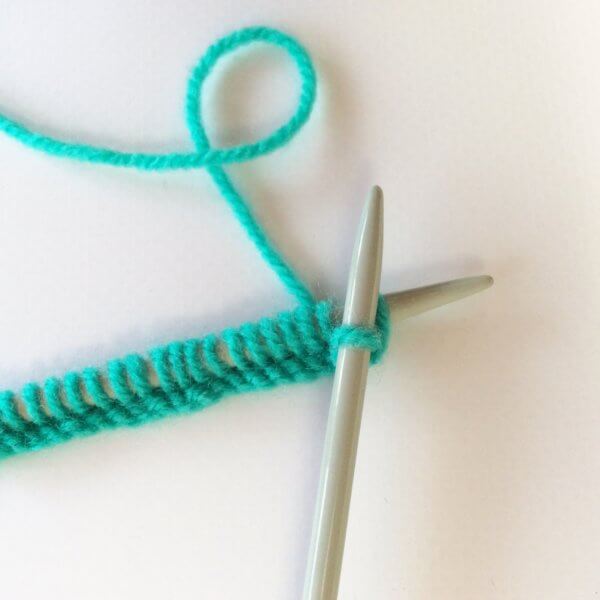
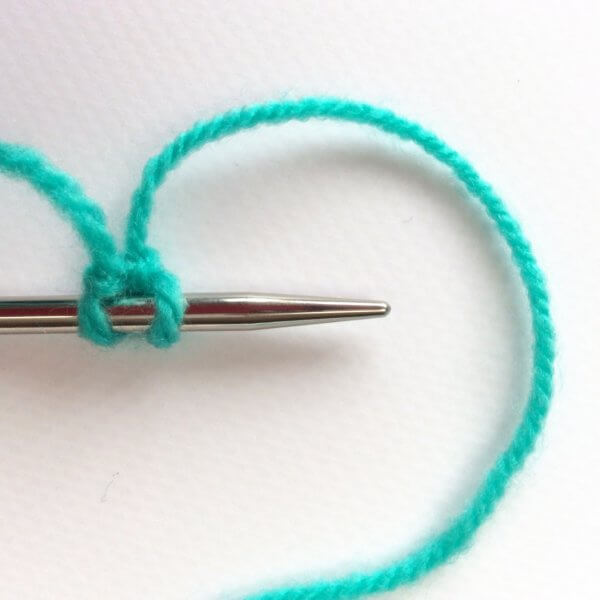
1. Start by doing a provisional cast-on using the waste yarn. In this post you can see how my favourite way to do a provisional cast-on is done step by step.

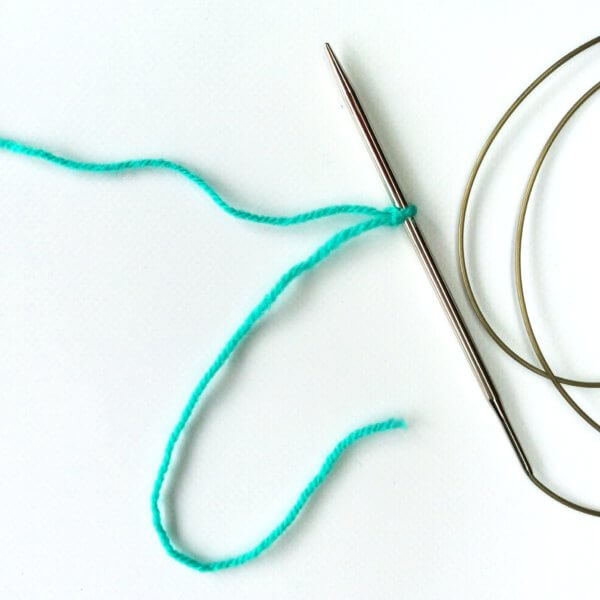
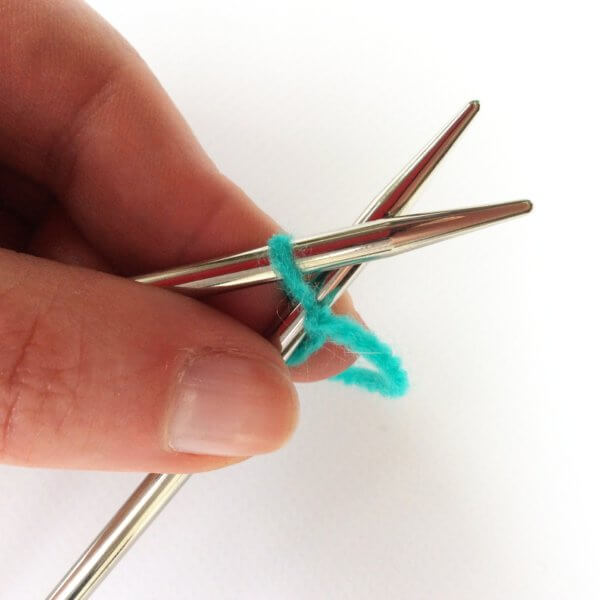
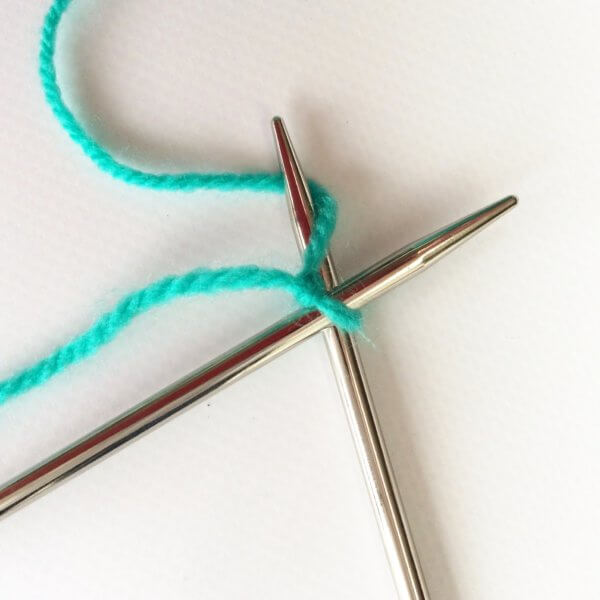
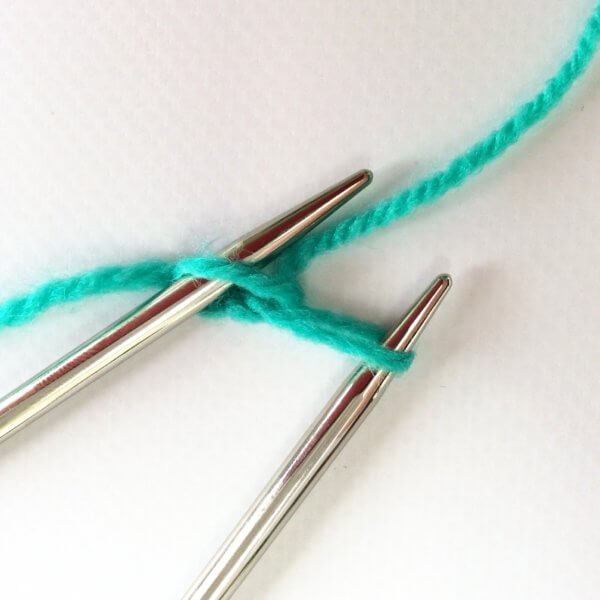
Folded hem_1

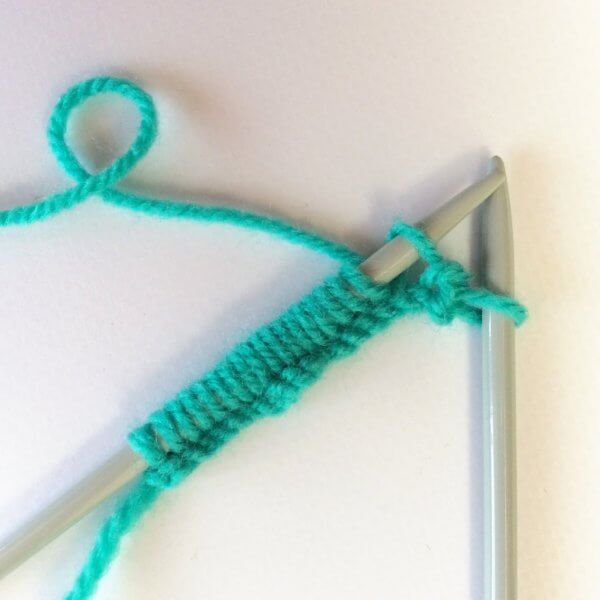
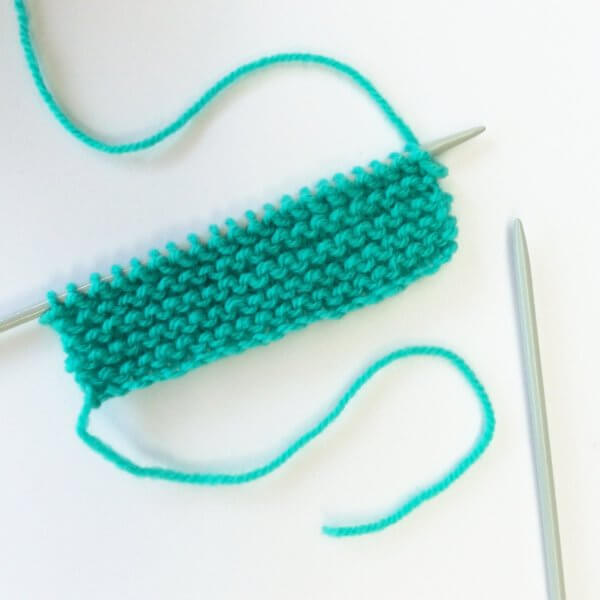
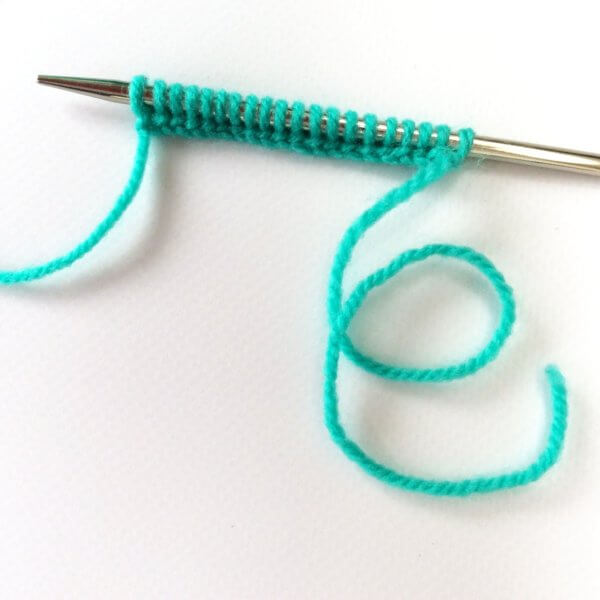
2. Then knit with your main yarn in stockinette stitch. For a somewhat rounded edge to your hem, knit to about twice the desired height of the hem. That’s what I’ve done in this example.

For a hem with a sharper crease on the fold, knit in stockinette until the desired height of the hem. Next work a purl row on the right side of the work, followed by another length in stockinette for the desired height of the hem.

Folded hem_2

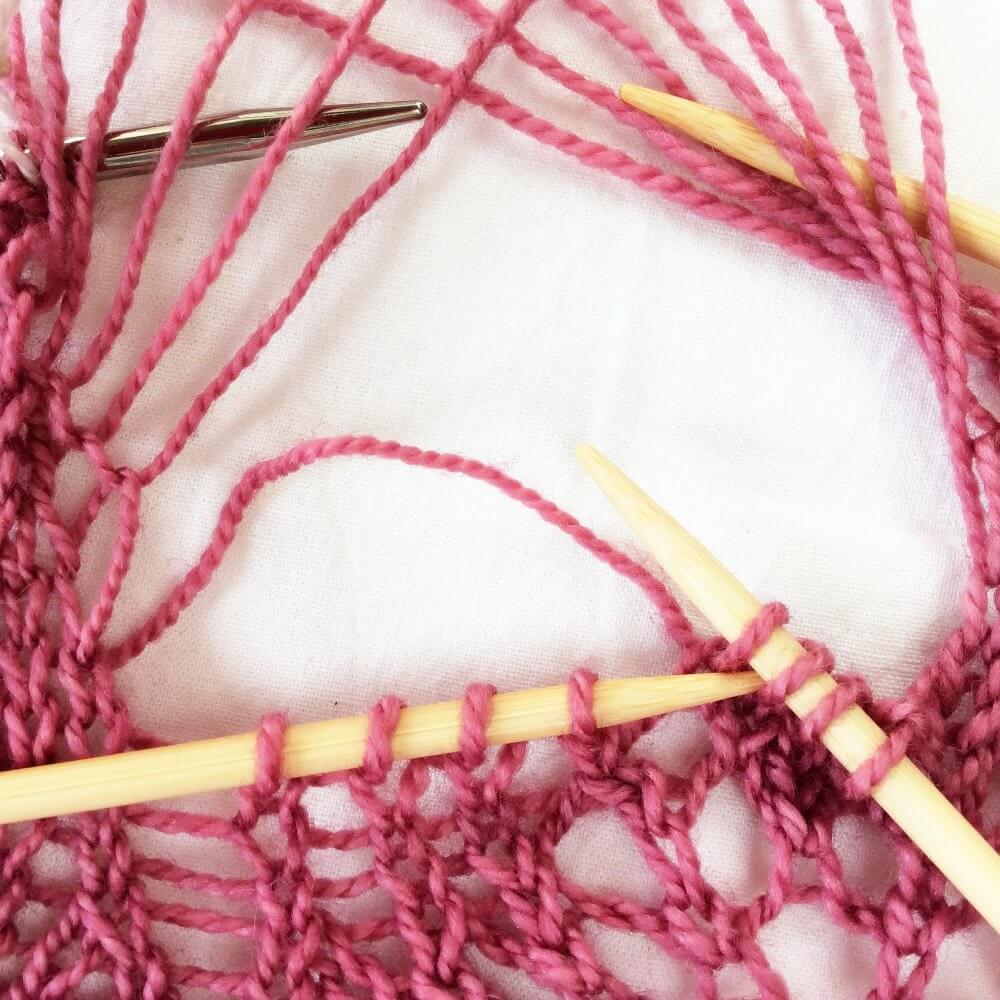
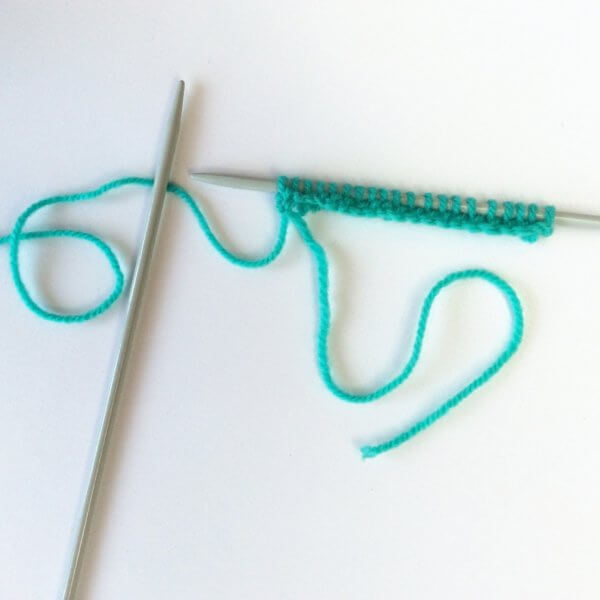
3. Remove the provisional cast-on and place the freed stitches on the extra knitting needle.

Knitting a folded hem - a tutorial by La Visch Designs

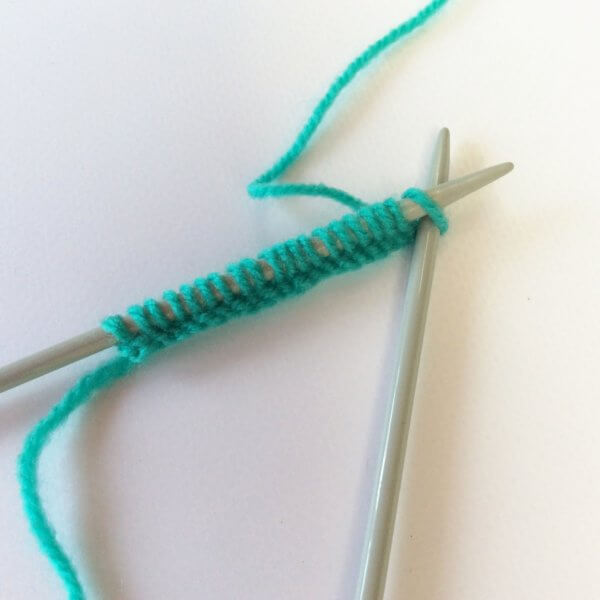
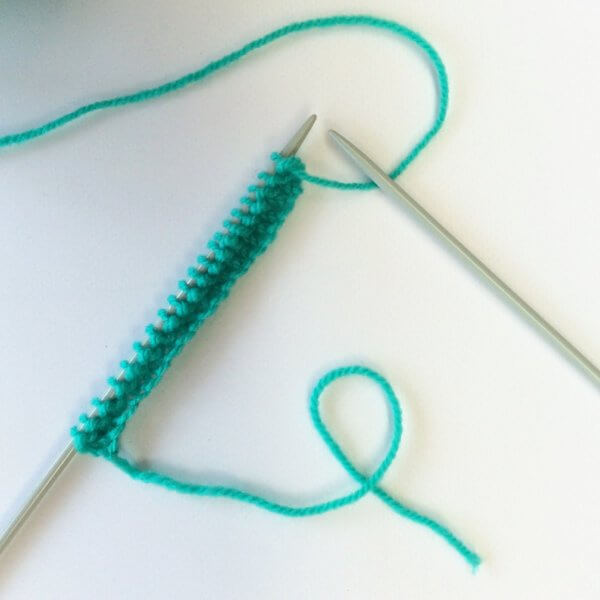
4. Fold the piece like shown in the picture with the right side of the work on the outside and hold both knitting needles in the same hand.

Knitting a folded hem - a tutorial by La Visch Designs

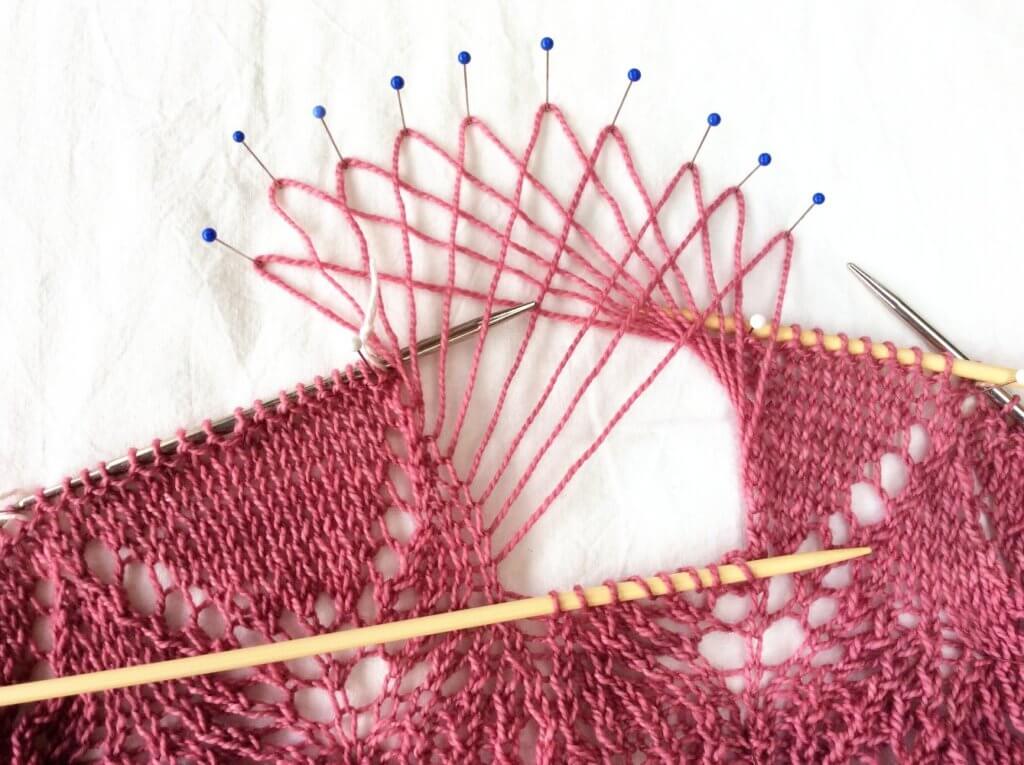
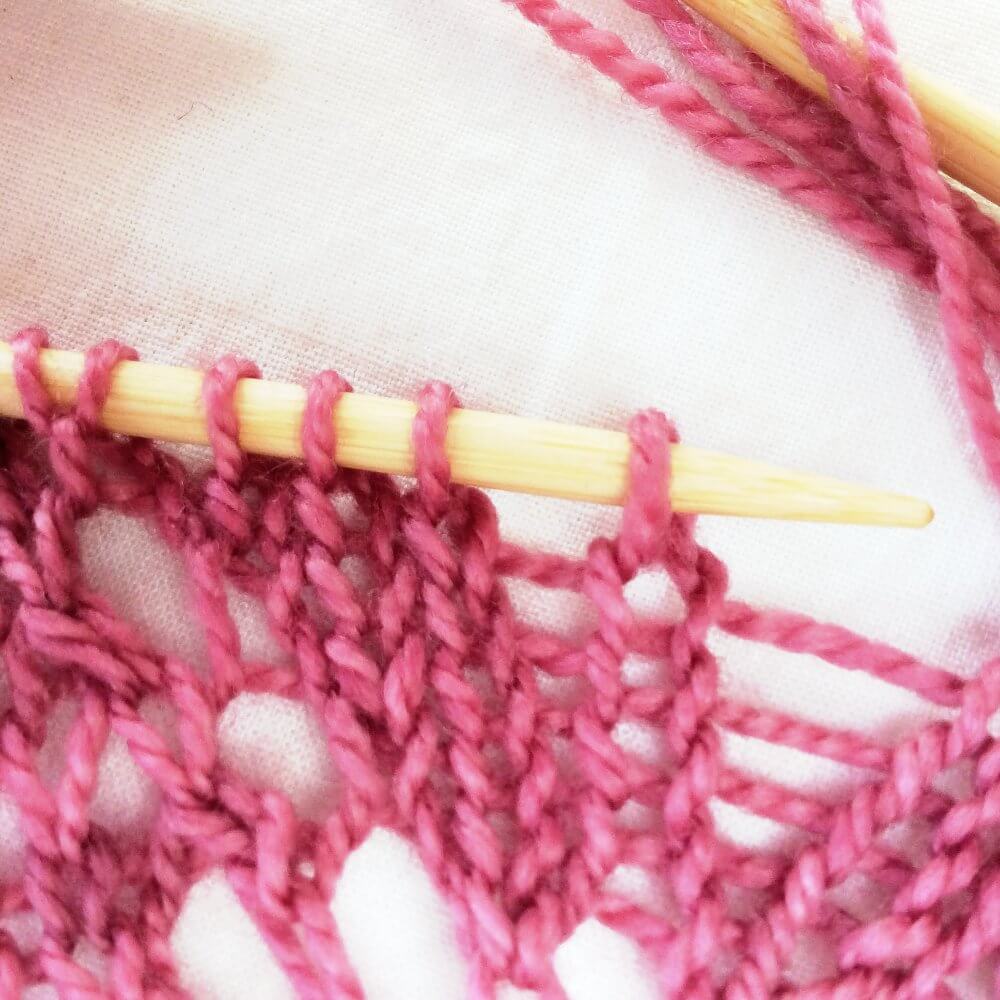
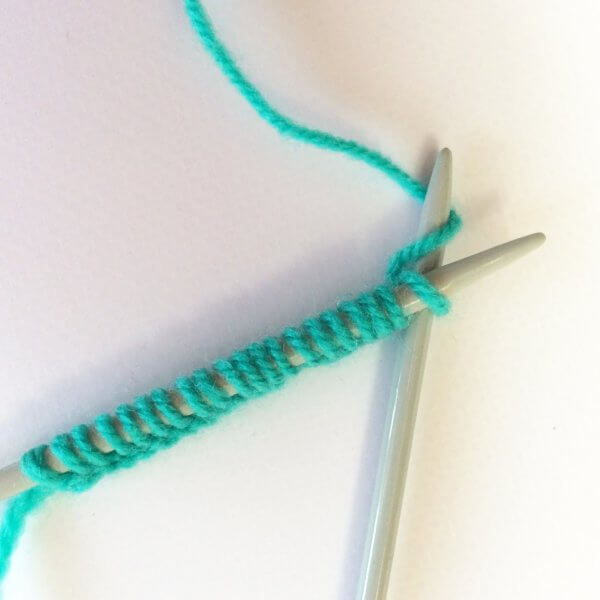
5. Insert the third knitting needle into the first stitch on the front needle as if to knit as usual, then immediately after that do the same with the first stitch on the needle at the back. Wrap yarn around the needle as usual and pull it through both stitches. Next slip both first stitches from the 2 left-hand needles to complete the stitch.

Knitting a folded hem - a tutorial by La Visch Designs

6. Repeat step 5 until the end of the needle, it will look something like this:

Knitting a folded hem - a tutorial by La Visch Designs

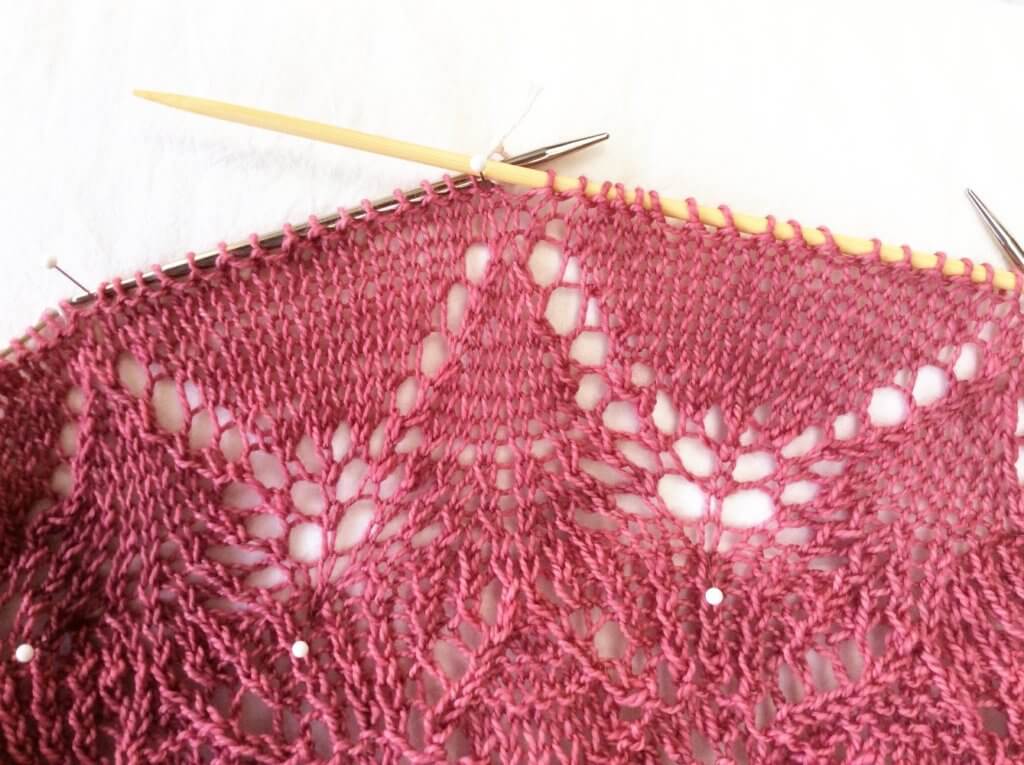
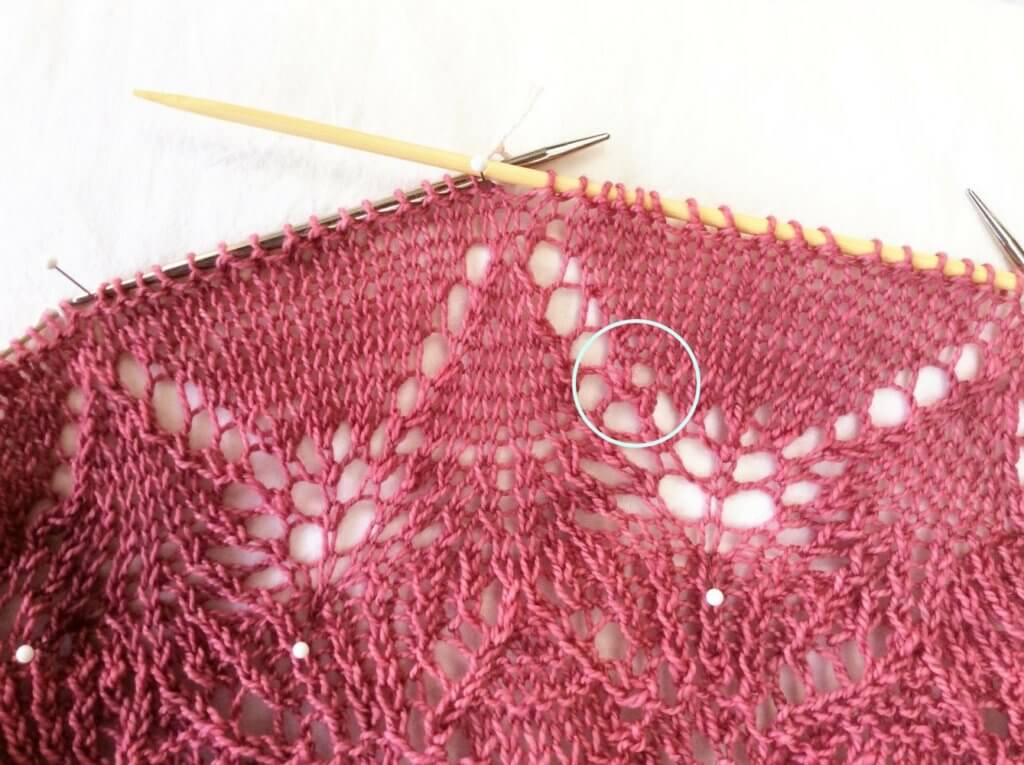
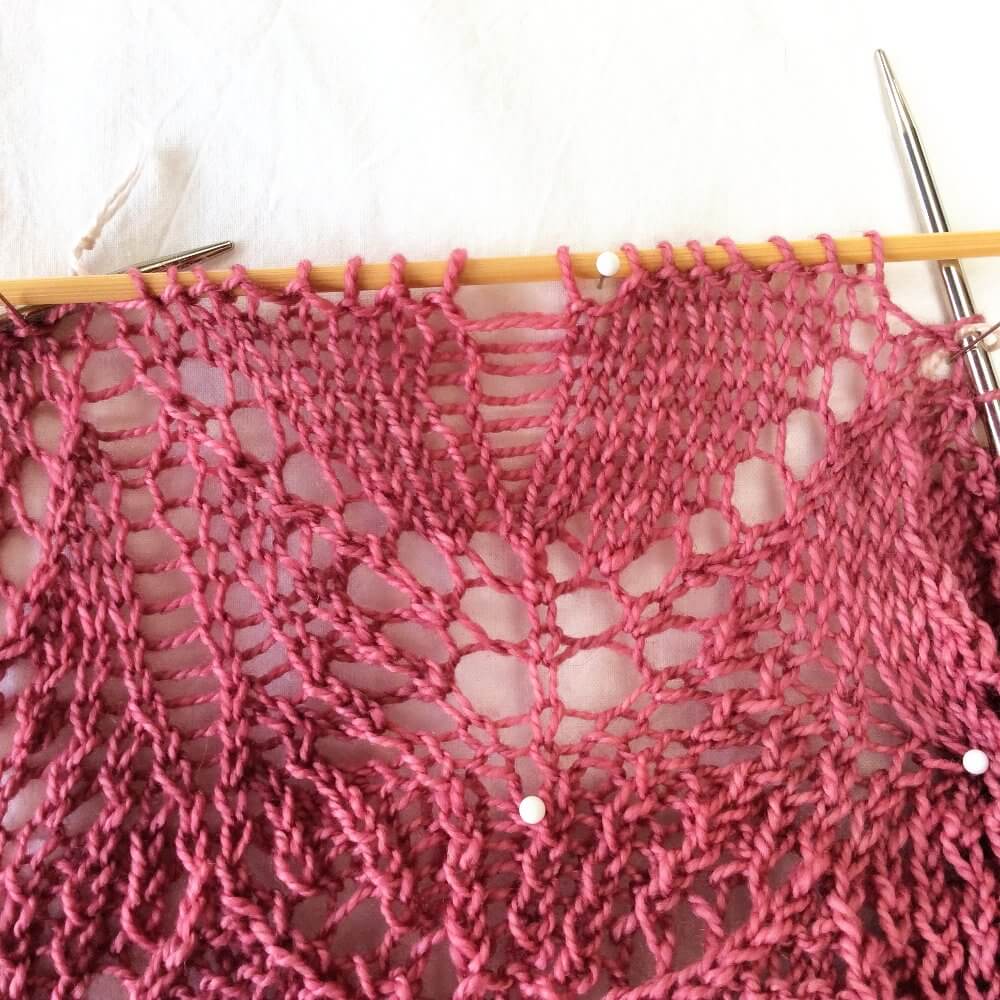
After knitting a few rows in stockinette stitch, the work looks like this on the right side of the work:

Knitting a folded hem - a tutorial by La Visch Designs

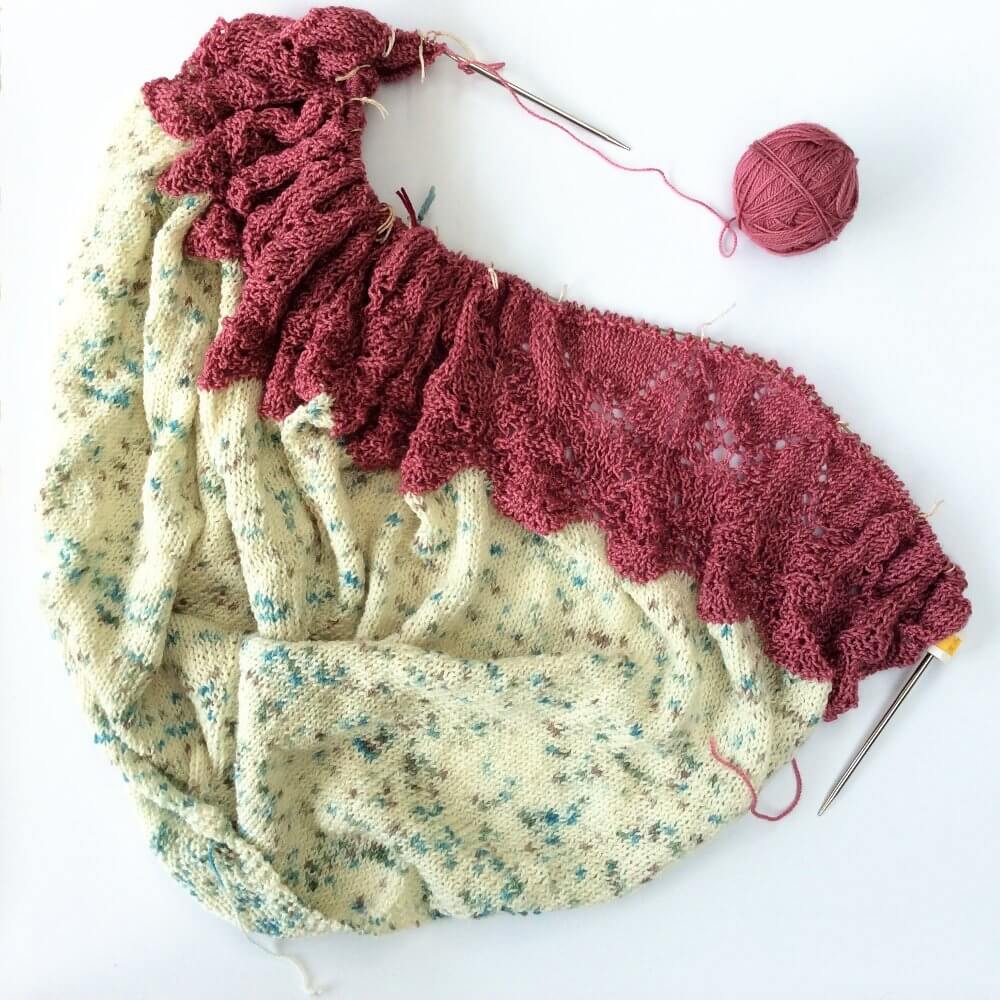
On the wrong side of the work you can also see how pretty this hem look. This is a very suitable solution for those projects that have to be pretty on both sides!

Knitting a folded hem - a tutorial by La Visch Designs

For this type of folded hem I also see the possibility of using it for the waist of a skirt to thread a cord or elastic band through. Also in terms of finishing the hood of a sweater, I see opportunities!

tutorial: knitting a folded hem Read More »

luule

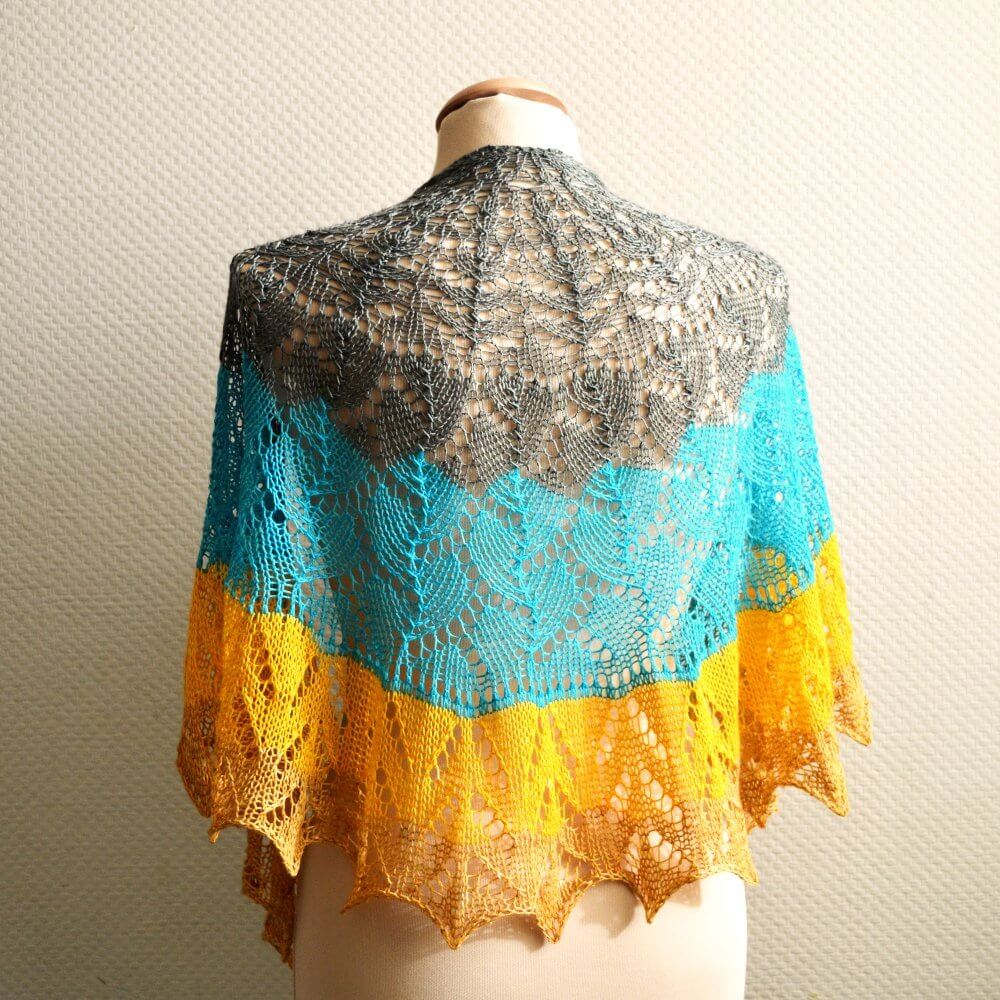
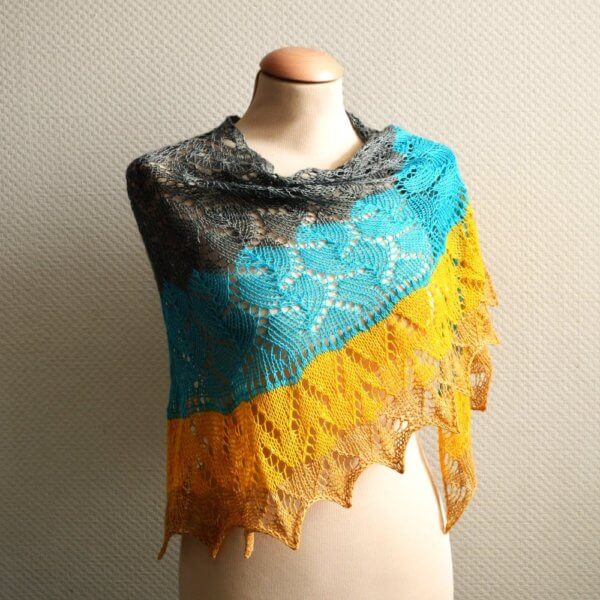
Luule by La Visch Designs

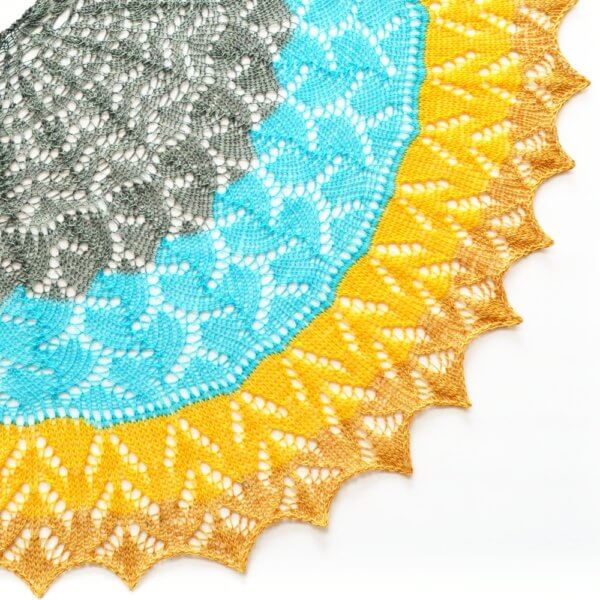
Luule means “poetry” in Estonian. The Luule stole was designed for and dedicated to my mother, because she wanted to knit pretty lace. The delicate lace is based on traditional Estonian stitch patterns, knit on both right and wrong sides of the fabric and include nupps. Instructions for both traditional and easy nupps are included.

This shawl begins with a provisional cast on followed by a lovely leaf lace edging and border. After the provisional cast on has been undone, the center is filled with diamond lace. The top edge mirrors the bottom. The instructions for the shawl are provided both fully charted and written out.


Pay what you want: (minimum €6.50)

Add to cart


Size and finished measurements

One size – finished dimensions: 58 cm (23 inches) wide and 180 cm (71 inches) long, measured after blocking.

Difficulty

This stole starts with a provisional cast on and contains lace patterning on both right and wrong sides of the fabric. Stitches used include knit, purl, k2tog, k3tog, skp, yo, p2tog, a centered double decrease (sl2-k1-p2sso), Estonian 3 into 3 gathered stitches and nupps.
This pattern is suitable for the advanced knitter.

Pattern details

  • Worked flat back and forth.
  • For the sample shawl measured after blocking: 19.2 sts / 24 rows = 10 cm (4 inches) over the body in Diamonds pattern. Gauge is however not critical for this design, the lace will open up after blocking.
  • Pattern languages included: English and Dutch (Dit patroon omvat zowel een Nederlandse als een Engelse versie).
  • Digital PDF has 4 pages (letter size).

Materials

  • Yarn: 800 m (875 yds) Garnstudio Drops Lace [70% alpaca, 30% silk; 400 m (438 yds) per 50 g]. Substitute any lace weight yarn of comparable thickness for a similar result
  • Knitting needles in your preferred style in size 3.5 mm (US 4).
  • Yarn needle
  • Waste yarn for provisional cast on
  • 11 stitch markers (optional)
  • Crochet hook in a size equivalent to the size of your knitting needles (optional, for easy nupps)

luule Read More »

tutorial: knitting rick-rack rib

Knitting rick-rack rib a tutorial by La Visch Designs

To finish a sweater, ribbing is obviously the preferred choice: its fabric does not roll and it gives quite an elastic finishing. Sometimes, however, I find knitting yet another 2×2 rib or variant thereof just so… boring. For giving your project that tiny bit of “je ne se quoi” instead of regular ribbing, try the rick-rack rib.

The nice zig-zag texture that is so characteristic of this stitch is obtained by the knitting the stitches in a different order than they appear on the needle. In this post, I’ll show you how to knit this variation on regular ribbing when knitting it flat. Pointers on how to knit this stitch in the round can be found in this tutorial.

Rick-rack rib worked flat is knitted as a multiple of 3 + 1 stitches. For this example, I have cast on 19 stitches.

In short, the instructions for this stitch worked flat consist of the following 2 rows:

Row 1 (RS): Purl 1, *skip the first stitch, knit in the back loop of the second stitch (do not slip this stitch off the needle), knit into the front loop of the first stitch and now slip both knitted stitches of the needle, purl 1; repeat from * to end of the row.

Row 2 (WS): Knit 1, *skip the first stitch, purl the second stitch (do not slip stitch of the needle), purl the first stitch and now slip both knitted stitches from the needle, knit 1; repeat from * to end of the row.

Repeat rows 1 and 2 to the desired height.

Knitting rick-rack rib flat step by step

Row 1
1. Purl 1 stitch.

Knitting rick-rack rib a tutorial by La Visch Designs

2. Skip the first stitch and knit the second stitch on the needle in the back loop. Do not slip this stitch off the left-hand needle just yet!

Knitting rick-rack rib a tutorial by La Visch Designs

3. Knit into the front loop of the first stitch that you skipped in step 2. Then slip both knitted stitches from the needle.

Knitting rick-rack rib a tutorial by La Visch Designs

4. Purl 1 stitch.

Knitting rick-rack rib a tutorial by La Visch Designs

5. Repeat steps 2 to 5 to the end of the needle.

Row 2
6. Knit 1 stitch.

Knitting rick-rack rib a tutorial by La Visch Designs

7. Skip the first stitch and purl the second stitch on the left-hand needle. Do not slip this stitch off the needle just yet!

Knitting rick-rack rib a tutorial by La Visch Designs

8. Purl the first stitch that you skipped in step 7. Then slip both knitted stitches from the needle.

Knitting rick-rack rib a tutorial by La Visch Designs

9. Knit 1 stitch.

Knitting rick-rack rib a tutorial by La Visch Designs

10. Repeat steps 7 to 9 to the end of the row.

On the right side of the work, it will look something like this:

Knitting rick-rack rib a tutorial by La Visch Designs

And this is how it looks on the back:

Knitting rick-rack rib a tutorial by La Visch Designs

In case your project ends with rick-rack rib, you can bind-off after row 2 by binding off in purl 1, knit 2 pattern.

tutorial: knitting rick-rack rib Read More »

tutorial: knitted-on border – turning the corner

Knitting on borders, around the corner - a tutorial by La Visch Designs

In an earlier blog post, I’ve already shown how to apply an edging to your project. In this post, I will focus on how to turn your border around the corner.

The special feature of knitting on borders is that such a border is knit perpendicular to the body of the project. The stitches of the border are connected to those of the main body by knitting or purling them together. This is not only very decorative, but also a highly elastic finish of a project. Much more elastic than with a regular cast off!

Last time I have shown you the basics of how an applied border is worked. In this post, I want to show you how to apply such an edging around a corner.

To “turn the corner” you need a slightly different approach than with the rest of the border. And what, exactly, depends on how wide your knitted-on edging is. You can probably imagine that going around the corner is similar to driving a car in a race: the inner corner of the race track gives a shorter distance to cover than the outer corner.

racing-car

If you don’t take this difference into account somehow, the fabric will pull at the corner and deform in a way that really can’t be fixed by blocking your project. The wider the edging, the more important it is, therefore, to plan in advance on how to approach the corners in your work.

When you knit on an edging, you work 2 border rows for each stitch of the body of the project. This makes the solution is actually quite obvious: Make sure to knit more than two rows for each body stitch to give the fabric more slack! This is in that respect, very much like knitting a variant of short rows.

For a relatively narrow edging of about 5 to 9 stitches wide, it is usually sufficient to add 2 additional times of knitting back and forth at the corner point. For wider edges, more rows are, of course, needed. In this example, the edging varies between 10 and 15 stitches wide. Therefore I will be adding a total of 3 additional times knitting back and forth at the corner.

The border pattern used in this example is the “traditional scalloped lace” border. It can found on page 81 of the book “The magic of Shetland Lace Knitting”, written by Elizabeth Lovick.

Knitting around the corner step by step

1. Mark the 3 stitches at the corner of the body of your work. Knit the edging as shown in the previous blog up to the first marked stitch.

Knitting on borders, around the corner - a tutorial by La Visch Designs

2. Now work according to the description given in the pattern for the next row that is knit from the outside of the edging going inwards, up to 1 st before the end of the row. Knit the last stitch of the row together with the first next stitch of the body as usual.

Knitting on borders, around the corner - a tutorial by La Visch Designs

3. Turn the work and slip the stitch just worked purl-wise with the yarn in front of the right-hand needle. Then move the yarn to the back of the work and work the next row of the border pattern as usual.

Knitting on borders, around the corner - a tutorial by La Visch Designs

4. Now work next row according to the description given in the border pattern, until 1 stitch before the end of the border stitches. Now do not knit this next stitch together with the first body stitch, just knit it instead.

Knitting on borders, around the corner - a tutorial by La Visch Designs

5. Turn work. Slip the stitch just worked purl-wise with the yarn in front of the right-hand needle. Then move the yarn to the back of the work and knit the return row as usual. You now have knit 4 rows and have only used 1 stitch of the body of your project.

Knitting on borders, around the corner - a tutorial by La Visch Designs

6. Repeat steps 2 through 5 twice, one time for each marked corner stitch. Doing so, you knit a total of 12 edging rows, using only 3 stitches from the body of your work. This looks something like this:

Knitting on borders, around the corner - a tutorial by La Visch Designs

You can also see, that for each corner stitch there are 2 garter stitch ridges instead of 1.

7. After turning around the corner, continue to knit on your edging in the usual way with2 rows from the edging for each stitch of the body of the work.

Knitting on borders, around the corner - a tutorial by La Visch Designs

And that is really all there is to it!

tutorial: knitted-on border – turning the corner Read More »

tutorial: knitted-on border

Working a knitted-on border - A tutorial by La Visch Designs - www.lavisch.com

In many patterns, it is common to first knit the body of the piece followed by a lace border that is knit perpendicular to the edge of the body. Such a knitted-on border is sometimes also called an applied border. You can see this for example in the traditional Shetland shawls, but also in patterns for knitted blankets. It is also a lovely way to give the hem or cuffs of a sweater a beautiful finish.

The beauty of the knitted-on border is that it is not only very decorative but also very elastic. With a regular cast-of, the bound of edge is the limiting factor in how far you can block out your work. And as you know, lace is at its best when the patterning is opened up. When knitting on a border you won’t have a problem with a tight-ish cast-of, because there is, in fact, no cast-of!

The starting point of such a knitted edge is that the stitches of the border are knitted perpendicular to the work. The stitches of the border are connected to those of the main body by knitting or purling them together. If you knit (or purl) through the back loop, you get a more solid connection. Depending on the type of project, for example, a lacy scarf vs. a sweater, you can choose the one you prefer.

In this post, I’ll show you how to knit on an edge to your work.

E-course on working an applied border
Of course, there is much more to learn and tell about working an applied border. More than I can put in this post! For that reason, I want to create a simple online course teaching the basics on applied borders for approx. € 25. If you’d be interested in such a course, enter your info below and I’ll notify you when it launches!

The form you have selected does not exist.

In the example in this post, I knitted a swatch in white. On this, I will knit a border in a contrasting color. If you want to make the border the same color as the main part of your project, you can, of course, continue to use the same yarn instead of attaching new yarn.

Working a knitted-on border -A tutorial by La Visch Designs - www.lavisch.com

The border pattern used in this example is the “traditional scalloped lace” border that can found on page 81 of the book “The magic of Shetland Lace Knitting”. It’s written by Elizabeth Lovick.

Working a knitted-on border step by step

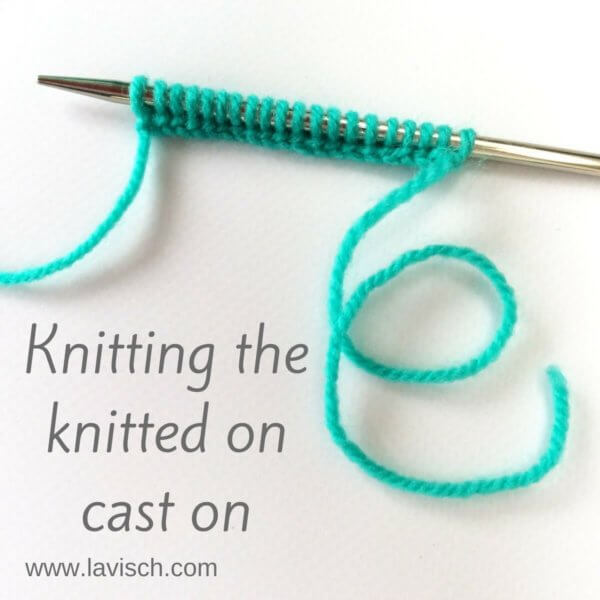
1. Start by casting on the number of stitches you need for your border, on the same needle that holds the body stitches of your project. I used the knitted-on cast-on.

Working a knitted-on border - A tutorial by La Visch Designs - www.lavisch.com

2. Now work according to the description given in the border pattern for the first row that you knit from the outside of the piece inwards, until 1 st before the end of the border stitches. Then knit the last border stitch together with the first body stitch.

Working a knitted-on border - A tutorial by La Visch Designs - www.lavisch.com

Working a knitted-on border - A tutorial by La Visch Designs - www.lavisch.com

3. Turn the work. Next, slip the stitch just worked purl-wise with the yarn in front of the right-hand needle. We do this to make sure that the connection is as flat as possible. Then move the yarn to the back of the work and work the next row of the border pattern. This row is knit outwards from the body.

Working a knitted-on border - A tutorial by La Visch Designs - www.lavisch.com

4. Repeat steps 2 and 3 until all stitches are worked. For every body stitch, you basically knit two rows of the border.

On the right side of the work it will look something like this:

Working a knitted-on border - A tutorial by La Visch Designs - www.lavisch.com

And this is the result on the wrong side of the work:

Working a knitted-on border - A tutorial by La Visch Designs - www.lavisch.com

In part 2 of “Working a knitted-on border” I show you how to turn the border around a corner.

tutorial: knitted-on border Read More »

cinematic

Cinematic by La Visch Designs

Cinematic is a simple but stylish triangular shawl knit sideways in garter stitch. With it’s generous size of 215 cm (84 ½ inches) along the upper edge and a depth of 52 cm (20 ½ inches) it is perfect to wear as an elegant scarf.

Eyelet rows and stripes in a contrast color, combined with a gradient yarn, make for a highly customizable accessory. Wear it with a shirt and jeans for a casual look or with that little back dress for a more dramatic look.


Pay what you want: (minimum €6.50)

Add to cart


Size and finished measurements

Finished dimensions of the sample Cinematic shawl: 215 cm (84 ½ inches) along the upper edge and a depth of 52 cm (20 ½ inches), measured after blocking.

Difficulty

Stitches used include knit, purl, yo, k2tog and kfb. This pattern is suitable for the beginning to intermediate knitter.

Pattern details

  • Worked flat back and forth.
  • Gauge is not critical in this design but should be on the loose side. For the sample shawl measured after blocking: 16 sts / 34 rows = 10 cm (4 inches) in garter stitch.
  • Pattern languages included: English and Dutch (Dit patroon omvat zowel een Nederlandse als een Engelse versie).
  • Digital PDF has 2 pages for the English version and 3 pages for the Dutch version (A4 size).

Materials

  • Yarn: MC: 460 m (503 yds) / 100 g Uilenstad Swifter Sokkenwol [75% Wool, 25% polyamide] in “Sweet Pink”.  CC: 210 m (230 yds) / 50 g Sockenwolle Treviso [75% Wool, 25% polyamide] in gray. Substitute any fingering weight yarn in a gradient for the MC and any solid color for the CC for a similar result.
  • Size 4 mm (US 6) / 80 cm (32 inches) circular needles were used for the sample shawl.
  • Yarn needle

cinematic Read More »

tutorial: a two-color cast-on

Two-color cast-on tutorial by La Visch Designs

Perhaps you have seen them, those beautiful patterns by Nancy Marchant or Stephen West. Both designers often use two-color knitting in the brioche technique.

To be able to start such a two-color project, you would of course need a two-color cast-on. The “two-color brioche cast-on”, also known as the “two-color Italian cast-on” is of course an obvious choice. However, this particular cast-on method fights me all the way!

Fortunately, I also found another two-color cast-on method, which gives an elastic result. This method is for me a lot easier to use. In this post I will show you how this alternative two-color cast-on technique is done.

Two-color cast-on step-by-step

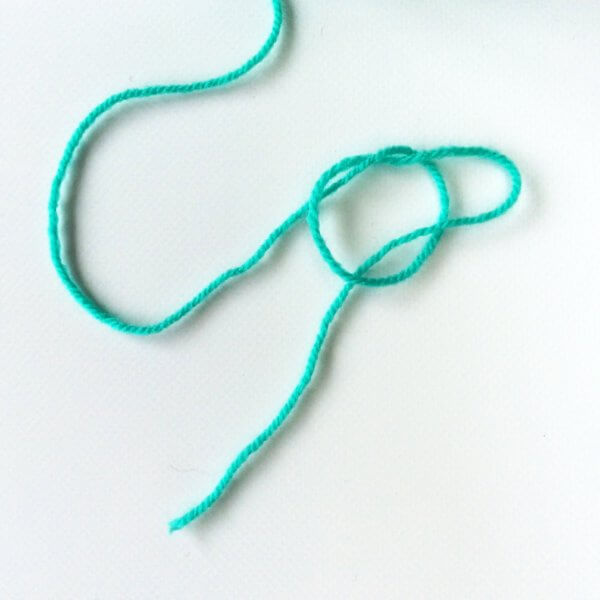
1. Start by making a slipknot holding both colors of yarn together to make the first stitch on the needle. Make sure you leave about 15 cm (6 inch) of yarn at the beginning, shorter lengths I find a bit tricky to weave in correctly.

Two-color cast-on tutorial by La Visch Designs

Two-color cast-on tutorial by La Visch Designs

2. Place the tip of the right needle between the two loops on the needle, make a yarn over with color 1 and pull up a loop.

Two-color cast-on tutorial by La Visch Designs

Two-color cast-on tutorial by La Visch Designs

3. Put this loop twisted on the left hand needle.

Two-color cast-on tutorial by La Visch Designs

4. Now place the tip of the right needle between the front two stitches on the left hand needle, make a yarn over with color 2 and again pull up a loop.

Two-color cast-on tutorial by La Visch Designs

5. Again put this loop twisted on the left hand needle.

Two-color cast-on tutorial by La Visch Designs

Repeat steps 2 to 5, alternating the two colors, until the required number of stitches has been cast-on. The slipknot that you started with, can now be dropped. This way you avoid a very noticeable knot in your work.

Now you are ready to start your two-colored knitting project!

Two-color cast-on tutorial by La Visch Designs

This cast-on is not only useful for brioche projects. It also lends itself very nicely for starting double-knitting projects. I also sometimes use it just to have a nice two-tone edge to my project, because I find it very decorative on its own.

tutorial: a two-color cast-on Read More »

free pattern – wine glass charms

Crochet wine glass charms - A free pattern by La Visch Designs

Here in the Netherlands Summer is having a somewhat hesitant start. The time for garden parties is bound to arrive soon though. Those I really enjoy: Firing up the BBQ, eating tasty sandwiches and salads and of course enjoying yourself with friends and family until the early hours. On those occasions I like to have a glass of wine. At busy parties there however usually comes a time that I really don’t know which one of the glasses on the table is mine…

For this I have found a solution: Wine glass charms! The idea is that you attach a unique charm to every glass, so you can always easily see which one is yours. Of course I wouldn’t be me if I didn’t make such charms myself!

In this post I’m giving you the pattern for wine glass charms that I designed to use with leftover bits of crochet cotton and a variety of buttons. These charms can of course also be used on other glasses with a stem. This pattern uses lobster stitch cord, that I explained step by step in this tutorial.

Crochet wine glass charms - A free pattern by La Visch Designs

Pattern wine glass charms

This pattern is written in American English crochet terminology.

Materials

  • Crochet Cotton, I used Schoeller + Stahl Manuela Häkelgarn No. 5 [100% mercerized cotton; 220 m / 50 g]
  • Various different buttons with a diameter of 10 to 20 mm (3/8 to 13/16 inch)
  • 1 crochet hook in size 2 mm (US steel crochet hook size 1)

Instructions

Round 1: Ch 2, 6 sc in second ch from hook and sl st closed to first sc. (6 sts)
Make sure you keep a yarn tail of about 30 cm (12 inch).

Round 2: Ch 1, 2 sc in each st, sl st to first ch of round. (12 sts)

Round 3: Ch 1, [2 sc in next st, 1 sc] 6 times, sl st to turning ch to close the round. (18 sts)

Round 4: Ch 1, [2 sc, 2 sc in next st] 6 times, sl st to turning ch to close the round. (24 sts)

Round 5: Ch 1, [2 sc in next st, 3 sc] 6 times, sl st to turning ch to close the round. (30 sts)

Next: Make a lobster stitch cord with a length of 12.5 cm / 5 inches.

Next: Close the cord into a loop by attaching the end with a sl st to the point where the start exists the crochet circle. Break yarn.

Finishing
Use the yarn tail from the center of the circle to sew on a button and weave in all ends.

Below you can find some examples of different types of buttons used. As you can see you can achieve very different effects by using various kinds of buttons!

Crochet wine glass charms - A free pattern by La Visch Designs

free pattern – wine glass charms Read More »
tutorial: crochet lobster stitch cord

Lobster stitch cord tutorial by La Visch Designs

Being it for handles of bags, bracelets, necklaces or other things, crochet cord often comes in handy. Personally, though, I don’t really like making a cord by doing single crochet stitches in a chain because it always so finicky to do. A good and attractive alternative is making a lobster stitch cord.

This type of cord is a tad thicker than a cord made from a chain and single crochet, and therefore also somewhat firmer. Really a good attribute when making bag handles! Of course, if you make lobster stitch cord of a thinnish yarn, the resulting cord will also be finer and thinner than when made from worsted or heavier weight yarn. And best of all: besides being rather decorative, a lobster stitch cord is started with only 2 stitches! You can determine how long to make it as you go.

In this post, I’ll show you how to crochet lobster stitch cord. These instructions are written in American English crochet terminology.

Lobster stitch cord step by step

For this example, I’m using Zeeman Super Soft yarn and a crochet hook size 4 mm (US G/6).

Lobster stitch cord tutorial by La Visch Designs

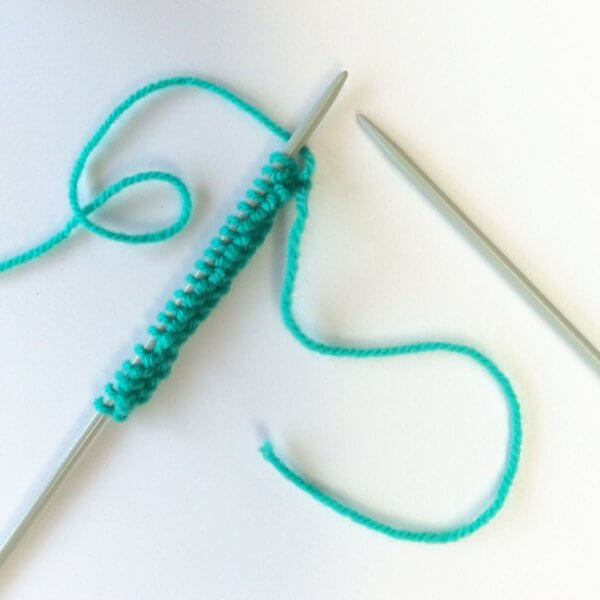
1. Start by chaining 2 stitches, followed by 1 single crochet in the second chain from the hook.

Lobster stitch cord tutorial by La Visch Designs

The result will look like the picture below. You can see that the stitch you have just created is pointing down on the side of the hook. This is indicated by the arrow on the right.

Lobster stitch cord tutorial by La Visch Designs

2. In this step, you turn the work towards you, as indicated by the left arrow pictured above. The stitch just made is now facing you, make sure the thread of yarn stays behind the work. In the picture below, the arrow indicates the very same stitch after rotating the work.

Lobster stitch cord tutorial by La Visch Designs

3. Insert your hook in the stitch and make a single crochet by pulling up a loop, wrap the yarn around your hook and pulling it through the two loops on the hook.

Lobster stitch cord tutorial by La Visch Designs

4. After the stitch you just made, you see two loops on the underside of your work (see arrow). These are indicated by the two white lines. Now turn your work towards you, similar as in step 2. Next insert the hook into the two indicated loops and make a single crochet by pulling up a loop, wrap the yarn around your hook and pulling it through the two loops on the hook.

Repeat step 4 until your cord has the desired length.
And that is all there is to it!

Lobster stitch cord tutorial by La Visch Designs

tutorial: crochet lobster stitch cord Read More »
tutorial: making your own yarn display

Making a yarn display - by La Visch Designs

You probably recognize this: All those beautiful skeins of yarn in a lush variety of materials and colors and no way to enjoy it all because it is all tucked away in the stash. It really is a shame to have to put it all away to protect it against the effects of UV light, odors, dust, pets and vermin. It makes it pretty hard to enjoy the woolly splendor….

Why not make a rotating exhibition of your favorite yarns on your favorite spot in the house? Regular “tossing” of the wool stash also has its advantages. It discourages moths and makes it possible to nip an infestation in the bud. Also, doing this we can enjoy all the yarn, even if we are busy with things other than crochet and knitting.

Therefore, I want to show you in this post how you can make an etagere yourself for superb display of your favorite skeins of yarn.

Materials

Making a yarn display - by La Visch Designs

  • 3 plates / dishes in varying sizes
  • 2 cups, glasses or ice cream sundaes
  • A sealant gun with Polymax (DIY store)
  • Ruler
  • Bowl with soapsuds
  • Some paper towels

In this tutorial I use plates and cups I bought at the Hema. However, if you want an etagere with a more vintage or romantic appearance, a thrift store can be a good place to look. Often there is a great variation to get some lovely plates with flowers, gold edges and fine glassware for friendly prices.

I like to use Polymax glue instead of the glue from a regular glue gun. Polymax has the great advantage that you can get the glue loose again if it does not go right the first time. Also, with this kit the glue joints can be smoothed after applying similar to silicone sealant. This makes the result very nice with less effort!

Step by step

1. Start by properly washing your plates and cups. You want to have them really clean and free of dust and greasy spots.

Making a yarn display - by La Visch Designs

2. Grab the biggest plate and measure accurately where the exact midpoint is. Mark this on the plate with pencil, the markings can be brushed off later easily.

3. Grab a cup and apply your glue on the top edge.

4. Turn the cup and put it upside down on the big plate. Make sure you put it right in the middle. If necessary, use the ruler to measure whether it is indeed in the middle. At this stage you can still push the cup around a little to position it correctly if necessary.

5. Press the cup lightly.

6. Make your wet finger with a little of the soapy water and smooth down the connection between the cup and the plate while continuing to press the cup to the plate. Use paper towels to wipe your fingers.

Making a yarn display - by La Visch Designs

7. Repeat steps 2 to 6 for the plate in the middle size. Allow the glue to harden at least 2 hours. After 4 hours the Polymax has fully cured, but you can proceed before that time if you’re careful!

Making a yarn display - by La Visch Designs

8. Now we go on to finish our etagere: Take the smallest plate, turn it over, and measure at the bottom exactly where the middle is.

9. Take the medium-sized plate with attached cup and apply glue to the bottom of the cup.

10. Turn over and position the cup in the center of the smallest plate. Gently press down and smooth the adhesive seam as previously if the shape of your cup permits. In my case that is not possible, but it doesn’t matter much because it will be hard to see anyway.

11. Repeat steps 8 to 10 to join the largest size plate-with-cup on top of the medium sized plate.

12. Let the glue harden now for at least 4 hours. After this you can turn it around: your etagere is ready!

Making a yarn display - by La Visch Designs

Tip

It is not a disaster if there gets some glue somewhere else on your plate or cup. Polymax dries up as a kind of transparent rubber. Because of this it is possible to simply scratch it off with your nails once dried, if it is in places you do not want it to be.

And here is mine, filled with some colored beauties that would otherwise have been put away in some drawer…

Making a yarn display - by La Visch Designs

tutorial: making your own yarn display Read More »