fixing a mistake in lace knitting

Fixing a mistake in lace knitting - a tutorial by La Visch Designs

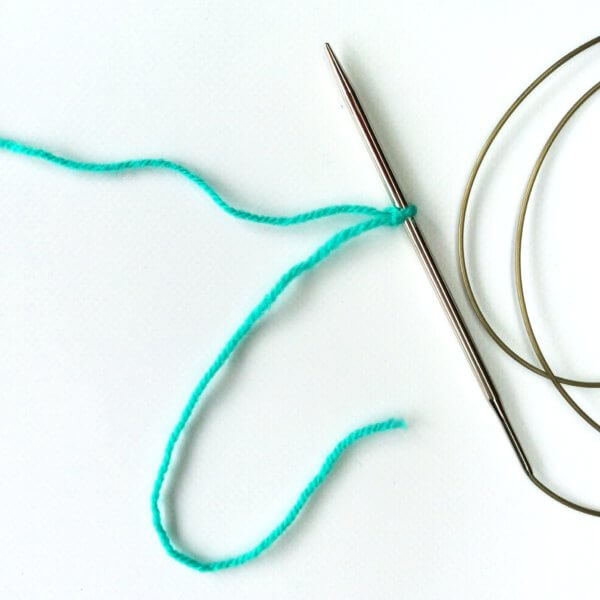
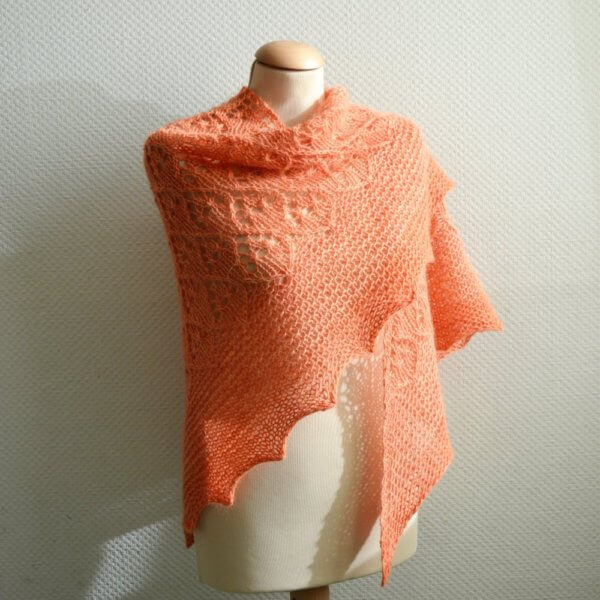
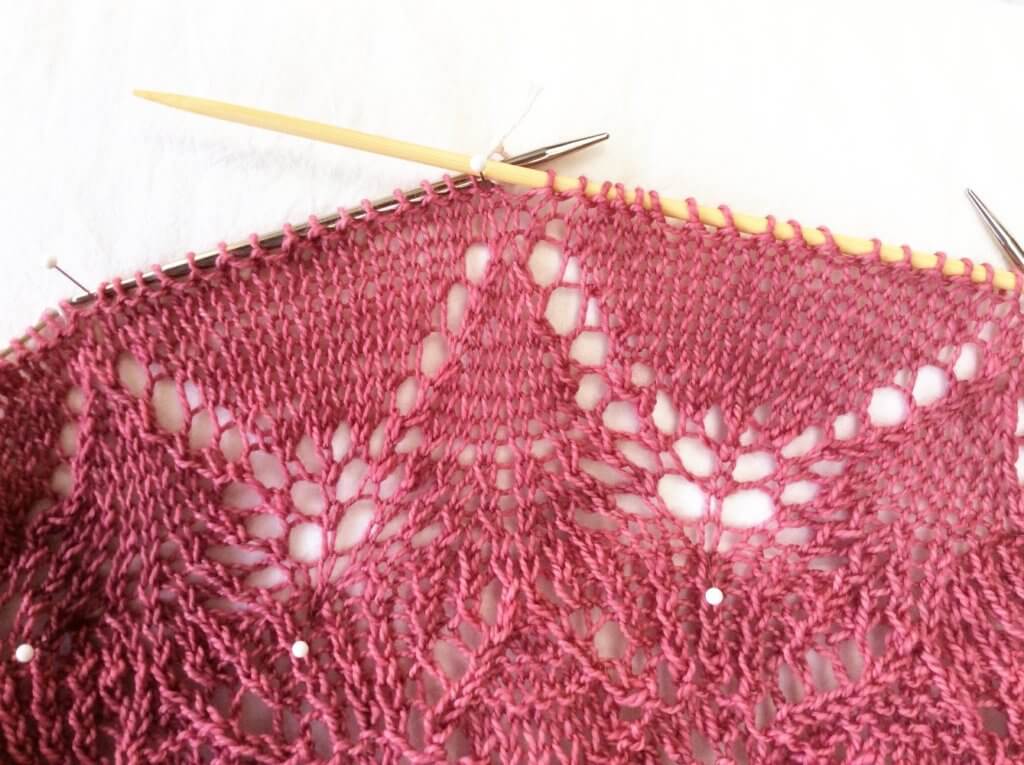
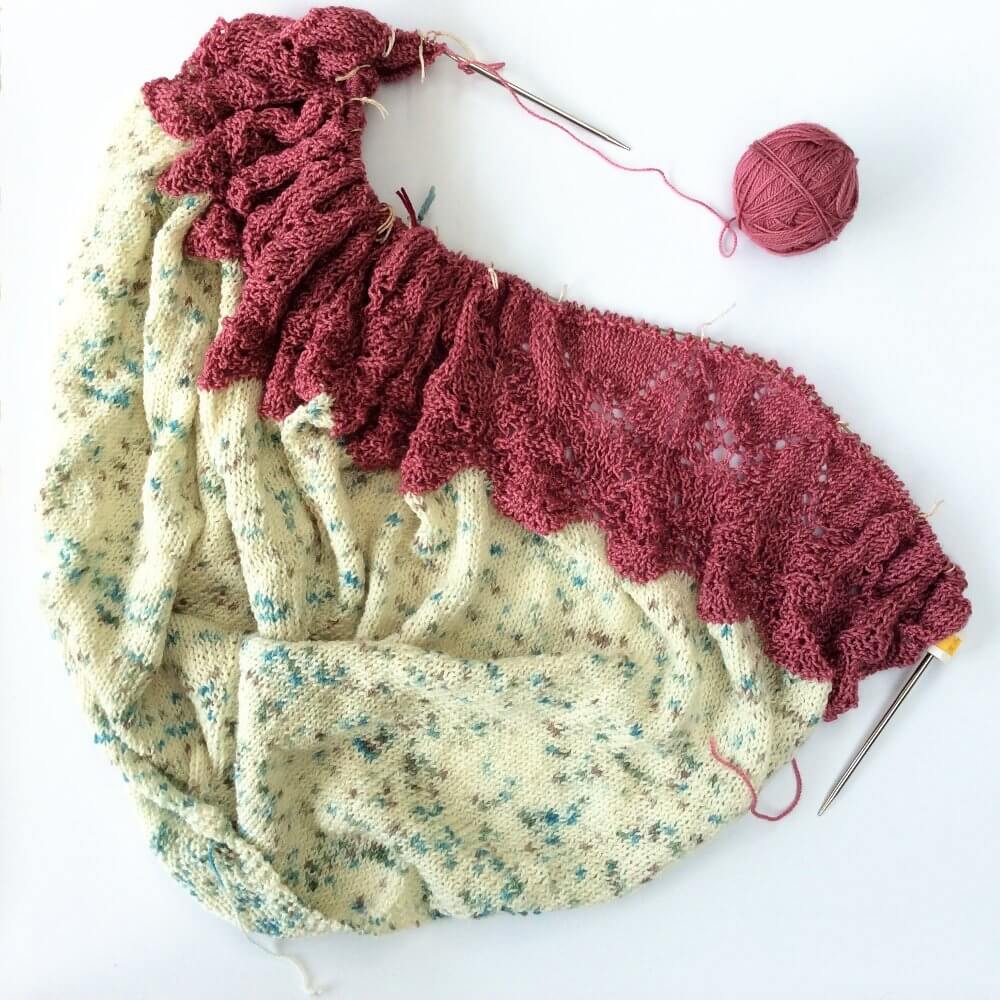
This post is all about my recent confrontation with fixing a mistake in lace knitting. As you may have seen if youโ€™re following me on Instagram or Facebook, Iโ€™ve been happily knitting along on my latest design using Nurturing Fibres Super Twist Sock in โ€œOdetteโ€ and โ€œhumbugโ€. I got mine from Wol zo Eerlijk, a lovely store with lots of environmentally friendly and fair trade yarns. Anyway, there I was, in the home stretch, with only 10 more rows of edging to go before the bind off. It was then that I saw it: a mistake in my lace, 9 rows down!

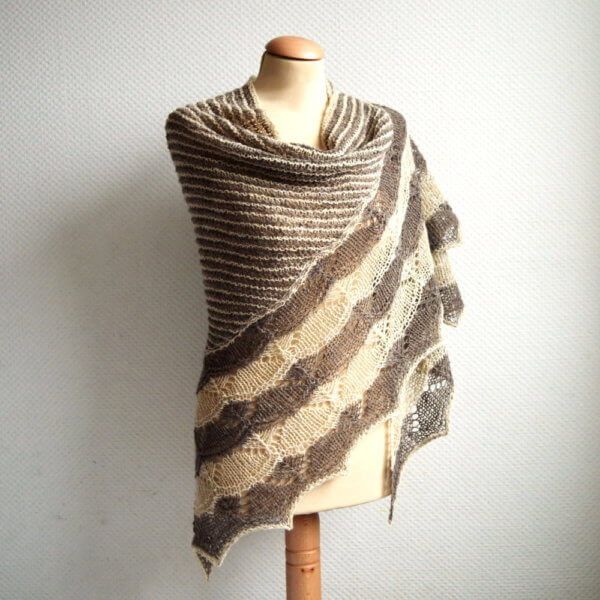
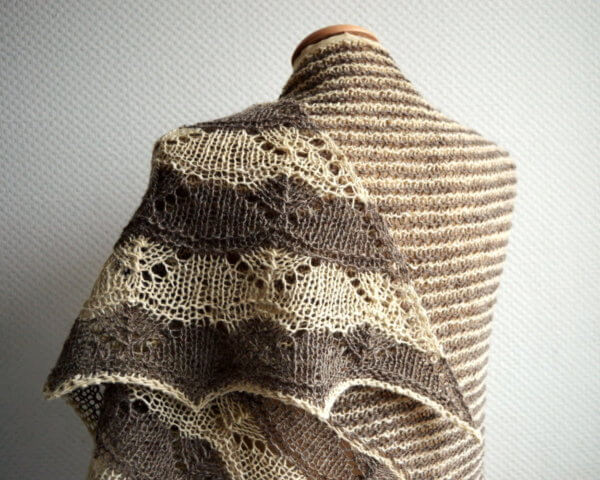
When I found the mistake in the pink border of my Pink Monarda shawl pictured, I had about 320 stitches per row. So no, I was not going to rip out all that work! Instead, I dropped down only 8 stitches to the place where I made the mistake. After thatย was correcting the error, followed by knitting everything back up to the row I was on.

In this post, I’ll show you exactly what I did!

Helpful materials

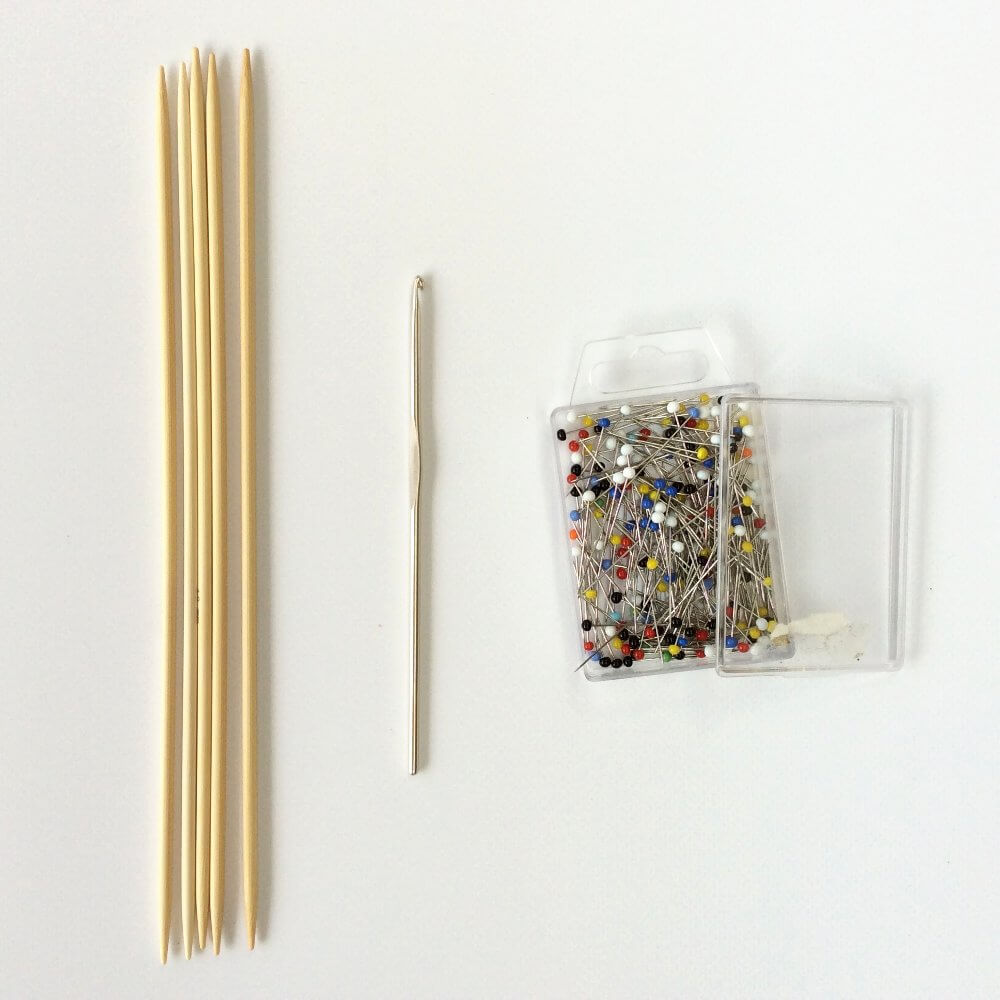
To start, it is pretty handy to have some tools available to make fixing the mistake easier. I used the following:
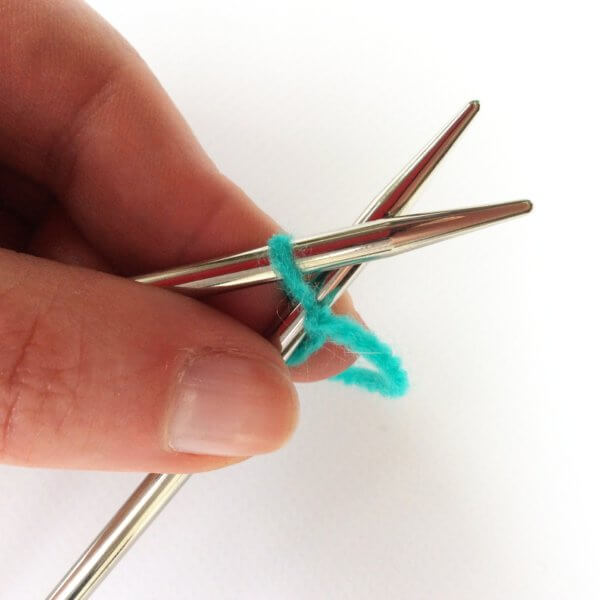
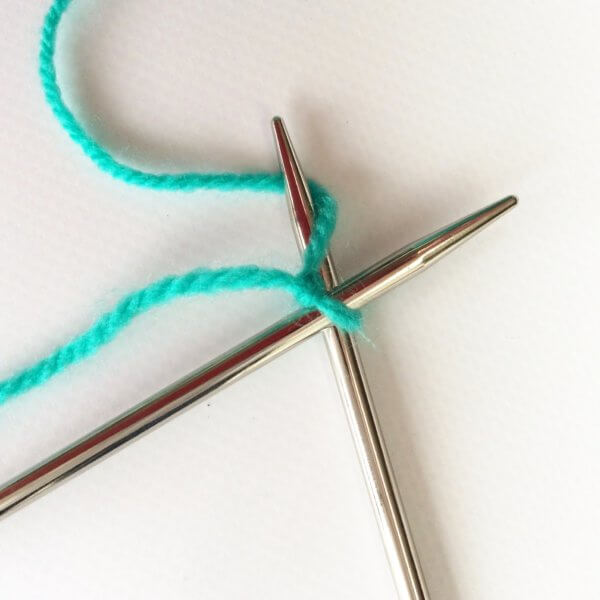
  • A set of DPNโ€™s (double pointed needles) in the same size as the needles used in your project, or smaller.
  • A crochet hook.
  • Some pins.
  • A pillow.
Fixing a mistake in lace knitting with La Visch Designs

The pillow and pins were used to make sure that your work stays exactly where you need it to be. Also, it helps to see the mistake better when pinned out, instead of all scrunched up like lace tends to be before blocking.
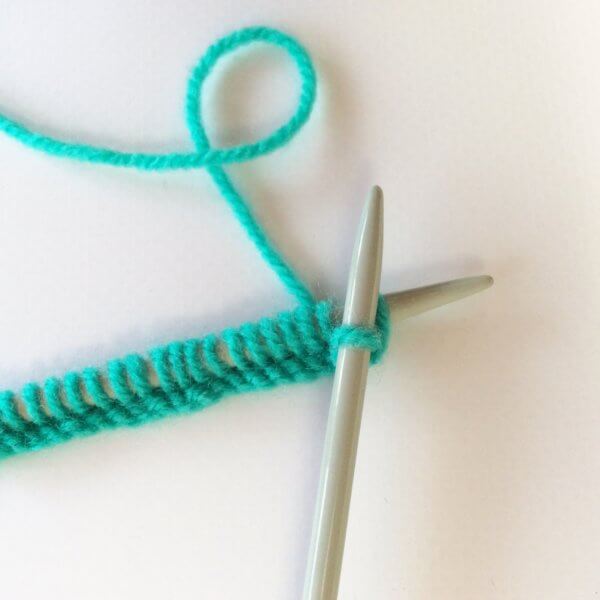
On to the fixing!

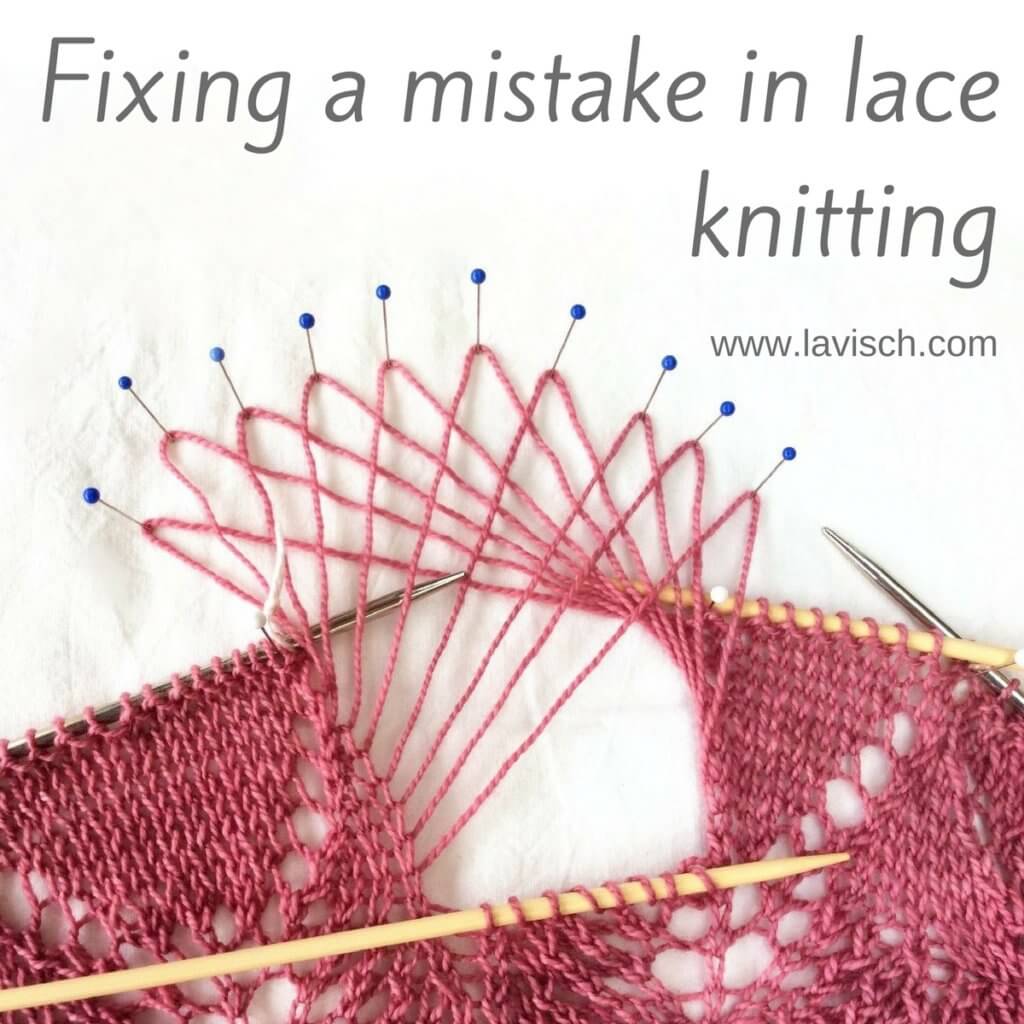
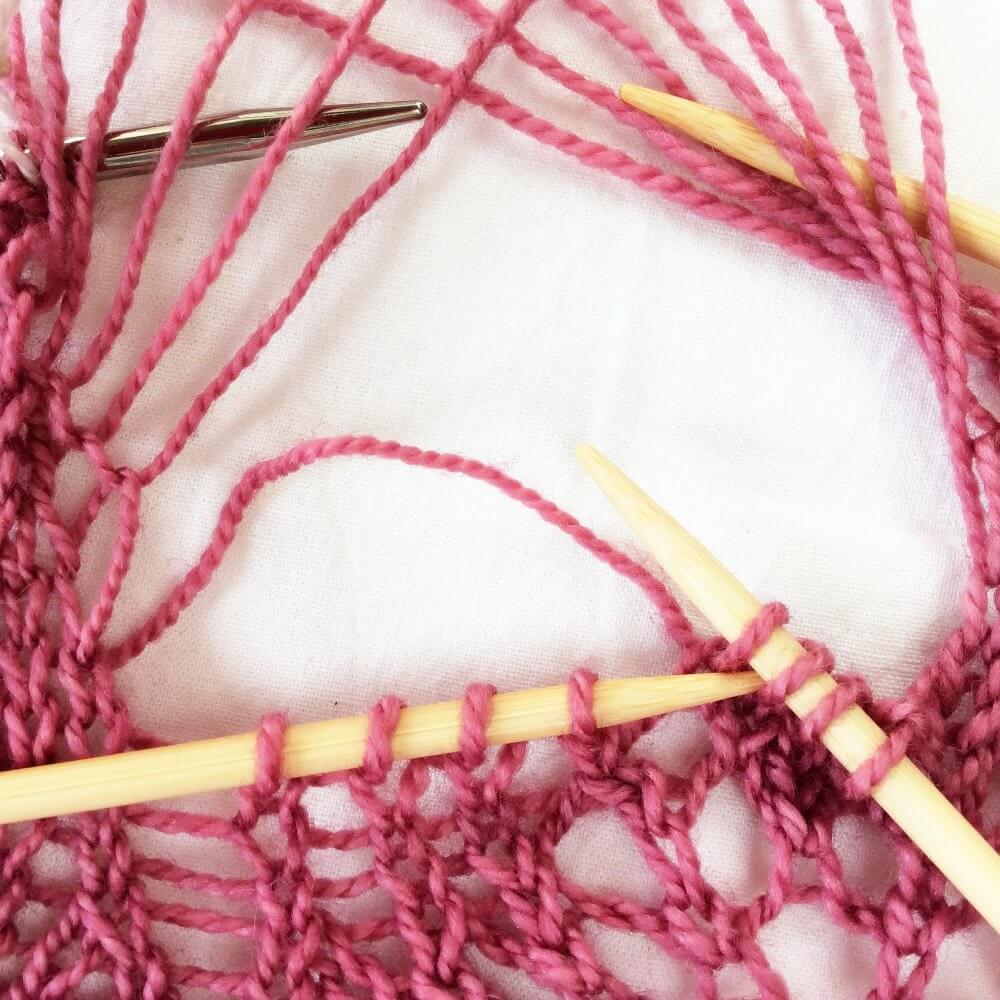
1. To start, I pinned out my knitting on the pillow. I did this in such a way that I could clearly see a repeat of the lace pattern that was knitted correctly, as well as the one with the mistake in it. I slipped some of the stitches on one of the DPNโ€™s to help fixate the whole better on the pillow. Can you see in the picture below where the mistake is?

Fixing a mistake in lace knitting with La Visch Designs

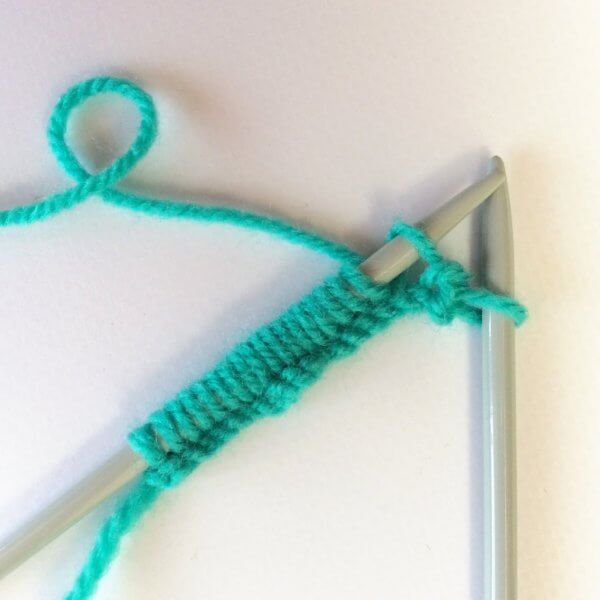
2. The mistake is in the left half of the repeat, near the 4th yarn over, counted from the needle. Can you see it? In the picture below, I have indicated it with the circle.
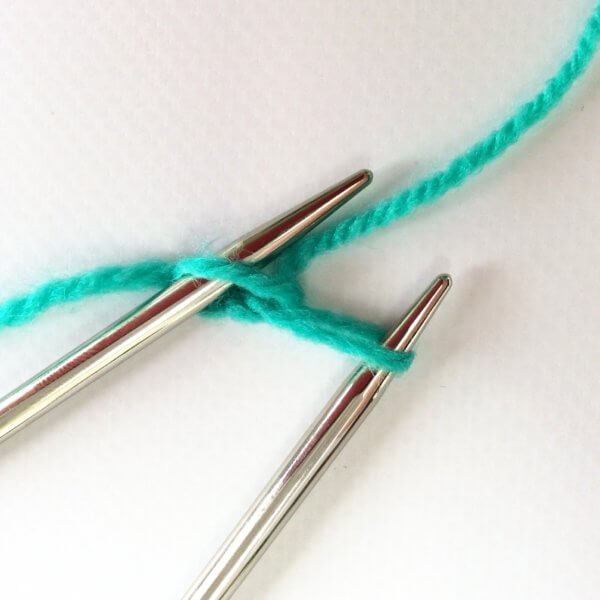
Fixing a mistake in lace knitting with La Visch Designs

3. In this particular case, it wasnโ€™t necessary to drop down the whole repeat. Instead, I only dropped the 8 stitches on the left half of the repeat. I dropped down until I reached the purl row exactly below the row with the mistake in it.

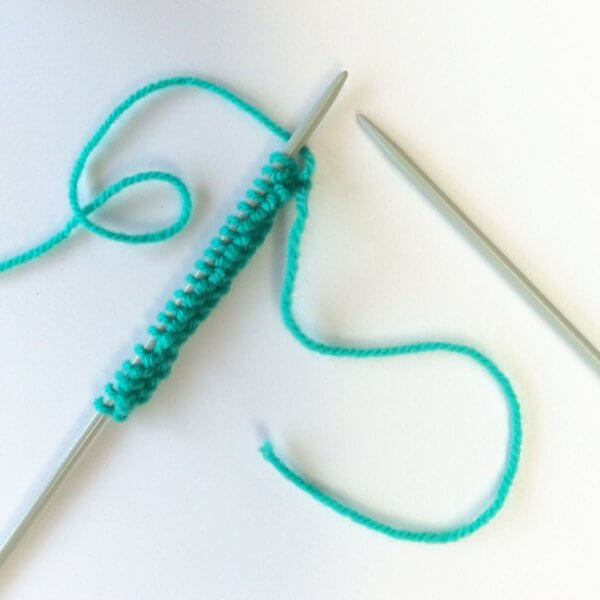
When approaching the row below the mistake, I stopped ripping back and started to carefully tink (tink = knit backward!) further back, catching the released stitches with another DPN. It is especially important to do it like this when working with very slippery yarn. If you donโ€™t take care, the knitting may run deeper down than desired, thus increasing the amount of fixing to do.

The yarn from every row dropped, I pinned to the pillow, going from left to right. This made sure nothing got tangled, and I could easily count the number of dropped down rows. This, in turn, made it easier to see where to pick up the chart when knitting it back up.

Fixing a mistake in lace knitting with La Visch Designs

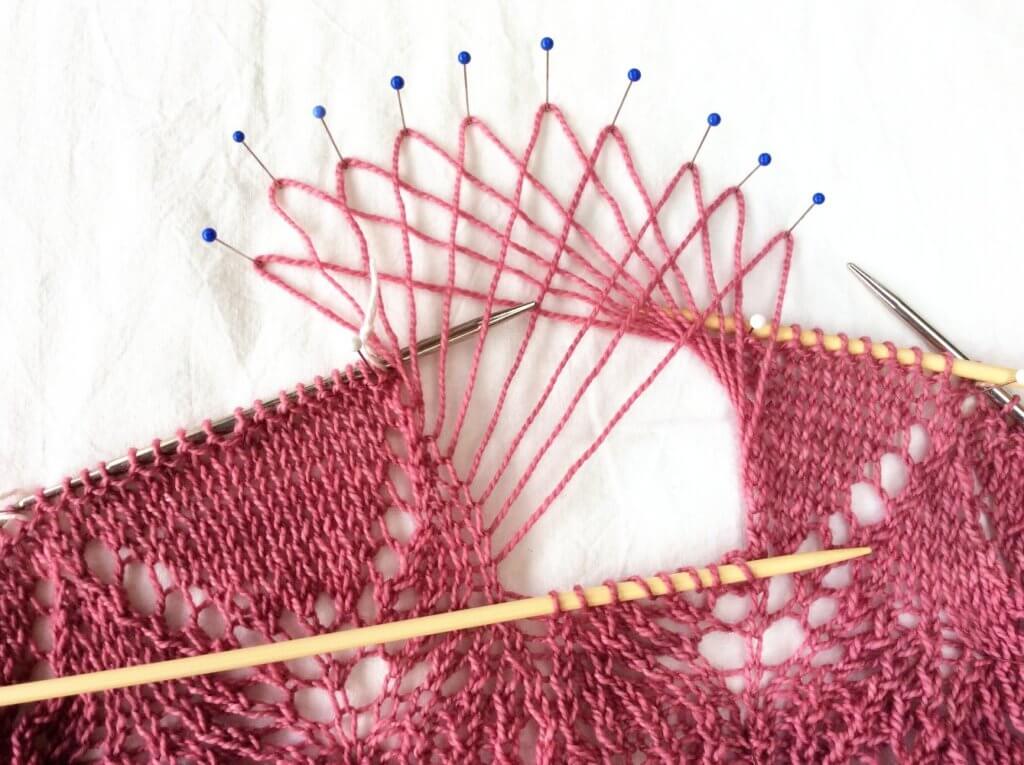
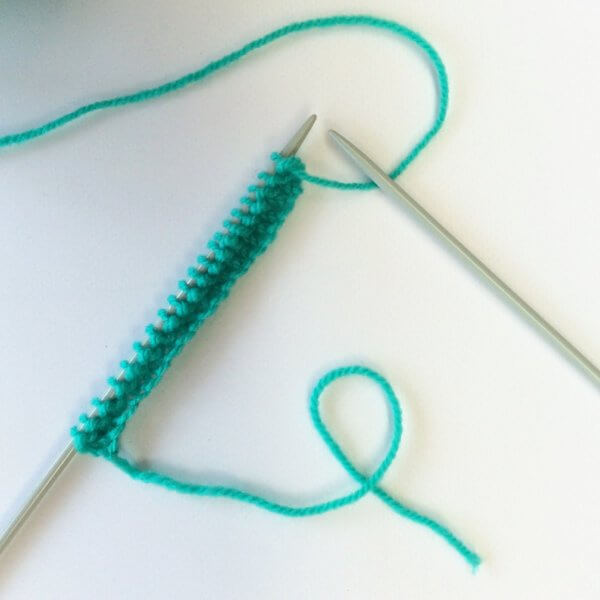
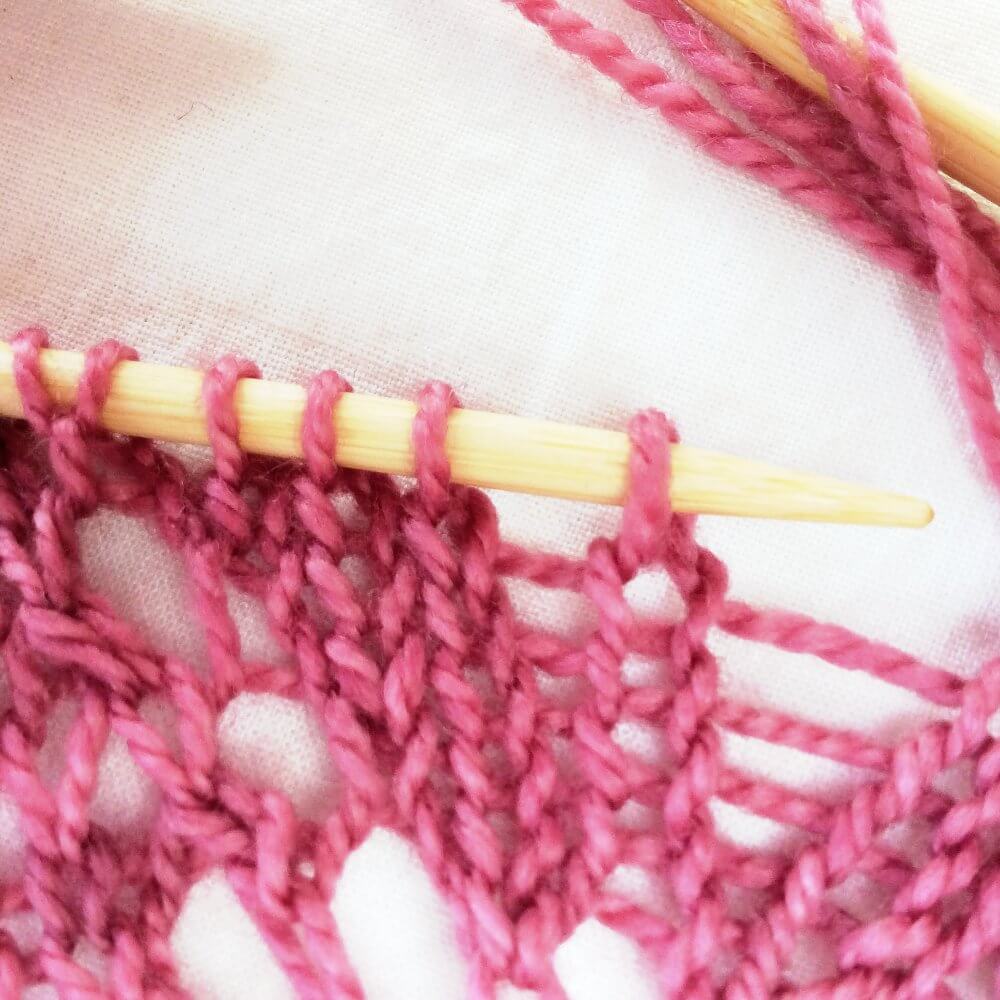
4. Then it was a matter of knitting back in pattern. As you can see, you use the free loop of yarn, just as you would use the thread running to the ball of yarn. If you find it challenging to catch the thread correctly to pull it through a stitch, you can always use the crochet hook to assist with this.

Fixing a mistake in lace knitting with La Visch Designs

5. Because of the way I manipulated the yarn through the stitches, some of the stitches got mounted twisted. In the picture below, you can see that the left leg of the stitch is in front of the needle, instead of at the back. This really is no problem, but it is something to pay attention to. To correct this, I knitted these twisted stitches through the back loop.

Fixing a mistake in lace knitting with La Visch Designs

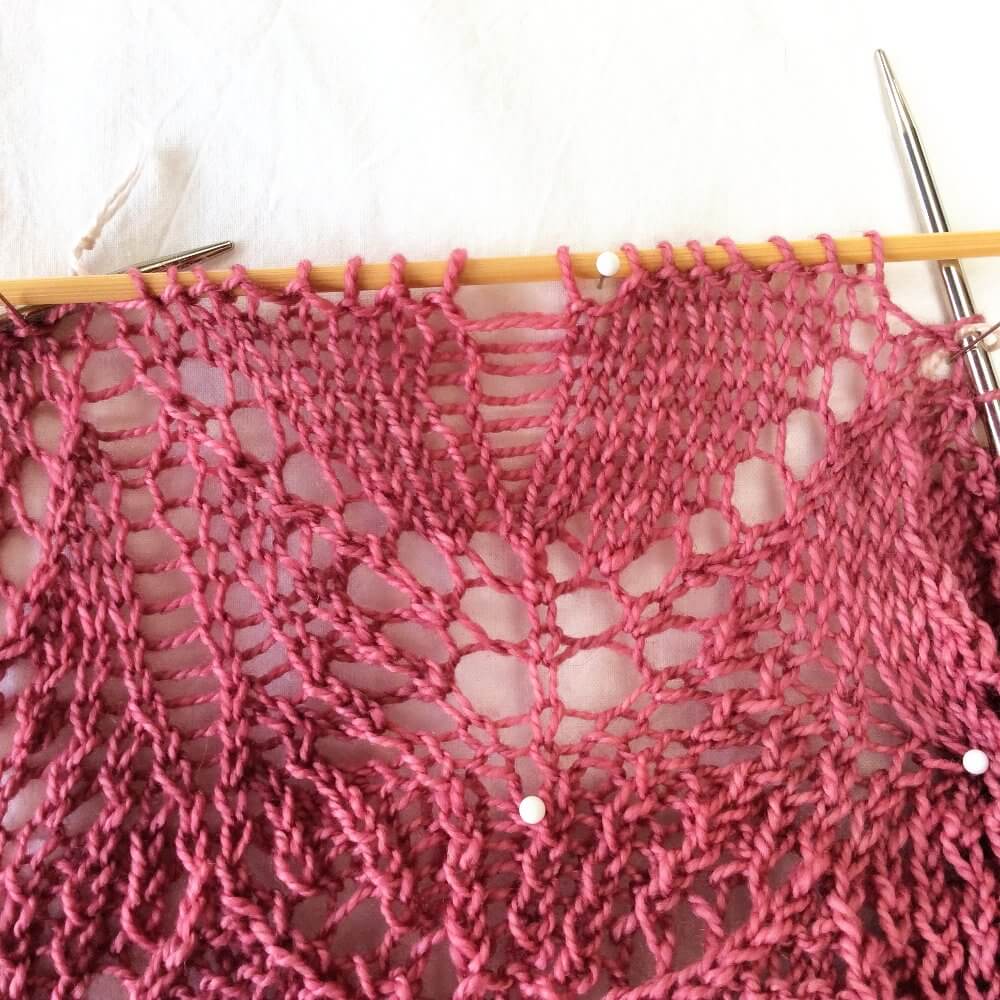
6. And here you see the result: all fixed! The loose stitches you can see next to the re-knitted stitches are because of the tension on those threads when manipulating the dropped down stitches. This should, however, correct itself during blocking. If itโ€™s still a tad visible, you can redistribute the excess yarn a bit over the various stitches.

Fixing a mistake in lace knitting with La Visch Designs

7. And this is how to go about fixing a mistake in lace knitting. Now on to knitting those final rows of this shawl…

Fixing a mistake in lace knitting with La Visch Designs

fixing a mistake in lace knitting Read More ยป

heuvel en dal

a design by La Visch Designs

The Heuvel en Dal lacy chevron wrap is designed to give both texture and color to your outfit. Make it in greens or your favorite color combination. Heuvel en Dal is written for the size as pictured, however, the width and length are easily adjusted for further customization. This design is suitable for any lace weight or fingering weight yarn.

The instructions are both fully charted and written out. This pattern is written using American English crochet terminology.


Pay what you want: (minimum โ‚ฌ6.50)

โ‚ฌ

Add to cart


Difficulty level

Techniques used consist of foundation single crochet, sc in back loop only and various sc and dc decreases. Stitches used in this pattern: ch, sc and dc.
This pattern is suitable for the intermediate crocheter or the advanced beginner.

Size and finished measurements

One size (easily adjusted) โ€“ measurements after blocking: 50 cm (19 ยพ inches) wide and 143 cm (56 ยผ inches) long.

Pattern details

  • Gauge is not critical with this design, for the sample stole: 14.1 sts and 9.6 rows = 10 cm / 4 inches over pattern after blocking.
  • Pattern languages included: English and Dutch (Dit patroon omvat zowel een Nederlandse als een Engelse versie).
  • Digital PDF has 4 pages (letter size).

Materials

  • รstex Einband [100% wool; 250 m (273 yds) / 50 g] in the following colors and amounts: C1: 250 m (273 yds) / 50 g in 1764 Vivid Green, C2: 250 m (273 yds) / 50 g in 1763 Green, C3: 250 m (273 yds) / 50 g in 9112 Dark Green.
  • A size 4 mm (US G/6) crochet hook.
  • Yarn needle
  • Removable stitch marker (optional)

heuvel en dal Read More ยป

how to work the knit and garter stitch

by La Visch Designs
How to work the knit and garter stitch

In this post, I’m going to show you how the knit and garter stitch is worked. The knit stitch is the basis of most knitting stitches and therefore often the first one beginning knitters start with. When knitting a flat piece in the knit stitch only, you get a fabric in whatโ€™s called โ€œgarter stitchโ€. Usually, a piece knit in garter stitch will be shorter and wider than the same amount of stitches and rows worked in other types of stitches. Garter stitch has a wonderful texture, is very squishy and elastic and best of all: it lies flat when knitted back and forth! Truly a wonderful stitch to have in you knitter’s tool box

In this post, I’ll show you how to work both the basic knit stitch and the ins and outs of garter stitch when worked back and forth (flat). Working garter stitch in the round also involves purling and will, therefore, be addressed in a different post.

Working the knit and garter stitch back and forth step by step

1. Iโ€™m starting with a number of stitches already cast on. What you see here, is done with the knitted on cast on.

How to work the knit and garter stitch - a tutorial by La Visch Designs

2. To start, take your second needle and insert the tip into the stitch with the needle under your main needle. Insert at an angle so your needles cross as pictured.

How to work the knit and garter stitch - a tutorial by La Visch Designs

3. Hold the crossed needles together, take the yarn connected to your ball and wrap it around the bottom needle. Begin by going around, and then over. Depending on your knitting style this can be done with either your left or your right hand. The end result is however always the yarn wrapped around the needle as pictured.

How to work the knit and garter stitch - a tutorial by La Visch Designs

4. Take the bottom needle and bring it back through the stitch pulling the yarn with it.

How to work the knit and garter stitch - a tutorial by La Visch Designs

5. Now slide of the original stitch you inserted your needle in (step 2) and tighten the yarn a bit. In the above picture, you see the original stitch on the right of the second needle. You have now knit a knit a stitch!

How to work the knit and garter stitch - a tutorial by La Visch Designs

6. Repeat steps 2-5 until you’ve worked all stitches on your main needle. The second needle which now has all the stitches on it looks something like this:

How to work the knit and garter stitch - a tutorial by La Visch Designs

7. Now switch the knitting needles around: the needle containing all the stitches becomes the main needle and the empty one becomes the second needle. I know I could also call them the left-hand and right-hand needles, but this could become confusing for those holding their needles differently.

How to work the knit and garter stitch - a tutorial by La Visch Designs

8. Make sure your yarn is behind the needle and again follow steps 2-5 until you’ve worked all stitches on your main needle. The second needle now again has all the stitches on it:

How to work the knit and garter stitch - a tutorial by La Visch Designs

9. When switching needles again, you can now see the characteristic ridges of garter stitch starting to emerge:

How to work the knit and garter stitch - a tutorial by La Visch Designs

10. When Iโ€™ve knitted a couple of more rows we have a small swatch of garter stitch fabric! And this is how to work the knit and garter stitch.

How to work the knit and garter stitch - a tutorial by La Visch Designs

Tips & tricks

  • Garter stitch comes out in ridges and each ridge is 2 rows. To know how many rows youโ€™ve knit you can just count the ridges and then double the number.
  • Garter stitch looks the same on both right side (RS) and wrong side (WS) rows. There is, however, a trick to determine what side you are: Did you see in the picture with step 1 above where the yarn tail from casting on was? With the first row, I knit (which is usually called the RS) the yarn tail was on the bottom left. This means that every time I have my knitting on the main needle and the yarn tail is on the bottom left, Iโ€™m about to knit a RS row. You can of course also use a stitch marker or safety pin to see easily which side is what.
  • In this tutorial, I showed you how to work garter stitch by working knit stitches on every row. By purling every row, however, you also get garter stitch!
  • If you want to work in multiple colors, you should know that in garter stitch, if you switch colors on a right side row, there will be a line across the wrong side where you can see the loops of stitches connecting. This can, of course, be a design feature. If you donโ€™t want this line visible, make sure to start the new color with the RS facing.

how to work the knit and garter stitch Read More ยป

the knitted on cast-on

by La Visch Designs

The knitted on cast-on is a very strong and reasonably stretchy cast on to start your knitting project with. It’s the cast on I use most often because it is just so easy to do. Personally, I wouldnโ€™t use it for a knitting project that would be blocked heavily. For all other applications, though, it makes a very nice edge. Think for example of edges of garments, non-lace blankets etc.

This particular method is also great for the beginner knitter because it is basically the knit stitch that is used to cast on. In this post, I’ll show you how to do it!

The knitted on cast-on step by step

1. Take a length of yarn from your ball of yarn.

Knitting the knitted on cast-on - a tutorial by La Visch Designs

2. Make a slip knotโ€ฆ.

Knitting the knitted on cast-on - a tutorial by La Visch Designs

3. โ€ฆ.and insert the needle into the upper loop and tighten the slip knot onto the needle. This is the first stitch. Make sure to leave enough on the tail of the yarn to weave in later.

It is also possible not to use a slip knot and just loop the yarn around the needle for your first stitch, thus avoiding the knit in the corner of your work. For the sake of this tutorial, however, Iโ€™m going with the slip knot version.

Knitting the knitted on cast-on - a tutorial by La Visch Designs

4. Take your second needle and insert the tip into the stitch with the needle under your main needle. Insert at an angle so your needles cross as pictured.

Knitting the knitted on cast-on - a tutorial by La Visch Designs

5. Hold the crossed needles together, take the yarn connected to your ball and wrap it around the bottom needle: go around, and then over. Depending on your knitting style this can be done with either your left or your right hand. The end result is however always the yarn wrapped around the needle as pictured.

Knitting the knitted on cast-on - a tutorial by La Visch Designs

6. Take the bottom needle and bring it back through the stitch pulling the yarn with it in a loop.

Knitting the knitted on cast-on - a tutorial by La Visch Designs

7. Now transfer the new loop from the bottom needle to the other needle and tighten the yarn. You have now cast on a stitch!

Knitting the knitted on cast-on - a tutorial by La Visch Designs

8. Repeat steps 4-7 until you have reached the desired amount of stitches on your needle.

Knitting the knitted on cast-on - a tutorial by La Visch Designs

And that is all there is to it! The knitted on cast-on looks like this after a few more stitches have been cast on.

the knitted on cast-on Read More ยป

stip baby cardigan in ‘handwerken zonder grenzen’

Stip Baby Cardigan

The little two-tone Stip Baby Cardigan is a simple and elegant layering piece. Just the thing for when the weather is still cold and a little extra warmth is much appreciated. With its eye-catching dot yoke and soft A-line shape, it is bound to become a timeless favorite.

This cardigan is worked back and forth from the top down in one piece. Finish it with a reverse single crochet neck and hem finishing in a contrasting color.

Cover HZG 200

I’m proud to tell you, that the Stip Baby Cardigan design has been published in issue 200 of Handwerken Zonder Grenzen. This is the special anniversary issue of the Dutch magazine Handwerken Zonder Grenzen! You can order this issue in Dutch here.

This pattern is also available in both English and Dutch through La Visch Designs!

Stip Baby Cardigan in Handwerken Zonder Grenzen 200

stip baby cardigan in ‘handwerken zonder grenzen’ Read More ยป

zeezicht

Zeezicht

Zeezicht: a semi-circle Pi shawl, filled with sea and beach lace patterns. Inspired by the colors in the lovely Eternity Ranch sock yarn used, this design is truly eye-catching. This design will also make solid colored yarns shine!

The Zeezicht shawl is worked from the top-down and is started with a garter stitch tab. The lace is patterned on the right side only. The instructions are both charted and written out.


Pay what you want: (minimum โ‚ฌ6.50)

โ‚ฌ

Add to cart


Difficulty level

This half-circle shawl is knit from the top down, starting with a garter tab cast-on. Stitches used include knit, purl, yo, m1, skp, k2tog, as well as a double decrease. This pattern is therefor suitable for the intermediate to advanced knitter.

Size and finished measurements

One size (easily adjusted): span width of 146 cm (57 ยฝ inches) and a depth of 54 cm (21 ยผ inches), measured after blocking.

Pattern details

  • Gauge is not critical in this design. In the sample shawl: 22 sts / 25 rows = 10 cm (4 inches) over Sand Dune Lace, knitted on smaller needles and measured after blocking.
  • Pattern languages included: English and Dutch (Dit patroon omvat zowel een Nederlandse als een Engelse versie).
  • Digital PDF has 4 pages in the English version and 5 in the Dutch version (letter size).

Materials

  • 100 g / 405 m (443 yds) Merino/Nylon Sock by Eternity Ranch Yarns [75% Merino wool, 25% nylon] in โ€œSea Sideโ€.ย Substitute any fingering weight yarn for a similar result.
  • Size 4 mm (US 6) / 80 cm (32 inches) circular needles.
  • Size 4.5 mm (US 7) / 80 cm (32 inches) circular needles (for bind-off only).
  • Yarn needle
  • stitch markers (optional)

zeezicht Read More ยป

toscane

Toscane

Toscane: a lovely chunky lace shawl, named after that gorgeous burned orange color so often found in the hills of Tuscany. This particular color was achieved by dyeing the รstex Lรฉttlopi yarn with madder. Dye your own with the tutorial or choose one of the many available colors. Toscane is a fast, top-down knit and bound to become a favorite!

Written and charted instructions are included for the lace body of the shawl.


Pay what you want: (minimum โ‚ฌ6.50)

โ‚ฌ

Add to cart


Difficulty level

This shawl is knit from the top down, starting with a garter tab cast-on. Stitches used include knit, purl, yo, k2tog, skp, double decreases, make 1 with a backward loop, as well as knitting through the back loop. This pattern is therefor suitable for the intermediate knitter.

Size and finished measurements

One size (easily adjusted): Wingspan of 177 cm (69 ยฝ inches) and a depth of 75 cm (29 ยฝ inches), measured after blocking.

Pattern details

  • Gauge is not critical in this design. For the sample shawl measured after blocking: 9.2 sts / 18.8 rows = 10 cm (4 inches) over lace pattern.
  • Pattern languages included: English and Dutch (Dit patroon omvat zowel een Nederlandse als een Engelse versie).
  • Digital PDF has 4 pages in the English version and 5 in the Dutch version (letter size).

Materials

  • 400 m (437 yds) รstex Lรฉttlopi (100% wool; 100 m (109 yds) / 50 g). Substitute any aran weight wool yarn for a similar result.
  • 5 mm (US 8) / 80 cm (32 inches) circular needles.
  • Yarn needle
  • 2 stitch markers to indicate the center stitch
  • 22 stitch markers (optional)

toscane Read More ยป

bichrome

Bichrome shawl

In Bichrome you find a two-color garter stitch center triangle with a stunning two-color lace edge. Made using the lovely and rustic Elena base by Moeke Yarns, Bichrome is the perfect thing to throw on when there is a bit of chill in the air. Bichrome starts at the bottom corner of the center triangle and is increased until large enough. Bind off stitches for the top of the shawl, then pick up stitches along two edges of the triangle to work the border outwards.

Written and charted instructions included for the lace border.


Pay what you want: (minimum โ‚ฌ6.50)

โ‚ฌ

Add to cart


Difficulty level

Stitches used include knit, purl, yo, kfb, skp, a double decrease as well as knitting through the back loop. This pattern is suitable for the intermediate knitter.

Size and finished measurements

One size: Wingspan of 192 cm (76 ยฝ inches) and a depth of 88 cm (34 ยพ inches), measured after blocking.

Pattern details

  • Written for a gauge of 22 sts / 28 rows = 10 cm (4 inches) over body pattern in the center triangle after blocking. Gauge is not critical for this design, but a loose gauge is strongly advised.
  • Pattern languages included: English and Dutch (Dit patroon omvat zowel een Nederlandse als een Engelse versie).
  • Digital PDF has 4 pages (letter size).

Materials

  • Moeke Yarns Elena Single (100% wool; 330 m (361 yds) / 100 g) in the following colors and amounts: C1 – 355 m (388 yds) / 117 g in Gray, C2 – 341 m (373 yds) / 103 g in Natural. Please note that Moeke Yarns Elena is sold in varying put ups!
  • 4.5 mm (US 7 / 80 cm (32 inches) circular needles.
  • Yarn needle
  • 2 stitch markers to indicate the center stitch
  • 24 stitch markers (optional)

bichrome Read More ยป

bloemenmeiske in ‘handwerken zonder grenzen’

by La Visch Designs

Bloemenmeiske is a sweet bonnet to keep your dearest little person warm and happy. This design not only has a lovely petal edging, but also a pretty flower detail at the back. It is available in 5 sizes, ranging from newborn to child. Using less than 100 g of DK-weight yarn for all sizes and less than 50 g for most sizes, this design is not only a great stash buster, but also the perfect last minute gift.

Handwerken Zonder Grenzen

I’m proud to tell you, that this design has been published in issue 199 of the Dutch magazine Handwerken Zonder Grenzen! You can order this issue in Dutch here.

This pattern is also available in both English and Dutch through La Visch Designs!

Bloemenmeiske by La Visch Designs in Handwerken Zonder Grenzen

bloemenmeiske in ‘handwerken zonder grenzen’ Read More ยป

dyeing with natural dyes: part 4 โ€“ dyeing!

Dyeing yarn with natural dyes - a tutorial by La Visch Designs

This post is part 4 in a series in which I tell you all about what is involved in dyeing wool with natural dyes. In the previous steps, we have already washed our wool, mordanted the yarn and prepared our dye bath. Now it is finally time to dye!

The steps to go through are as follows:

a. Washing the wool
b. Mordanting
c. Preparing the dye
d. Dyeing your wool

As with mordanting, you can dye either warm or cold. The end result may differ between the two methods, it is a matter of experimentation to see what you like best. The advantage of hot dyeing is, of course, that it is relatively fast. After about an hour in the hot dye bath you’ve already got result. However, it also uses much more energy. That’s why I’m using the cold dyeing method in this example.

d. Dyeing yarn!

1. In the case your mordanted yarn is dry, you have to soak it first in water again. In wet wool dye distributes itself much more uniformly. About half an hour of soaking is usually enough. If the wool is still slightly wet, you can skip to step 2. If you intent to have a more random coverage, than by all means do not pre-soak your yarn of course! Freedom in variations is one of the nice things about dyeing yarn yourself.

Dyeing yarn with natural dyes - a tutorial by La Visch Designs

2. Put the mordanted wool in the pot or pots with the dye bath. Fill if necessary with a little water to completely cover the wool. Stir gently if necessary to get the wool well into the dye bath.

Dyeing yarn with natural dyes - a tutorial by La Visch Designs

3. Let the wool soak about 24 hours (or longer if desired) in the dye bath. An hour more or less does not matter very much. You can dye your skeins of wool in varying tints of the same color, by removing them after different numbers of hours in the dye bath.

Dyeing yarn with natural dyes - a tutorial by La Visch Designs

4. I have removed my skeins of wool after respectively 12, 16, 20 and 24 hours in the dye bath to see how the differences turn out. On the left is 12-hour in the dye bath, on the right is at the 24 hour mark.

Dyeing yarn with natural dyes - a tutorial by La Visch Designs

Rinse the wool off with lukewarm water, add a dash of vinegar kitchen to fix the color. Rinse as long as necessary until the water runs clear. Remember to put on rubber gloves, if you do not want to stain your hands!

5. Then you can squeeze the water out of the dyed wool and hang to dry.

Dyeing yarn with natural dyes - a tutorial by La Visch Designs

And this is how my wool looks like after it has completely dried up:

Dyeing yarn with natural dyes - a tutorial by La Visch Designs

As you can see there is a difference between 12 and 24 hours in the dye bath. However, four hours between the skeins is apparently too short to see a lot of difference between successive skeins. Learned something!

The second dye bath

The above coral pink color I obtained by allowing my wool to soak in the first extract of the madder, the so-called first dye bath. To see if more pink shades were possible, I made a new dye bath containing the same madder by soaking them again for one day. In this dye batch I then soaked another mordanted skein of wool for 24 hours. And this lovely blush-colored yarn was the result:

Dyeing yarn with natural dyes - a tutorial by La Visch Designs

Lots of fun to dye with plant-based dyes! I will definitely do this more often and am already saving up onion skins for my next natural dye project!

dyeing with natural dyes: part 4 โ€“ dyeing! Read More ยป