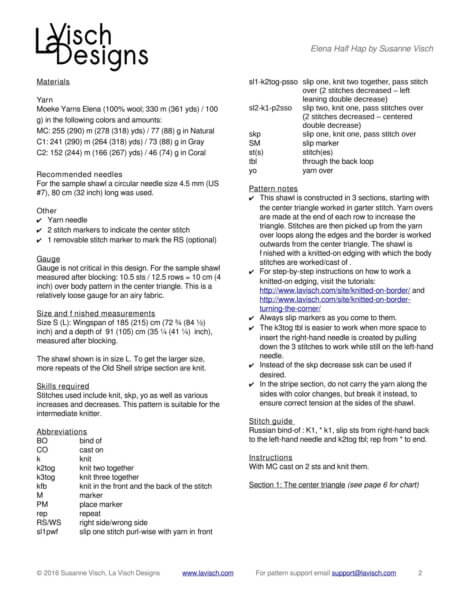
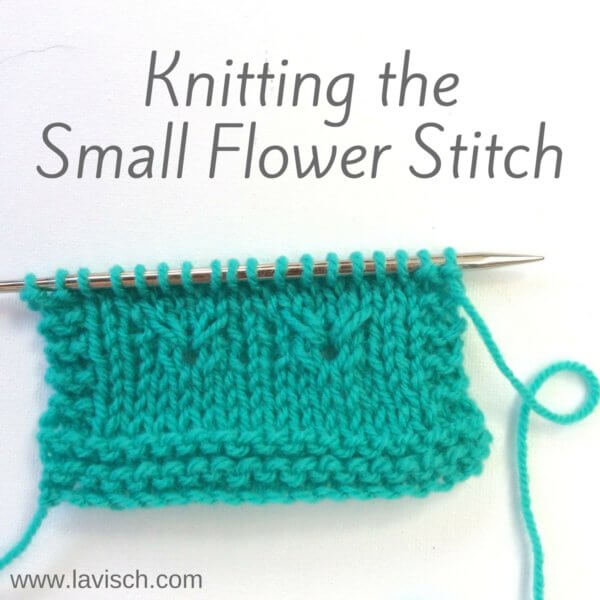
tutorial: knitting the small flower stitch
Lately I have found myself attracted to stitches that give the fabric a lovely texture. A prime example is the small flower stitch. This stitch is unusual in the sense that it combines decreases with smartly placed elongated knit stitches. It can of course be worked both flat and in the round.
In this post I’ll show you how to work the small flower stitch as a flat piece working back and forth.
The small flower stitch step by step
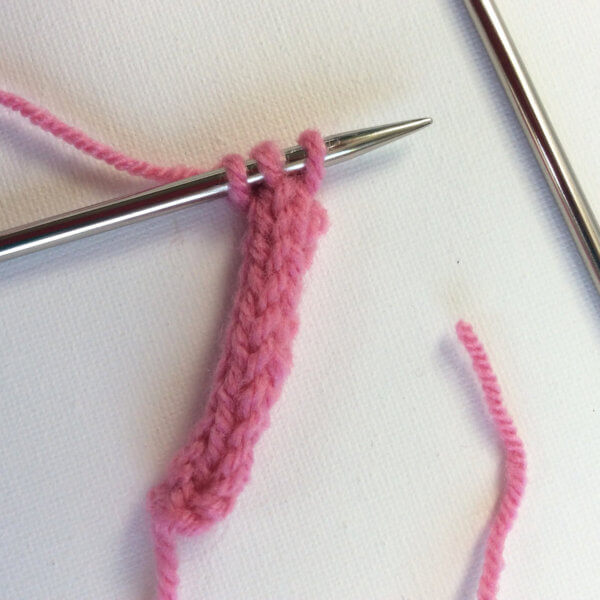
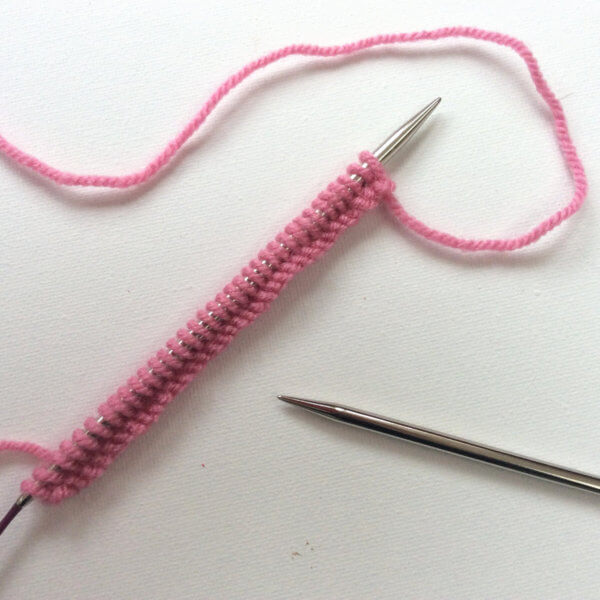
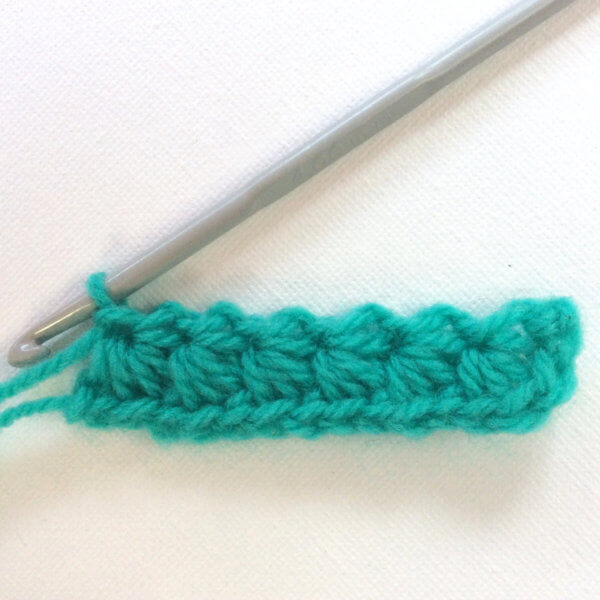
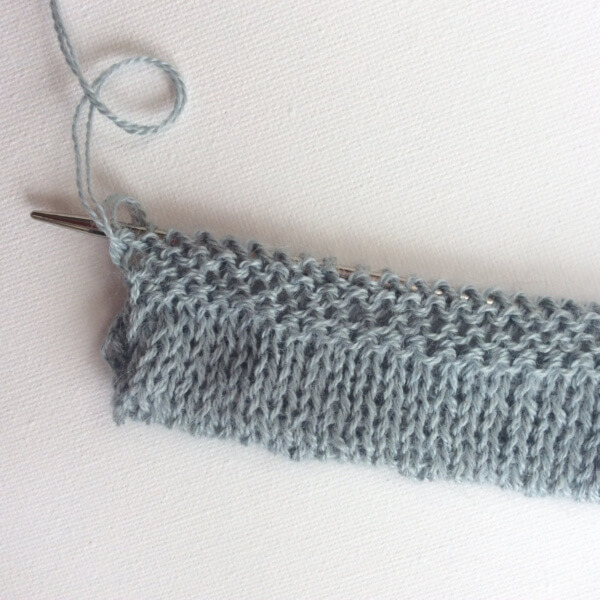
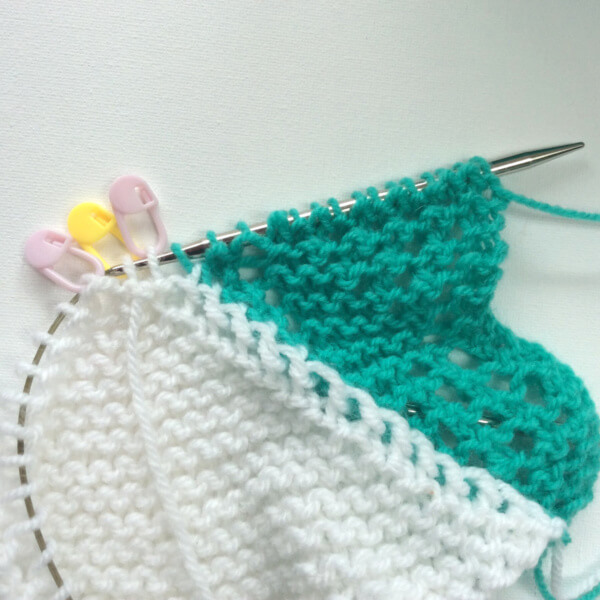
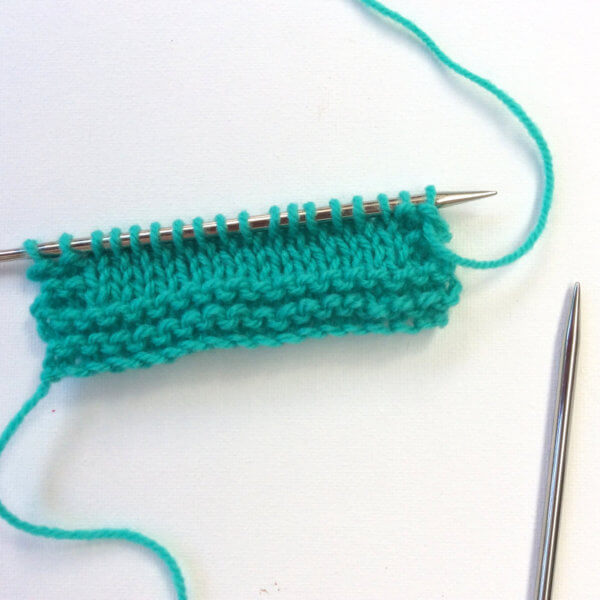
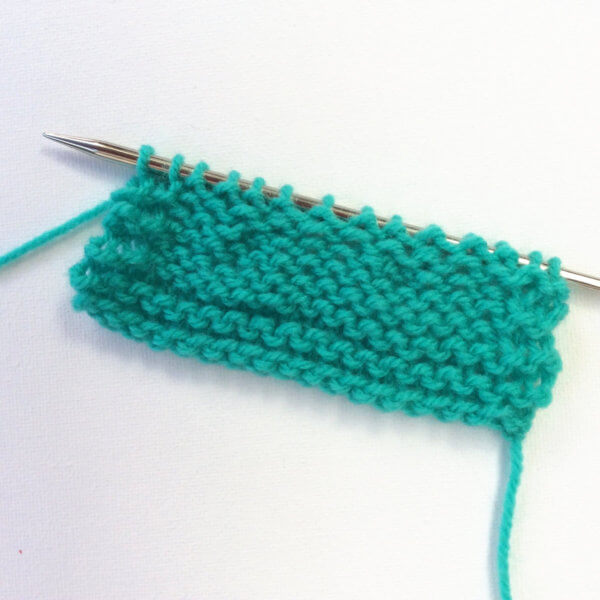
1. The small flower stitch looks best on a background of stockinette stitch, therefore I have prepared a small stockinette swatch for this example. When planning your project it is good to realise that the flower stitch itself uses 4 stitches and looks best if there are at least 2 normal stitches in between the flowers.
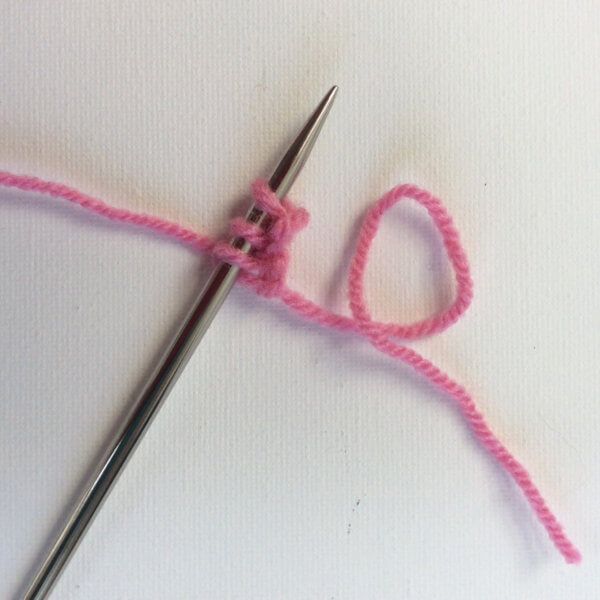
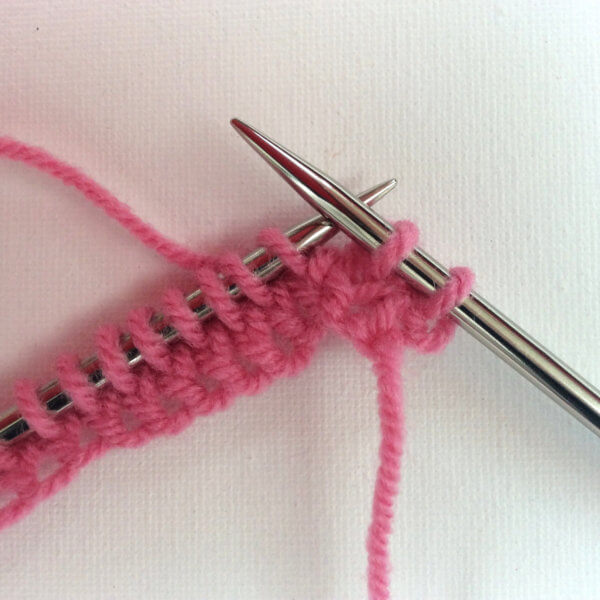
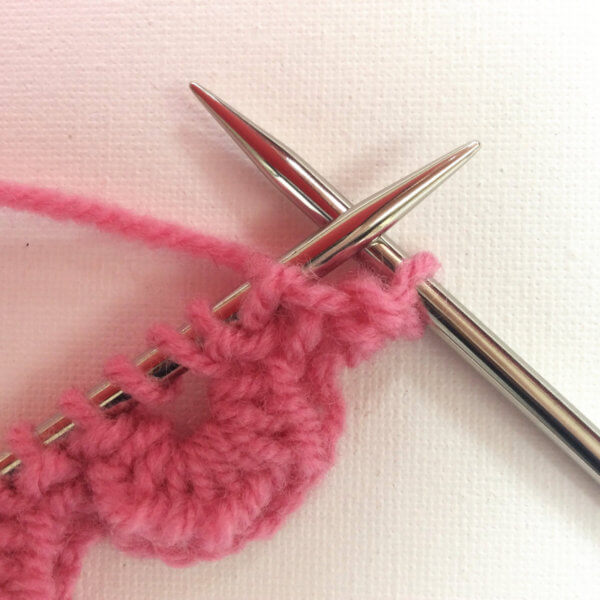
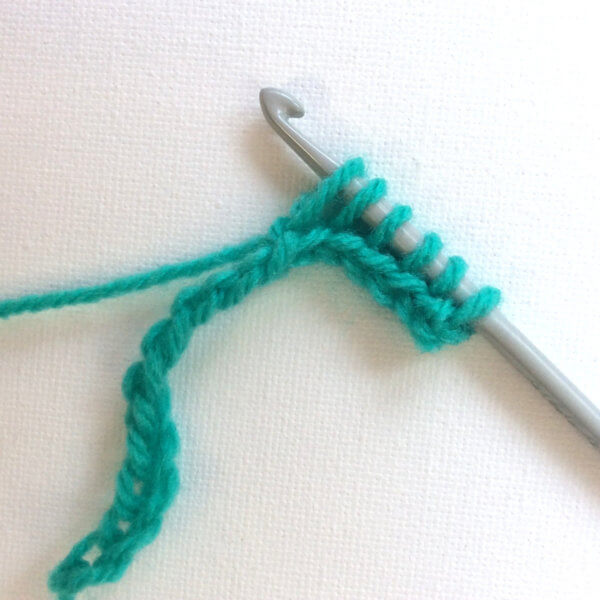
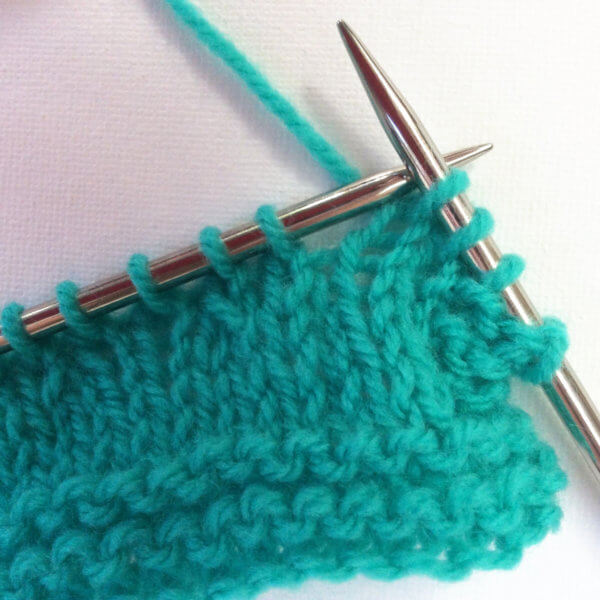
2. Start by knitting to the place where you want the first flower to be.
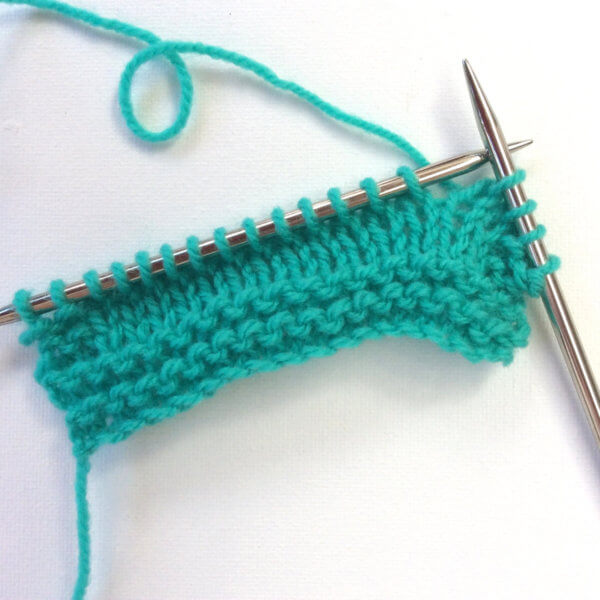
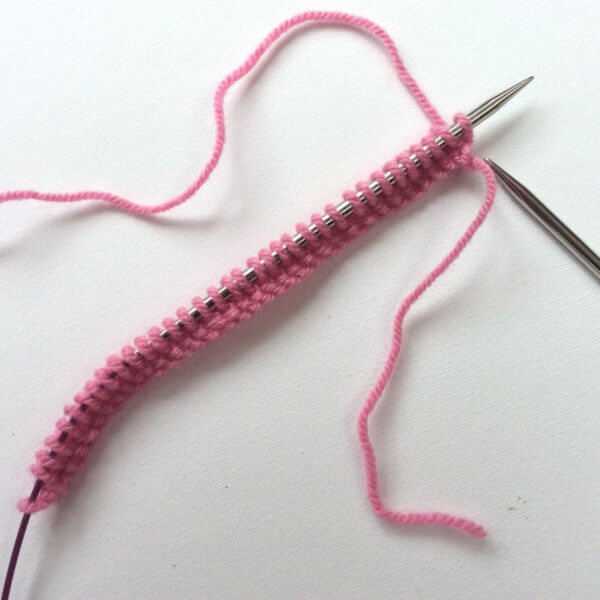
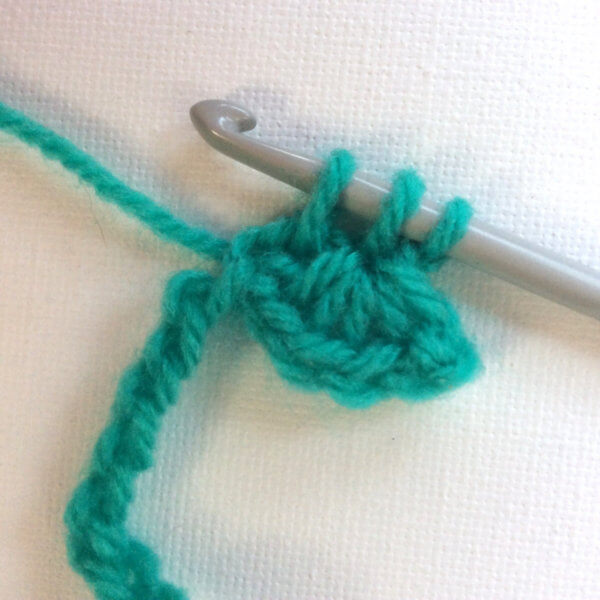
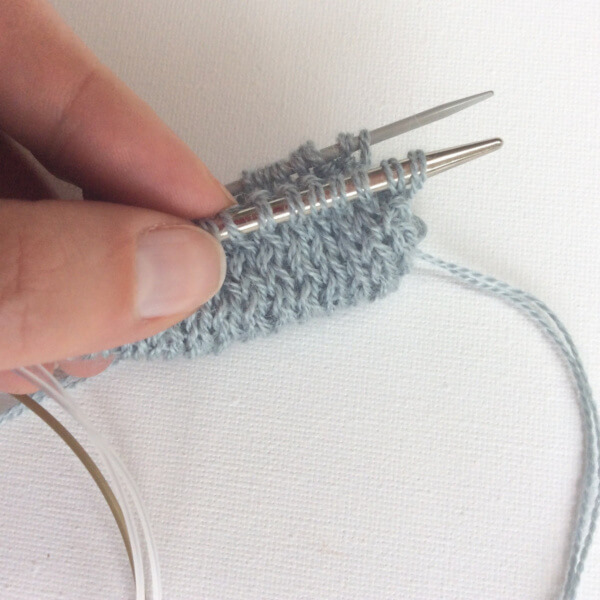
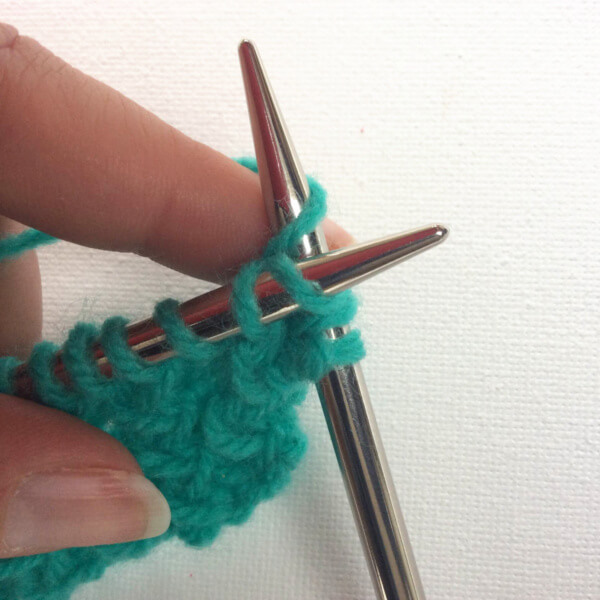
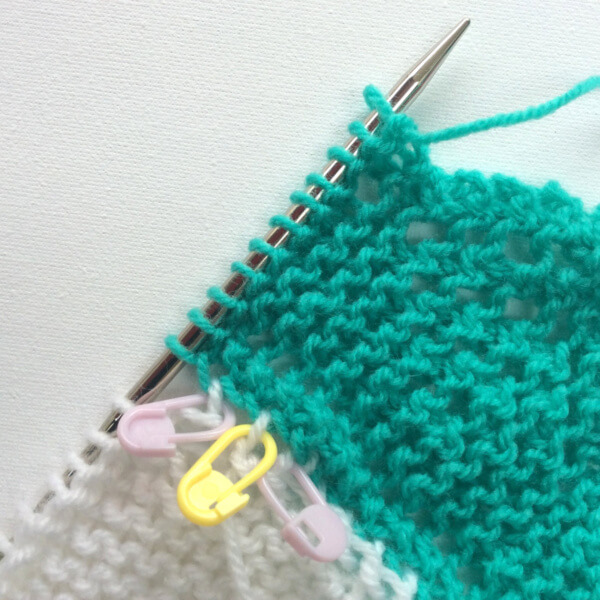
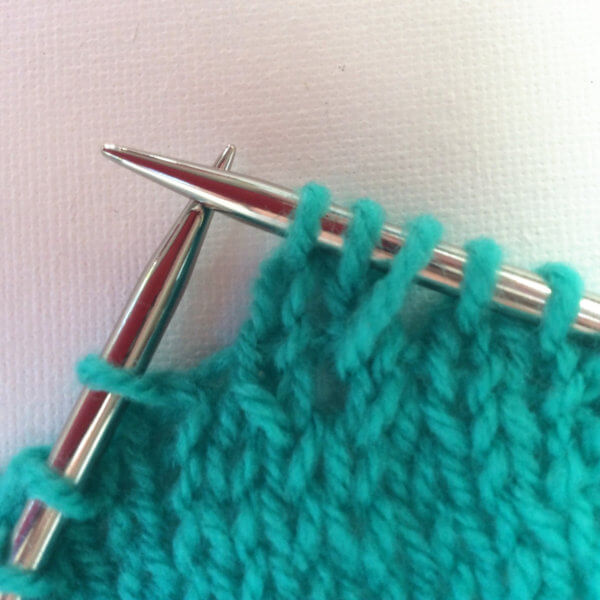
3. Next, knit the following 2 stitches together to decrease 1 stitch with a right leaning decrease.
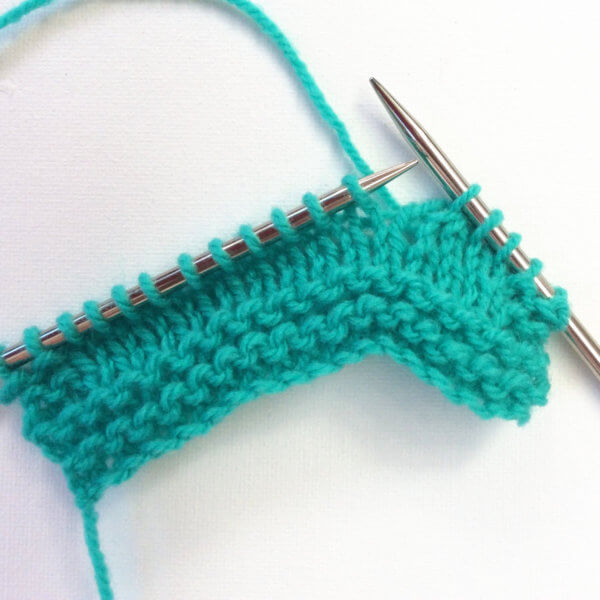
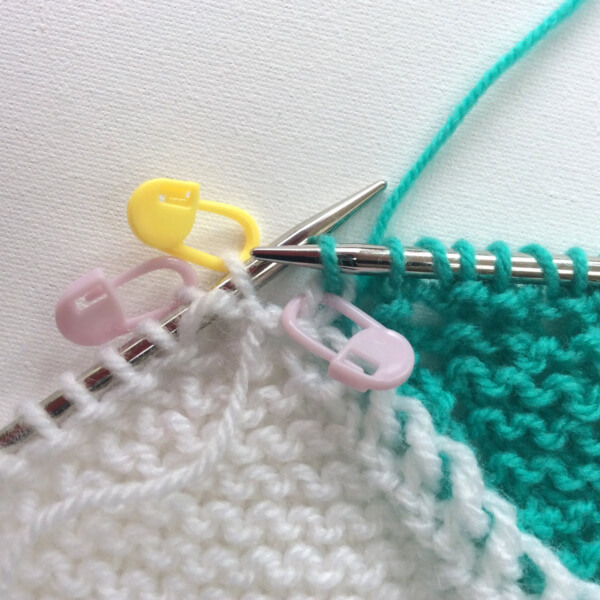
4. Next, work a left leaning decrease over the following 2 stitches. I like to use skp, but ssk can of course also be used if preferred.
5. Knit the stitches separating the flowers (in my case 2 stitches), work another k2tog and skp and knit to end.
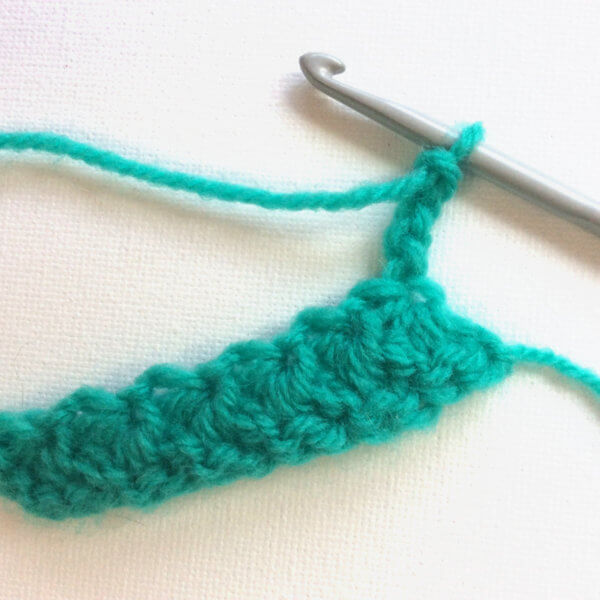
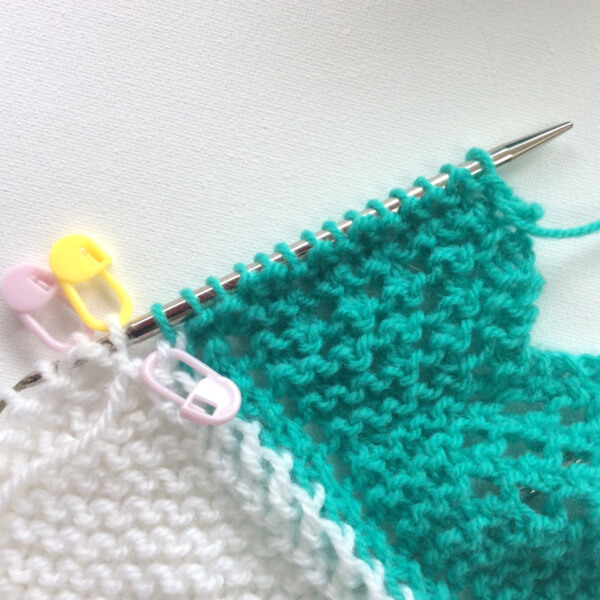
6. Work 1 row plain in stockinette, in my flat worked swatch this means purling a row. When working in the round, this would of course be a knit round.
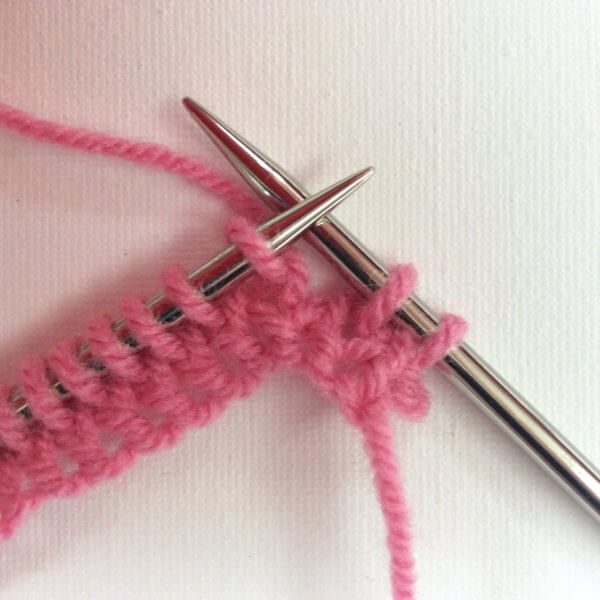
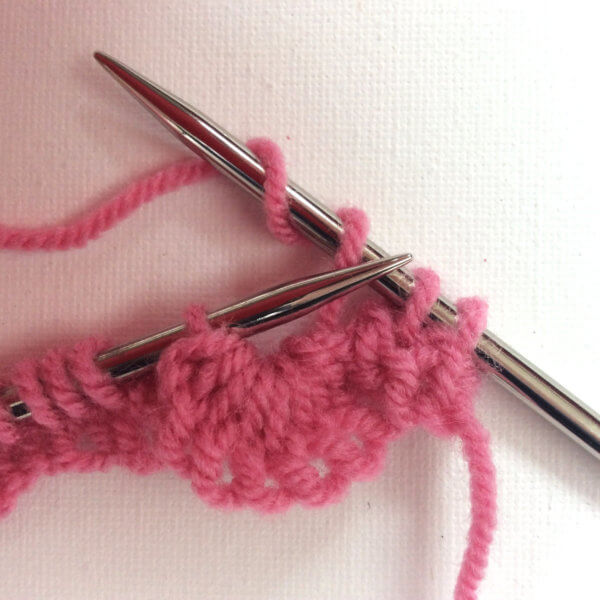
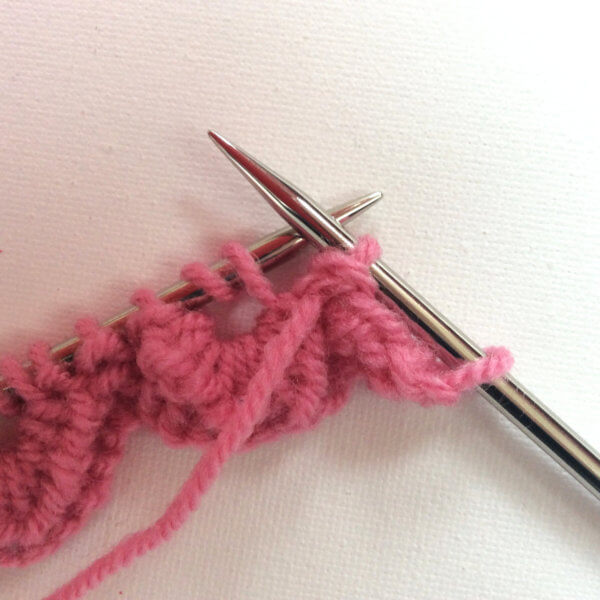
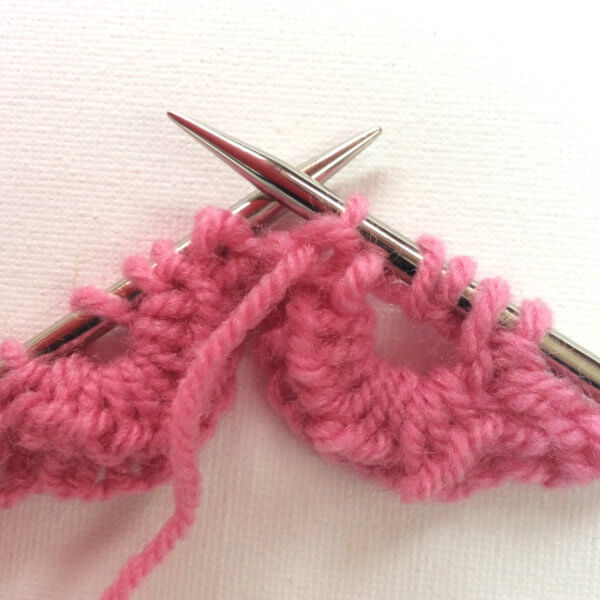
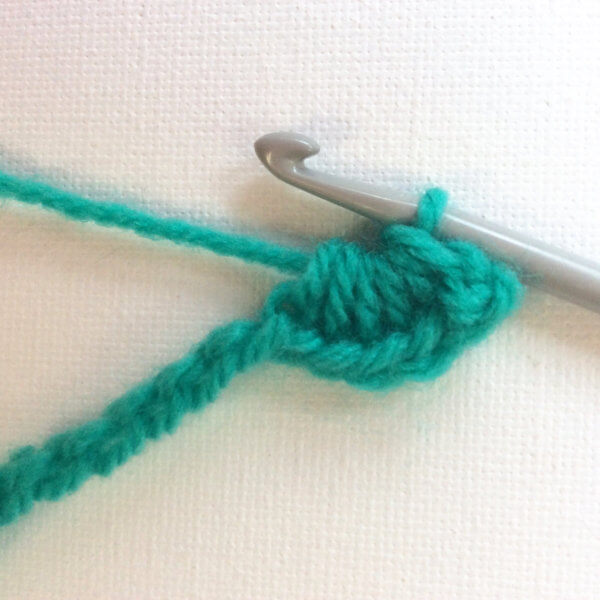
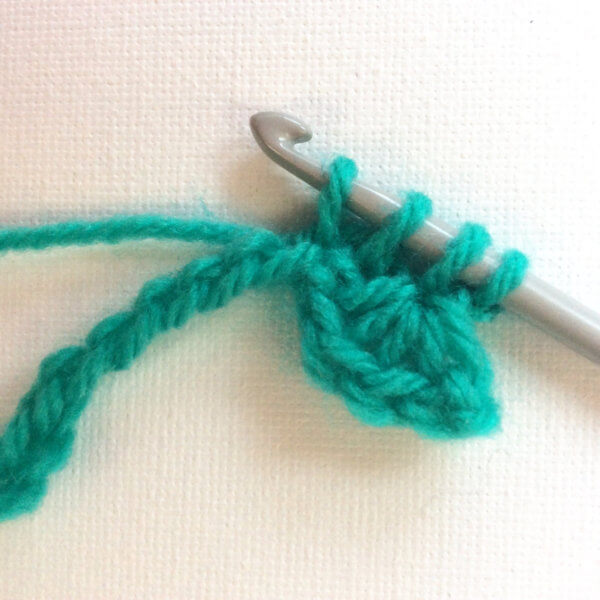
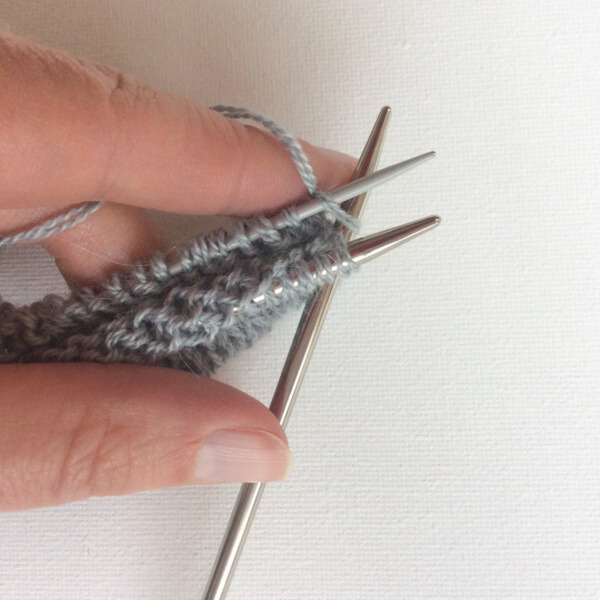
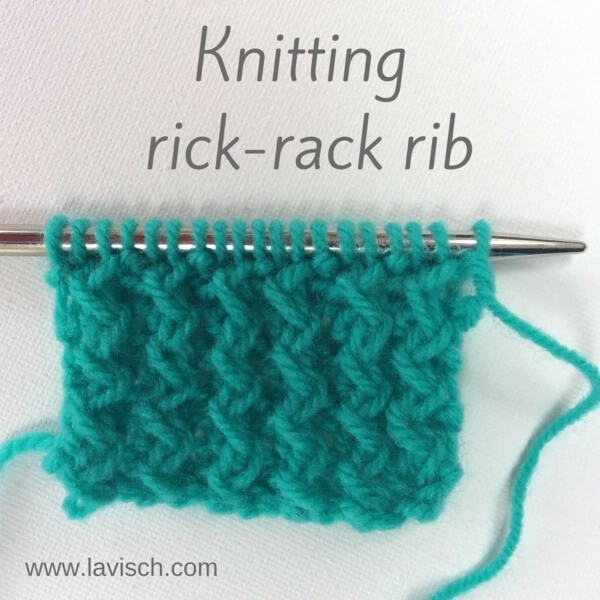
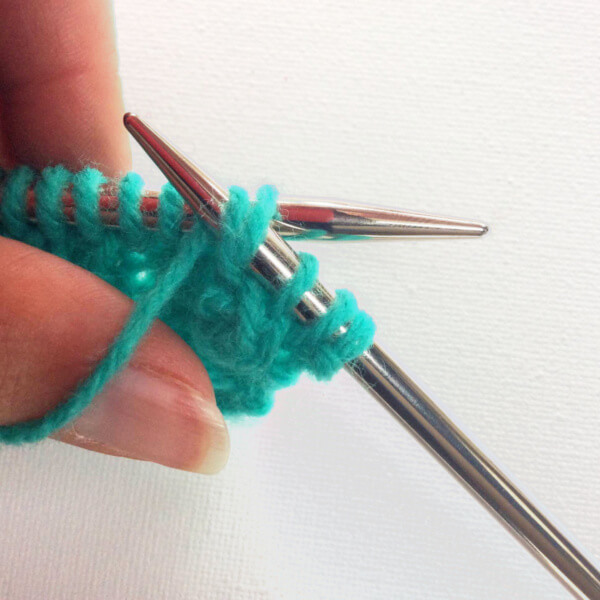
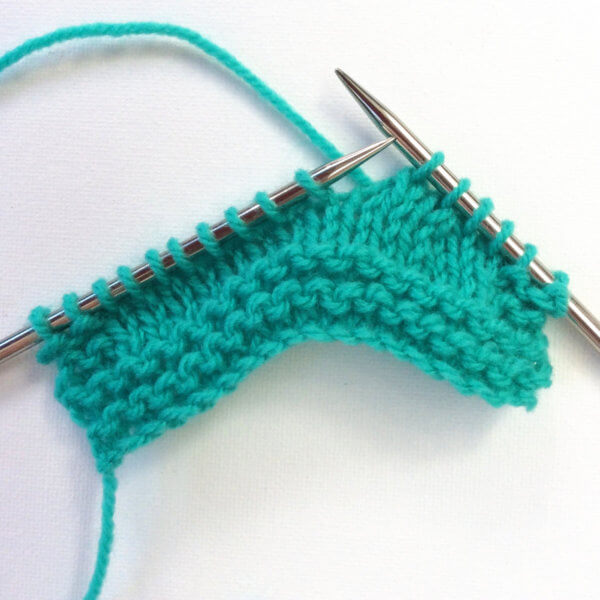
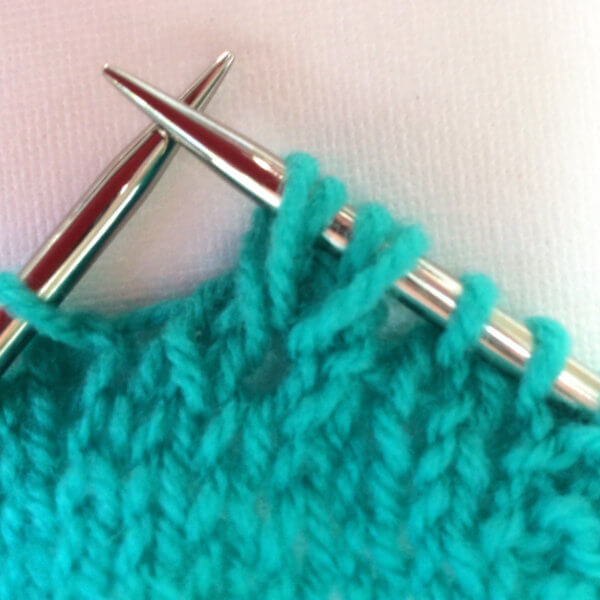
7. Again work to the spot where you want to place the flower, in my case 4 stitches into the row.
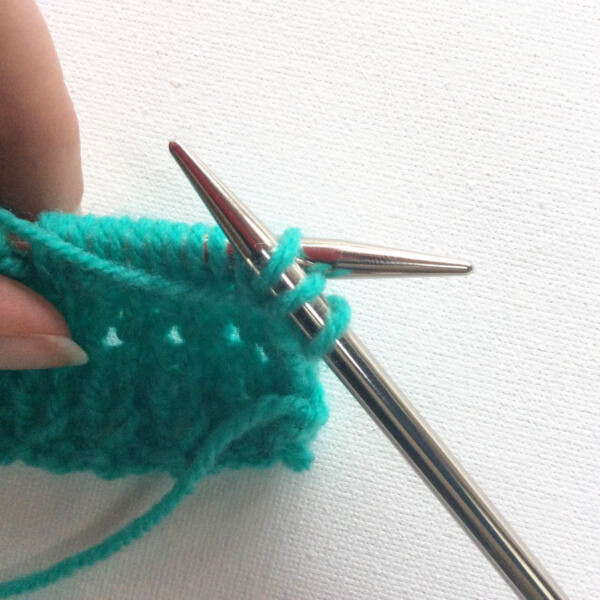
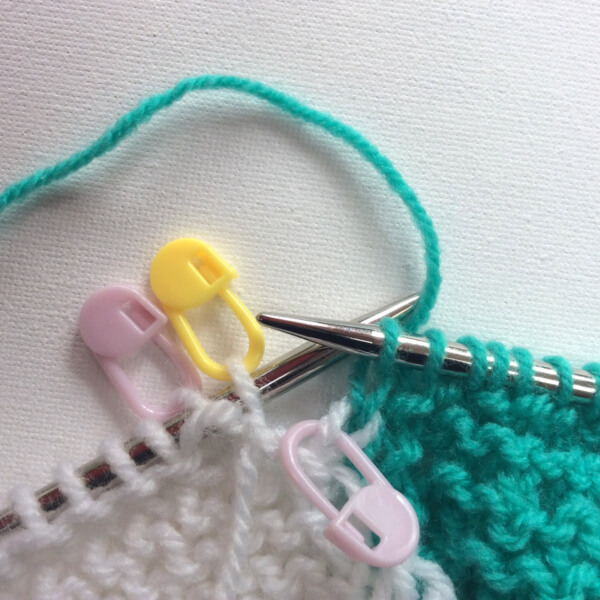
8. Now make an elongated knit stitch by inserting the right-hand needle into the space between the next 2 stitches (the k2tog and skp) under the second thread down. This is the thread that runs between the 2 stitches. Next knit 1 stitch into that space. Because this stitch is 2 rows down, you have to pull up quite a loop when making this stitch.
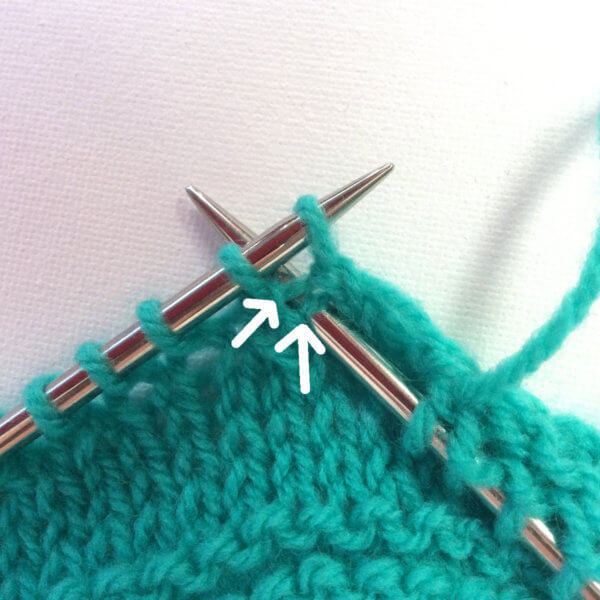
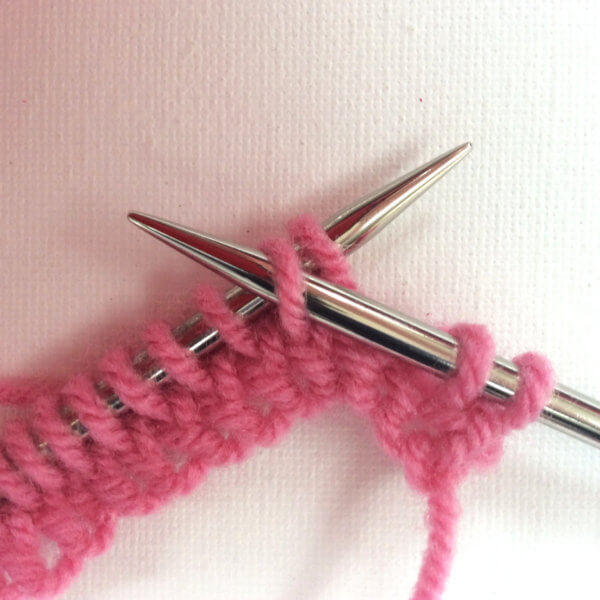
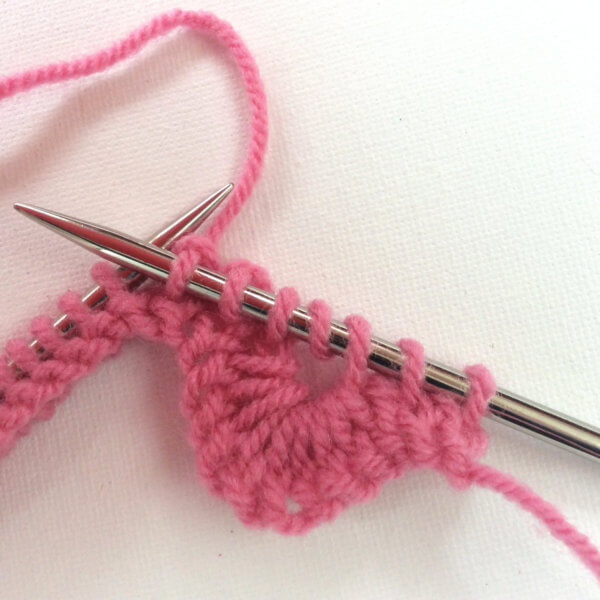
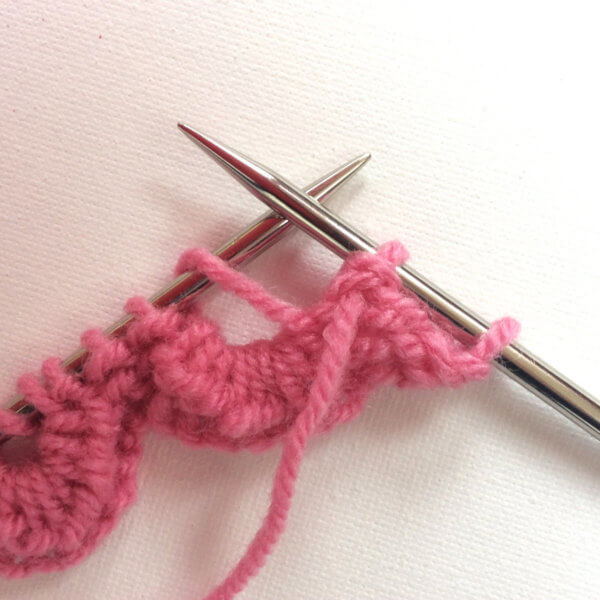
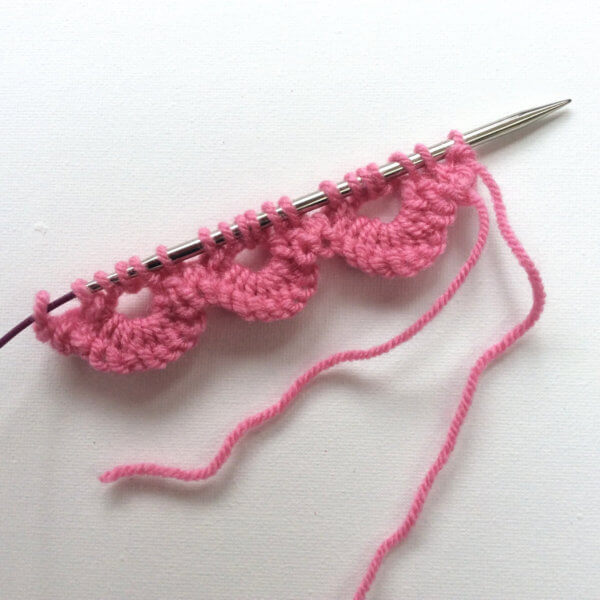
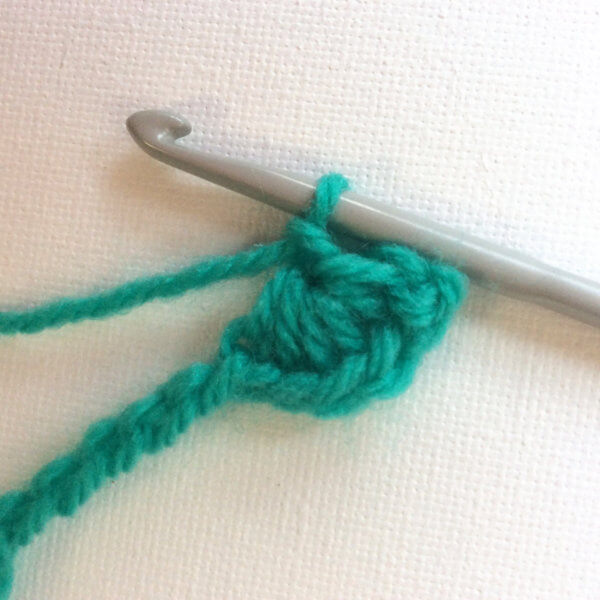
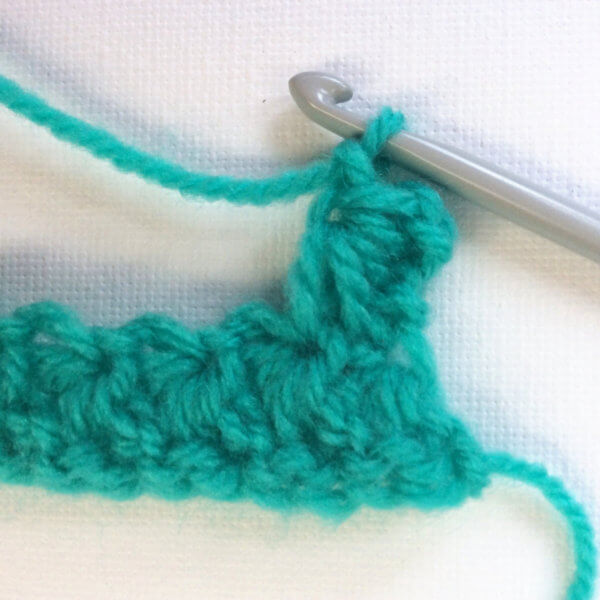
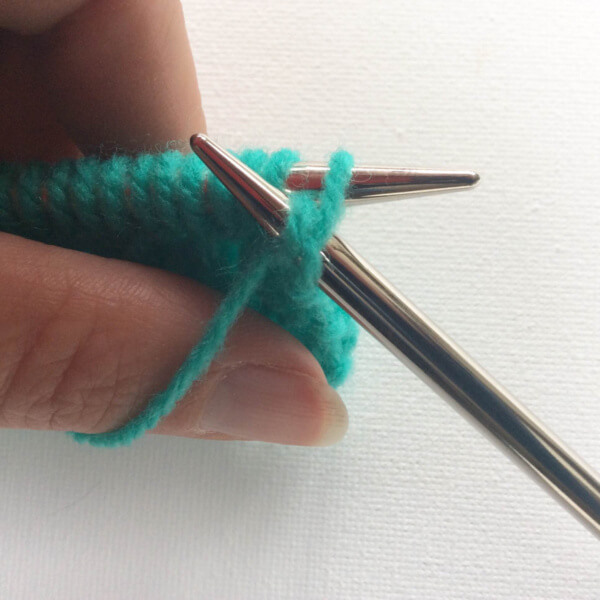
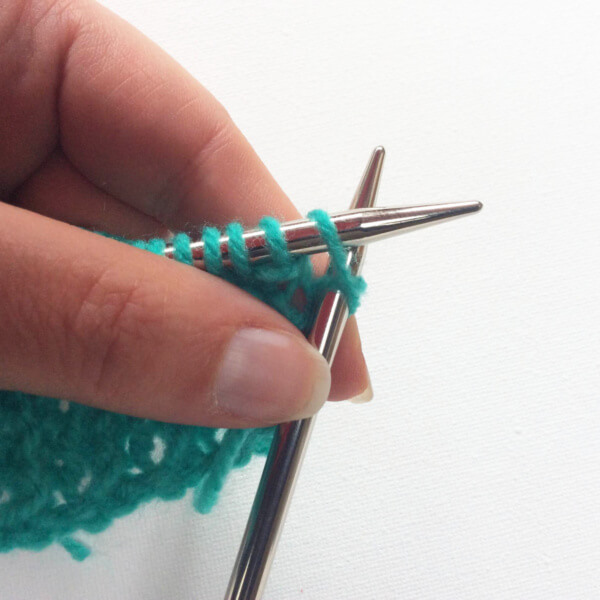
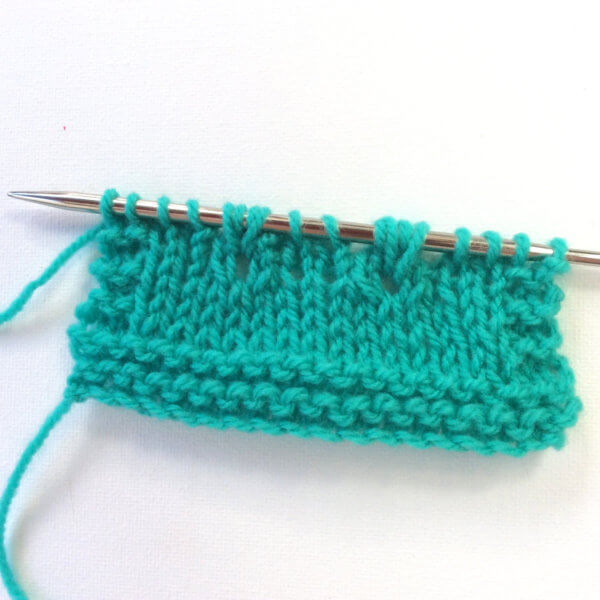
9. This looks something like this:
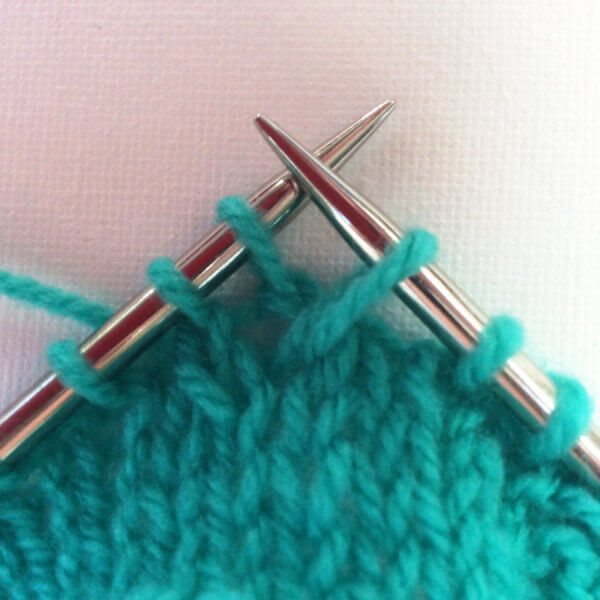
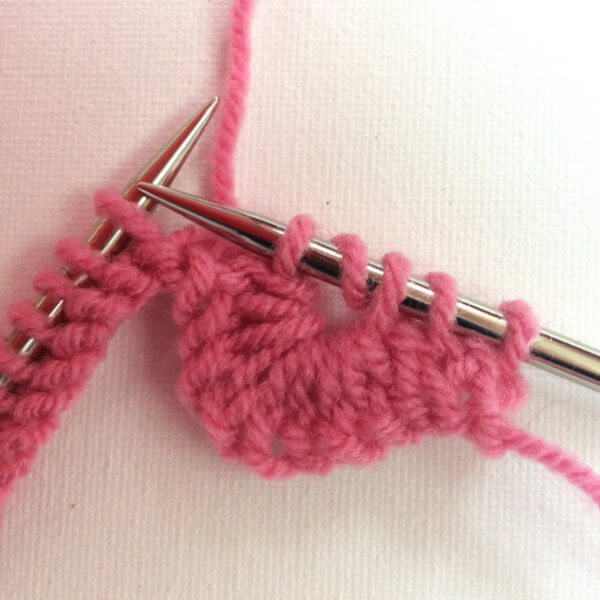
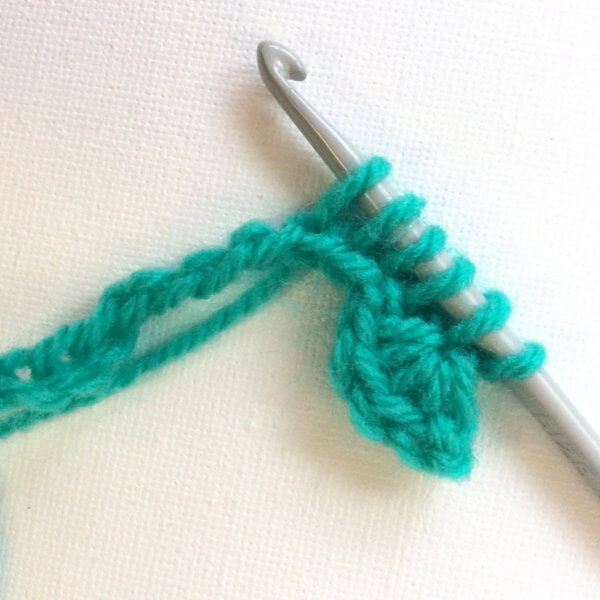
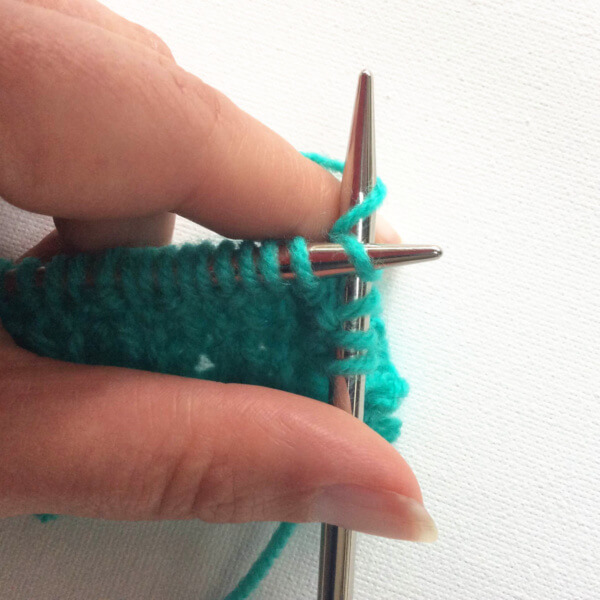
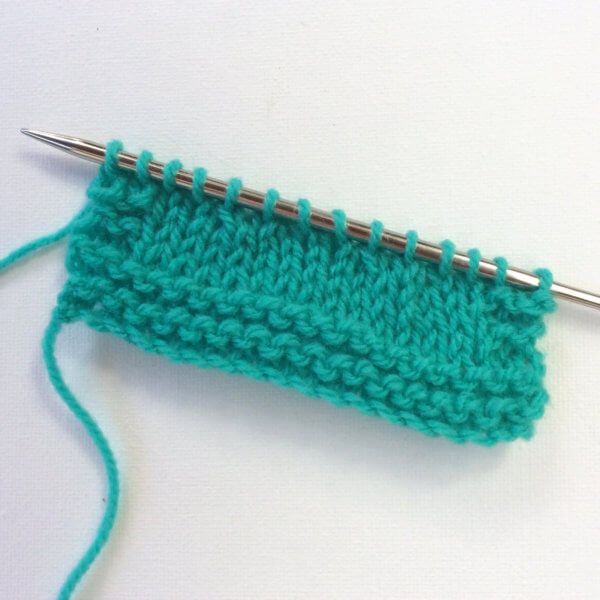
10. Next, knit 2 stitches. These are the stitches directly above the k2tog and skp knit earlier.
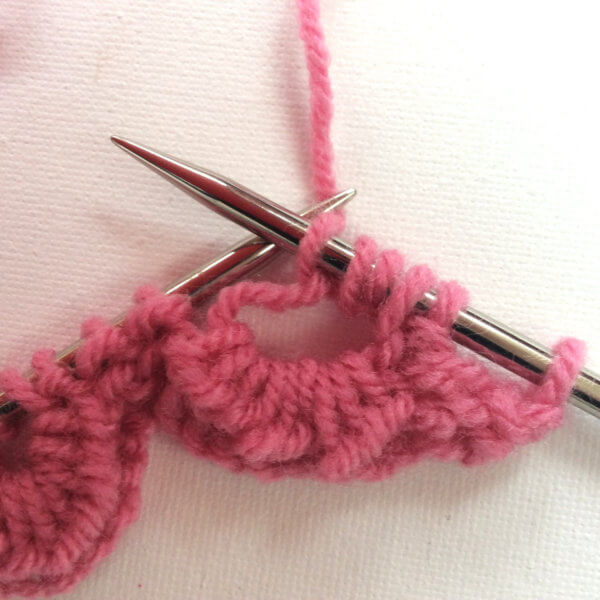
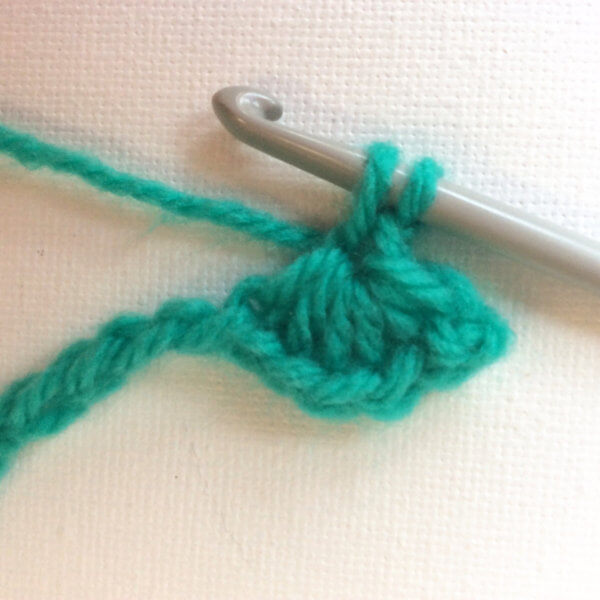
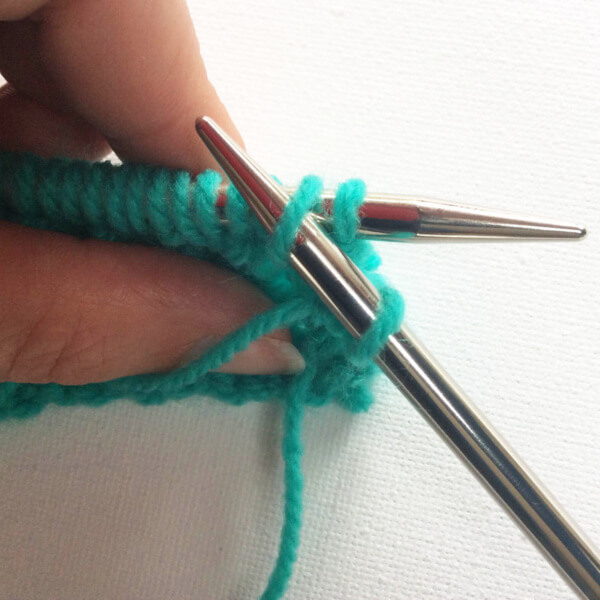
11. This step can be a bit tricky, because it is a bit hard to see. But is really not that bad when you get the hang of it. Do you see the spot in the fabric where the elongated stitch from step 9 is coming from? Insert your right hand needle into that very same space and knit another elongated stitch.
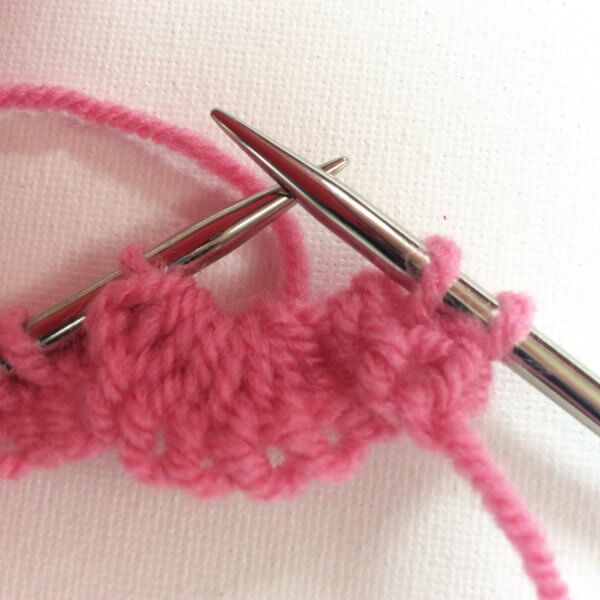
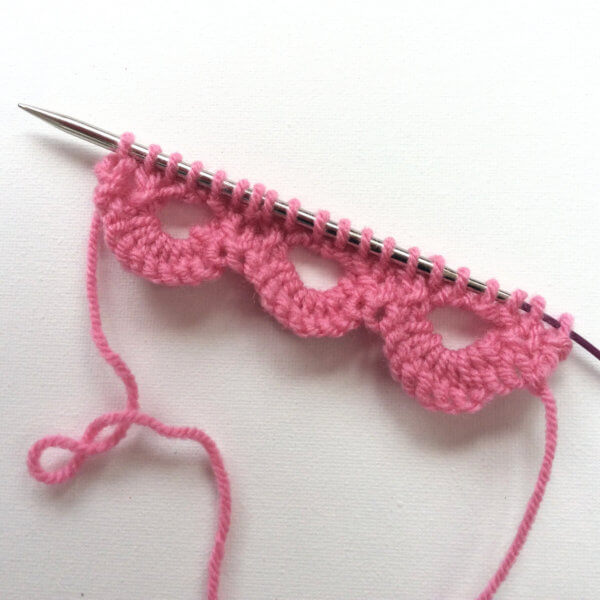
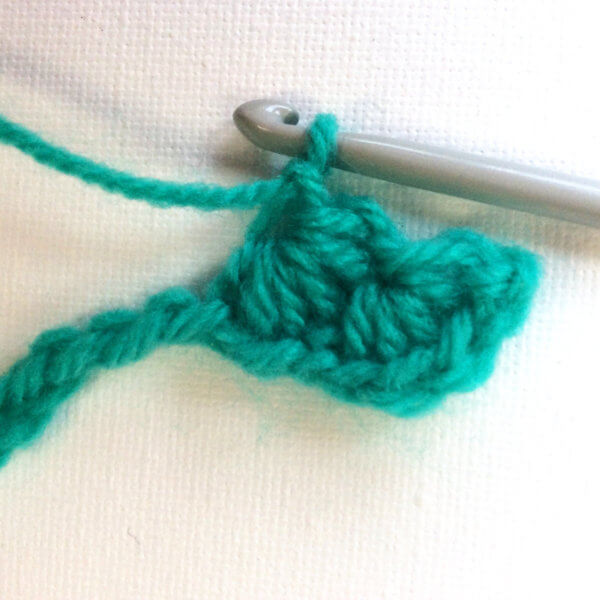
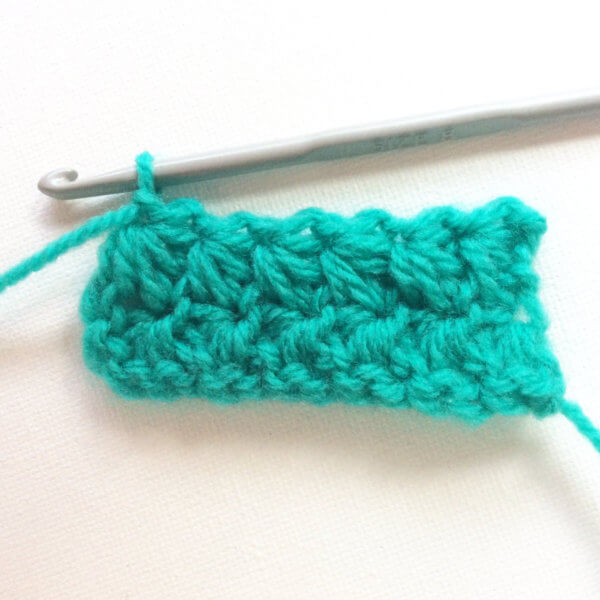
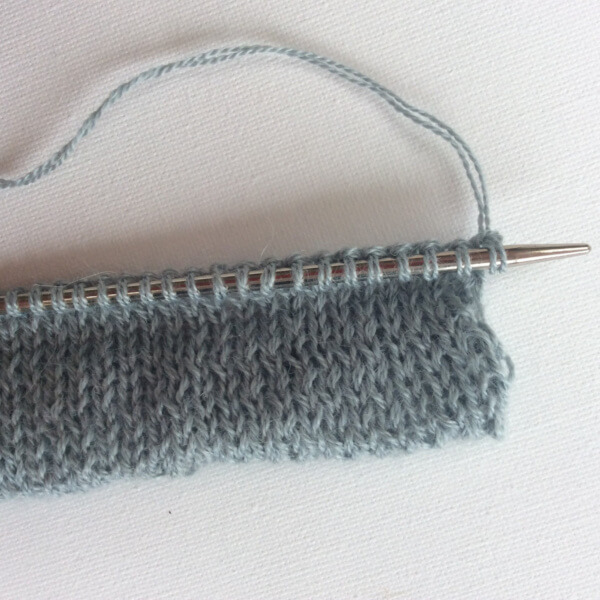
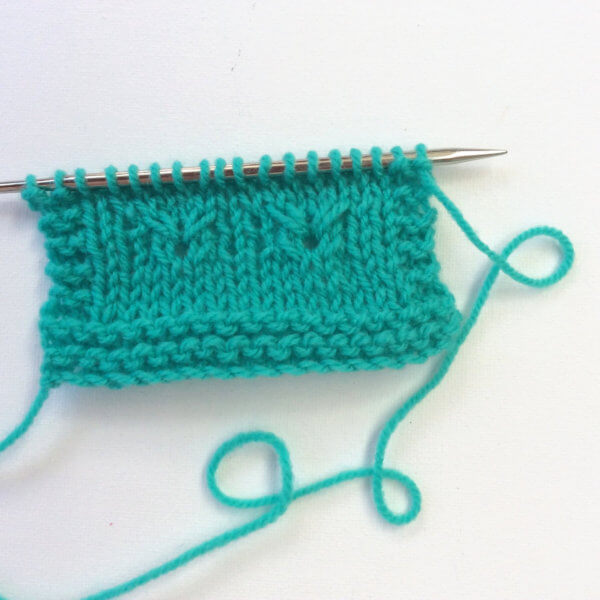
12. Again knit the stitches in between flowers, than repeat steps 8 to 11 to make more flowers. Next knit to end.
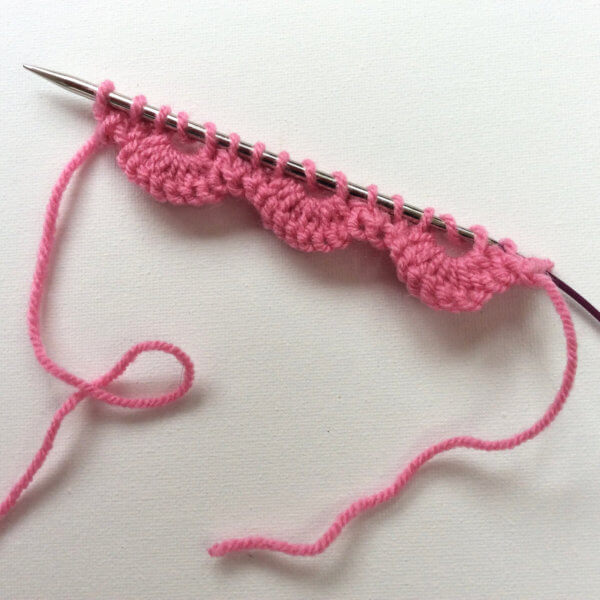
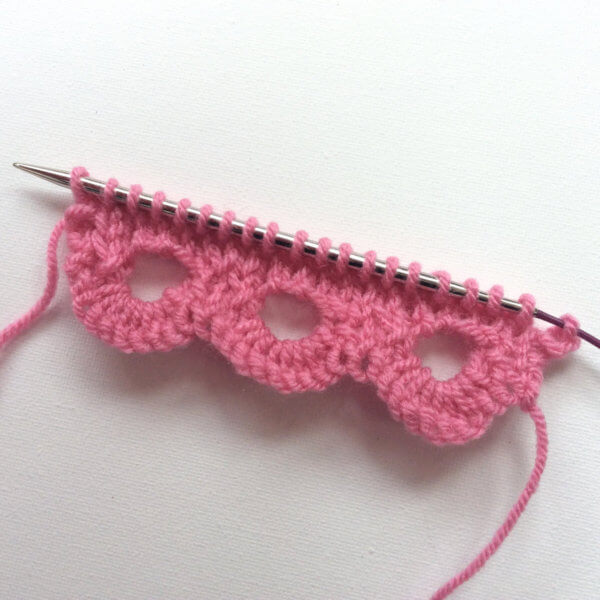
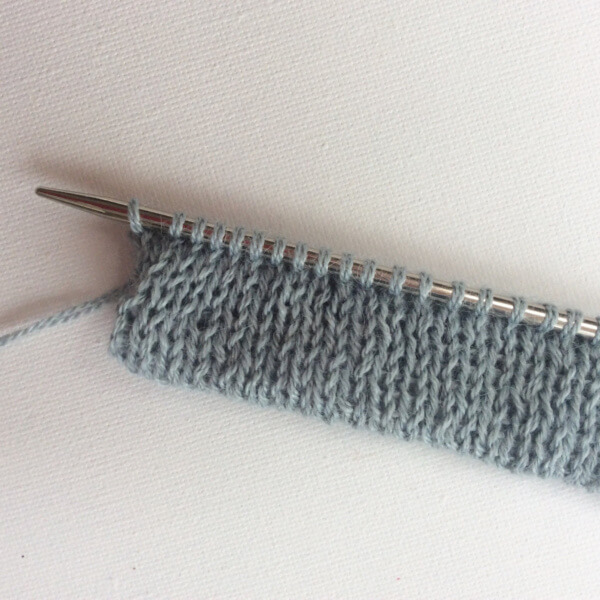
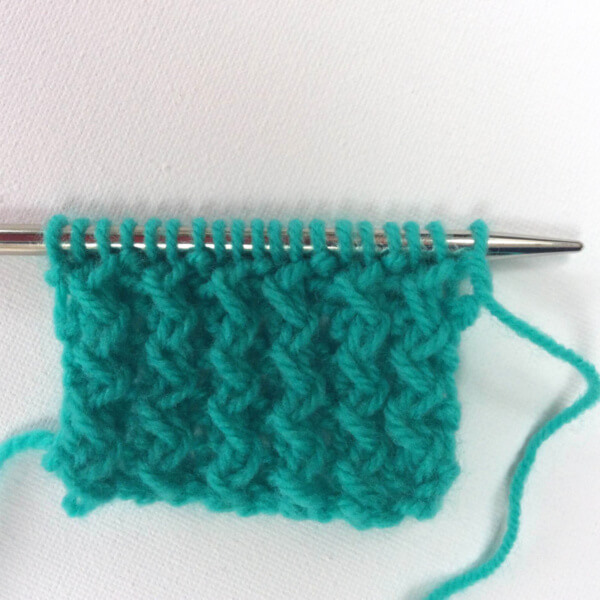
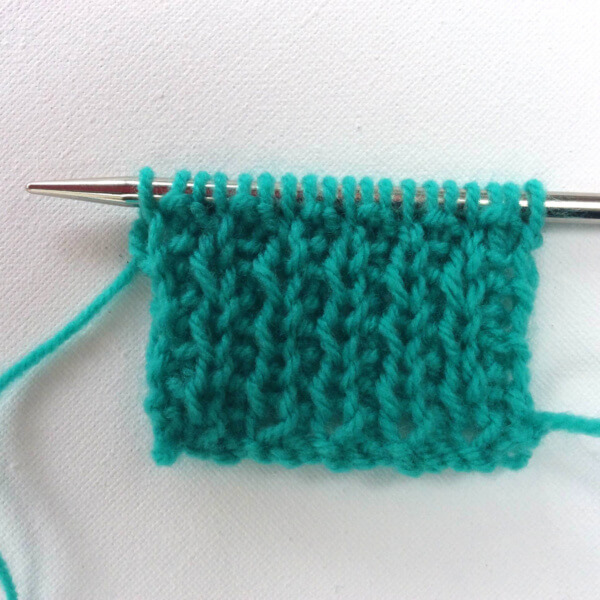
13. Finish your first row of flowers by working a couple of rows in stockinette stitch.
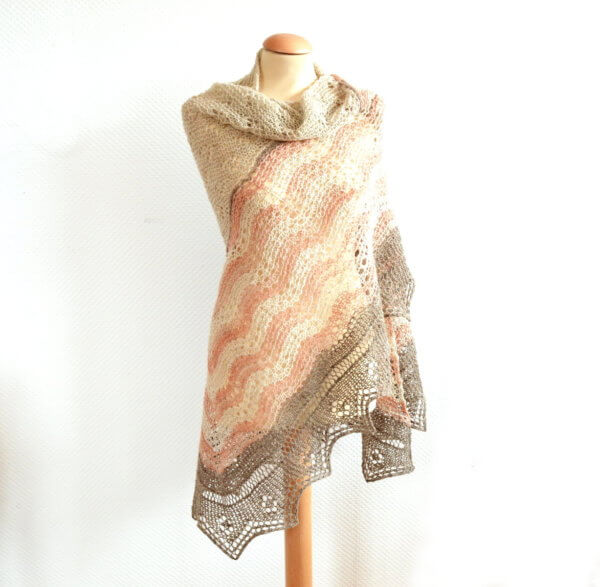
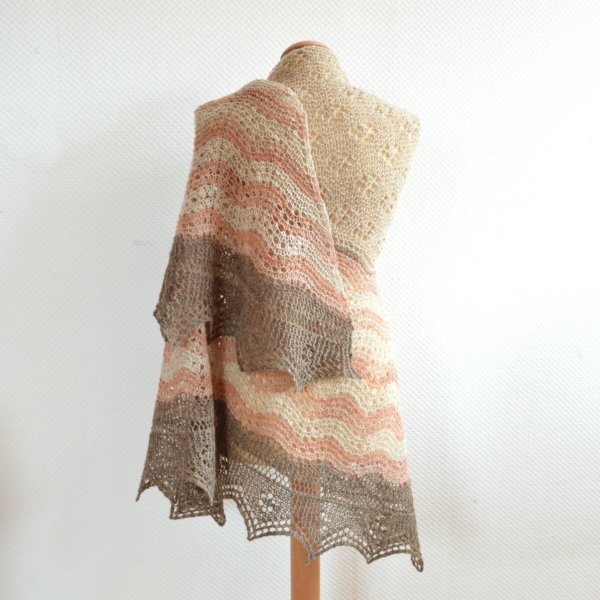
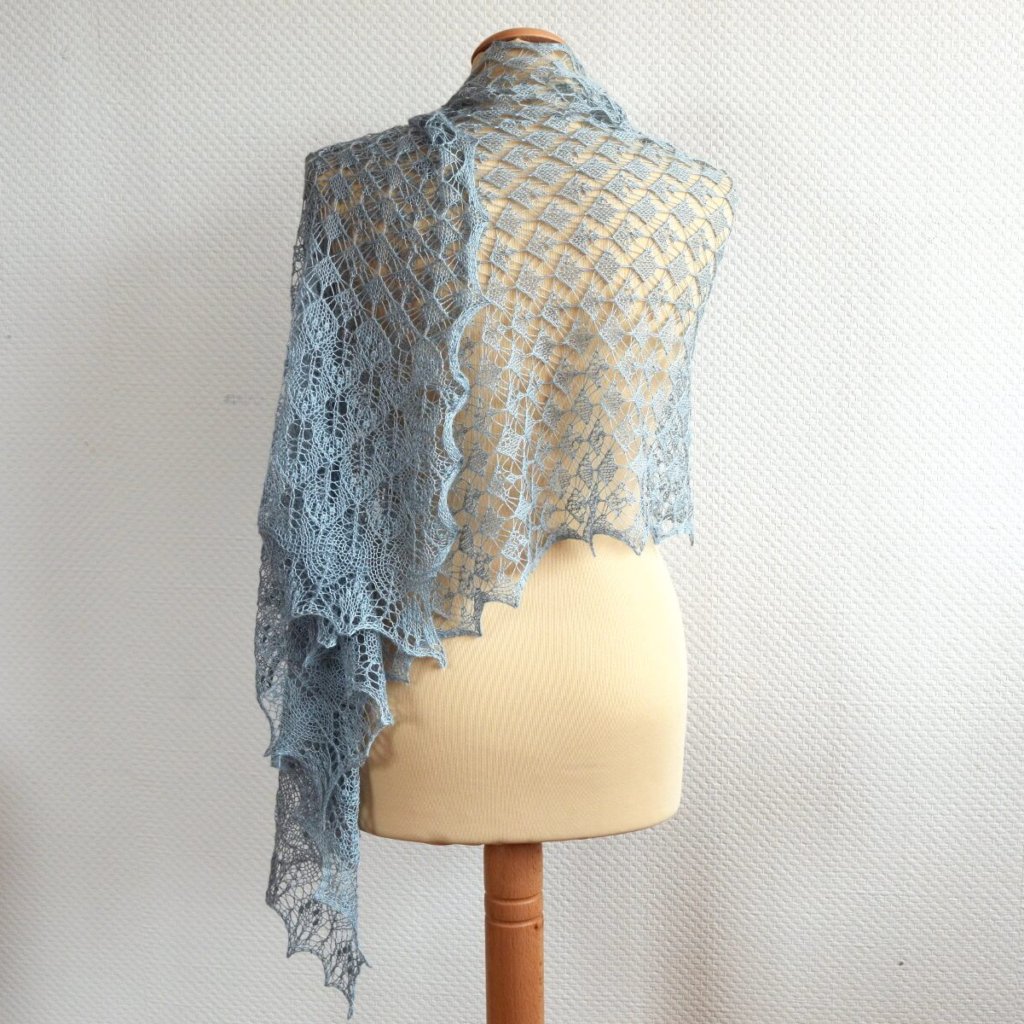
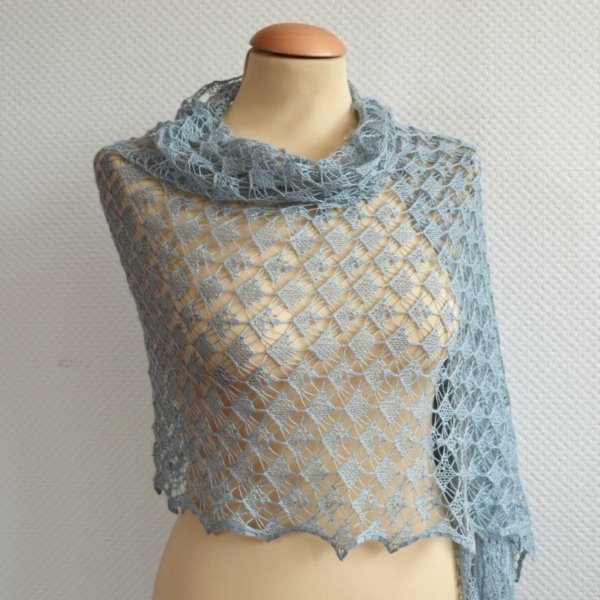
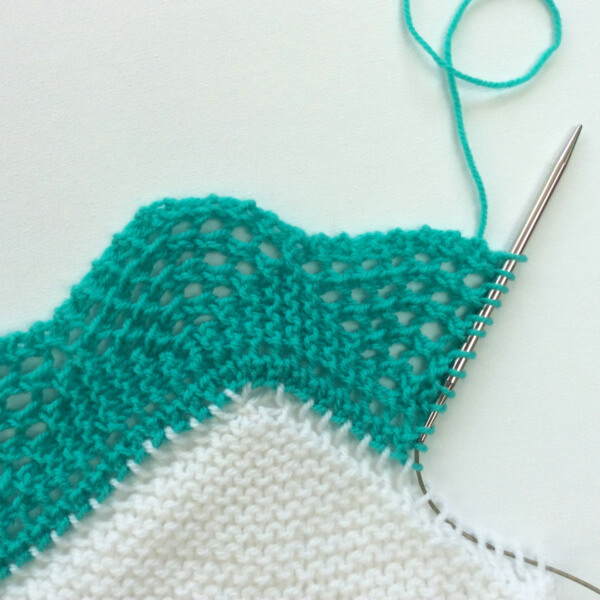
And this is how the small flower stitch looks in a larger project (this is a snapshot of my Stellaria cowl, worked in Moeke Yarns Elena):
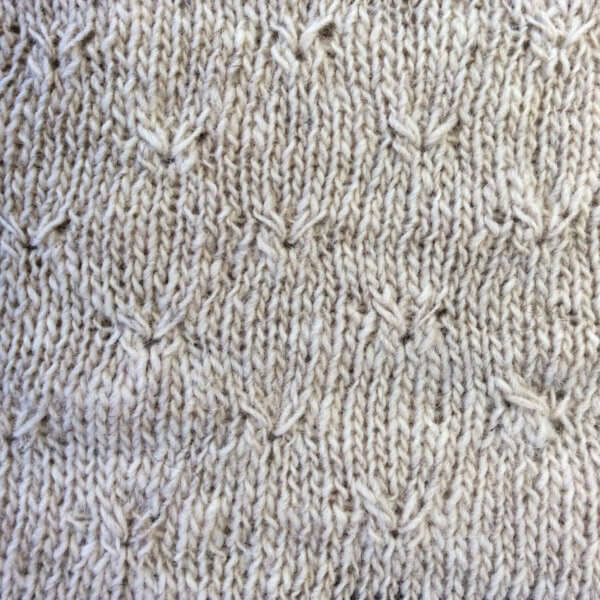
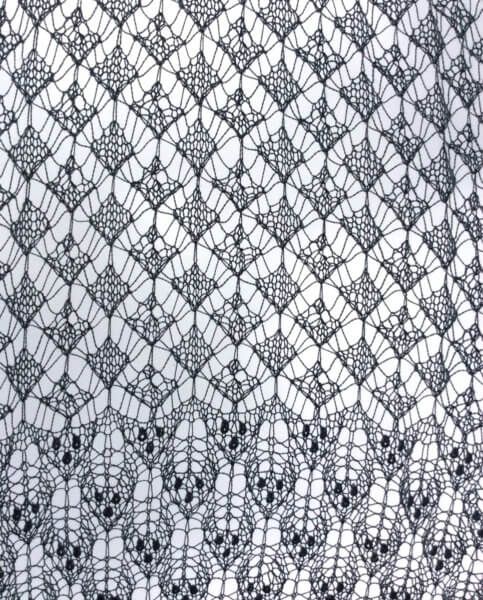
In this example I have offset the second row of flowers. However, you can of course also put the flowers directly above previous flowers.
tutorial: knitting the small flower stitch Read More »