When knitting a top-down garment like a sweater or a tee, there inevitably comes a moment where the stitches in the yoke are divided in those for the armholes and those for the body. Usually, the armhole stitches are put on a stitch holder or waste yarn. Next, the stitches for the back and front(s) are to be connected. Of course, you could just knit straight from the one set of stitches to the other. However, for optimal fit patterns usually instruct some stitches to be cast on for the underarm, connecting the front and back stitches. But how to go about that, especially if the pattern does not mention a specific method to use?
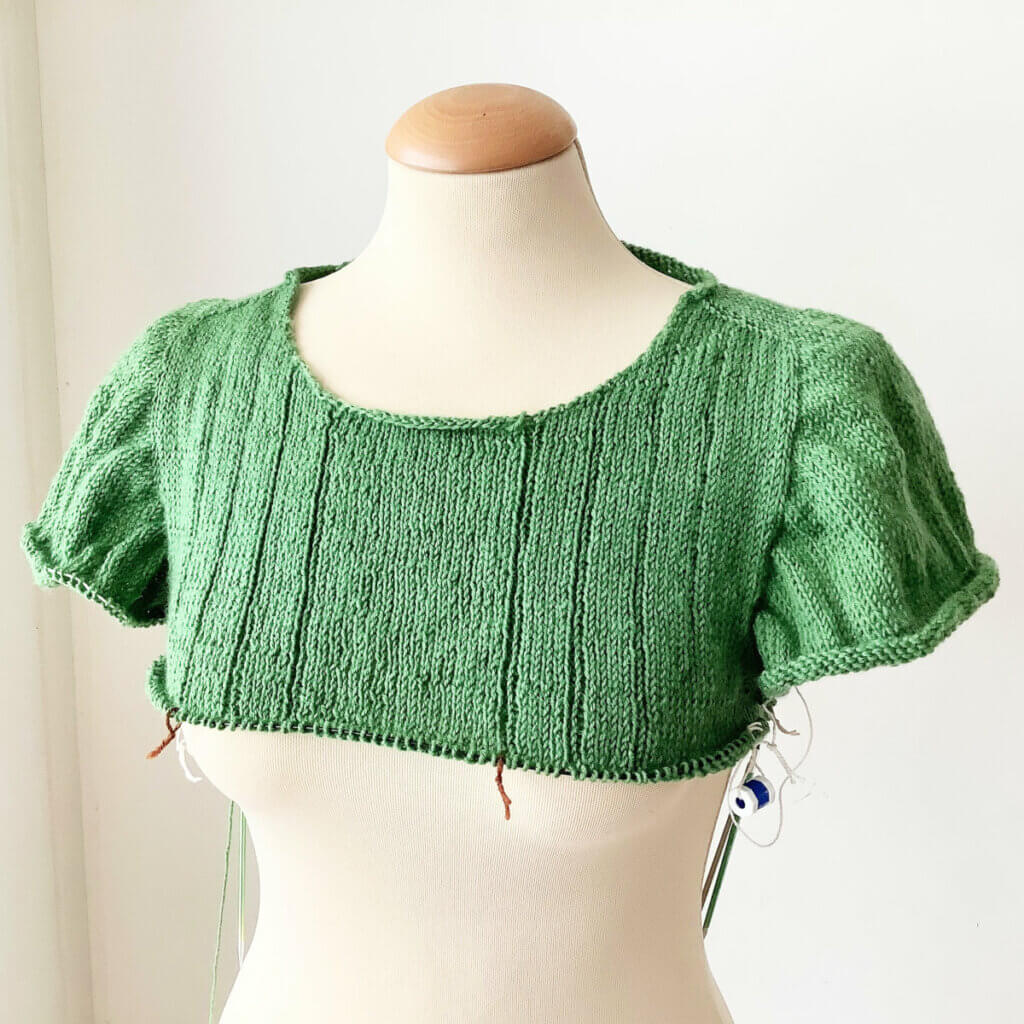
In this tutorial, I’ll tell you all about both the backwards loop method and the knitted-on method. To show you how to go about it, I’m using my Cherry Puff sweater WIP as an example. It’s a design by Skeindeer Knits, you can find the pattern here (Ravelry link).
Materials used
Garment WIP: Cherry Puff work-in-progress, which I’m knitting in Lang Yarns Super Soxx 6 ply.
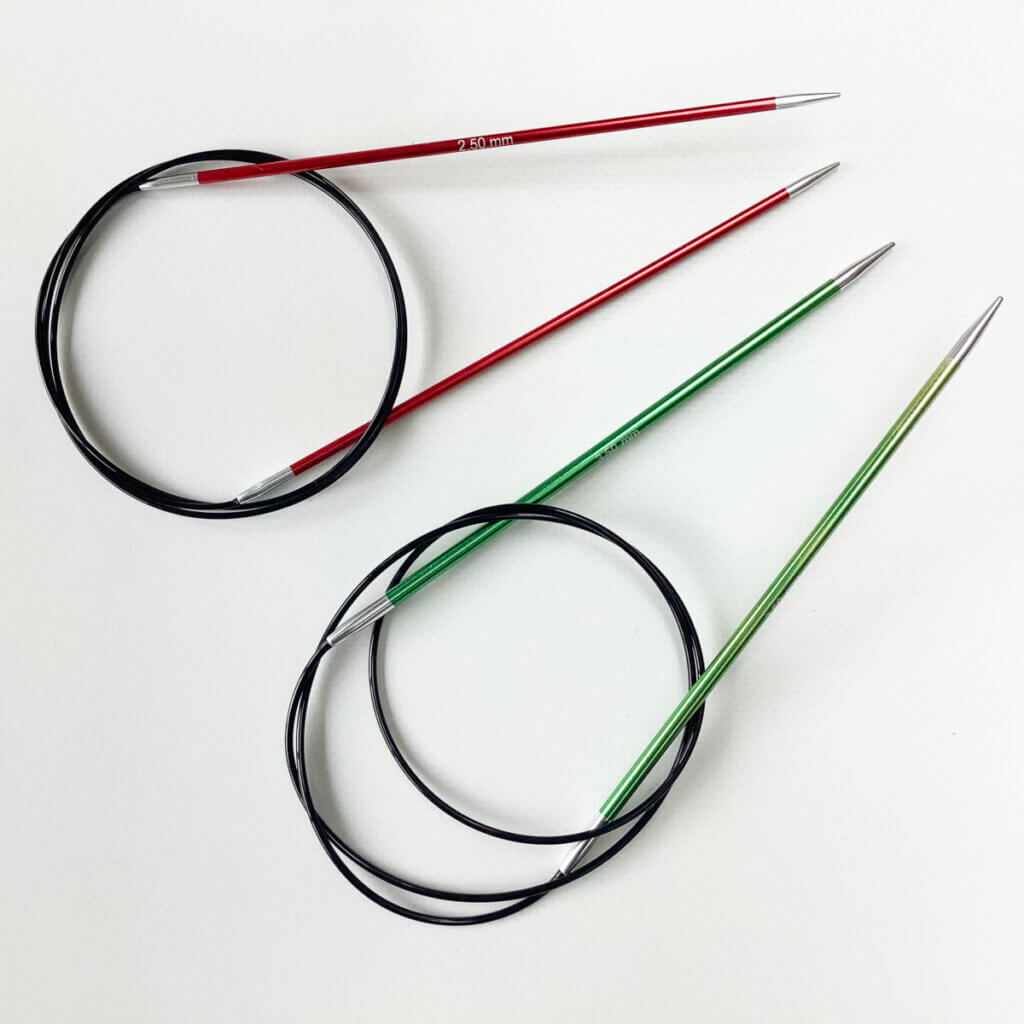
Other materials: I’m doing this project on a Zing circular knitting needle in size 3.5 mm (the green one pictured).
To start
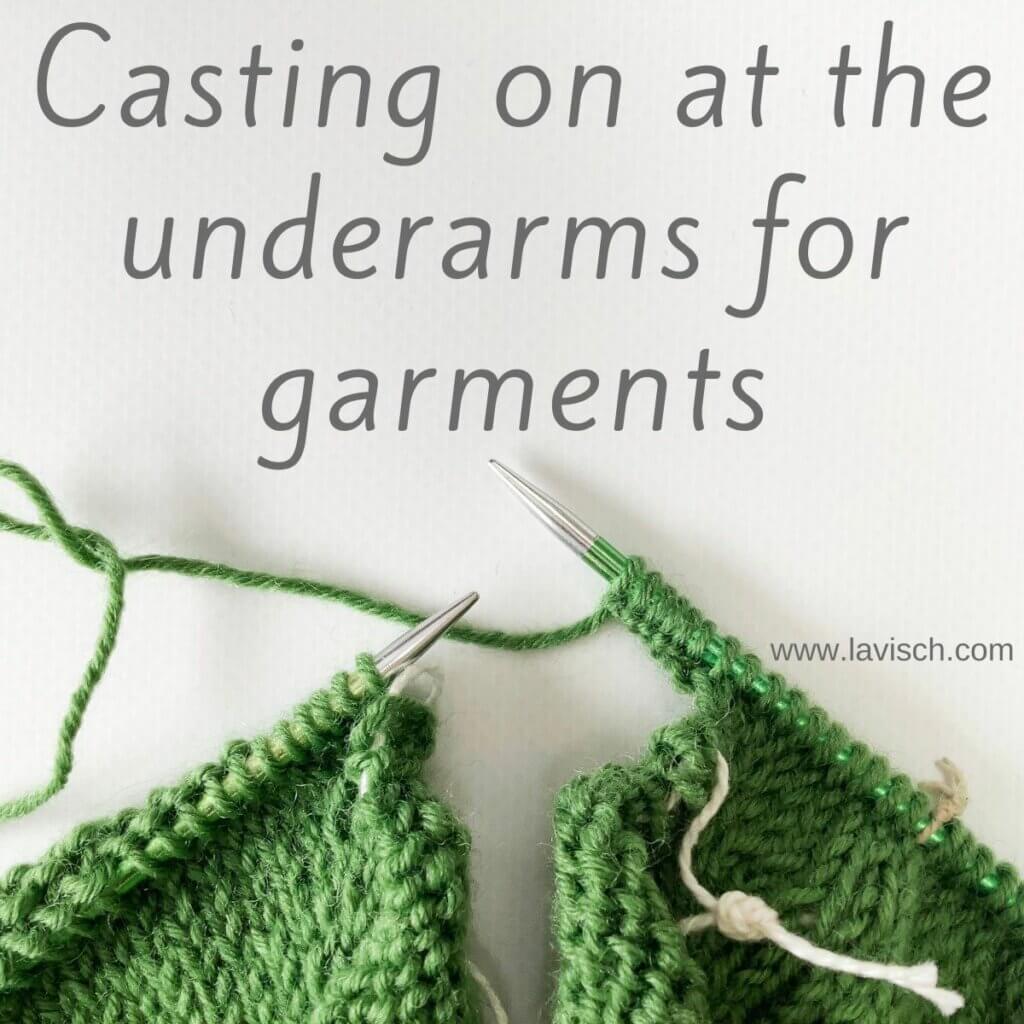
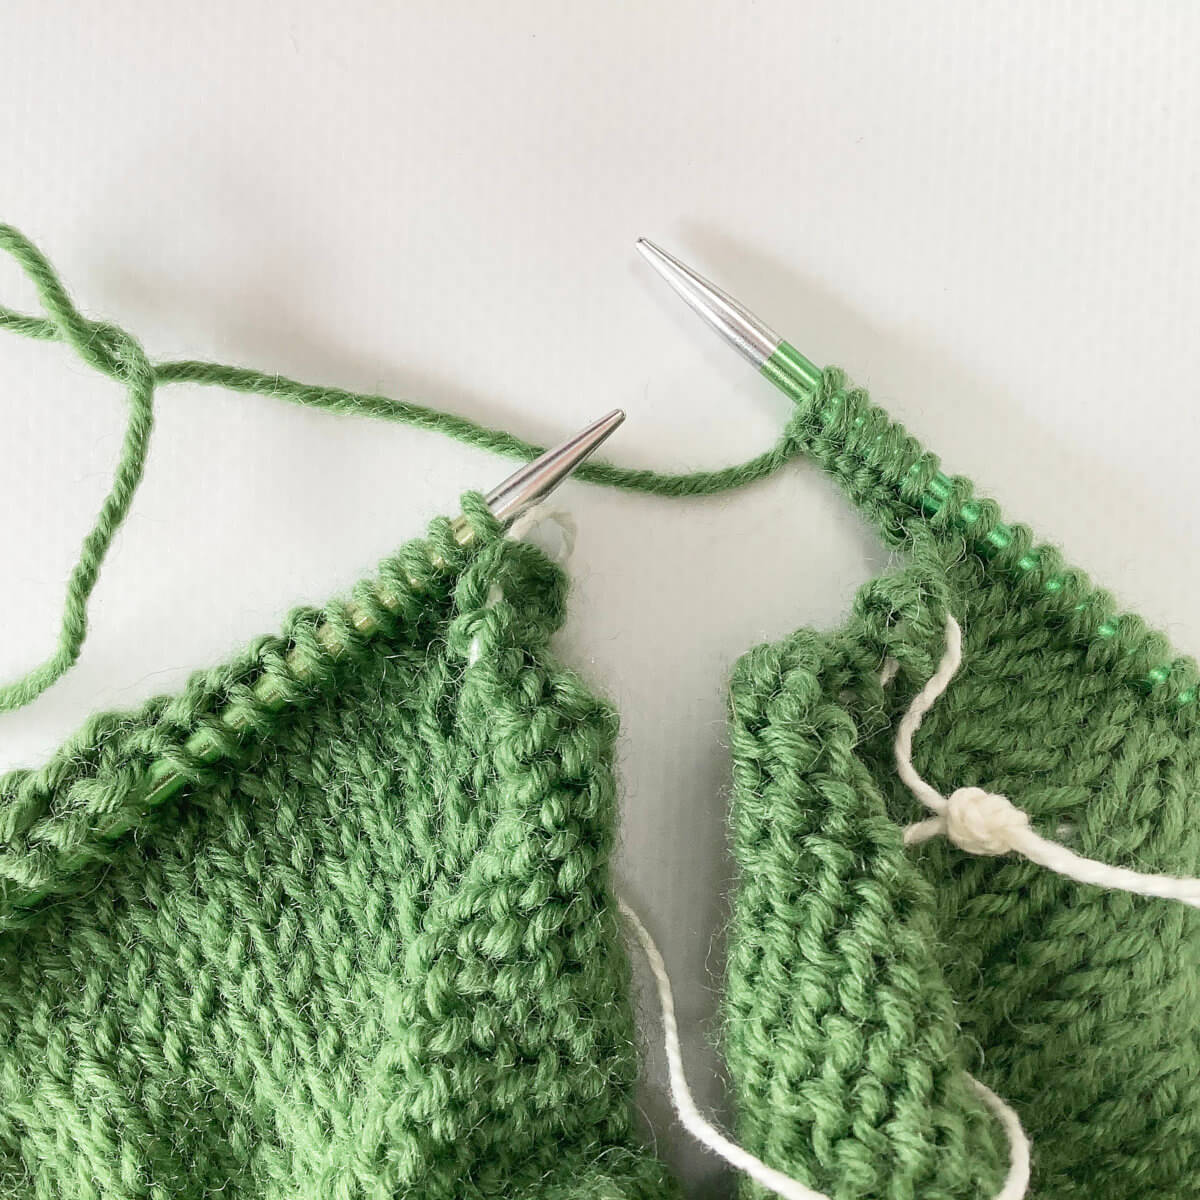
Before we can start casting-on at the underarm, we first have to organize the stitches. I’ve knit to the shoulder stitches and have placed them on waste yarn. So, on the one needle we have the back stitches, and on the other the front stitches.
Using the backward loop cast-on
To work the backward cast-on, you just work the cast-on on the right-hand needle. A photo tutorial on that can be found here, the result can be seen below. On the following row, the newly cast-on stitches can be hard to knit into. Also, the loops of yarn may stretch out where they connect to the front or back stitches due to the loose character of this cast-on. A way to tighten this up, is to cast-on 2 extra stitches for each underarm section. On the following row or round, when you come to 1 stitch before the underarm stitches, work a decrease. Next, work to 1 stitch before the end of the underarm stitches and again work a decrease.

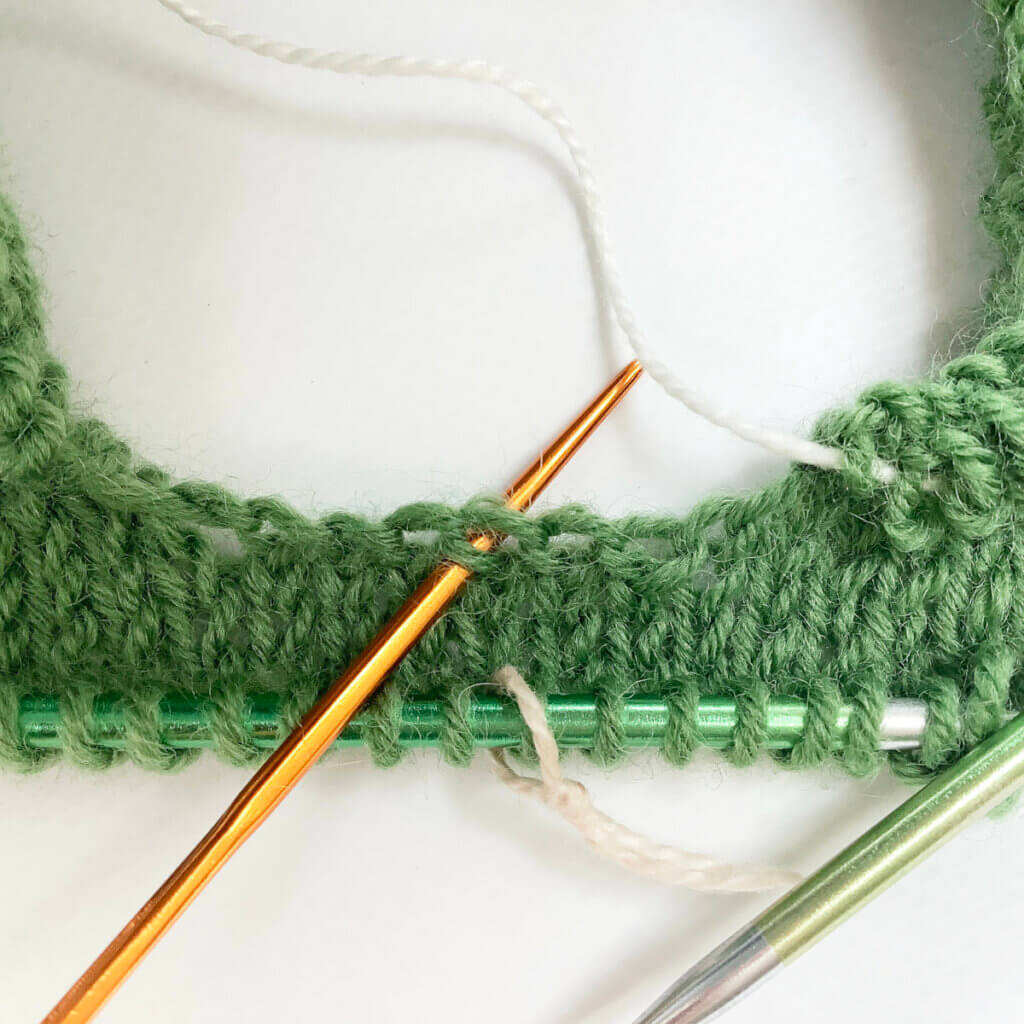
Using the knitted-on cast-on
The process to work the knitted-on cast-on is a bit more involved than the one for the backward loop cast-on. That said, the result is much neater, with still a bit of stretch in the resulting edge. A detailed photo tutorial on how to work this cast-on can be found here, below I’ll show you how to utilize it for casting on stitches mid-row.
On a side note: The cable cast-on is pretty similar in how it’s worked, but results in a sturdier edge. For that reason, I usually don’t use when casting on stitches for the underarm.
- Turn the work
Usually the piece of knitting to which the yarn is connected, is on the right-hand needle. However, to be able to cast-on the new stitches with the knitted-on method, you need to turn the work. Position it in such a way that you’re looking at the wrong side of the fabric, and the needle with the piece of knitting to which the yarn is connected, is ready to be used as the left-hand needle.
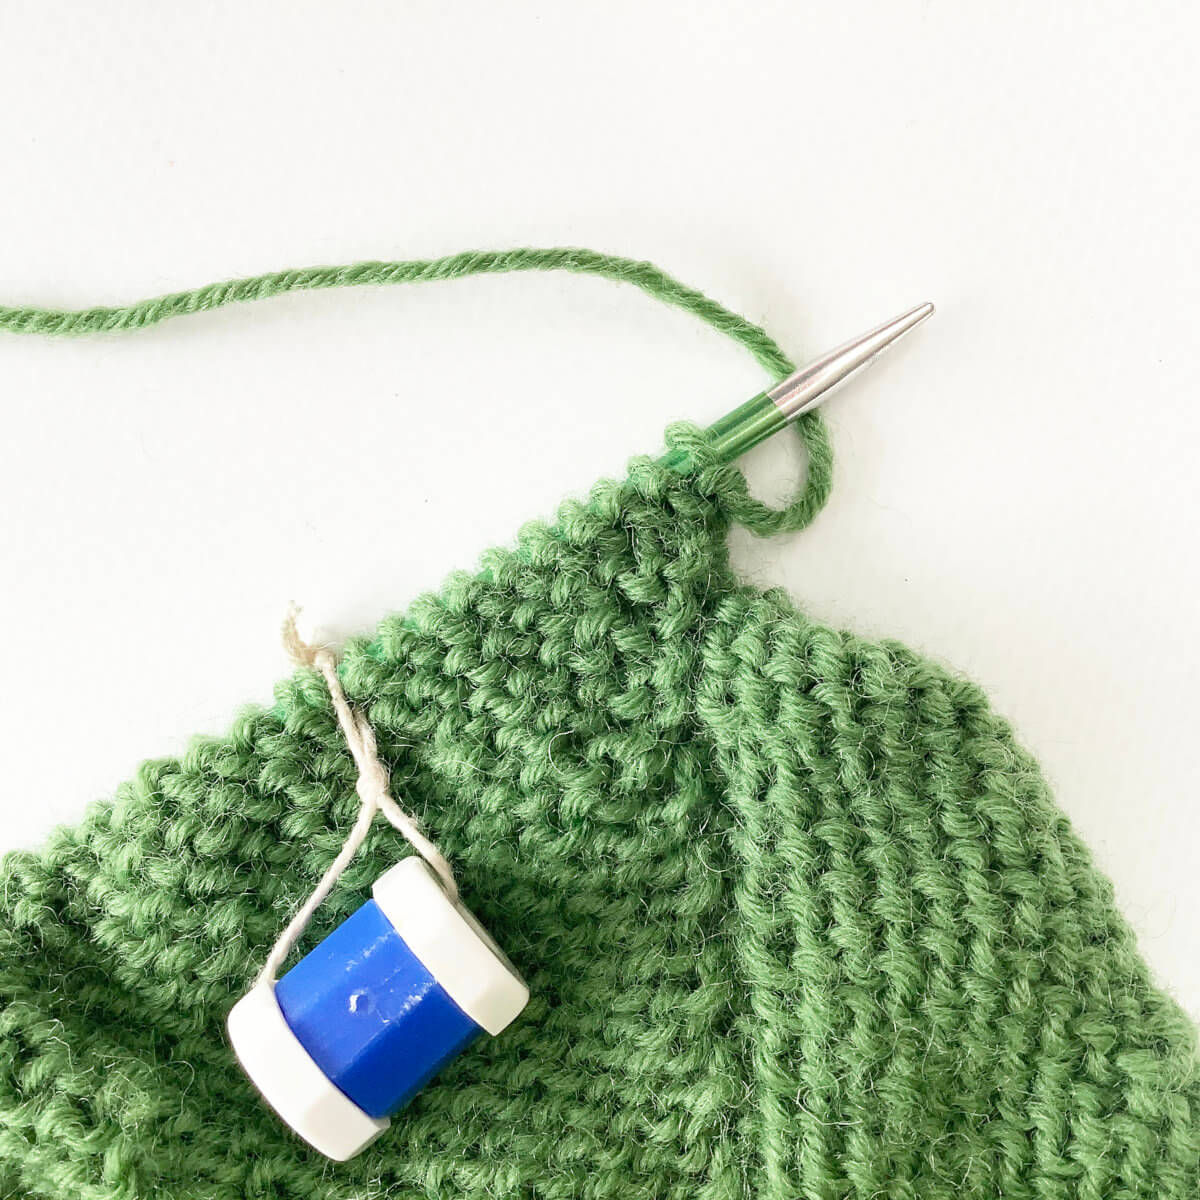
- Work the cast-on
The short version is that you insert the right-hand needle into the stitch nearest to the point of the left-hand needle, pull up a loop through that stitch, and place it on the same needle. This is repeated until you have the number of desired stitches.
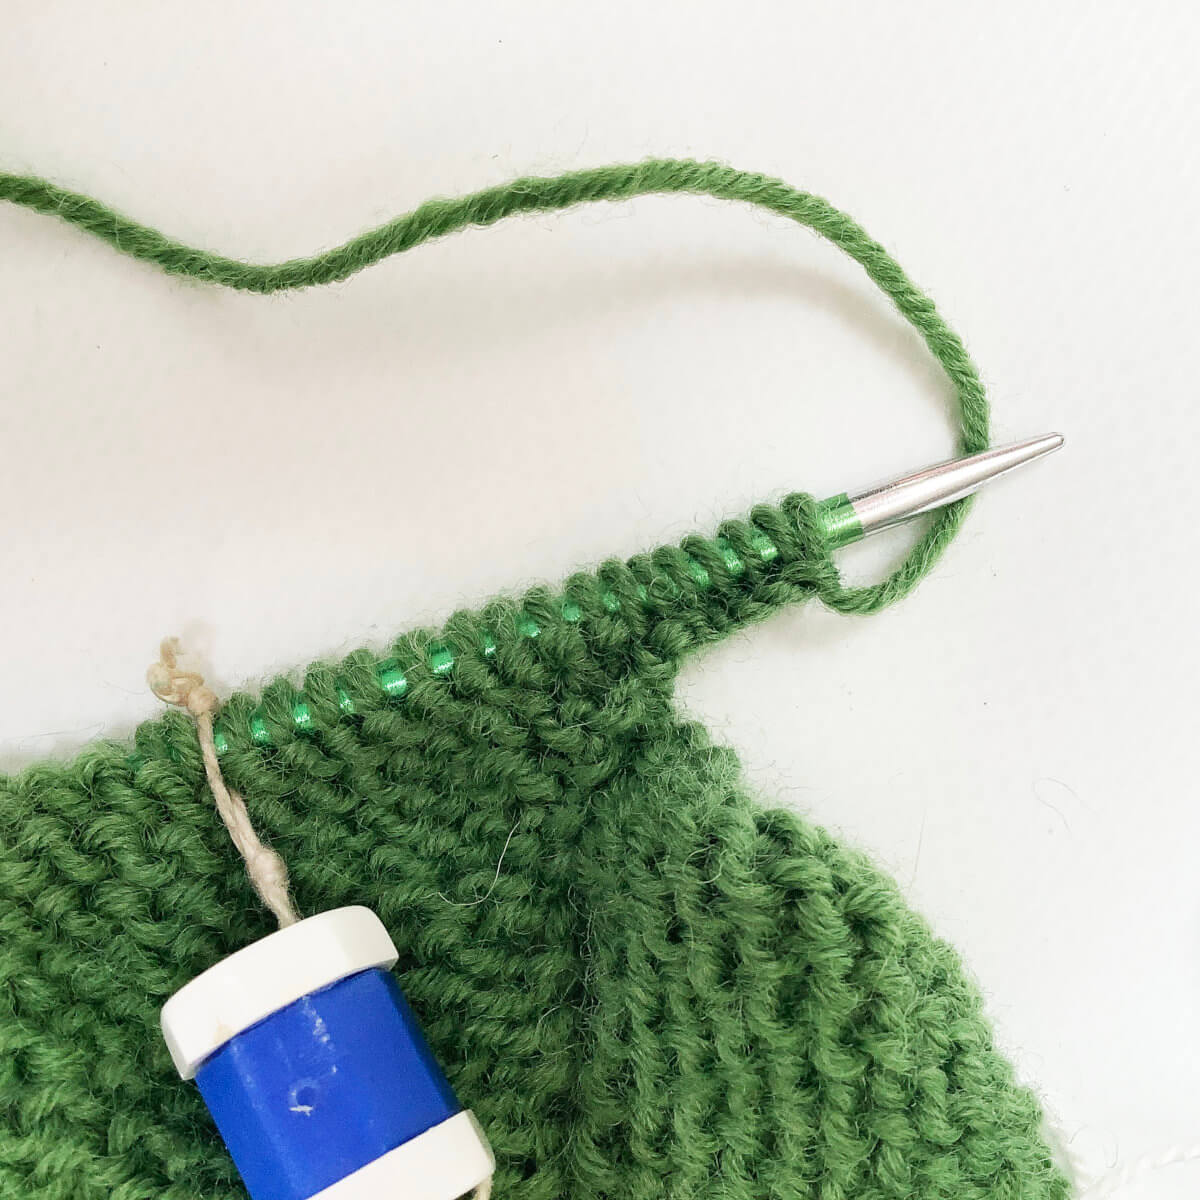
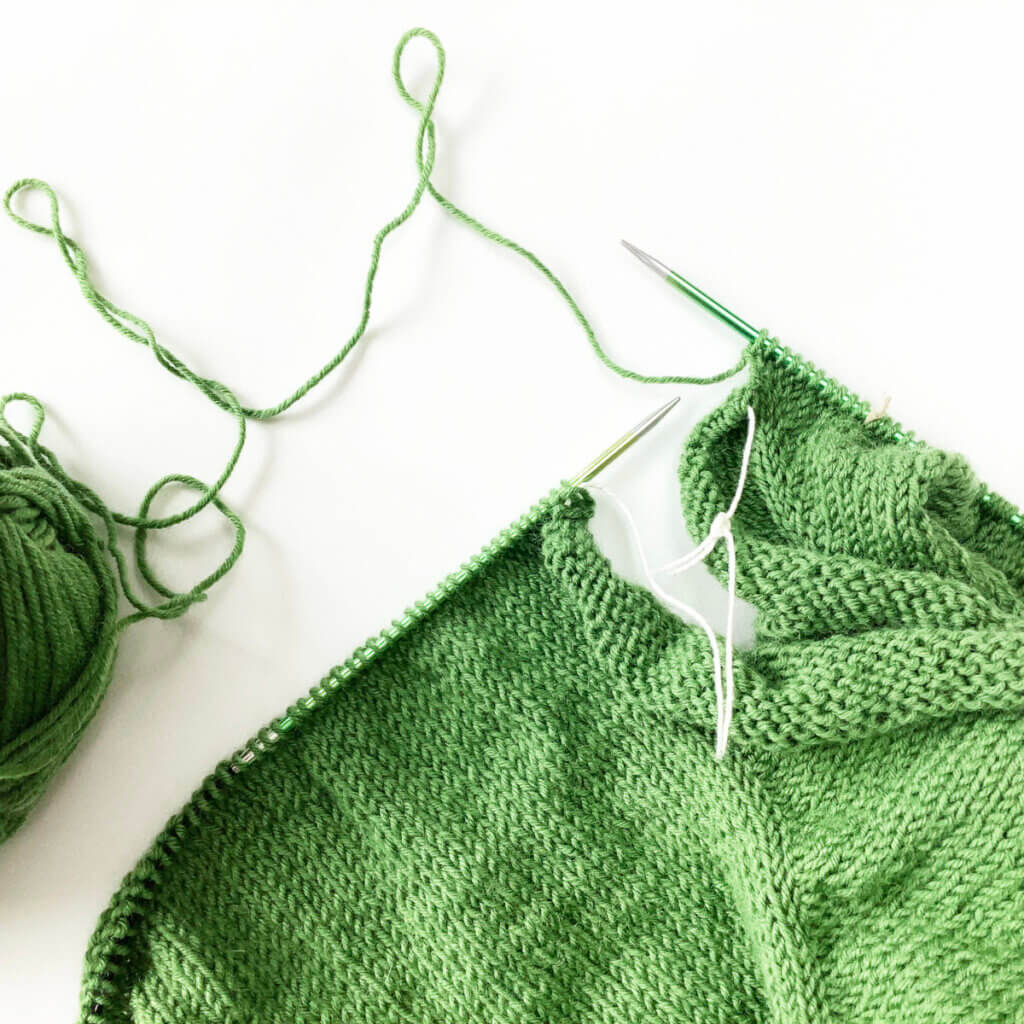
- Turn the work again to continue knitting over the next set of stitches
- The result of casting on at the underarm, after working a couple of more rounds
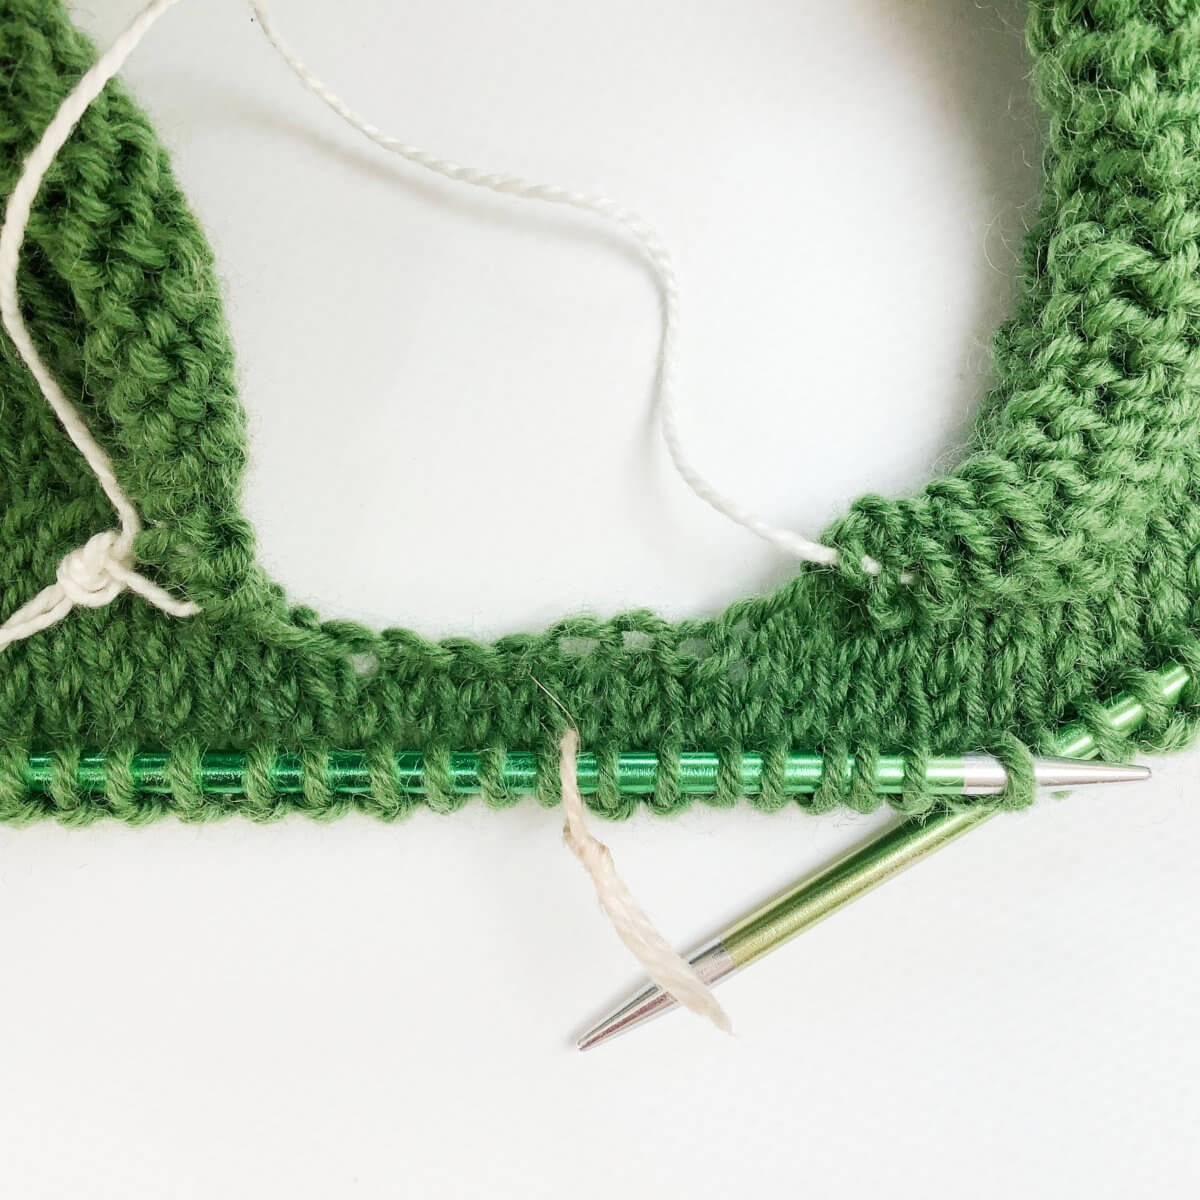
Picking up the stitches
Of course, at a certain point, stitches have to be picked up from the cast-on to work the sleeves. The below picture shows where I did that in this particular project. That said, there are more loops to choose from when picking up stitches. The important thing is not to pick up just a single strand, because that will be very visible and a weaker join than when picking up two strands. In another tutorial, I’ll go into detail about how to deal with the gaps in the corners!

Thanks to my Patreon supporters for bringing you this freebie! Creating quality patterns and tutorials is a lot of work and resource-intensive. However, I find it important to give you free content like this tutorial. Thanks to the generous support of my Patreon supporters, I can make it happen. Thank you, patrons! Click here to join, or click here to read more about La Visch Designs on Patreon.


