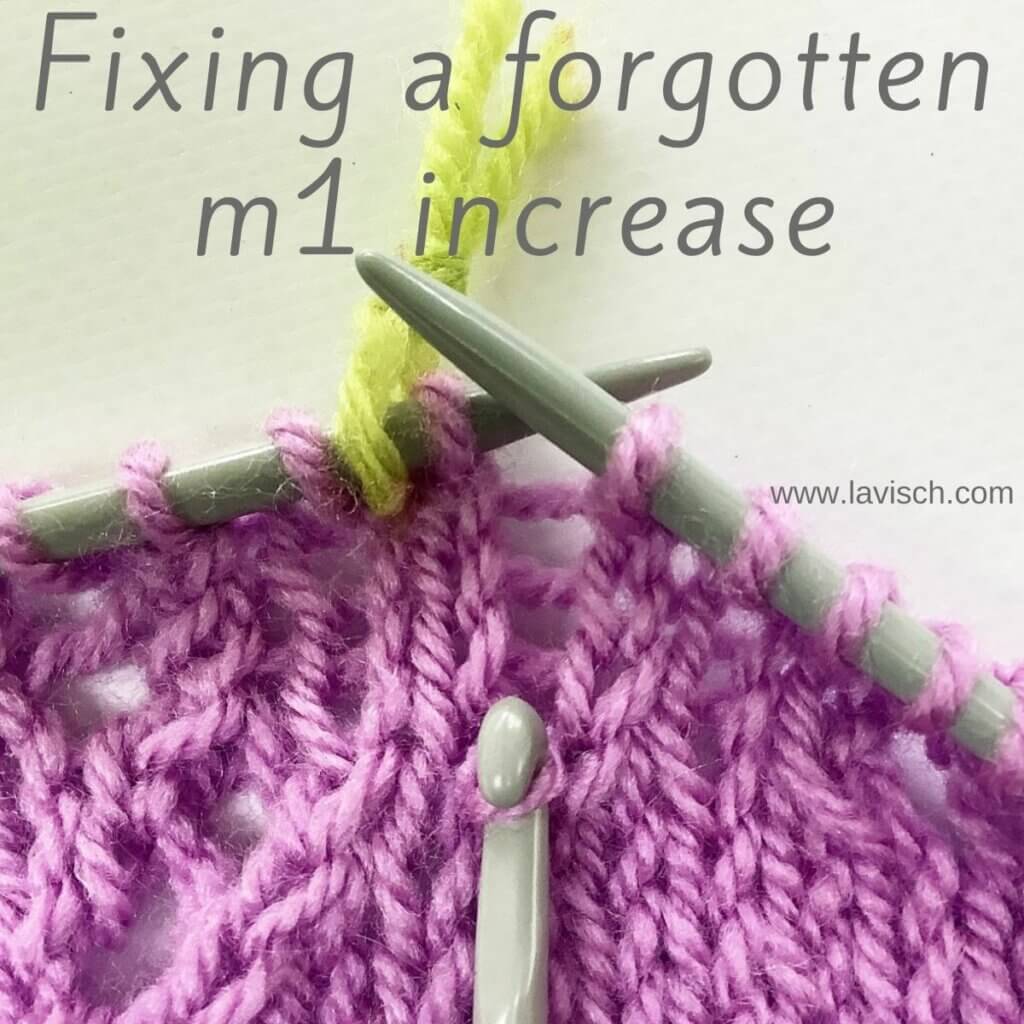
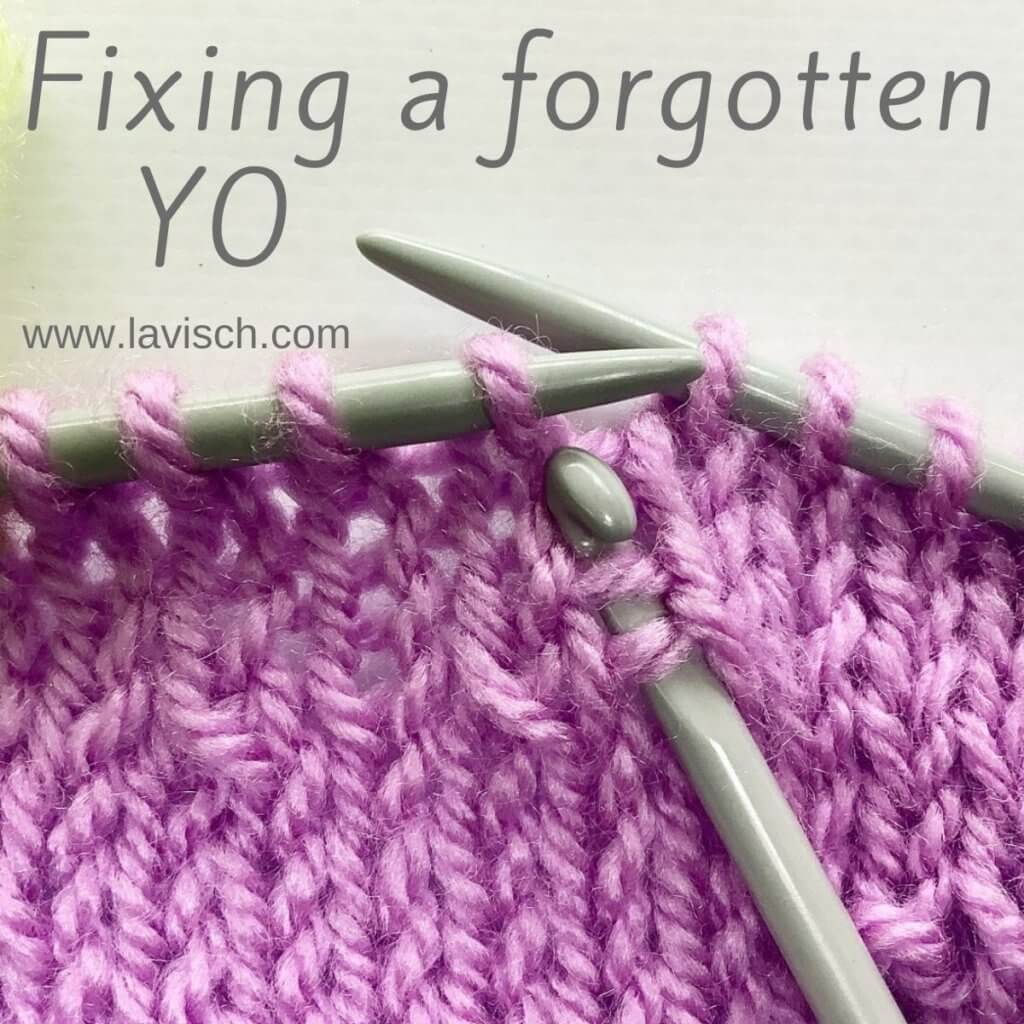
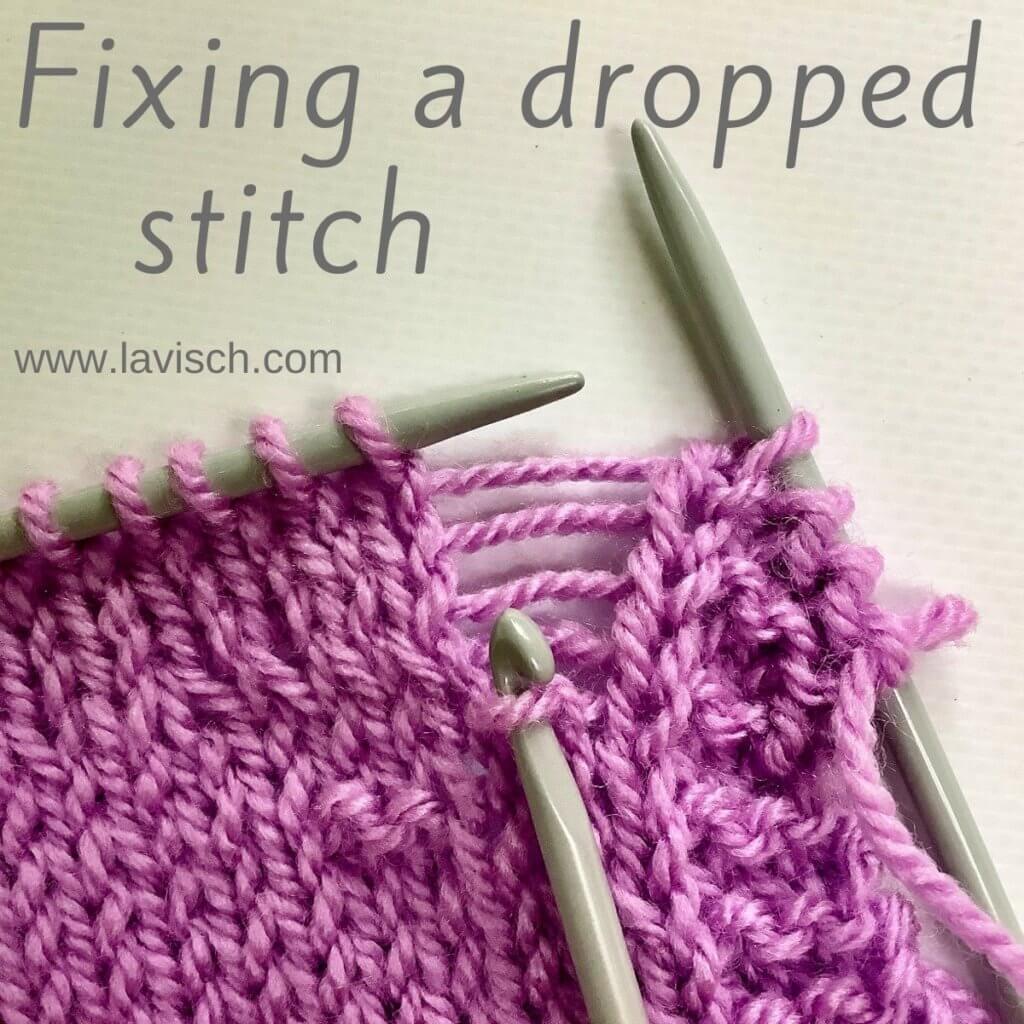
tutorial – fixing an edge stitch
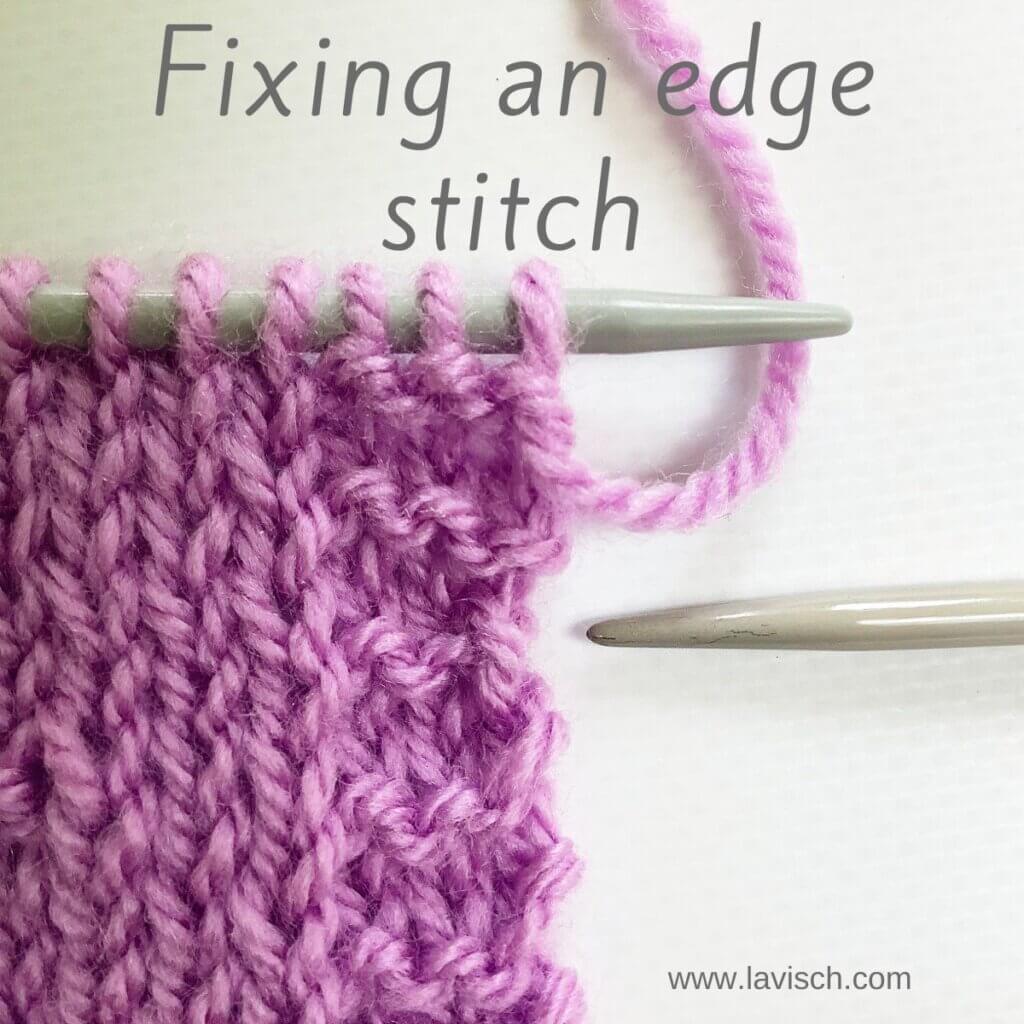
It can happen that an edge stitch goes wrong I mean, you’re knitting merely along, and you work a purl stitch where it should have been a knit stitch. And, of course, we only see it when a couple of more rows have been worked. No worries, though, it can be fixed! Fixing an edge stitch is a bit more complex to correct than previous mistakes. This is because you are not dealing with just 1 thread per step, but with a loop that covers 2 rows. We are also dealing with garter rib stitch, instead of stockinette stitch. That said, it’s still very doable if you know the tricks.
So, in this post I’ll show you to fix this!
Materials used


Yarn: Paintbox Yarns Simply DK, a good value, good quality 100% acrylic yarn, here in the color 142 Tea Rose.
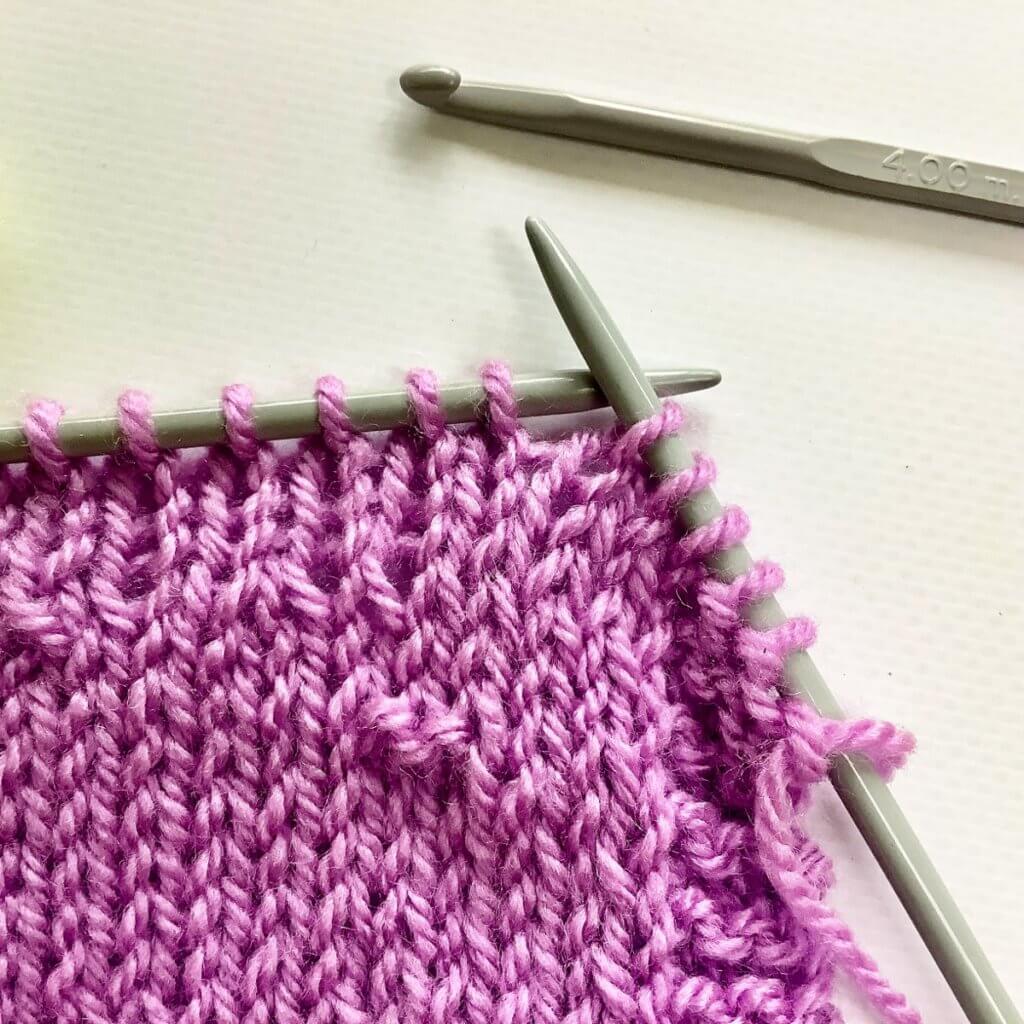
A crochet hook in the same size or slightly smaller than your knitting needles. For example, this Pony Aluminum Crochet Hook in size 4 mm.
You will also need a couple of extra crochet hooks or stitch markers to keep the loops of yarn under tension. This will enable you to identify both parts of the loop and work them back up in the correct order.
Fixing an edge stitch step by step
Let’s get started! In this tutorial, I’m using the swatch I also used in previous tutorials on fixing things in knitting.
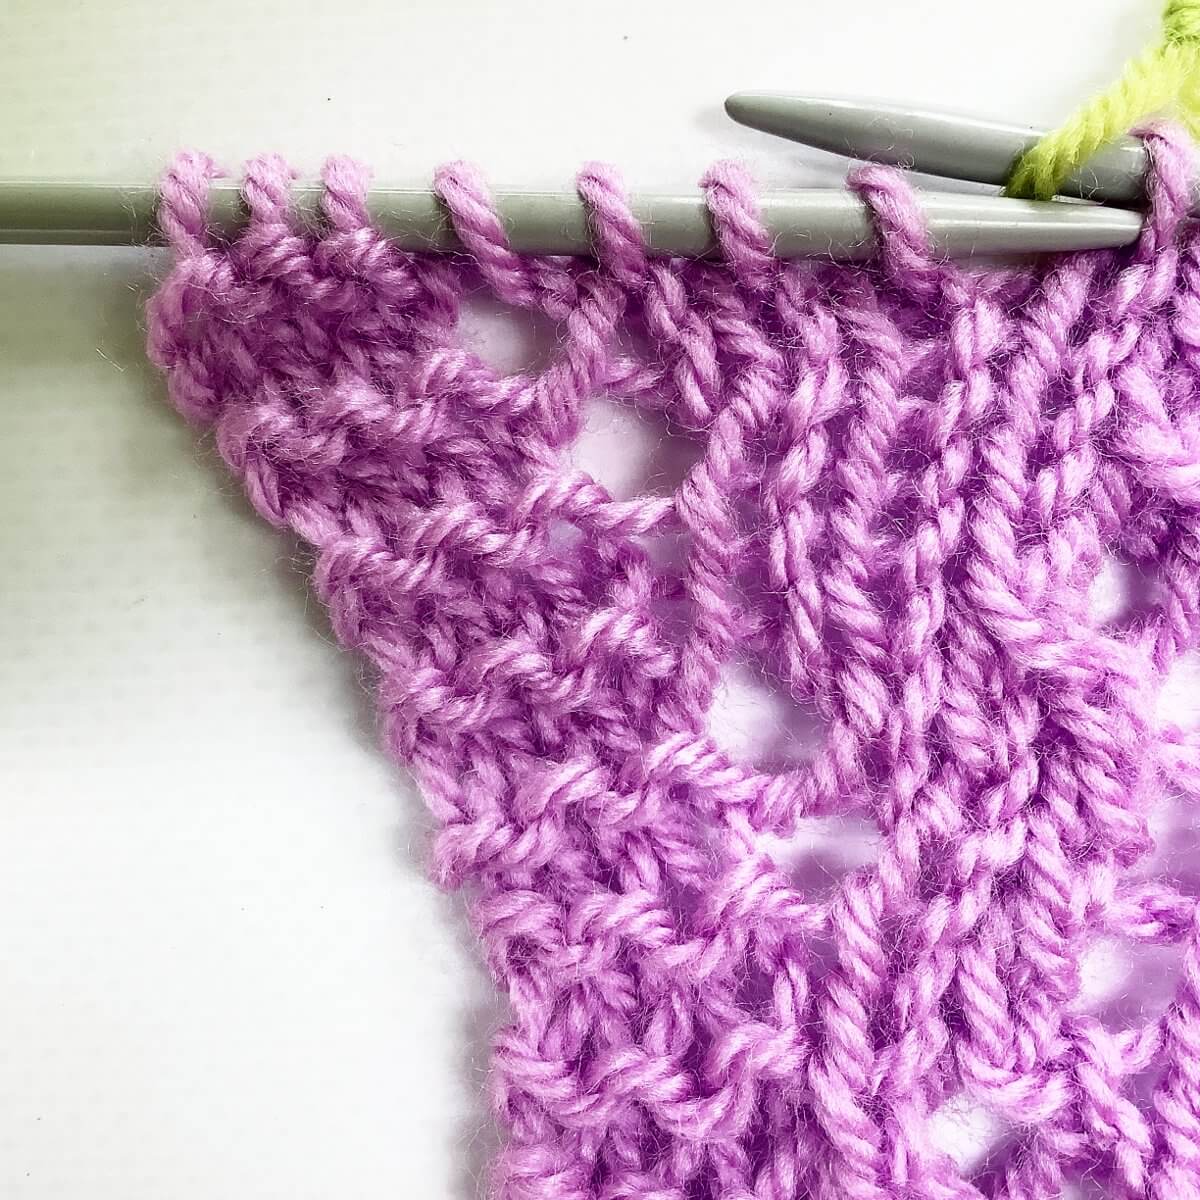
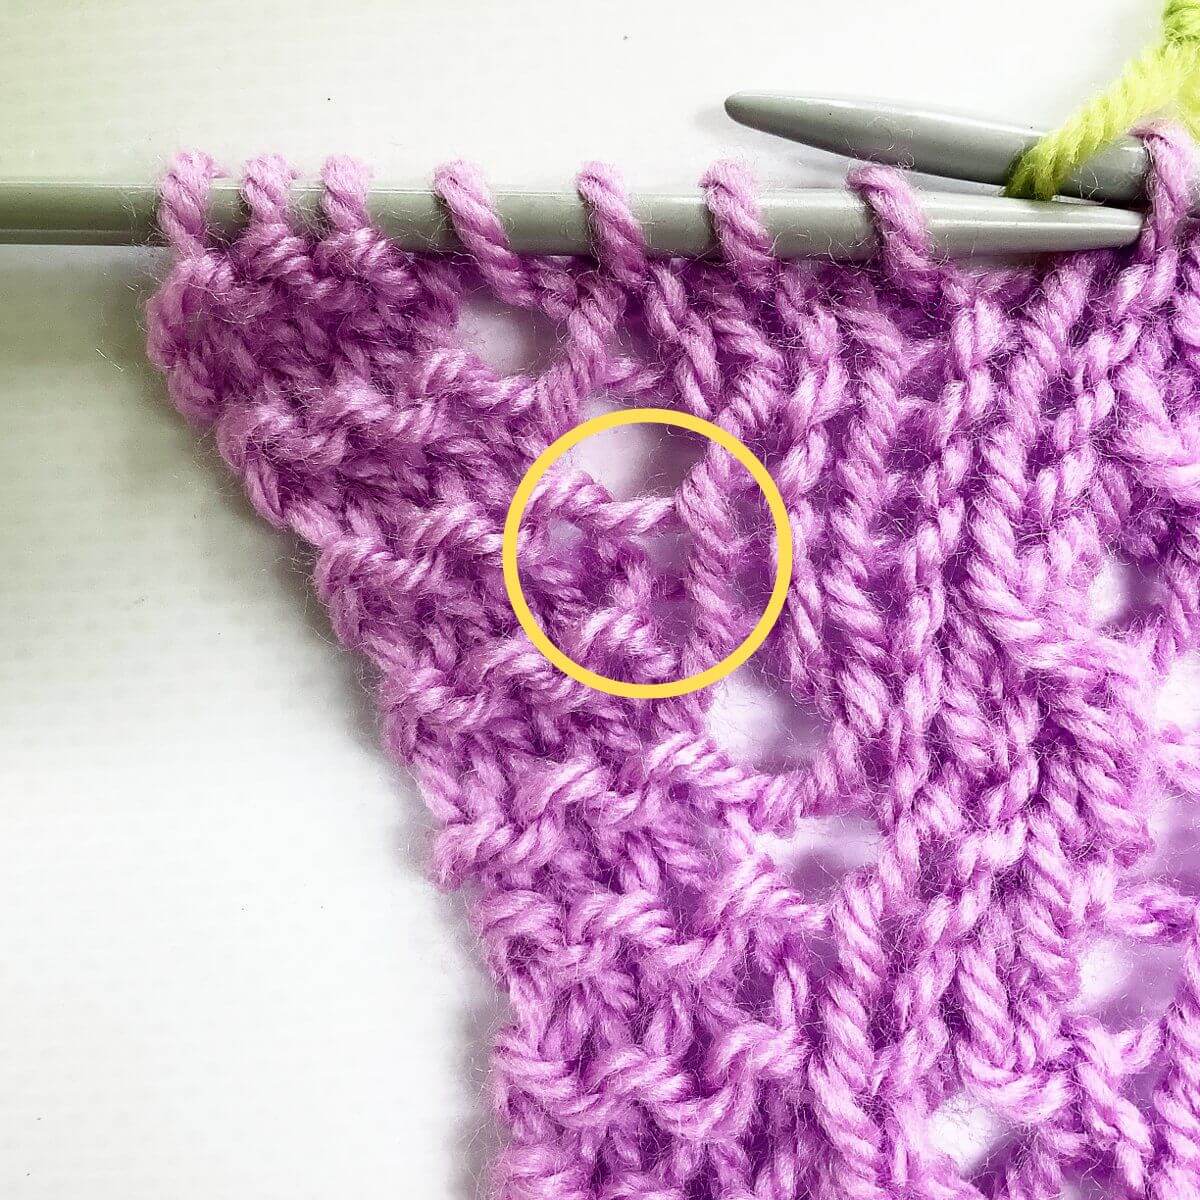
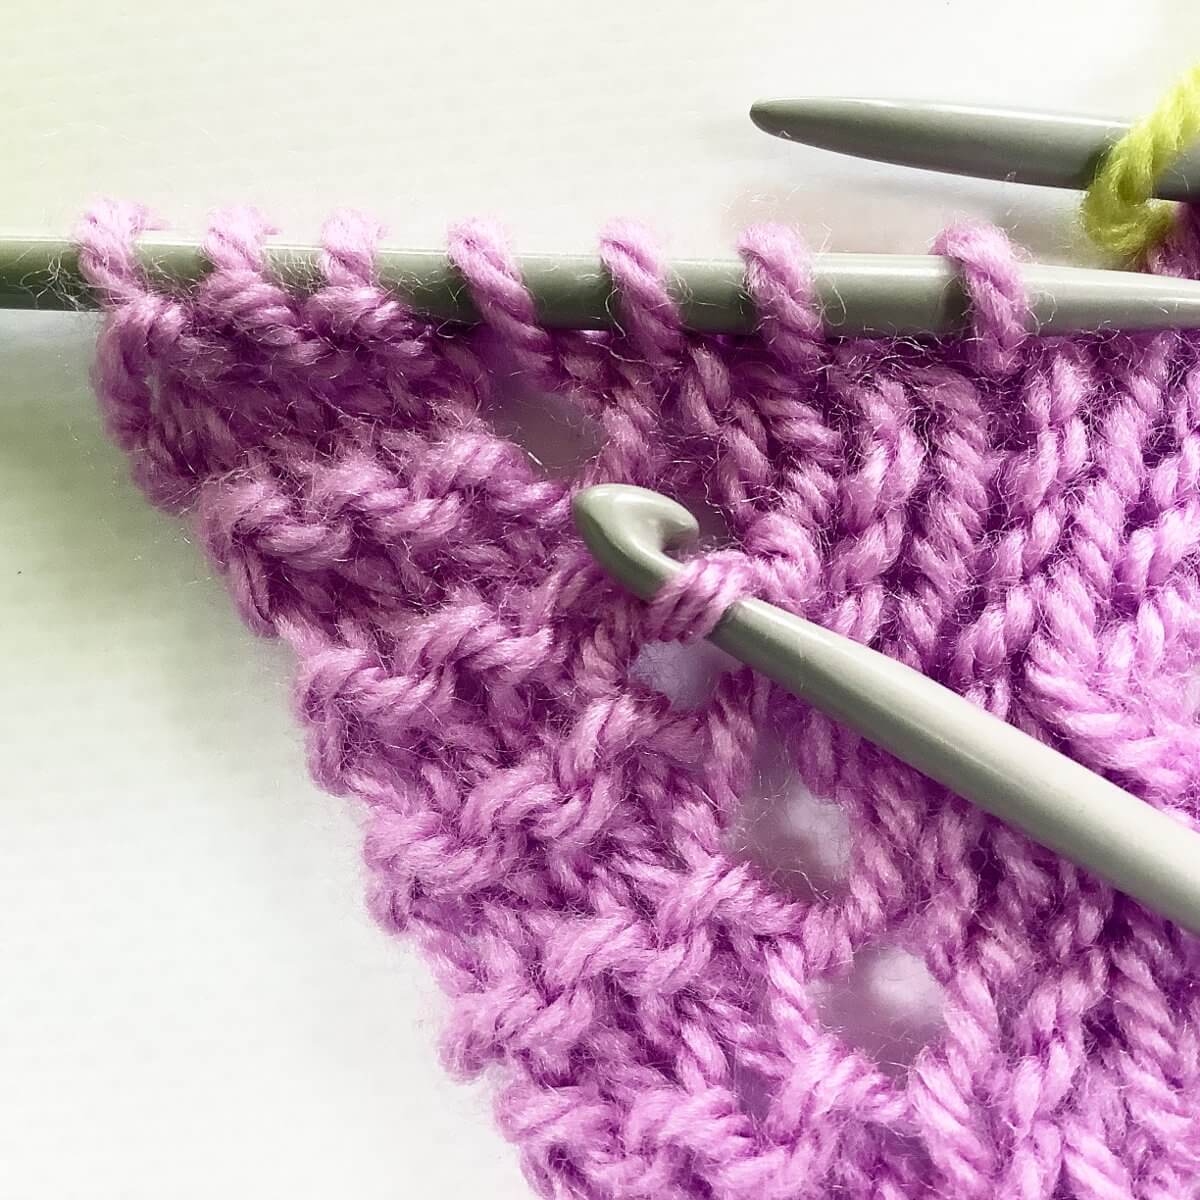
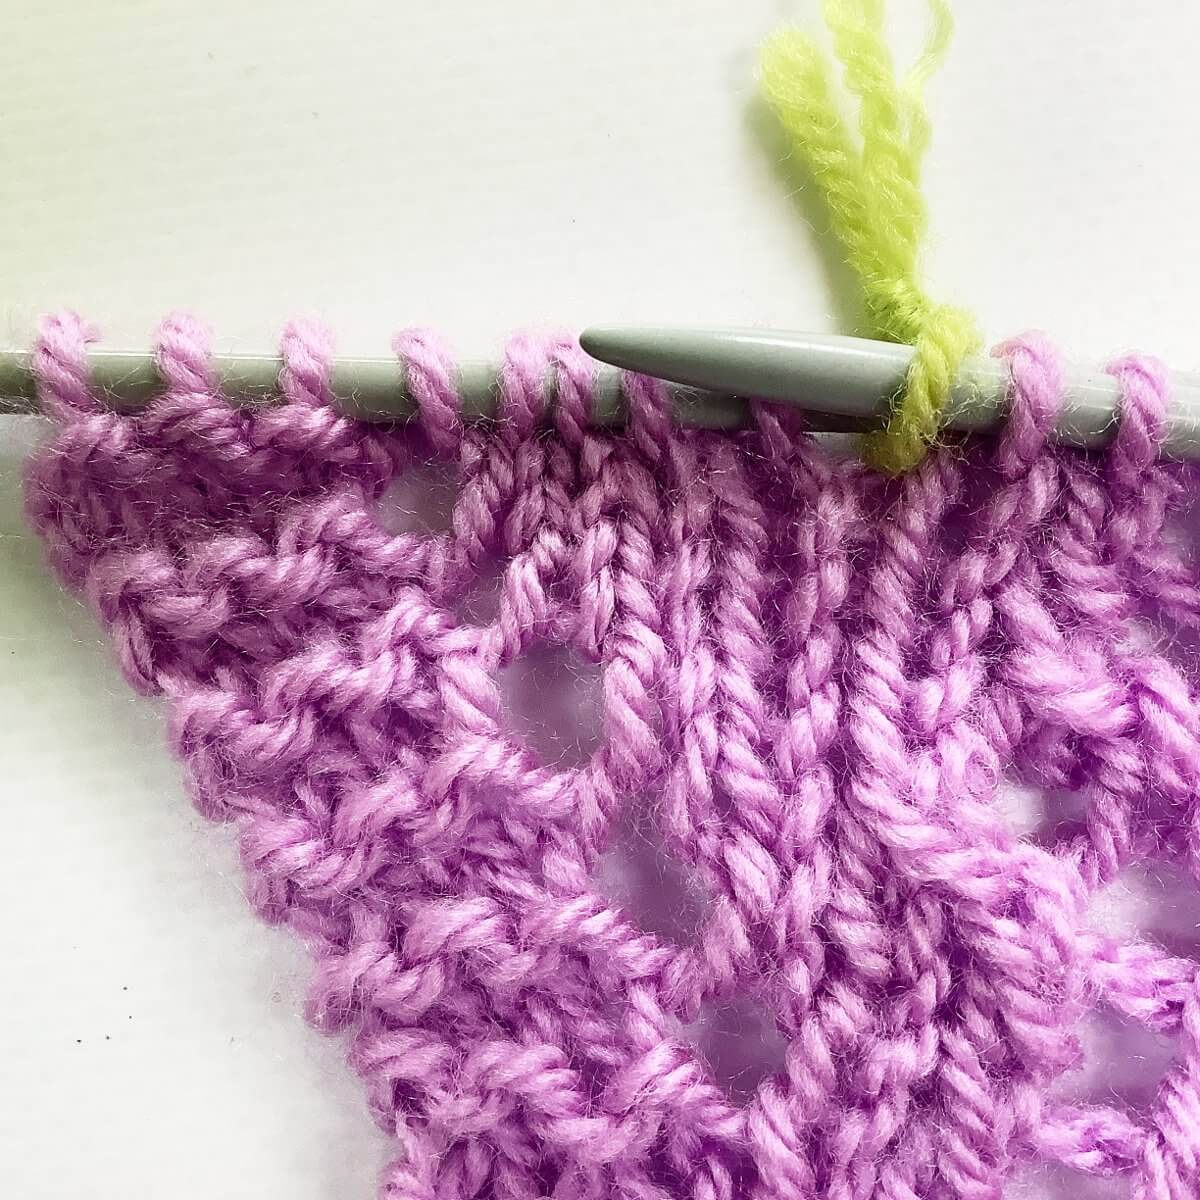
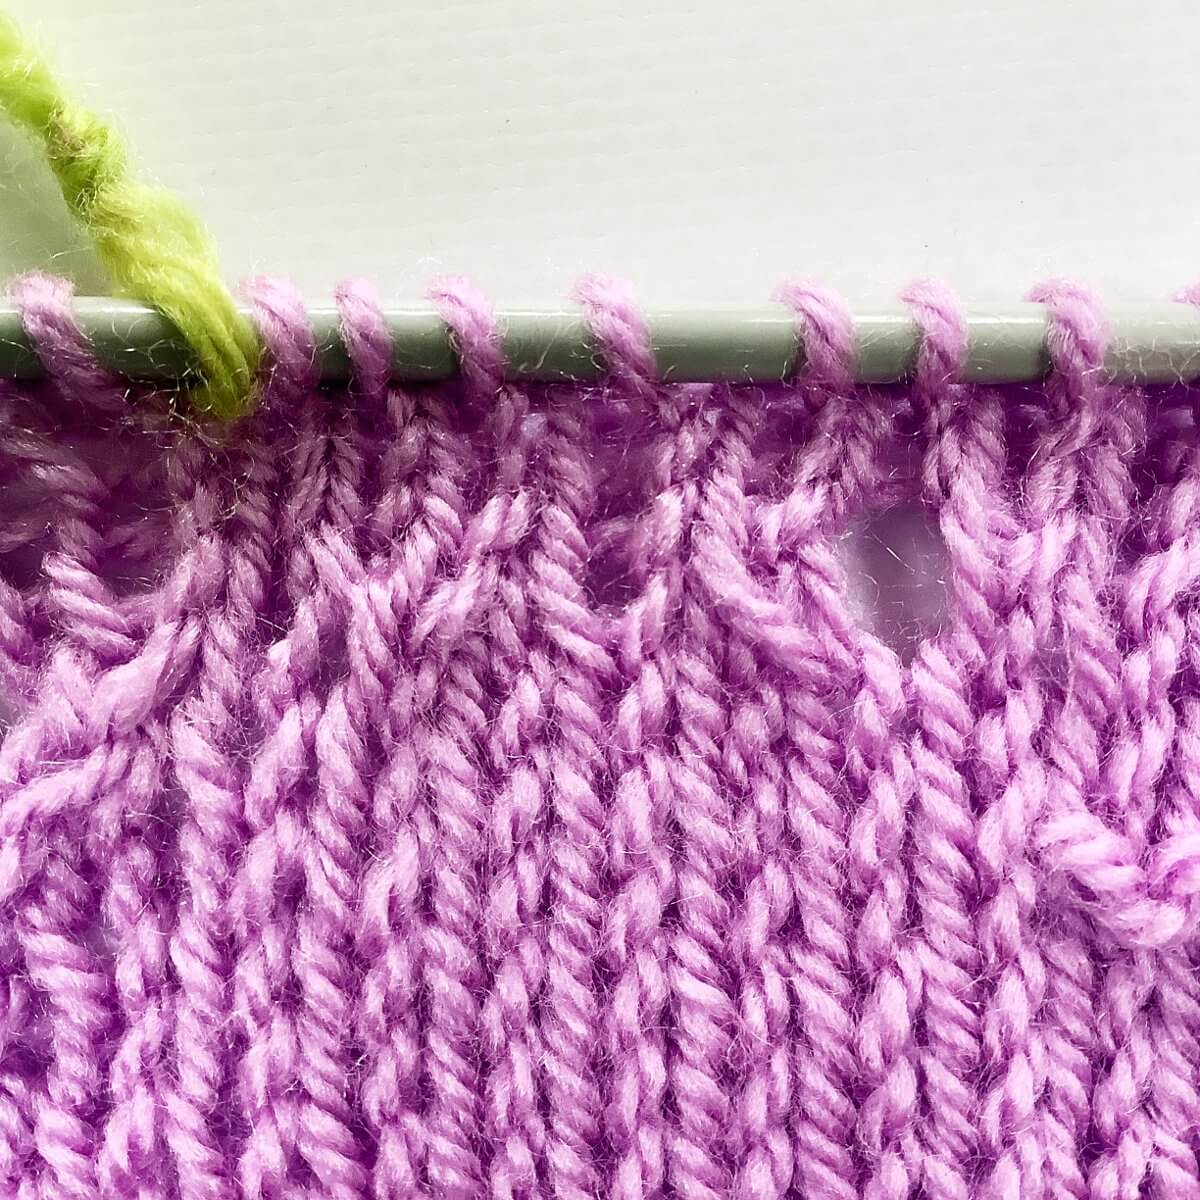
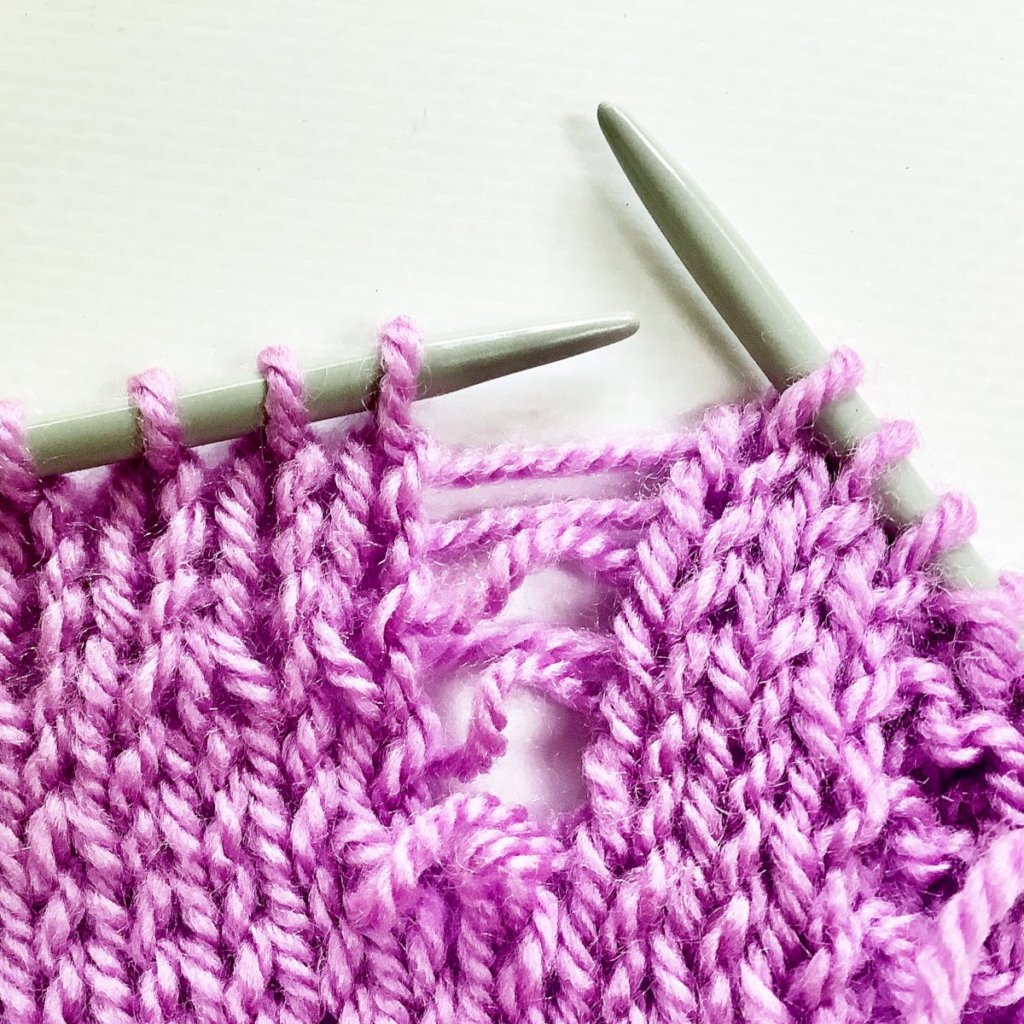
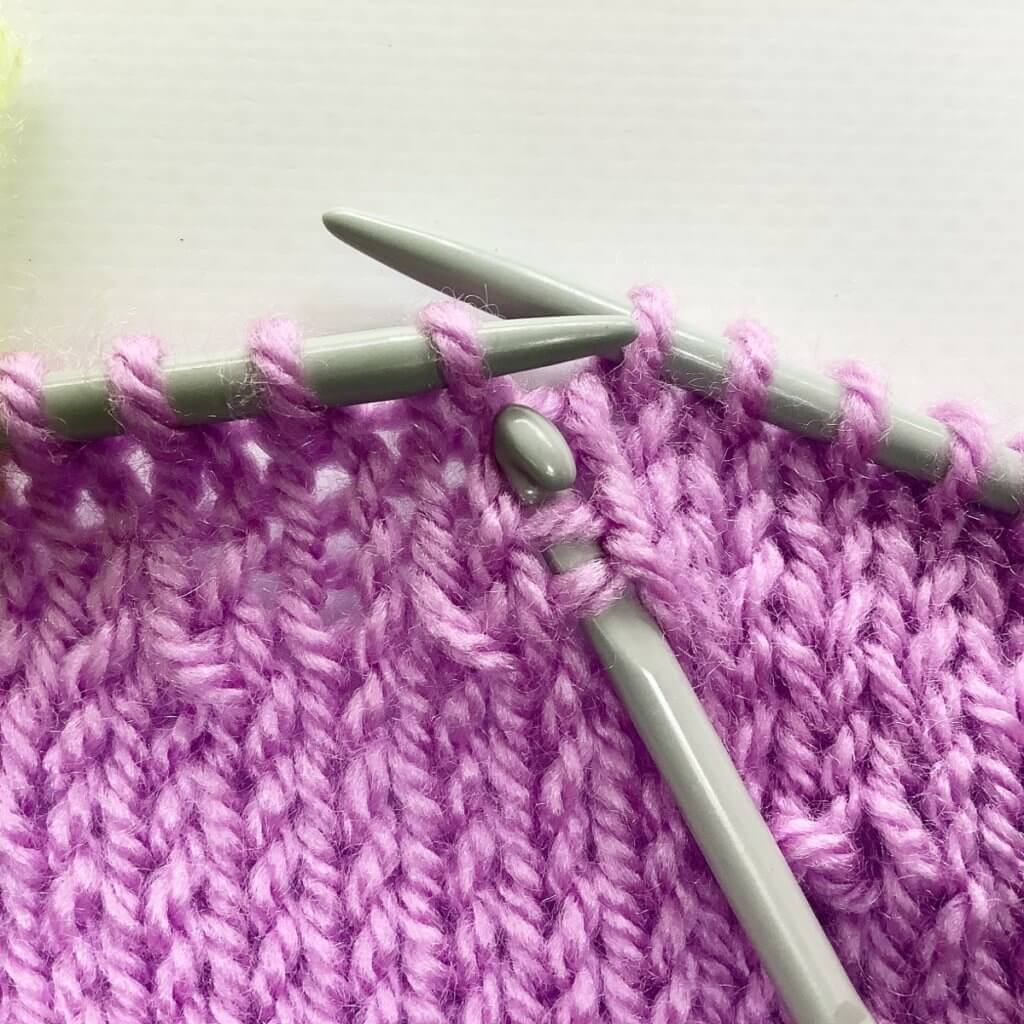
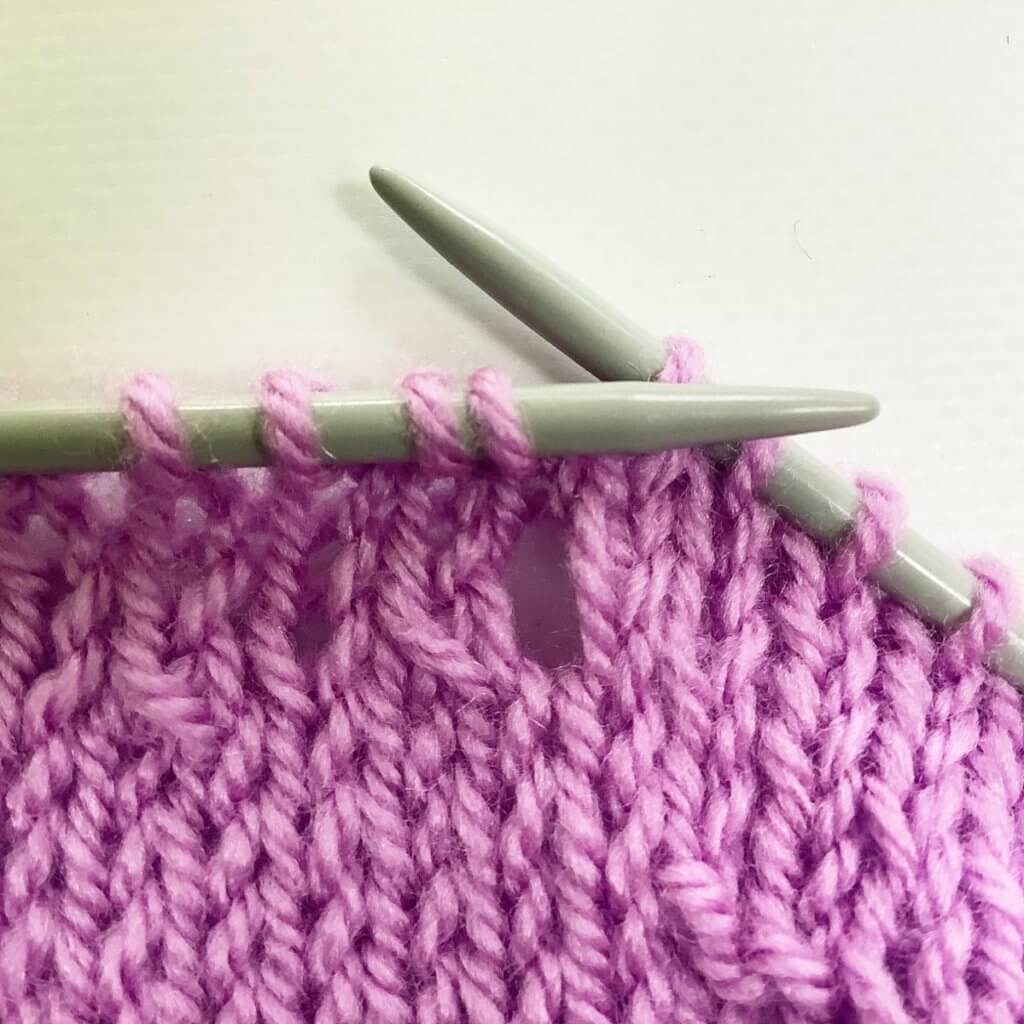
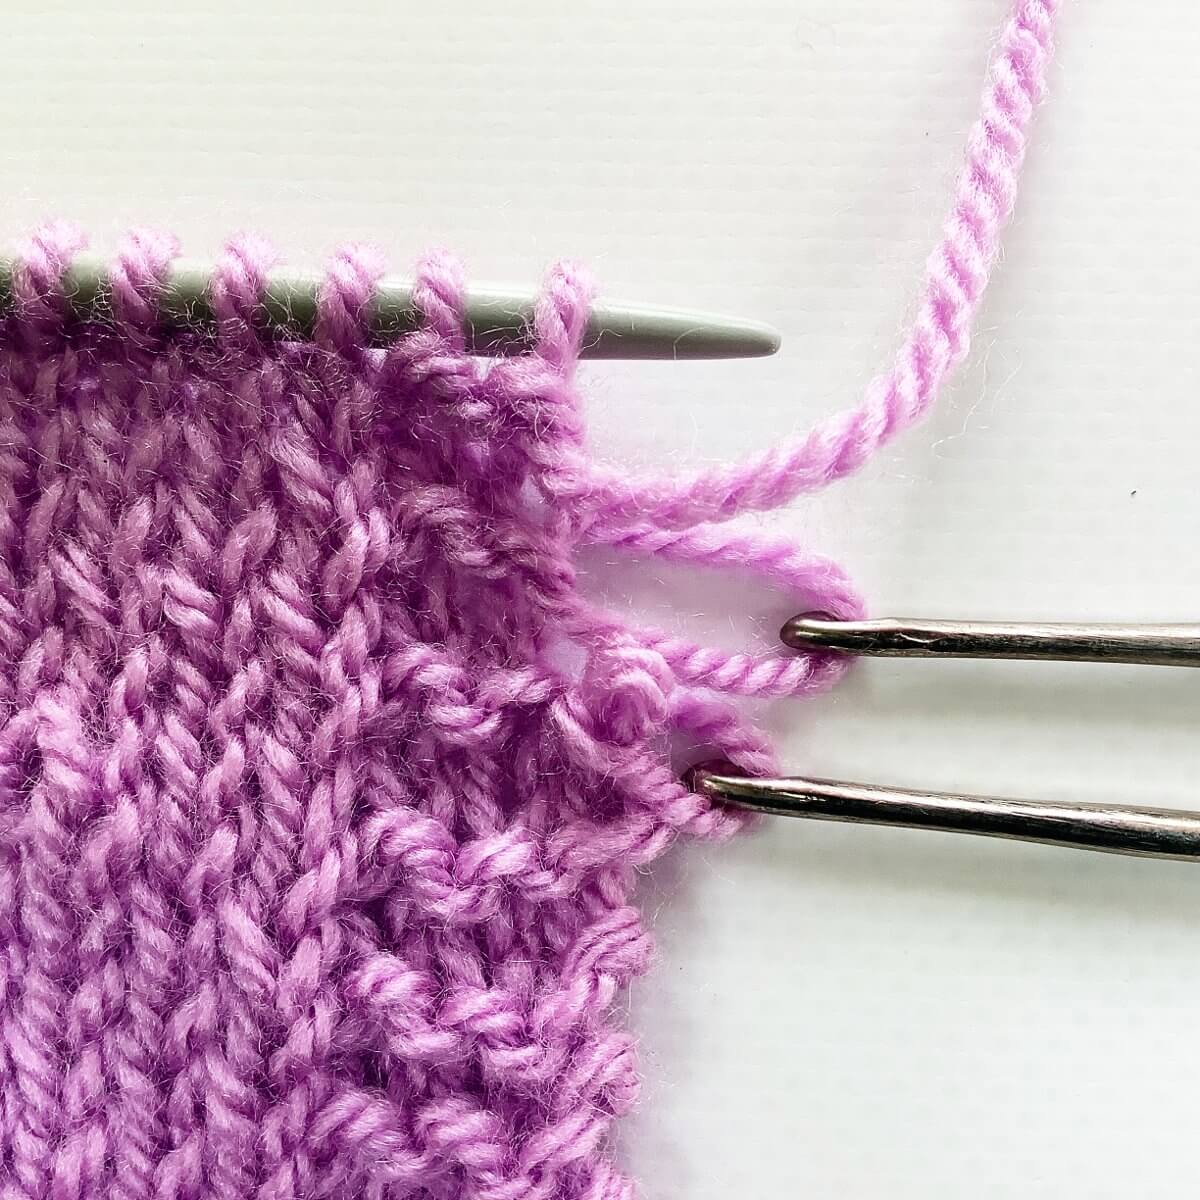
- First, we have to identify the exact spot where the edge stitch went wrong.
Do you see it? It’s right next to the tip of the knitting needle!
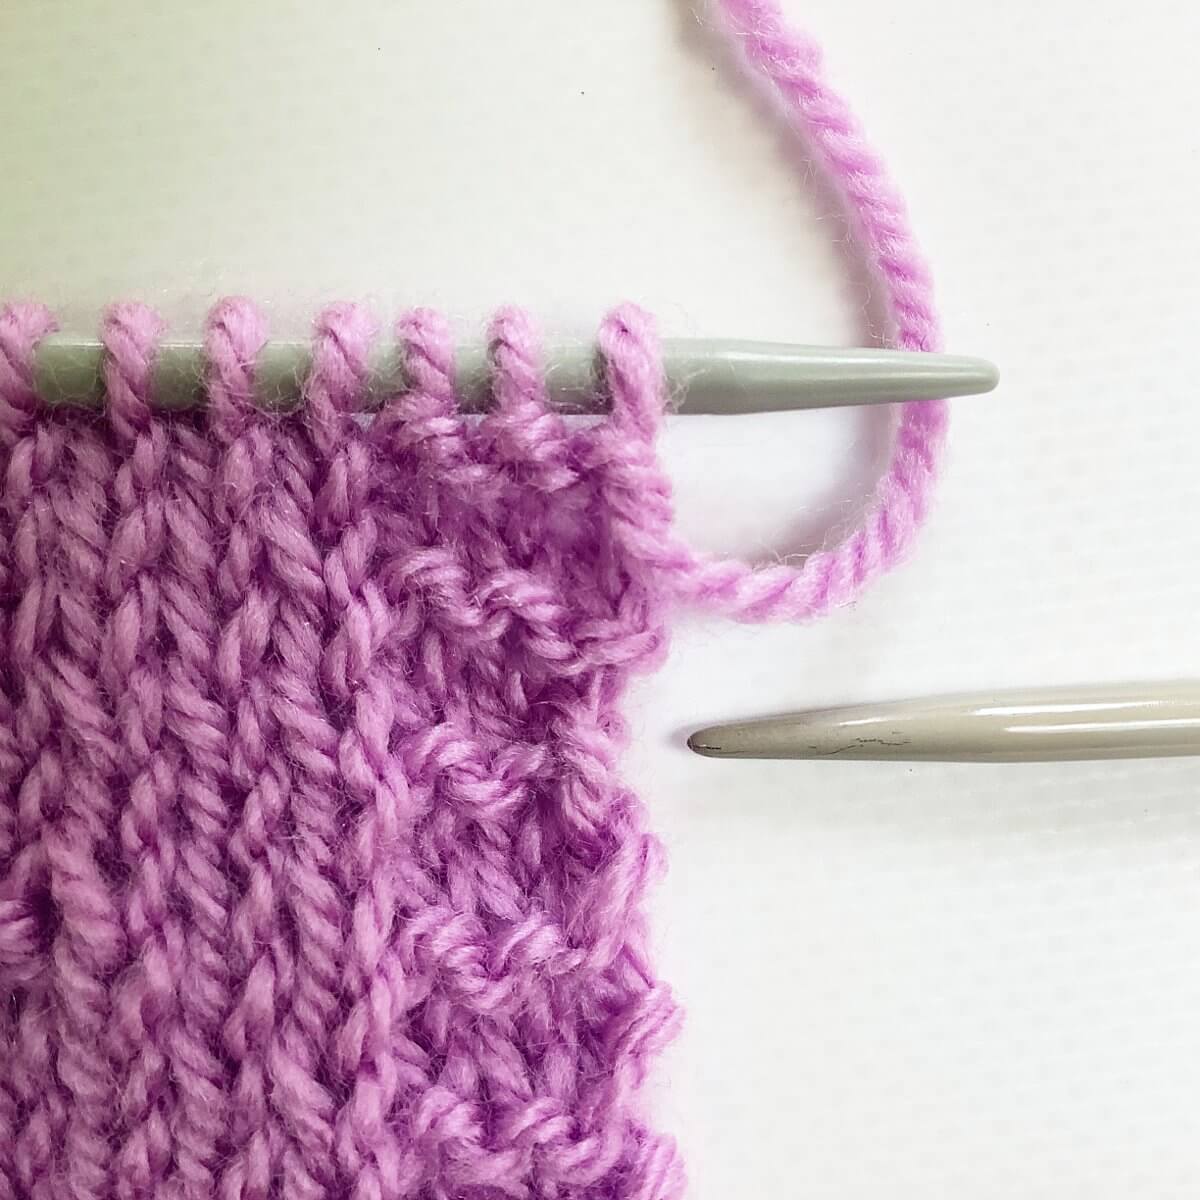
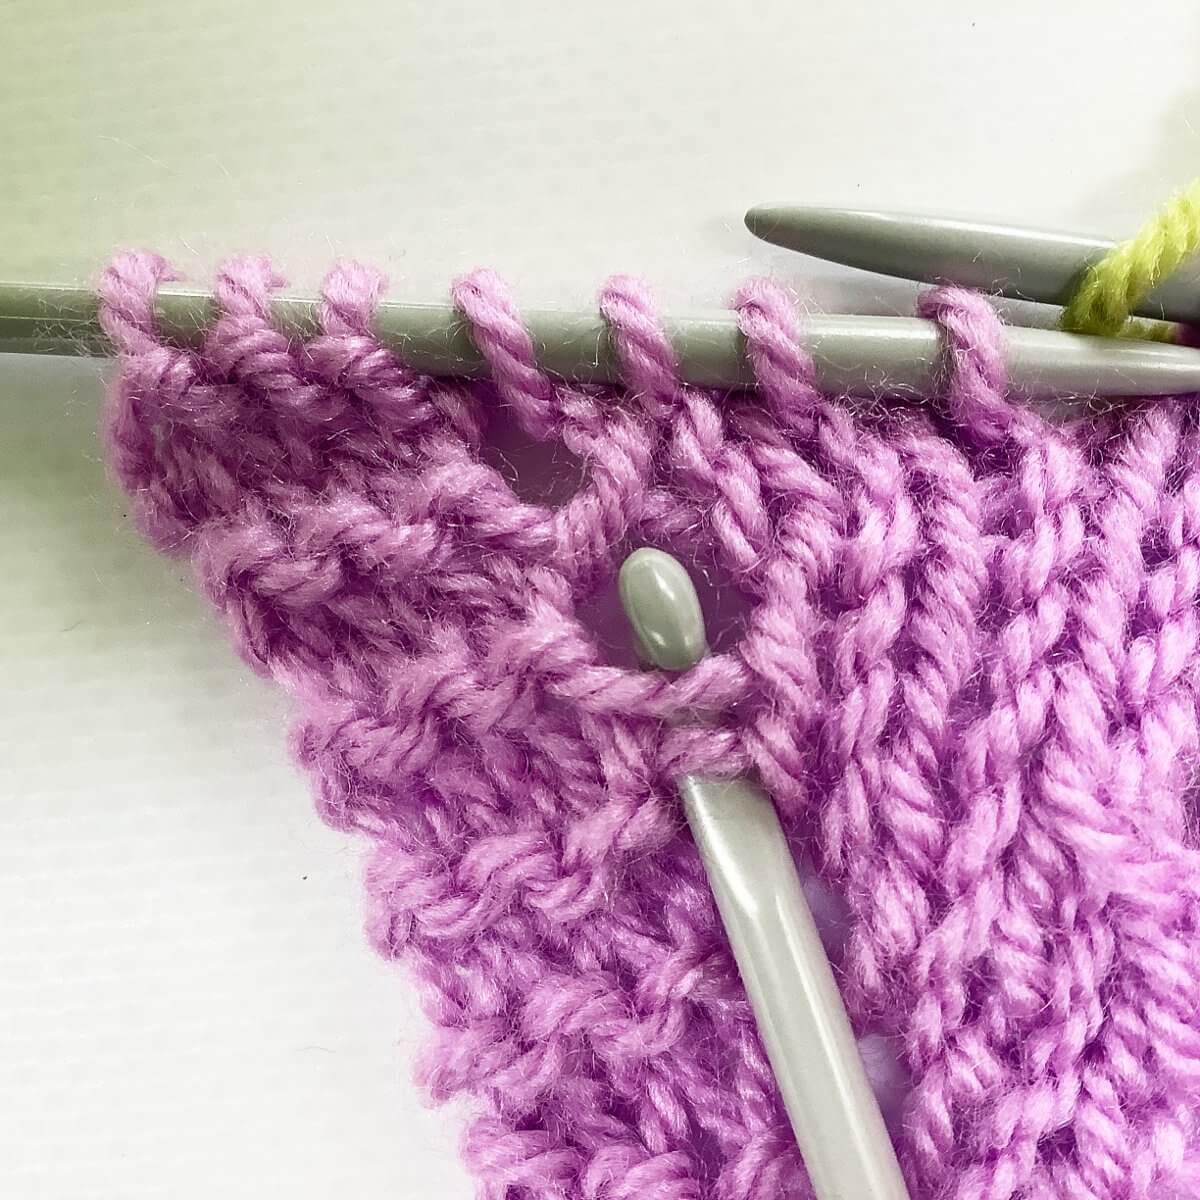
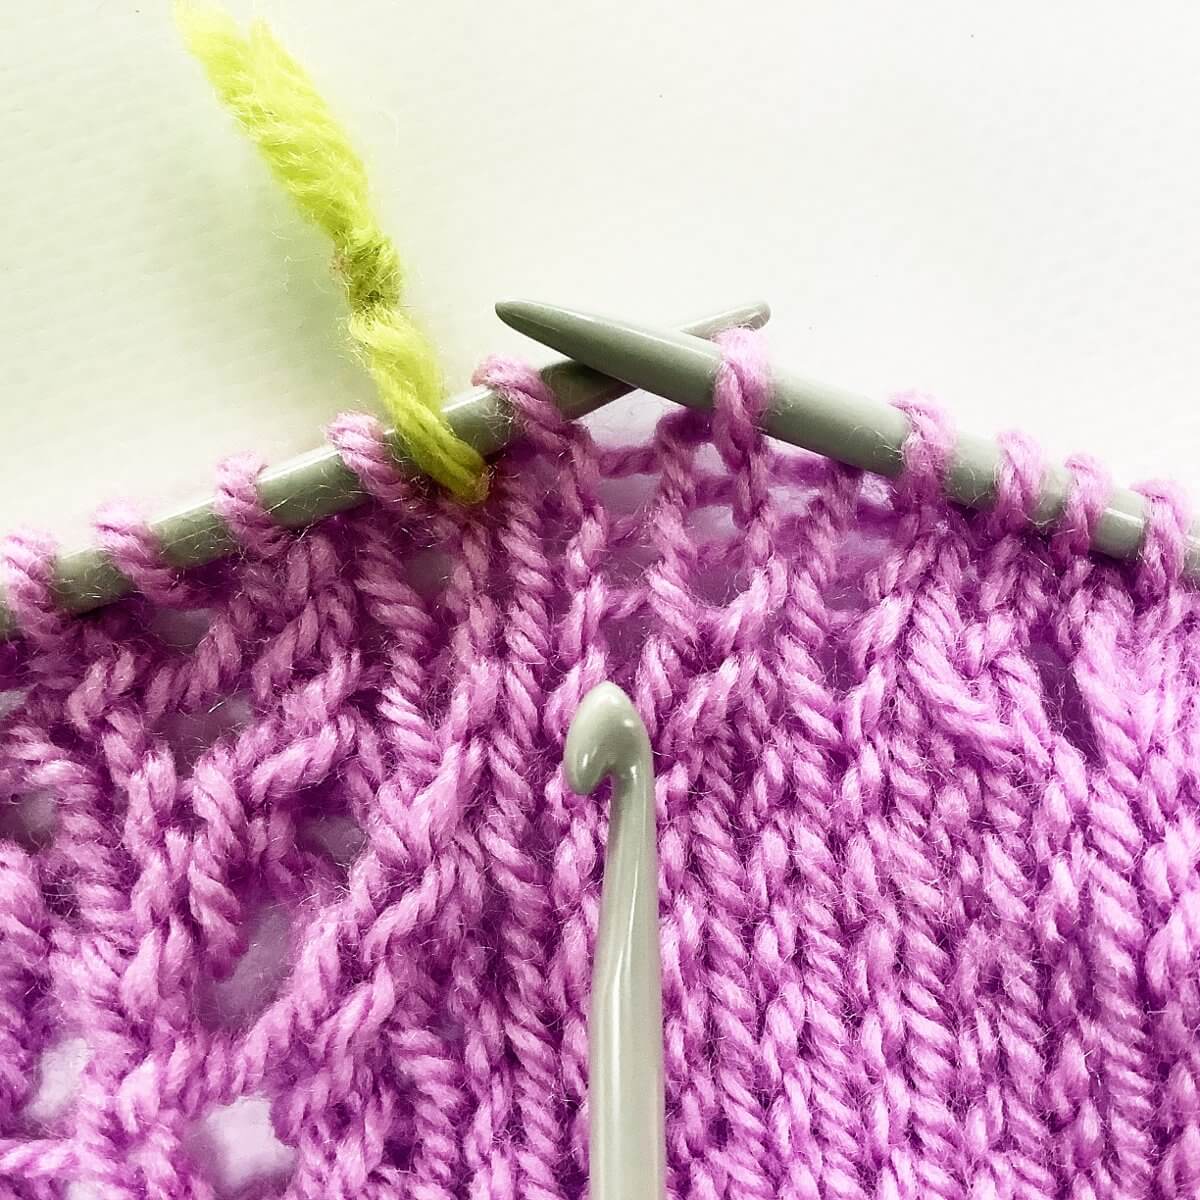
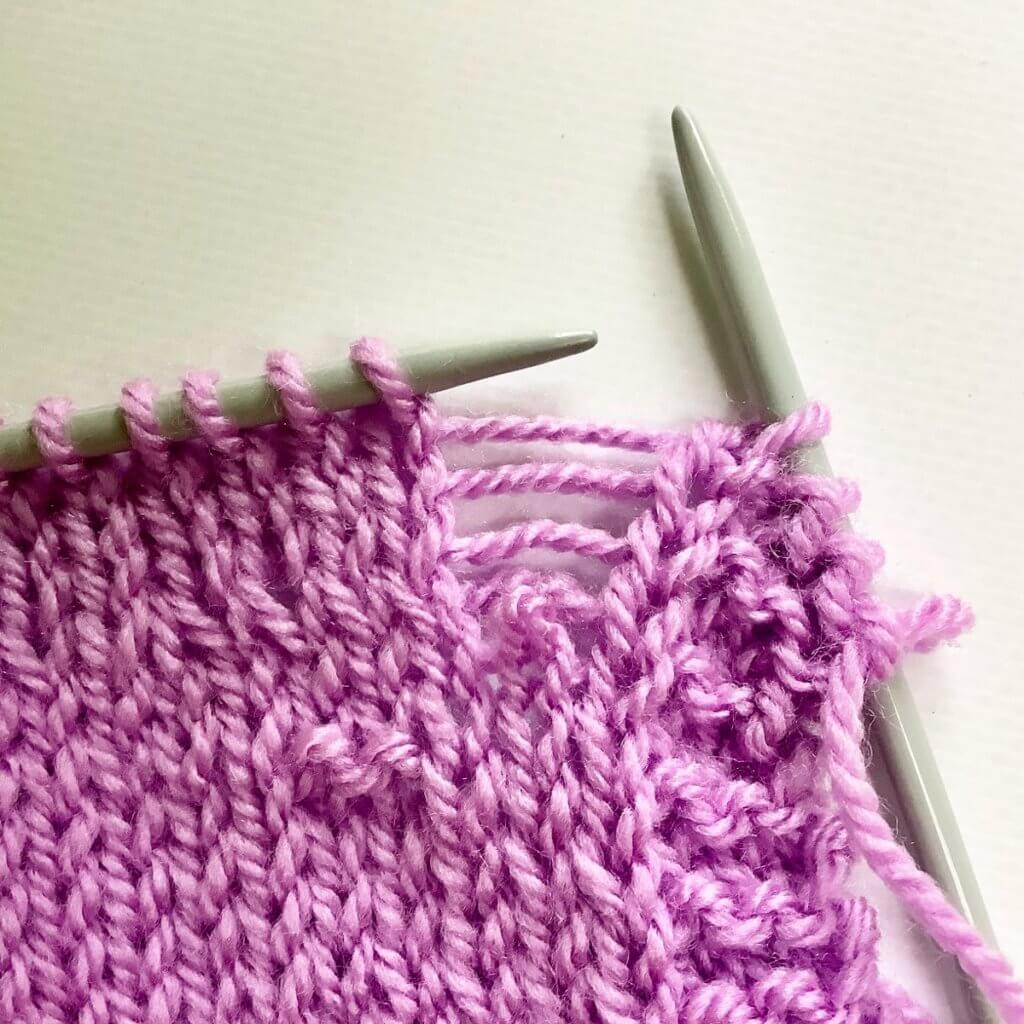
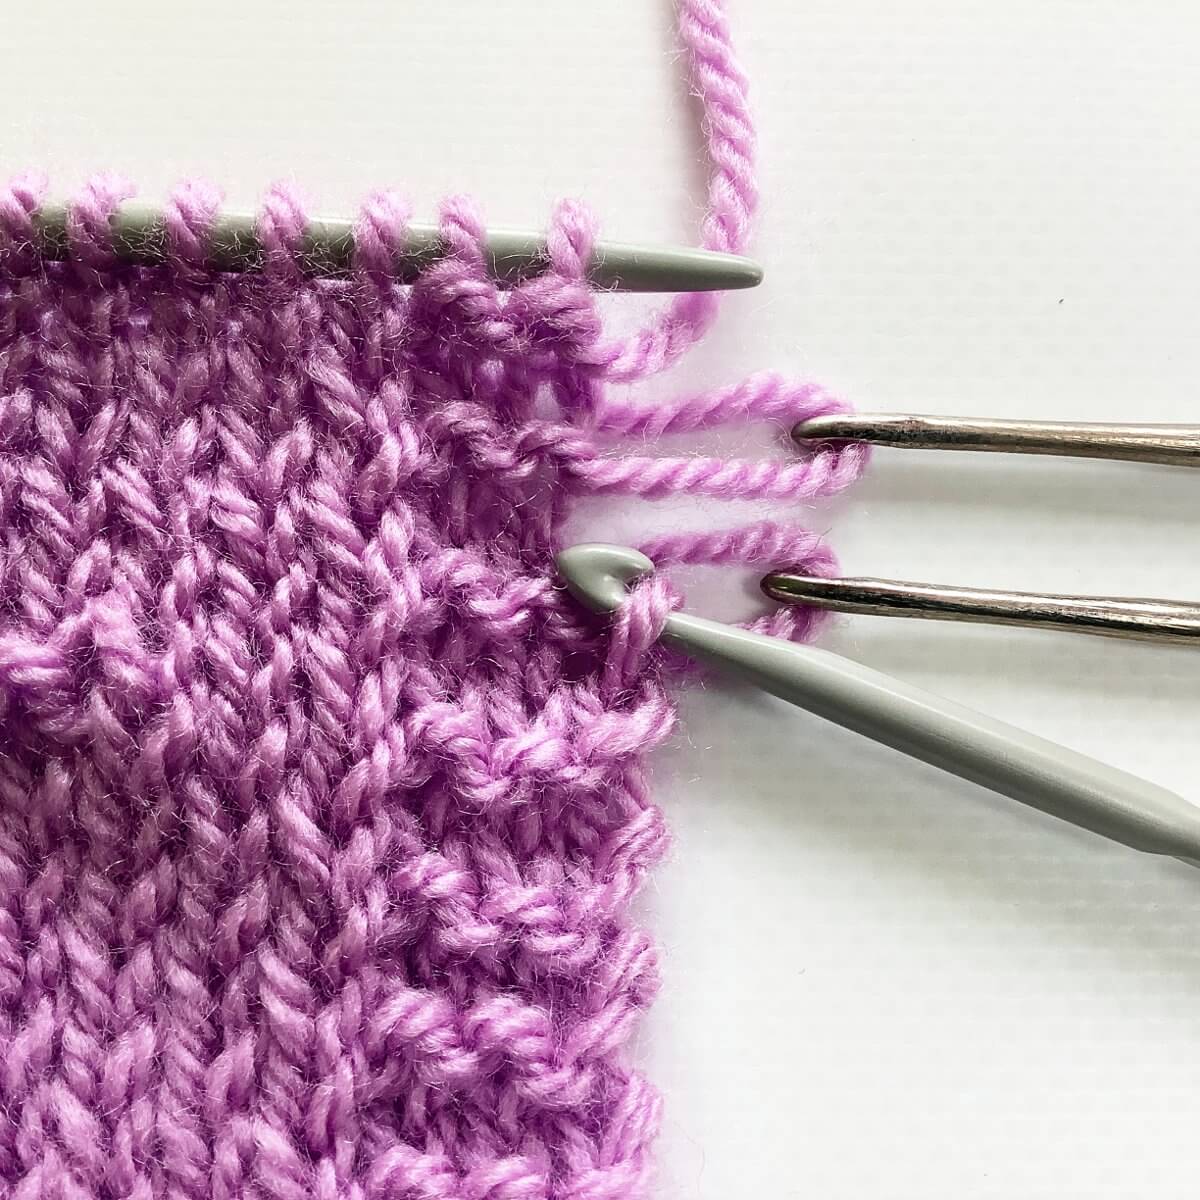
- Drop the edge stitch down, until you’ve reached the stitch that went wrong.
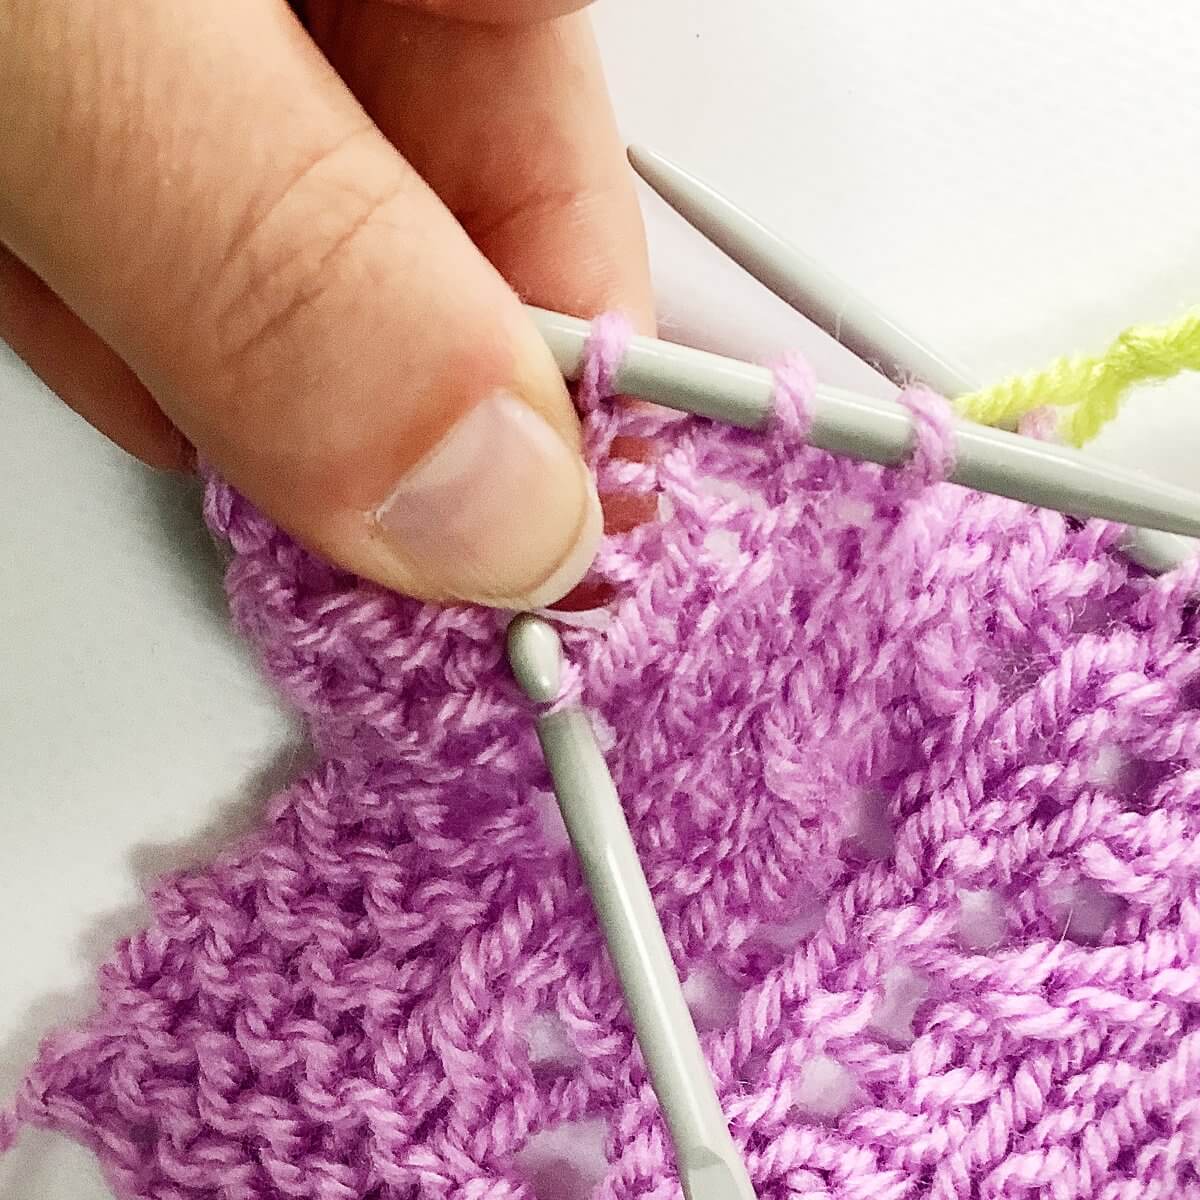
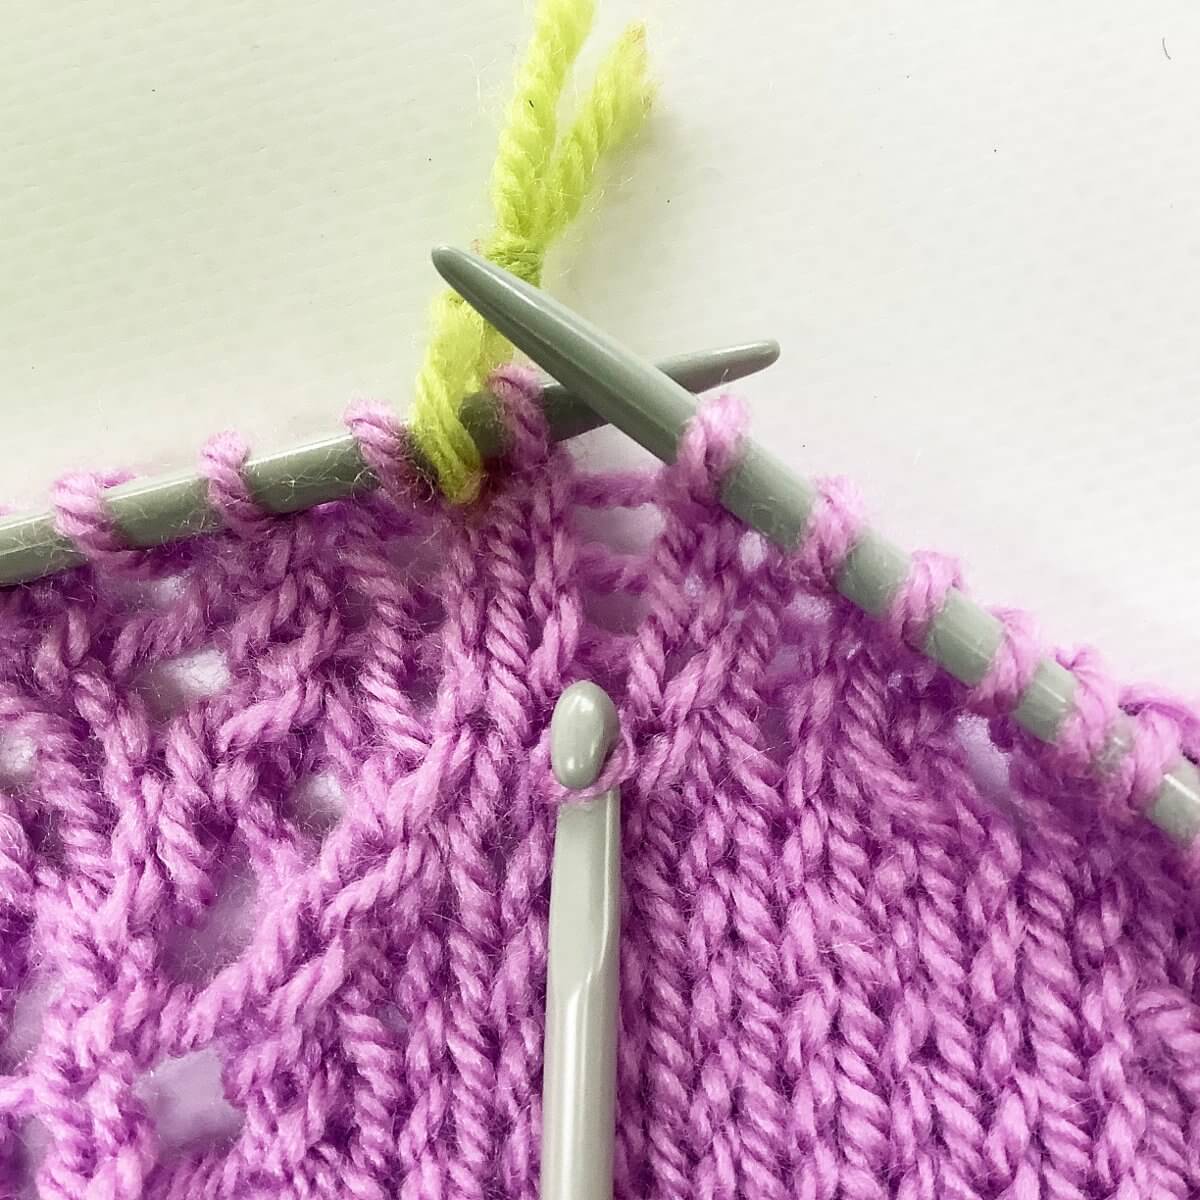
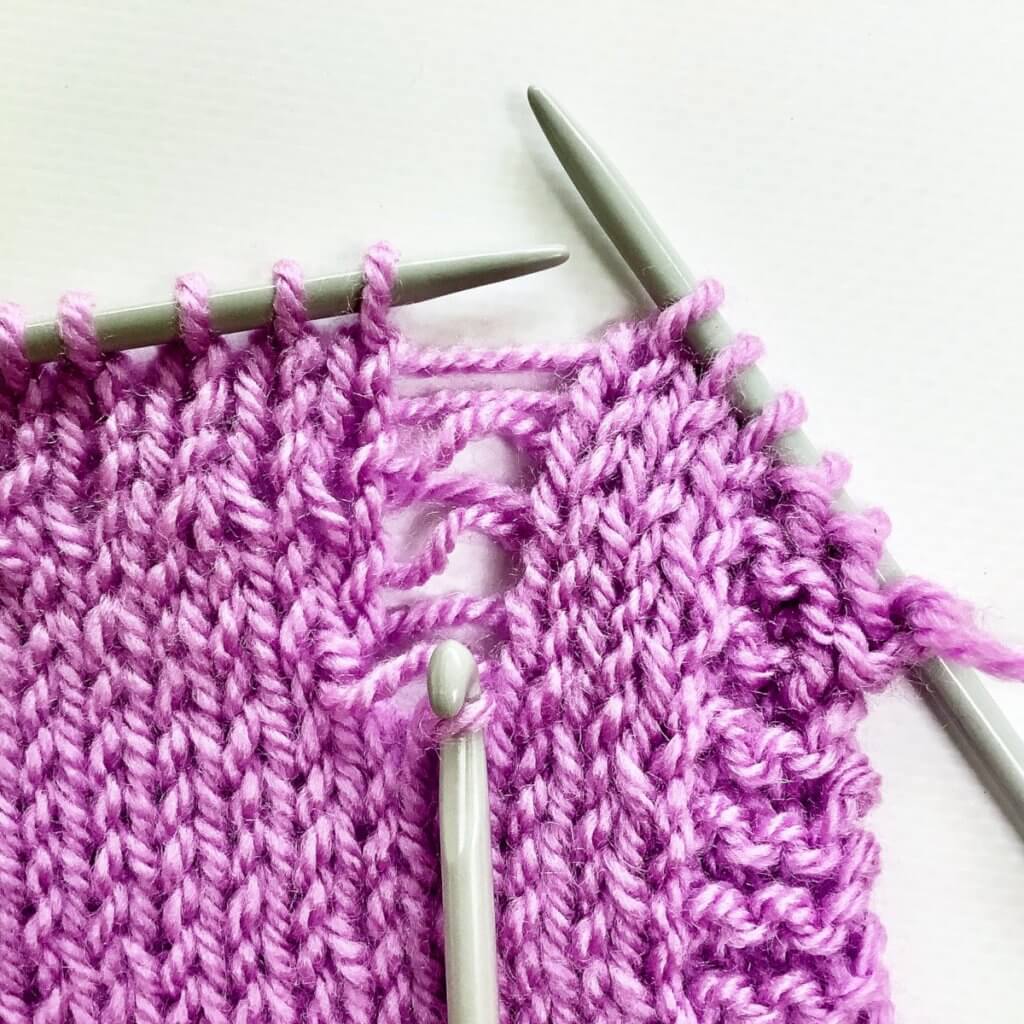
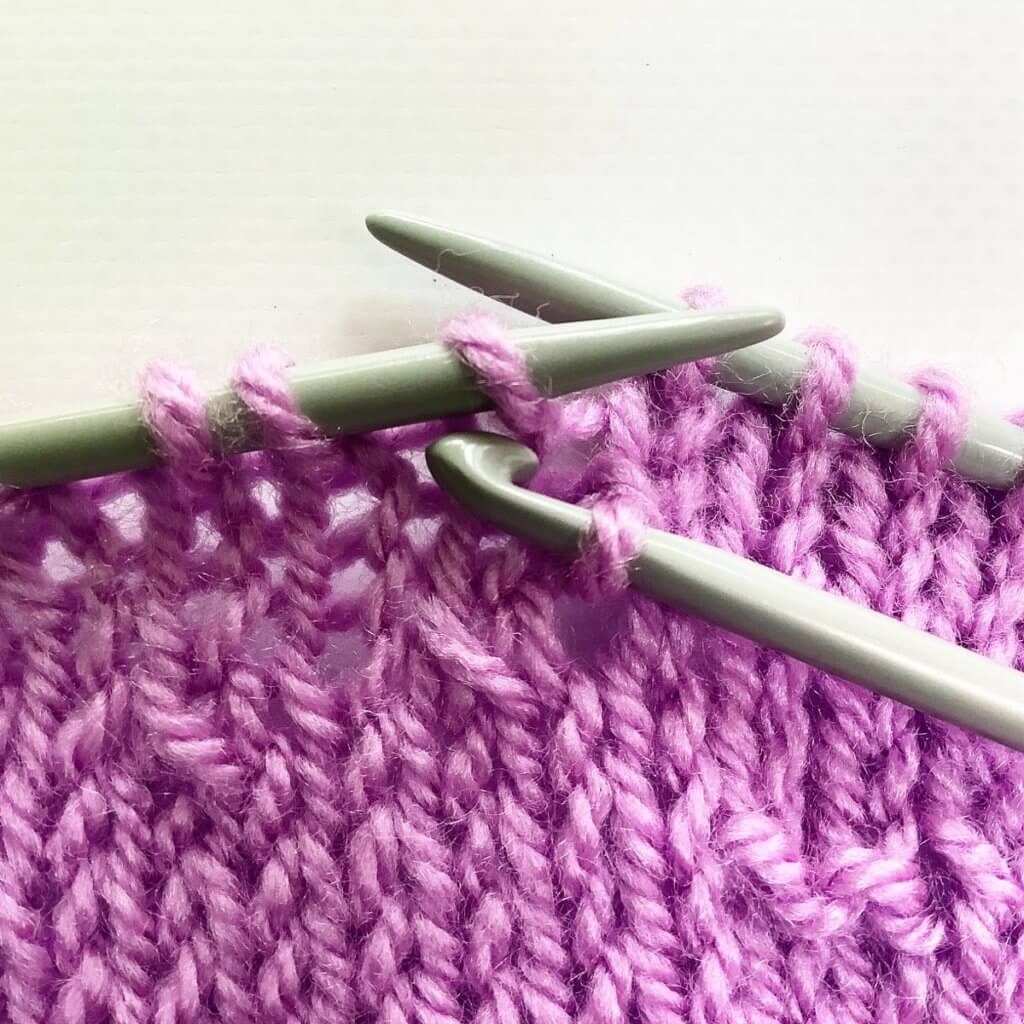
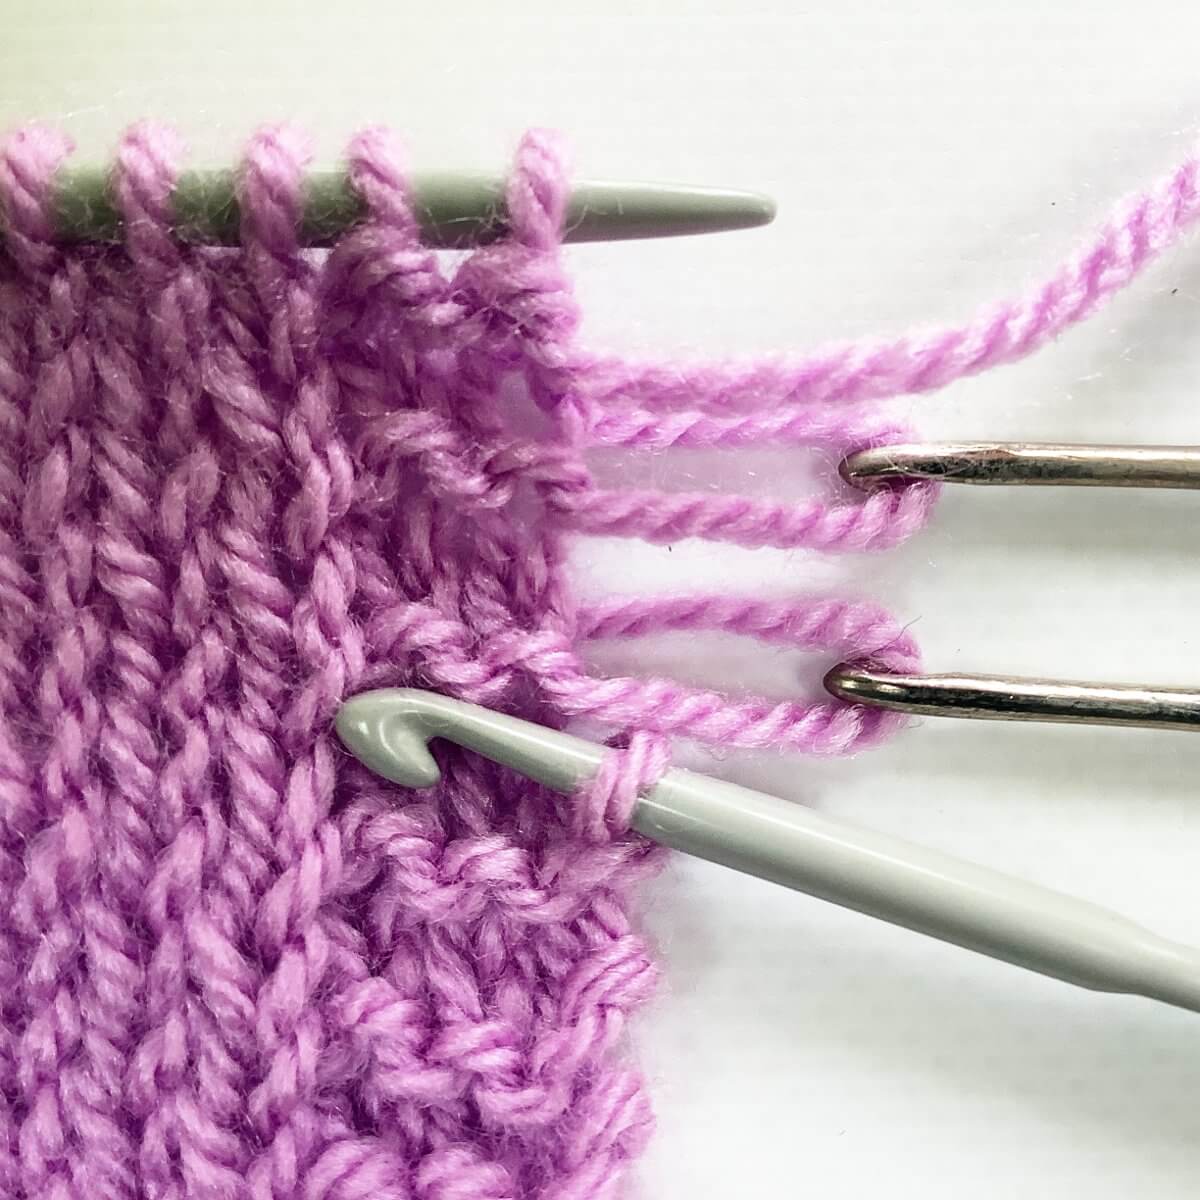
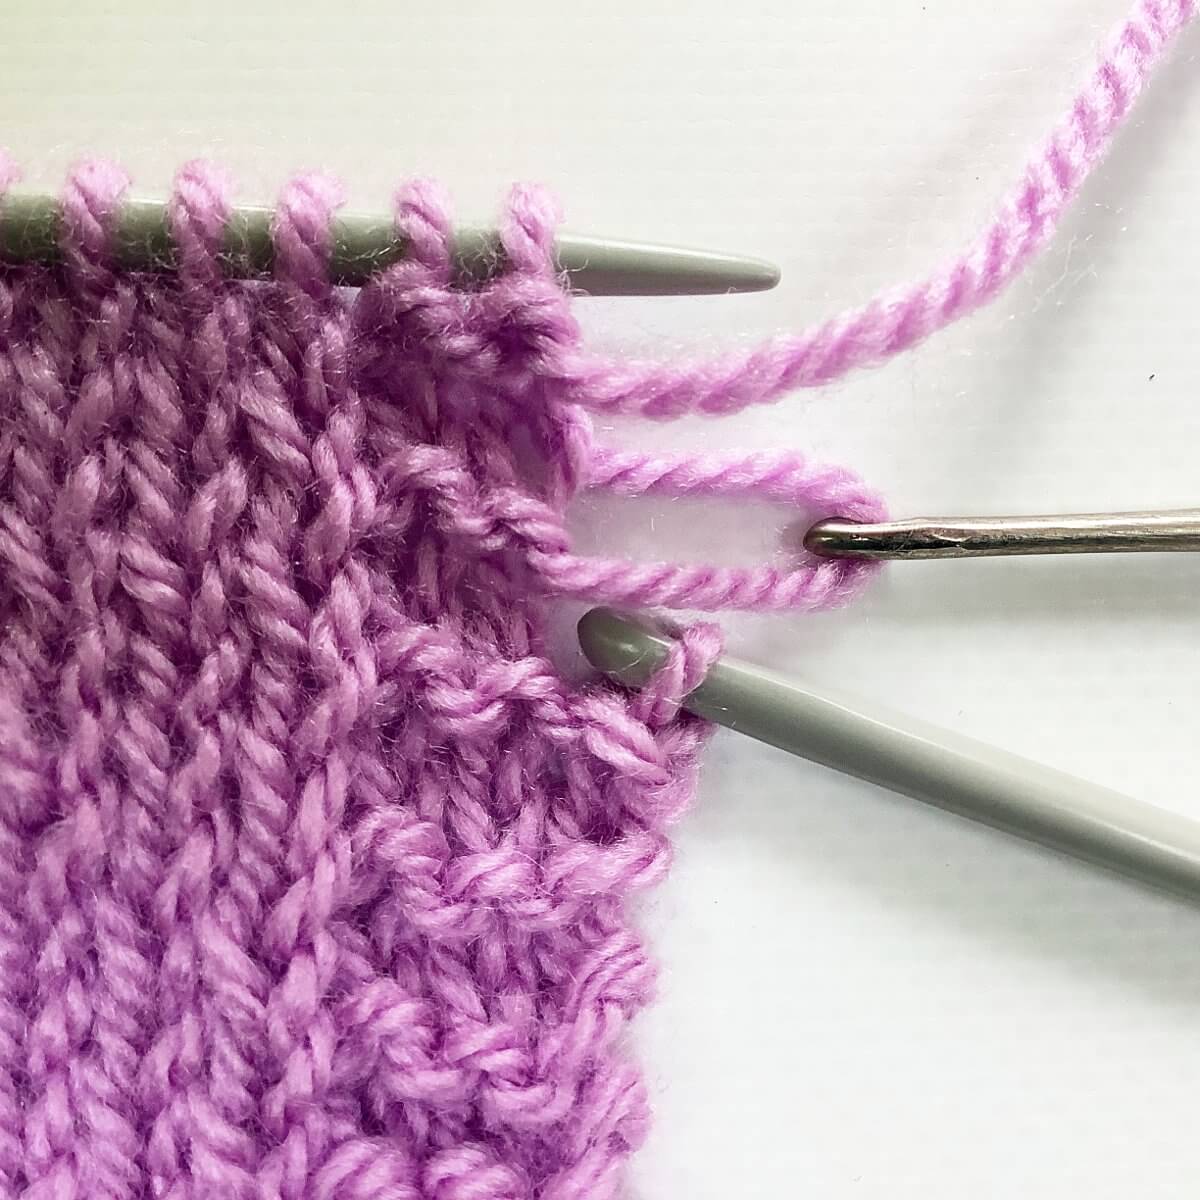
In this picture, I’ve used some spare crochet hooks to keep the loops of yarn under tension. This way, it’s easier to see that each loop has 2 strands of yarn to use to work the stitches back up. If you’d cover the right side of the picture, it would look exactly like dropping a stitch in the middle of a piece of knitting!
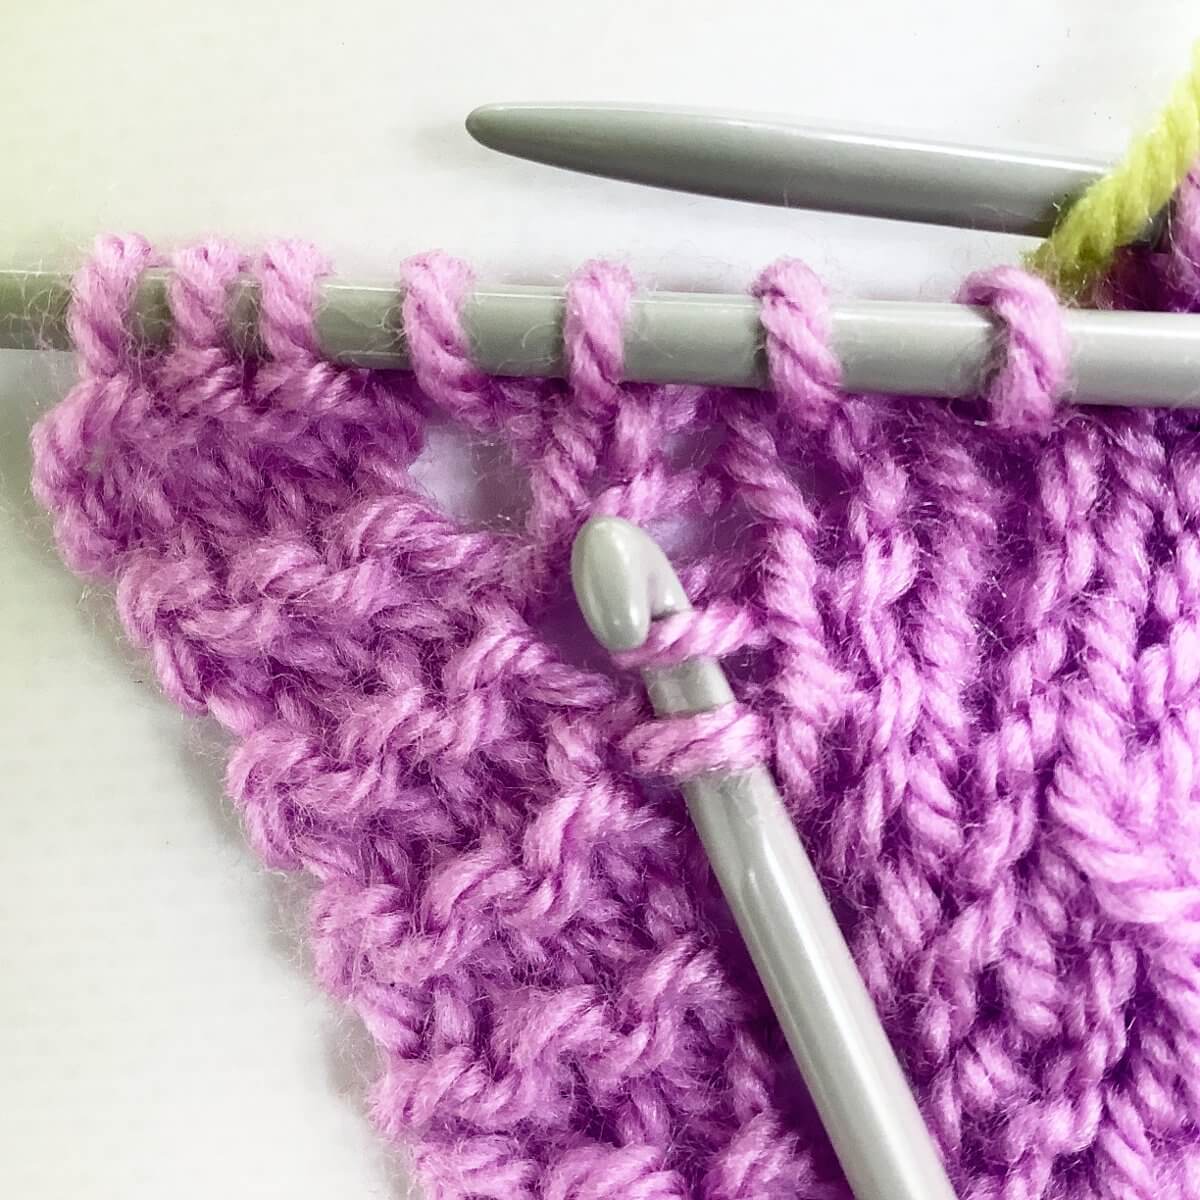
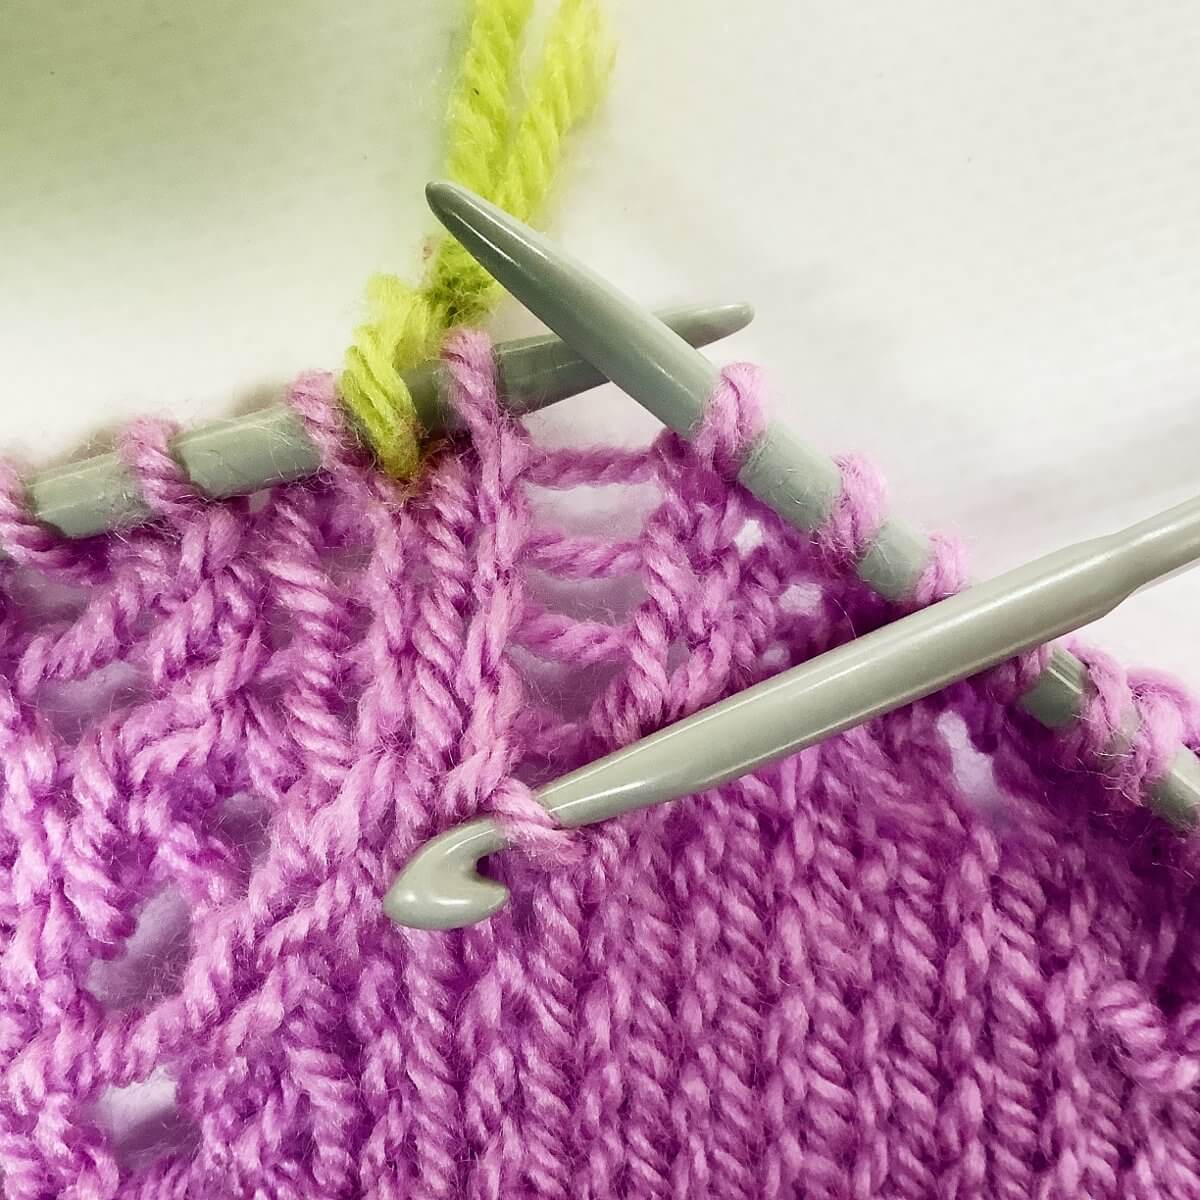
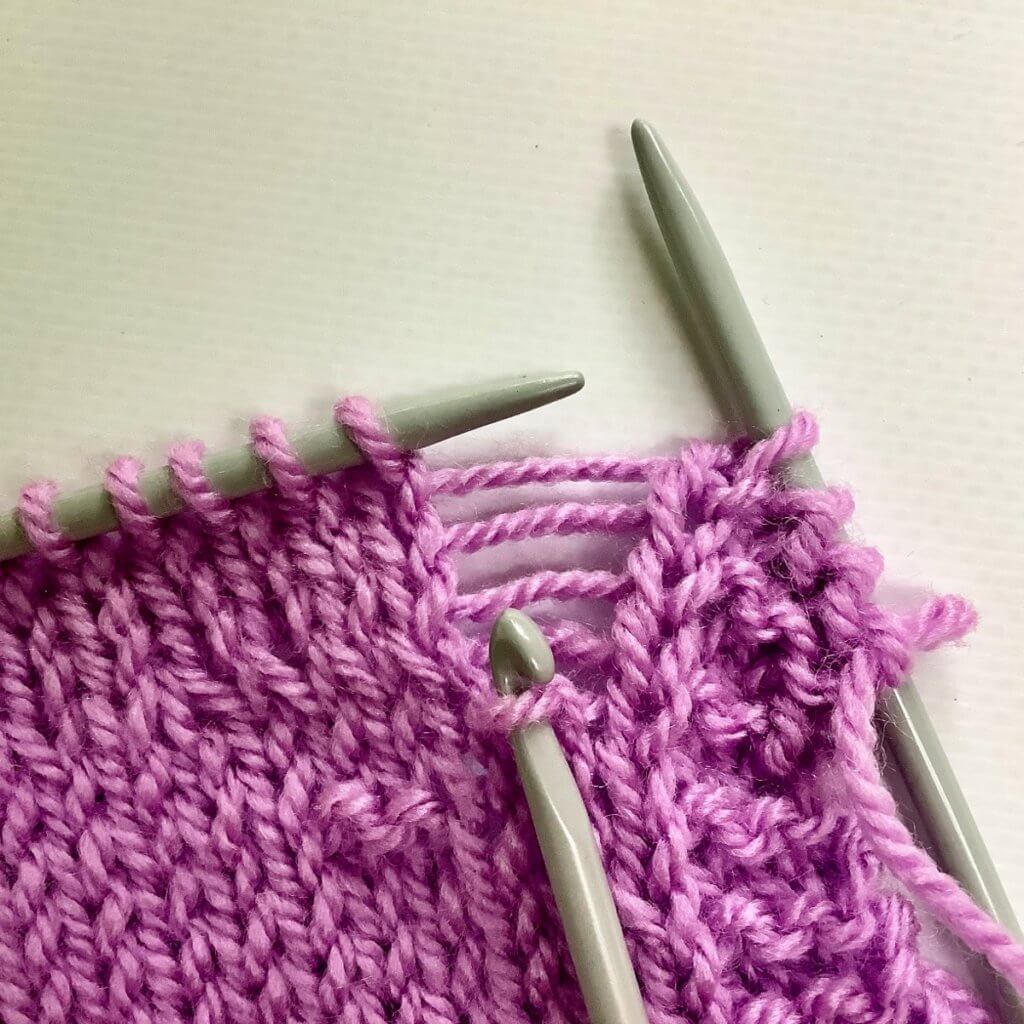
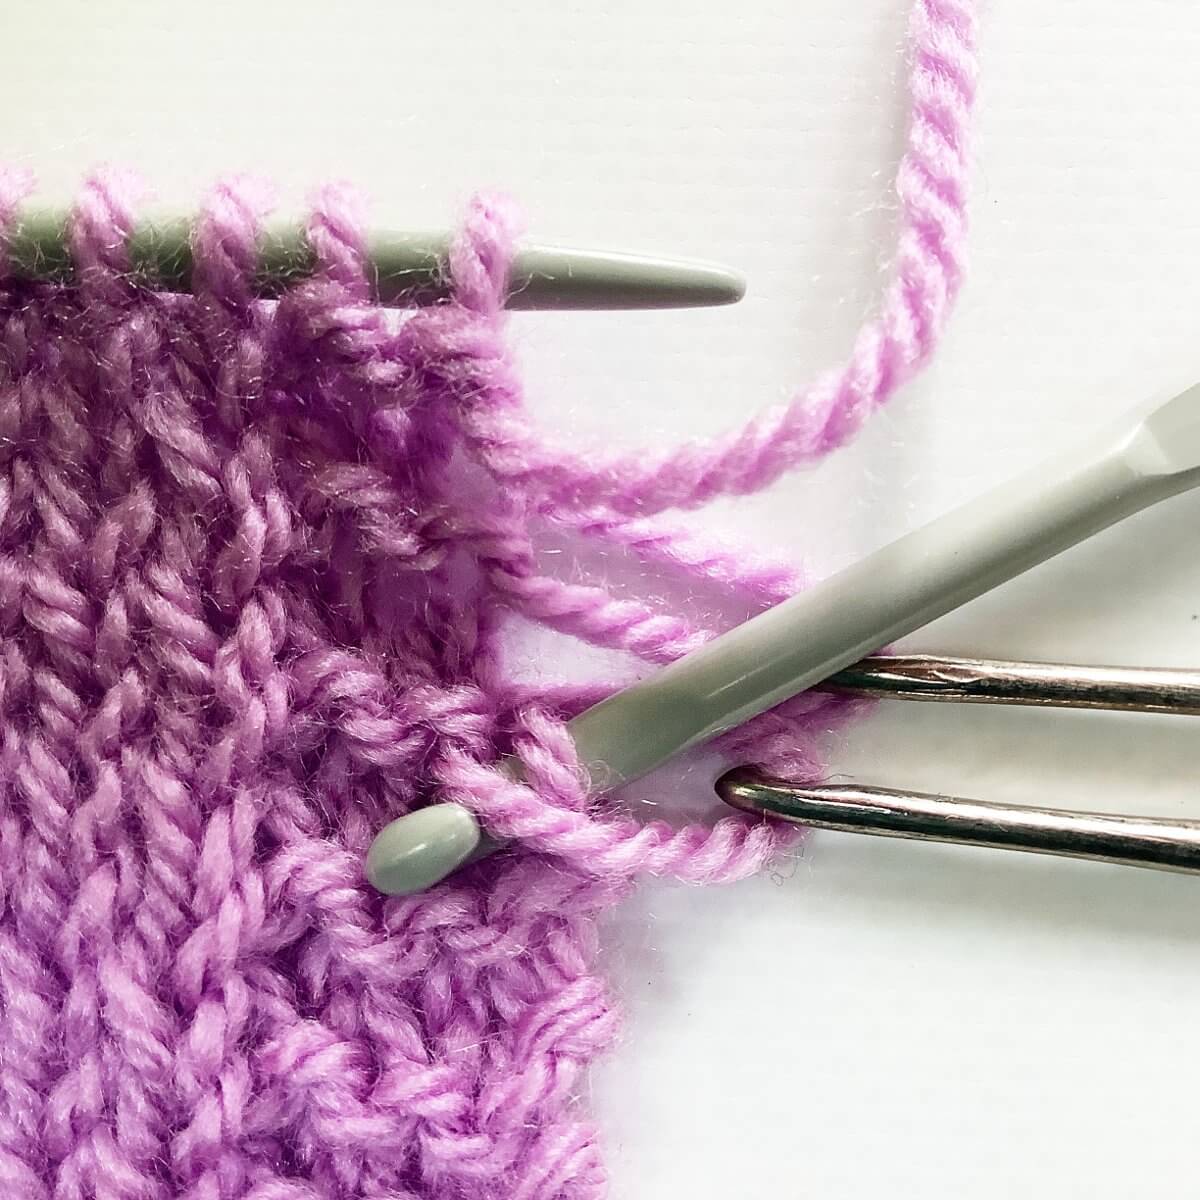
- Do you see that the first stitch, directly underneath the main crochet hook, is a knit stitch? This means that the first stitch to be worked back up, needs to be a purl stitch if we work it from the right side.
You can, of course, turn the work and work the stitch up as a knit stitch. However, with an edge stitch I find it easier this way, to keep the edge loops under tension. While under tension, I can more easily see which strands to grab, and in which order.
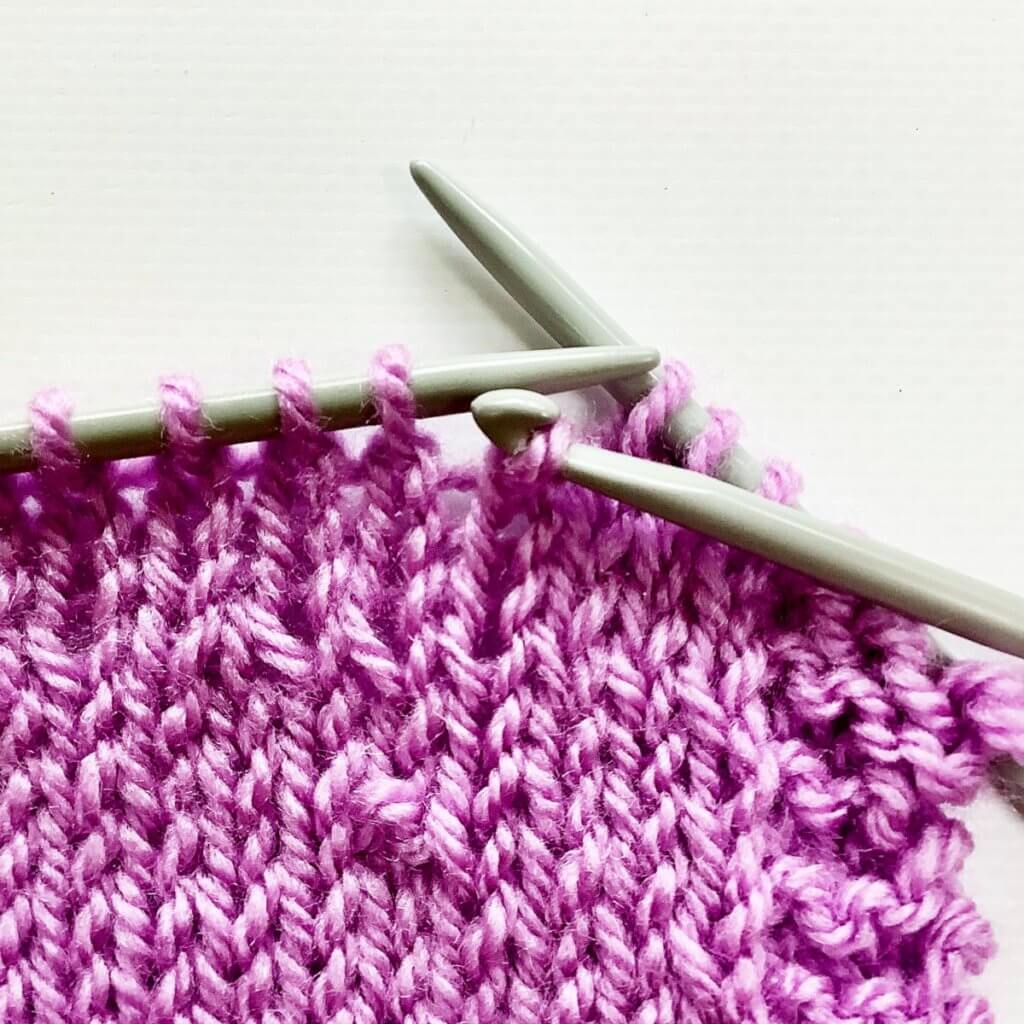
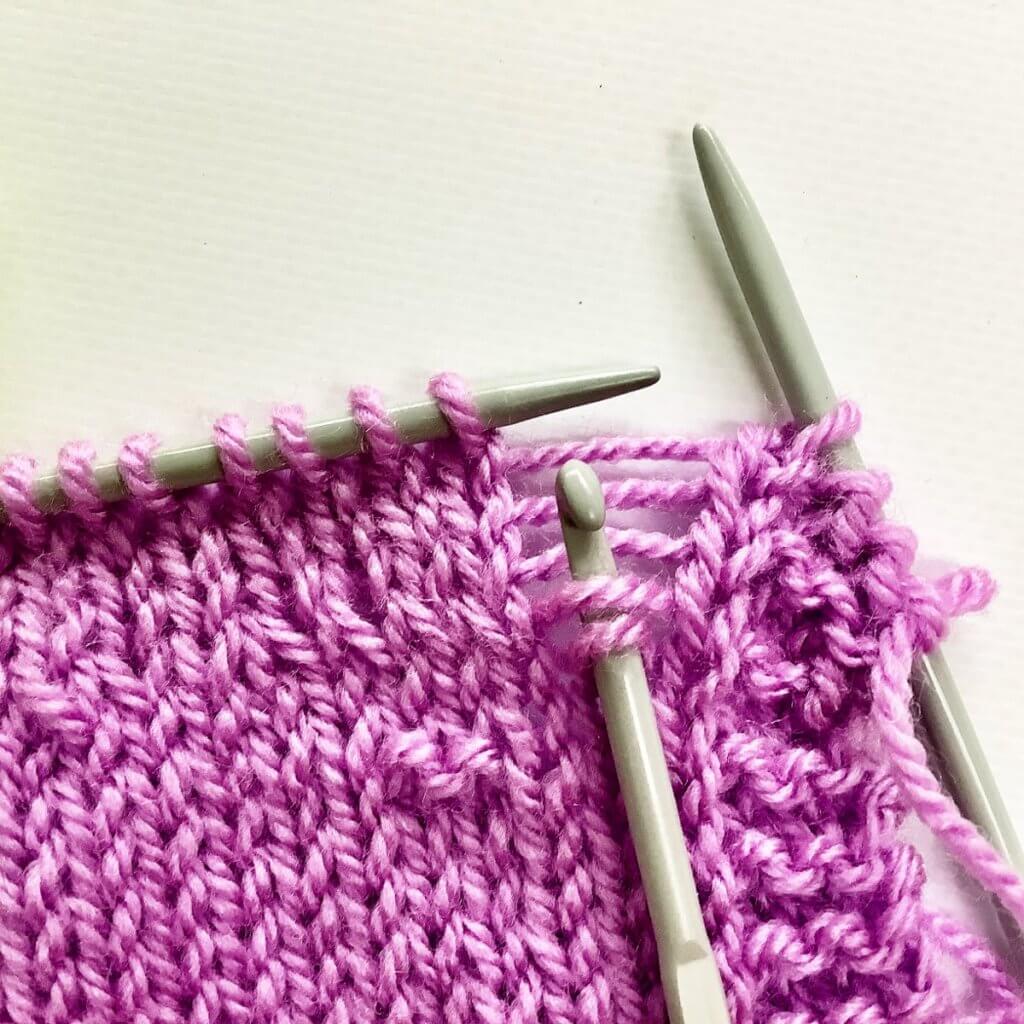
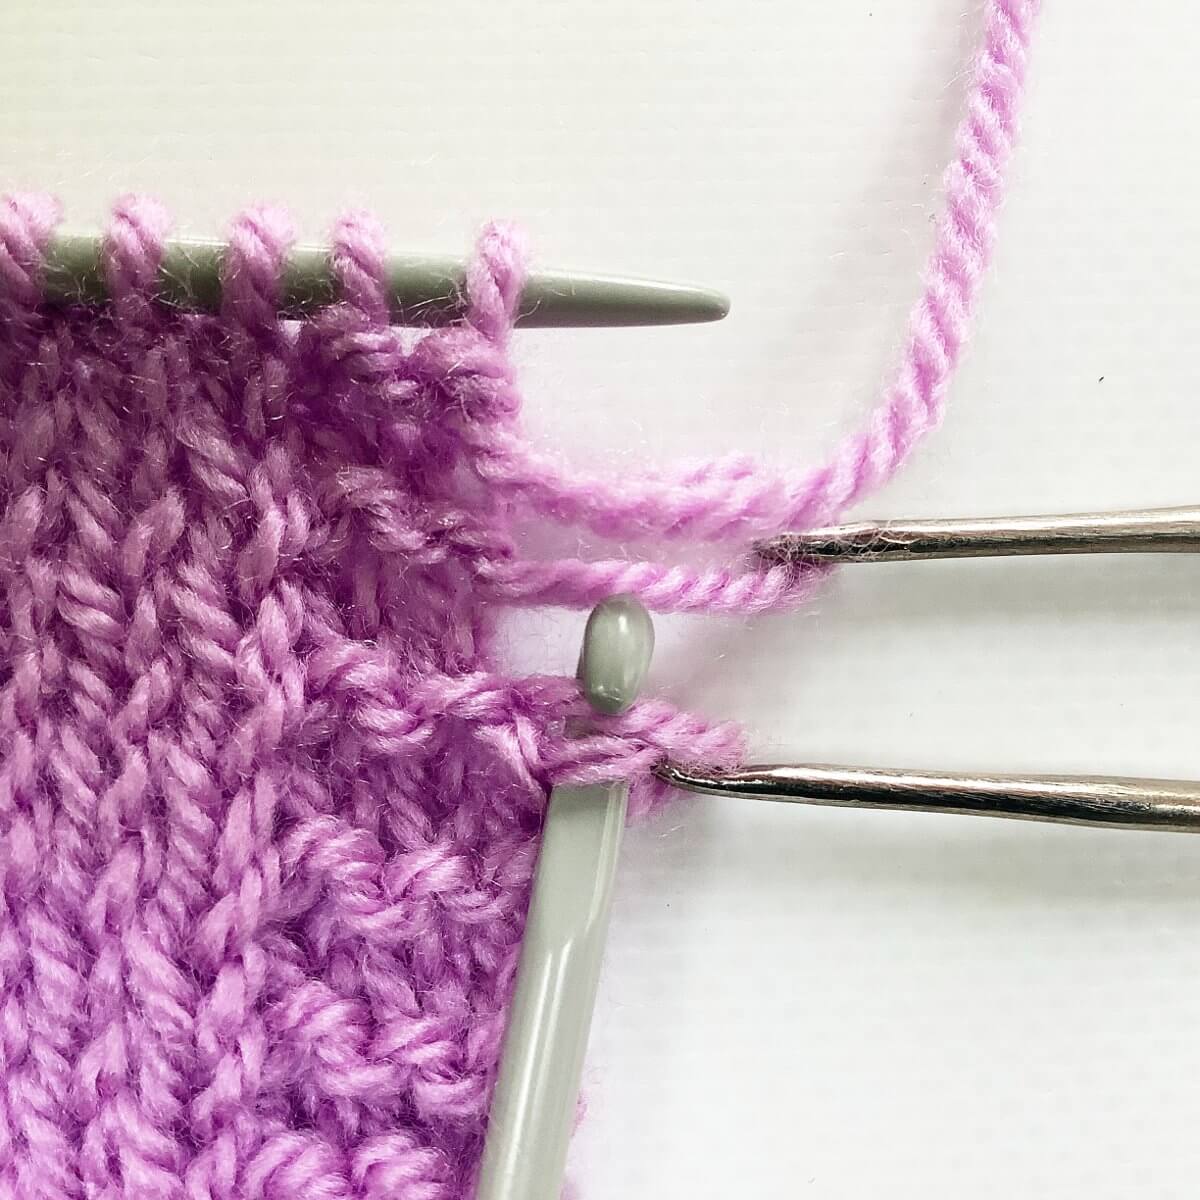
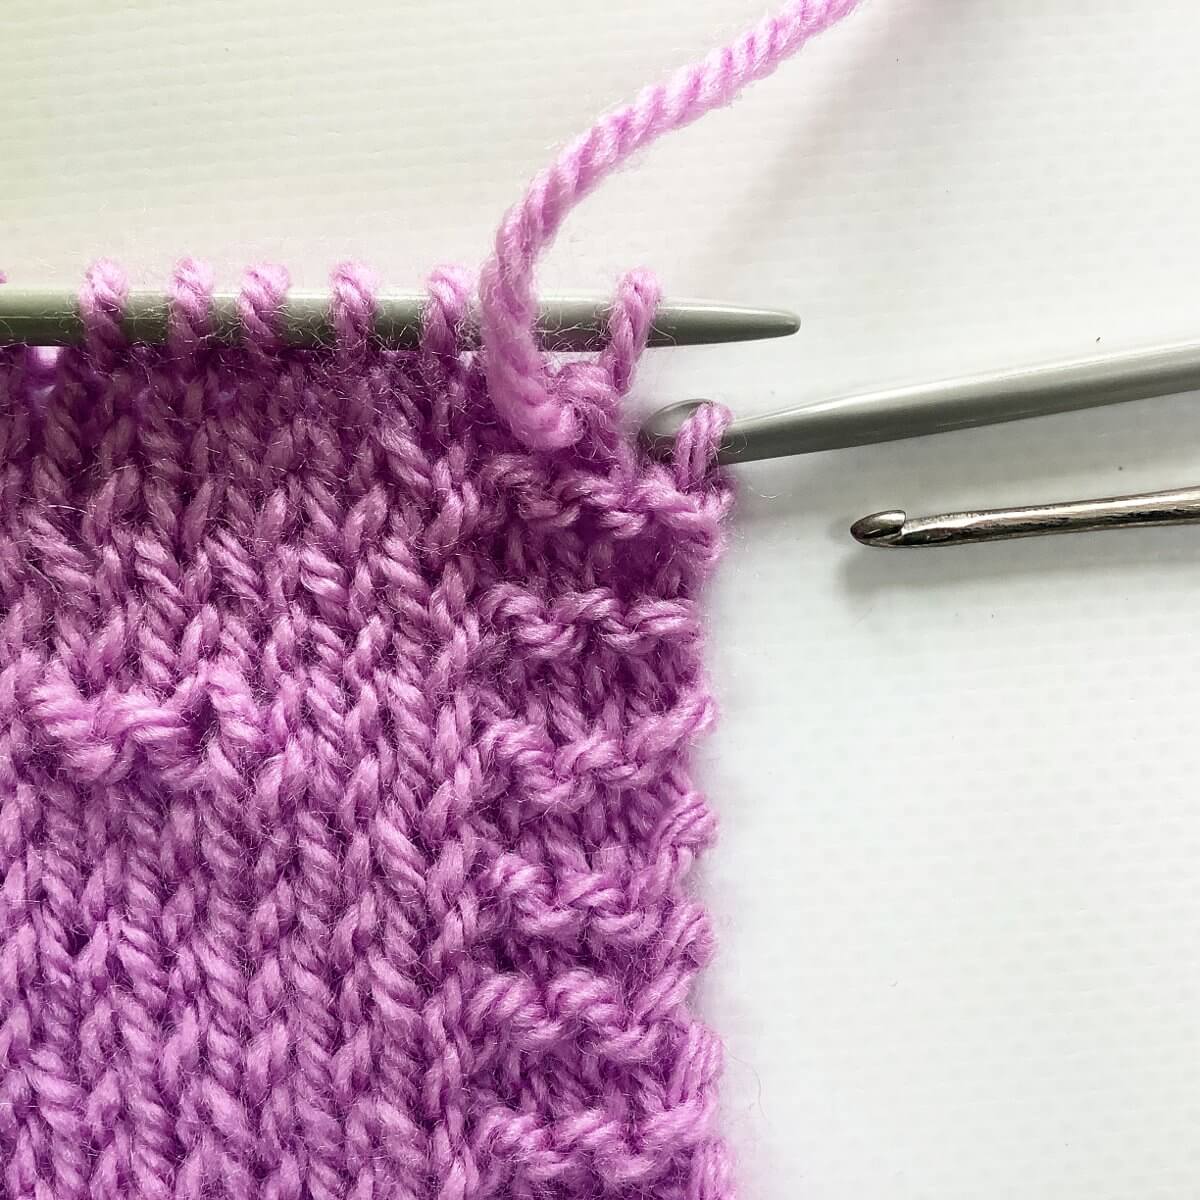
- To work the stitch up as a purl stitch, make sure that the thread of yarn directly above the stitch is positioned in front of the work, and insert the crochet hook from top to bottom through the stitch.
Like this:
- Pull the thread through the loop on the crochet hook to complete the purl stitch.
Now it looks like this: (I’ve removed the crochet hook, because I will have to position it differently for the next stitch).
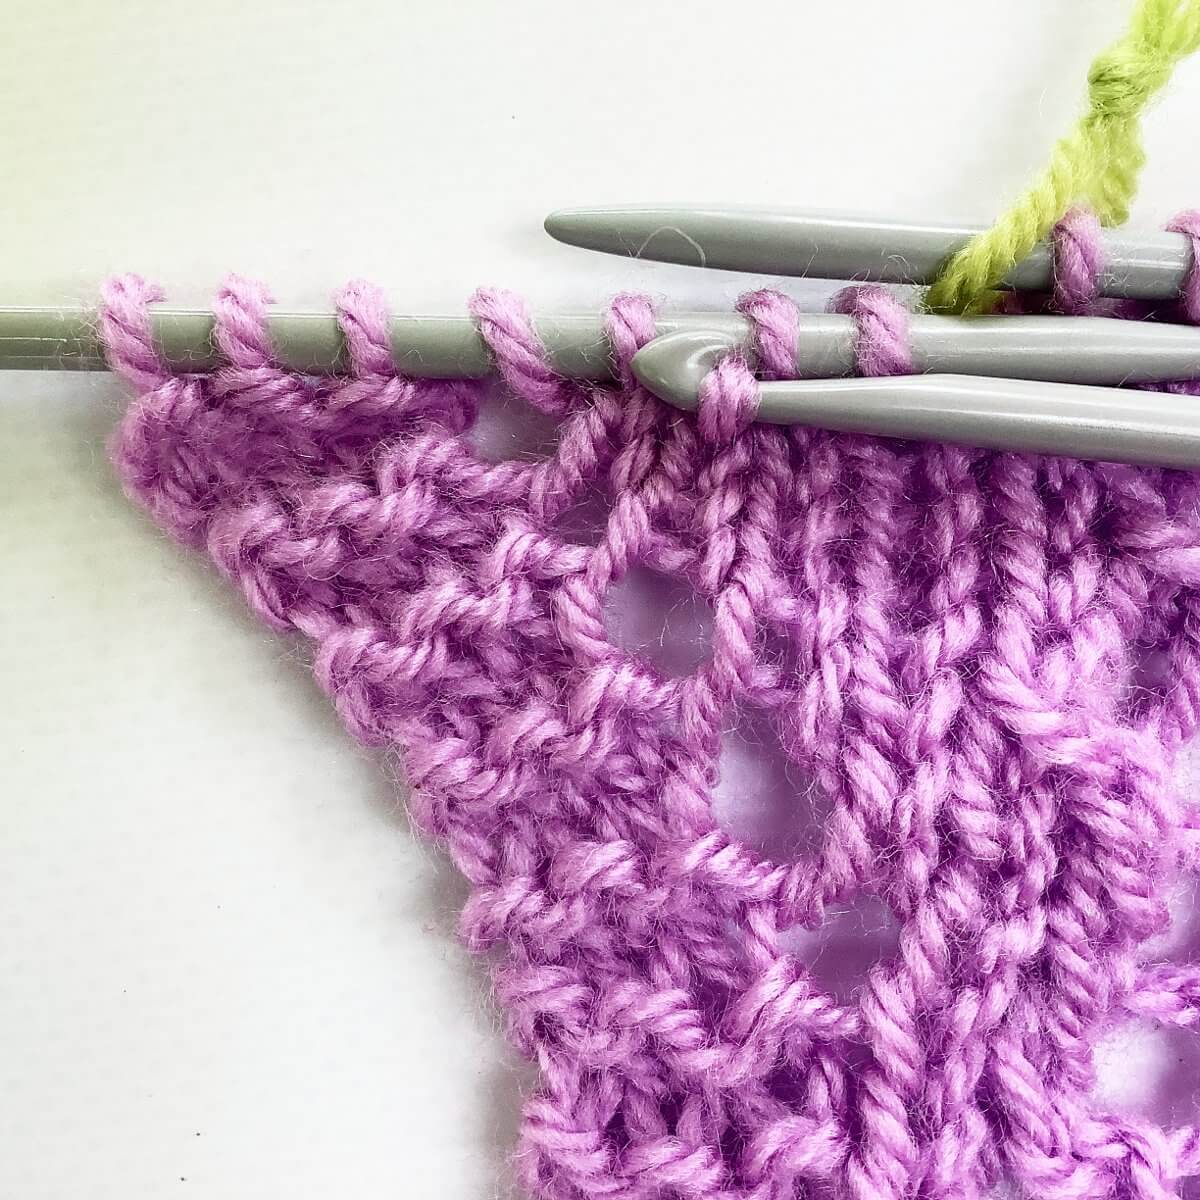
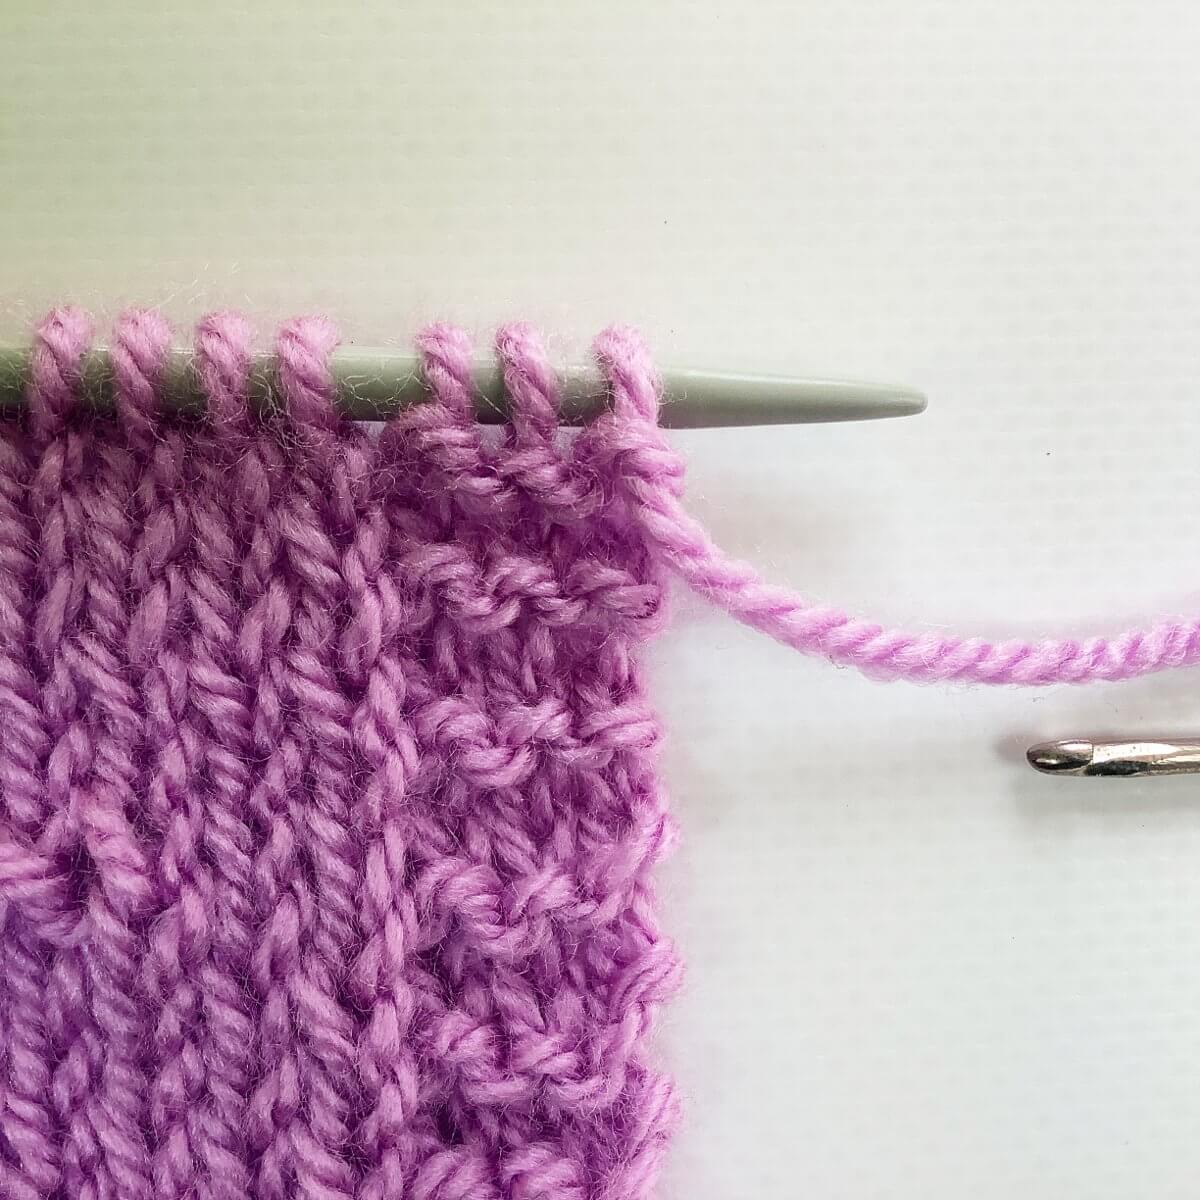
- Next is working a knit stitch: Make sure the thread of yarn is behind the work, and insert the crochet hook from bottom to top into the stitch.
- To complete the knit stitch, pull the thread through the loop on the crochet hook.
It will look like this:
- Repeat steps 4 to 7 once to work the next garter stitch ridge up.
- For the final stitch, we repeat steps 4 and 5 once more, using the thread going to the ball of yarn.
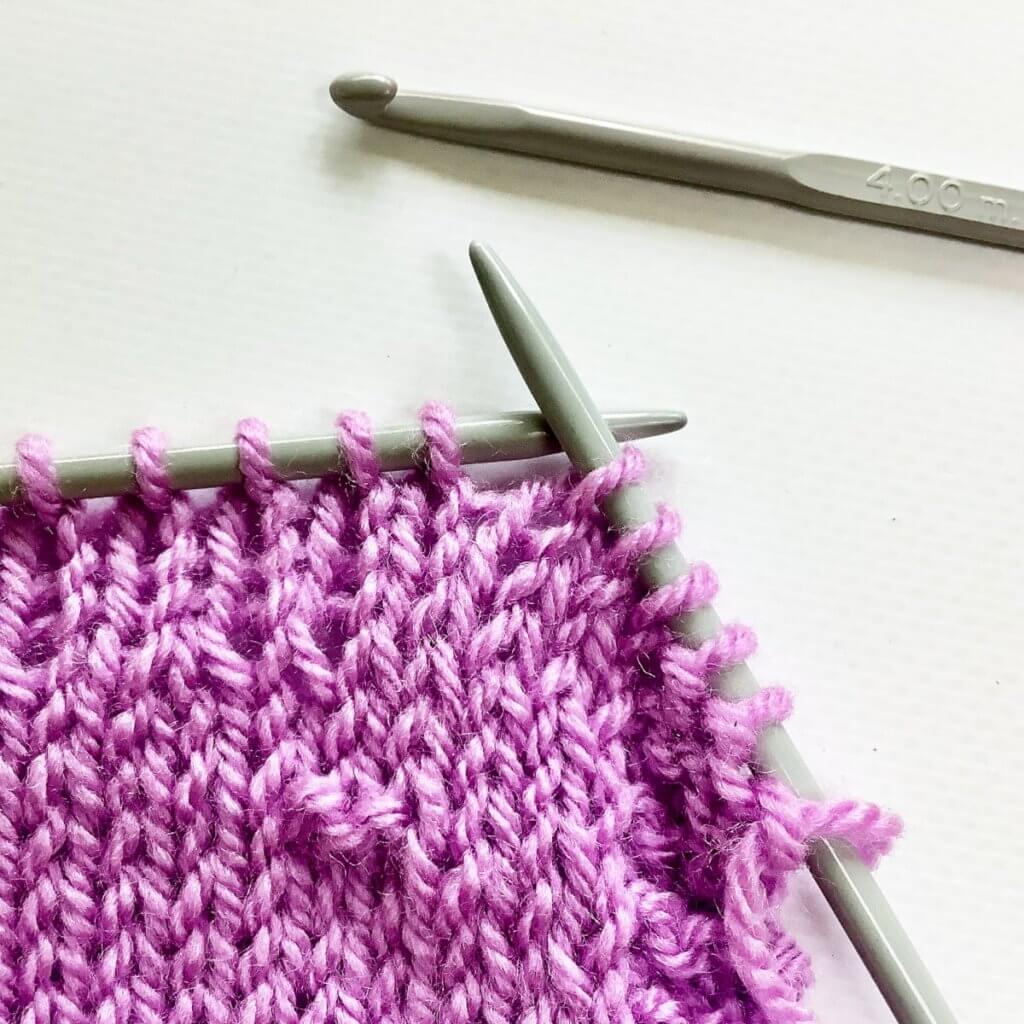
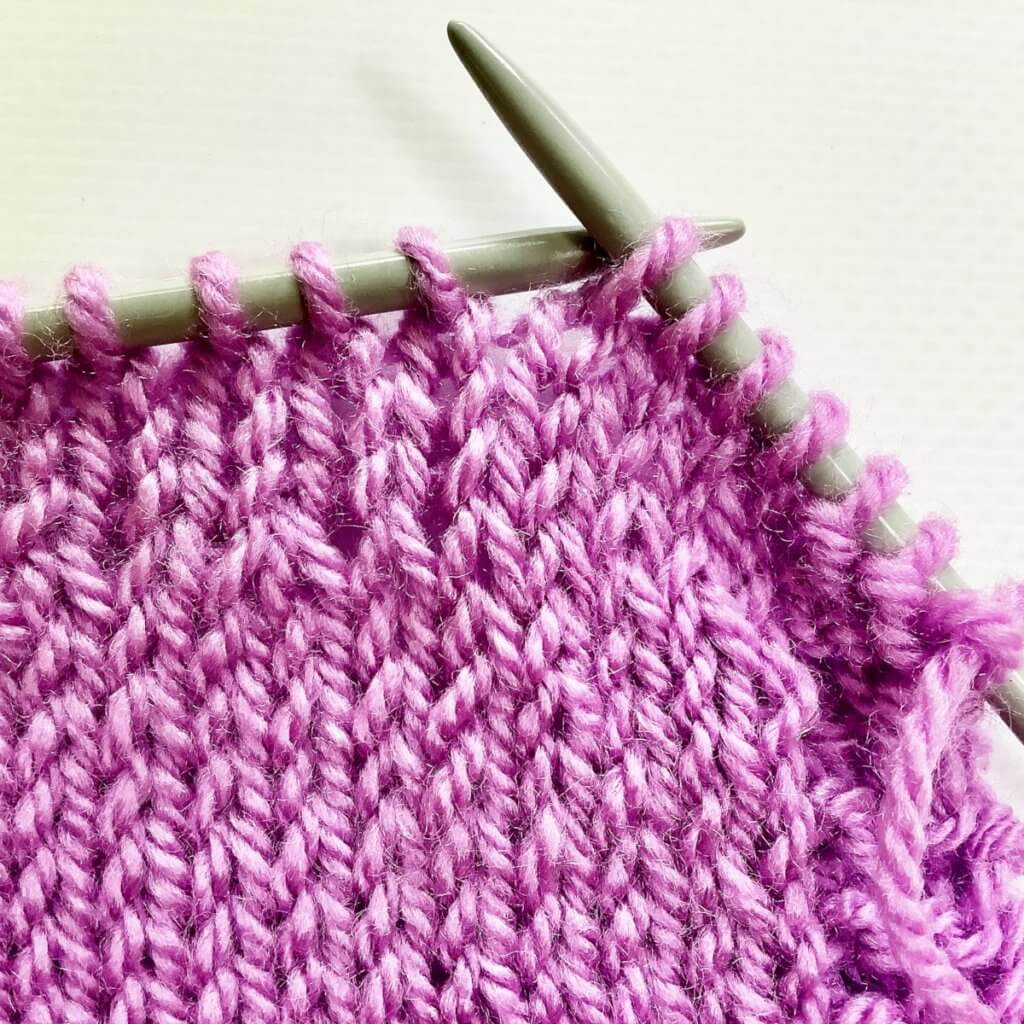
With this, you’ve fixed the entire column of edge stitches!
And that is how to go about fixing an edge stitch gone wrong! You are now ready to continue with your project.

Thanks to my Patreon supporters for bringing you this freebie! Creating quality patterns and tutorials is a lot of work and resource-intensive. However, I find it important to give you free content like this tutorial. Thanks to the generous support of my Patreon supporters, I can make it happen. Thank you, patrons! Click here to join, or click here to read more about La Visch Designs on Patreon.
tutorial – fixing an edge stitch Read More »