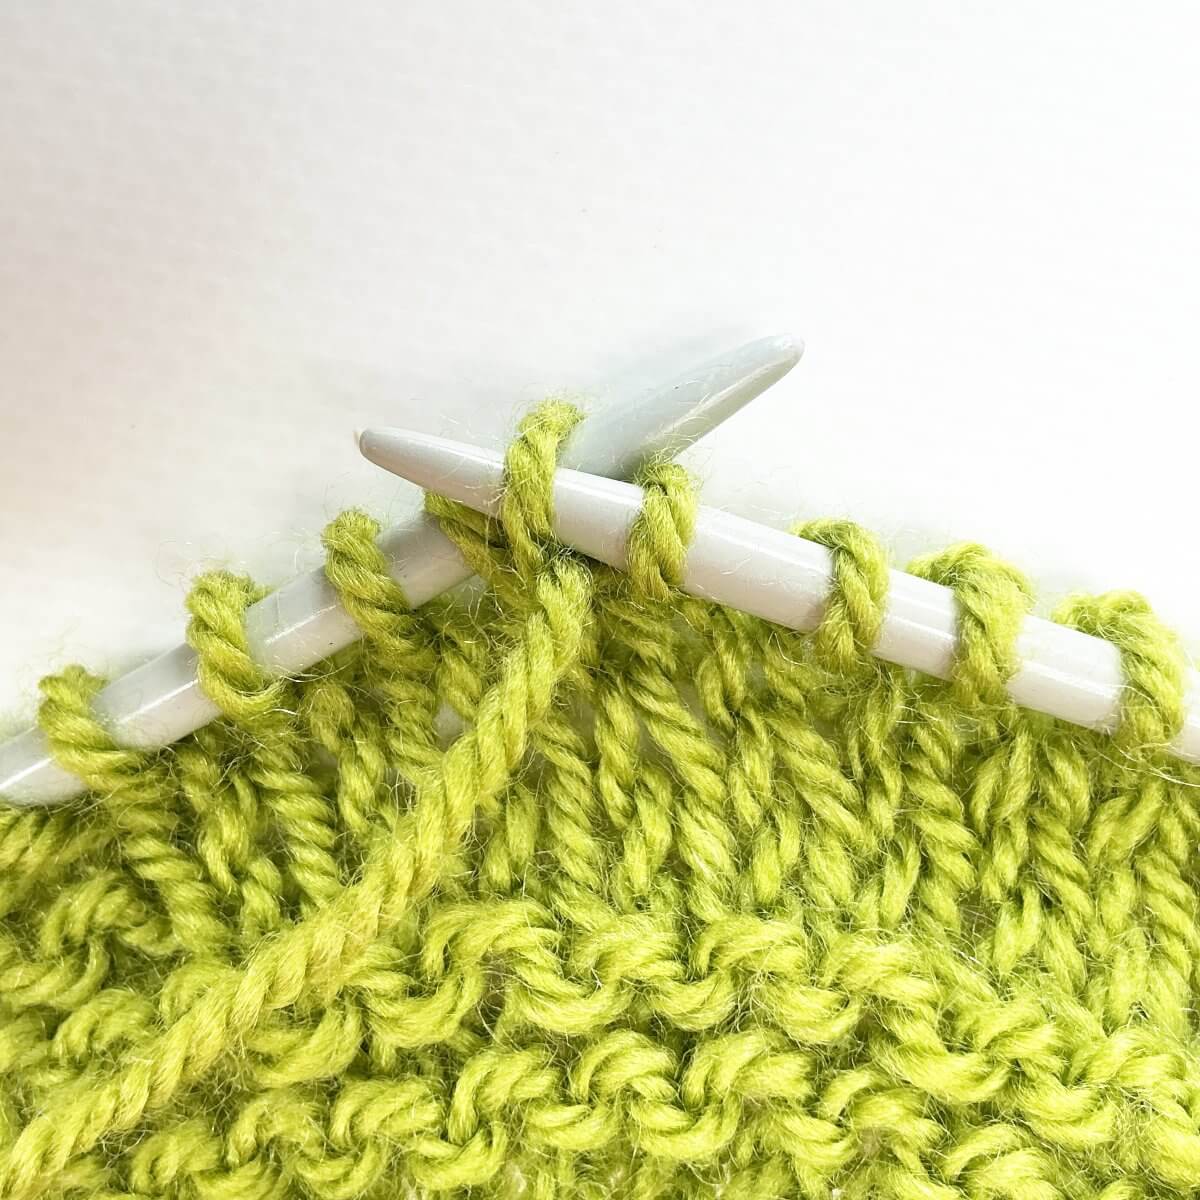
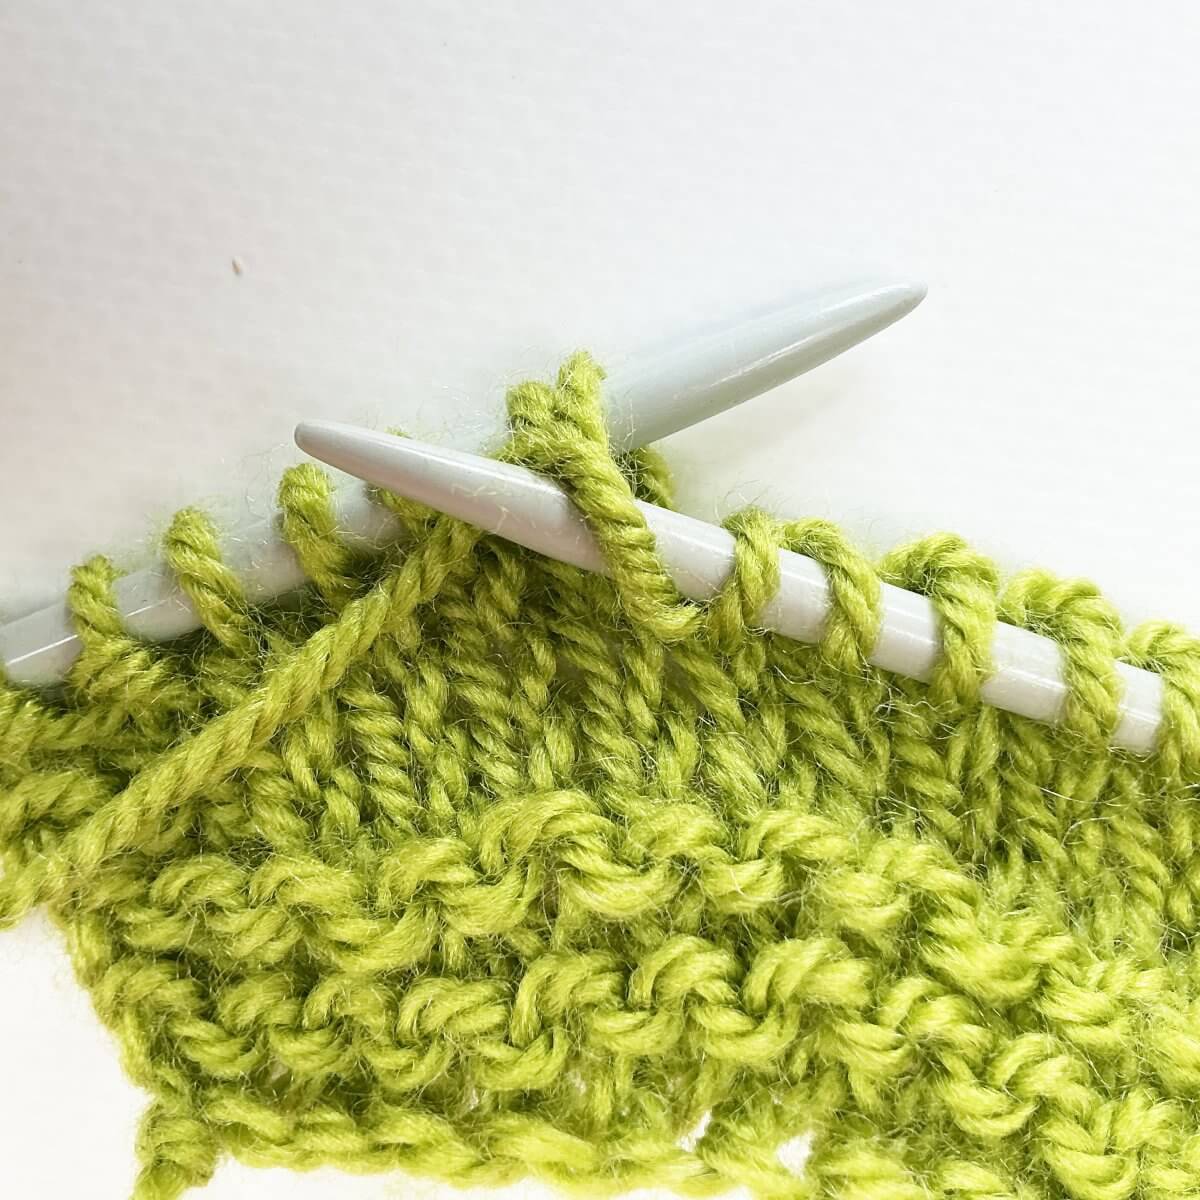
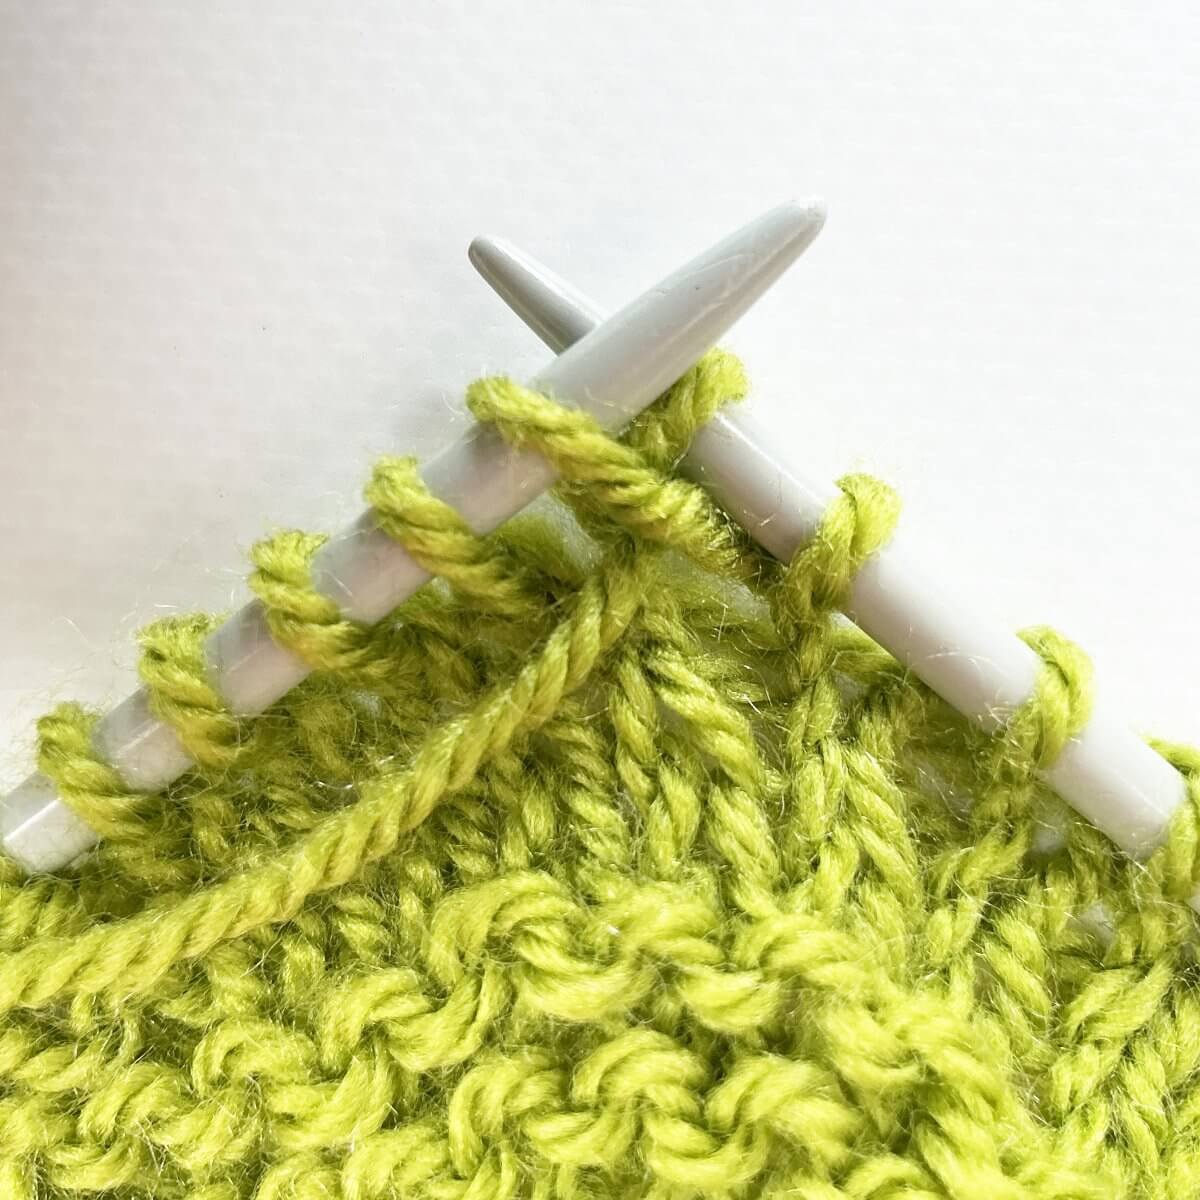
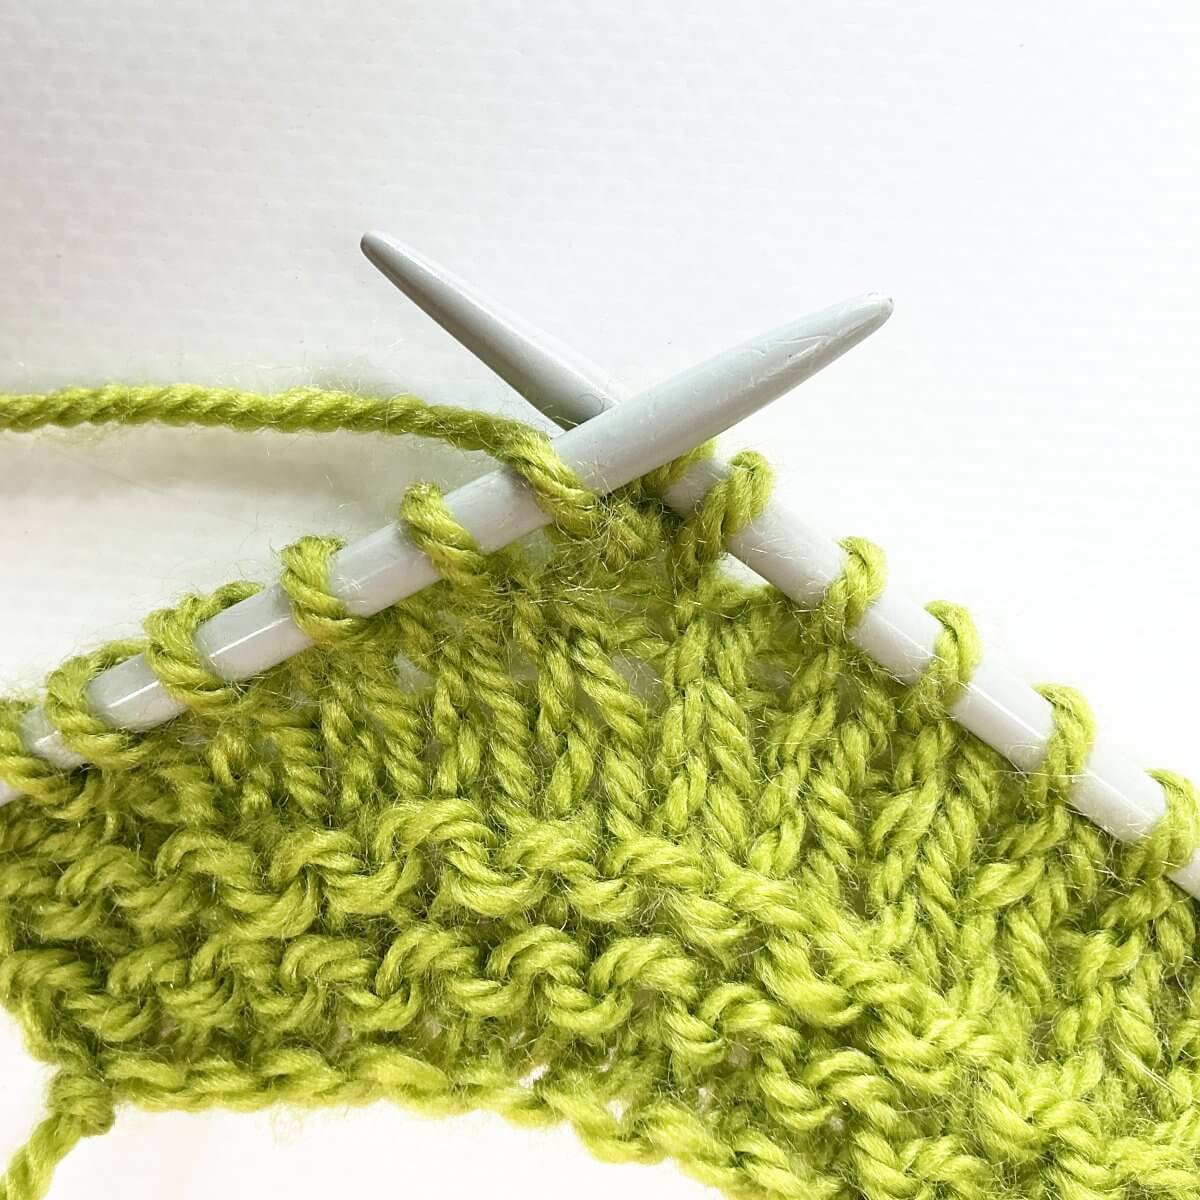
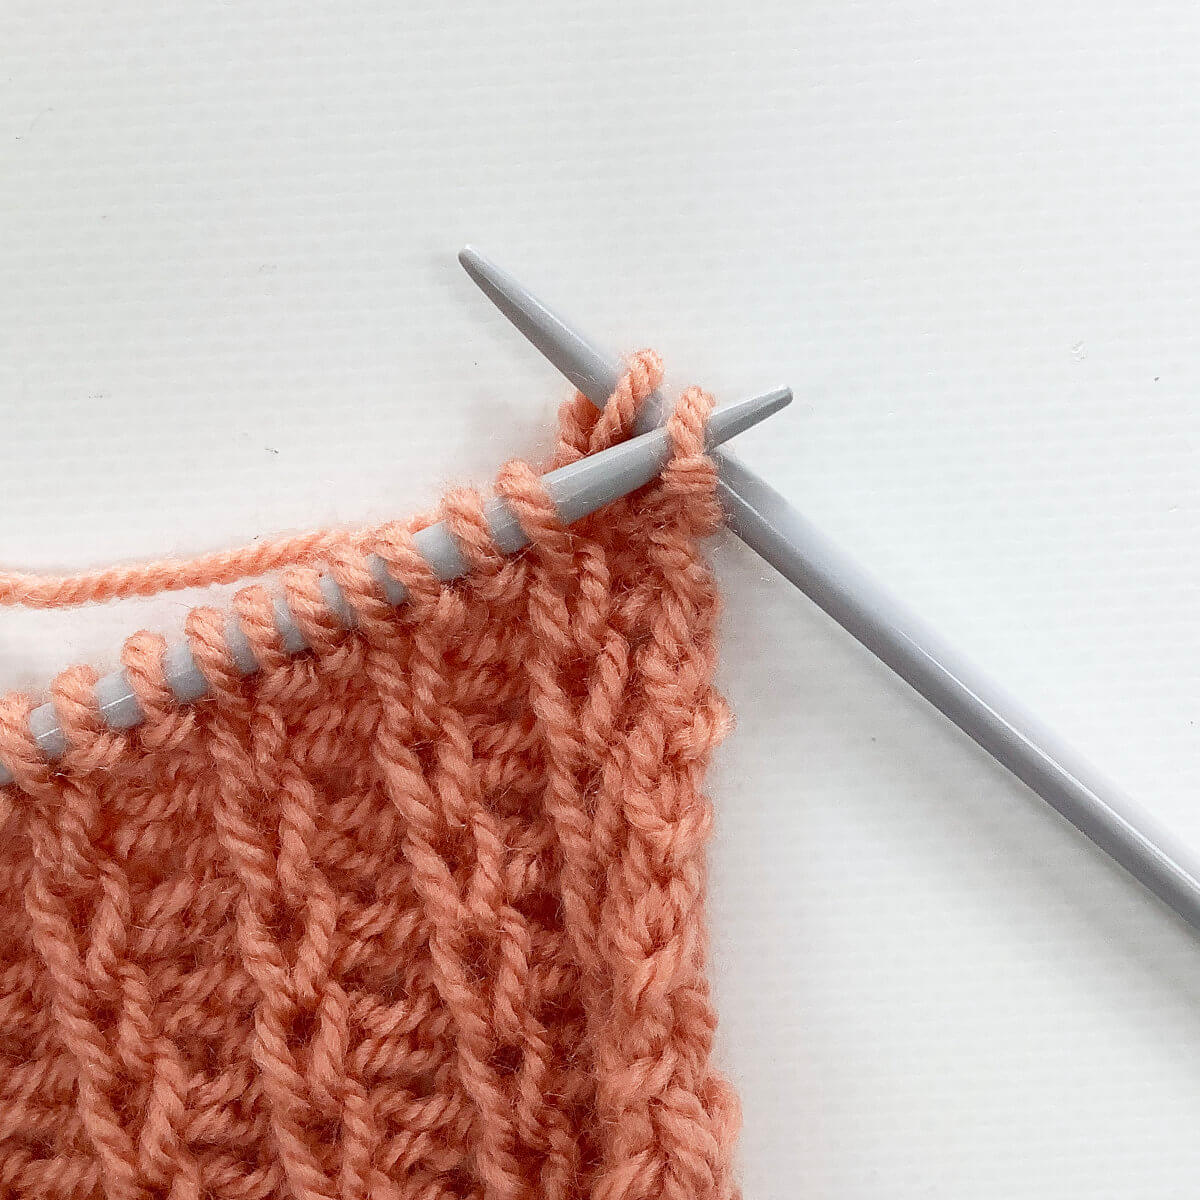
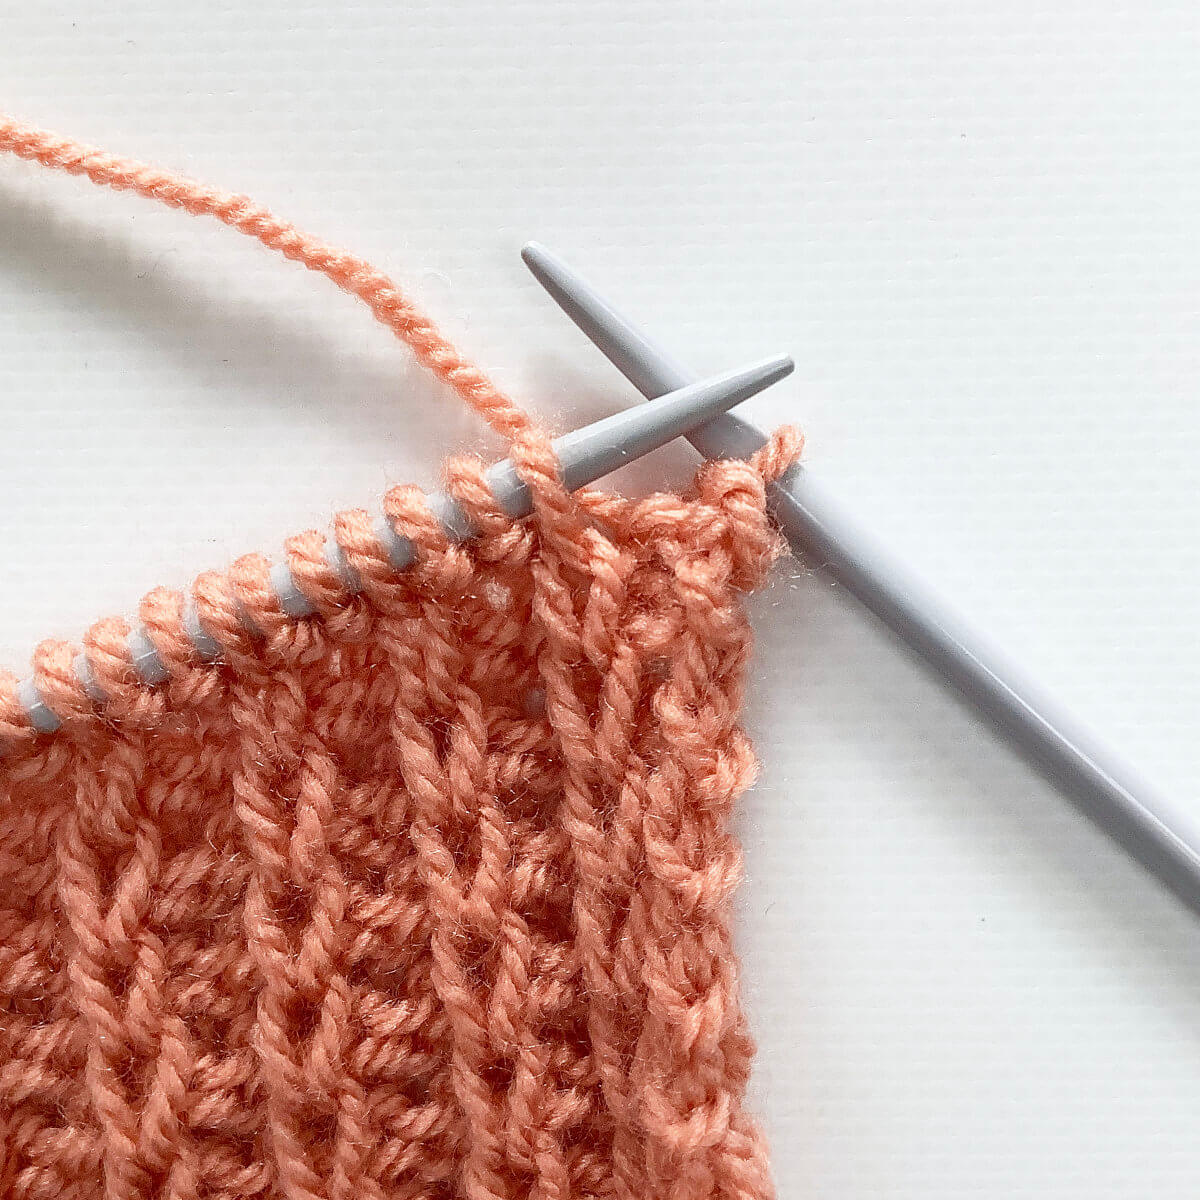
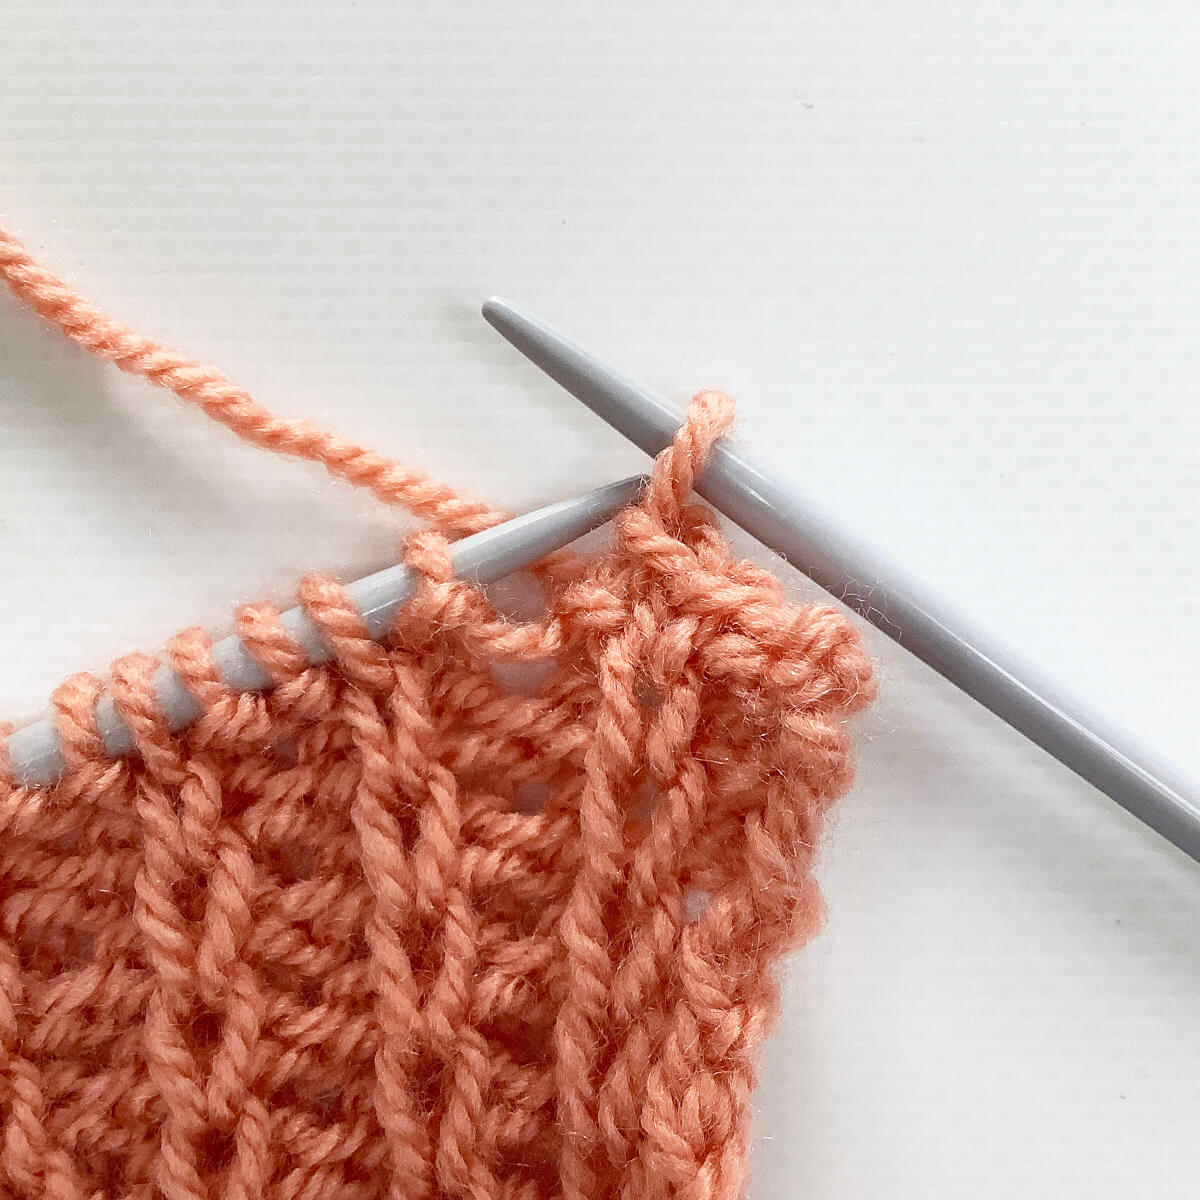
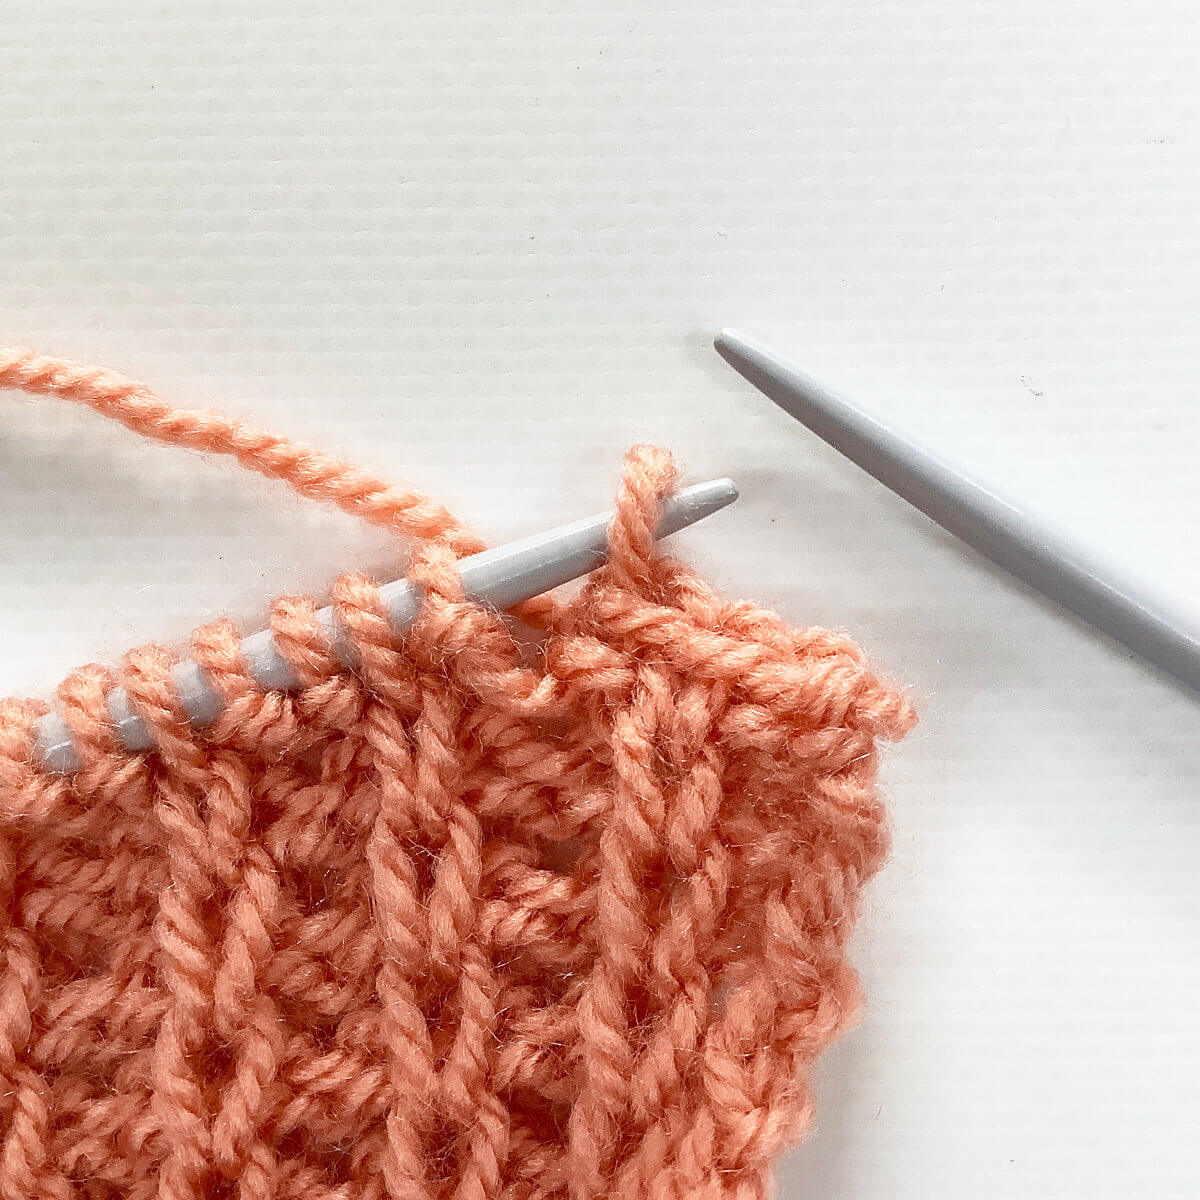
tutorial

tutorial – how to make the most of remaining yarn

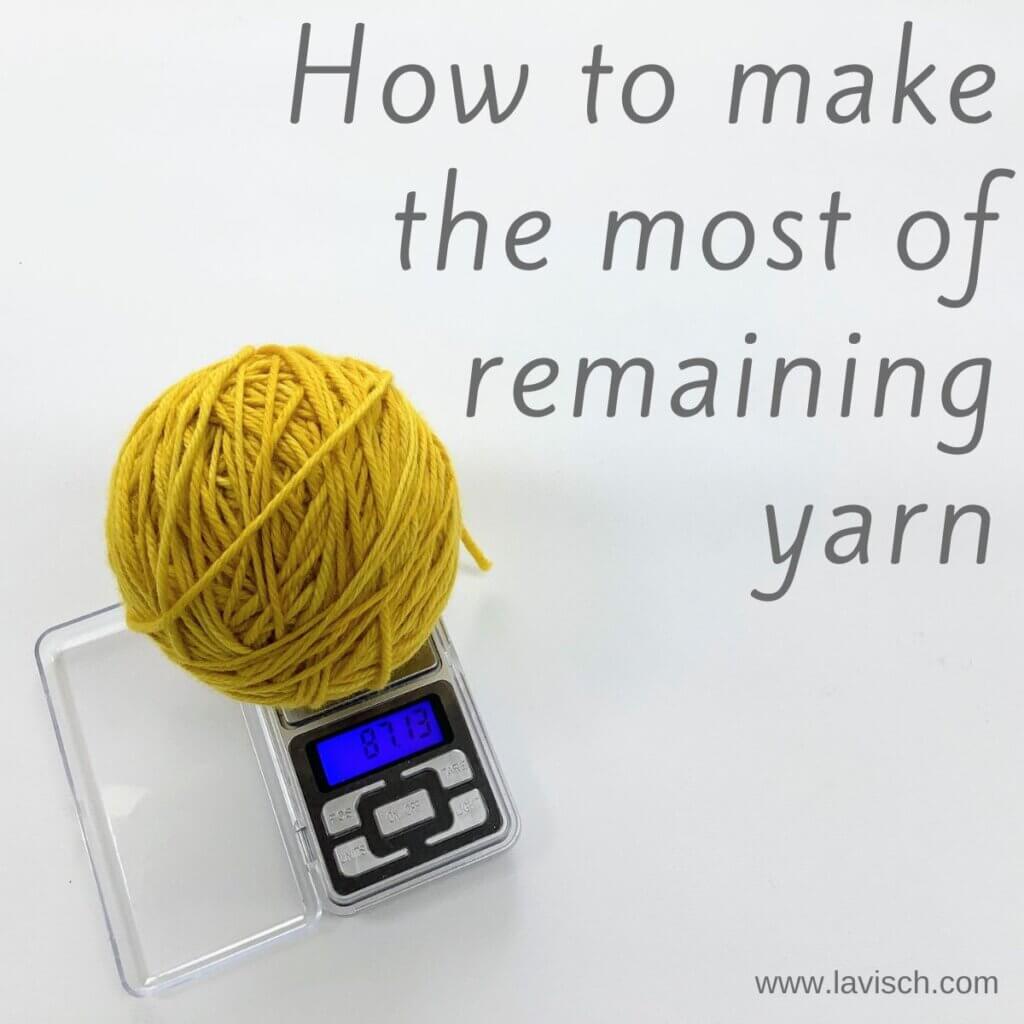
How to make the most of remaining yarn - a tutorial by La Visch Designs

When you have a limited amount of yarn, it’s pretty common to want to make the most of it. I often have a limited amount of a specific fingering weight yarn available, with which I want to knit a shawl. Especially when working with a shawl shape and construction that leads to ever-growing rows, that can be a challenge. Take, for example, a top-down triangle, or crescent shawl. But also with side-ways knit projects, it can be very useful to know whether another repeat before the mid-way point of the project is possible.

For this, I usually weigh my yarn. You can, of course, use a kitchen scale. Most kitchen scales have an accuracy of 1 g. This means that the scale will provide a reading for up to 1 gram above or below the object’s true weight. Especially when working with thinner yarns, this may mean that the reading is just not accurate enough to go on. In those cases, it can be advisable to use a precision scale, that measures with an accuracy of 0.1 g. The benefit of precision scales is, usually also, that they are smaller and therefor easier to take along when knitting on the go.

Once you use a specific scale for a project, it’s best to stick to that one for the duration of the project. Calibration may differ between scales, potentially causing issues when you have less yarn remaining than expected based on previous measurements with the other scale. Below, I’ll give you more information about the scales I use, and how I go about how to make the most of remaining yarn in a project.

Materials used

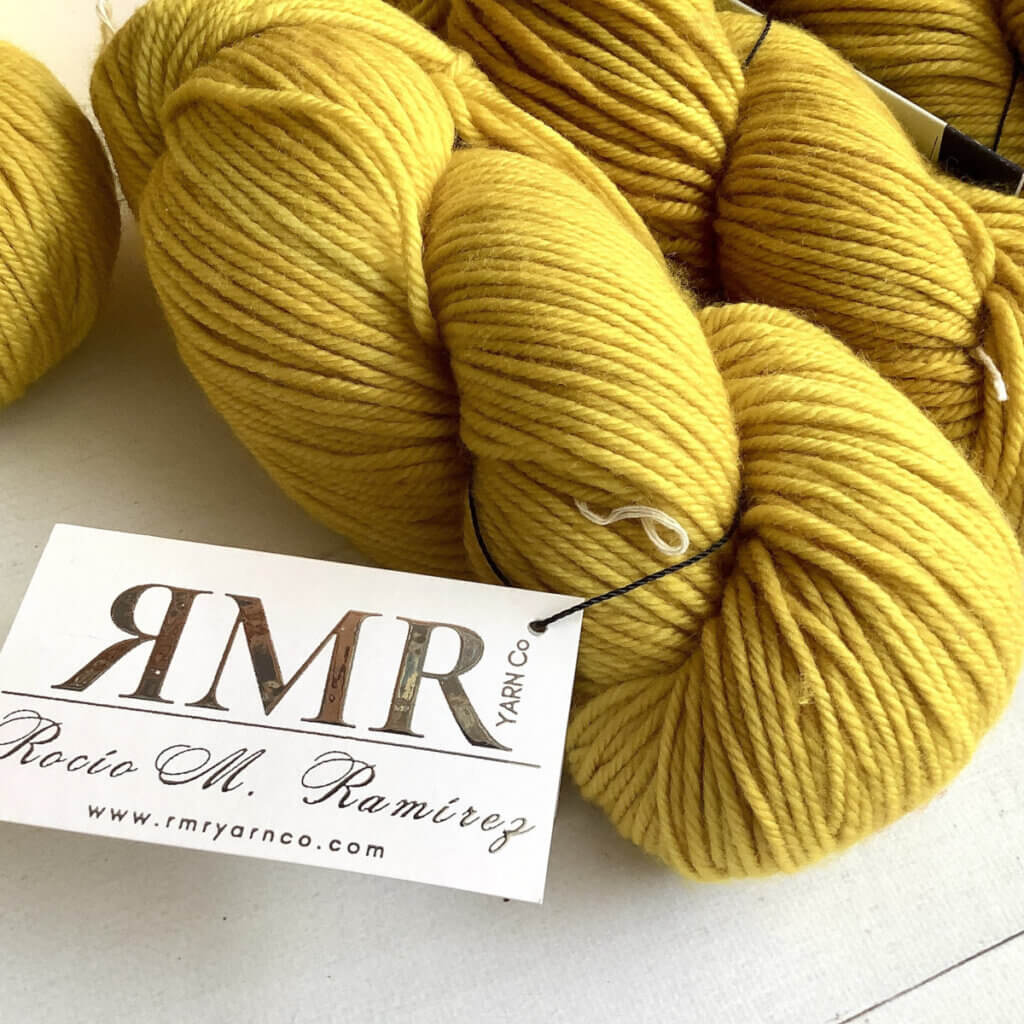
Yarn: RMR Yarn Co. Zihuatanejo DK in Casi Casi.

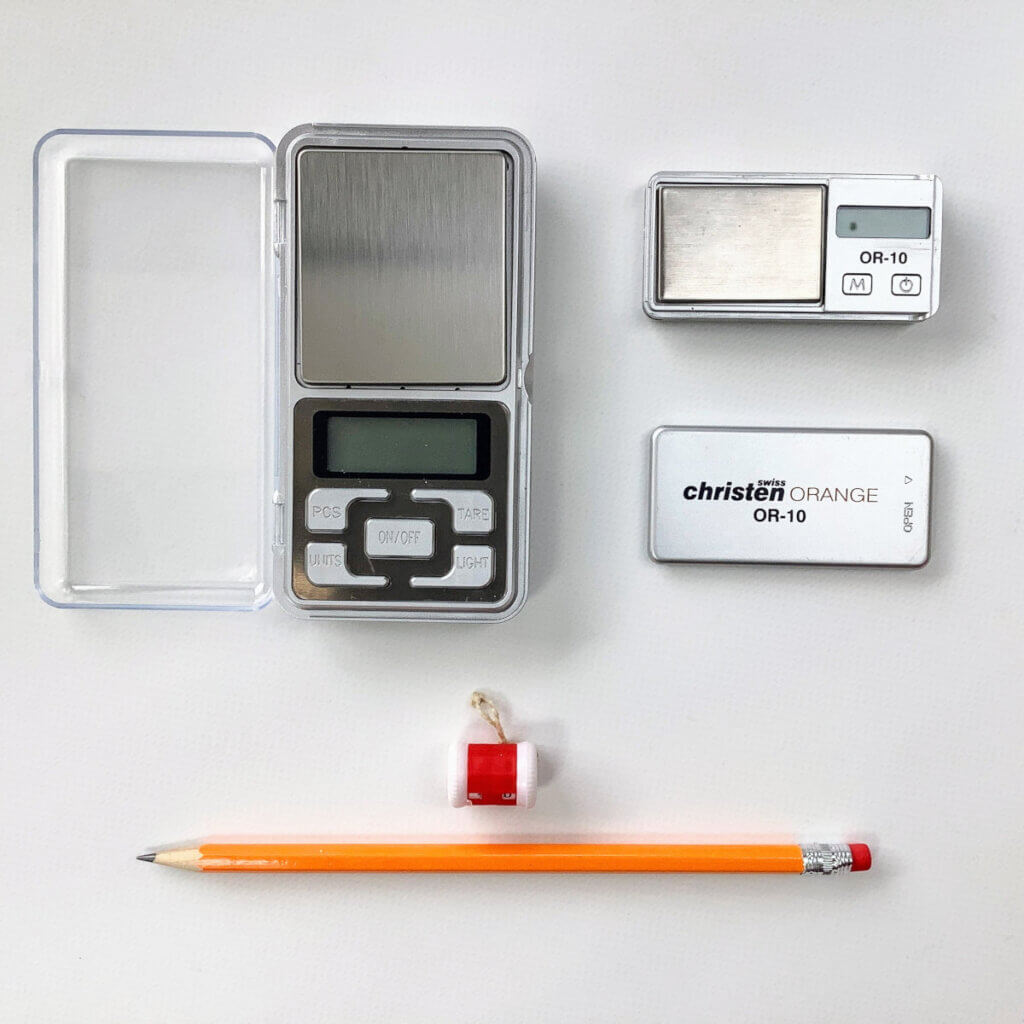
Scales: These are the scales I use for my knitting. The larger one was picked up at a local store, it has an accuracy of 0.1 g, and can weigh up to 200 g. The smaller one is a Christen Swiss OR-10 pocket scale. The latter is accurate to 0.1 g, and has a weighing capacity up to 150 g. The pencil and row counter are in the picture for scale. As you can see, the small one, is really very, very small.

How to make the most of remaining yarn in a project, an example

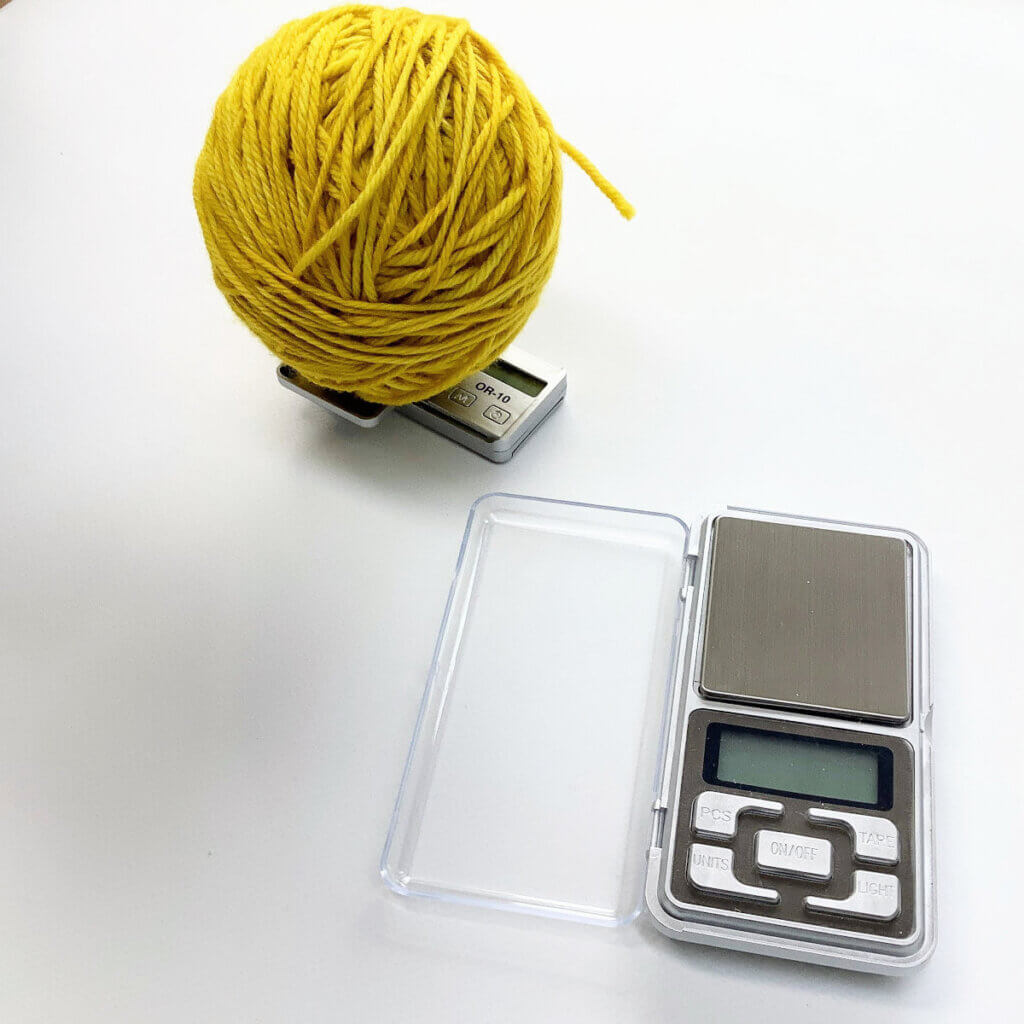
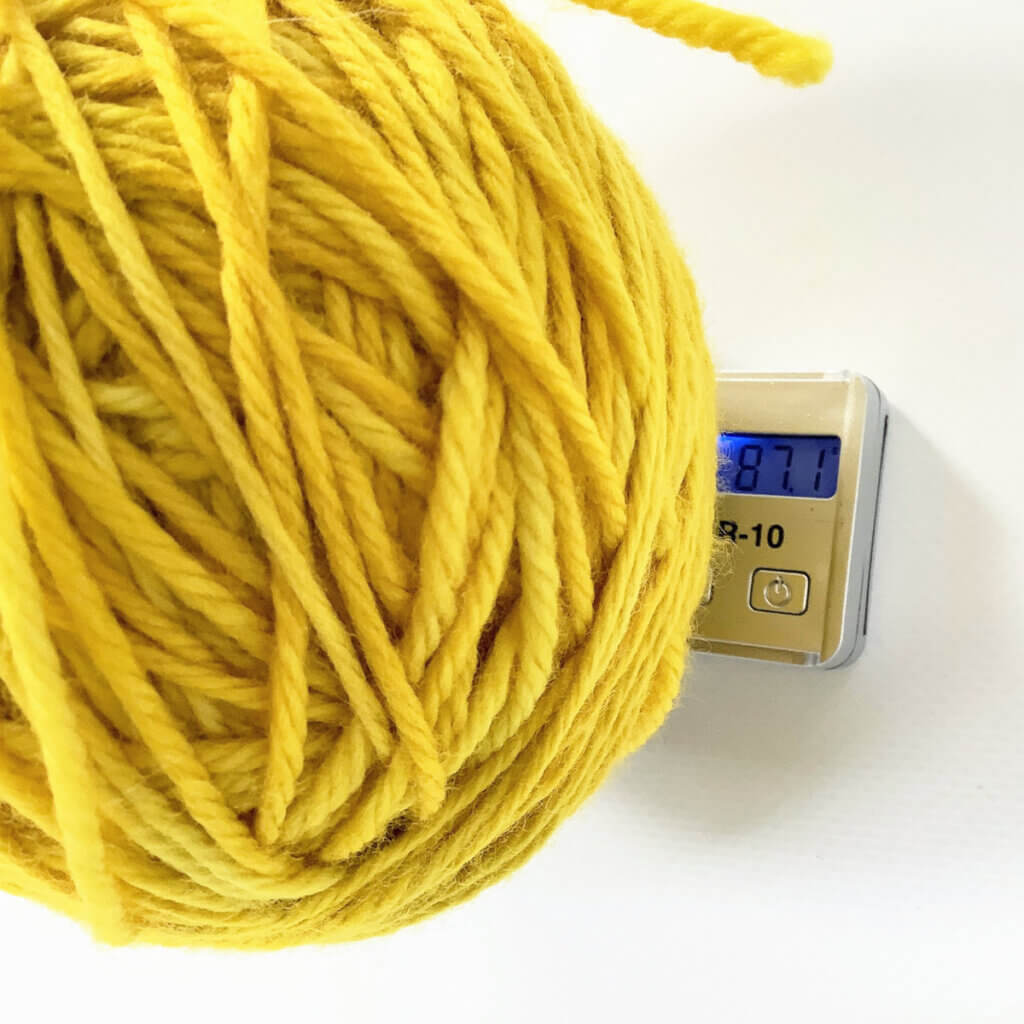
Usually I don’t bother weighing my yarn, until I see that I’m down to somewhere into the last ball of yarn. At that time, I start weighing after every 2 rows, and write down how much yarn was left. When doing this a couple of times, you can calculate how much yarn was used for every 2 rows. Even more, you can also see how much the yarn usage increases when the rows get longer. In the below pictures, I’m using my tiny scale, using the cover to increase the platform size to rest the ball of yarn on.

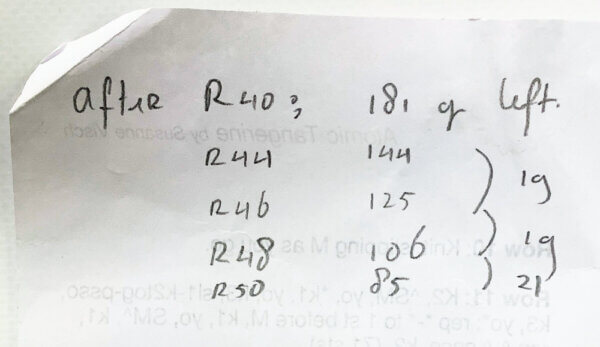
In the below picture, you can see the notes I scribbled on the back of the draft pattern of my Atomic Tangerine shawl. The middle column contains the weights, and with the arcs on the right you see what the weight differences were between the various rows. The example below shows, that I had 85 g left after row 50, which means I could get at most 8 other rows out of the remaining yarn. But given the rate at which the yarn usage went up, probably 6 rows at most. When binding off my shawl projects, I usually use the Russian bind-off, which, in my experience, uses almost as much yarn as 2 rows. So, taking this into account, there is only enough yarn left for another 4 rows before starting the bind-off.

And that’s exactly how it worked out for this pattern!

The back of a draft pattern, on which weights are scribbled in pencil
Weighing notes on Atomic Tangerine

Projects with multiple colors

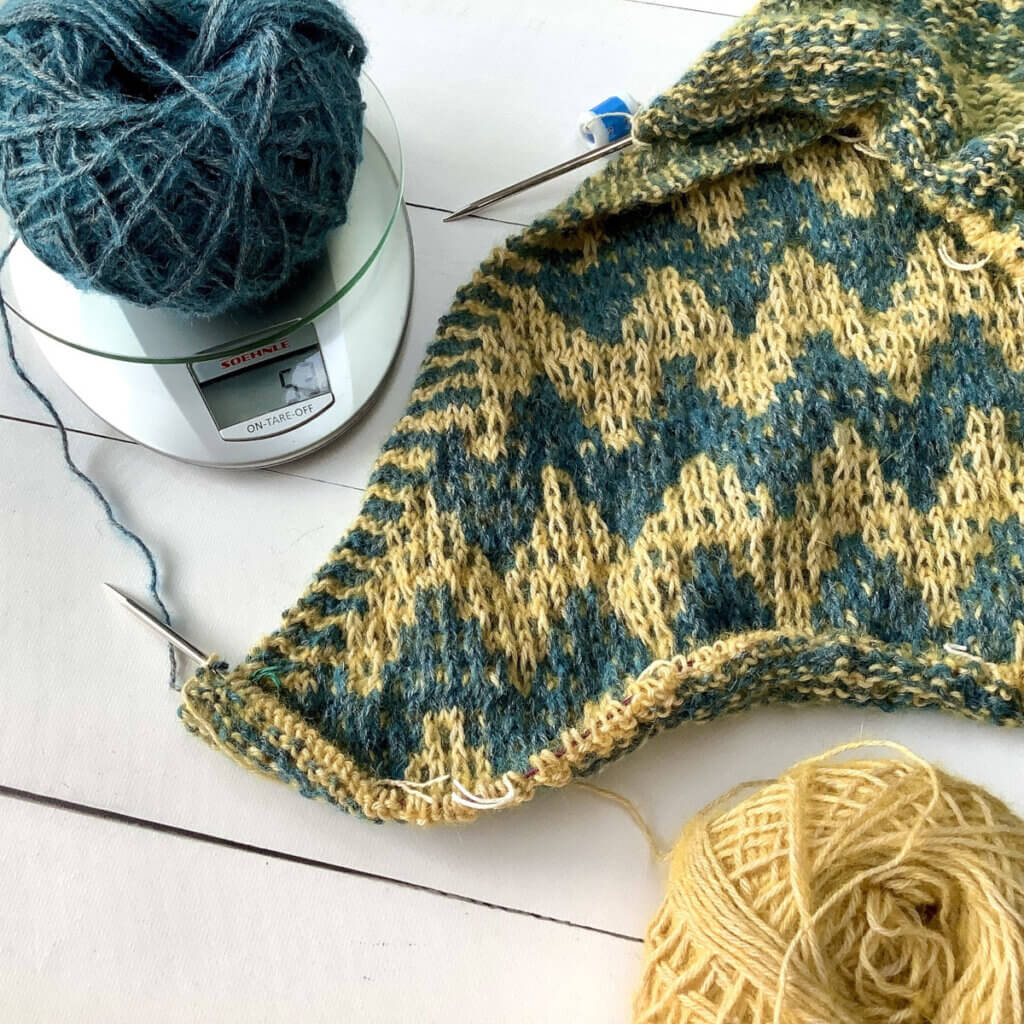
You may wonder how this looks when working on a project that uses multiple colors. In that case, depending on the patterning, you may want to weigh either after every 2 rows, or after each pattern repeat. In this example, I’m working on a mosaic color-work project. With mosaic knitting, you alternate colors every 2 rows. So, in this case, weighing after every pattern repeat makes the most sense. And yes, in this example, I’m using my kitchen scale.

Angled view of a mosaic knitting project in yellow and teal, the teal yarn is positioned on a scale.
Weighing on a kitchen scale
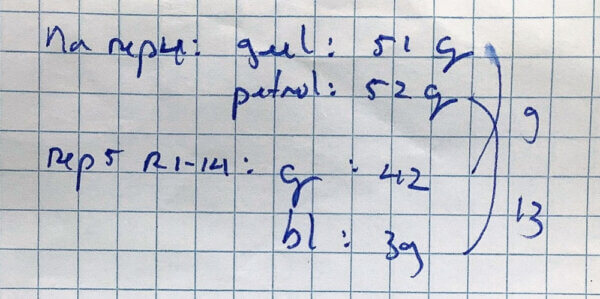
Weighing notes, scribbled in blue pen on graph paper
Weighing notes

As you can see, these notes look a tad more complex, because the yarn usage arcs for the various colors cross each other. At this moment, I’m still working on this design. But, given the amount of yarn remaining, it’s time to start the final section of this shawl. To be continued!

    Patreon logo

    Thanks to my Patreon supporters for bringing you this freebie! Creating quality patterns and tutorials is a lot of work and resource-intensive. However, I find it important to give you free content like this tutorial. Thanks to the generous support of my Patreon supporters, I can make it happen. Thank you, patrons! Click here to join, or click here to read more about La Visch Designs on Patreon.

    tutorial – how to make the most of remaining yarn Read More »

    tutorial – working a cabled bind-off

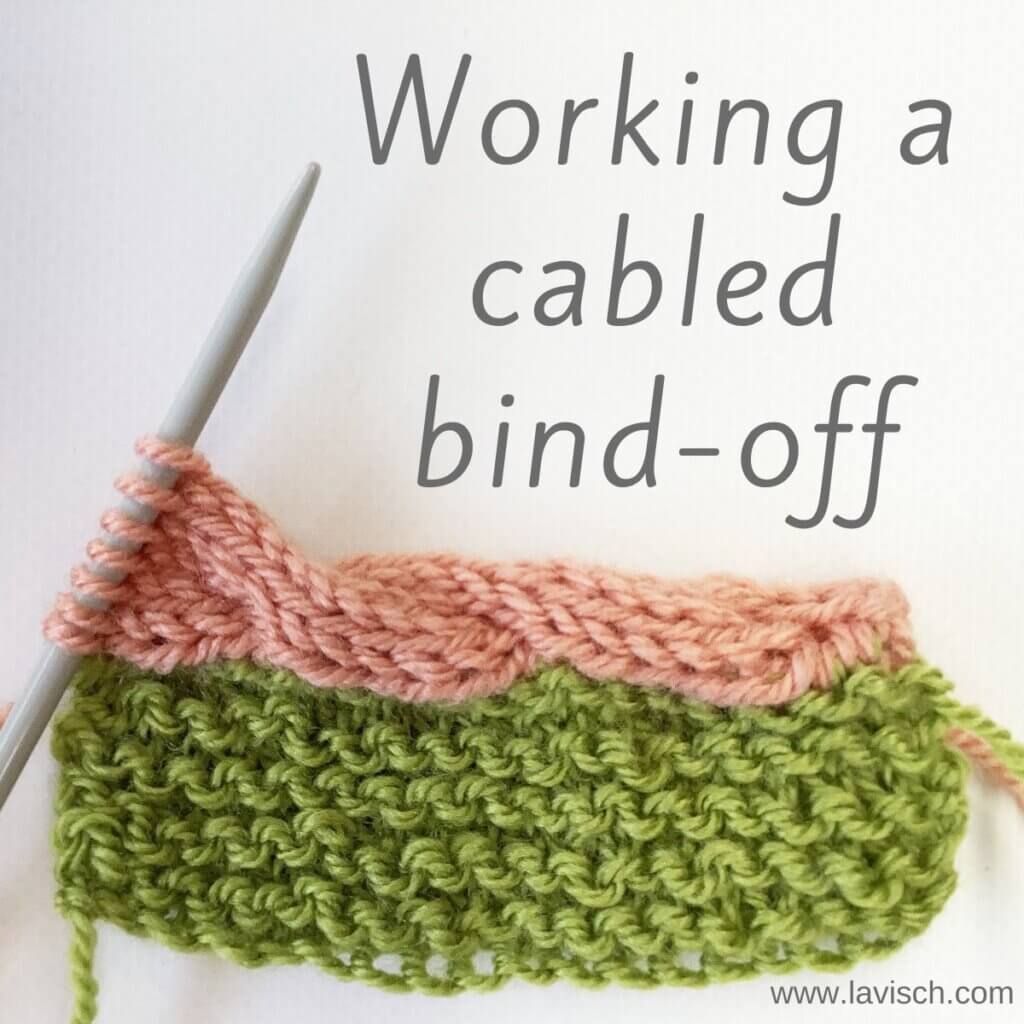
    Working a cabled bind-off

    The cabled bind-off may look complex, but it’s really nothing more than a twist of a fat i-cord bind-off. Usually, an i-cord bind-off is made with 3 to 4 stitches. However, to make it a cabled bind-off, once every few rows the order of the stitches on your knitting needle is changed. These crossings are what gives cables their characteristic look. To give each half of the cable a bit of heft, they need to have enough stitches. Also, with cable knitting, you usually work stitches in stockinette. So, to make the cables pop against the body of the piece you’re binding off, a contrasting stitch in reverse stockinette is used.

    In this example, I’ll be showing you a cabled bind-off with a 3/3 RC (3/3 right-cross cable). For this we will need 6 stitches, plus 1 purl stitch to make them pop. This bind-off is worked over a multiple of 6 stitches in the piece to bind-off, plus 1 extra stitches to bind-off the cable itself.

    Materials used

    Yarn: Paintbox Yarns Simply DK, a good value, good quality 100% acrylic yarn, in the colors Vintage Pink, and Lime Green.

    Needles: This is a pair of straights that I picked up at the second-hand store when I started knitting, brand unknown. You will also need a cable needle in a similar or slightly smaller size as your knitting needles.

    The cabled bind-off step by step

    In short, the instructions for this bind-off would look something like this:

    Cabled bind off: Cast-on 7 sts, *k6, p2tog, sl 7 sts just worked back to left-hand needle, pull yarn tight across back of sts; rep from * until 1 st remains.
    Next: Bind-off 6 sts by knitting 1 st, *then knitting the next st and passing the one already on the right-hand needle over the newly worked stitch*, work *-* 5 times, p2tog, and fasten off.

    1. You can start casting off as soon as the last row or round of your work has been knit, and after your work has been turned when working flat back and forth.

      Step 1 of working the cabled bind-off

    2. With the right side facing, cast-on 7 stitches. I used the knitted-on method.

      Step 2

    3. Knit 6 stitches.

      Step 3 of working the cabled bind-off

    4. Purl 2 stitches together, 1 from the bind-off, and the other one from the body of the work.

      Step 4

    5. Move yarn to the back of the work, then slip the 7 stitches on the right-needle back to the left hand-needle one by one.

      Step 5 of working the cabled bind-off

    6. Repeat steps 3 to 5 once.

      Step 6

    7. Next, we’re going tot work the cable twist row with a 3/3 RC (3/3 right-cross cable). First, slip the next 3 stitches to the cable needle, and place at the back of the work.

      Step 7 of working the cabled bind-off

    8. Knit 3 stitches….

      Step 8 of working the cabled bind-off

    9. …. finish the cable by knitting 3 stitches from the cable needle.

      Step 9

    10. Next, purl 2 stitches together. Again, one from the bind-off, and the other one from the body of the work.

      Step 10 of working the cabled bind-off

    11. Move yarn to the back of the work, then slip the 7 stitches on the right-needle back to the left hand-needle one by one.

      Step 11

    12. Repeat steps 3 to 5 another 3 times. You have now bound-off 6 stitches.

    13. Repeat steps 3 to 12 until only 1 stitch is left over.

      Please note that in my swatch, I hadn’t accounted for this last stitch. So in this example, I had no stitches left over at this point.Step 12

    14. To finish, bind-off 6 stitches by knitting 1 stitch, *then knitting the next stitch and passing the one already on the right-hand needle over the newly worked stitch*, work *-* 5 times, purl the last 2 stitches together, and fasten off.

      In my example, I did not have any stitch left to do the p2tog with, so I just fastened off.The result of working the cabled bind-off

    Pretty, right?!

    A few notes

    • In this example, I worked the cabled bind-off in a contrasting color. You can, of course, also work the bind-off in the same color as the project itself.
    • All i-cord based bind-off edge on pieces worked in stockinette stitch are very pretty. As you know, however, stockinette tends to curl…. A lot. An i-cord bind-off is usually not sufficient to prevent curling. For this, you will have to look at other methods, such as garter stitch or rib.
    • Depending on the difference between your stitch, and row gauge, the bind-off may be tighter than the body of the work. If this is not desired in your piece, you could consider going up a needle size. Working an extra row, without connecting it to the body once every few repeats, may also be sufficient to get enough length at the edge.
    Patreon logo

    Thanks to my Patreon supporters for bringing you this freebie! Creating quality patterns and tutorials is a lot of work and resource-intensive. However, I find it important to give you free content like this tutorial. Thanks to the generous support of my Patreon supporters, I can make it happen. Thank you, patrons! Click here to join, or click here to read more about La Visch Designs on Patreon.

    tutorial – working a cabled bind-off Read More »

    tutorial – the buttonhole loop bind-off

    The buttonhole loop bind-off

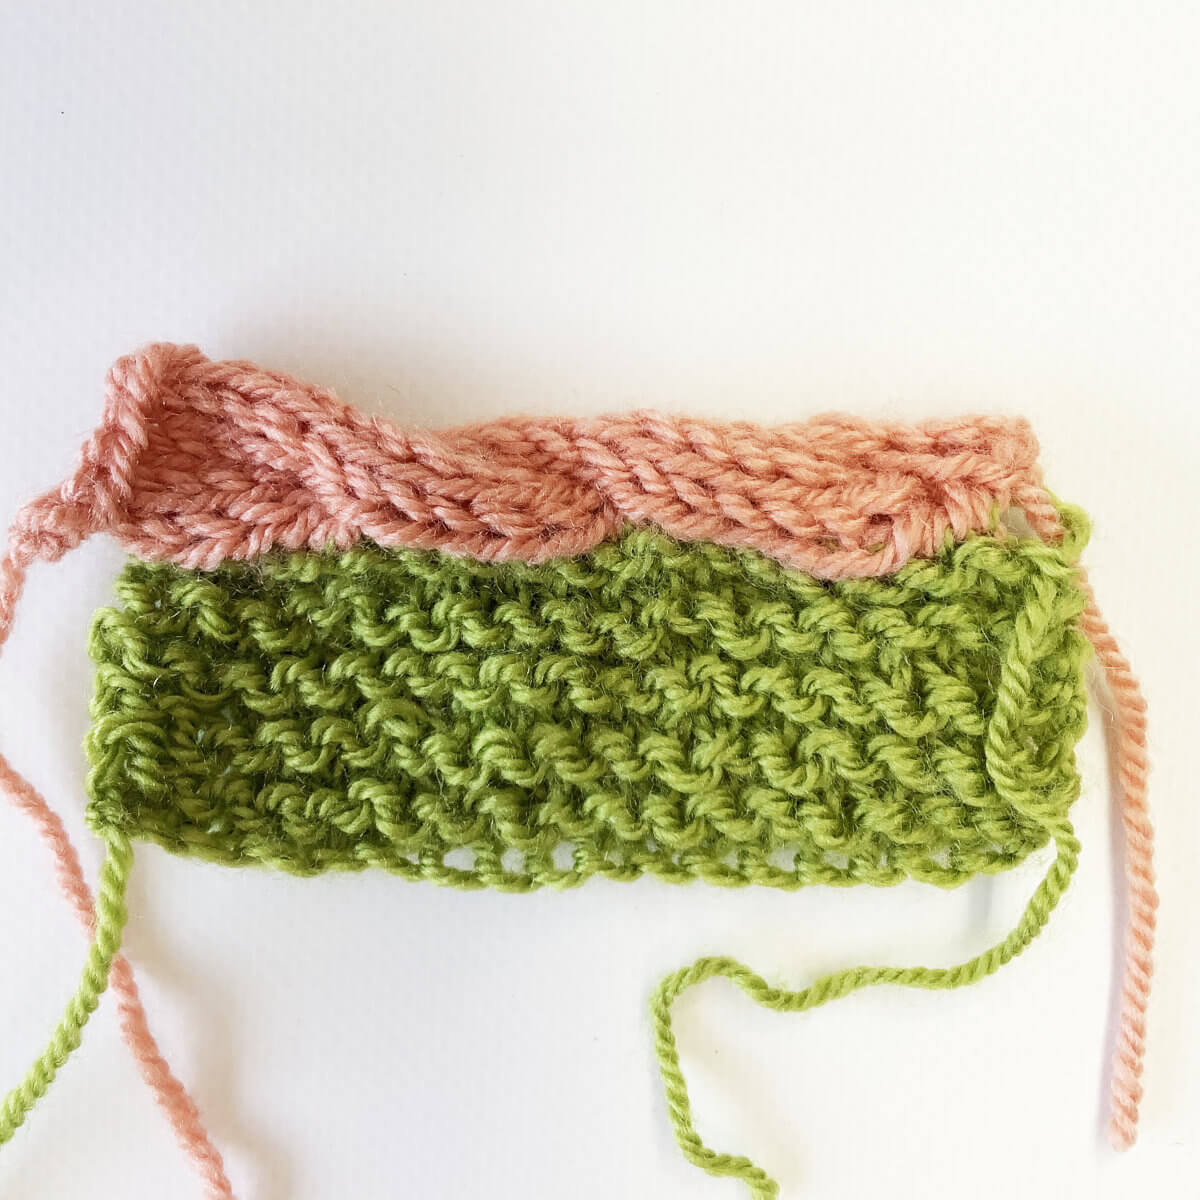
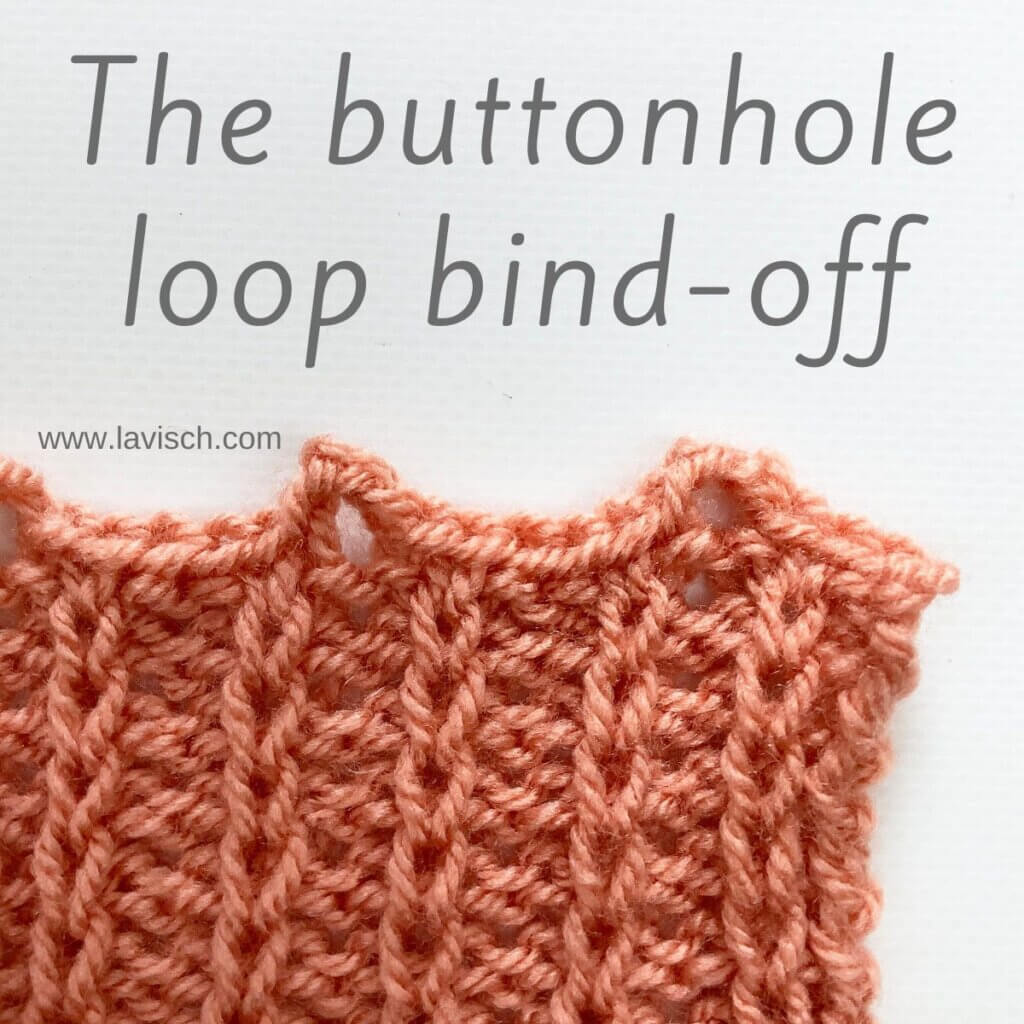
    The buttonhole loop bind-off is very similar to the standard knitted bind-off, but with a twist! There are loops of yarn worked right at the edge of the work, which can be utilized as buttonholes. Of course, you can also just use this bind-off because it’s decorative. And yes, in this tutorial I’m using the swatch of the slip stitch rib stitch pattern, I showed you two weeks ago. Let’s get started!

    Materials used

    Yarn: Paintbox Yarns Simply DK, a good value, good quality 100% acrylic yarn, here in the color Vintage Pink.

    Knitting needles: This is a pair of straights that I picked up at the second-hand store when I started knitting, brand unknown.

    The buttonhole loop bind-off step by step

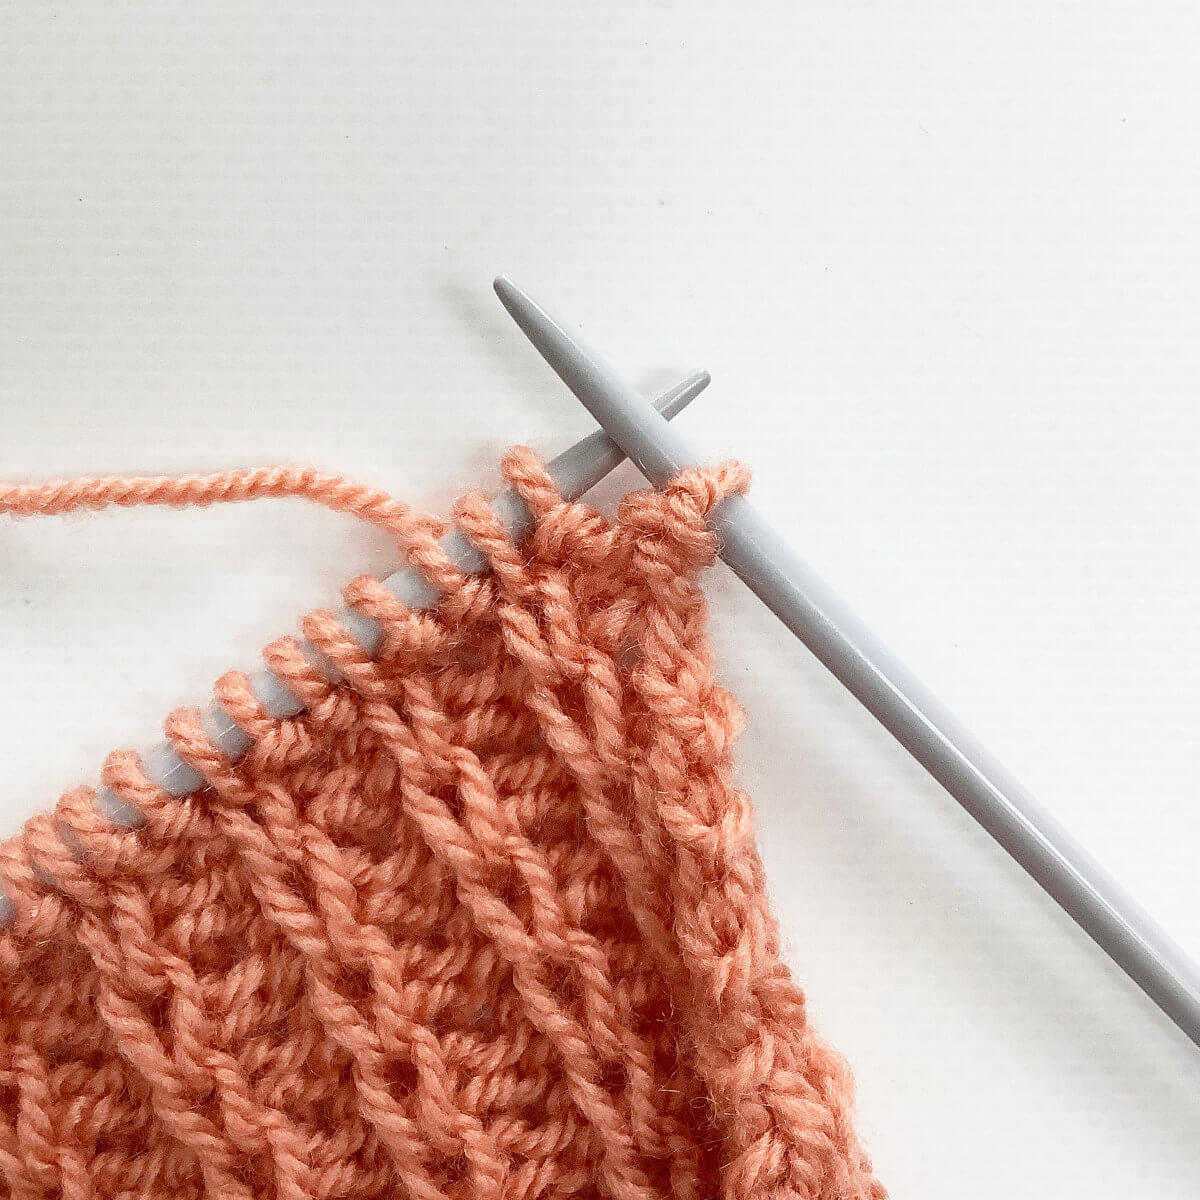
    1. To start, take the piece of knitting you want to bind-off, and knit the first stitch.

      Step 1 of working the buttonhole loop bind-off

    2. Next, knit the new stitch nearest to the tip of the left-hand needle.
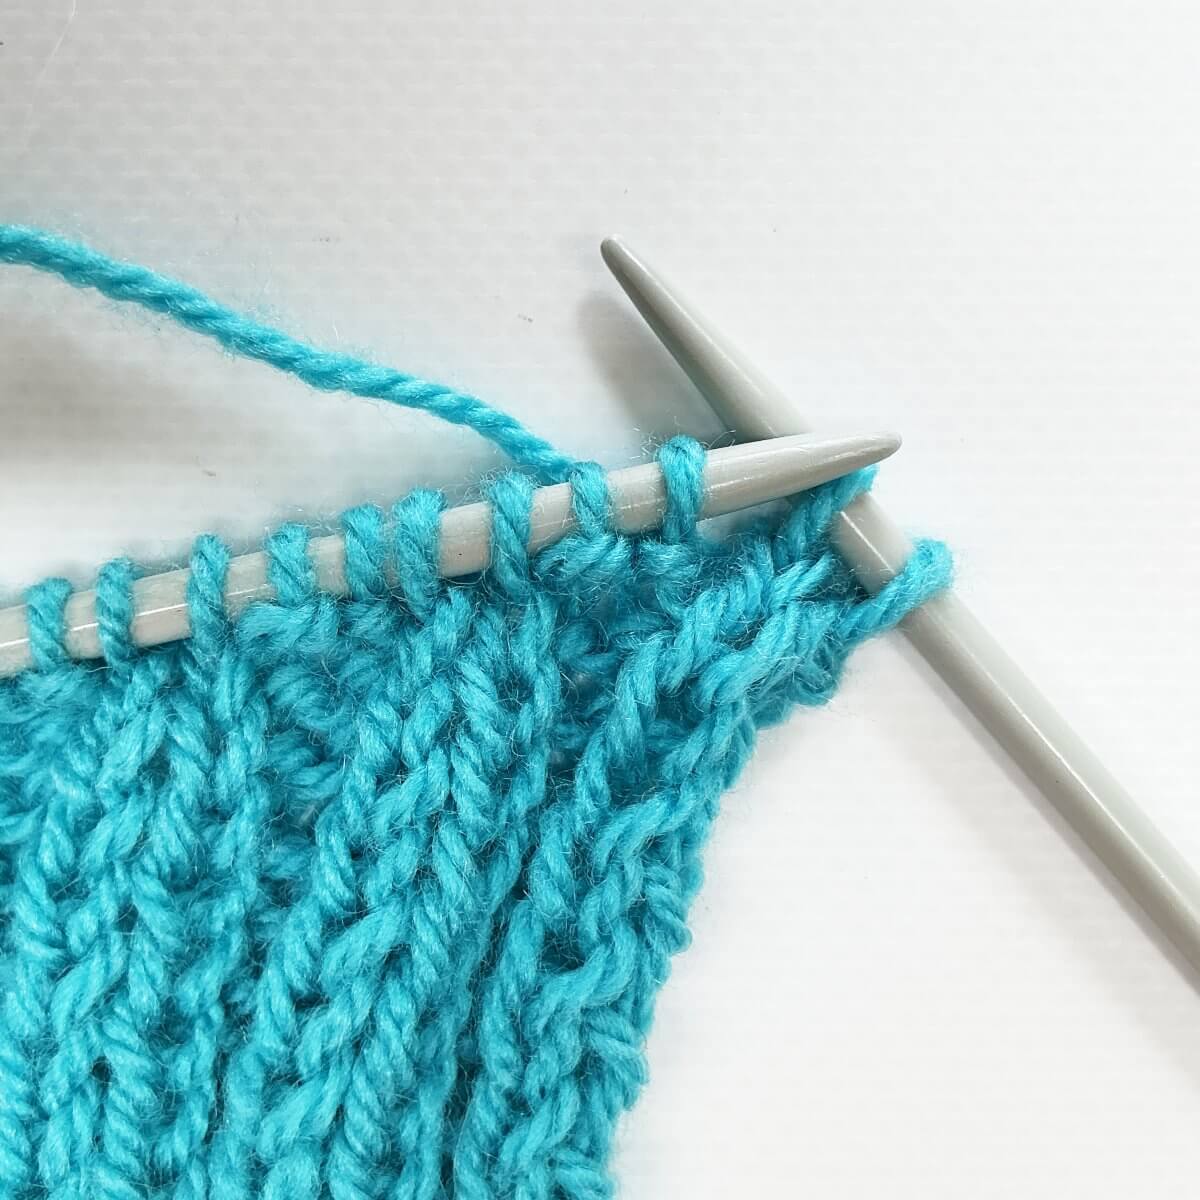
      Step 2

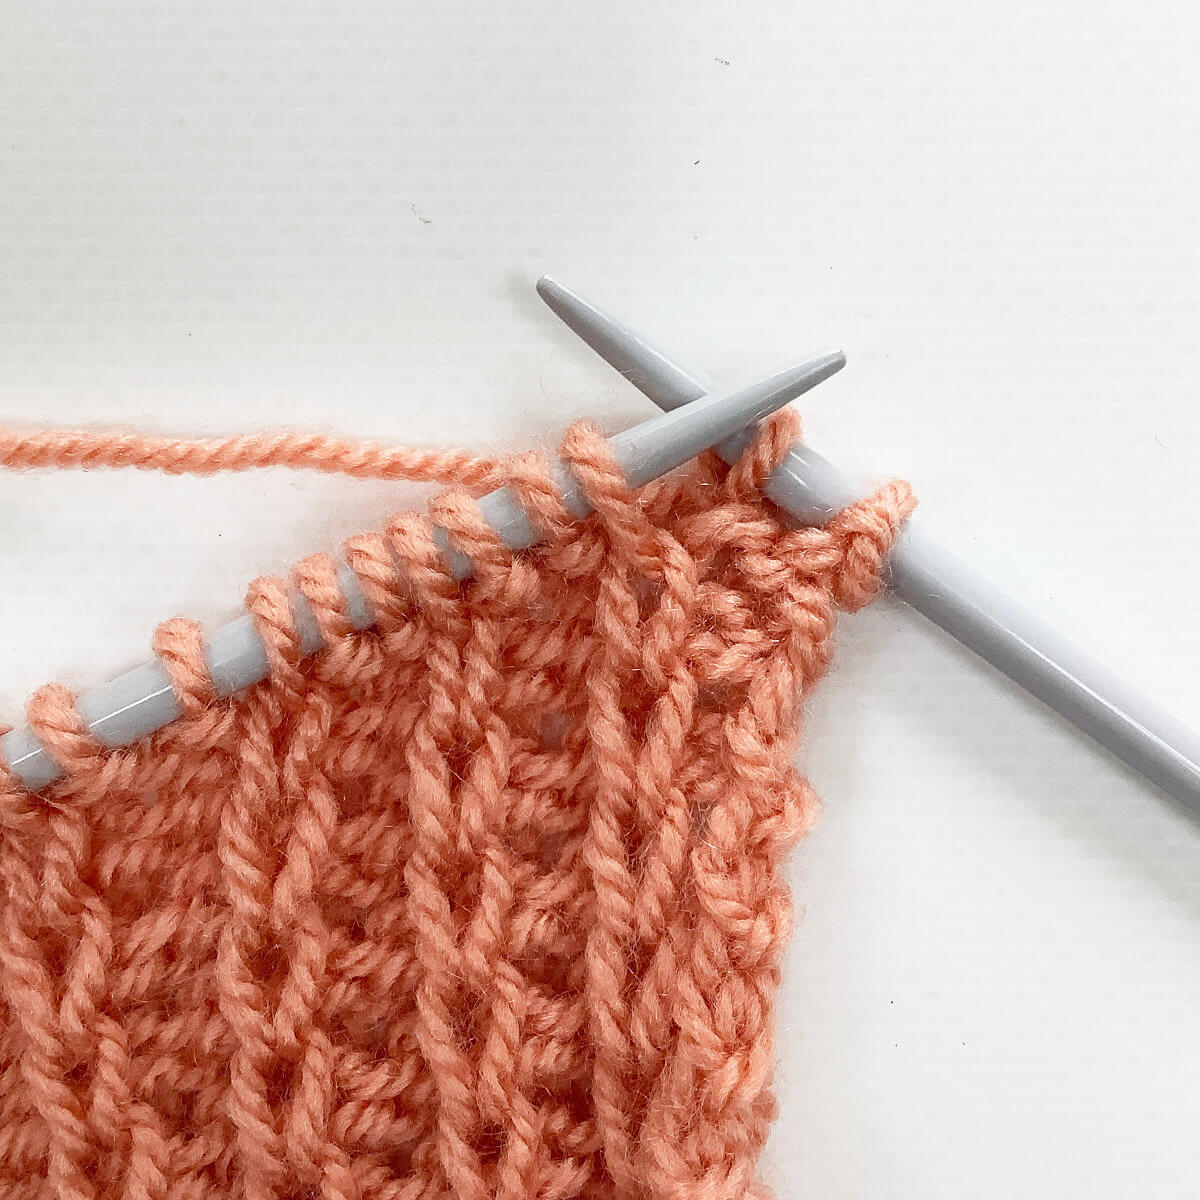
    3. Insert the tip of the left-hand needle into the second stitch on the right-hand needle….
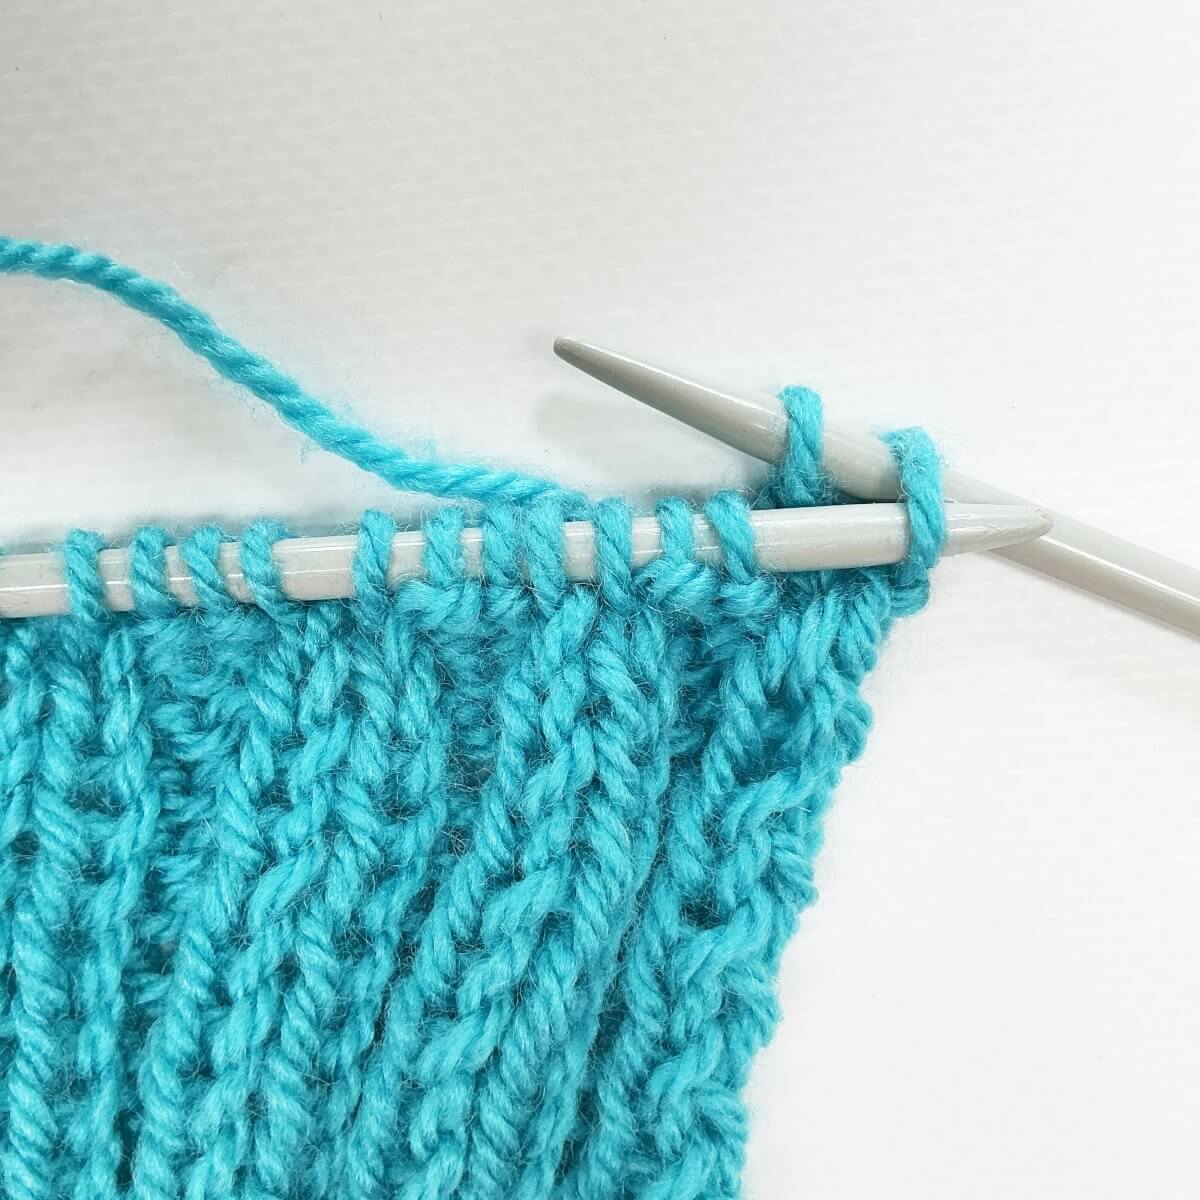
      Step 3 of working the buttonhole loop bind-off

    4. …., and pass this second stitch over the first one.

      You have now bound-off a stitch!Step 4

    5. Repeat steps 2-4 until you have reached the spot where you want to have the buttonhole.

      In my case, I want the buttonhole right between the 2 purl stitches in the rib. So I continued binding stitches off, until I had worked the first of the 2 purl stitches.Step 5 of working the buttonhole loop bind-off

    6. Next, we want to make a series of loops to accommodate the buttons you’ve chosen. Depending on the size of the buttons, You may want to work longer loops than I’m doing in this example.

      To start the first loop, place the stitch from the right-hand needle back to the left-hand needle.Step 6

    7. Next, insert your right-hand needle into the first stitch on the left-hand needle as if to knit.

      Step 7 of working the buttonhole loop bind-off

    8. Wrap the yarn around the needle…

      Step 8 of working the buttonhole loop bind-off

    9. … and pull it through. You have now made 1 “chain”.

      This is very similar to working a chain with a crochet hook, hence the name I’m giving it. Step 9

    10. I want a loop consisting of 3 “chains”, so I have repeated steps 6-9 another two times.

      Step 10 of working the buttonhole loop bind-off

    11. To close the loop, I then worked steps 2-4 once more.

      Step 11

    The result

    In the below picture, I worked another 2 buttonholes, again centered in the purl part of the rib patterning. I really like this result!

    The result of working the buttonhole loop bind-off


    Patreon logo

    Thanks to my Patreon supporters for bringing you this freebie! Creating quality patterns and tutorials is a lot of work and resource-intensive. However, I find it important to give you free content like this tutorial. Thanks to the generous support of my Patreon supporters, I can make it happen. Thank you, patrons! Click here to join, or click here to read more about La Visch Designs on Patreon.

    tutorial – the buttonhole loop bind-off Read More »
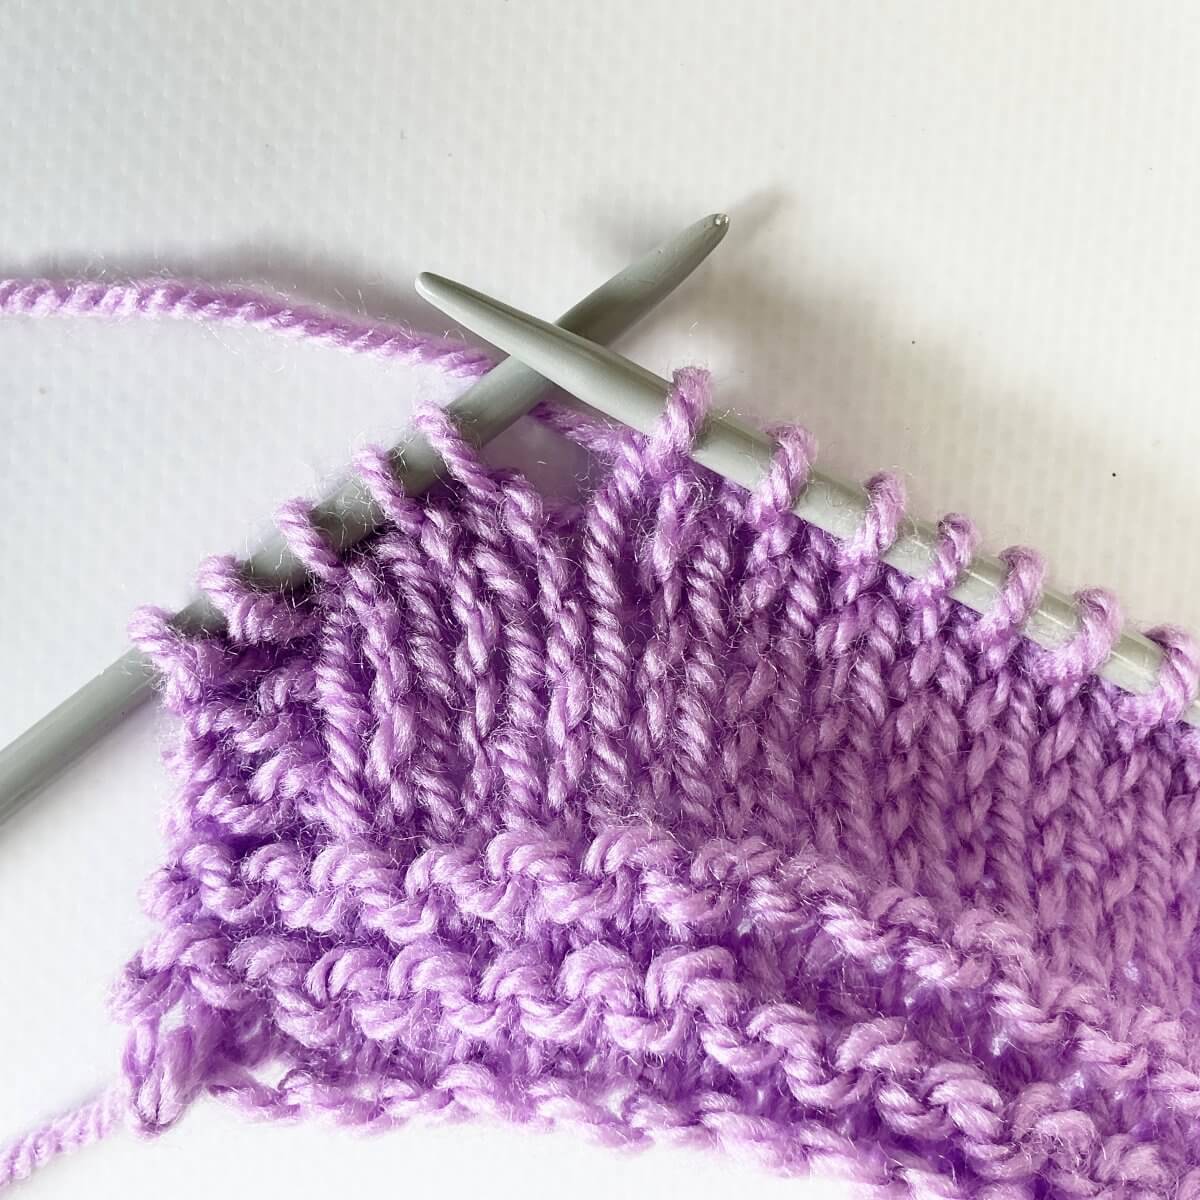
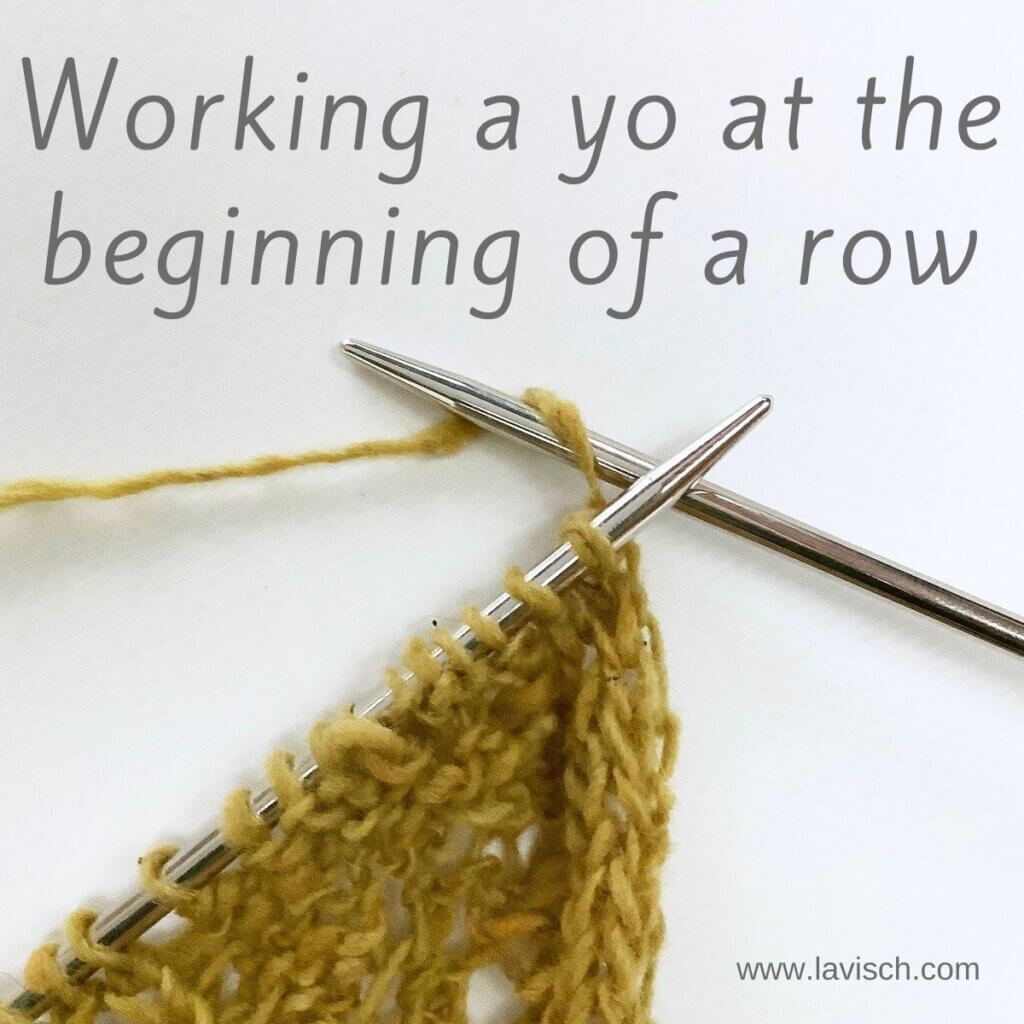
    tutorial – working a yo at the beginning of a row

    Working a yo at the beginning of a row

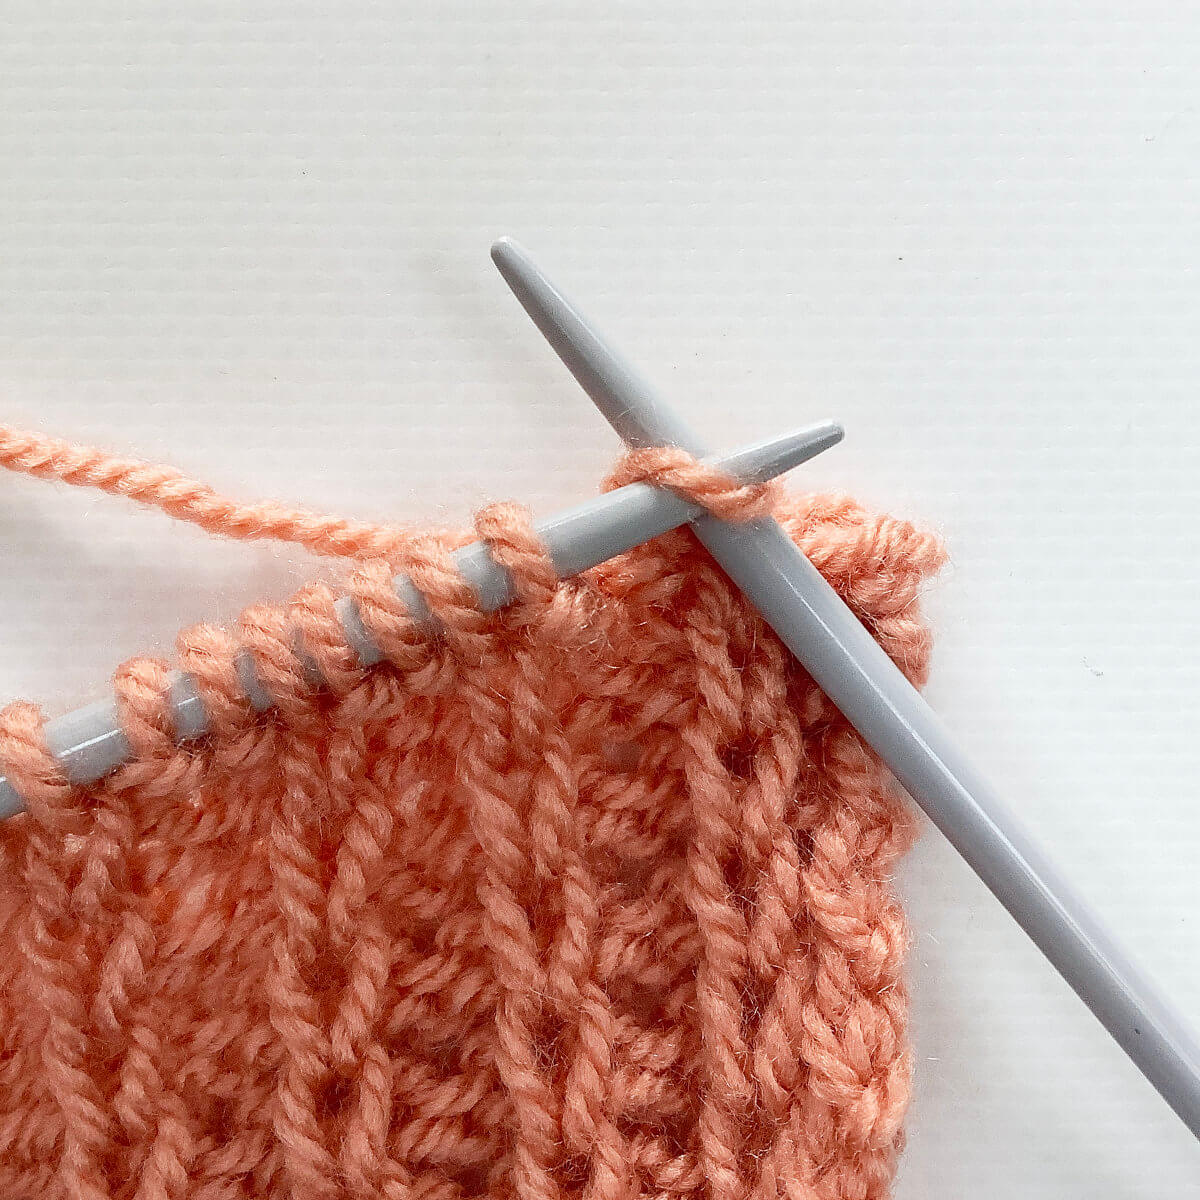
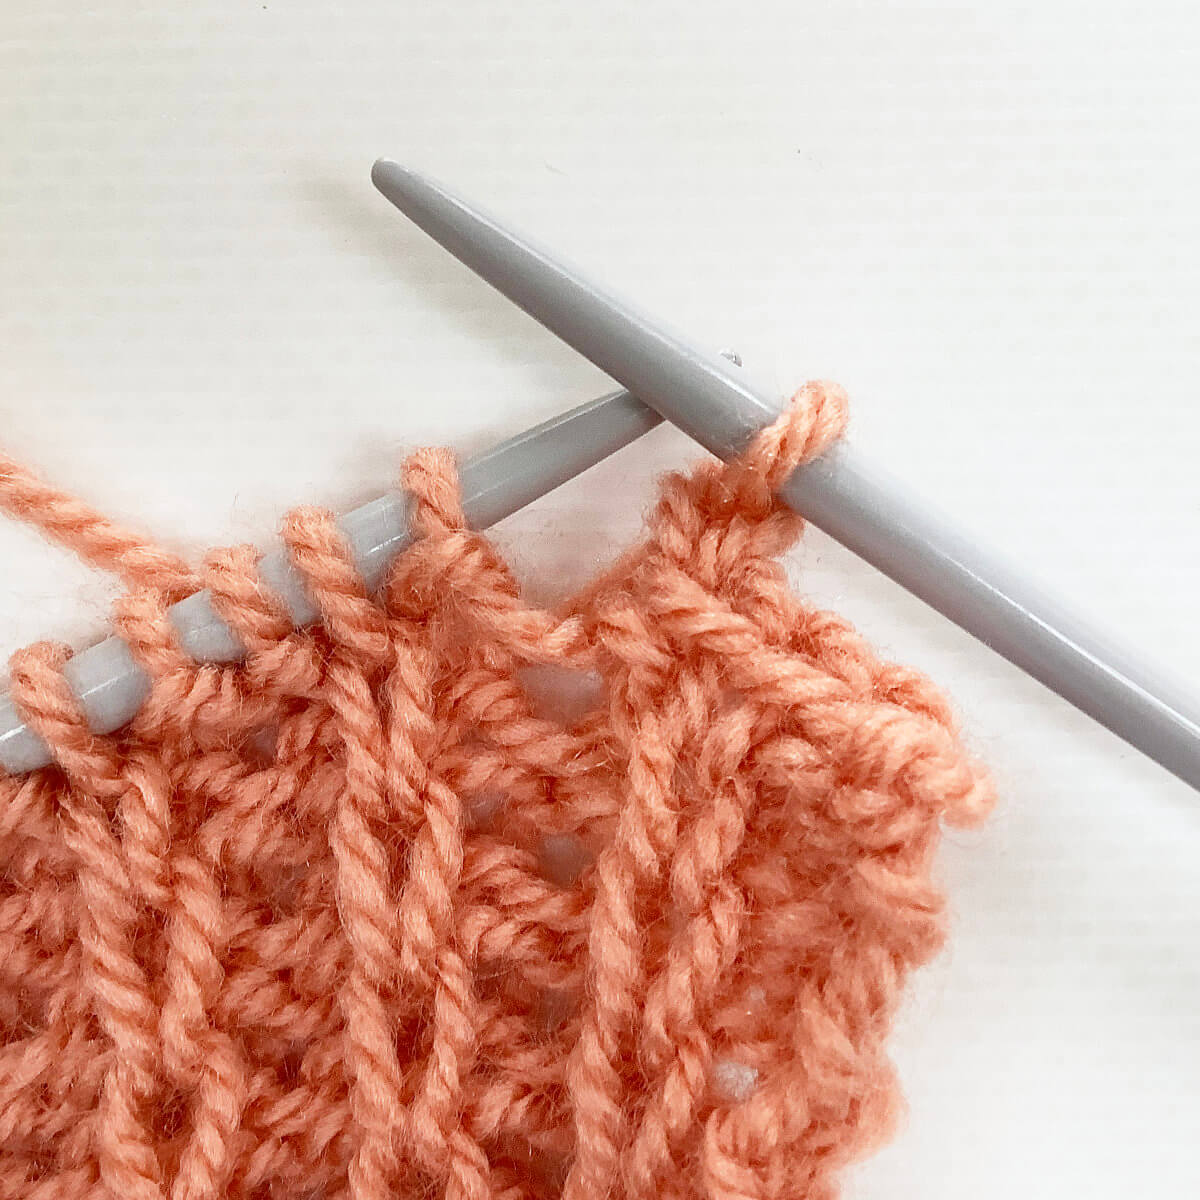
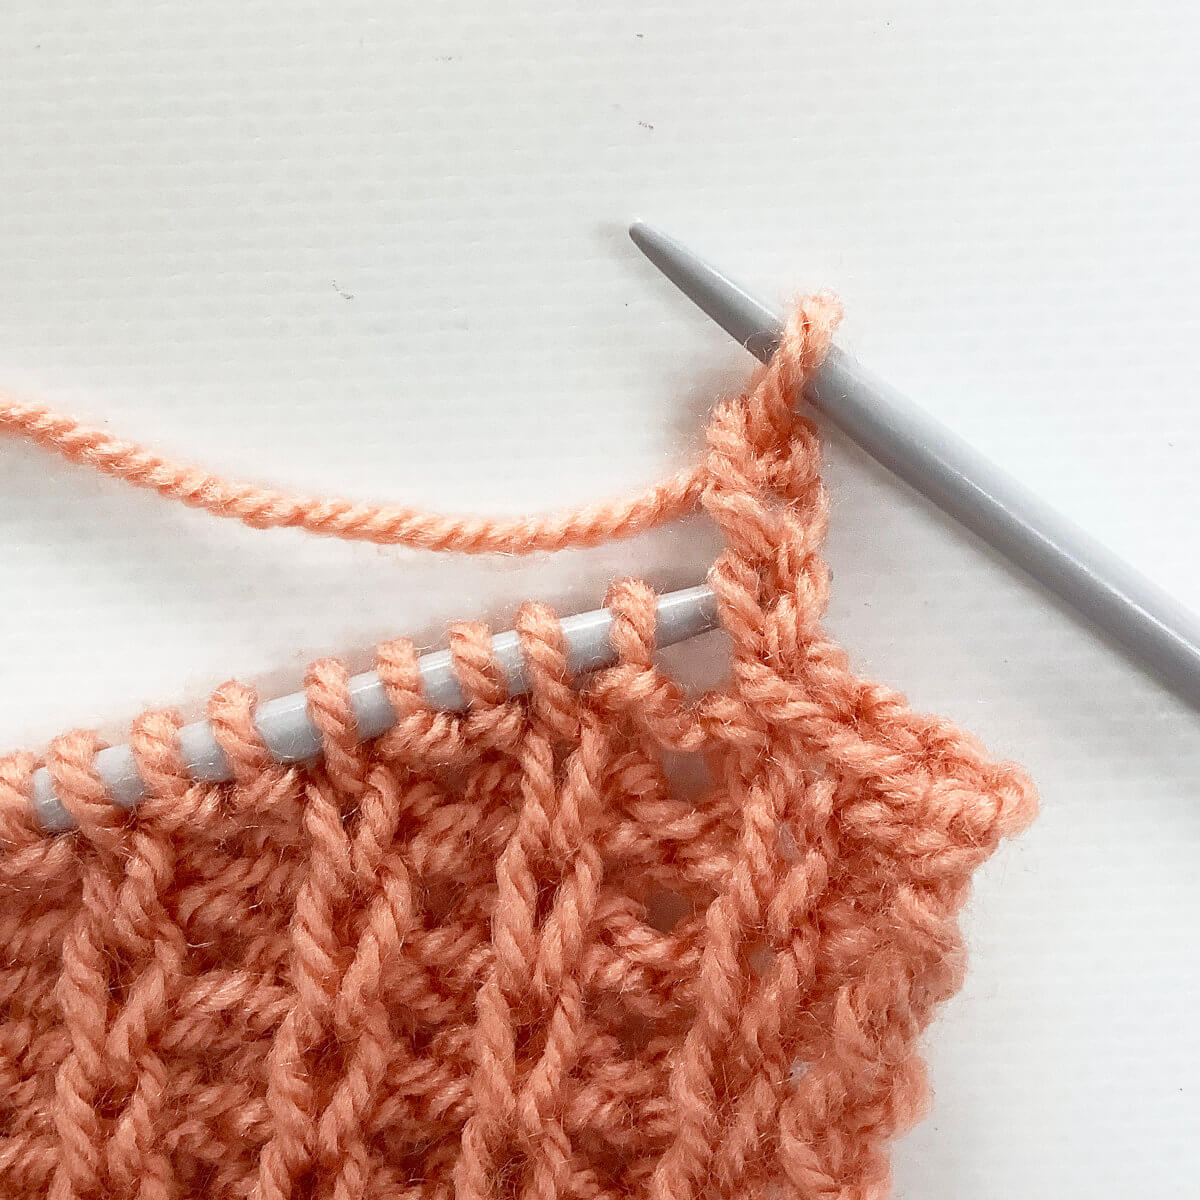
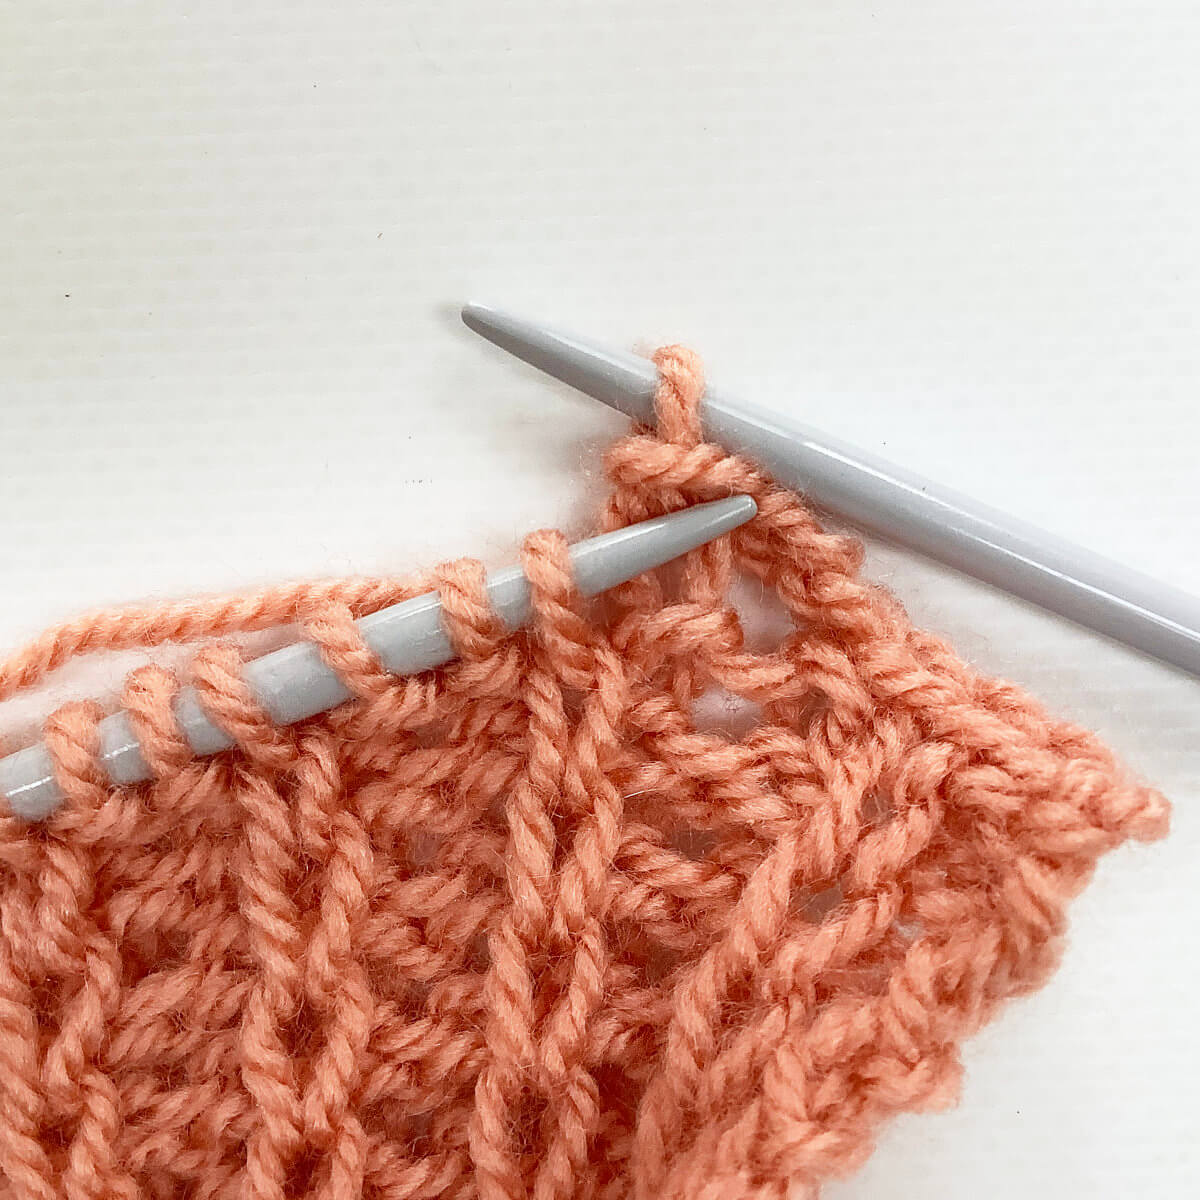
    Recently, I read about someone wondering why and how to work a yarn over at the beginning of a row. Since this is a technique I regularly use, I thought to write a tutorial about it. So, first: why would you want to work a yarn over at the beginning of a row?

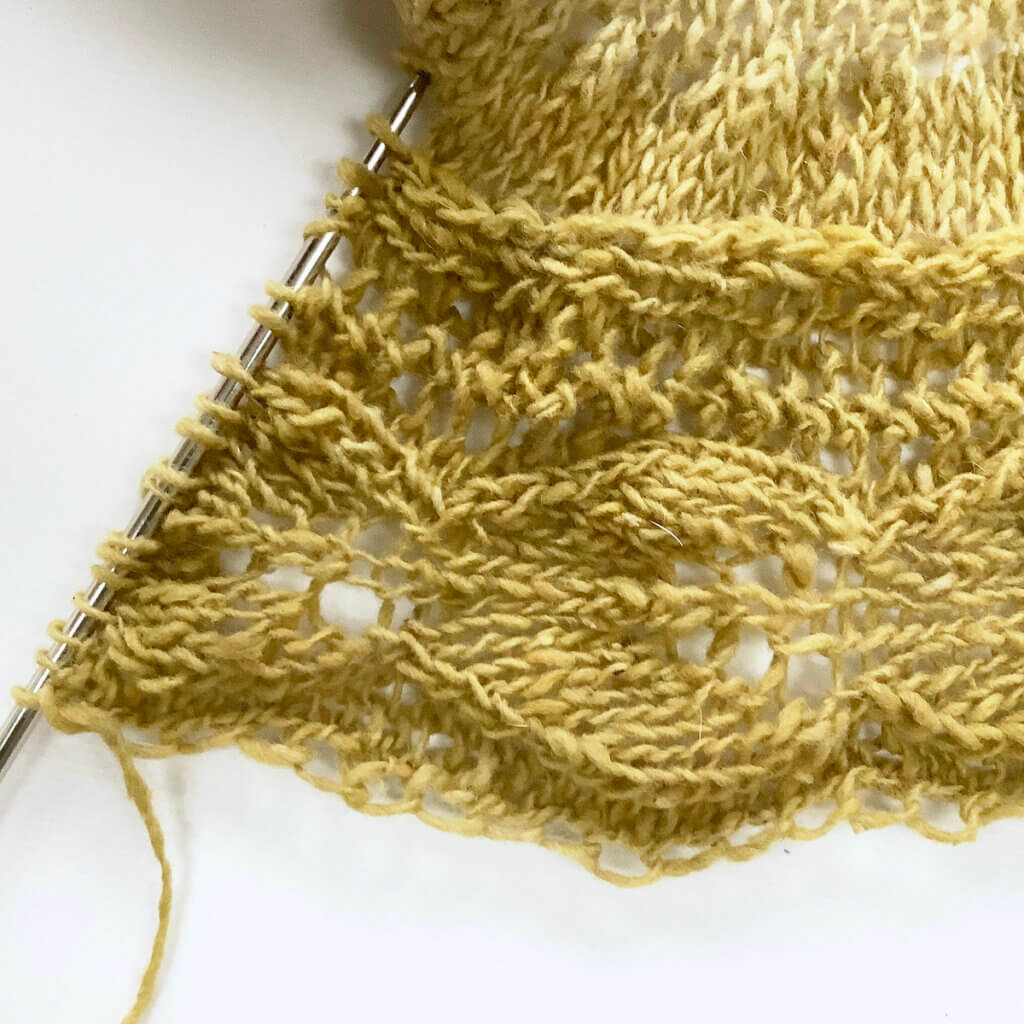
    When I do this, I usually do that at the beginning of a wrong side (inwards going) row on a knitted-on or applied border. This can be in a project where a border is actually applied. Take for example my Sunglow Forest shawl. This however also applies to designs that are knit sideways, and in which the border is worked at the same time as the body of the shawl. My Kurkuma shawl is an example of this type of project. In both examples, I work “yo, k2tog” at the beginning of every wrong side (inwards going) row. It creates a nice loopy edge that can be used to place your blocking pins in. I also feel this yarn over gives a bit of extra stretch, right at the edge of the project.

    Read on to see how to work a yarn over at the beginning of a row!

    Materials used

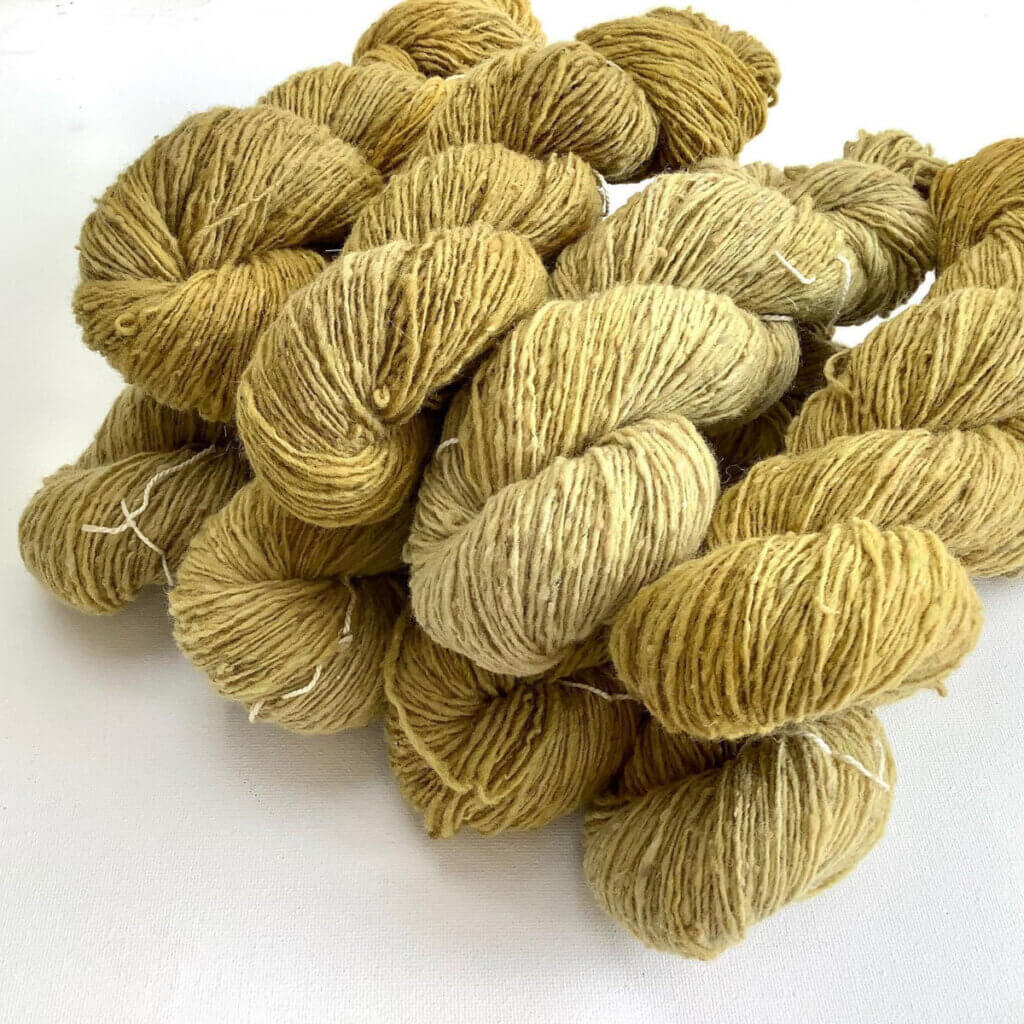
    Yarn: Ice Yarns Merino Silk (95% Merino, 5% Silk; 225 m (246 yds) / 50 g) that I overdyed with the exhaust from an onion skin dye bath. This yarn is unfortunately discontinued.

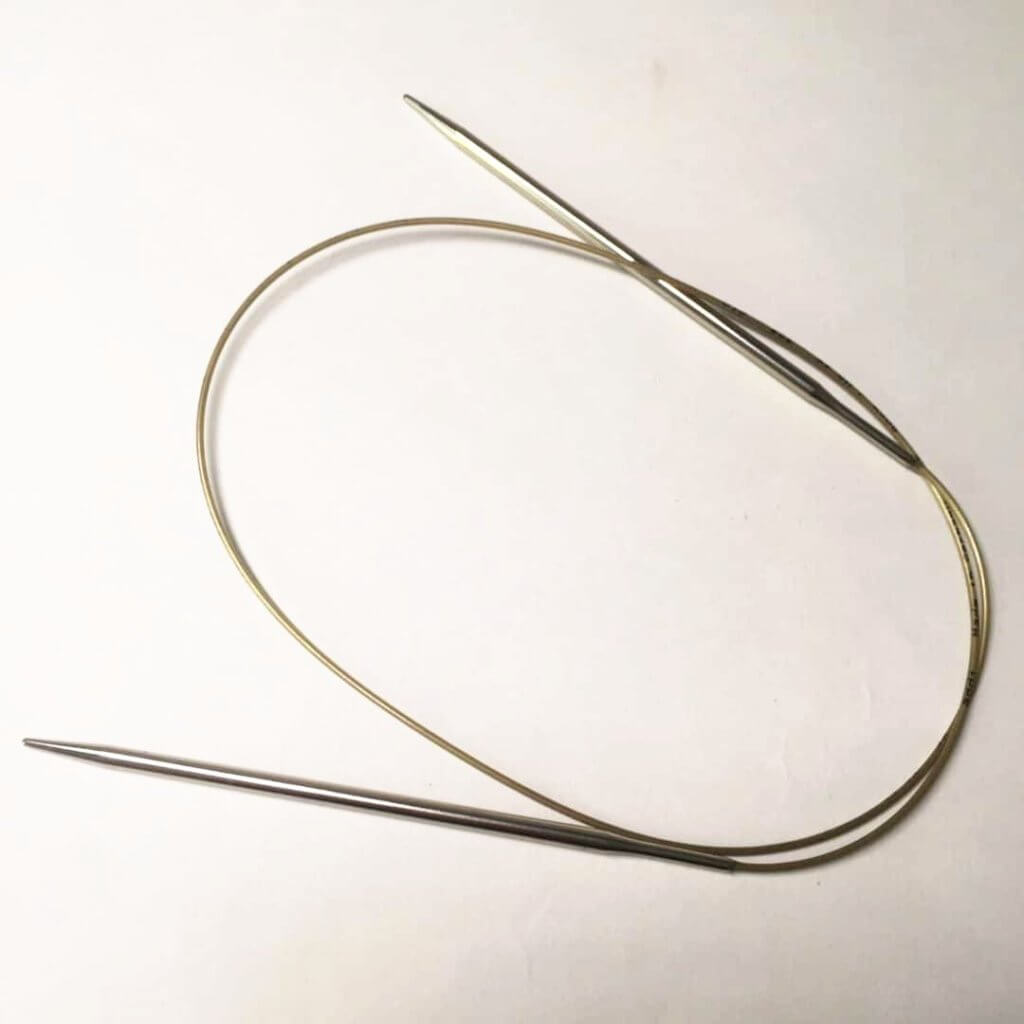
    Needles: Some Addi circular needles.

    Working a yo at the beginning of a row step by step

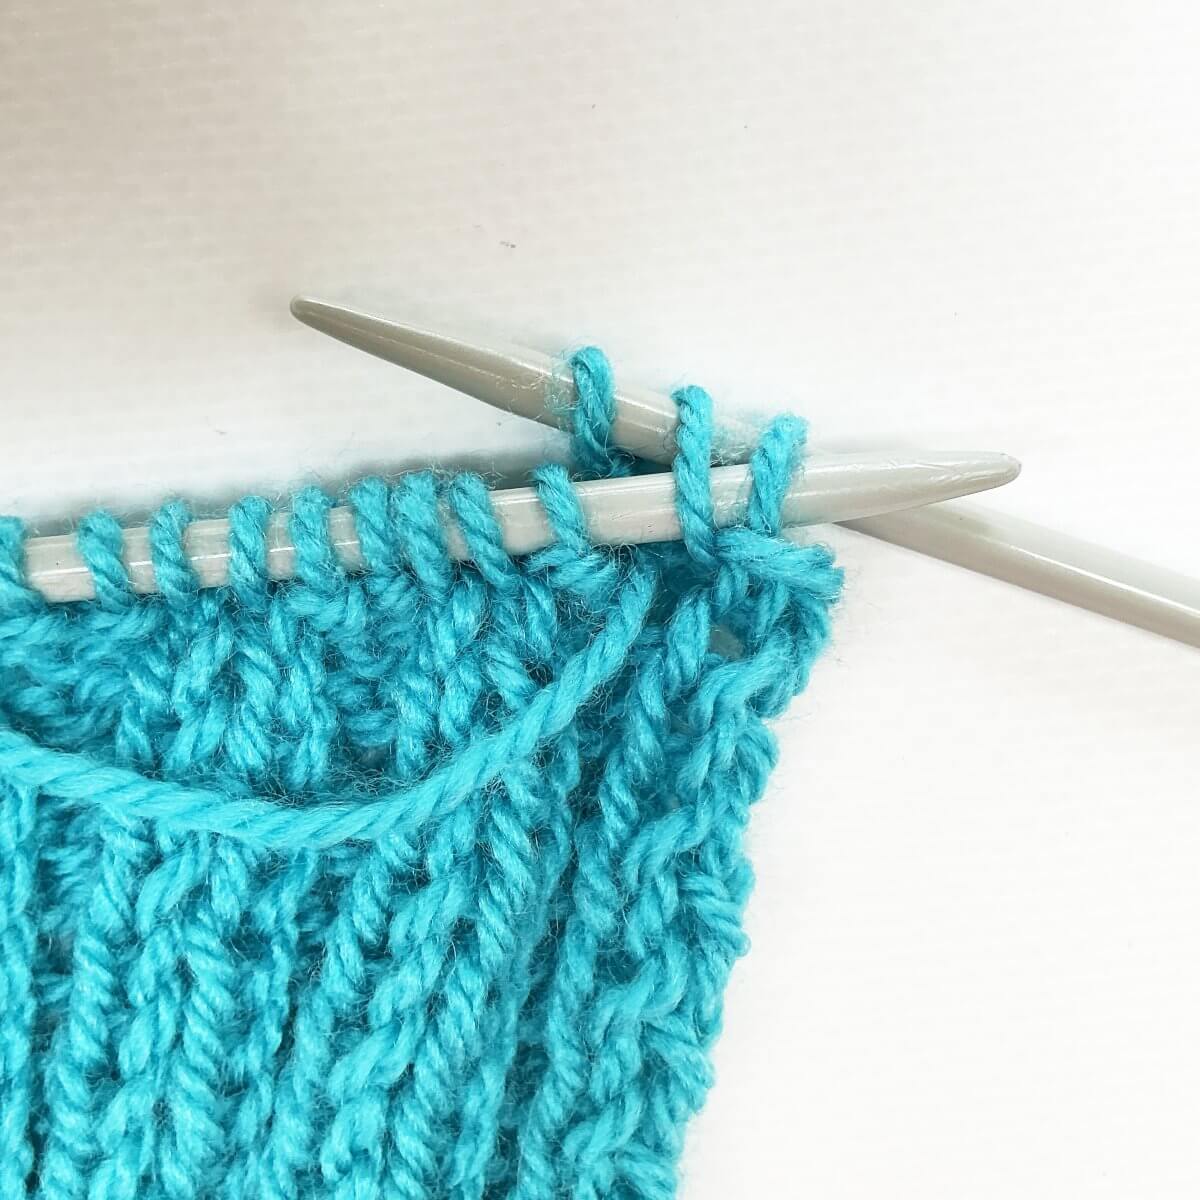
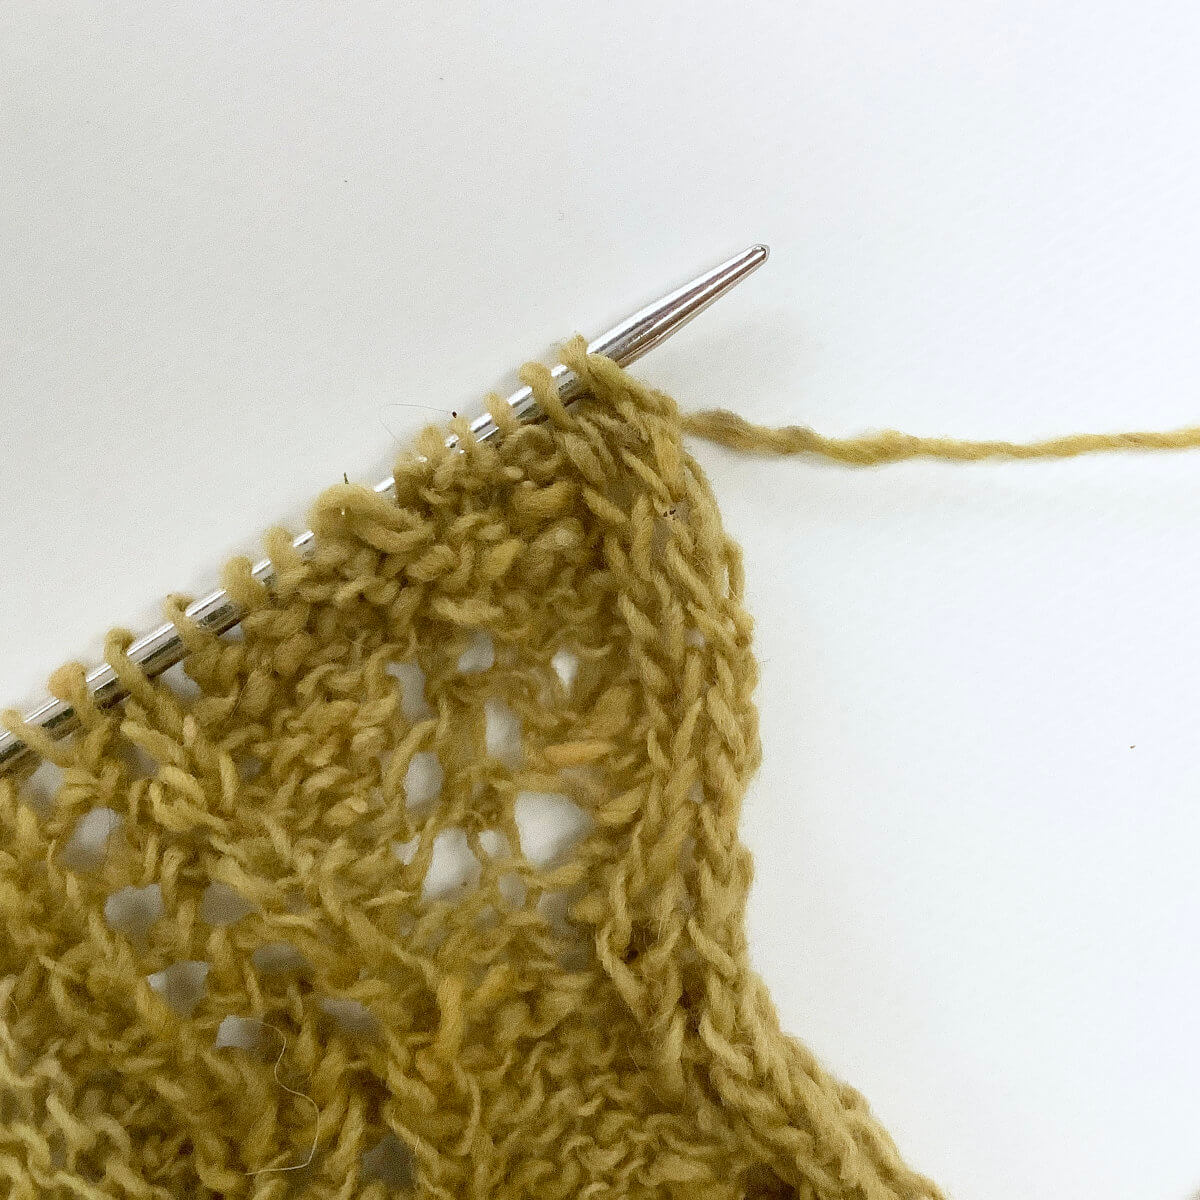
    1. First, make sure, you’re right at the beginning of the row where you want to make the yarn over.

      It’s a bit hard to see because the first 2 stitches on the needle overlap each other a bit, but the first 3 stitches are to be worked as knit stitches to make stockinette.Step 1 of working a yo at the beginning of a row

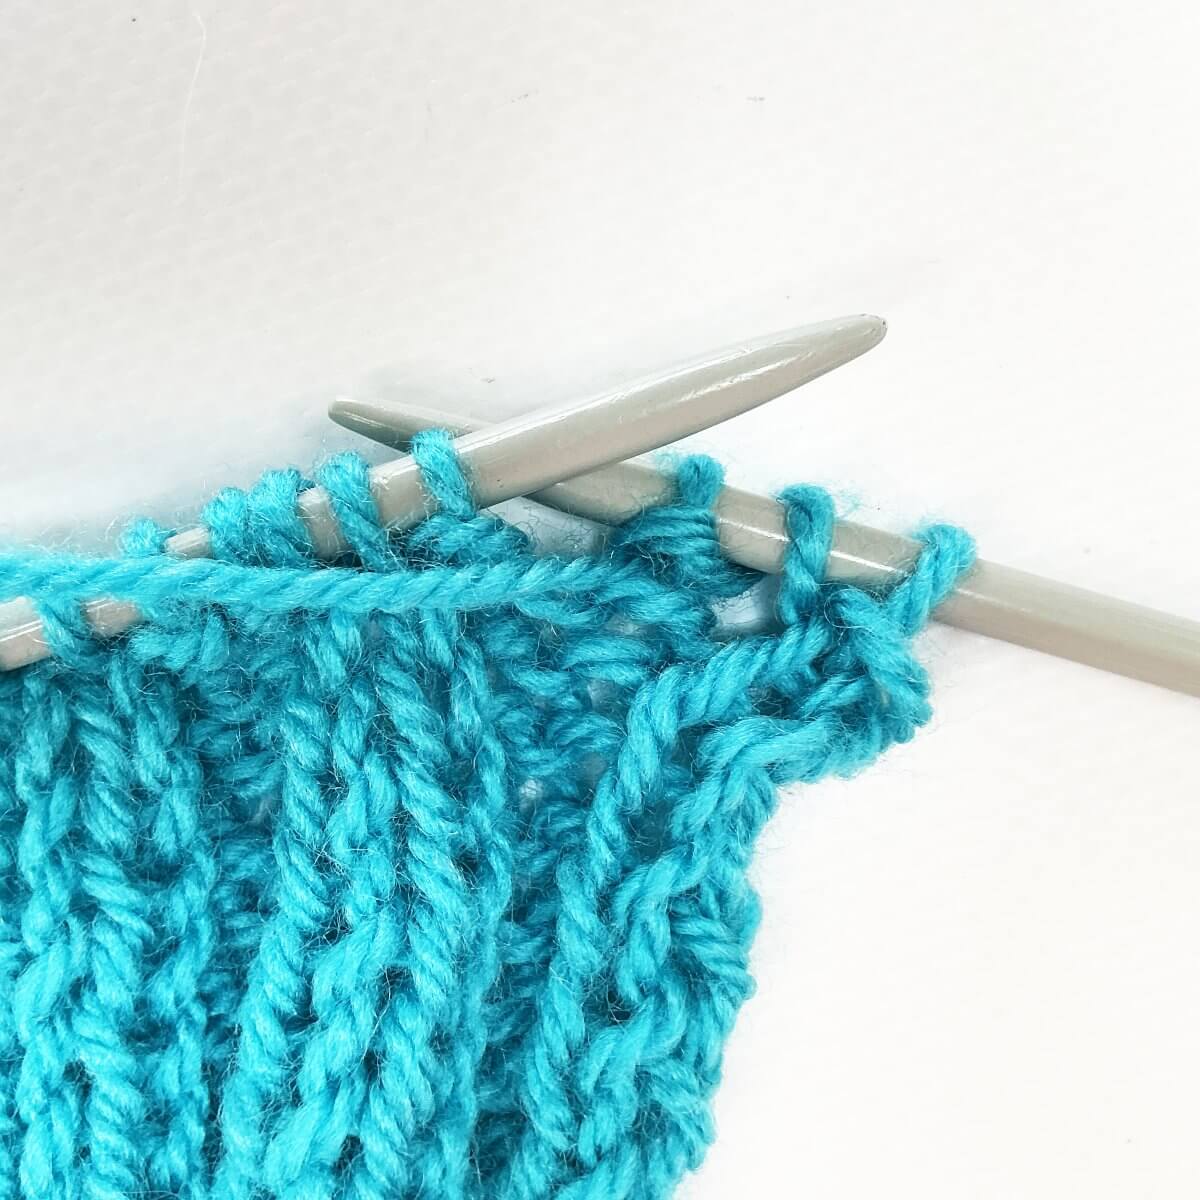
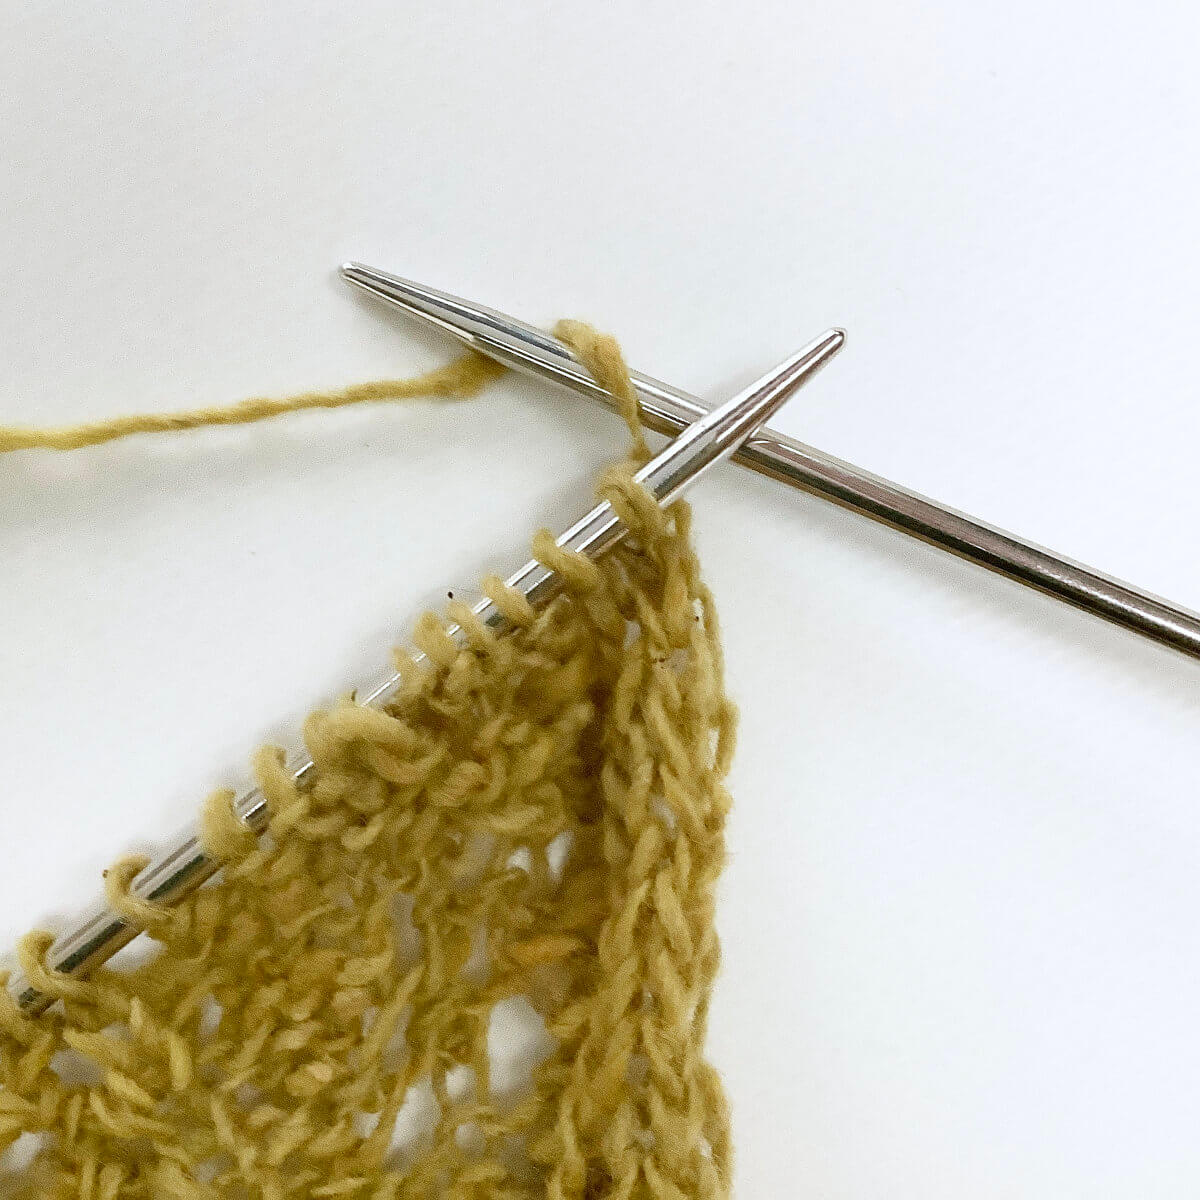
    2. To make a yarn over, I usually just wrap it around the right-hand needle. So that’s what I also do here. Just ignore that it’s at the beginning of the row.

      You may want to hold the yarn on the right-hand needle to make sure it doesn’t slip off, until you’ve worked the next stitch. Once the next stitch is worked, the yo will be fixed in place on the knitting needle.Step 2 of working a yo at the beginning of a row

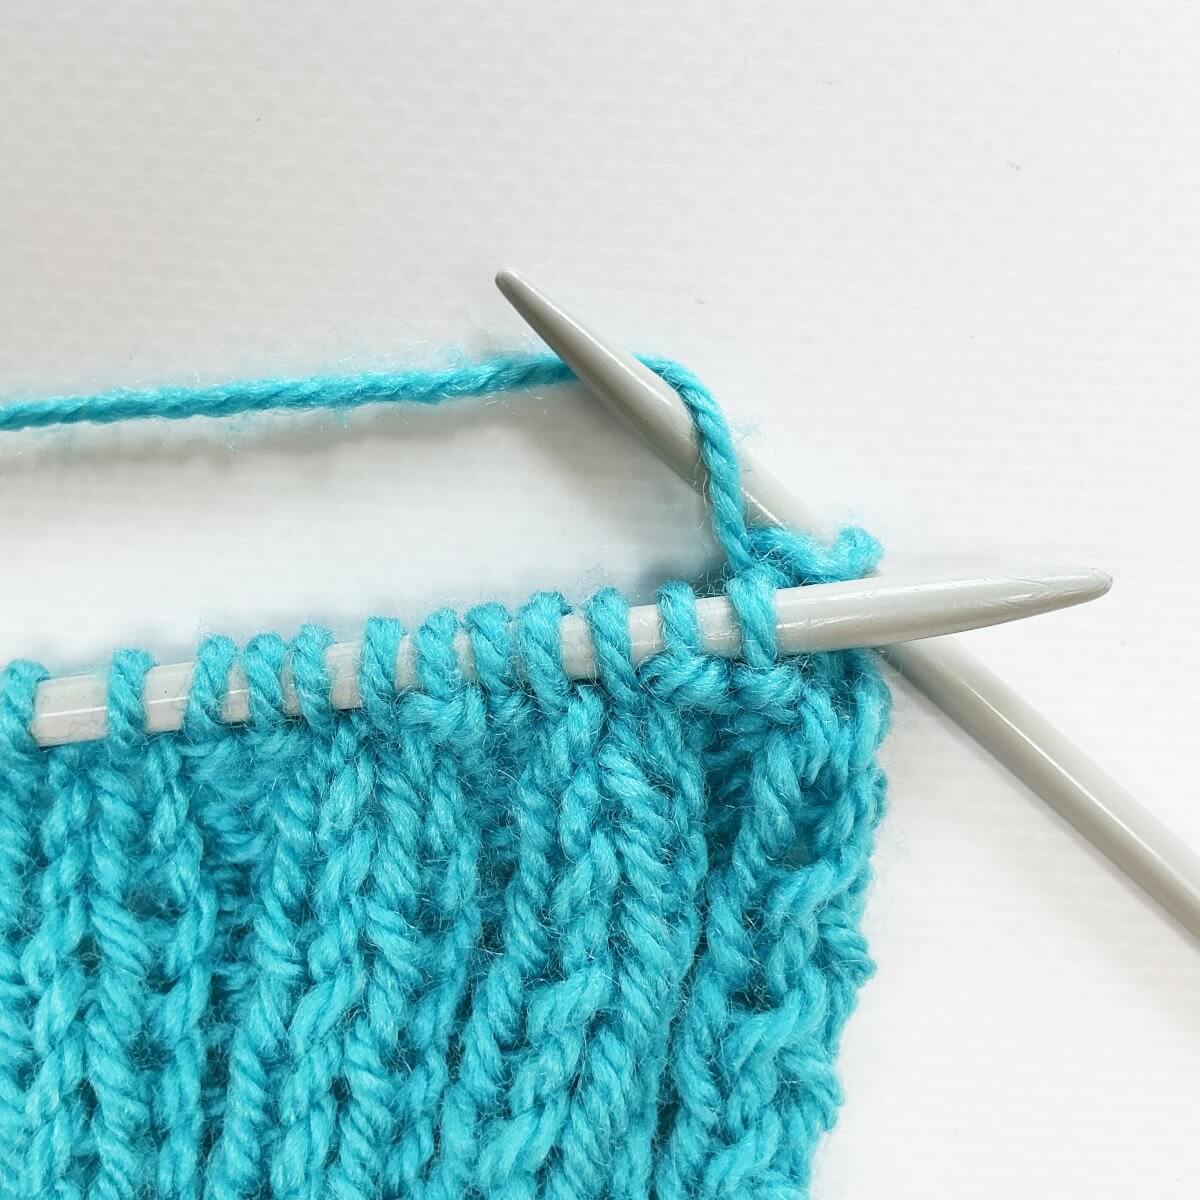
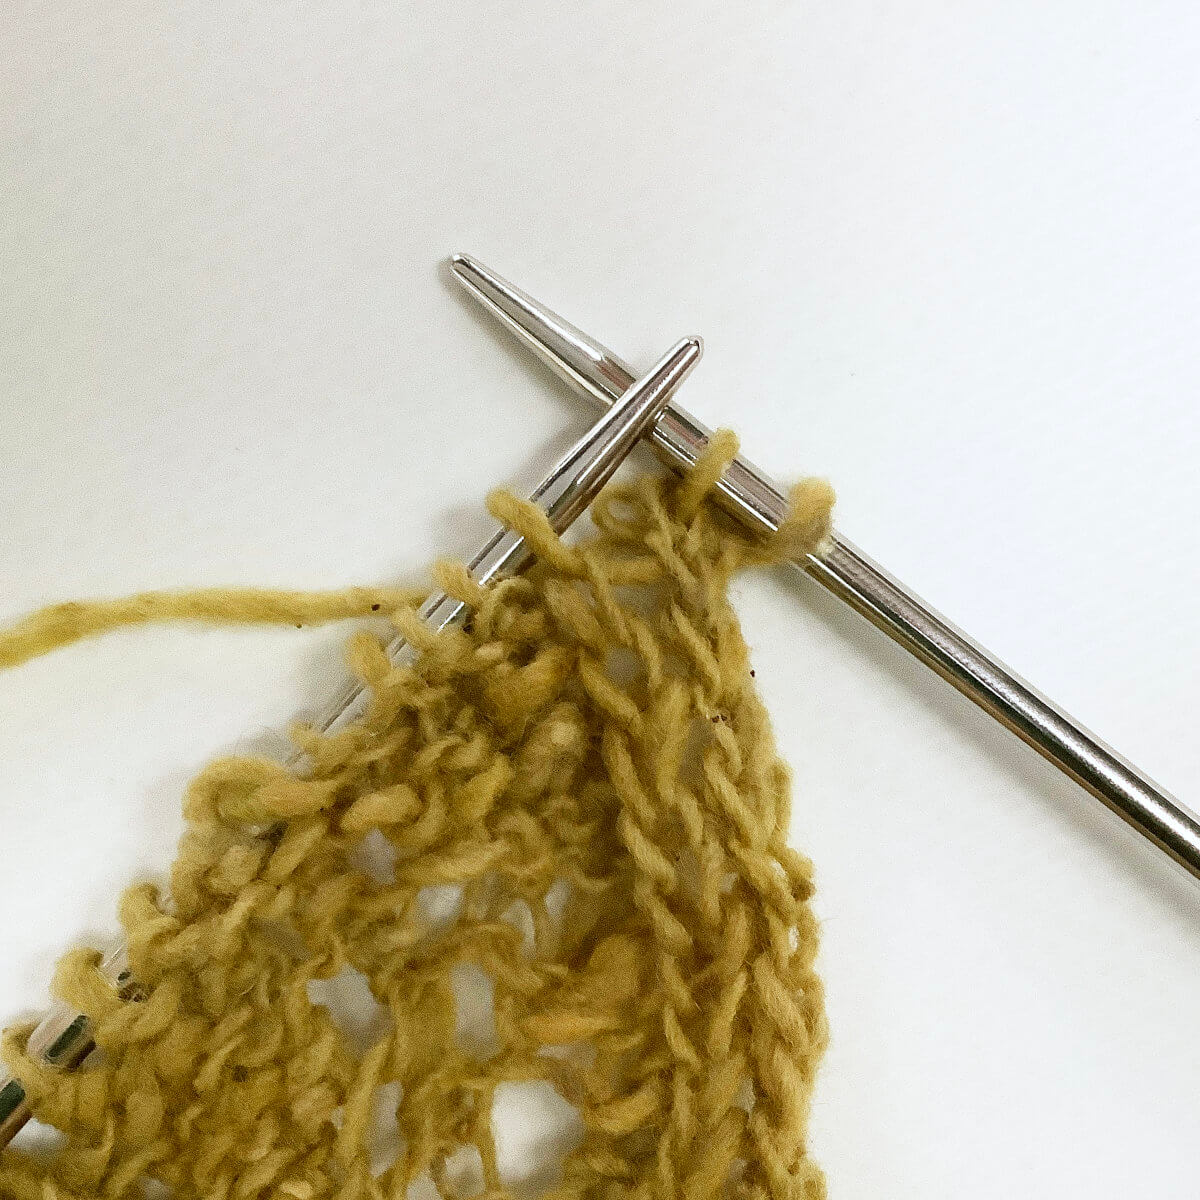
    3. Below, you can see the result after I’ve worked a k2tog over the first 2 stitches on the left-hand needle.

      As you can see, that yarn over isn’t going anywhere now!Step 3 of working a yo at the beginning of a row

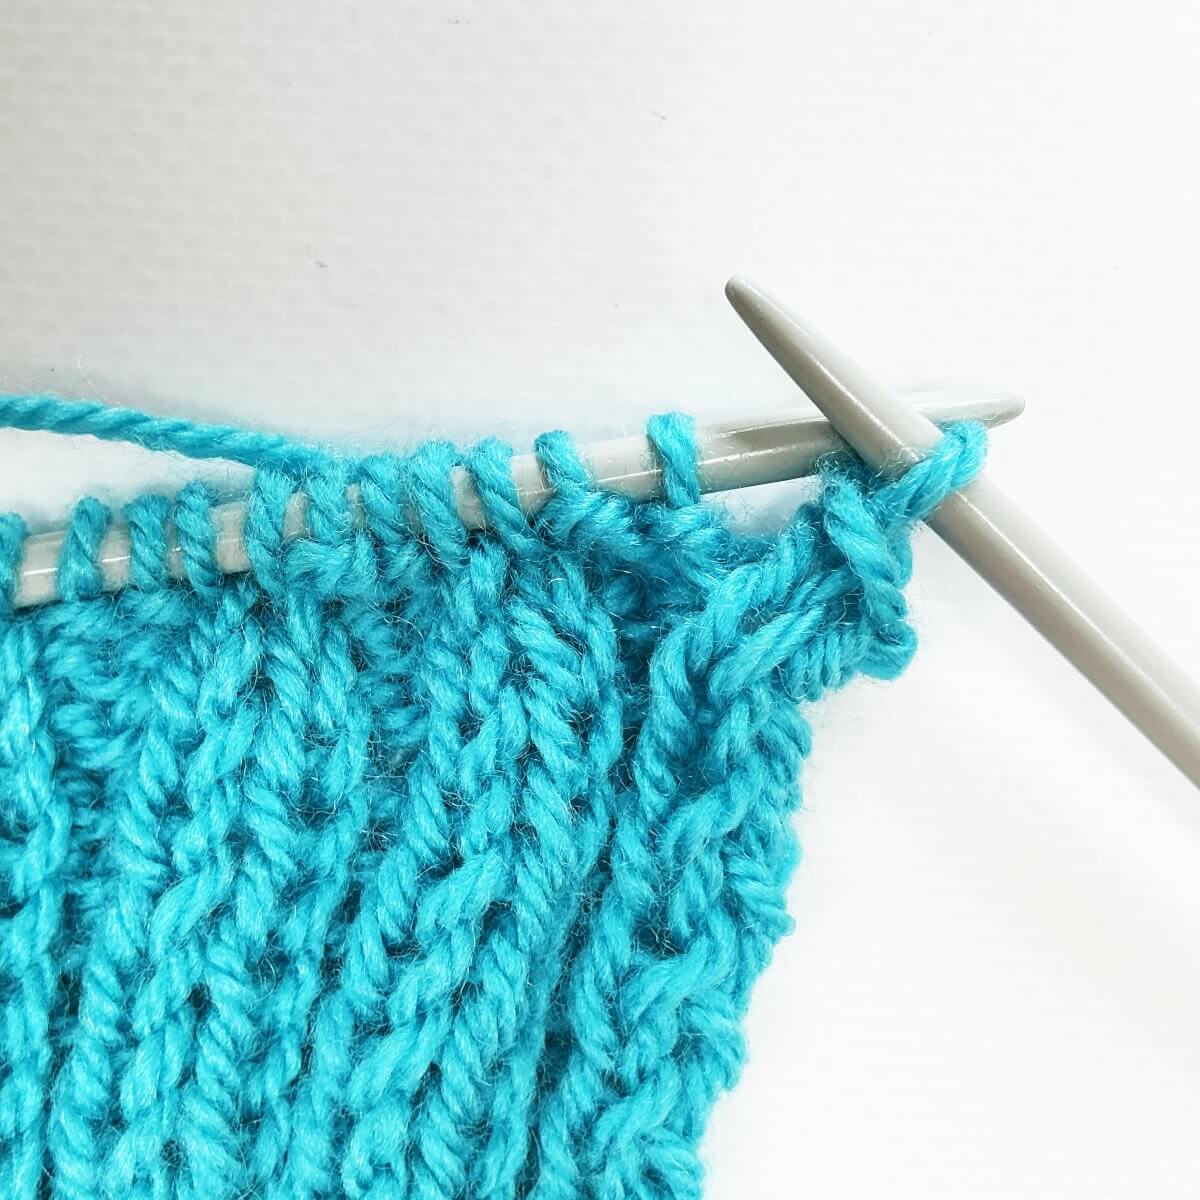
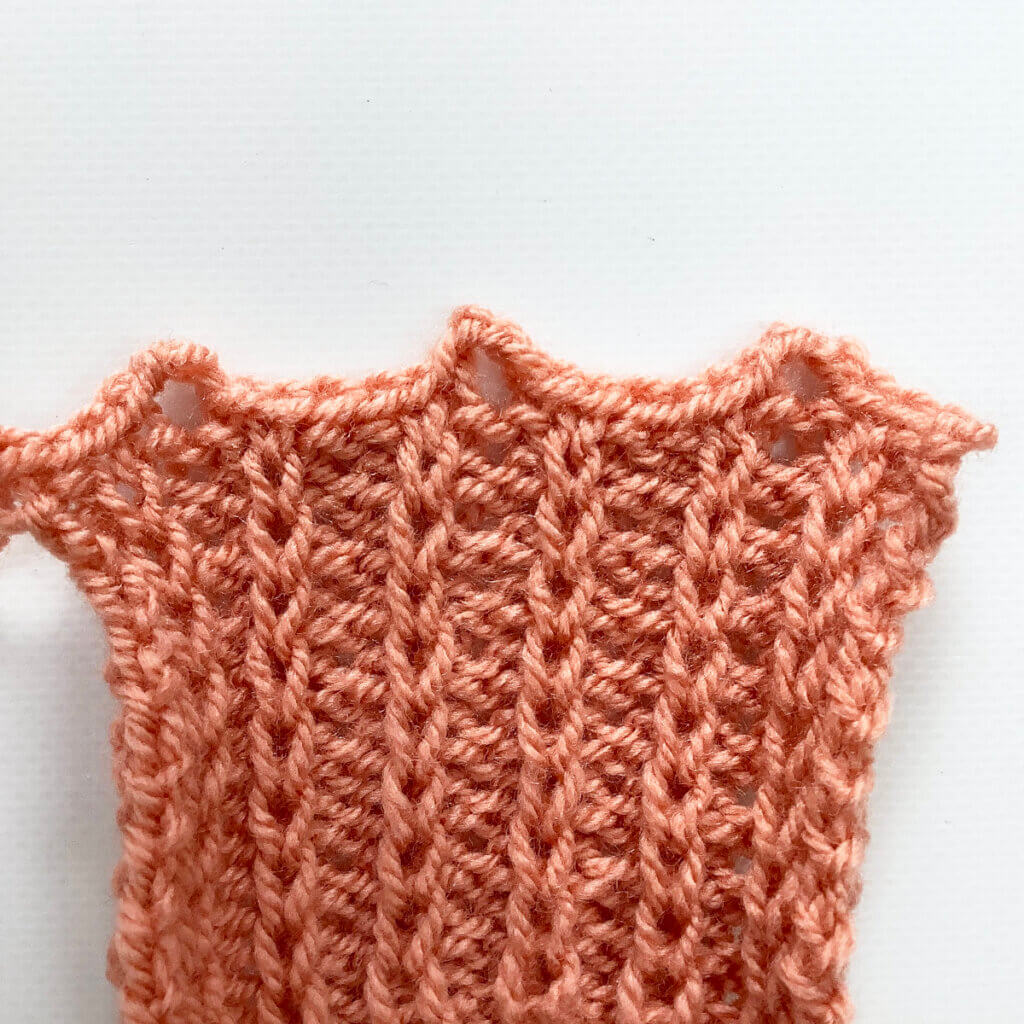
    And that is all there is to it! Just work further as your pattern describes, and treat the yarn over like the regular stitch on the needle it really is. Below, you can see how that edge looks like, when viewed from the right side of the fabric. Pretty, right?!

    The result of working a yo at the beginning of a row
    Patreon logo

    Thanks to my Patreon supporters for bringing you this freebie! Creating quality patterns and tutorials is a lot of work and resource-intensive. However, I find it important to give you free content like this tutorial. Thanks to the generous support of my Patreon supporters, I can make it happen. Thank you, patrons! Click here to join, or click here to read more about La Visch Designs on Patreon.

    tutorial – working a yo at the beginning of a row Read More »
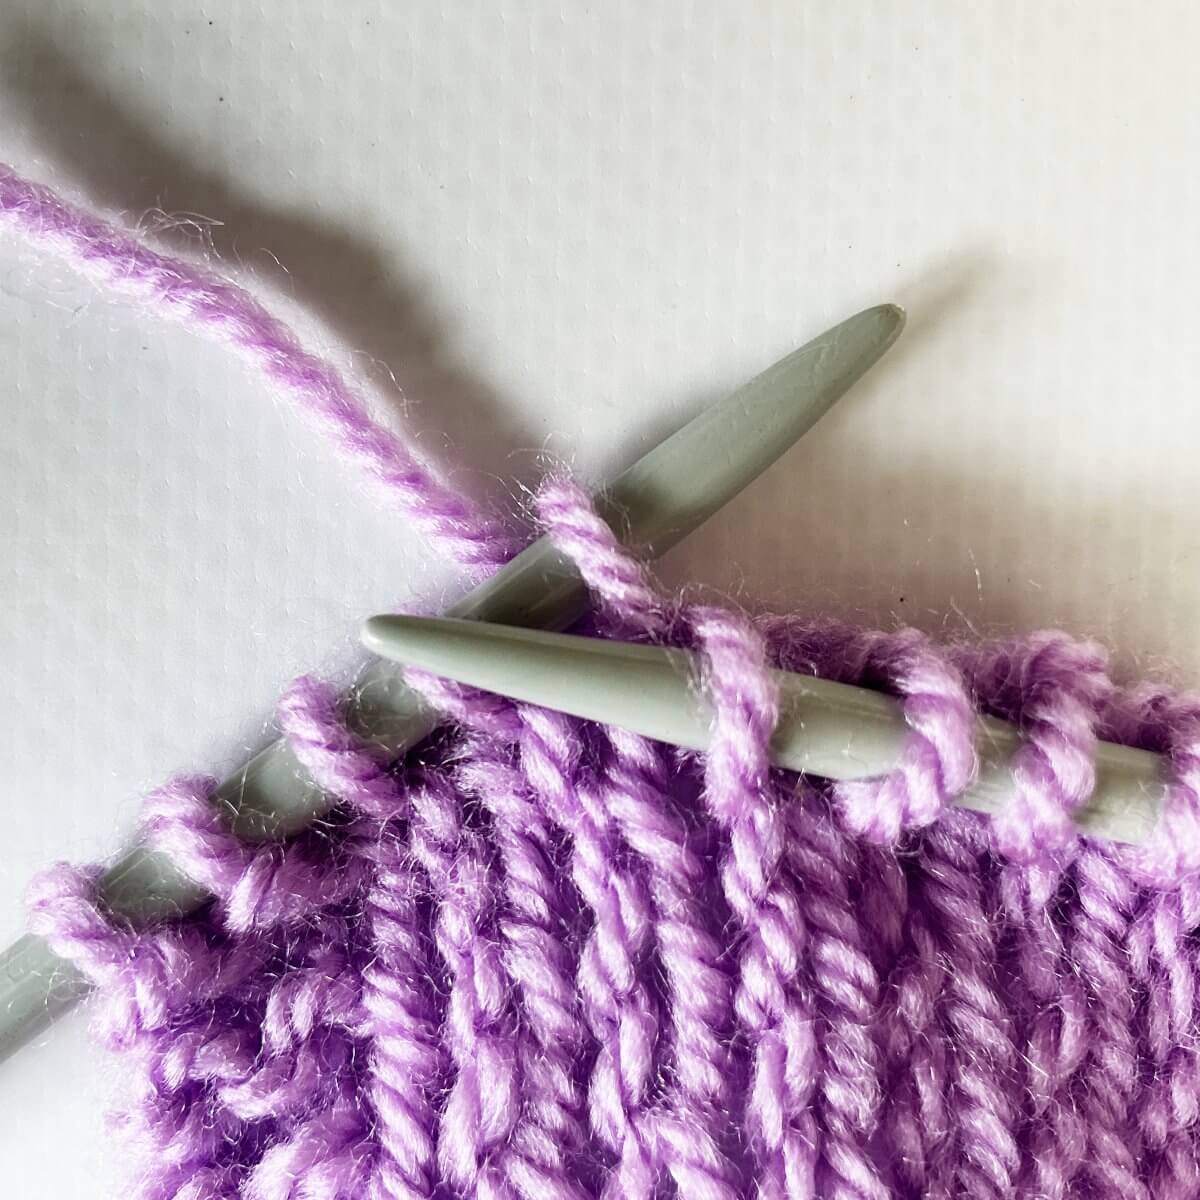
    tutorial – working the knit 4 below (k4b) stitch

    Working the knit 4 below (k4b) stitch

    There are cases in which skipping the row on your needle for particular stitches is desired, and one is to knit or purl in the row below that one. In other words: you knit/purl into the stitch below where you normally would, exactly as the name suggests. Specifically for the bubble stitch, however, we have to work not 1 but 4 stitches below the one on the knitting needle. So that’s what I’ll be showing you in this tutorial on how to work the knit 4 below or k4b stitch.

    Materials used

    Yarn: Paintbox Yarns Simply DK, a good value, good quality 100% acrylic yarn, here in the color Tea Rose.

    Needles: This is a pair of straights that I picked up at the second-hand store when I started knitting, brand unknown.

    Working a knit 4 below (k4b) stitch step by step

    In patterns, you may encounter the following description of this stitch:
    Knit 4 below (k4b): Take the next stitch off the needle, and drop 4 stitches down. Insert the needle underneath the loose strands from front to back into the stitch 4 rows below the one on the needle. Knit this stitch, then pull the worked stitch and the strands above off the needle together.
    But how to actually do this? Read on!

    1. First, work your way across the row until you’ve reached the point where you want to make the stitch.

      In this case, I’m making the k4b stitch 5 stitches in from the right edge.Step 1 of working the knit 4 below (k4b) stitch

    2. Carefully unravel the column of stitches, until you have 4 loose strands of yarn.

      Step 2

    3. Now, insert the left-hand needle knit wise in the stitch….

      Step 3 of working the knit 4 below (k4b) stitch

    4. … and also place the 4 strands of yarn over the needle.

      This will make it easier to knit the stitch underneath those strands, catching them.Step 4

    5. Insert the right-hand needle knit-wise into the stitch you placed on the left-hand needle.

      Step 5 of working the knit 4 below (k4b) stitch

    6. Now wrap your working yarn around the needle

      Make sure to do this at the back of the 4 loose strands of yarn.Step 6

    7. …. and pull it through the stitch, and underneath the 4 strands of yarn.

      Step 7 of working the knit 4 below (k4b) stitch

    8. Finish the stitch by slipping the new stitch to the right-hand needle.

      The result of working the knit 4 below (k4b) stitch

    And that is how you work the knit 4 below (k4b) stitch!

    Patreon logo

    Thanks to my Patreon supporters for bringing you this freebie! Creating quality patterns and tutorials is a lot of work and resource-intensive. However, I find it important to give you free content like this tutorial. Thanks to the generous support of my Patreon supporters, I can make it happen. Thank you, patrons! Click here to join, or click here to read more about La Visch Designs on Patreon.

    tutorial – working the knit 4 below (k4b) stitch Read More »
    tutorial – left twist in stockinette

    Tutorial working a Left Twist in stockinette

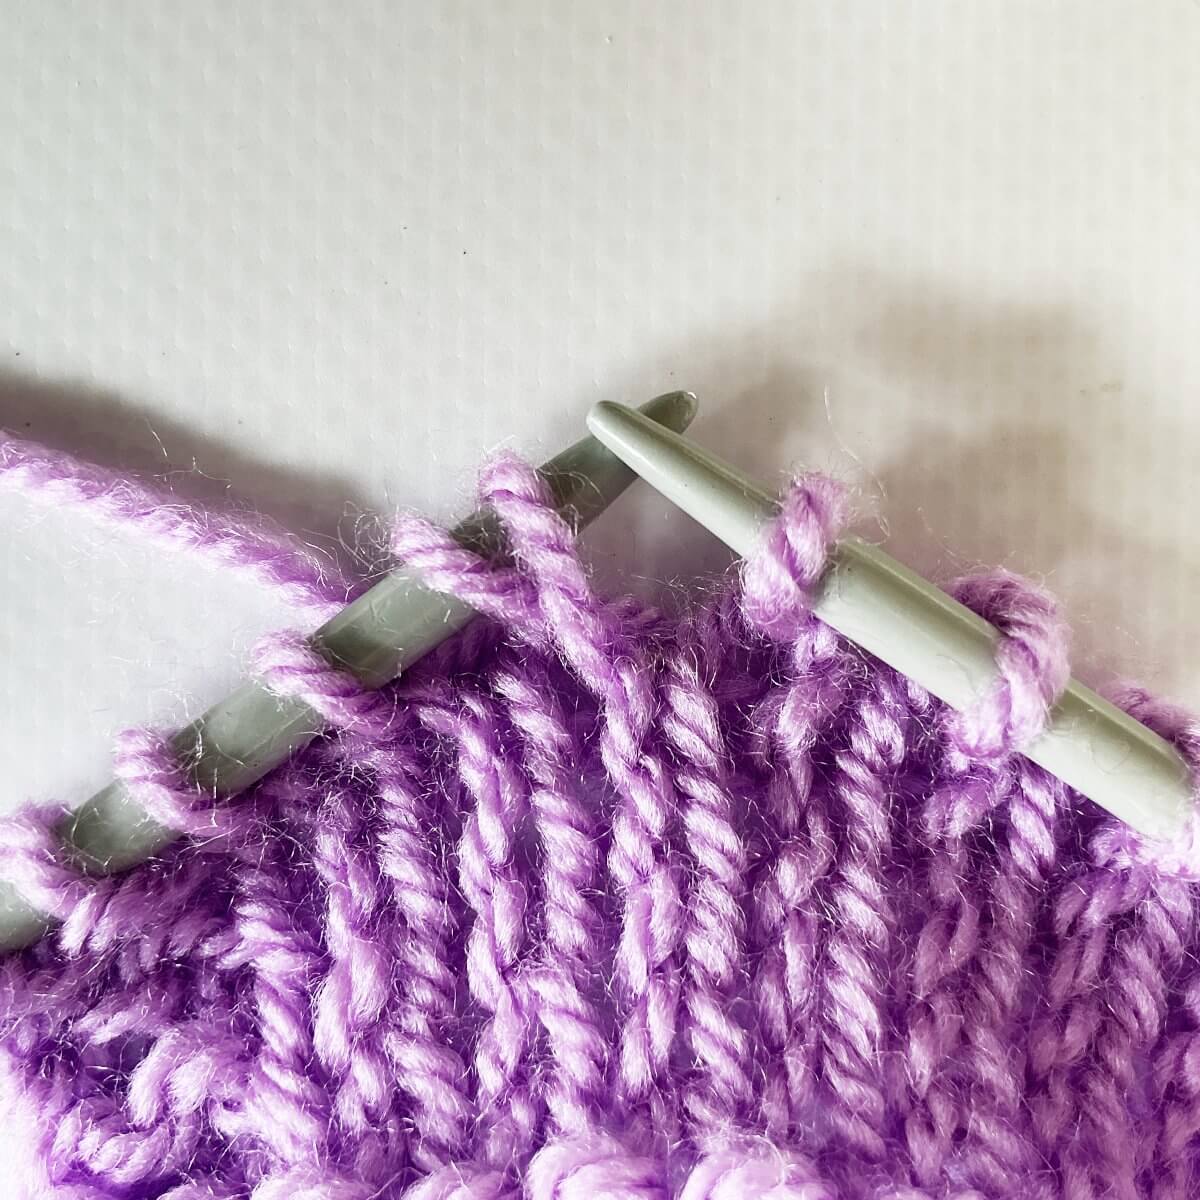
    The basic characteristic of a left twist is that it switches the order of 2 adjoining stitches. One “main stitch” and one “background stitch”. This makes it appear that the main stitch travels to the left. In a previous tutorial, I showed you how to work the left twist used in a stitch pattern from the Japanese Knitting Stitch Bible by Hitomi Shida. However, in that tutorial, I worked the left twist as a single traveling stitch against a background of reverse stockinette. I used the method of manually manipulating the stitches in the correct order. In this tutorial, I will show you a different way to work a left twist, against a background of stockinette stitch:

    Skip the next stitch on the left-hand needle, knit into the back loop of the second stitch, leaving the stitch on the needle. Next, bring the right-hand needle to the front of the left-hand needle and knit into the skipped stitch. Pull both loops off of the left needle to finish the stitch.

    Materials used

    Yarn: Paintbox Yarns Simply DK, a good value, good quality 100% acrylic yarn, here in the color Lime Green.

    Needles: This is a pair of straights that I picked up at the second-hand store when I started knitting, brand unknown.

    Working a left twist in stockinette step by step

    1. Do you see the first 2 stitches on the left-hand needle, in the picture below? These are the ones we’re going to work the left twist over.

      In other words: we’re going to switch the order of both knit stitches. This will make it appear that the stitches travel to the left.Step 1 of working a left twist on stockinette

    2. Insert the right-hand needle knit-wise into the back loop of the second stitch on the left-hand needle, skipping the stitch nearest to the tip.

      Step 2

    3. Wrap the yarn around and the needle….

      Step 3 of working a left twist on stockinette

    4. … and pull it through. Do not slip the original stitch off the needle yet!

      Step 4 of working a left twist on stockinette

    5. Next, insert the right-hand needle knit-wise into the stitch that was skipped.

      Step 5

    6. Wrap the yarn around and the needle….

      Step 6

    7. … and pull it through.

      Step 7 of working a left twist on stockinette

    8. To finish the left twist, slide both original stitches off the left-hand needle.

      Step 8 of working a left twist on stockinette

    This is the result:

    The result of working a left twist on stockinette
    Patreon logo

    Thanks to my Patreon supporters for bringing you this freebie! Creating quality patterns and tutorials is a lot of work and resource-intensive. However, I find it important to give you free content like this tutorial. Thanks to the generous support of my Patreon supporters, I can make it happen. Thank you, patrons! Click here to join, or click here to read more about La Visch Designs on Patreon.

    tutorial – left twist in stockinette Read More »
    tutorial – fixing an edge stitch

    Fixing an edge stitch

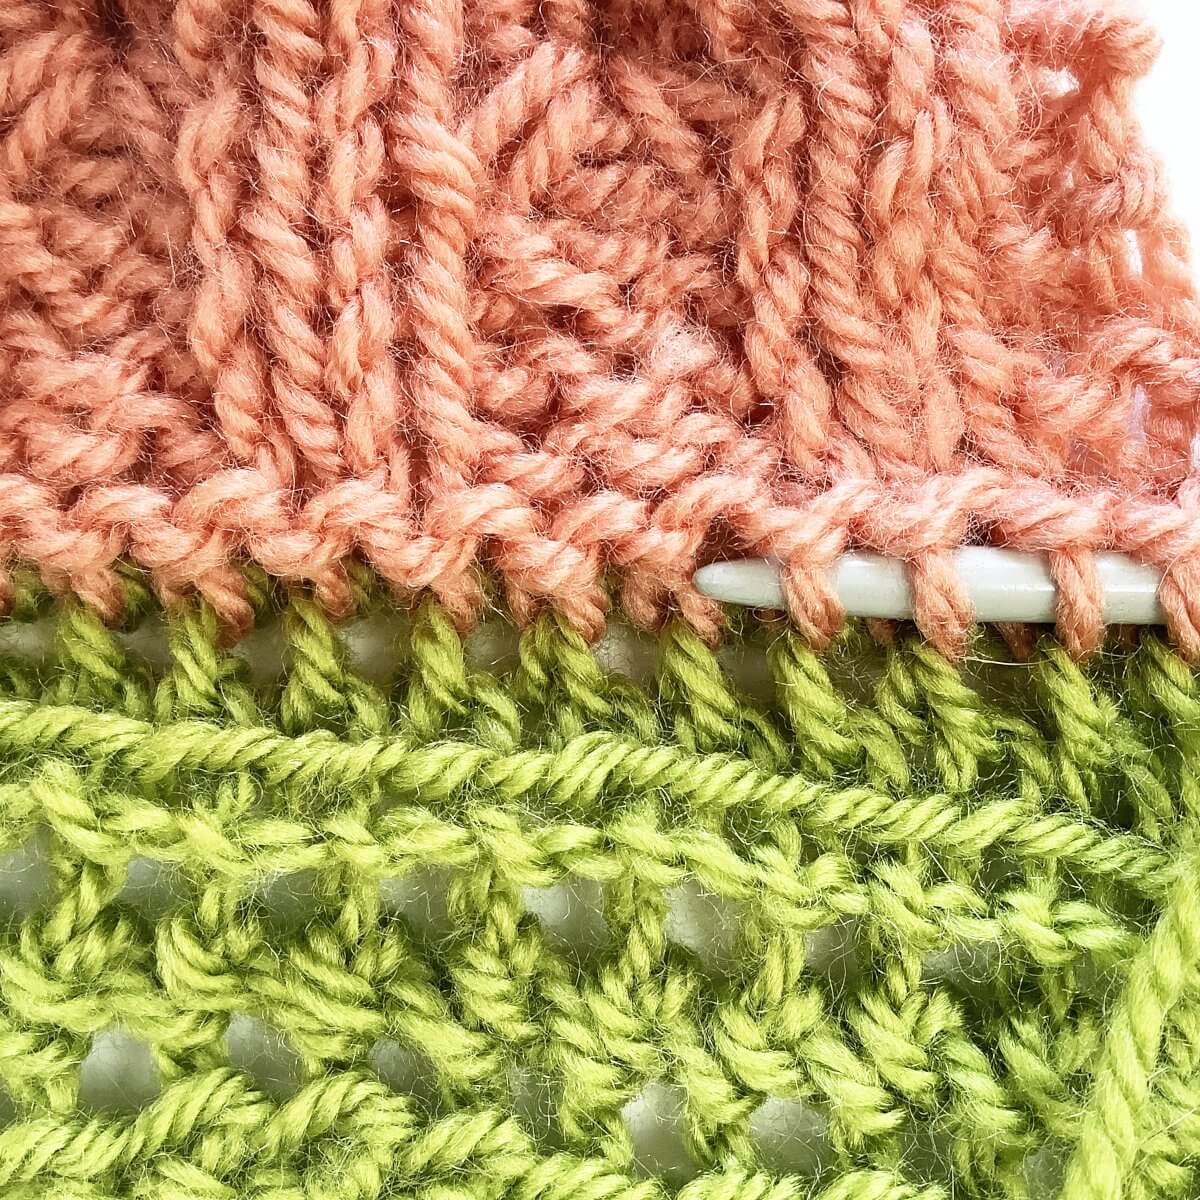
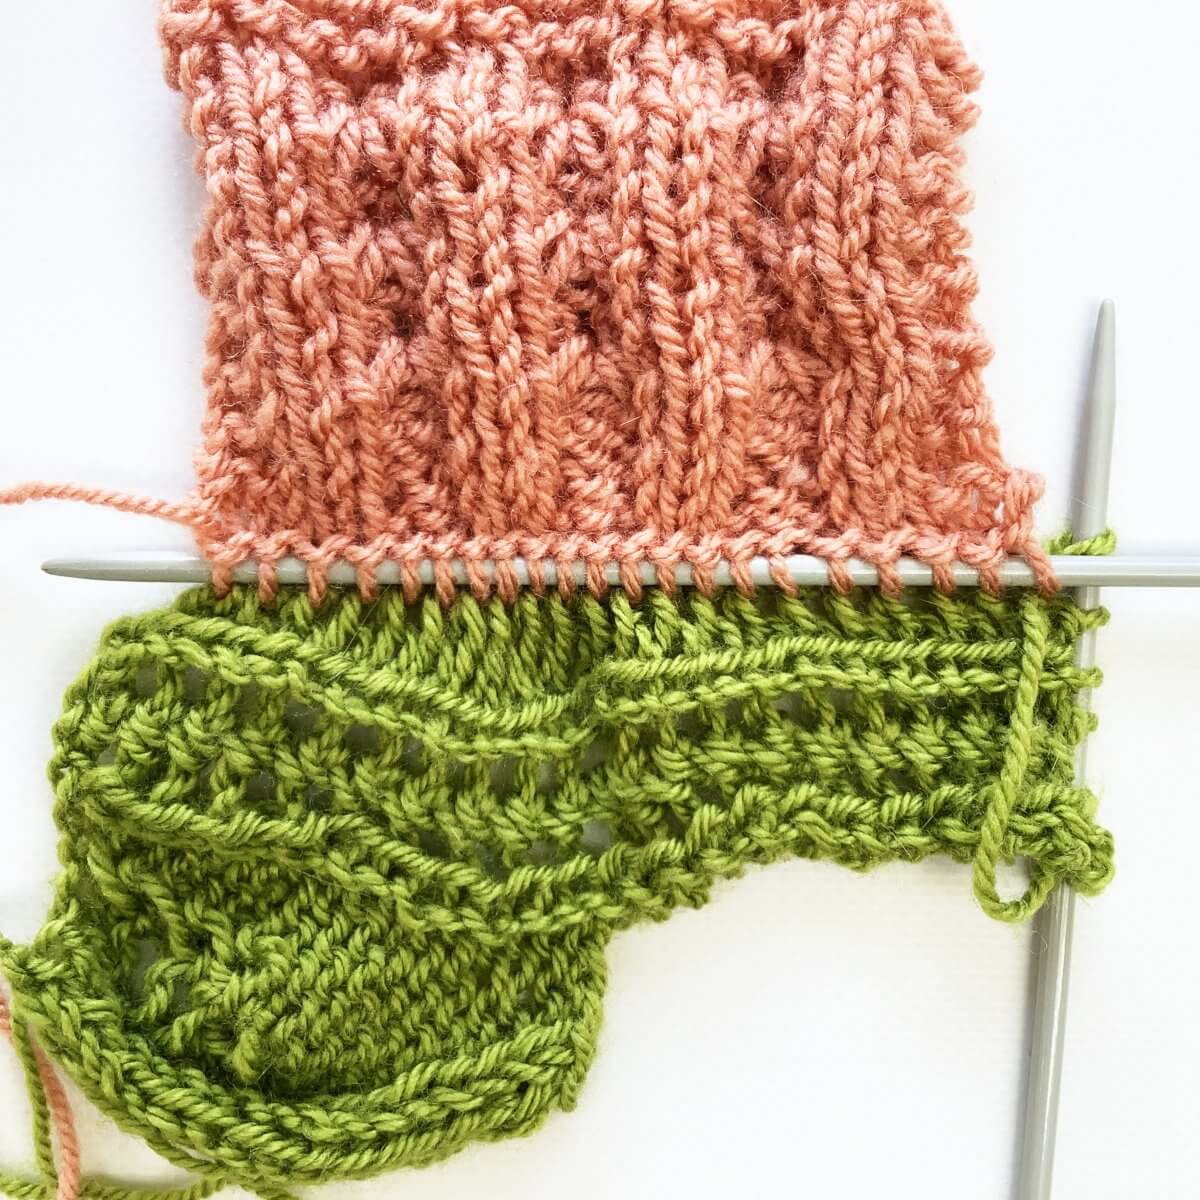
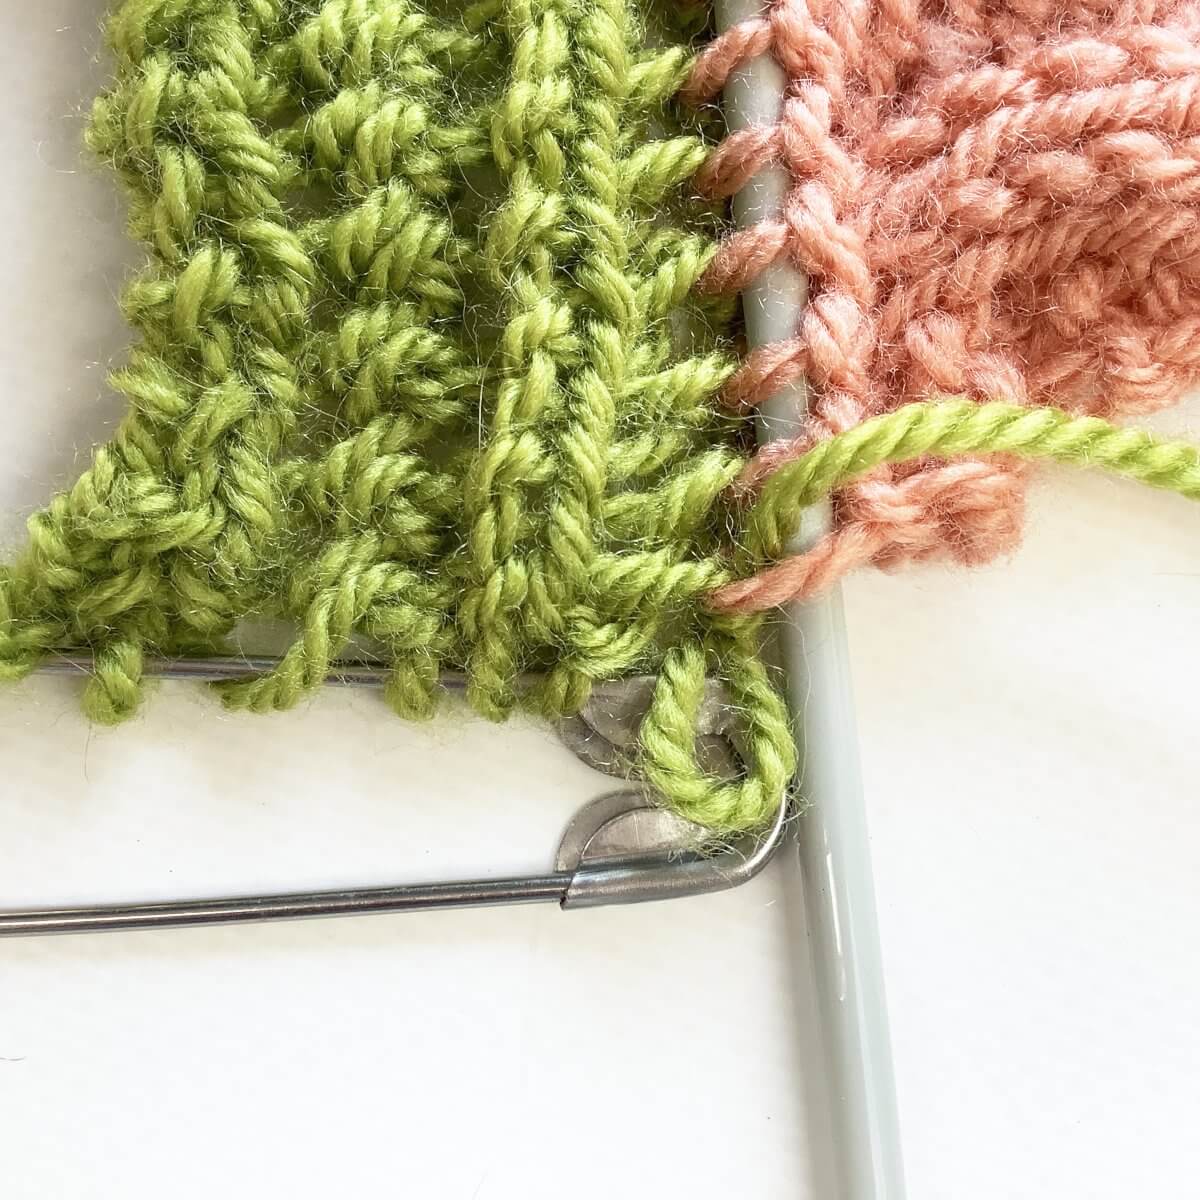
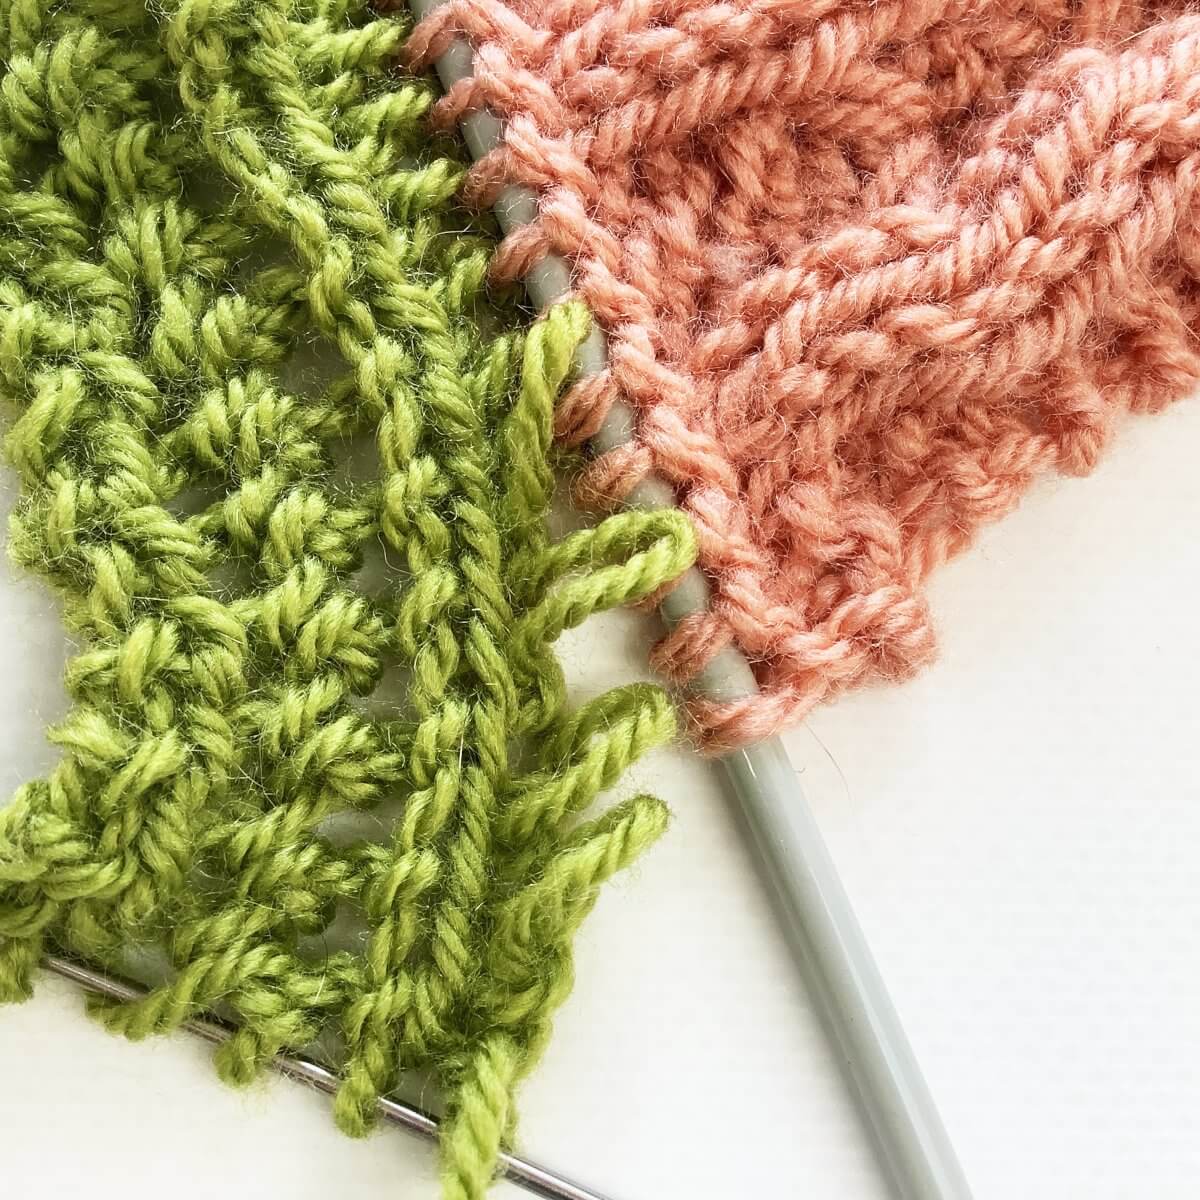
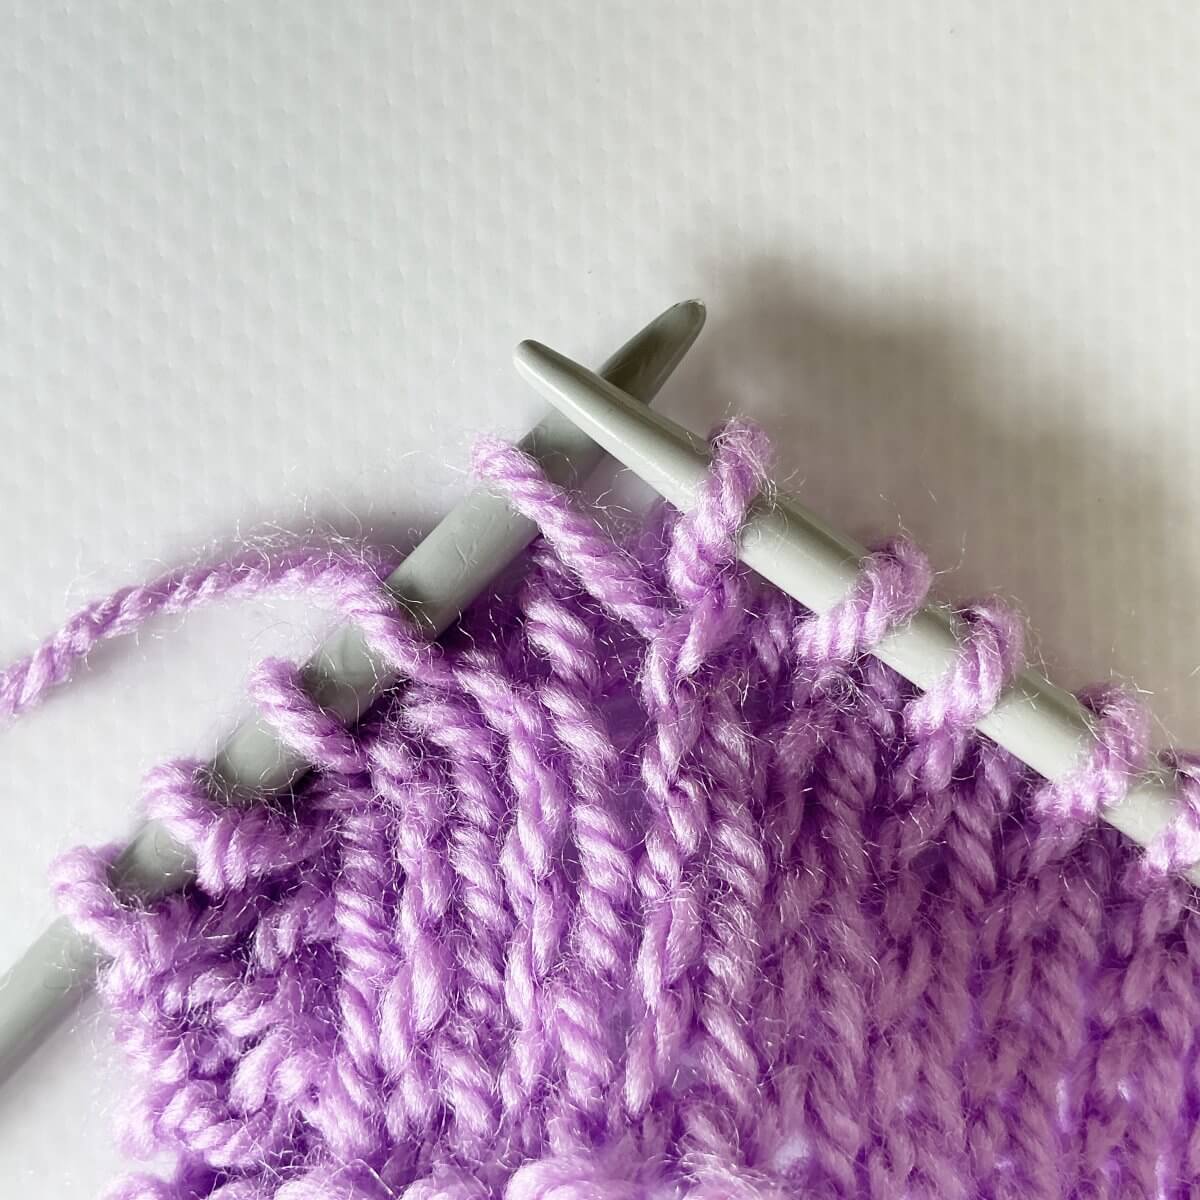
    It can happen that an edge stitch goes wrong I mean, you’re knitting merely along, and you work a purl stitch where it should have been a knit stitch. And, of course, we only see it when a couple of more rows have been worked. No worries, though, it can be fixed! Fixing an edge stitch is a bit more complex to correct than previous mistakes. This is because you are not dealing with just 1 thread per step, but with a loop that covers 2 rows. We are also dealing with garter rib stitch, instead of stockinette stitch. That said, it’s still very doable if you know the tricks.

    So, in this post I’ll show you to fix this!

    Materials used

    Yarn: Paintbox Yarns Simply DK, a good value, good quality 100% acrylic yarn, here in the color 142 Tea Rose.

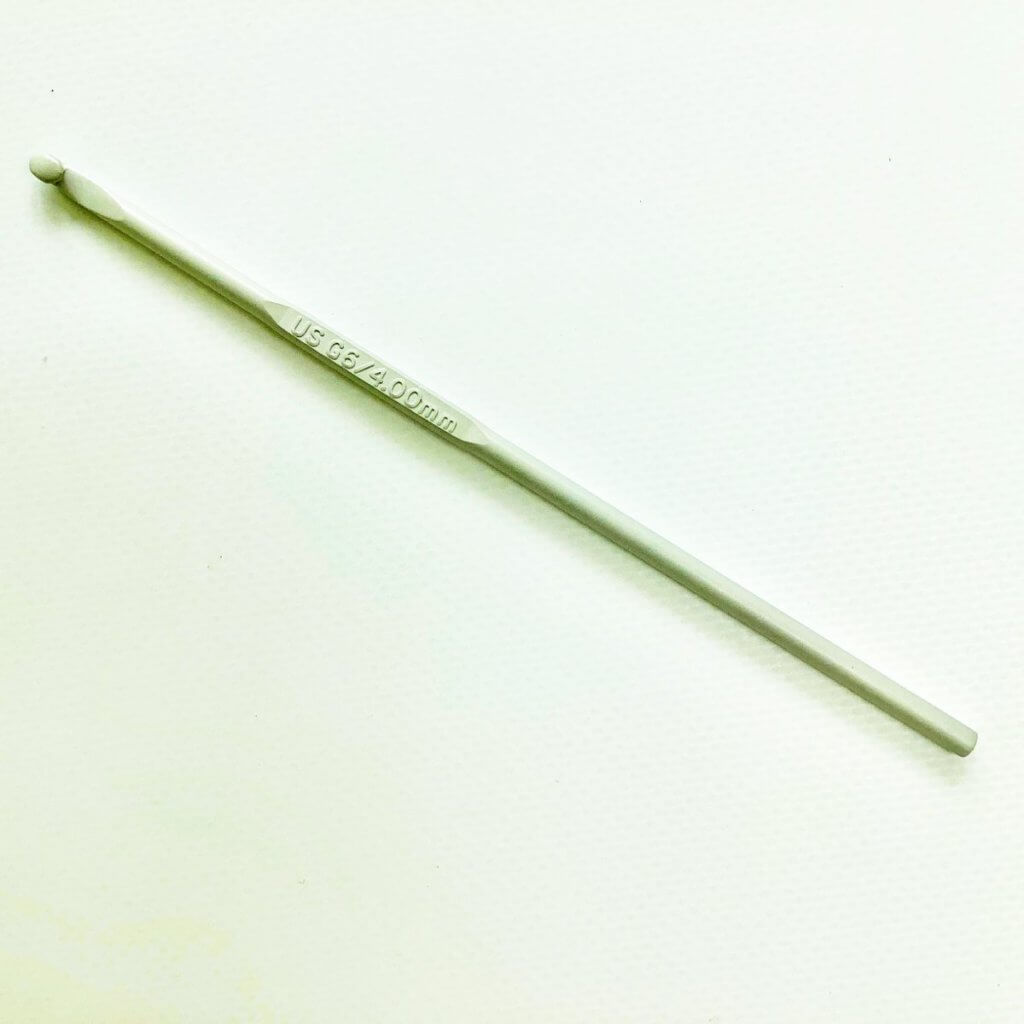
    A crochet hook in the same size or slightly smaller than your knitting needles. For example, this Pony Aluminum Crochet Hook in size 4 mm.

    You will also need a couple of extra crochet hooks or stitch markers to keep the loops of yarn under tension. This will enable you to identify both parts of the loop and work them back up in the correct order.

    Fixing an edge stitch step by step

    Let’s get started! In this tutorial, I’m using the swatch I also used in previous tutorials on fixing things in knitting.

    1. First, we have to identify the exact spot where the edge stitch went wrong.

      Do you see it? It’s right next to the tip of the knitting needle!Step 1 of fixing an edge stitch

    2. Drop the edge stitch down, until you’ve reached the stitch that went wrong.

      In this picture, I’ve used some spare crochet hooks to keep the loops of yarn under tension. This way, it’s easier to see that each loop has 2 strands of yarn to use to work the stitches back up. If you’d cover the right side of the picture, it would look exactly like dropping a stitch in the middle of a piece of knitting!Step 2 of fixing an edge stitch

    3. Do you see that the first stitch, directly underneath the main crochet hook, is a knit stitch? This means that the first stitch to be worked back up, needs to be a purl stitch if we work it from the right side.

      You can, of course, turn the work and work the stitch up as a knit stitch. However, with an edge stitch I find it easier this way, to keep the edge loops under tension. While under tension, I can more easily see which strands to grab, and in which order.Step 3

    4. To work the stitch up as a purl stitch, make sure that the thread of yarn directly above the stitch is positioned in front of the work, and insert the crochet hook from top to bottom through the stitch.

      Like this:Step 4 of fixing an edge stitch

    5. Pull the thread through the loop on the crochet hook to complete the purl stitch.

      Now it looks like this: (I’ve removed the crochet hook, because I will have to position it differently for the next stitch).Step 5

    6. Next is working a knit stitch: Make sure the thread of yarn is behind the work, and insert the crochet hook from bottom to top into the stitch.

      Step 6

    7. To complete the knit stitch, pull the thread through the loop on the crochet hook.

      It will look like this:Step 7 of fixing an edge stitch

    8. Repeat steps 4 to 7 once to work the next garter stitch ridge up.

      Step 8

    9. For the final stitch, we repeat steps 4 and 5 once more, using the thread going to the ball of yarn.

      With this, you’ve fixed the entire column of edge stitches!The end result of fixing an edge stitch

    And that is how to go about fixing an edge stitch gone wrong! You are now ready to continue with your project.

    Patreon logo

    Thanks to my Patreon supporters for bringing you this freebie! Creating quality patterns and tutorials is a lot of work and resource-intensive. However, I find it important to give you free content like this tutorial. Thanks to the generous support of my Patreon supporters, I can make it happen. Thank you, patrons! Click here to join, or click here to read more about La Visch Designs on Patreon.

    tutorial – fixing an edge stitch Read More »
    tutorial – fixing a forgotten shaping yo in a triangle shawl

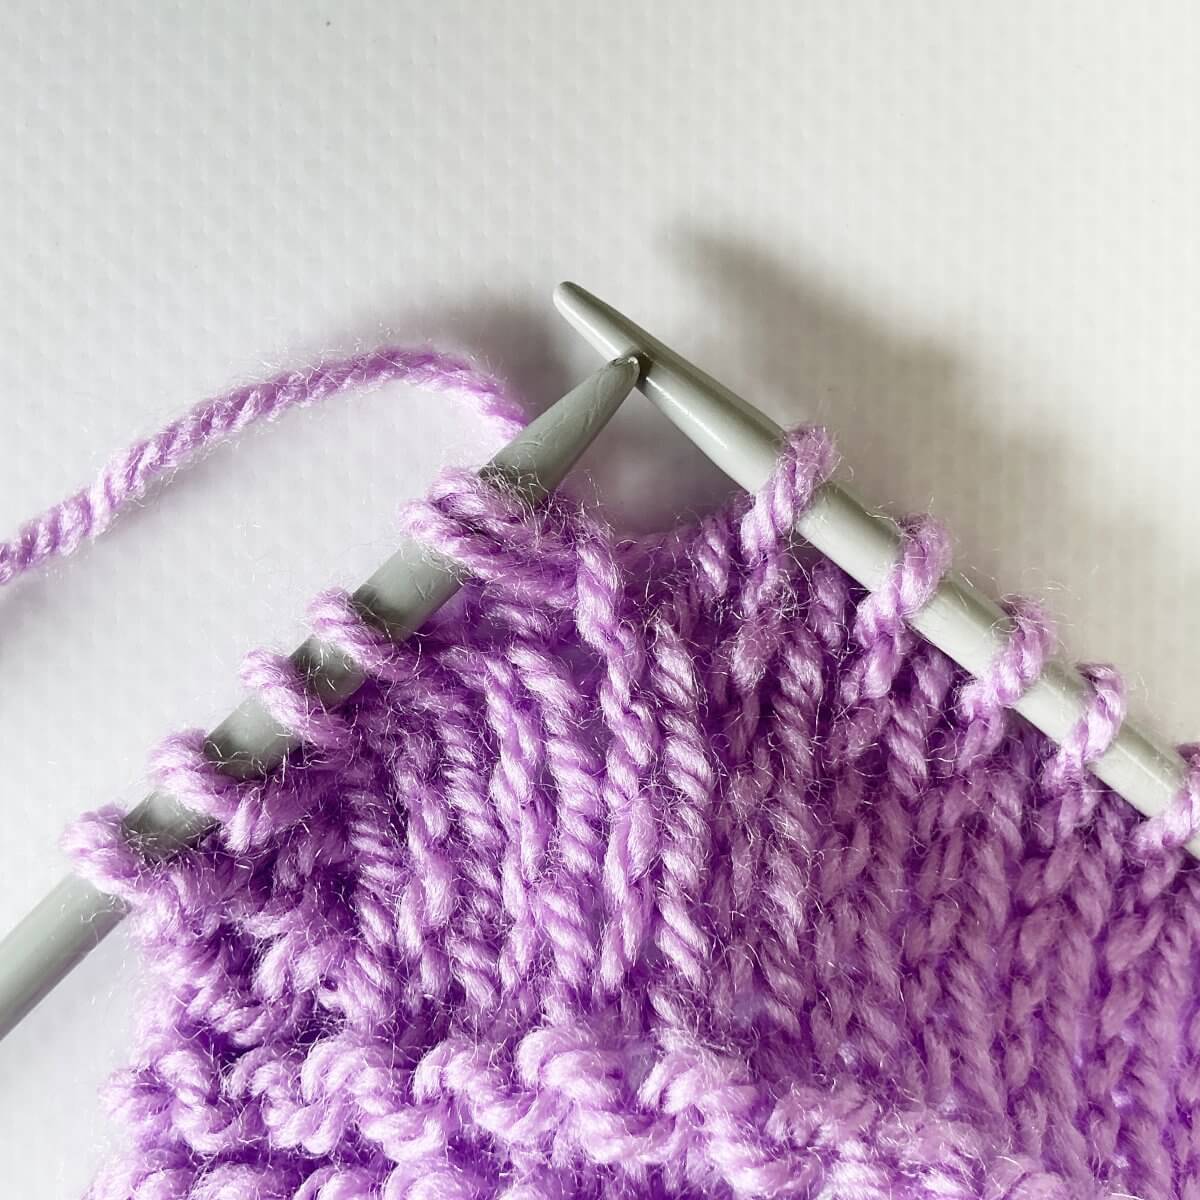
    In an earlier tutorial, I already showed you how to fix a forgotten yo. However, fixing a forgotten yarn over becomes a tad more complex if it’s a shaping increase. Take, for example, a typical top-down triangle shawl, with increases on both outer edges, and on both sides of the central spine stitch. But, no fear, when such a shaping increase has been forgotten, it’s still very much possible to fix it without ripping out all your work back to the -place where the error occurred.

    So, in this post I’ll show you to fix a forgotten yarn over, used as a shaping increase. Specifically for the situation that the lack of the increase hasn’t been noticed until several more rows have been worked.

    Materials used

    Yarn: Paintbox Yarns Simply DK, a good value, good quality 100% acrylic yarn, here in the color 142 Tea Rose.

    A crochet hook in the same size or slightly smaller than your knitting needles. For example, this Pony Aluminum Crochet Hook in size 4 mm.

    Fixing a forgotten shaping yo step by step

    Let’s get started! In this tutorial, I’m using the swatch I also used in previous tutorials on fixing things in knitting.

    1. First, we have to identify the exact spot where the increase is missing.

      Do you see it?Step 1

    2. The yo is missing in between the two columns of stitches above the yo’s that are there.

      The two horizontal threads, in the center of the yellow circle, is where we need to work our magic. You can count both the garter stitch ridges in the border, and the shaping yo’s that have been worked, to know how many rows have been worked since making the mistake. In this case, that’s 4 rows.Step 2

    3. Let’s start fixing! Insert the crochet hook as shown from bottom to top underneath the two horizontal threads…

      Fixing a forgotten shaping yo step 3

    4. …. and pull the top thread through the one below to make the yarn over.

      step 4

    5. Now we can ladder the work back up! To see which threads should be used to ladder up the rest of the stitch column, you can pull the two columns of stitches slightly apart above.

      There are 4 horizontal threads, just like we deduced earlier.step 5

    6. To ladder the work back up, insert the crochet hook underneath the lowest horizontal thread directly above the new yo (the 4th horizontal thread down), and pull the thread through the loop already on the hook to make a new knit stitch.

      Fixing a forgotten shaping yo step 6

    7. Repeat this (for stockinette) as often as needed until you’ve run out of threads to pull through to make the new column of stitches above the yarn over.

      Fixing a forgotten shaping yo step 7

    8. The end result!

      The new yarn over and stitches above it, will be a bit tight when compared with the surrounding stitches. But, this will usually even out with some blocking.Fixing a forgotten shaping yo - the result

    And that is how to fix a forgotten shaping yo! You are now ready to continue with your project.

    Patreon logo

    Thanks to my Patreon supporters for bringing you this freebie! Creating quality patterns and tutorials is a lot of work and resource-intensive. However, I find it important to give you free content like this tutorial. Thanks to the generous support of my Patreon supporters, I can make it happen. Thank you, patrons! Click here to join, or click here to read more about La Visch Designs on Patreon.

    tutorial – fixing a forgotten shaping yo in a triangle shawl Read More »
    tutorial – making a tassel

    Making a tassel - by La Visch Designs

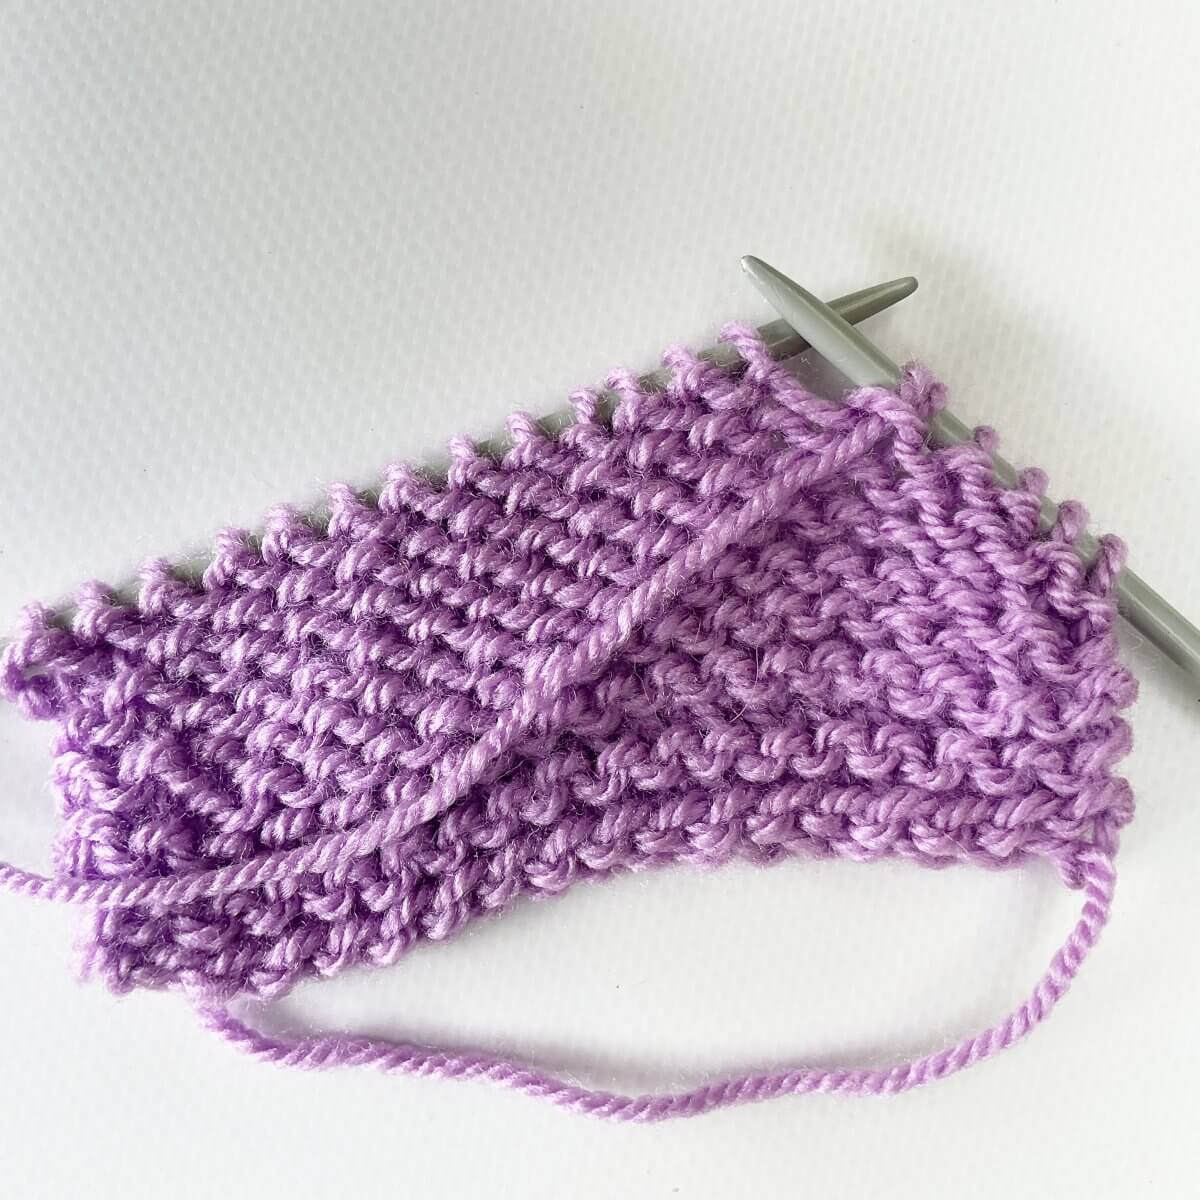
    Yarn tassels are very easy and quick to make, and can be a lovely addition to your knitting project. You may have seen those lovely triangle shawls with a tassel added to each corner of the shawl. With just some yarn and a piece of cardboard, you can make a yarn tassel in only a few minutes! In this tutorial, I made my tassel with a DK weight yarn. You can, of course, also make your tassels with other weights of knitting yarn, but also with crochet thread, or embroidery floss. Do keep in mind that the thinner the yarn you’re using, the more times you would need to wrap the yarn for similar fatness of the resulting tassel.

    Ok, let’s get started!

    Materials

    Yarn: Paintbox Yarns Simply DK, a good value, good quality 100% acrylic yarn, here in the colors 133 Marine Blue, and 142 Tea Rose.

    A piece of cardboard. In this tutorial, I used a piece of about 7.5 x 10 cm (3 x 4″). You can adjust the length of your tassel by changing the size of the cardboard template. Cut a piece of cardboard about 2.5 cm (1″) taller than the height that you would like your finished tassel to be.

    You will also need sharp scissors, and a darning needle. Pictured is a Hiya Hiya Darn It Yarn Needle.

    Making a tassel step by step

    1. Wind your yarn around the shortest part of the cardboard template.

      In this example, I wrapped around 30 times for this tassel. When using thicker yarn, you may need to wind less times, or more when using a thinner yarn.Step 1 of making a tassel

    2. After the last wrap, cut off the yarn at the bottom of the cardboard.

      Step 2 of making a tassel

    3. Measure a separate piece of yarn, of approx. 25 cm (10″).

      Step 3 of making a tassel

    4. Next, thread the piece of yarn through the eye of the darning needle.

      Step 4

    5. Insert the needle underneath threads at the top of your piece of cardboard.

      Step 5 of making a tassel

    6. Make a knot, but do not pull it tight yet.

      Step 6

    7. Next, use the scissors to carefully cut the loops at the bottom of the cardboard.

      Step 7 of making a tassel

    8. Now tighten the knot, and make it a double knot. You can now remove the cardboard.

      Step 8

    9. Next, take another length of yarn (approx. 25 cm / 10″) and wrap it tightly 4 tot 6 times around the tassel. Place it about 1.5 – 2 cm (3/4″) below the top. Make a double knot to make sure it doesn’t come undone.

      Step 9 of making a tassel

    10. Take your darning needle, and use it to pull the ends of the yarn you used to wrap around the tassel, behind the wraps.

      This way, they become part of the tassel.Step 10

    11. Now take your scissors again, and trim the ends of the tassel to make it nice and neat.

      Step 11 of making a tassel

    The results

    And there you have it: a lovely tassel! It’s complete with a piece of yarn at the top, that you can use to sew it to your project!

    The resulting tassel
    Patreon logo

    Thanks to my Patreon supporters for bringing you this freebie! Creating quality patterns and tutorials is a lot of work and resource-intensive. However, I find it important to give you free content like this tutorial. Thanks to the generous support of my Patreon supporters, I can make it happen. Thank you, patrons! Click here to join, or click here to read more about La Visch Designs on Patreon.

    tutorial – making a tassel Read More »
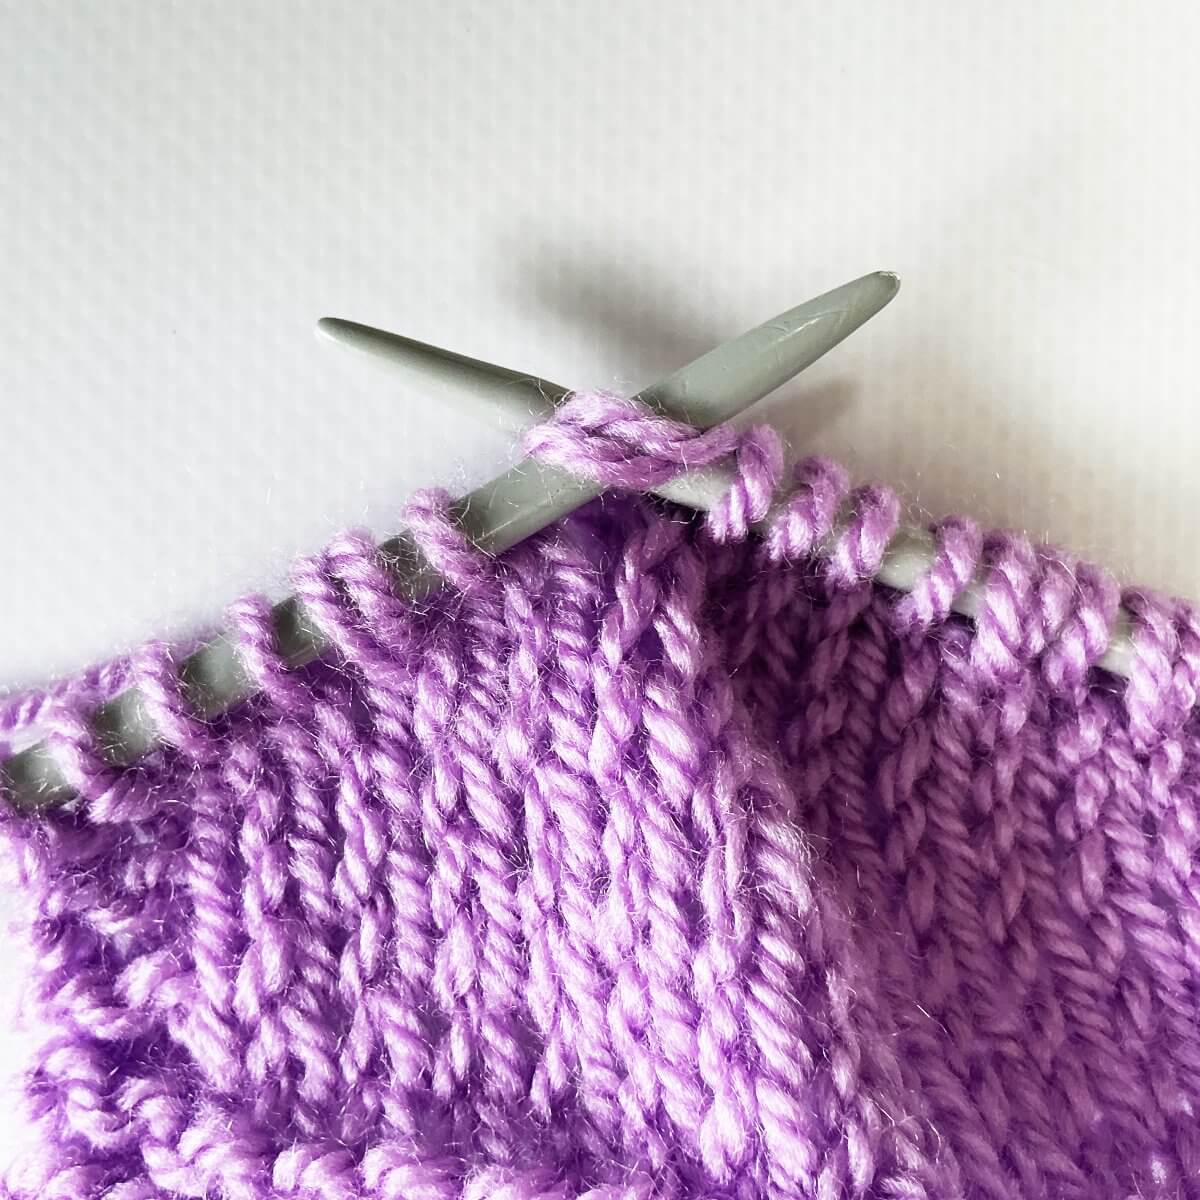
    tutorial – making a spliced join

    Making a spliced join - by La Visch Designs

    When making a bigger project, chances are that you’ll have to join a new ball of yarn. There are multiple ways to approach this, also depending on the type of yarn. For a non-super wash wool, for example, I’ll probably go for a felted join. In a project with a smooth and slippery yarn like cotton, I would most likely choose a braided join or a Russian join. But what about the spliced join this tutorial is about?

    The spliced join is very similar to the Russian join, in the sense that a needle is used to thread the yarn through the end of the new piece of yarn. The difference, however, is that in the spliced join the yarn is not looped back. Because of this, it’s a join that less suited for the very slippery yarns. Yarns that have some texture and “grip” to them, will work splendidly, though. Similar to the Russian join, the spliced join locally produces a thicker thread. However, this does not need to be a problem, because it’s often not very visible.

    Materials

    Yarn: Paintbox Yarns Simply DK, a good value, good quality 100% acrylic yarn, here in the colors 133 Marine Blue, and 142 Tea Rose.

    Darning needle: Pictured is a Hiya Hiya Darn It Yarn Needle. Please note that in the tutorial, I used a sharper darning needle, to make threading it through the yarn easier.

    The spliced join step by step

    In this example, I have used yarn in two different colors to illustrate how this method works.

    1. Thread the yarn end from the first ball through the eye of the needle.

      Step 1 of the spliced join

    2. Zigzag with the needle through the end of the thread attached to your project, for approximately 5 to 6 centimeters (about 2 inches).

      Make sure to do that about 10-15 cm (4 to 6 inches) from the end.step 2

    3. Pull the needle with its attached yarn through the other thread.

      After that, you can remove the yarn from the needle.Step 3 of the spliced join

    4. Next, thread the yarn from the other tail through the eye of the needle.

      Step 4

    5. Now zigzag back with the needle through the second thread for about 5 to 6 centimeters (about 2 inches).

      Start at the point where the other “doubled up yarn section” ended.Step 5 of the spliced join

    6. Pull the yarn through, and gently tug on both ends to pull the yarn smooth.

      Step 6

    7. The result of the spliced join!

      The result of the spliced join

    Patreon logo

    Thanks to my Patreon supporters for bringing you this freebie! Creating quality patterns and tutorials is a lot of work and resource-intensive. However, I find it important to give you free content like this tutorial. Thanks to the generous support of my Patreon supporters, I can make it happen. Thank you, patrons! Click here to join, or click here to read more about La Visch Designs on Patreon.

    tutorial – making a spliced join Read More »