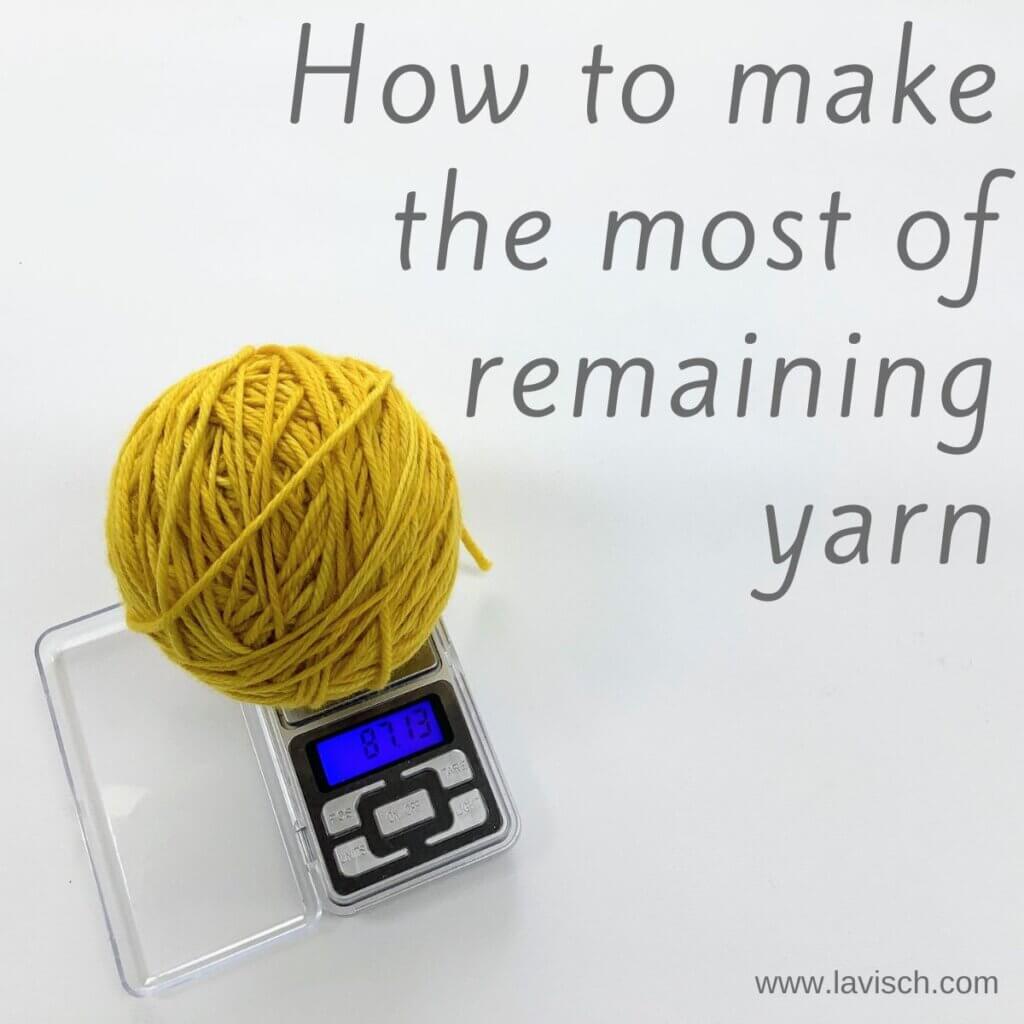
tutorial – how to make the most of remaining yarn
When you have a limited amount of yarn, it’s pretty common to want to make the most of it. I often have a limited amount of a specific fingering weight yarn available, with which I want to knit a shawl. Especially when working with a shawl shape and construction that leads to ever-growing rows, that can be a challenge. Take, for example, a top-down triangle, or crescent shawl. But also with side-ways knit projects, it can be very useful to know whether another repeat before the mid-way point of the project is possible.
For this, I usually weigh my yarn. You can, of course, use a kitchen scale. Most kitchen scales have an accuracy of 1 g. This means that the scale will provide a reading for up to 1 gram above or below the object’s true weight. Especially when working with thinner yarns, this may mean that the reading is just not accurate enough to go on. In those cases, it can be advisable to use a precision scale, that measures with an accuracy of 0.1 g. The benefit of precision scales is, usually also, that they are smaller and therefor easier to take along when knitting on the go.
Once you use a specific scale for a project, it’s best to stick to that one for the duration of the project. Calibration may differ between scales, potentially causing issues when you have less yarn remaining than expected based on previous measurements with the other scale. Below, I’ll give you more information about the scales I use, and how I go about how to make the most of remaining yarn in a project.
Materials used
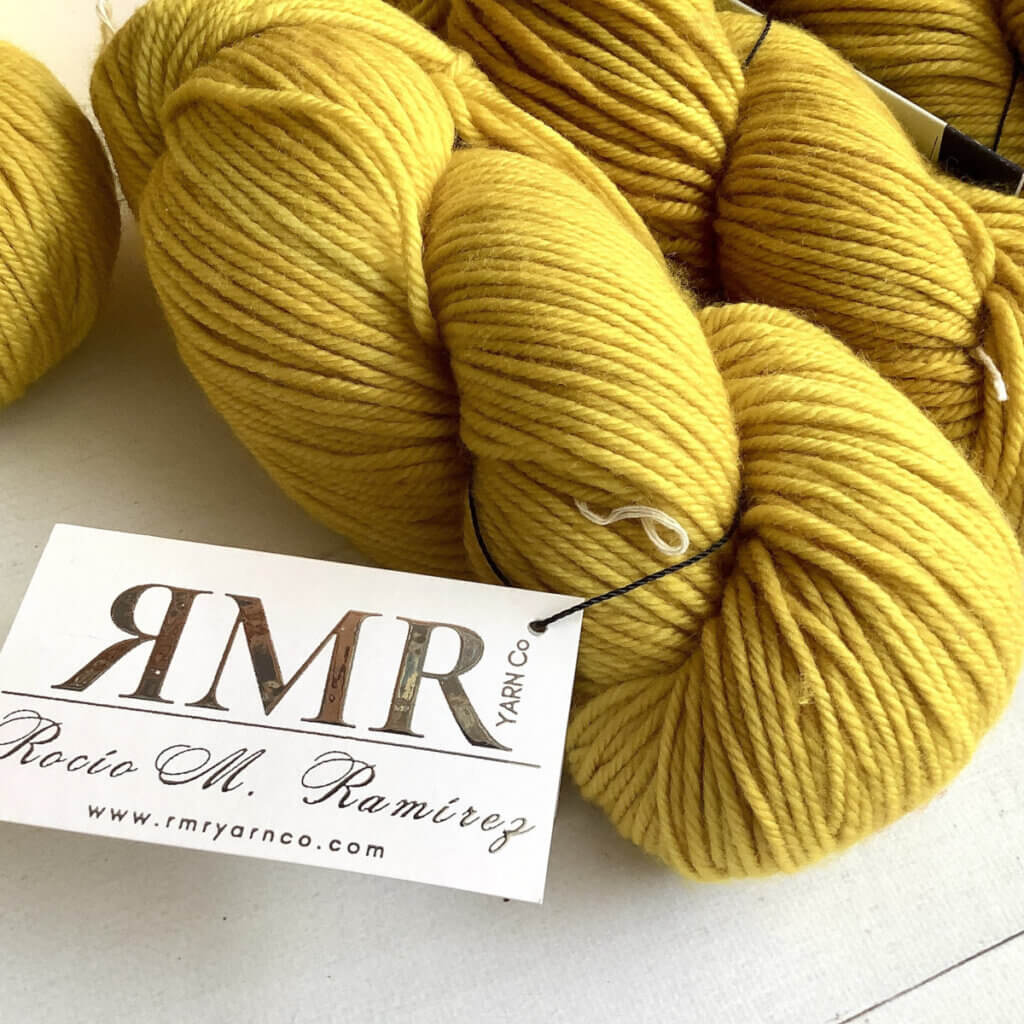
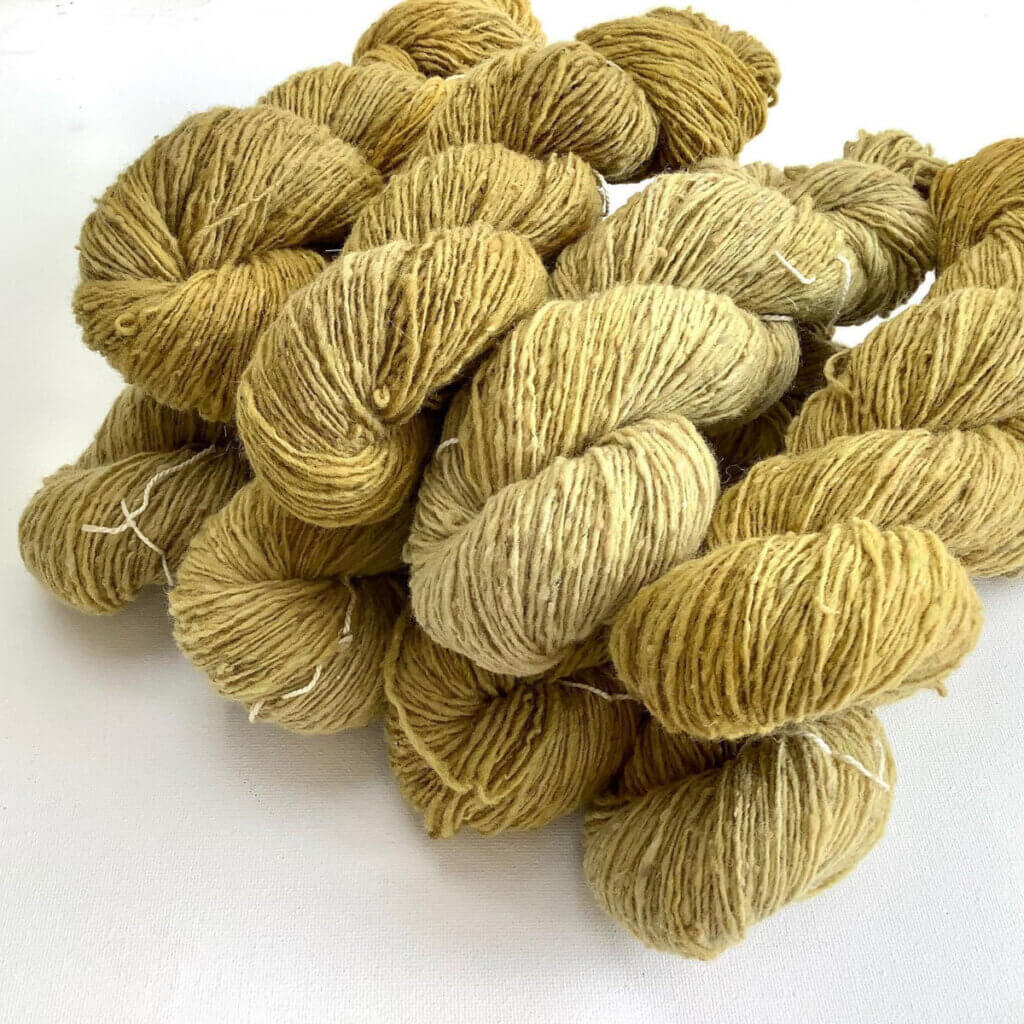
Yarn: RMR Yarn Co. Zihuatanejo DK in Casi Casi.
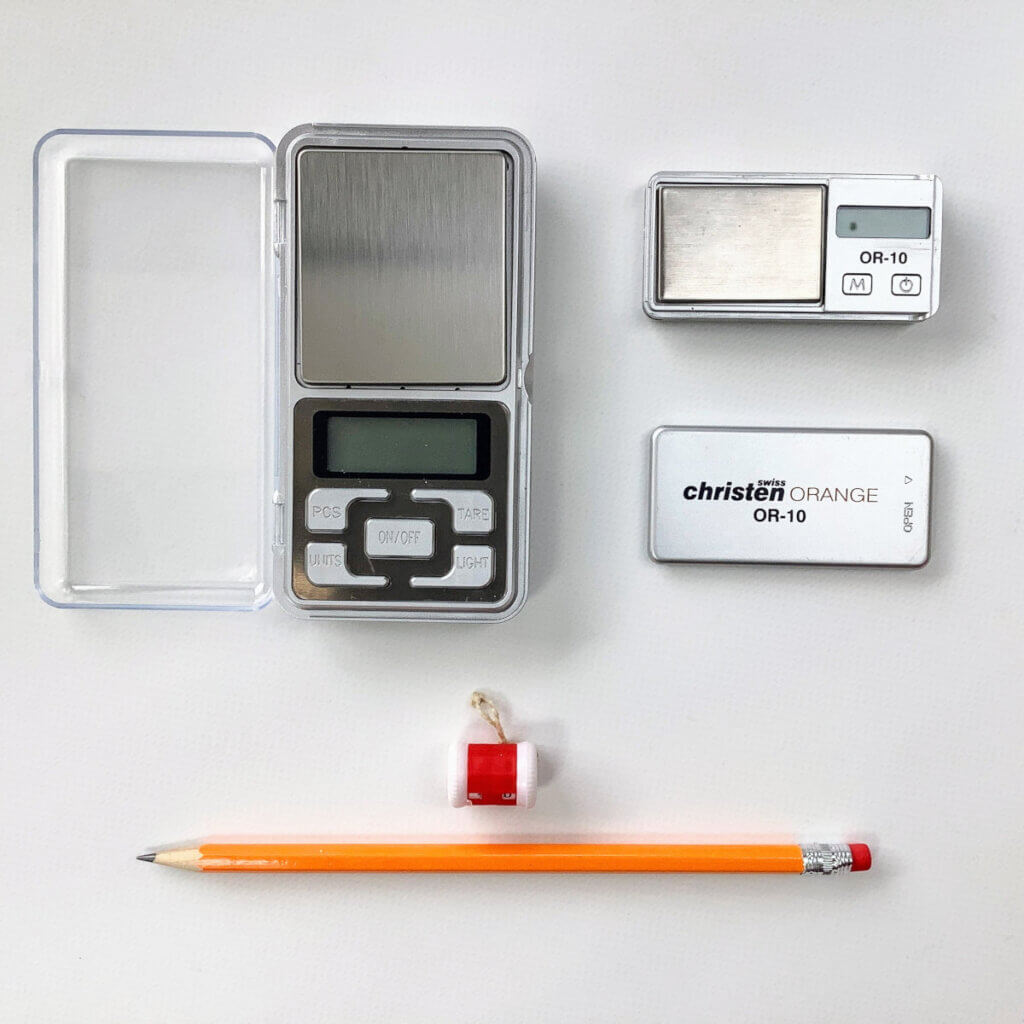
Scales: These are the scales I use for my knitting. The larger one was picked up at a local store, it has an accuracy of 0.1 g, and can weigh up to 200 g. The smaller one is a Christen Swiss OR-10 pocket scale. The latter is accurate to 0.1 g, and has a weighing capacity up to 150 g. The pencil and row counter are in the picture for scale. As you can see, the small one, is really very, very small.
How to make the most of remaining yarn in a project, an example
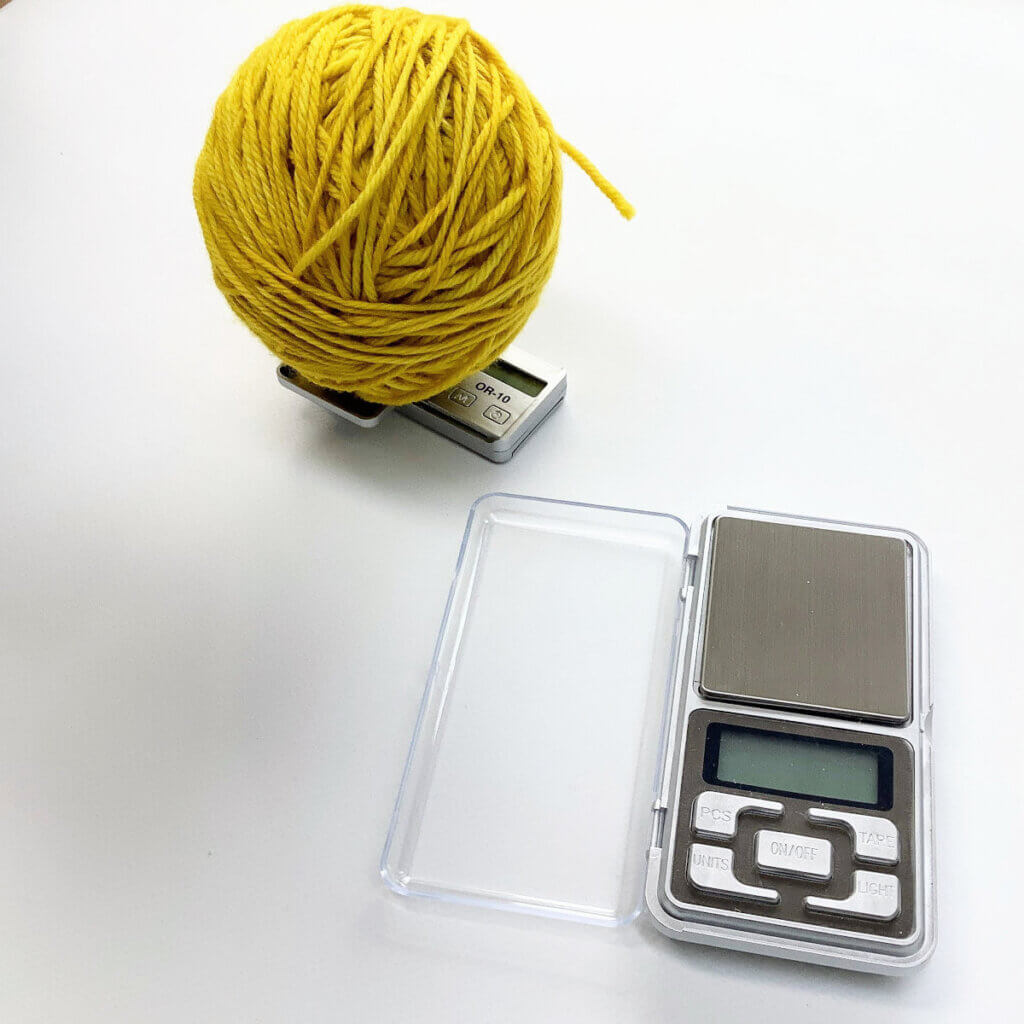
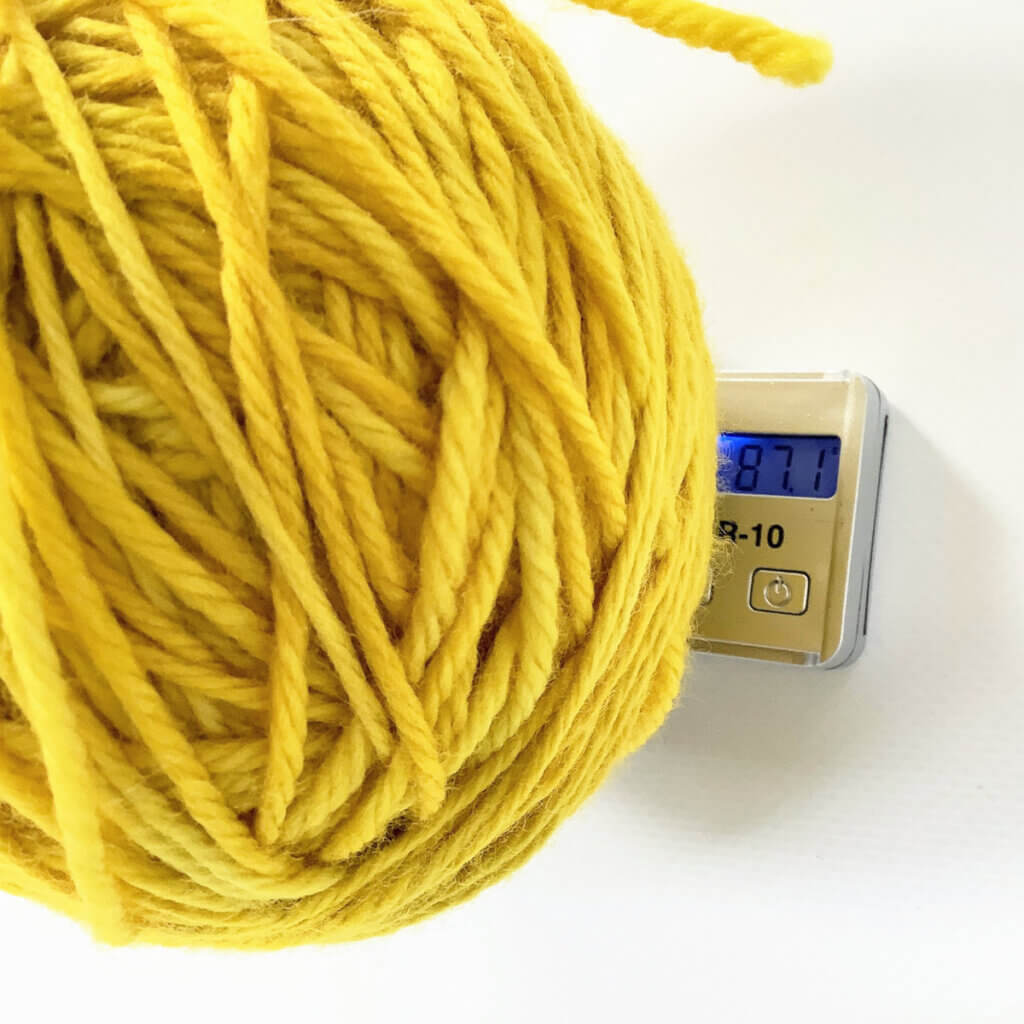
Usually I don’t bother weighing my yarn, until I see that I’m down to somewhere into the last ball of yarn. At that time, I start weighing after every 2 rows, and write down how much yarn was left. When doing this a couple of times, you can calculate how much yarn was used for every 2 rows. Even more, you can also see how much the yarn usage increases when the rows get longer. In the below pictures, I’m using my tiny scale, using the cover to increase the platform size to rest the ball of yarn on.
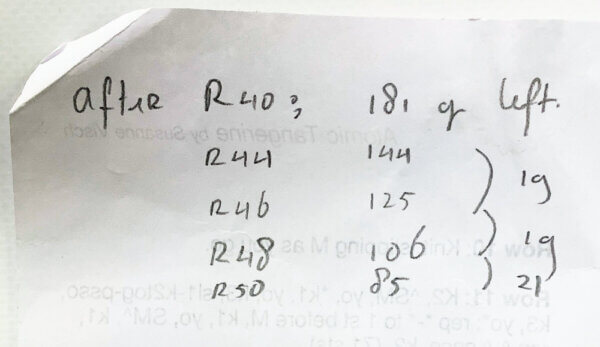
In the below picture, you can see the notes I scribbled on the back of the draft pattern of my Atomic Tangerine shawl. The middle column contains the weights, and with the arcs on the right you see what the weight differences were between the various rows. The example below shows, that I had 85 g left after row 50, which means I could get at most 8 other rows out of the remaining yarn. But given the rate at which the yarn usage went up, probably 6 rows at most. When binding off my shawl projects, I usually use the Russian bind-off, which, in my experience, uses almost as much yarn as 2 rows. So, taking this into account, there is only enough yarn left for another 4 rows before starting the bind-off.
And that’s exactly how it worked out for this pattern!
Projects with multiple colors
You may wonder how this looks when working on a project that uses multiple colors. In that case, depending on the patterning, you may want to weigh either after every 2 rows, or after each pattern repeat. In this example, I’m working on a mosaic color-work project. With mosaic knitting, you alternate colors every 2 rows. So, in this case, weighing after every pattern repeat makes the most sense. And yes, in this example, I’m using my kitchen scale.
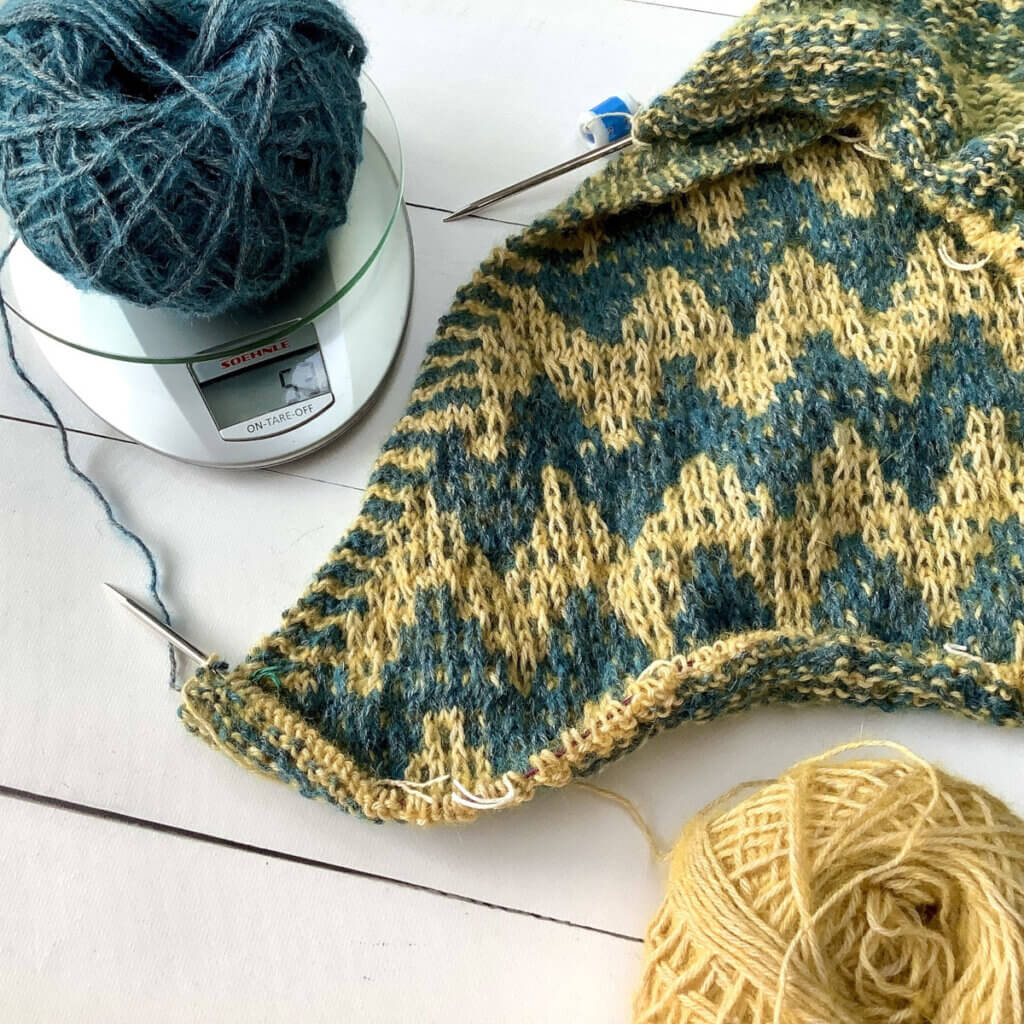
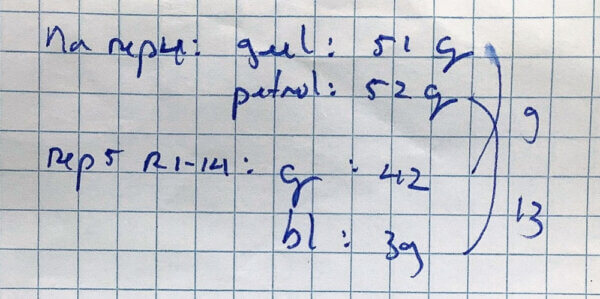
As you can see, these notes look a tad more complex, because the yarn usage arcs for the various colors cross each other. At this moment, I’m still working on this design. But, given the amount of yarn remaining, it’s time to start the final section of this shawl. To be continued!

Thanks to my Patreon supporters for bringing you this freebie! Creating quality patterns and tutorials is a lot of work and resource-intensive. However, I find it important to give you free content like this tutorial. Thanks to the generous support of my Patreon supporters, I can make it happen. Thank you, patrons! Click here to join, or click here to read more about La Visch Designs on Patreon.
tutorial – how to make the most of remaining yarn Read More »