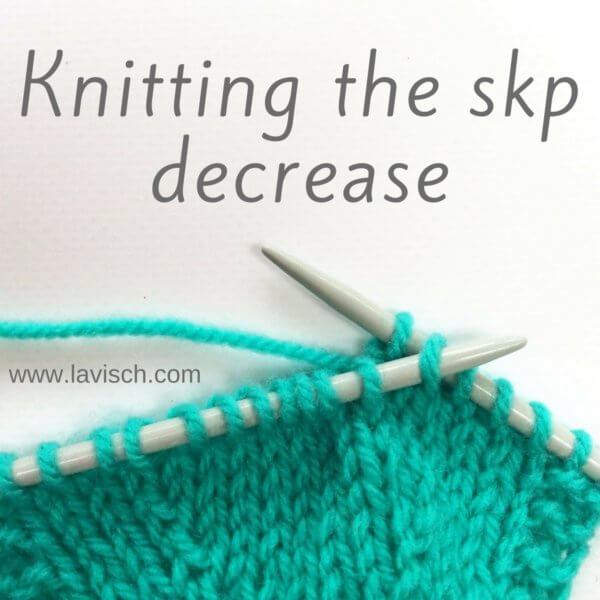
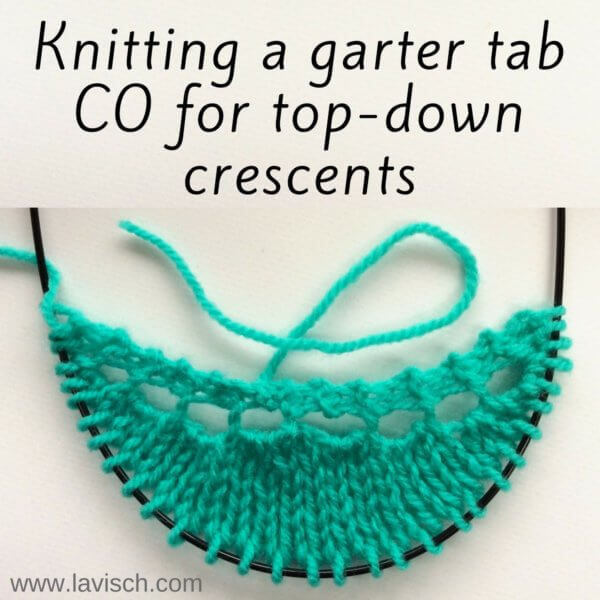
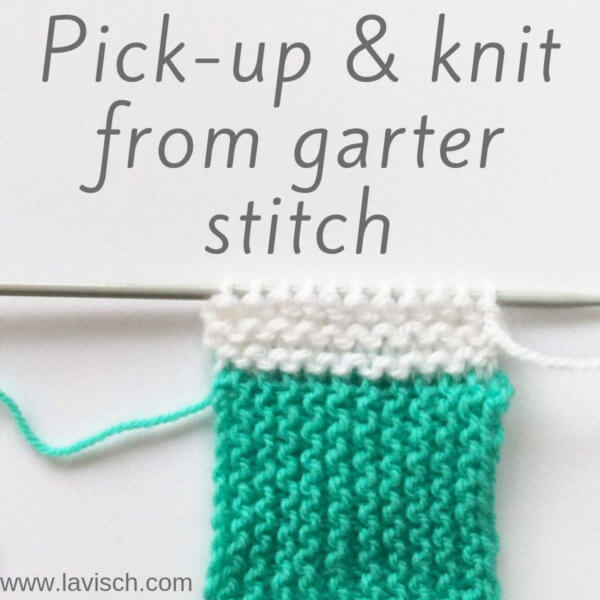
tutorial – pick-up & knit from garter stitch
In my Sirac stole design a center panel in a Cable & Lace pattern is worked first, after which stitches are picked up and knit on the long sides of the panel. After this, the rest of the pattern can be worked perpendicular to the Cable & Lace panel. One of my testers (hi Marilyn!) mentioned that it would be a good idea to dedicate a photo tutorial to the technique used for that. So here we are!
Of course, there are many ways to accomplish this. In this tutorial, I’m focusing on “pick-up and knit” from a garter stitch piece, worked without a chain stitch selvage. Such a selvage is pretty neat for picking-up stitches, but it also makes the selvage tighter than may be preferable. In such cases, it’s good to know how to pick-up & knit stitches from a regular garter stitch edge.
The difference between “pick-up” and “pick-up & knit”
It may be confusing what exactly the difference is between just “pick-up” and “pick-up & knit”. I mean, both have some picking-up action going on. The main difference is, that with just “pick-up” stitches of the piece already worked are placed on the knitting needle without introducing new yarn.
With “pick-up and knit”, new yarn is pulled through the piece already worked and the loops are placed on a knitting needle. These new loops are the new stitches from which the rest of the piece is worked.
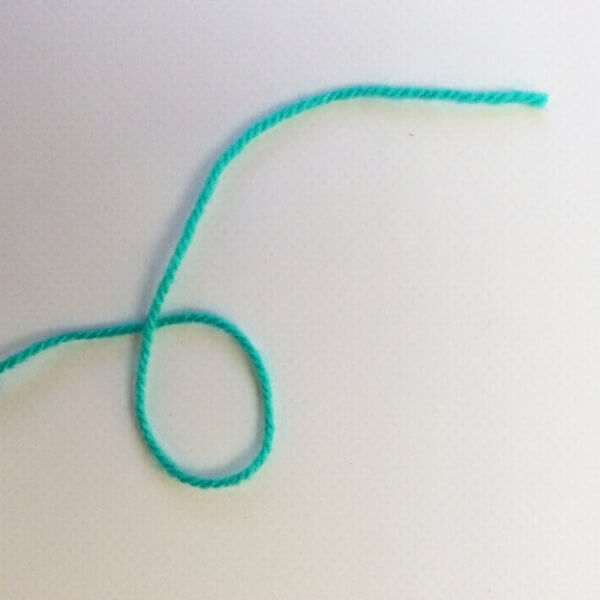
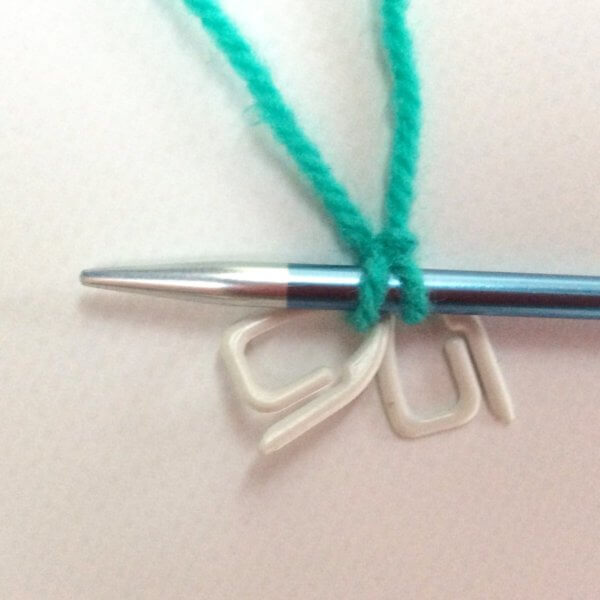
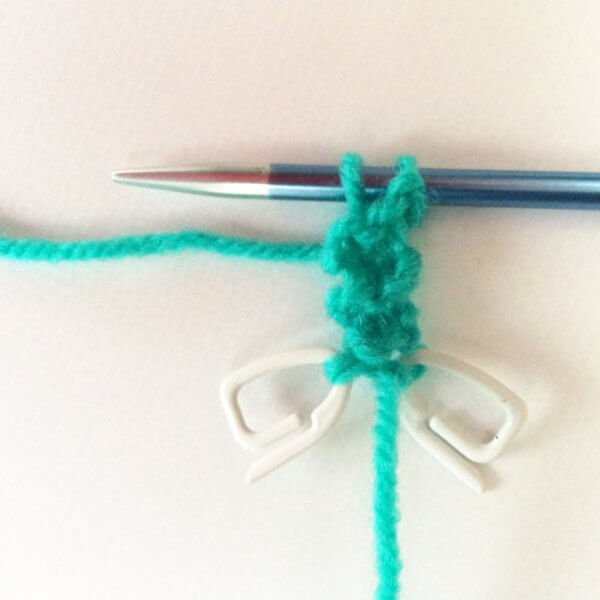
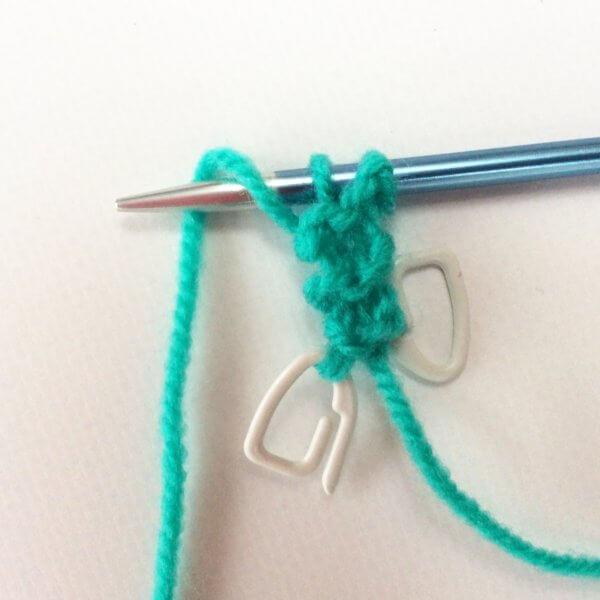
Pick-up & knit from garter stitch step-by-step
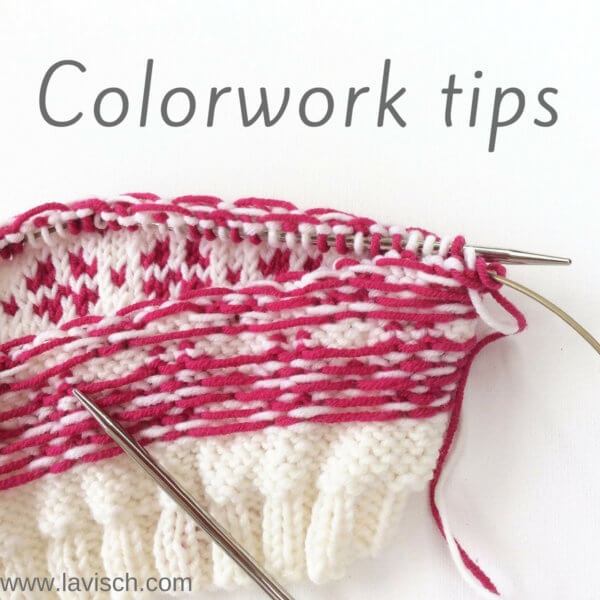
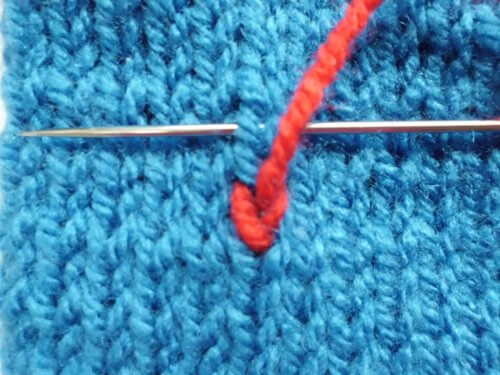
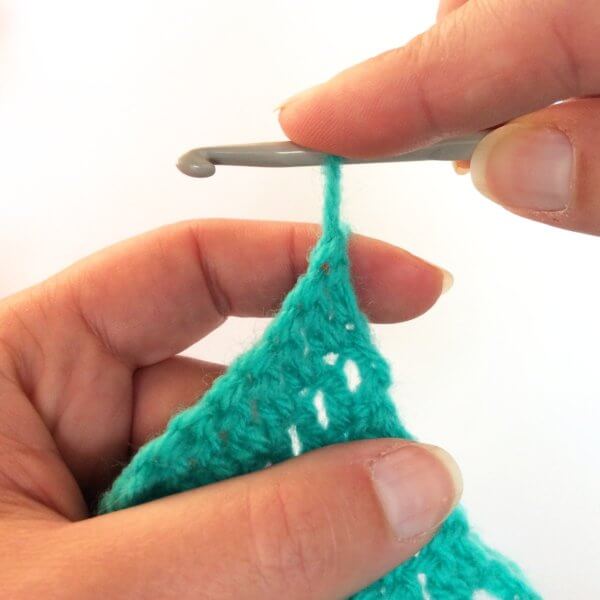
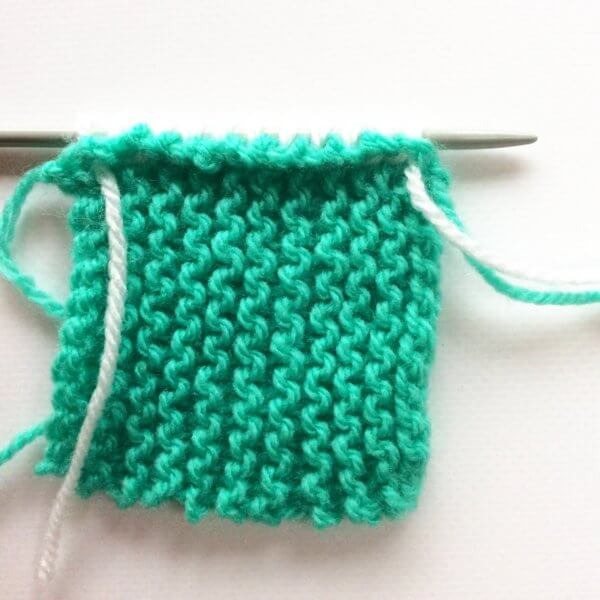
In this example, I’m using a contrasting yarn for the pickup & knit part, to make it easier for you to see what exactly I’m doing and where.
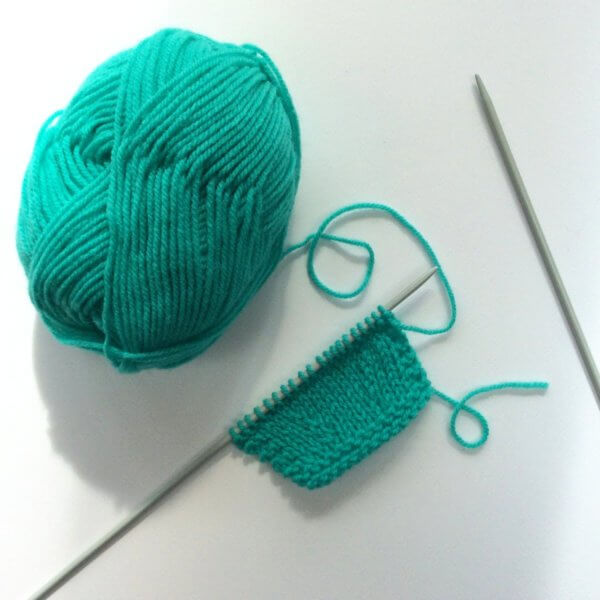
1. We start with a piece of knitting worked completely in garter stitch, turned sideways with the RS facing. And yes, plain garter stitch does not really have a RS and WS, but it can have when there is patterning on a background of garter stitch.
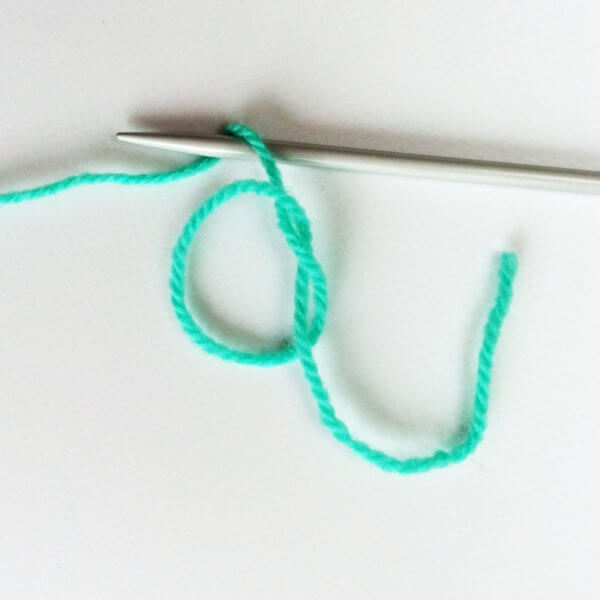
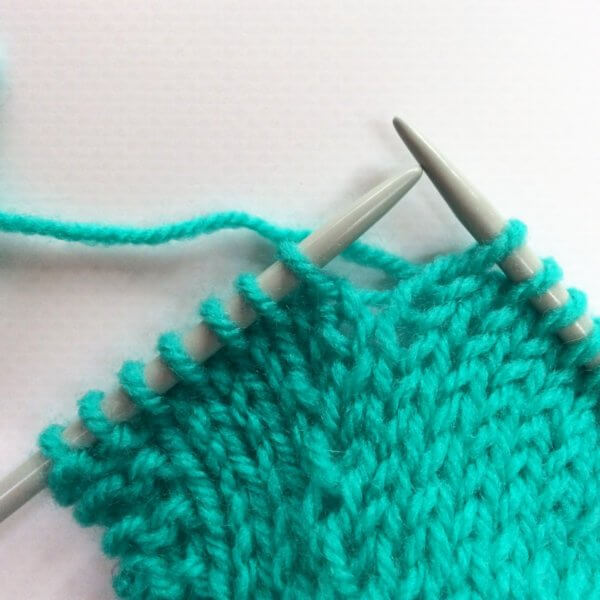
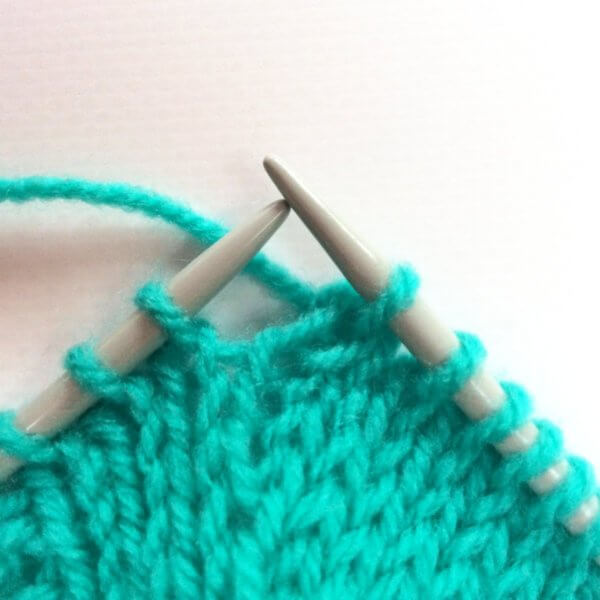
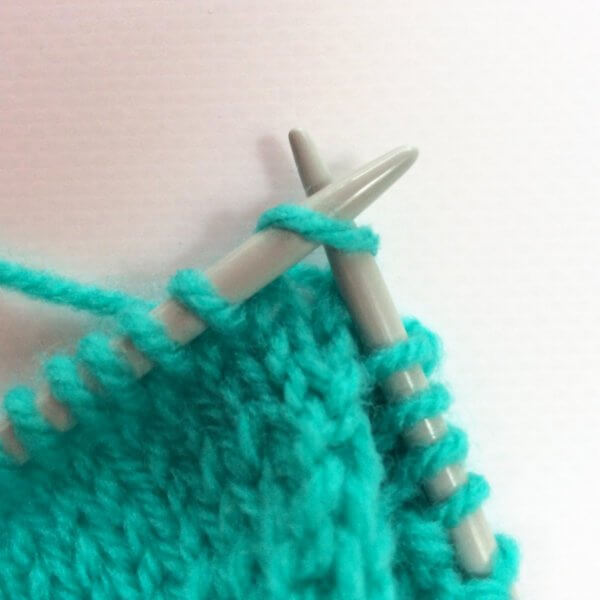
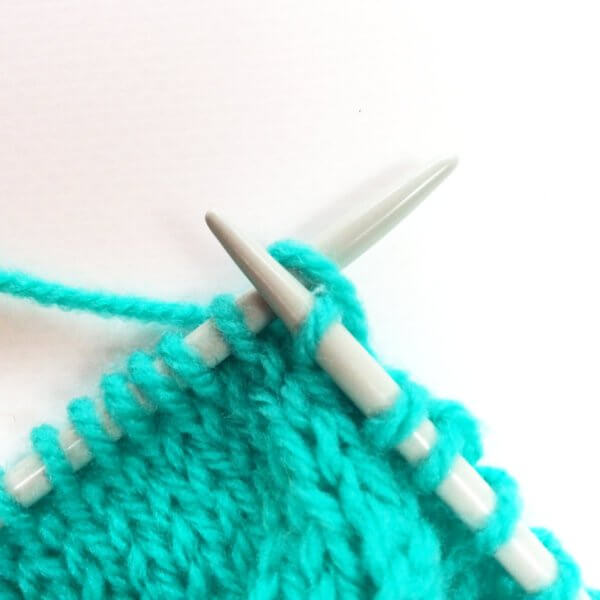
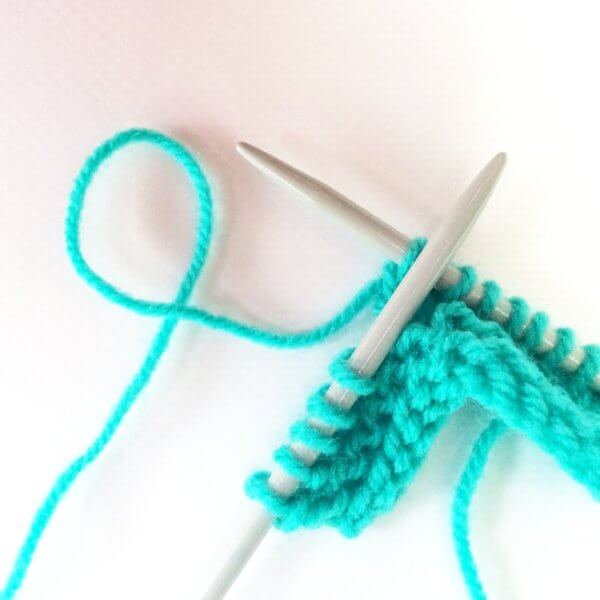
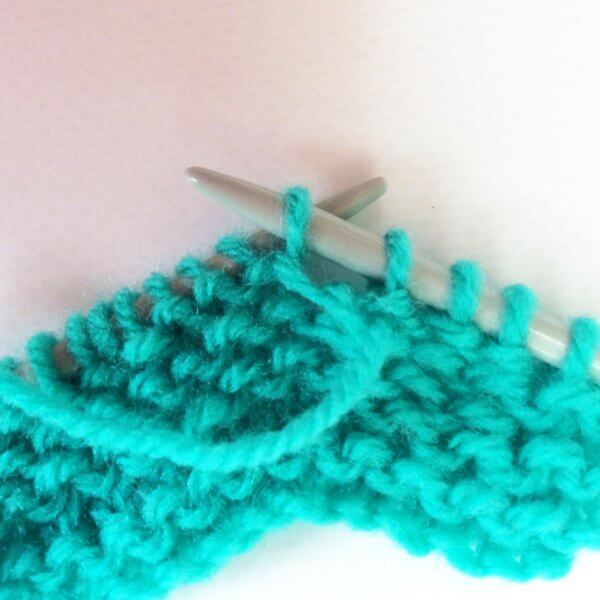
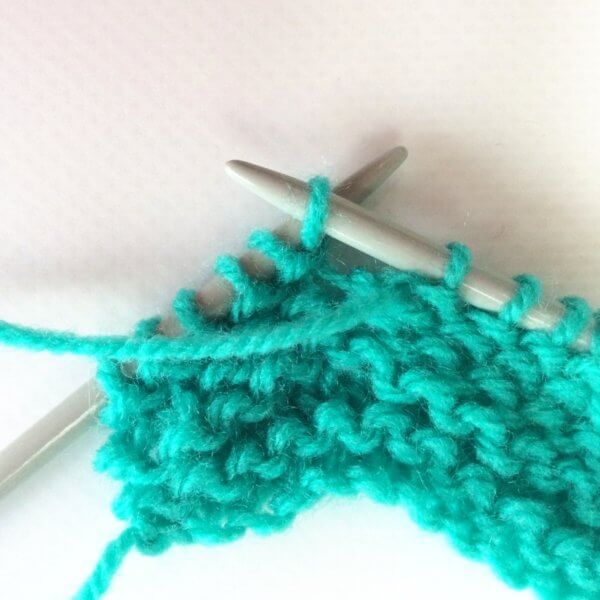
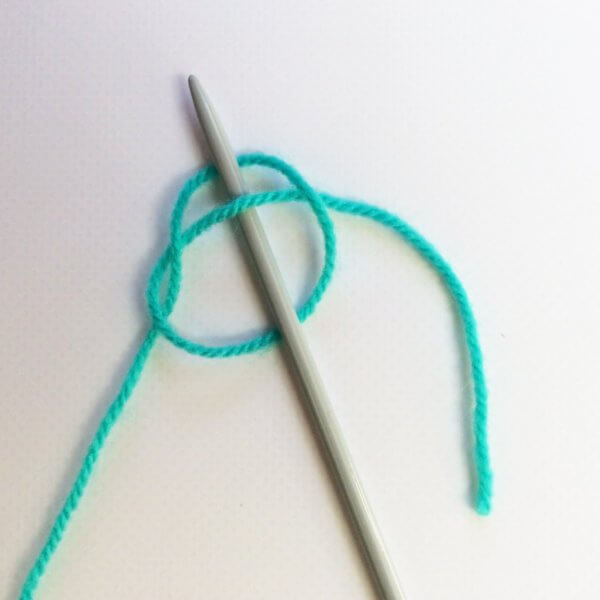
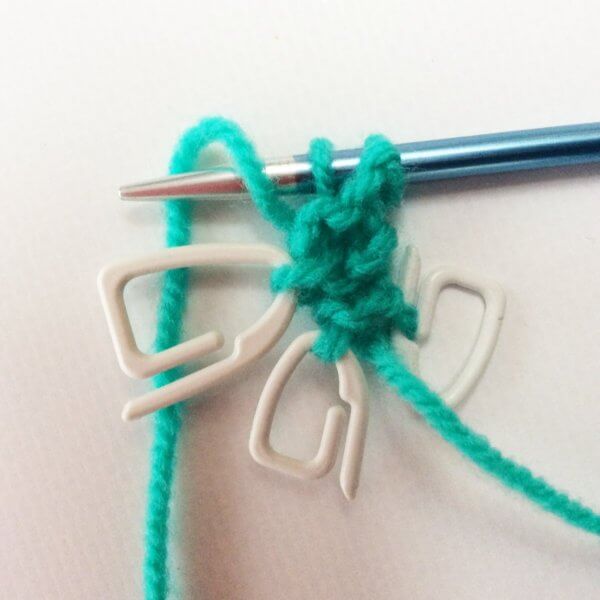
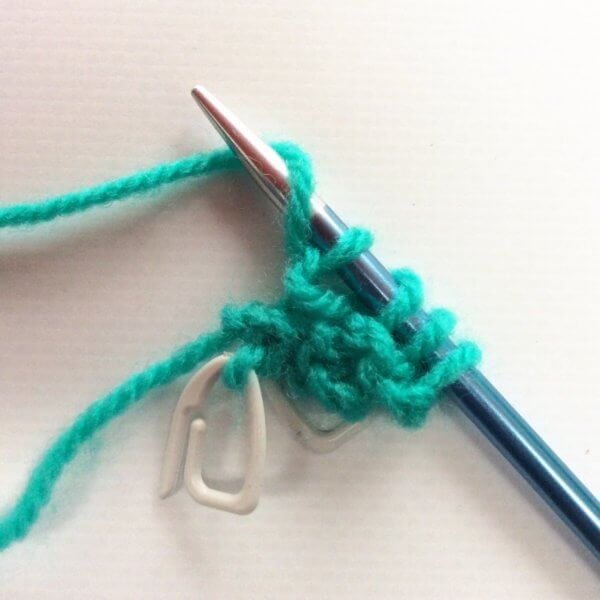
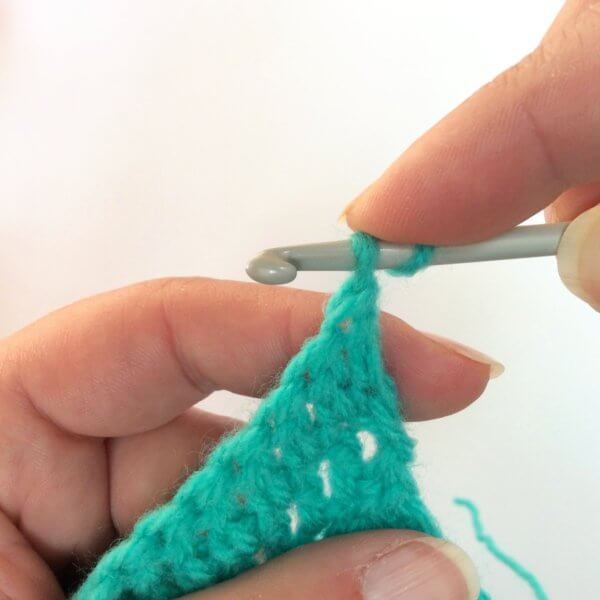
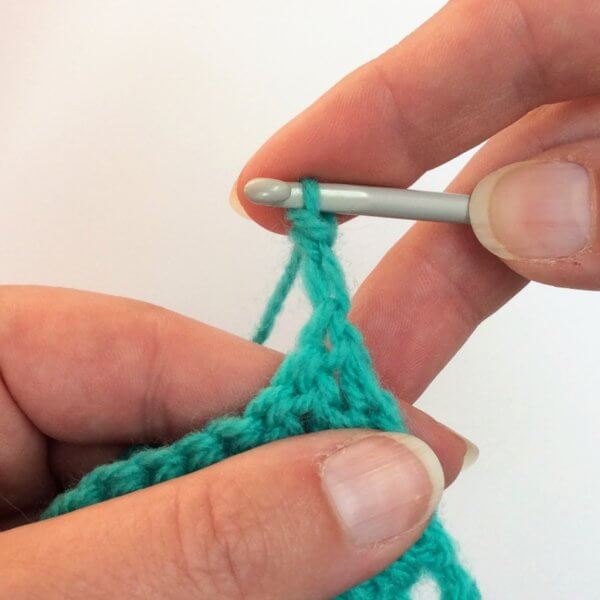
2. Insert your needle (or crochet hook if you find that easier!), from front to back, between the garter stitch ridges, between the last and second-to-last columns of stitches. In other words: in between the ridges and 1 stitch in from the edge.
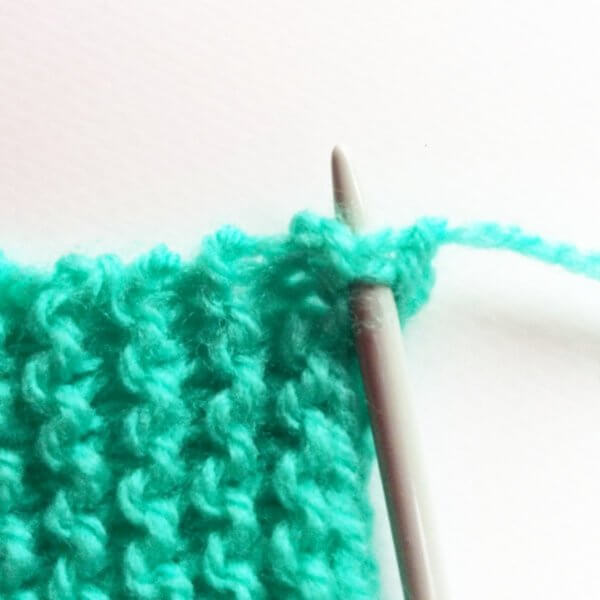
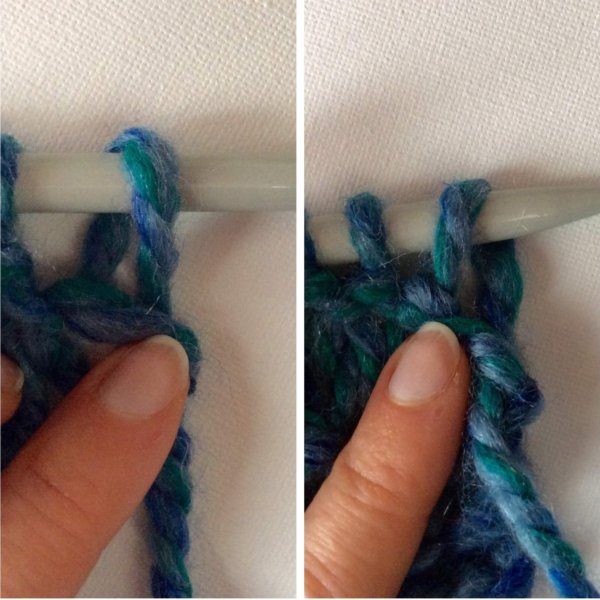
3. Wrap your yarn around the needle or crochet hook…
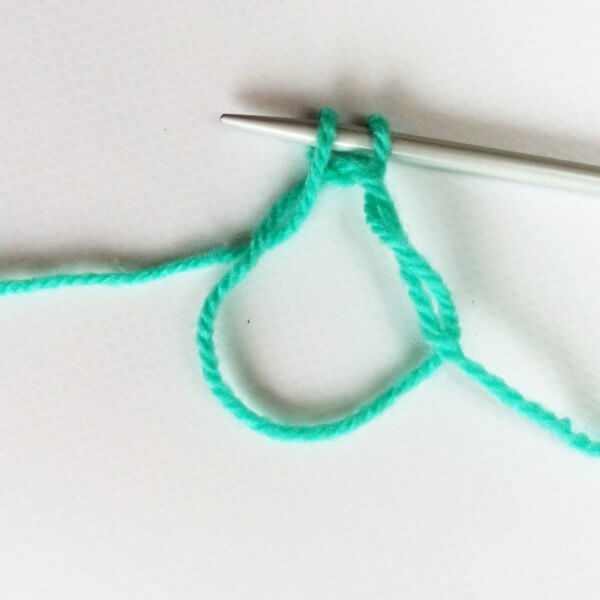
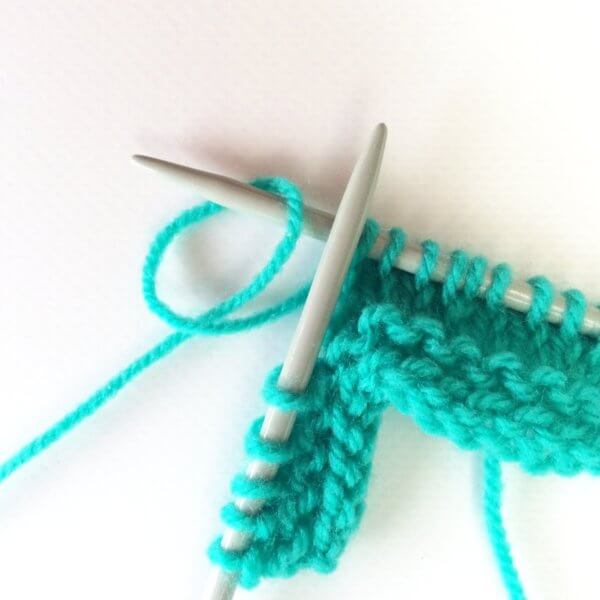
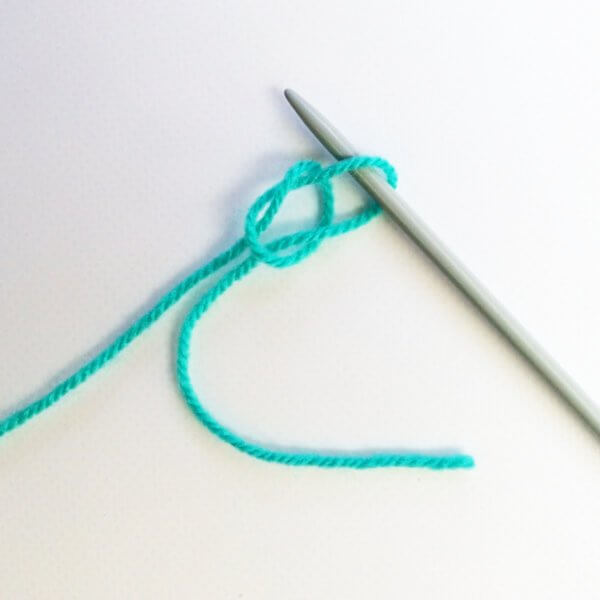
4. …and pull the loop of yarn through the work and place it on the needle.
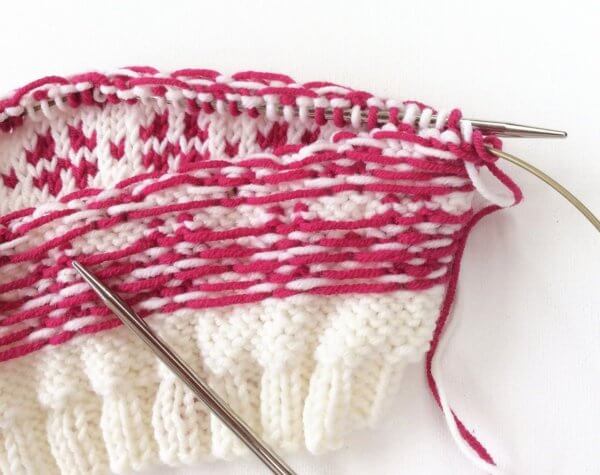
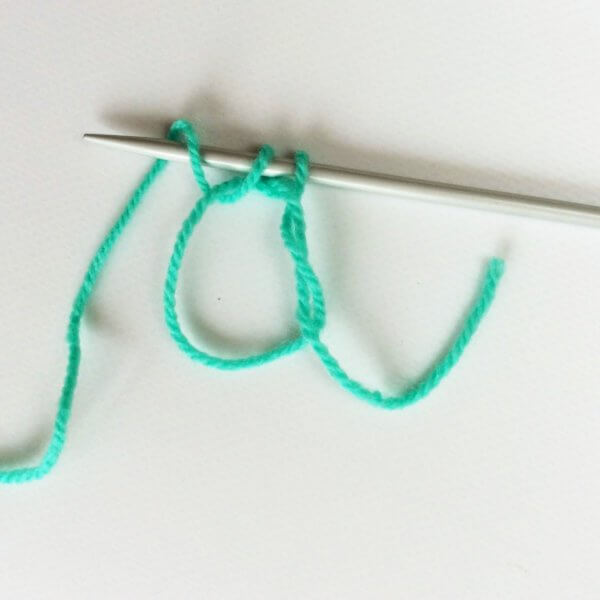
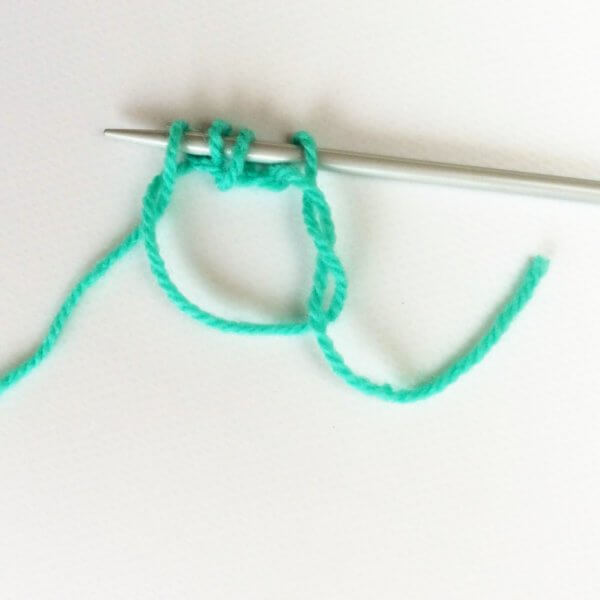
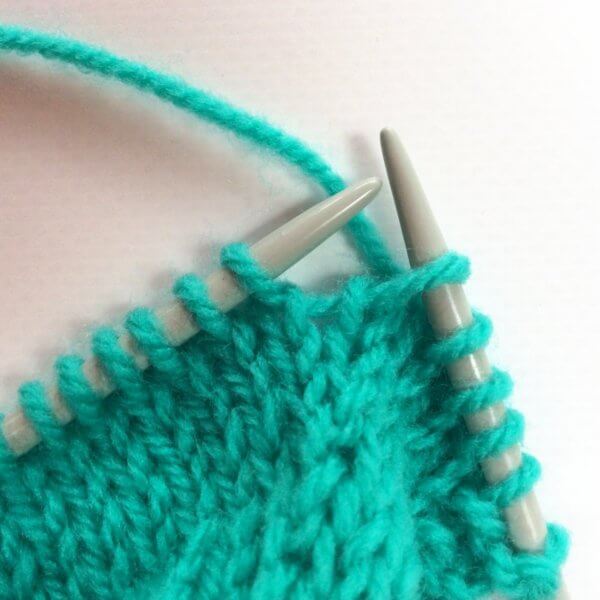
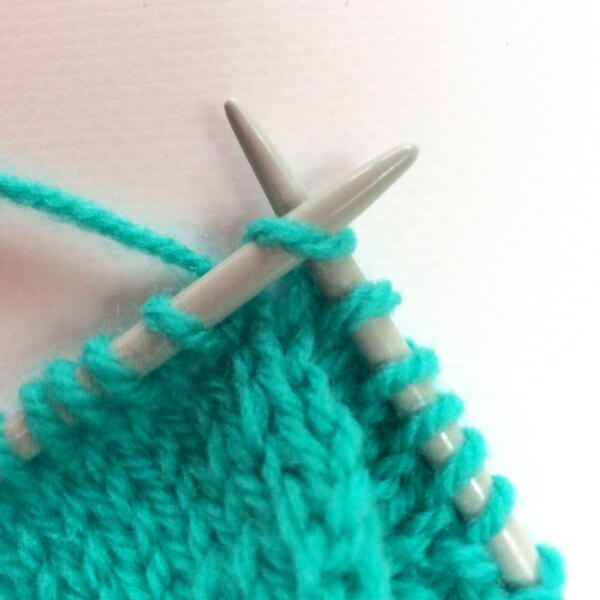
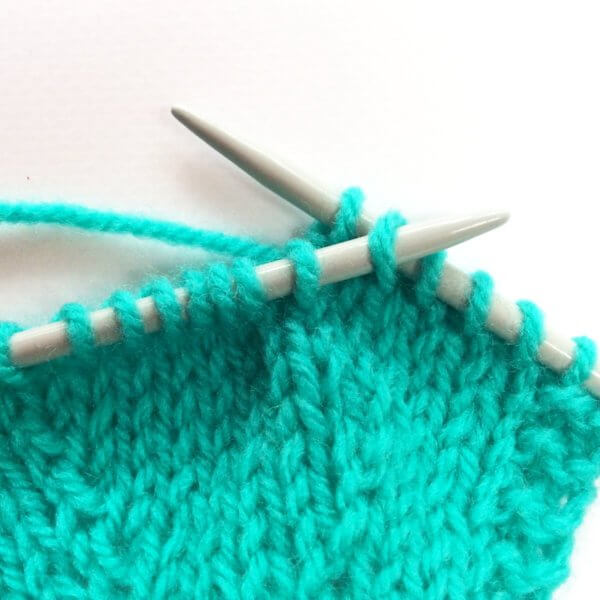
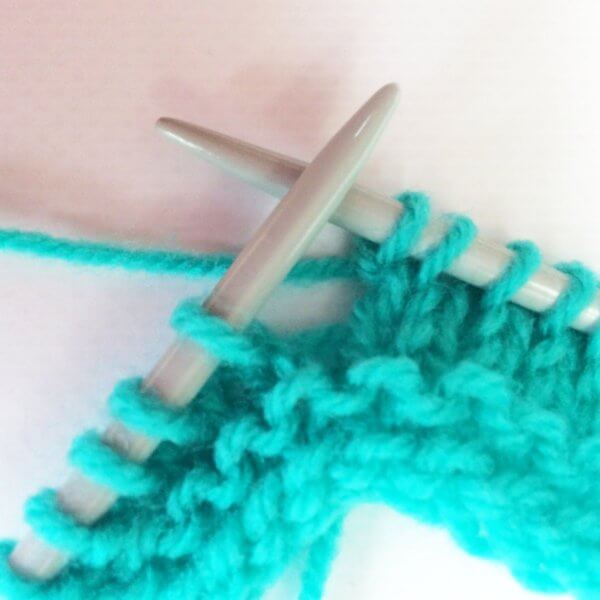
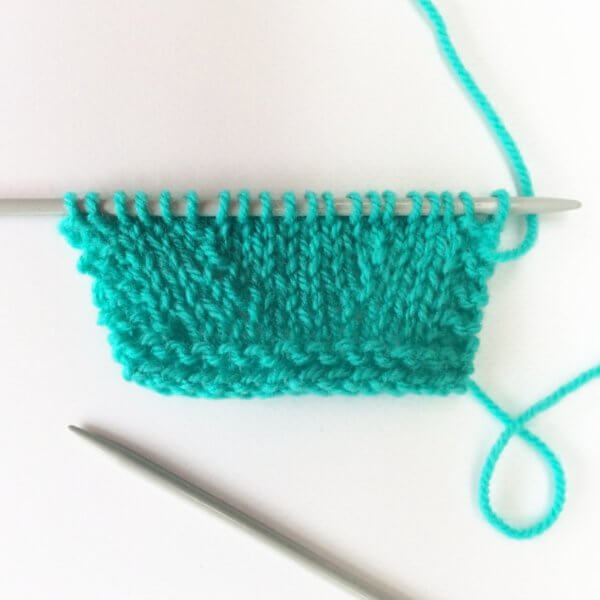
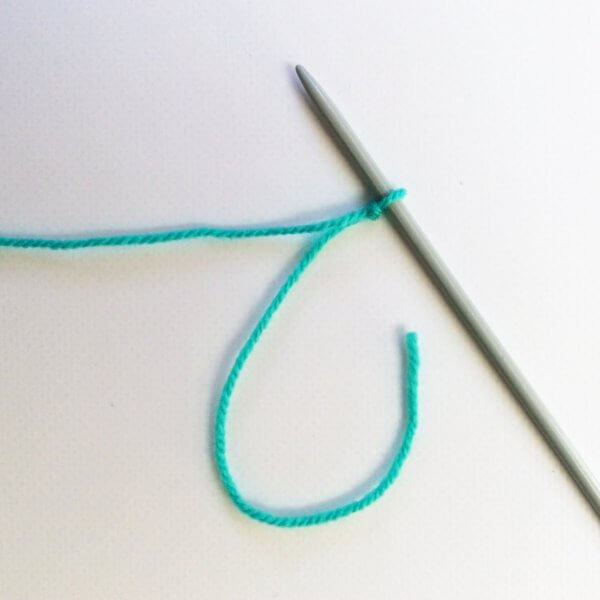
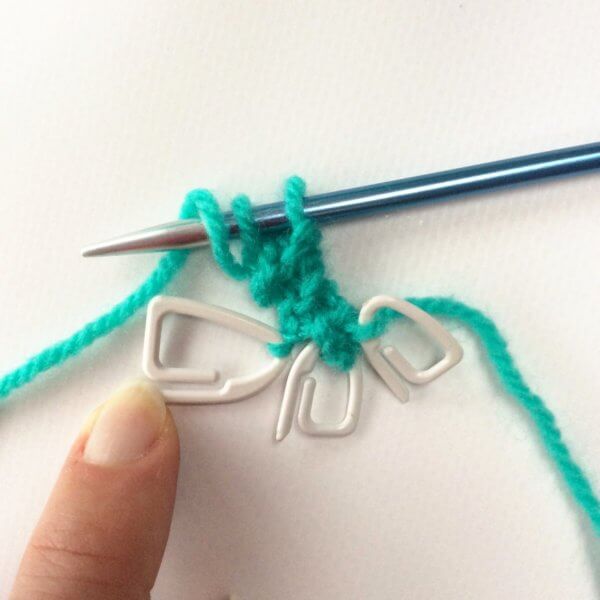
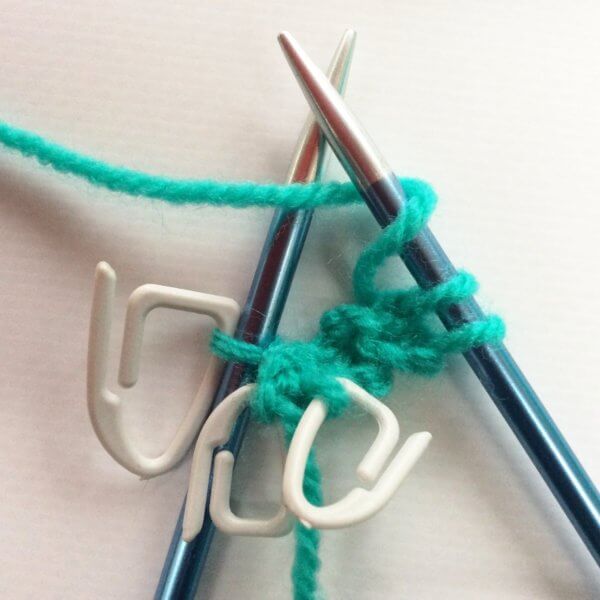
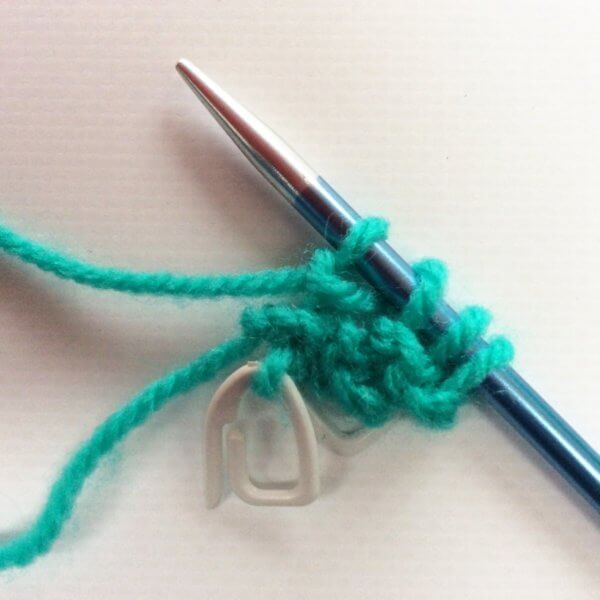
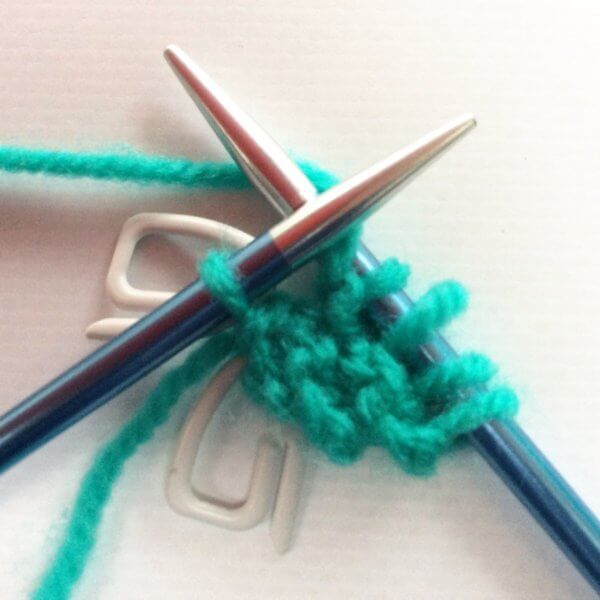
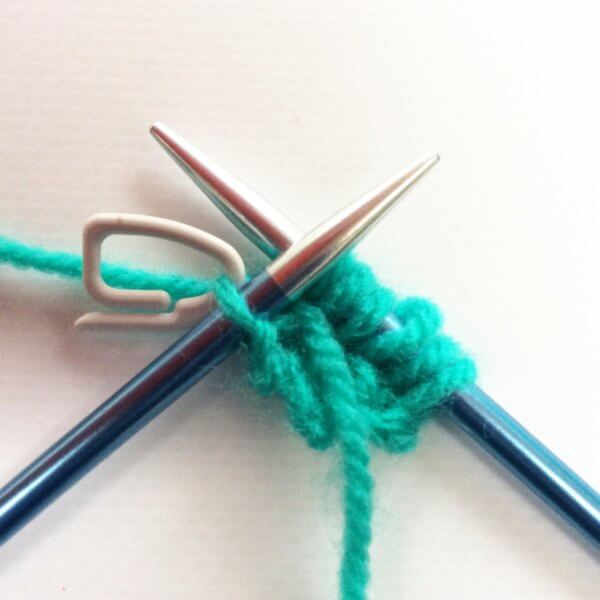
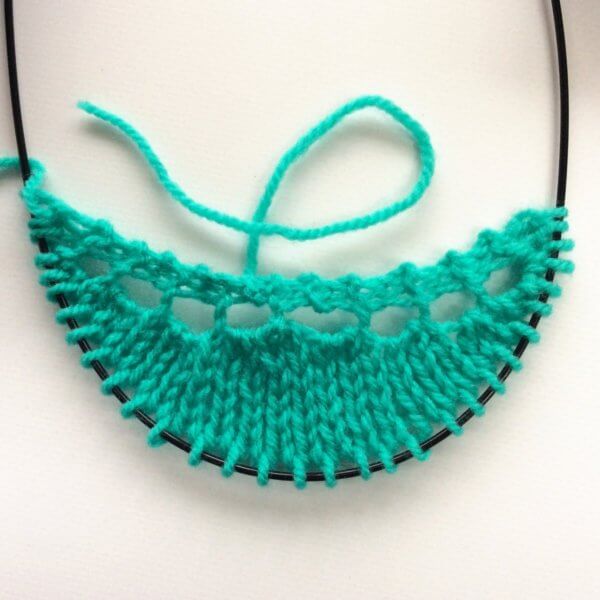
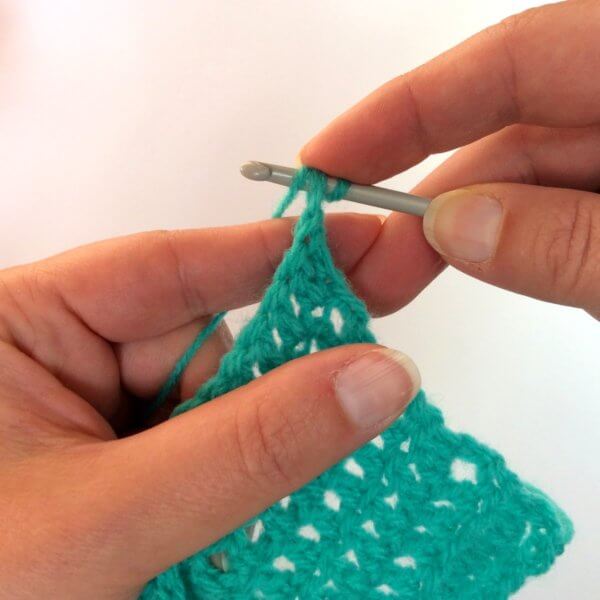
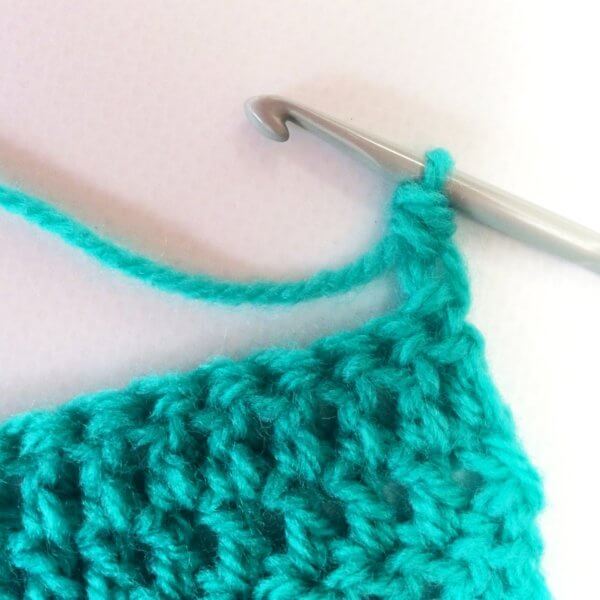
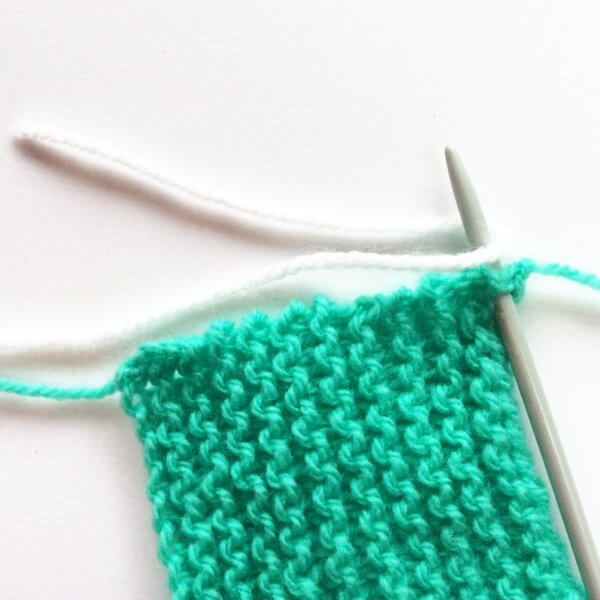
5. Repeat steps 2-4, picking up 1 stitch per garter stitch ridge until all ridges have been worked. The result looks like this from the RS:
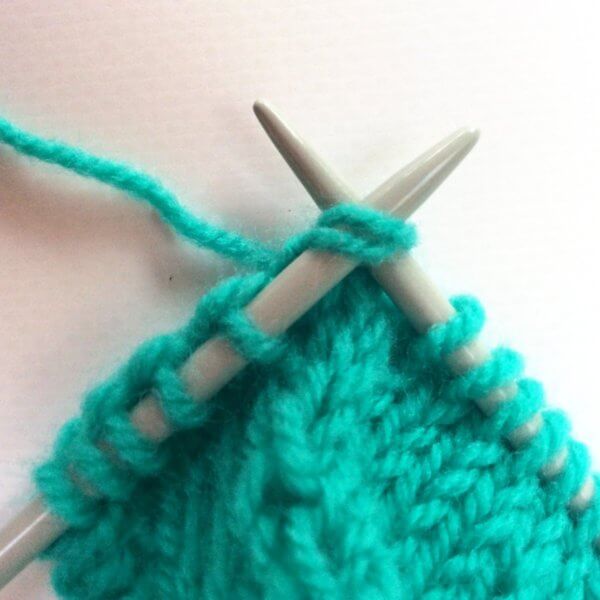
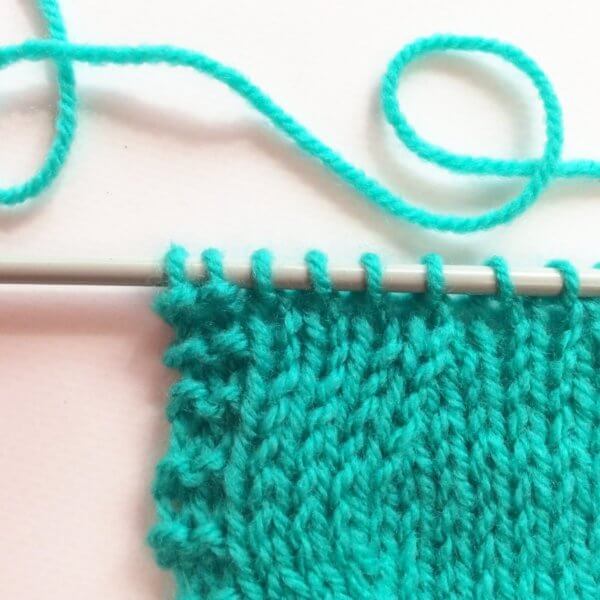
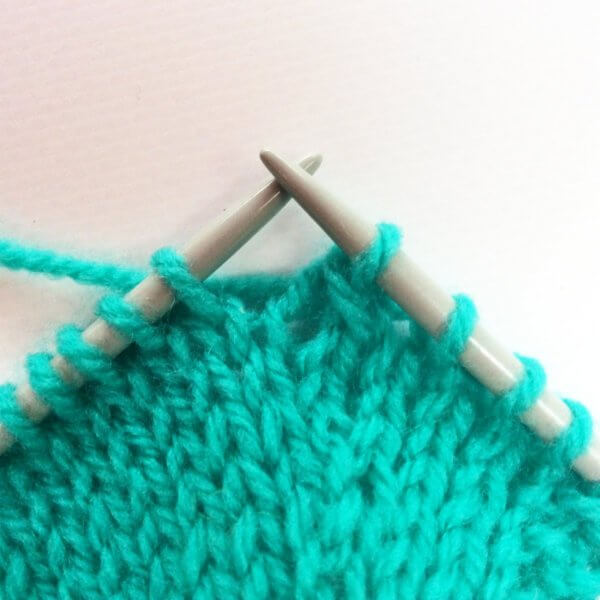
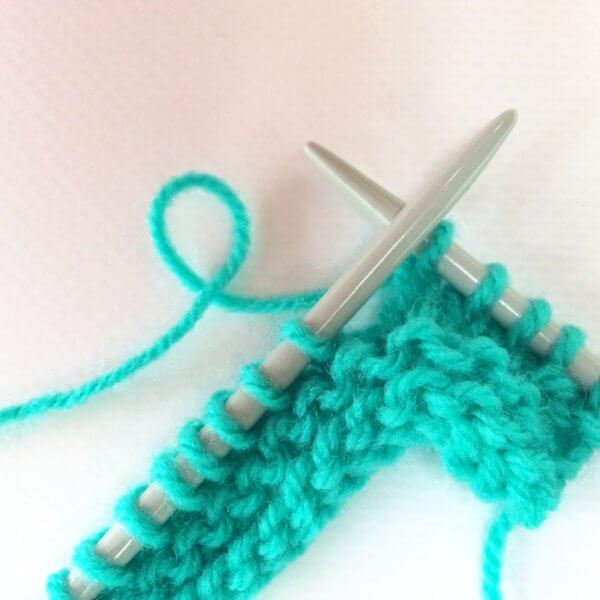
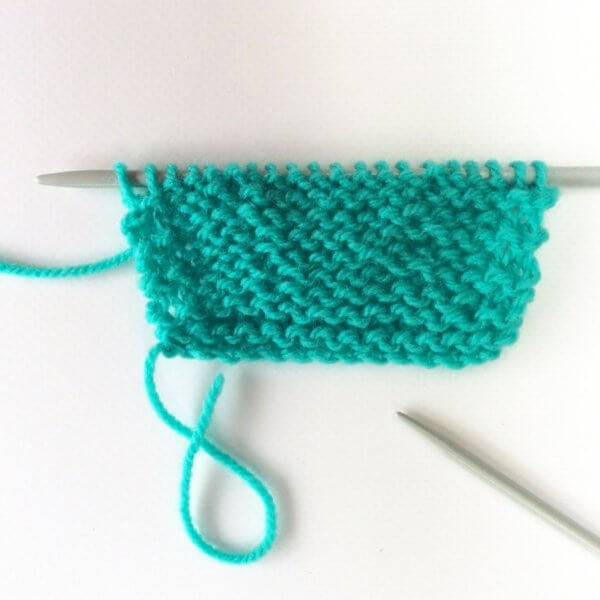
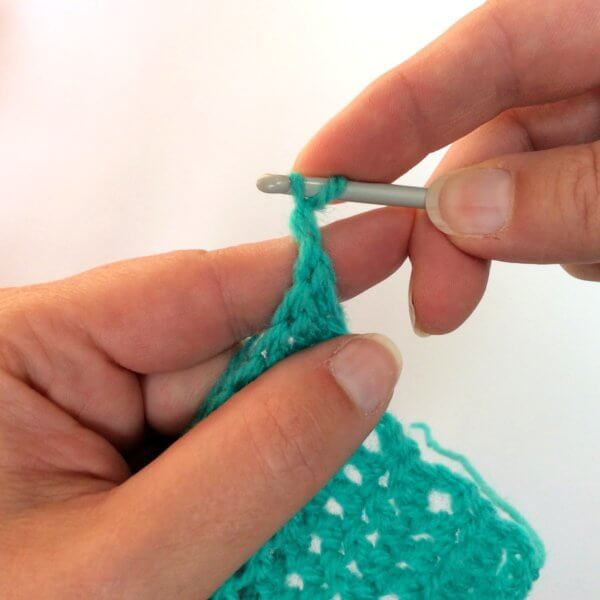
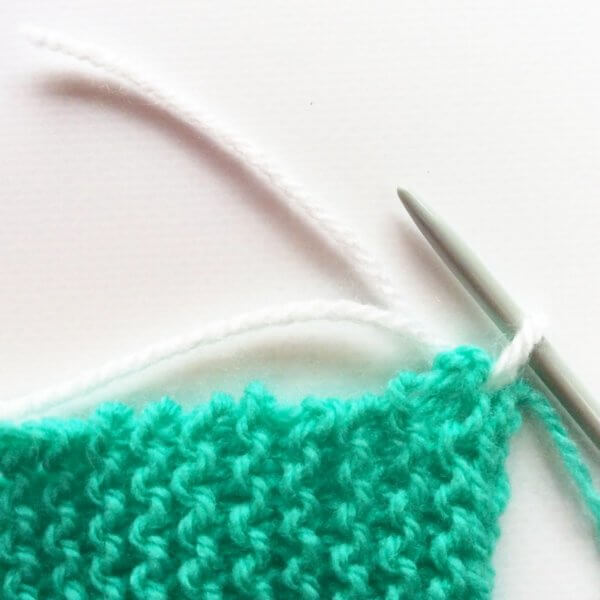
This is how it looks from the WS:
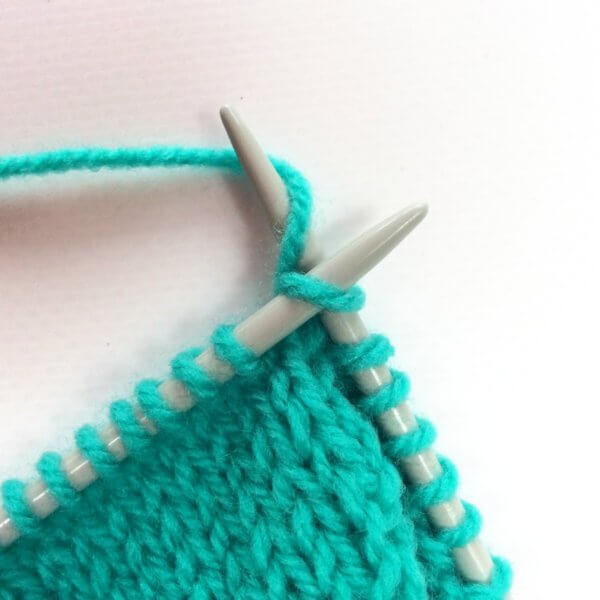
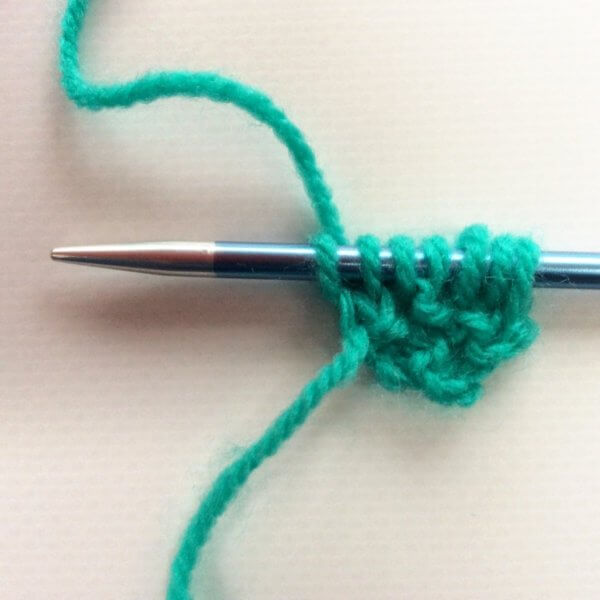
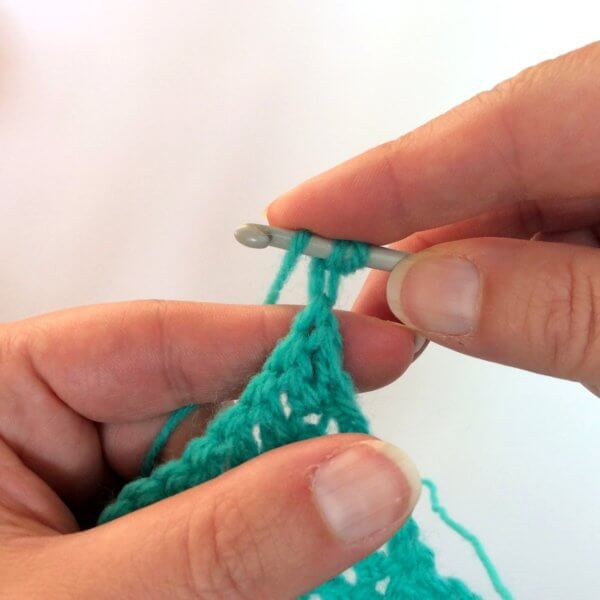
Next, you can start knitting according to your pattern. Take care, though, to see whether the stitches are positioned normal or twisted. The stitch mount has a potential impact on your project!
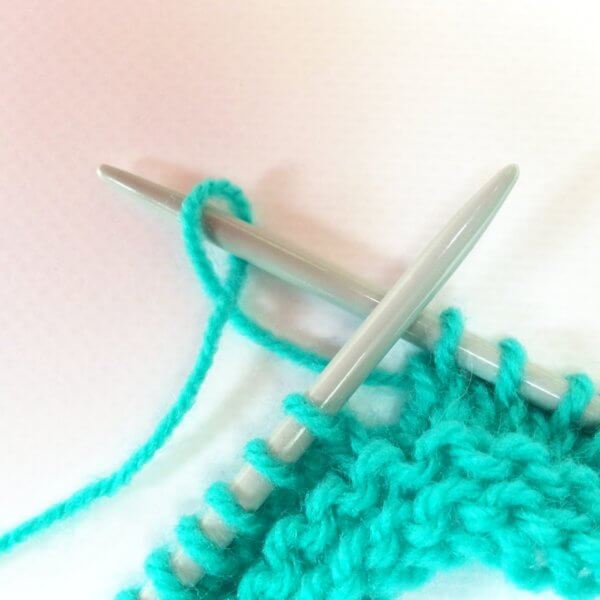
Stitch mount
Stitches have a left and right leg. The way they are positioned on the needle impacts the look of the stitches when knit. In the picture below on the left, you can see the regular orientation with the right leg in front of the needle. On the left there is a twisted stitch: the left leg of the stitch is in front of the needle. This is no problem though: Just knit (or purl) the twisted stitch through the back loop to untwist the stitch mount.
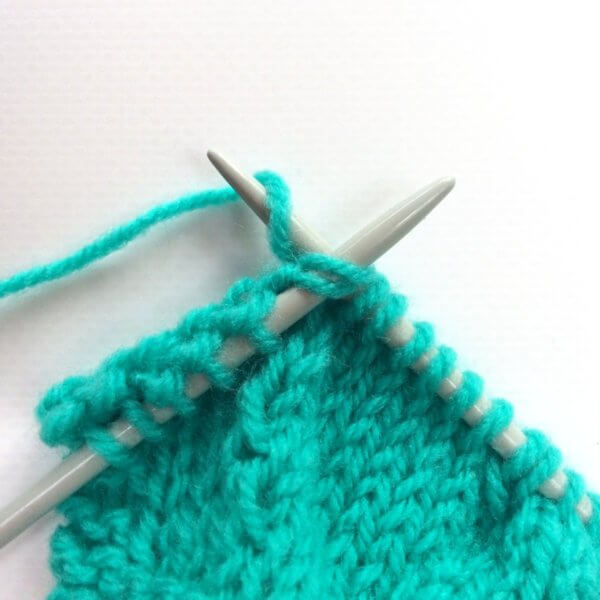
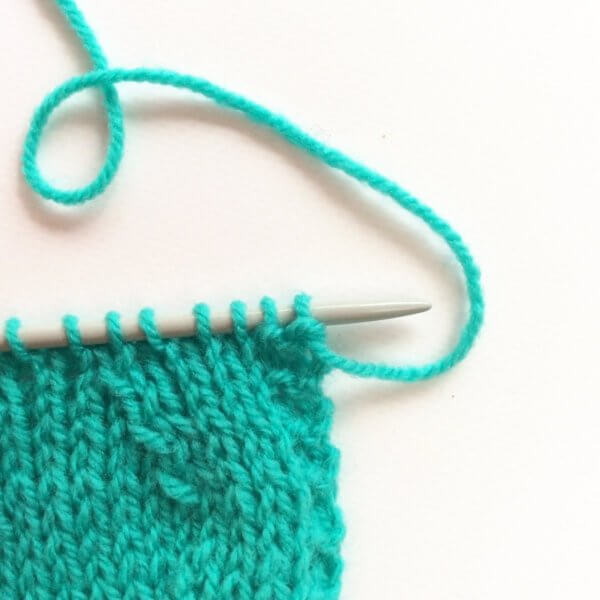
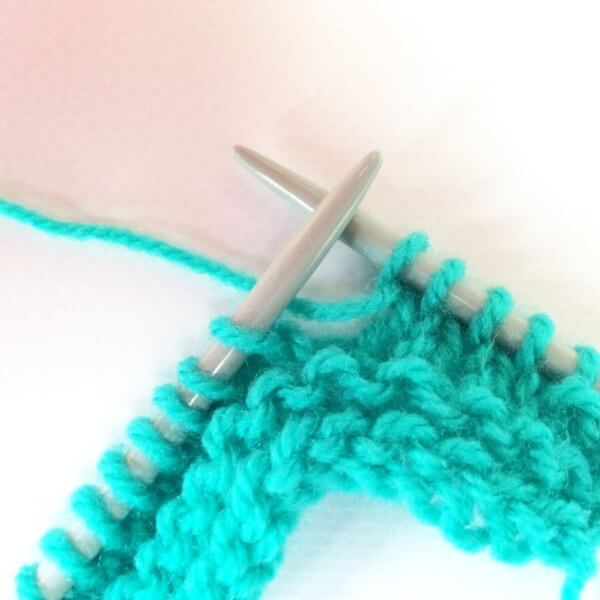
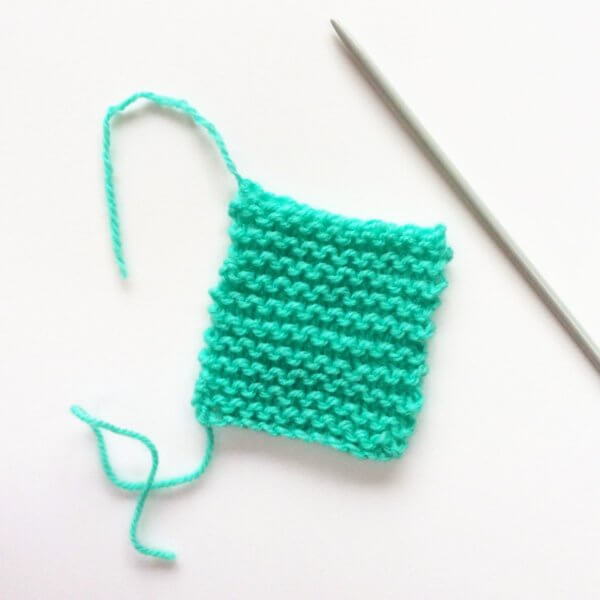
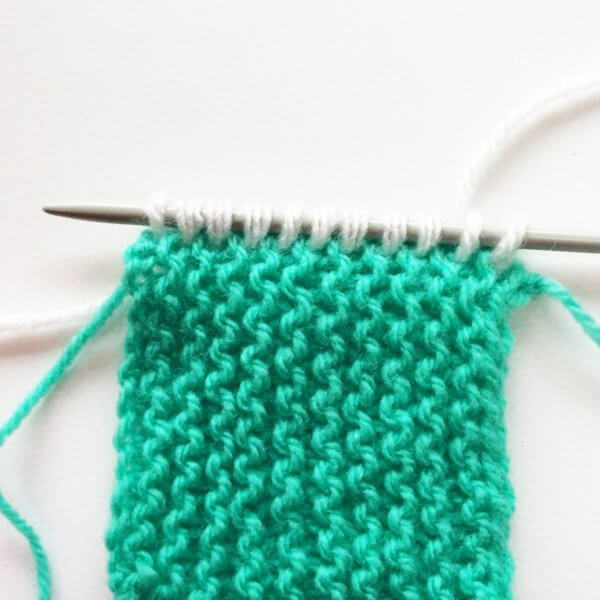
And here how it looks with some more rows worked from the RS:

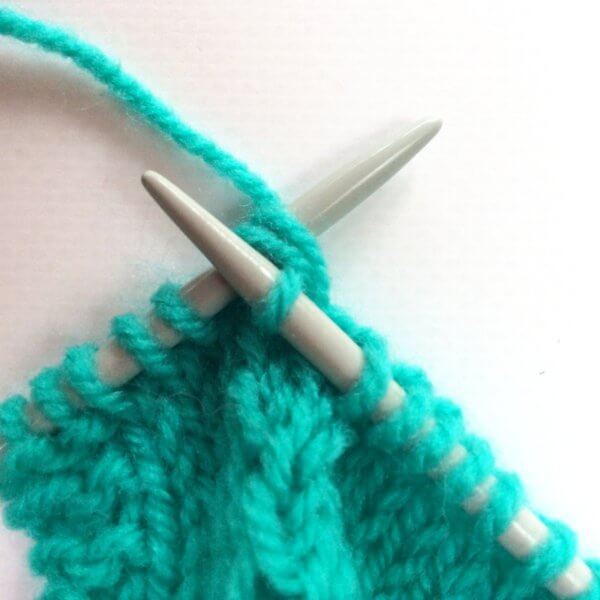
And from the WS:

The white part looks a tad wider than the “body” of the piece because I used a slightly heavier weight yarn!

Thanks to my Patreon supporters for bringing you this freebie! Creating quality patterns and tutorials is a lot of work and resource-intensive. However, I find it important to give you free content like this tutorial. Thanks to the generous support of my Patreon supporters, I can make it happen. Thank you, patrons! Click here to join, or click here to read more about La Visch Designs on Patreon.
tutorial – pick-up & knit from garter stitch Read More »