When working in the round with lots of stitches, using a circular and just going round and round and round is a relatively easy thing to do. It’s however, a different case when working in the round on a project with a small circumference. With small circumference knitting, it usually just doesn’t work in a circular needle, because the needles and the cables are just too long to accommodate the limited number of stitches.
What exactly is magic loop knitting?
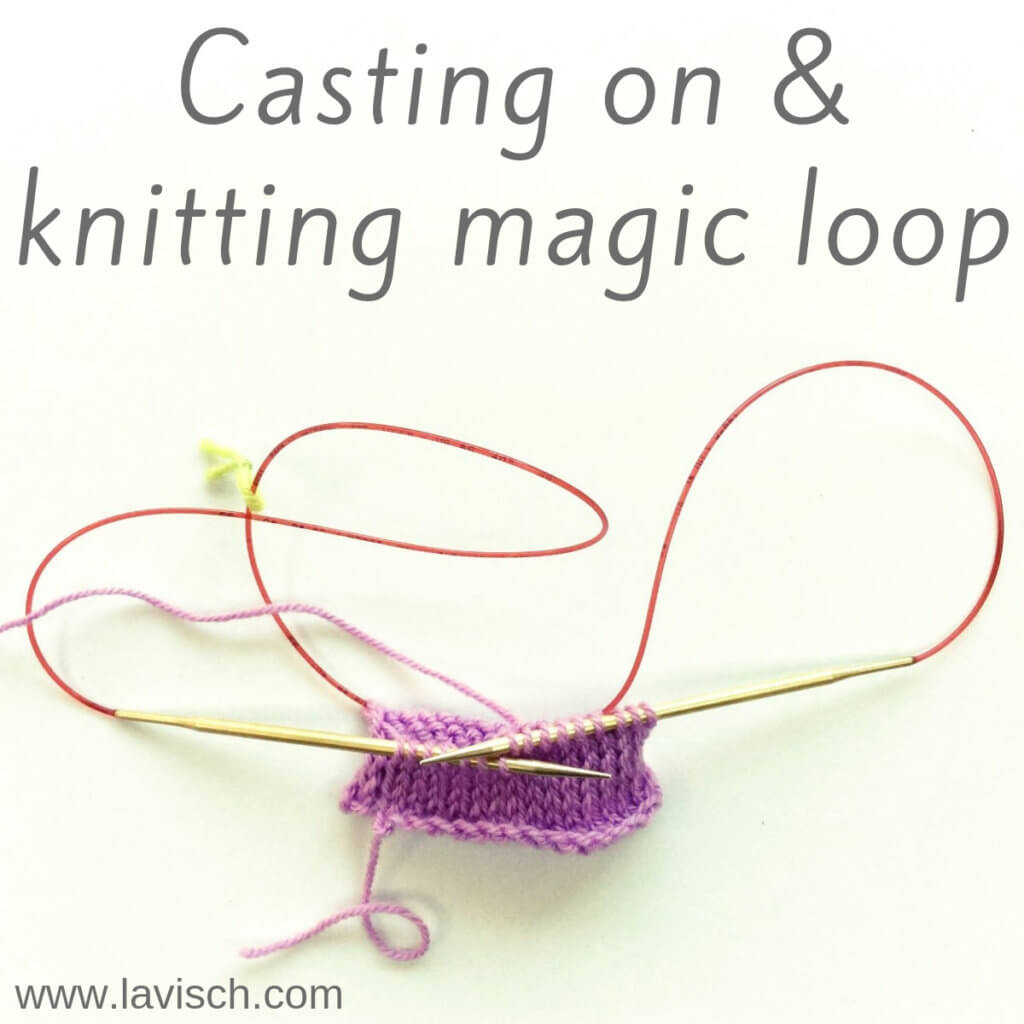
The short description is, that with this method, you pull out a loop of cable of your circular needle to divide your stitches. This is usually done into two equal parts. Once the stitches are divided, you can use the free needle tip to knit across half of the stitches. Next, the project is rotated and the needle pulled through to work the remaining stitches.
Materials used

Yarn: Paintbox Yarns Simply DK, a good value, good quality 100% acrylic yarn, here in the colors 142 Tea Rose.
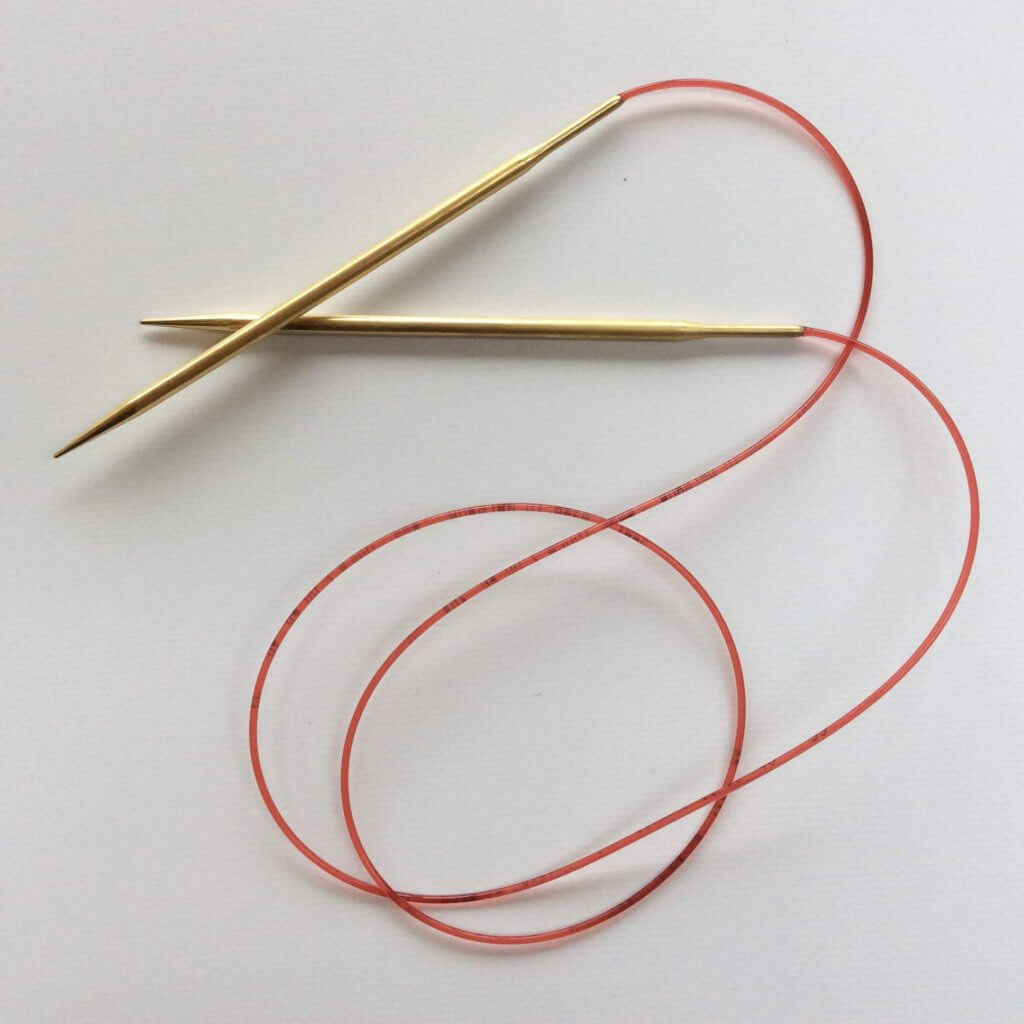
Needles: Addi Lace Circular Needles, in this tutorial I used the 4 mm (US 6) size with a cable length of 100 cm (40 inches). I would like to advise using at least a cable length of 80 cm (32 inches) to facilitate magic loop knitting.
Magic loop knitting step by step
1. Begin by casting on the required number of stitches for your project. I used the cable or knitted-on cast on in this example. Once this is done, you can continue to the next step. However, doing so directly increases the odds that the cast-on twists around the needle, resulting in a twist in your work when joined in the round. To avoid this, I usually just knit the first “round” of the pattern flat. So, that’s what I also did here!
2. Next, lay the work down on a table in front of you in such a way, that the working yarn is on the right. Make sure that the cast-on edge is not twisted around the needle.
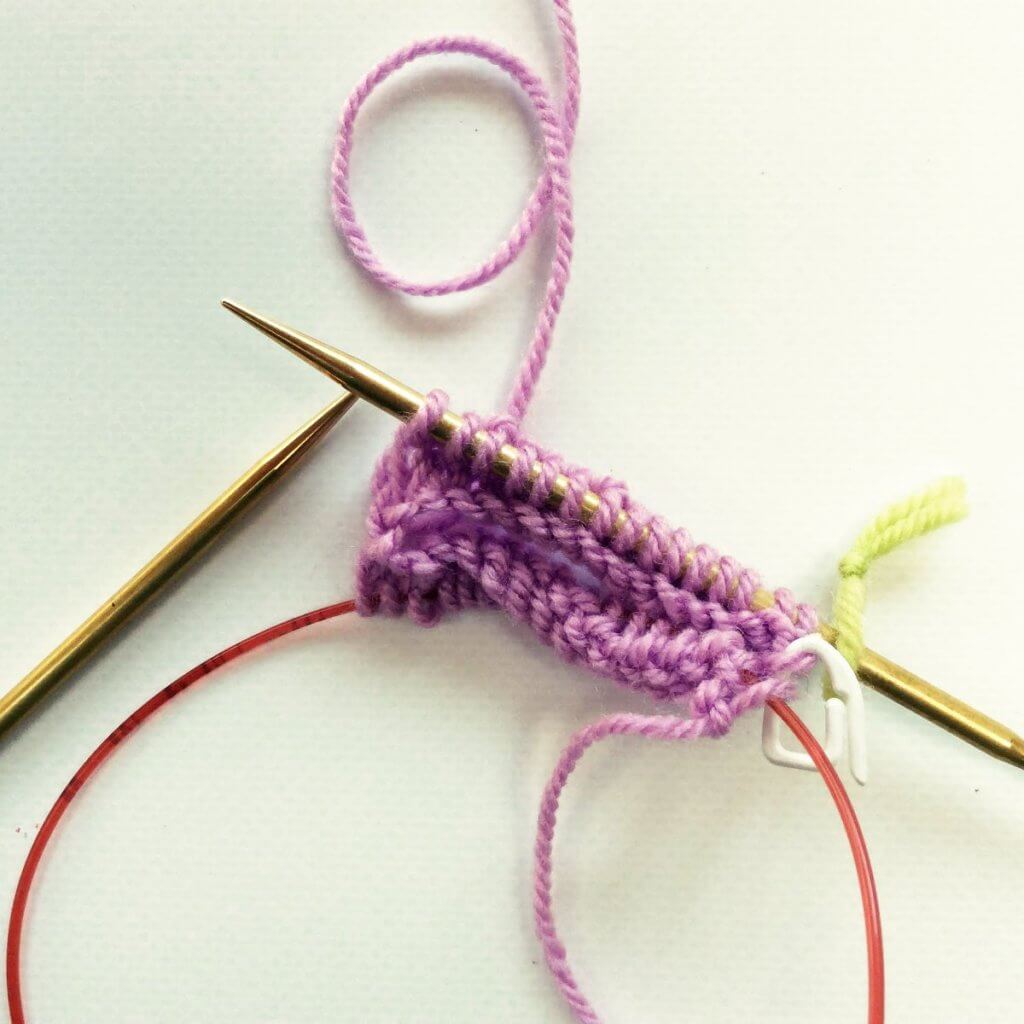
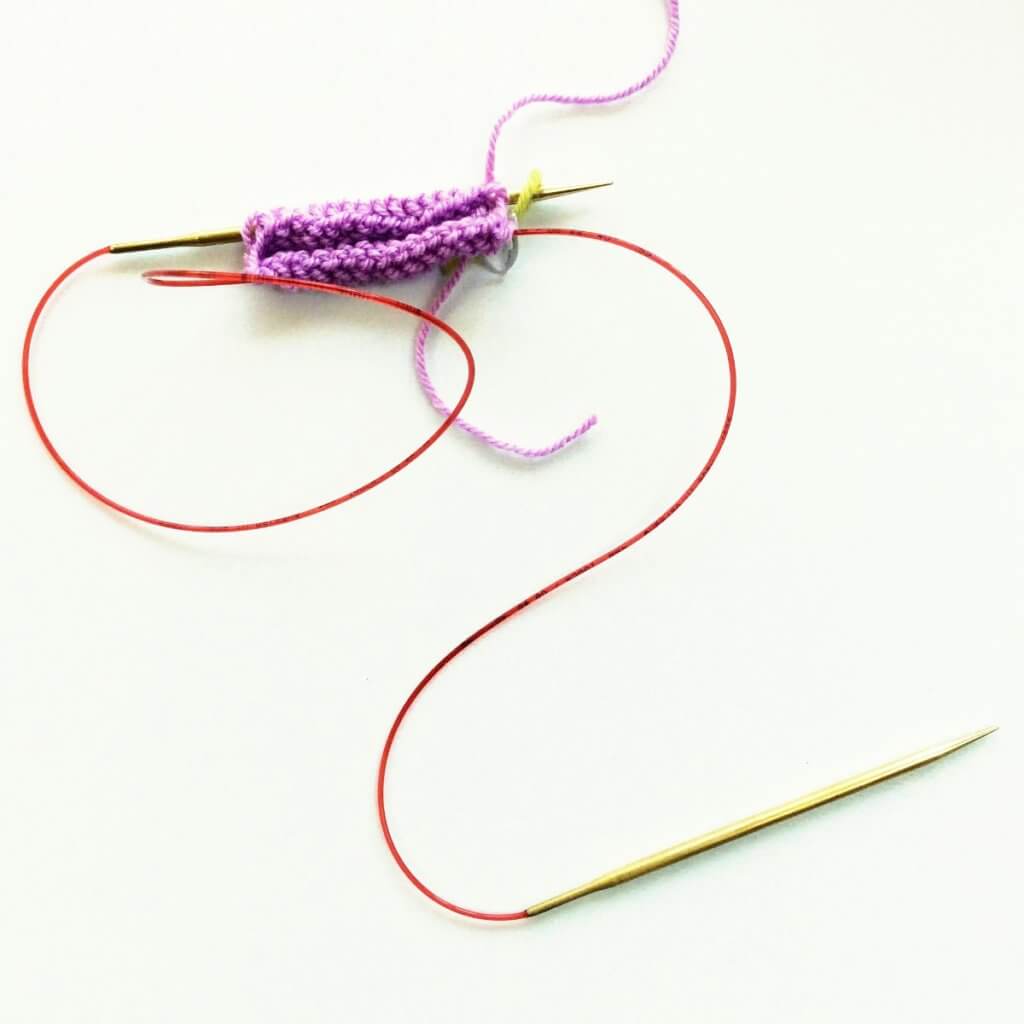
3. Now, move the stitches to the center of the cable and find the middle point in the stitches. If working with an odd number of stitches, no worries: this won’t make that big of a difference. Gently bend your cable and bring it up between the center stitches.
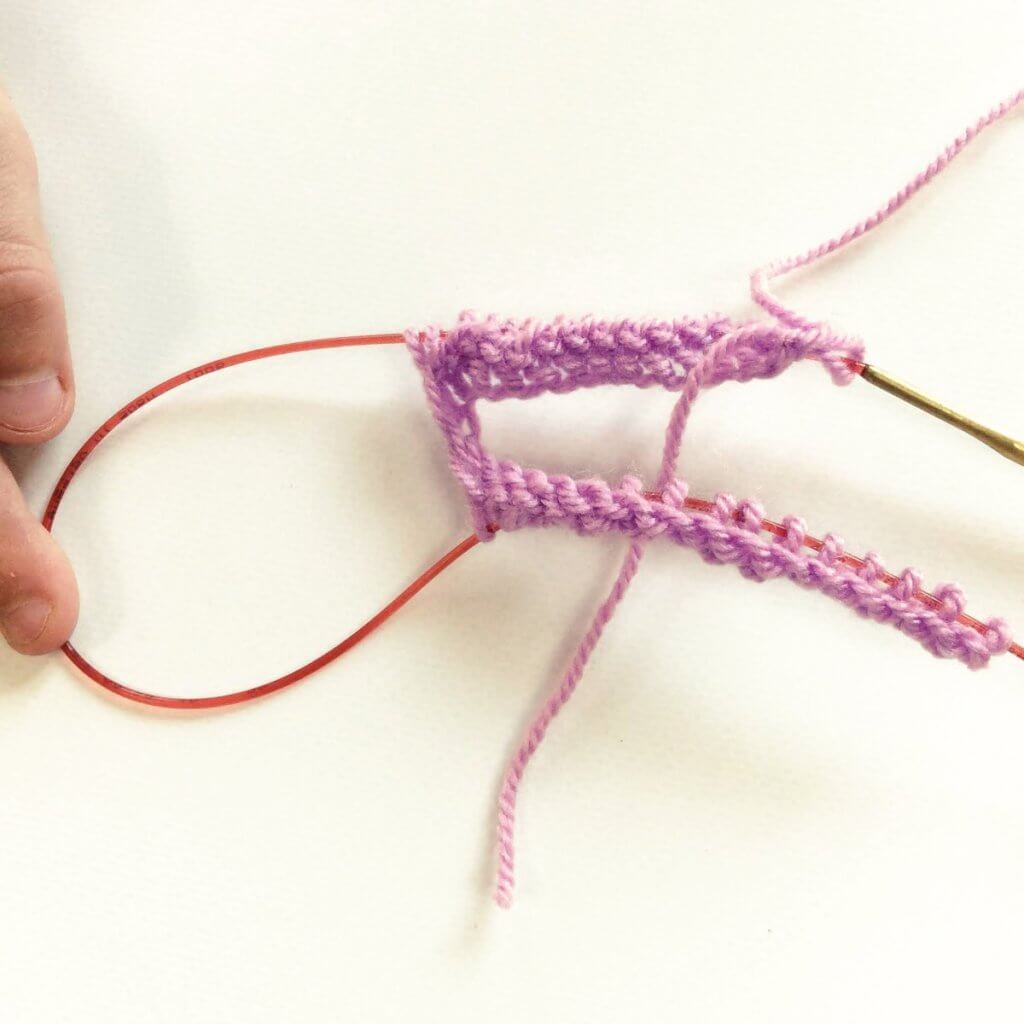
4. Next, pull the cable gently to reposition both sets of stitches on the needles as pictured, instead of on the cable. Make sure the working yarn is near the tip of the needle at the back, in between both needles. For working the first stitch, make sure it runs up between the needle tips for knitting, and for purling that it runs down.
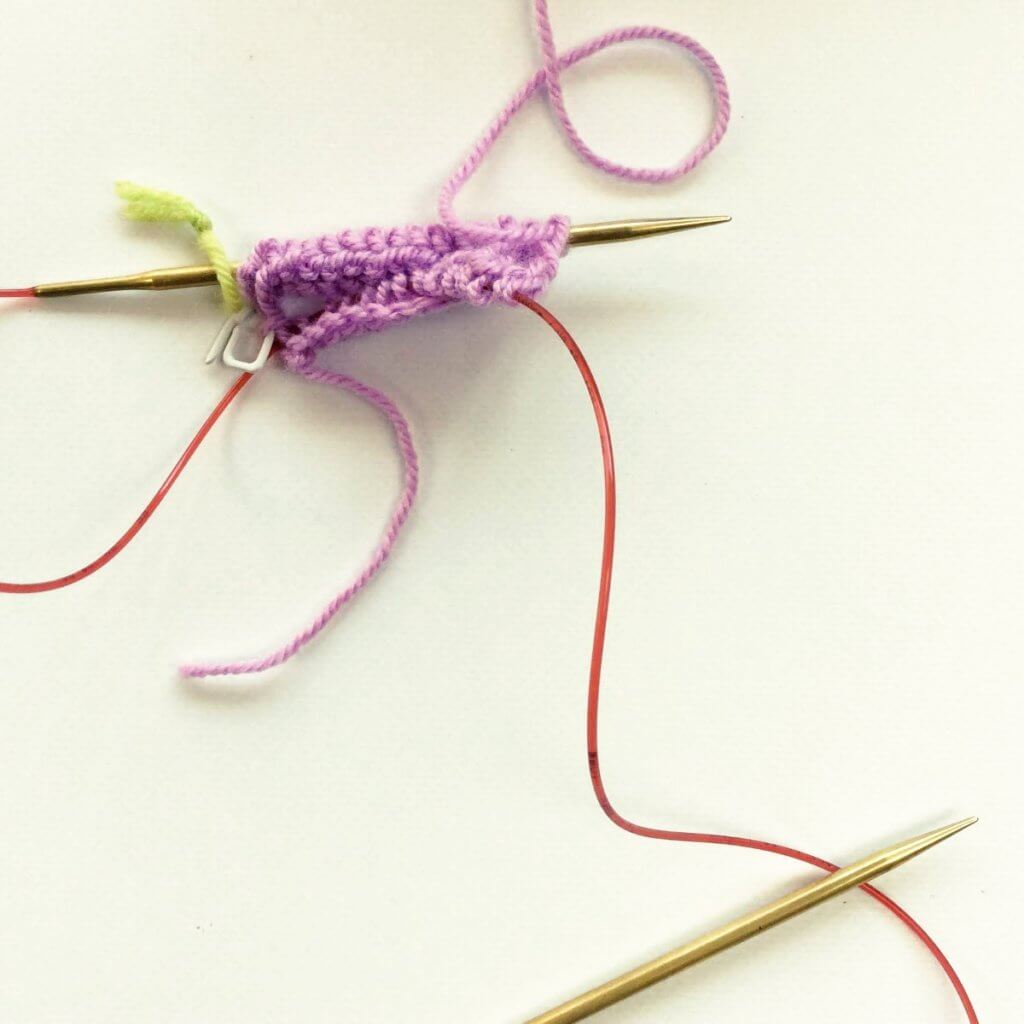
5. To join in the round and to start knitting, grab the needle tip that is at the back and pull it out so the stitches on it slide to the cable. Now is also the time to put a “beginning (or end) of round” stitch marker on this needle tip. This needle tip becomes your right-hand or working needle.
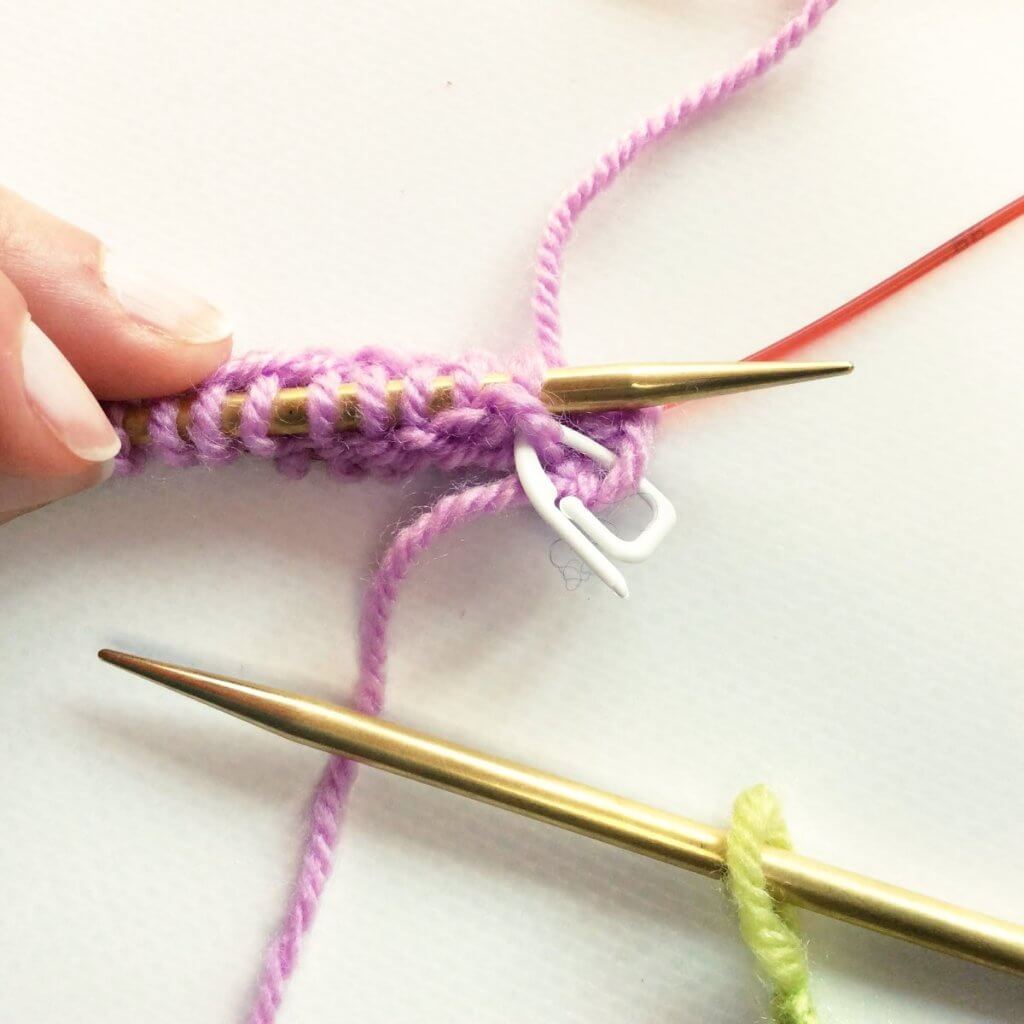
6. Now you’re ready to work your way across the stitches on the left-hand or main needle. Especially with the first few rounds, you can encounter a “gap” at the spot you joined in the round. You can help avoid this by connecting both sides of this gap with a removable stitch marker. It also helps to tighten up the second stitch you work on each needle.
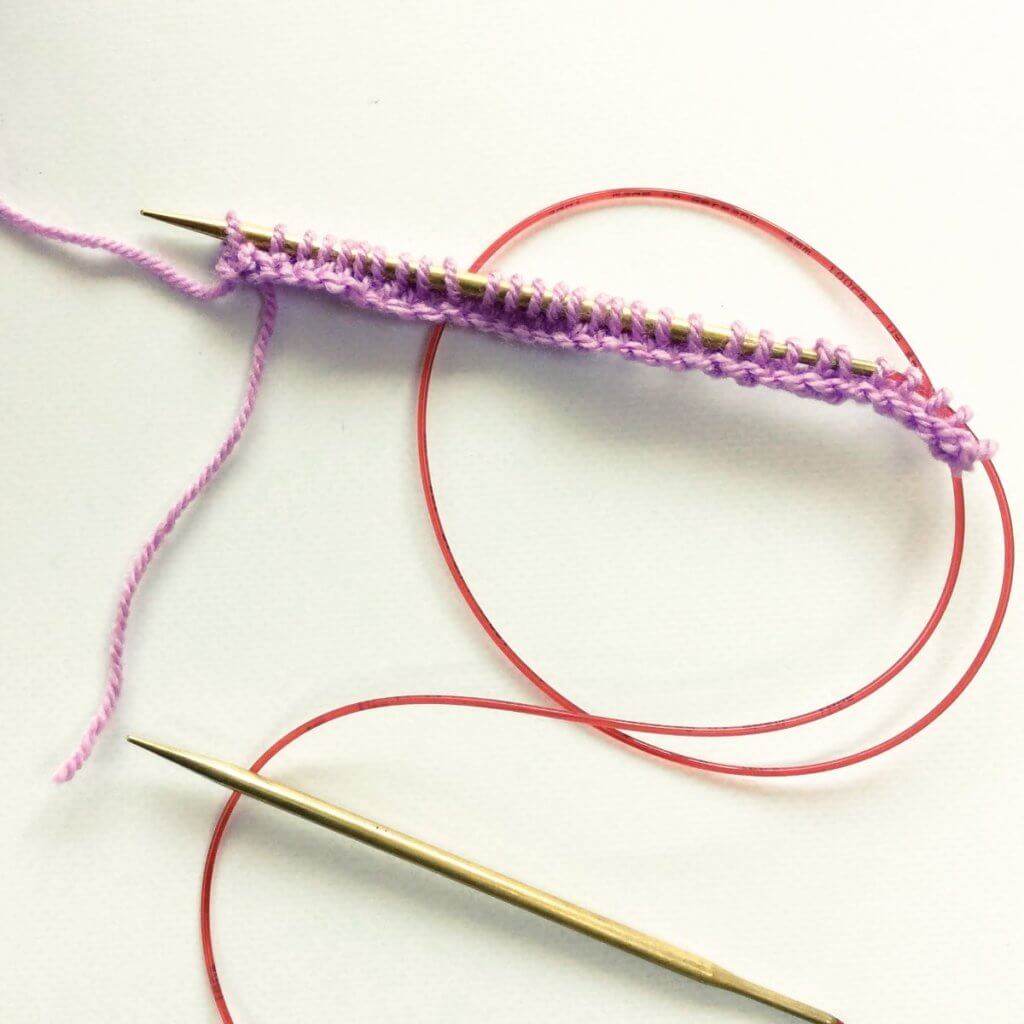
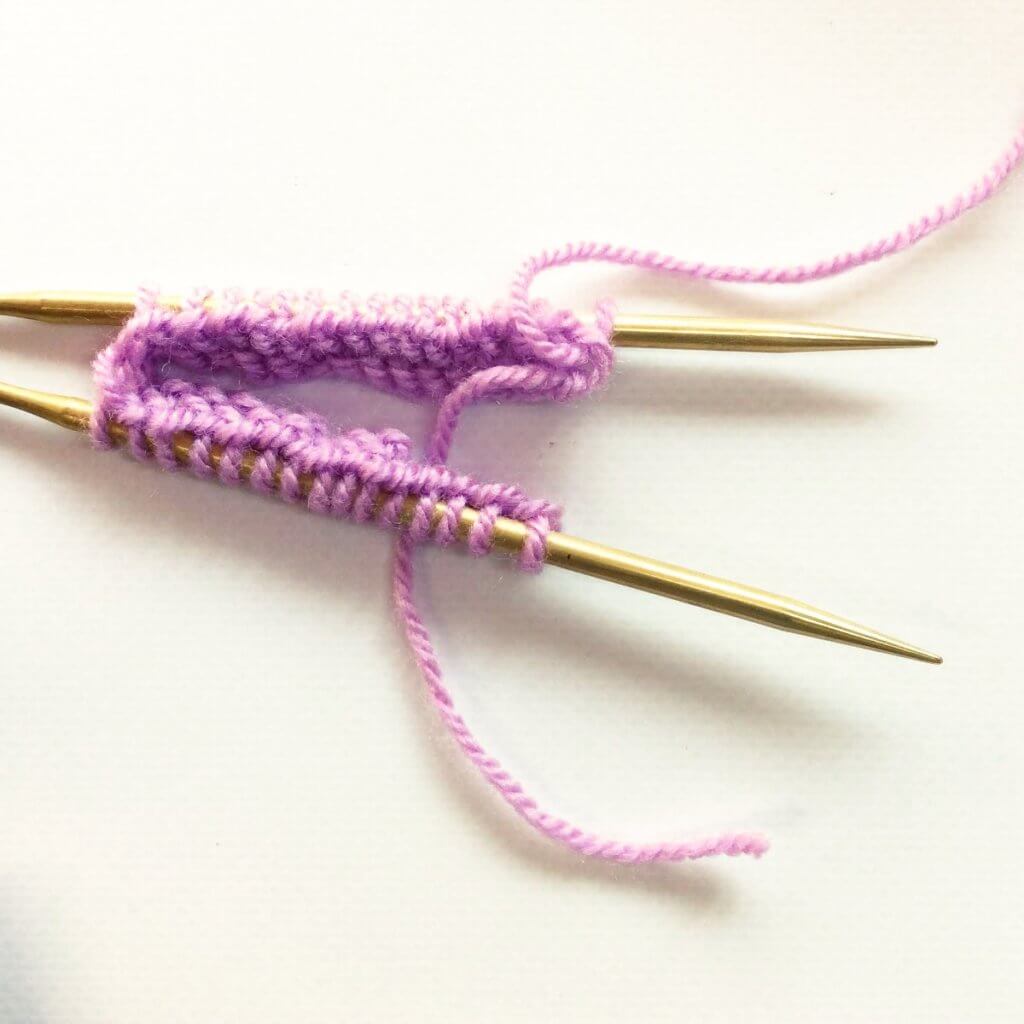
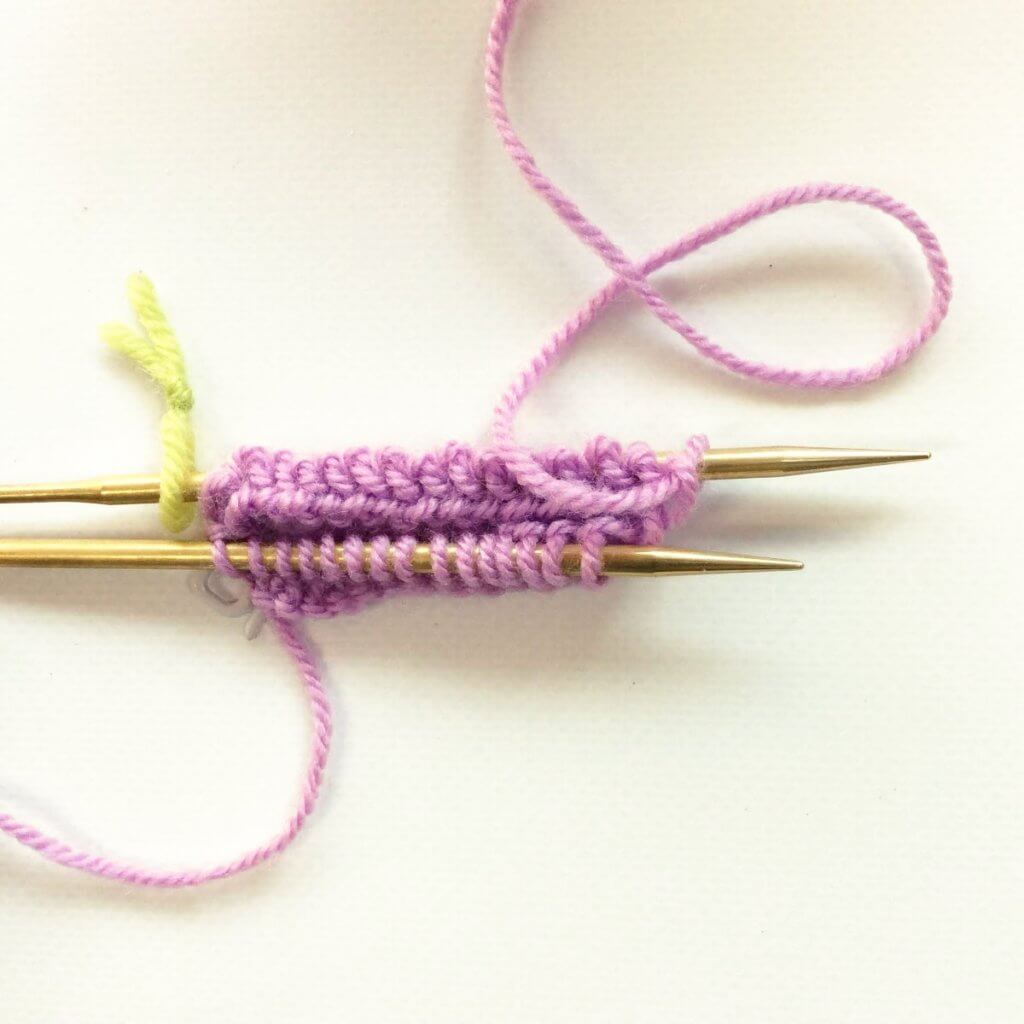
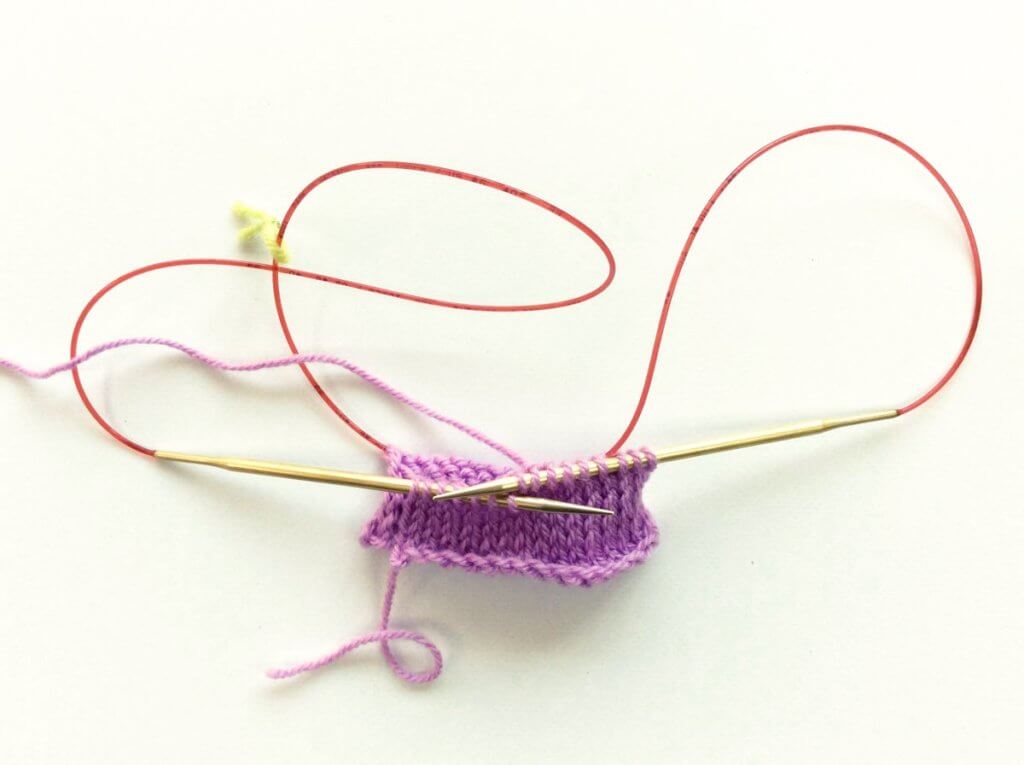
7. Once you worked across these stitches, it will look something like this:
8. Next, turn your work so that the working yarn is on the right again and the former back needle is now in the front.
9. To be able to use the needle that is now in the front as your main (left-hand) needle, we first have to pull the cable connected to the needle tip. This way the stitches slide from the cable onto the needle tip.
10. Again pull out the other (back) needle so that the stitches rest on the cable and the tip can be used as your working (right-hand) needle and work across all the stitches on the main (left-hand) needle.
11. Continue steps 6 to 10 for each round as described in your pattern.
And that’s all there is to it!
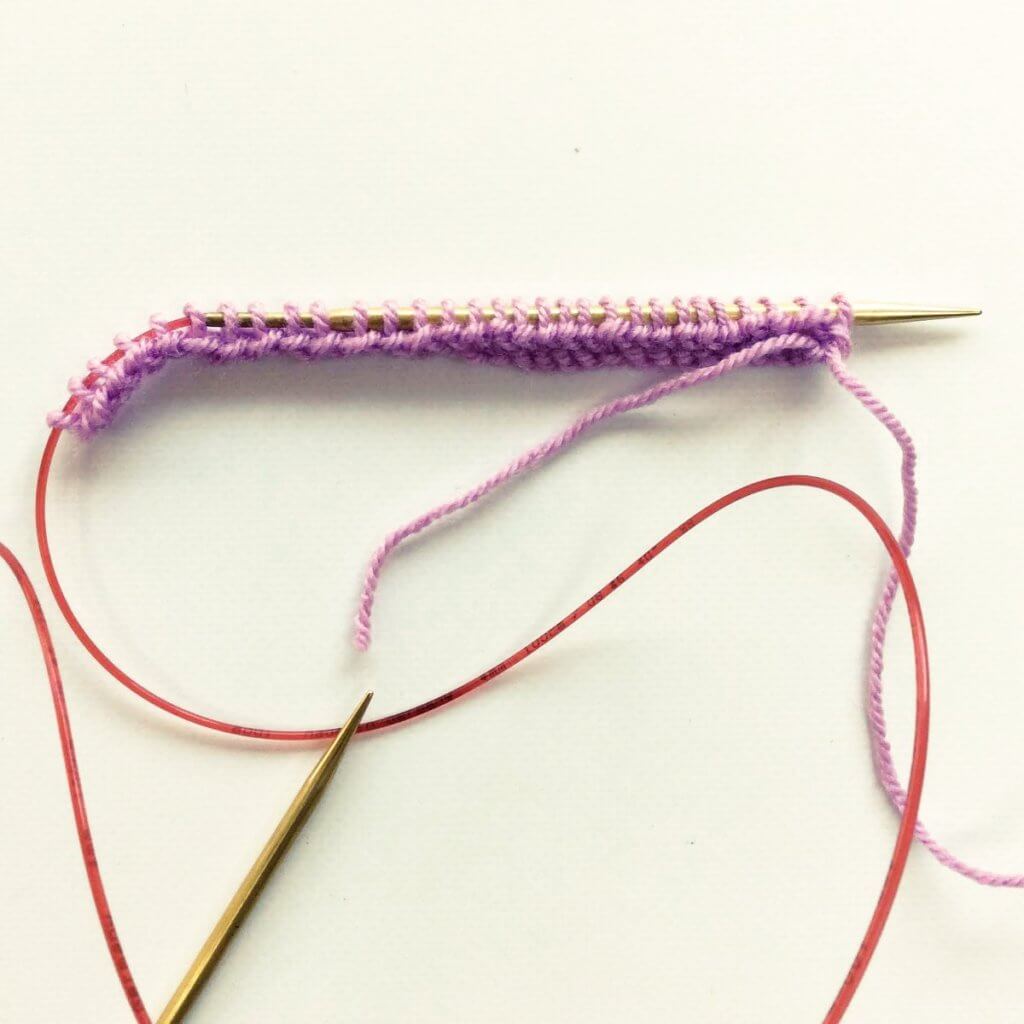
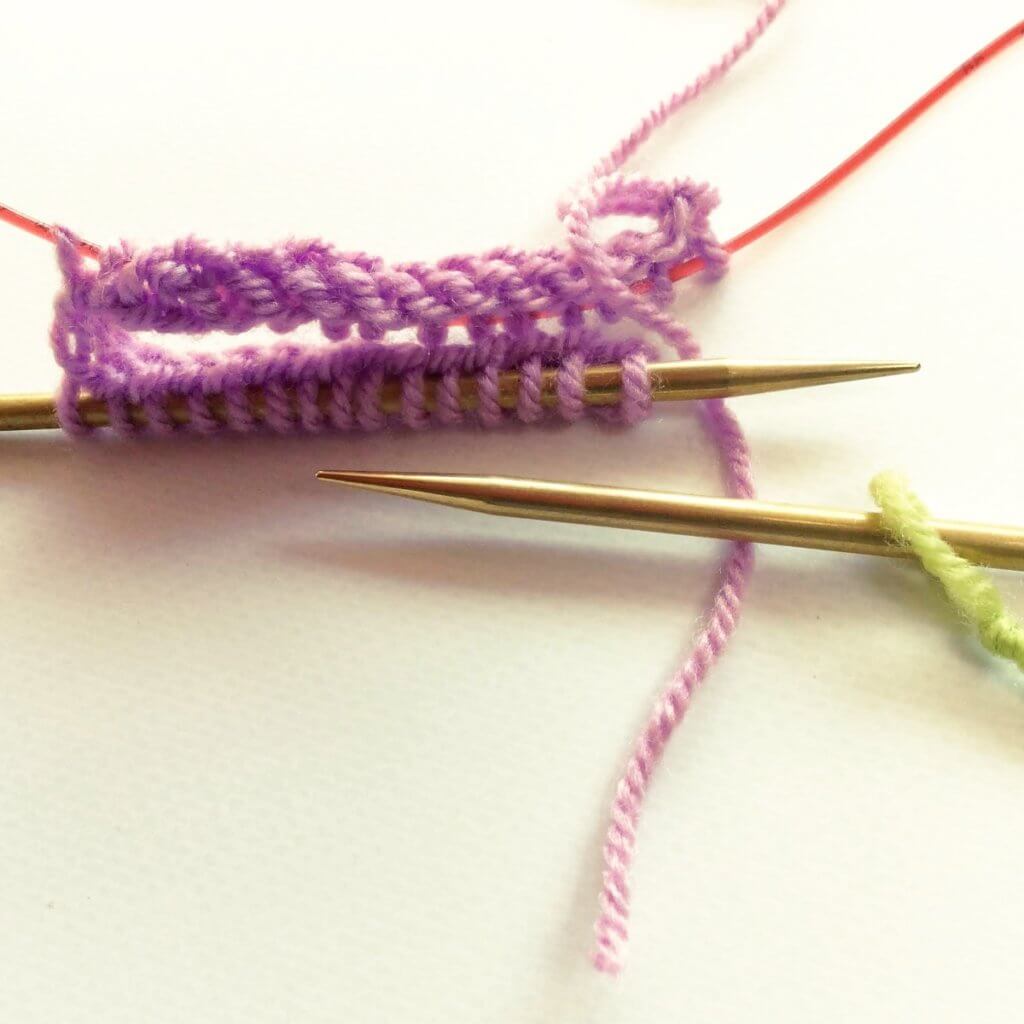
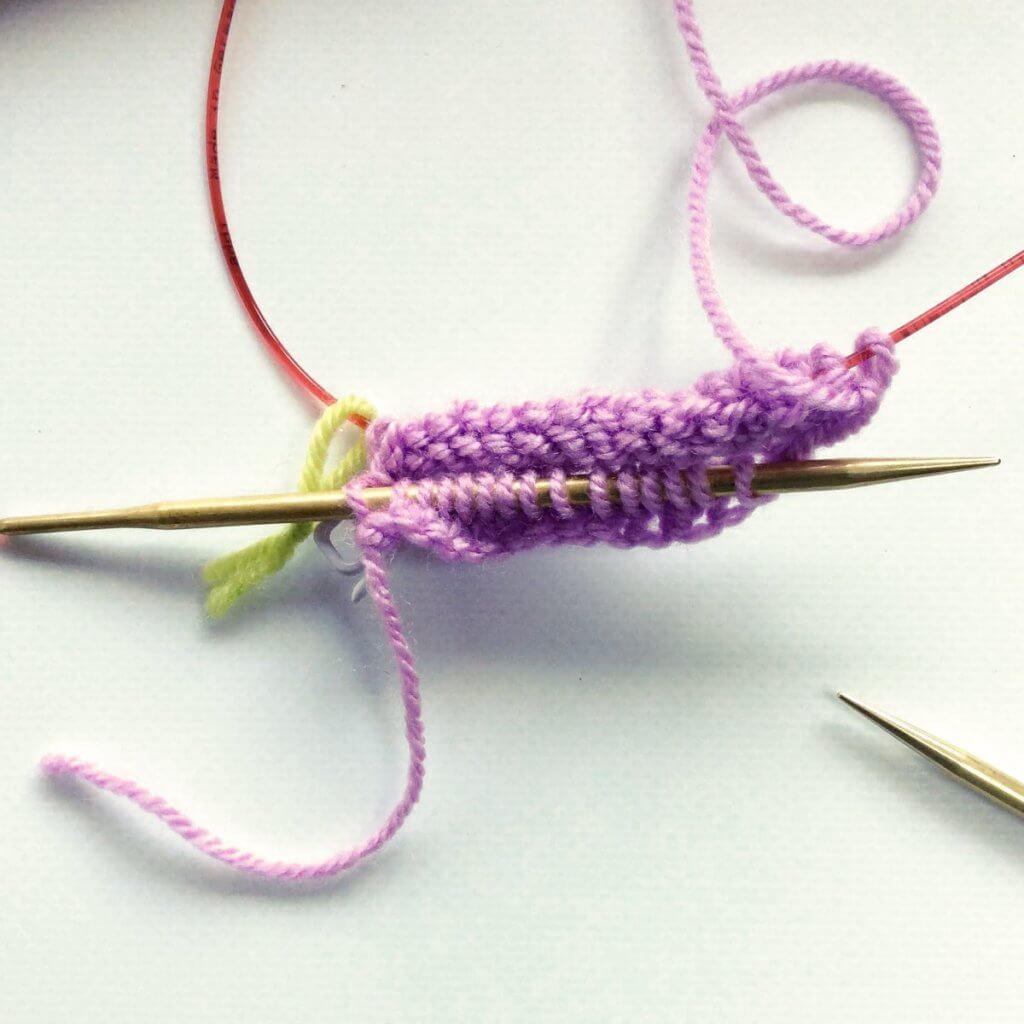
After a couple of rounds the work will look something like this:
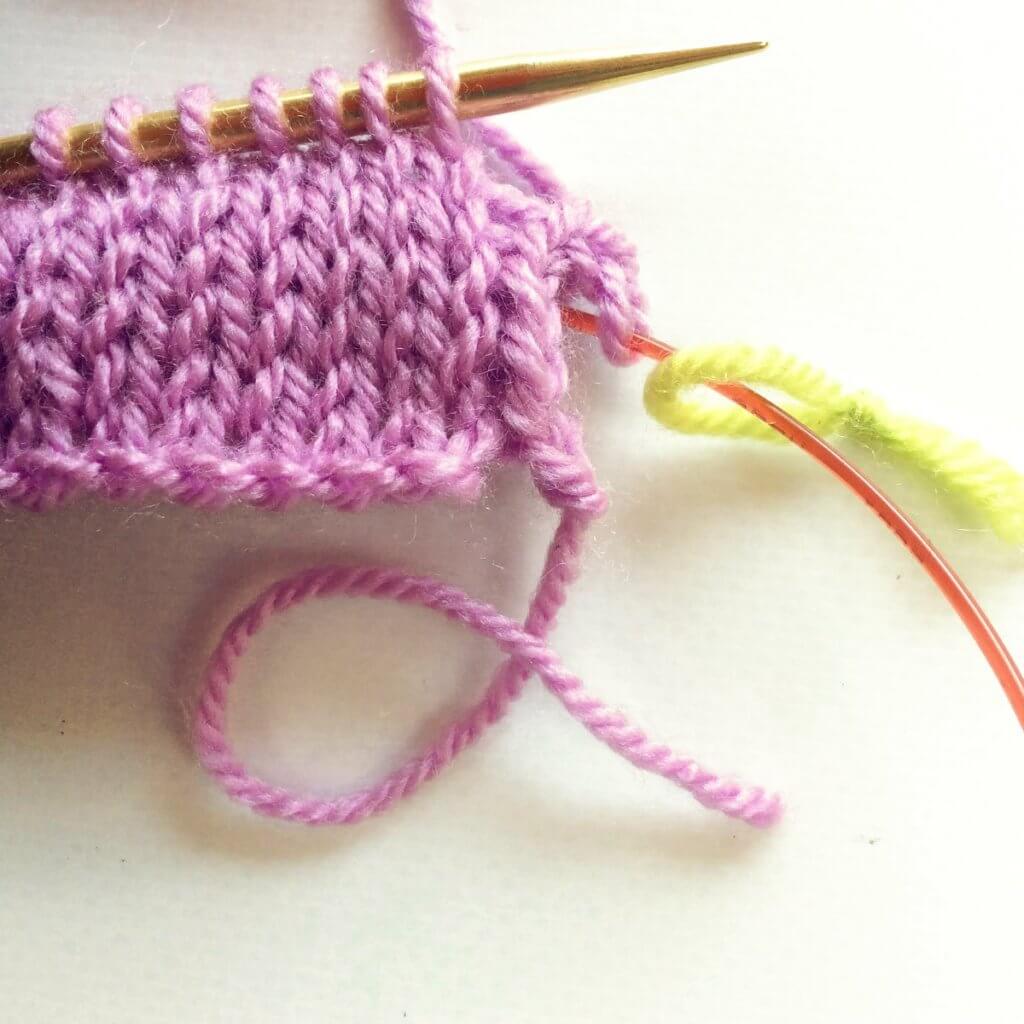
Knitting a “round” flat before joining in the round, as I described in step 1? Don’t forget to use the yarn tail to sew it closed when finishing your project.
But what about laddering?
Laddering is nothing more than that the stitches are pulling apart a little, if it happens it’s usually where you switch from one needle to the other. As described with step 6, it really cuts down on laddering if you tighten the second stitch when working the stitches on each needle.
The material of the cable of your circulars, however, also has a great influence. The stiffer the cable the more resistant it will be to being fold in half to accommodate magic loop knitting. This means that with a very stiff cable it will actively push apart the stitches on the ends of both needles. The same issue may happen if you’re using a circular needle that is too short. I like my circs to be at least 80 cm / 32 inches. Do try out for yourself what length hits the sweet spot for you!

Thanks to my Patreon supporters for bringing you this freebie! Creating quality patterns and tutorials is a lot of work and resource-intensive. However, I find it important to give you free content like this tutorial. Thanks to the generous support of my Patreon supporters, I can make it happen. Thank you, patrons! Click here to join, or click here to read more about La Visch Designs on Patreon.
")


