The backward loop method of casting on stitches is also known as the thumb method of casting on, and as the “single cast-on”, “e-wrap cast-on”. It’s a stretchy cast-on that is quite easy to do. However, it tends to leave loops along the bottom edge, which can look rather loose. To counter that, it can be helpful to drop down a needle size for the cast-on, then going up again when continuing with the rest of your project. While the backward loop cast-on is pretty easy to work, I really don’t prefer it for most projects, because I find the stitches very hard to work into on the first row of knitting.
There is one place where this cast-on really shines, though: when stitches needed to be cast on in the middle of a row, like for the underarm of a sweater. Yes, those are still hard to knit into on the next row and may seem rather loose. However, the number of stitches is usually very small, making that less of an issue.
Let’s get started!
Working the backward loop cast-on step by step
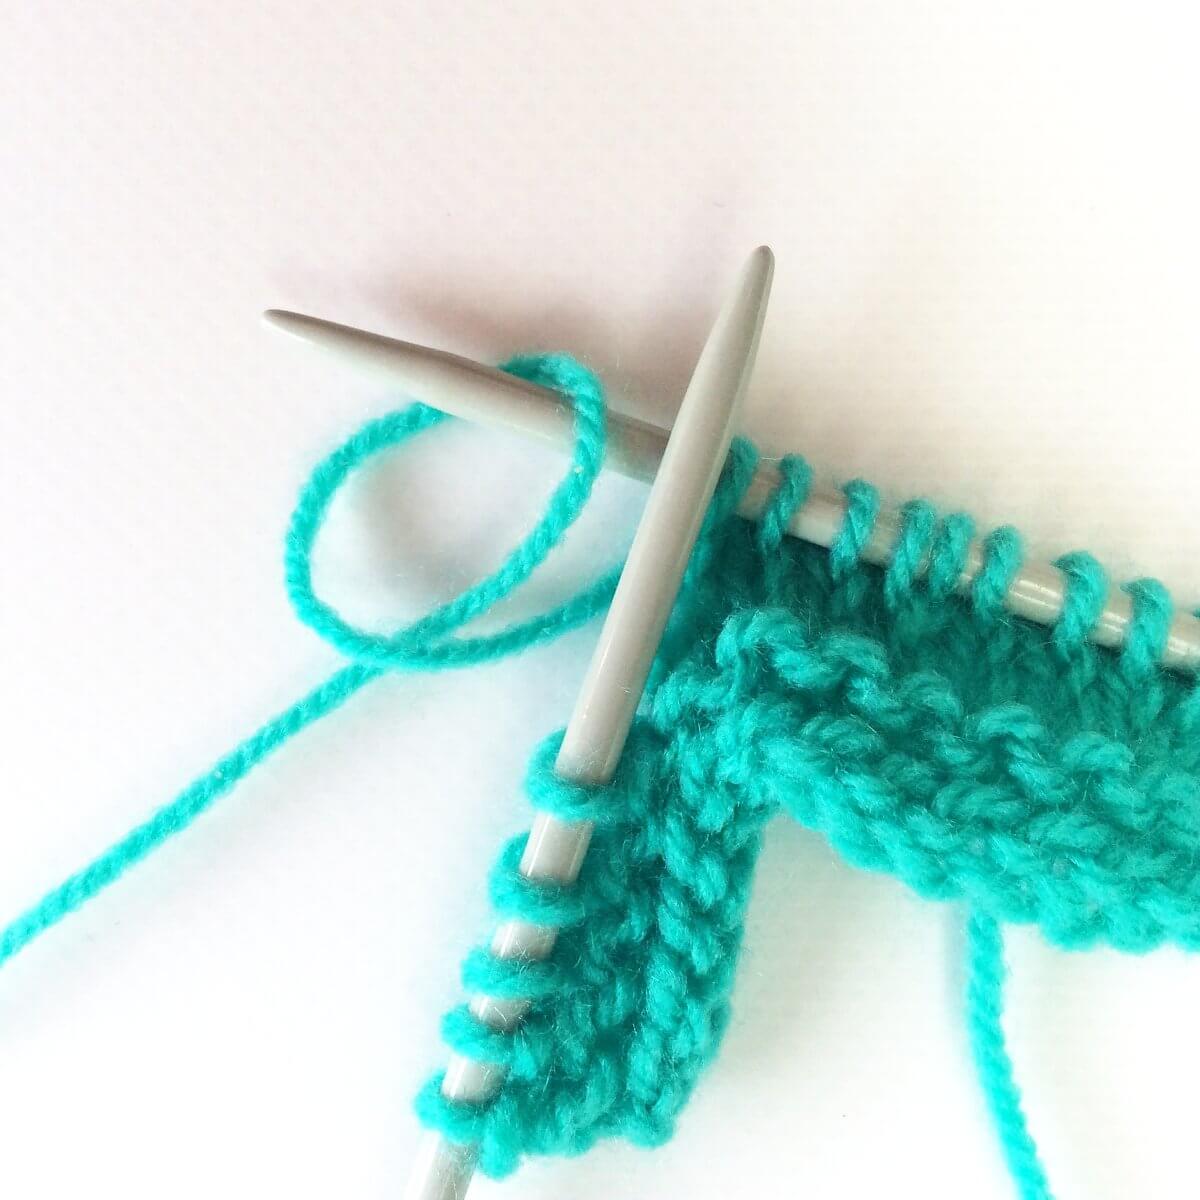
- Take your working yarn and loop it as shown in the picture below, with the yarn going to the project in front.

- Next, insert the tip of the right needle from back to front through the loop.
- Pull the yarn snugly around the needle.
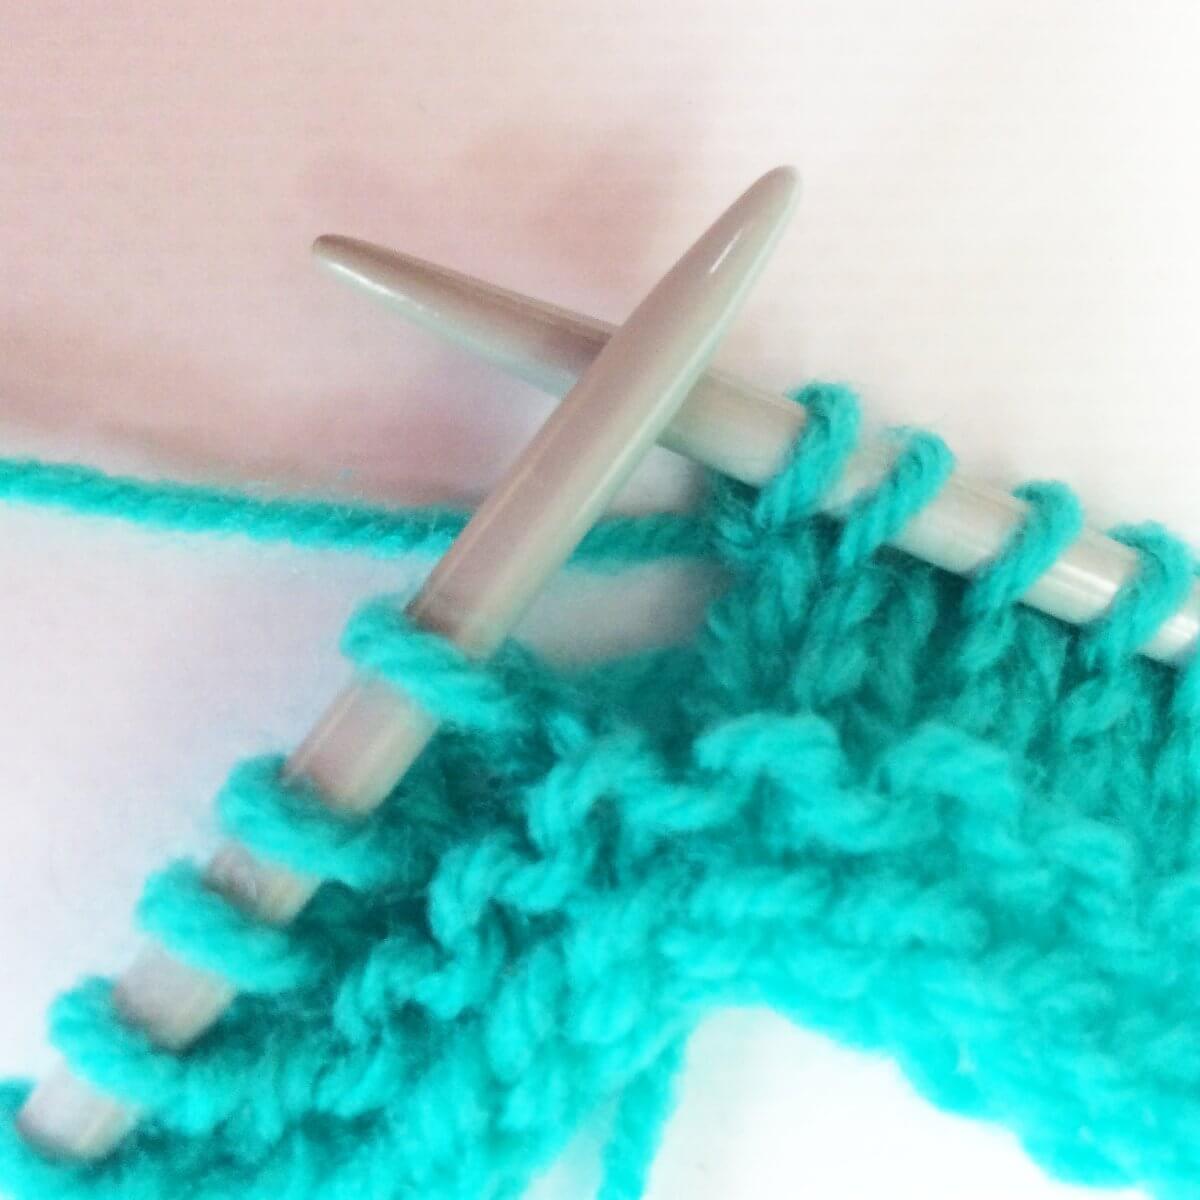
- Repeat steps 1-3 for as many stitches as needed.

Thanks to my Patreon supporters for bringing you this freebie! Creating quality patterns and tutorials is a lot of work and resource-intensive. However, I find it important to give you free content like this tutorial. Thanks to the generous support of my Patreon supporters, I can make it happen. Thank you, patrons! Click here to join, or click here to read more about La Visch Designs on Patreon.


