A centered decrease, as shown in this tutorial, reduces 5 stitches down to 1 stitch in a symmetrical way. This decrease results in a strong vertical decrease line that doesn’t slant to either the left or the right. A useful decrease to have in your knitter’s toolkit! Read on to see how it’s worked.
Materials used


Yarn: Paintbox Yarns Simply DK, a good value, good quality 100% acrylic yarn, here in the color 142 Tea Rose.
Knitting needles: This is a pair of straights that I picked up at the second-hand store when I started knitting, brand unknown.
Working the centered 5 to 1 decrease step by step
- To start, work as instructed by your pattern until the point where you want to make the decrease.
- First, insert your right-hand needle into the first 3 stitches on the left-hand needle as if to knit.
- Next, slip these 3 stitches from the left-hand to the right-hand needle.

- Now, insert your right-hand needle into the first 2 stitches on the left-hand needle as if to knit.
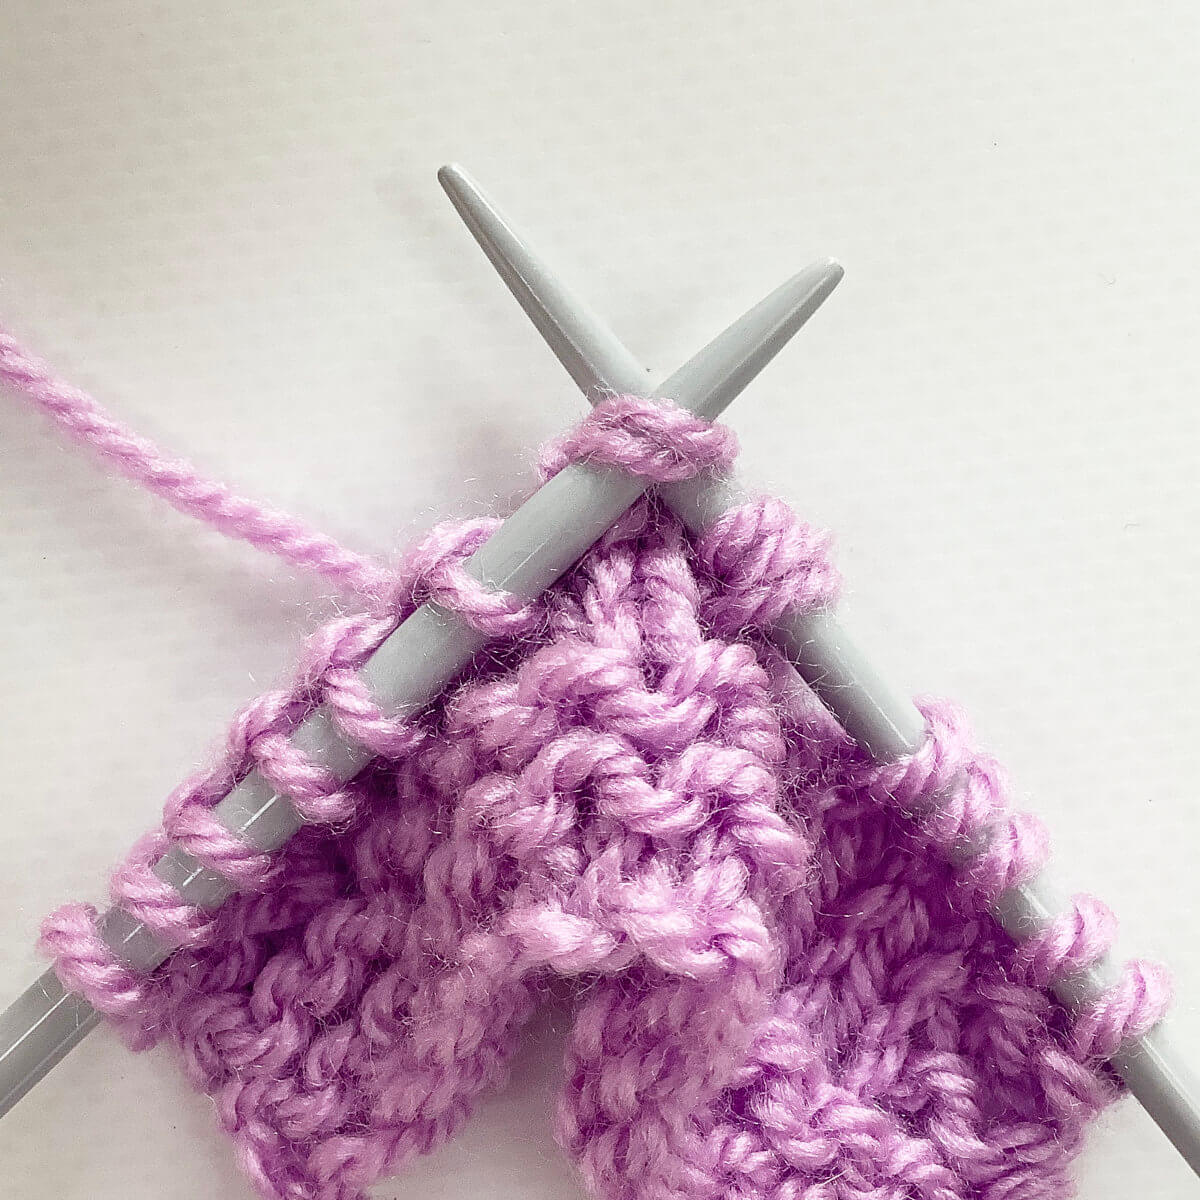
- Next, wrap the yarn around the needle …
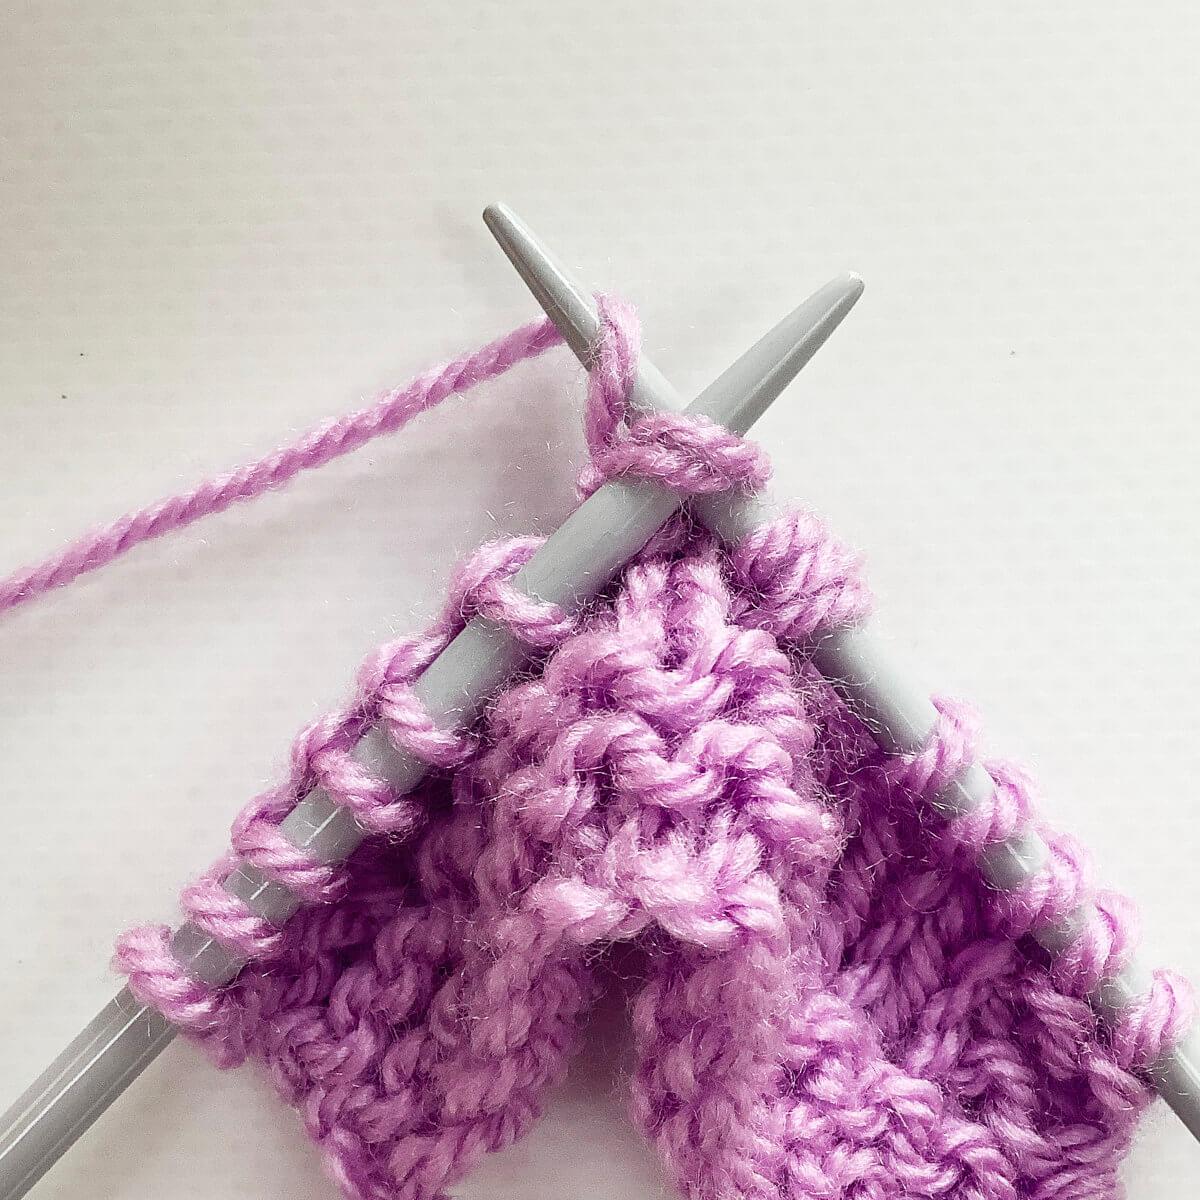
- … and pull it through to work a k2tog. Slip the resulting stitch to the right-hand needle.
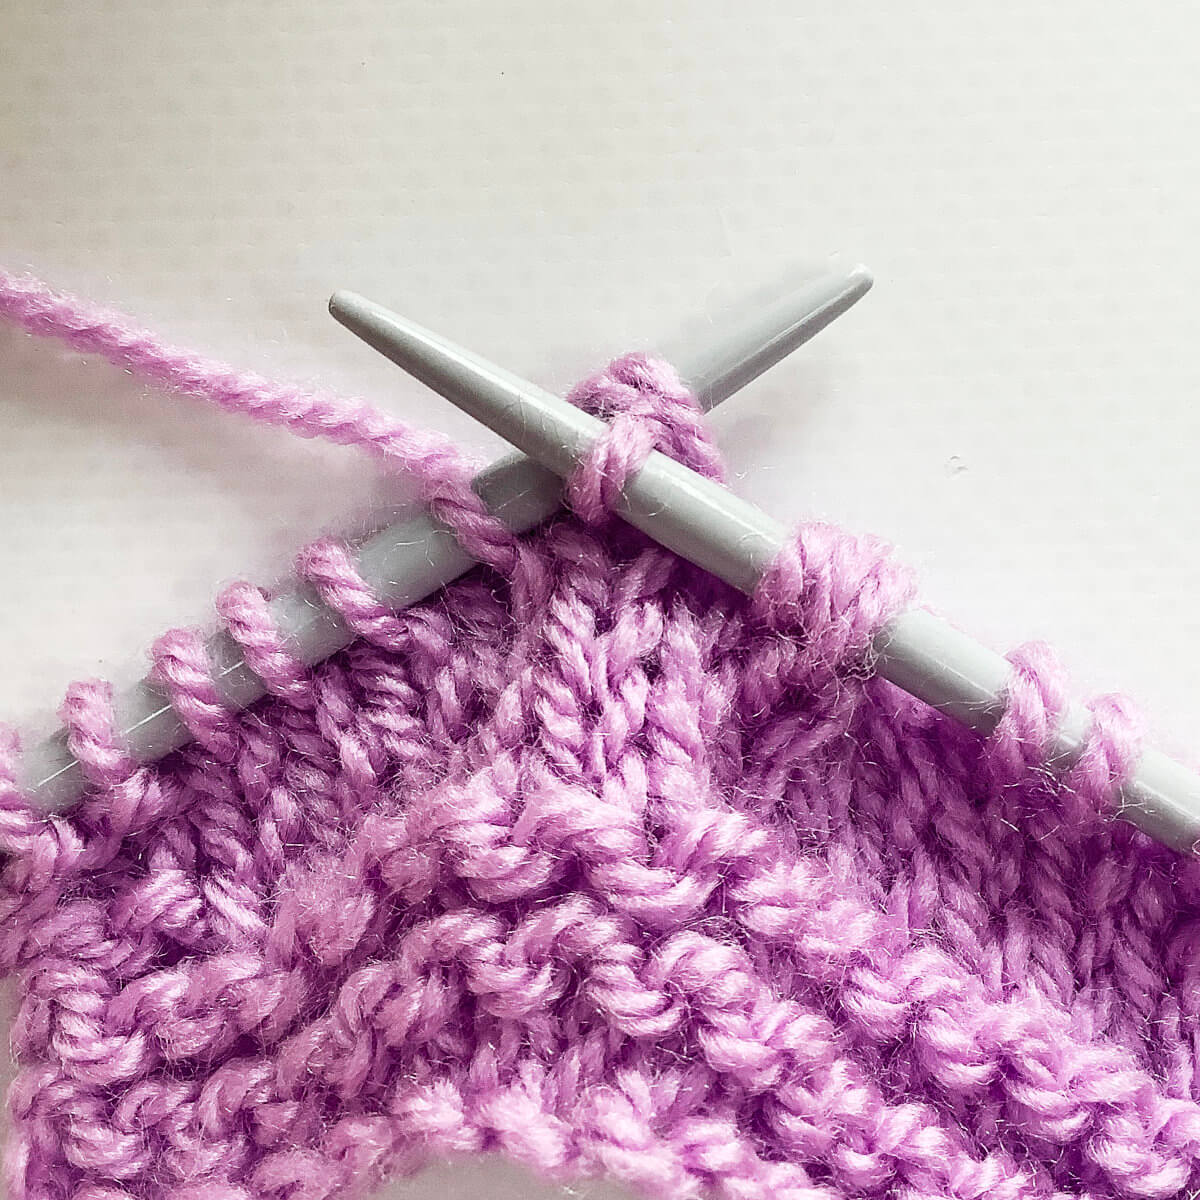
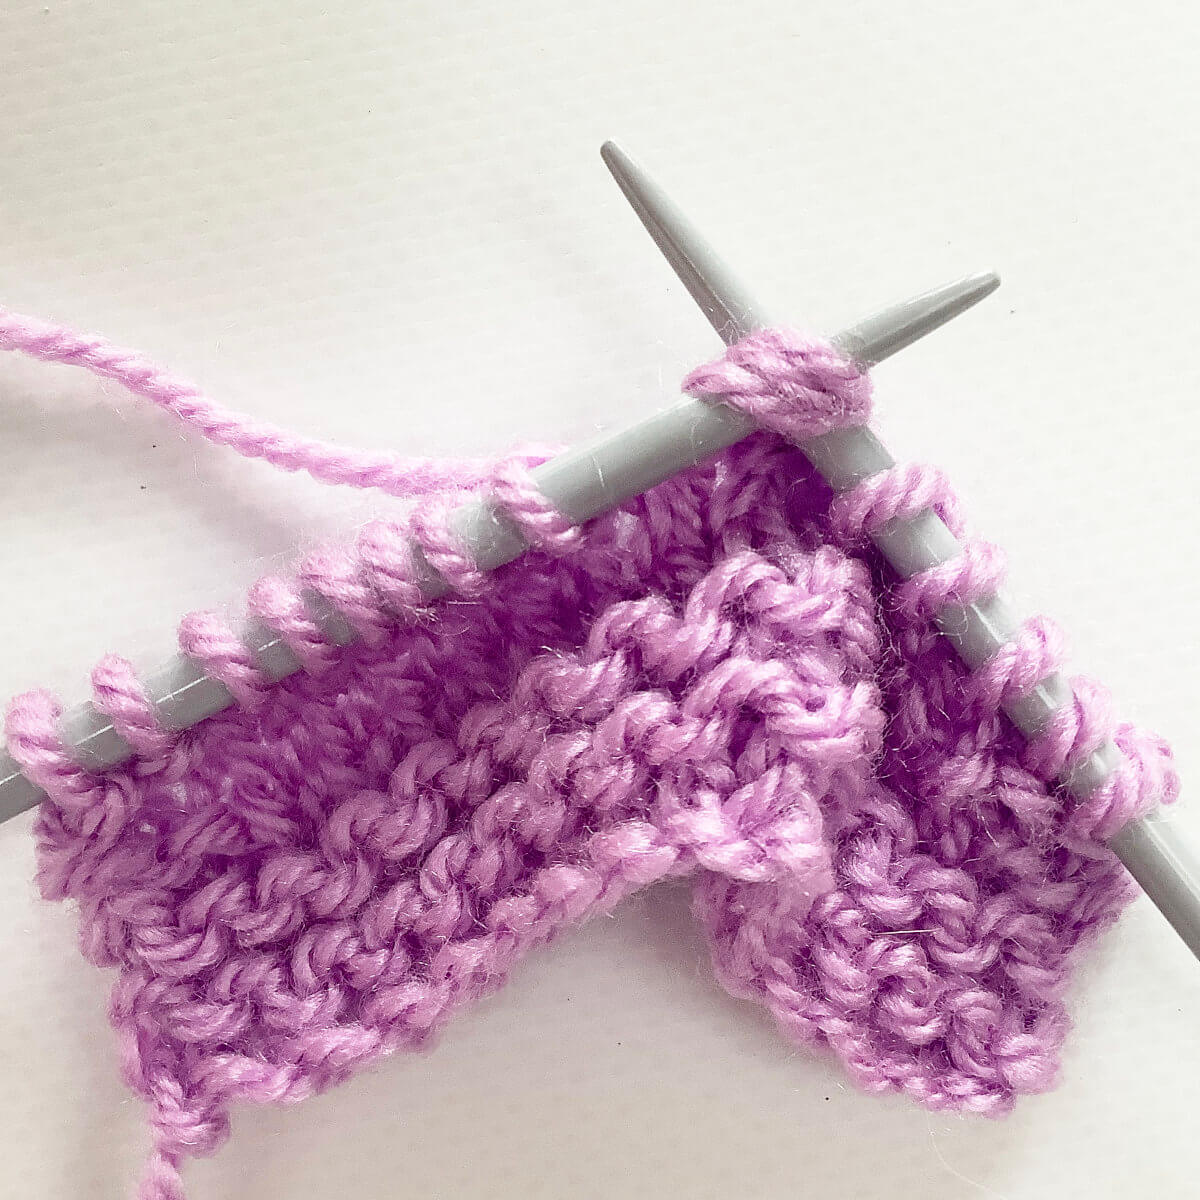
- Next, insert the left-hand needle into the 3 stitches that were slipped earlier, and pass them over the k2tog.
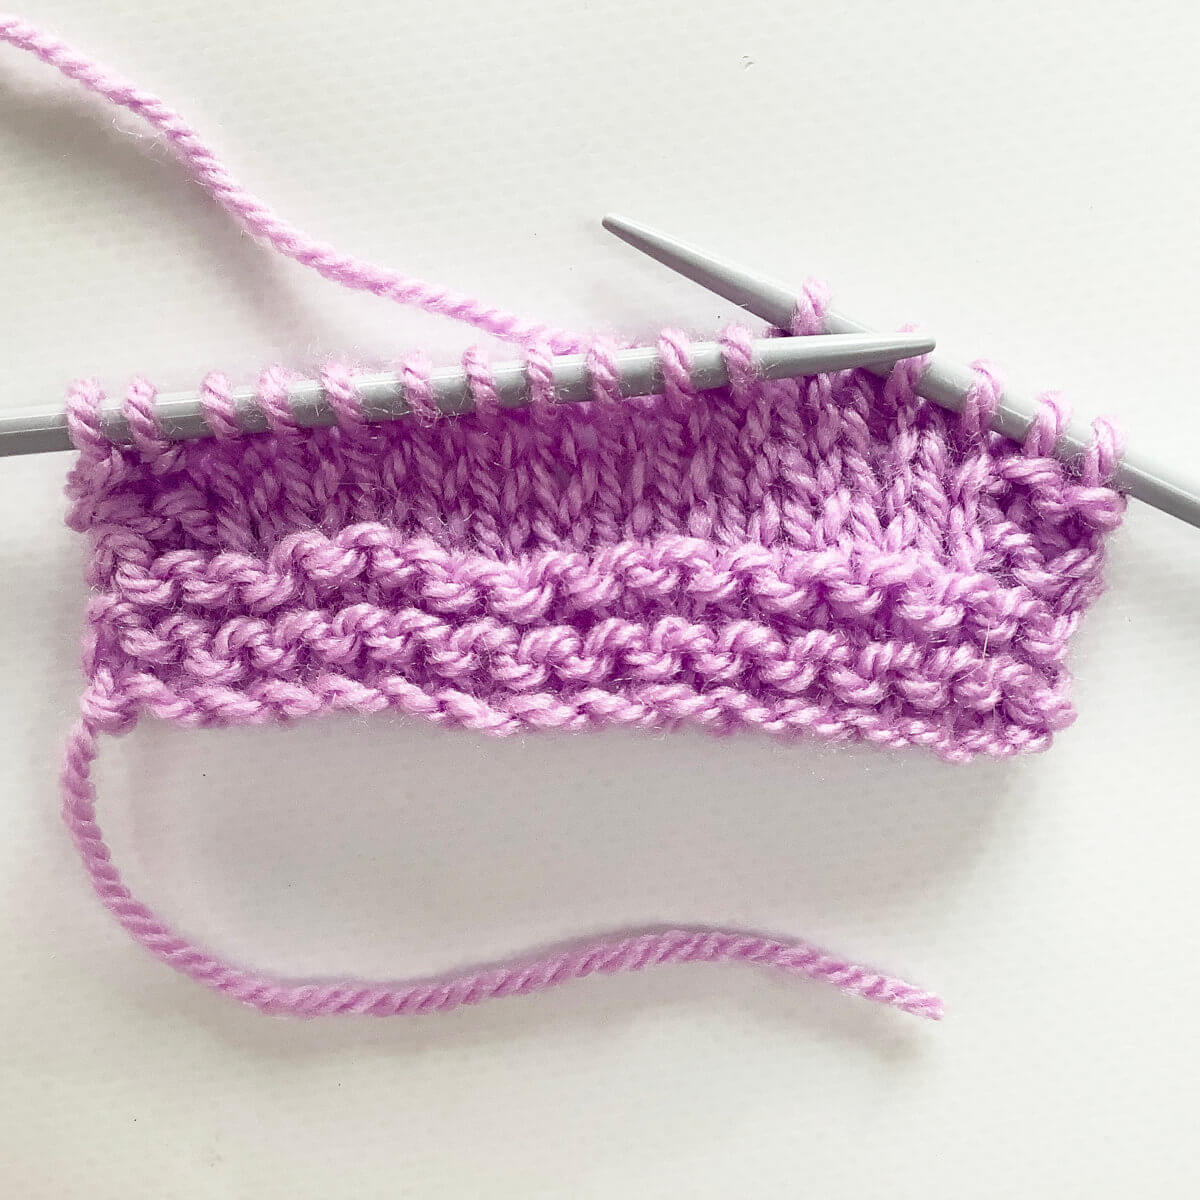
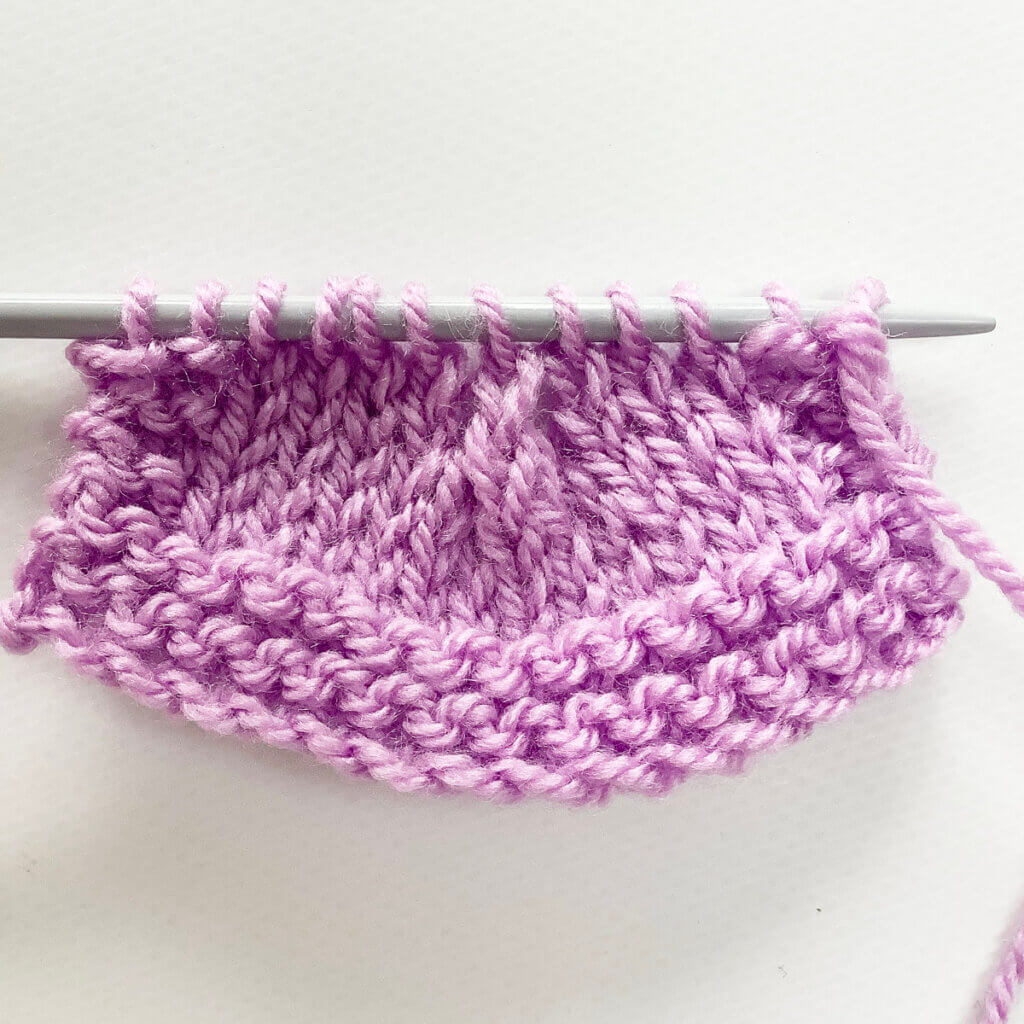
- The result after this last step can be seen below.
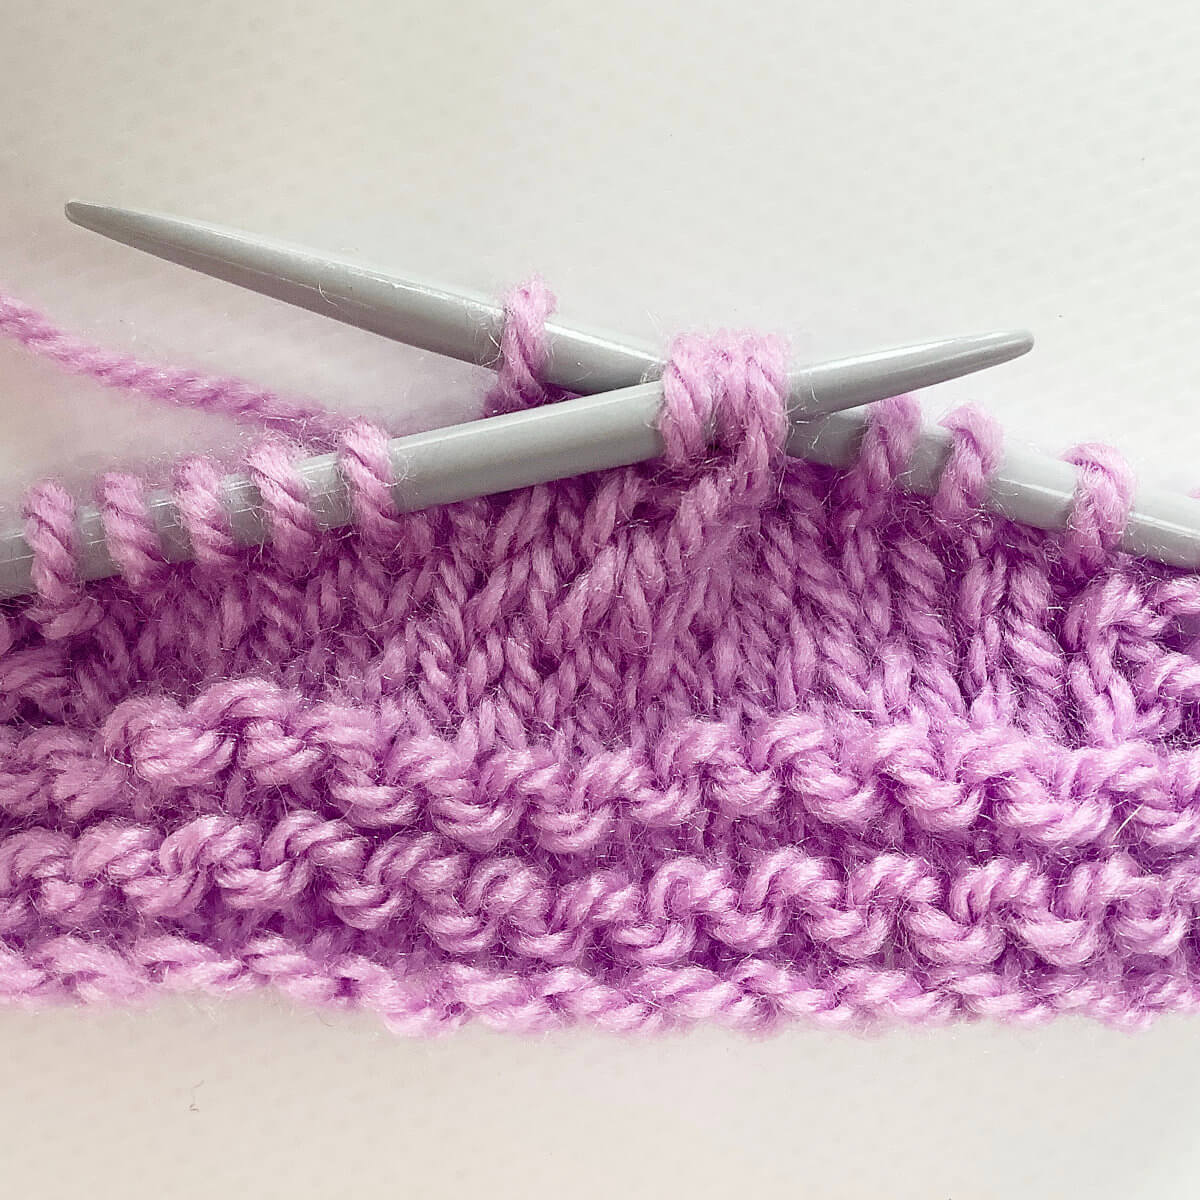
After this, continue with your knitting as instructed in the pattern.
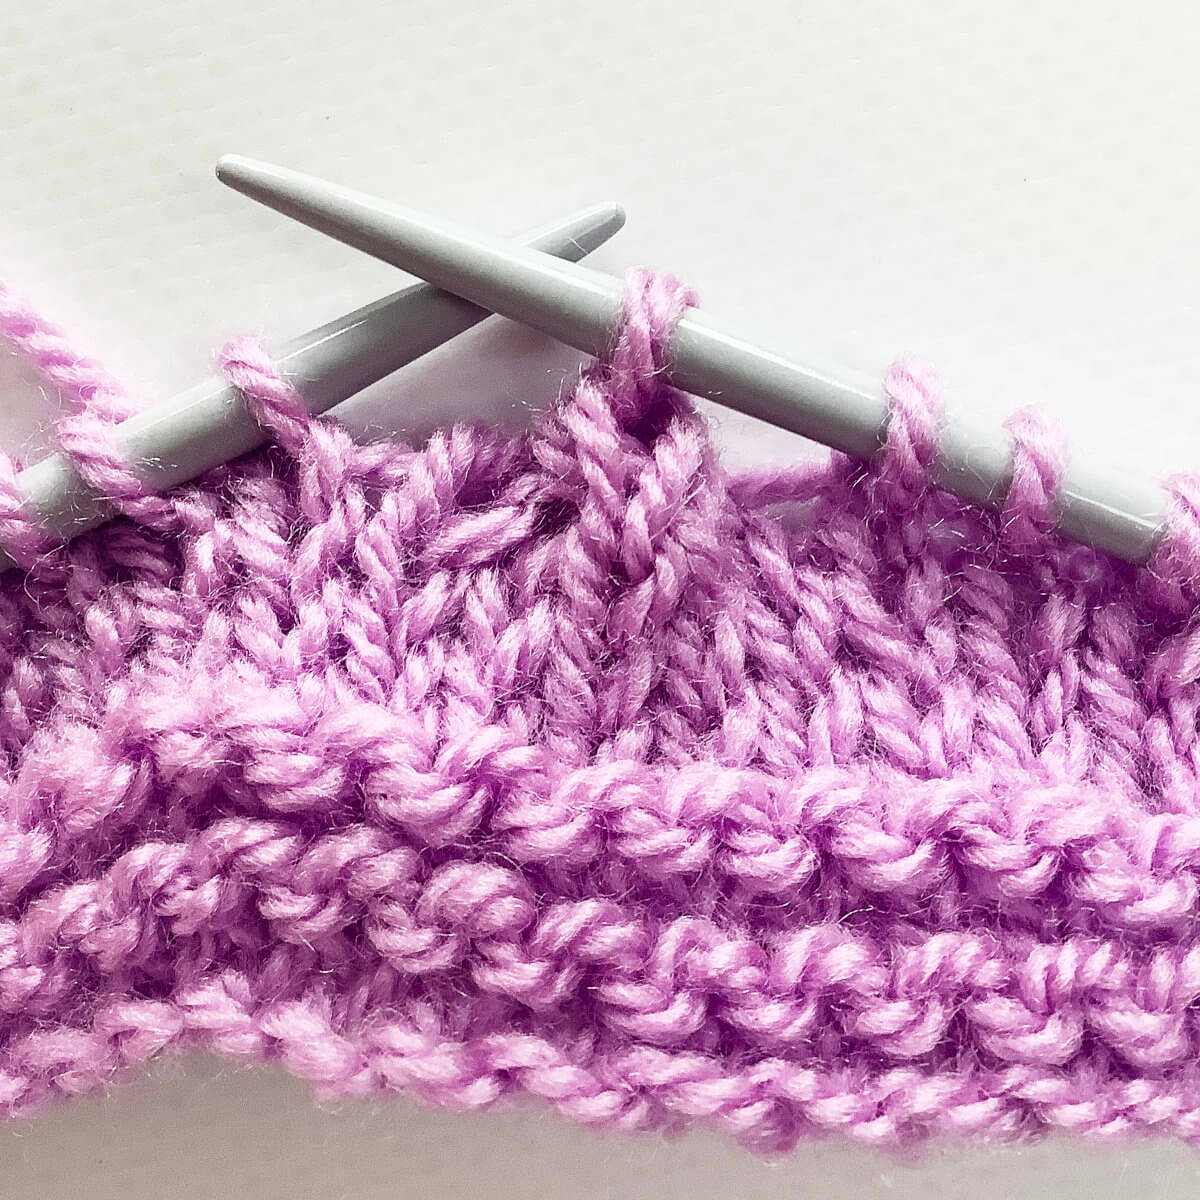
The result, when the row has been finished and a purl row has also been worked, is as follows. I think it’s pretty neat!

Thanks to my Patreon supporters for bringing you this freebie! Creating quality patterns and tutorials is a lot of work and resource-intensive. However, I find it important to give you free content like this tutorial. Thanks to the generous support of my Patreon supporters, I can make it happen. Thank you, patrons! Click here to join, or click here to read more about La Visch Designs on Patreon.


