Previously, I told you about the SSK decrease. SSK stands for “slip slip knit”, but working the decrease entails a bit more than that, visit the tutorial to learn more about it! However, because you slip 2 stitches with a traditional SSK, you also risk stretching the stitches out a bit. So, smart folks thought of a different way that involves less slipping and therefor less risk of stretched out stitches, and thus a smoother left-leaning decrease.
Below, I’ll show you how to work the improved SSK decrease step by step.
Materials


Yarn: Paintbox Yarns Simply DK, a good value, good quality 100% acrylic yarn, here in the color Marine Blue.
Needles: This is a pair of straights that I picked up at the second-hand store when I started knitting, brand unknown.
Working the SSK decrease step by step
- Work your way across the row until you’ve reached the point where you want to make the decrease.
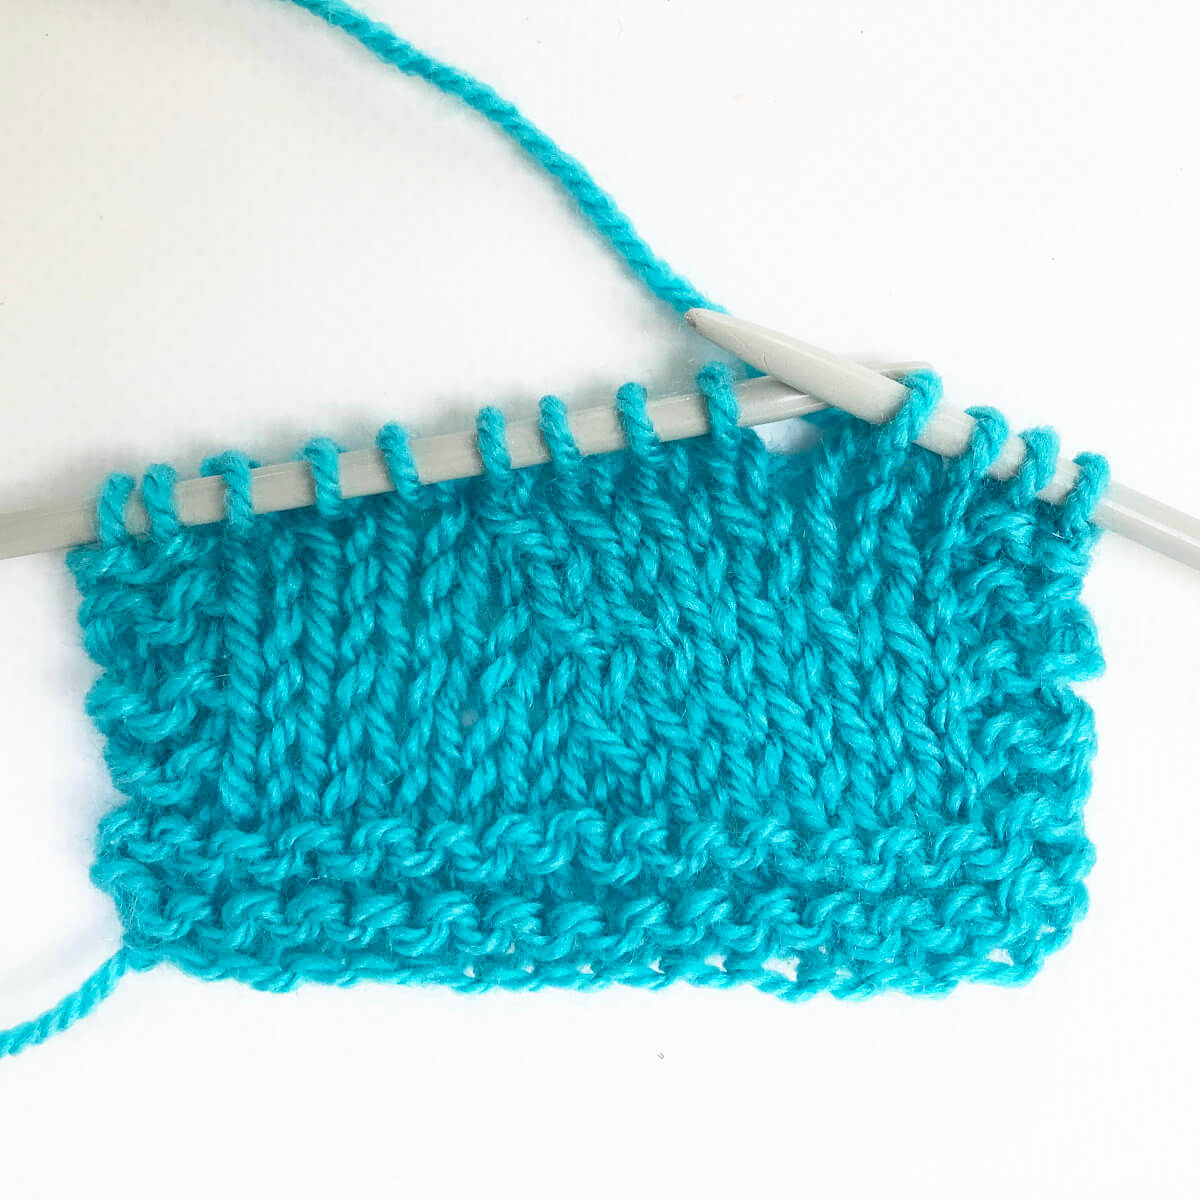
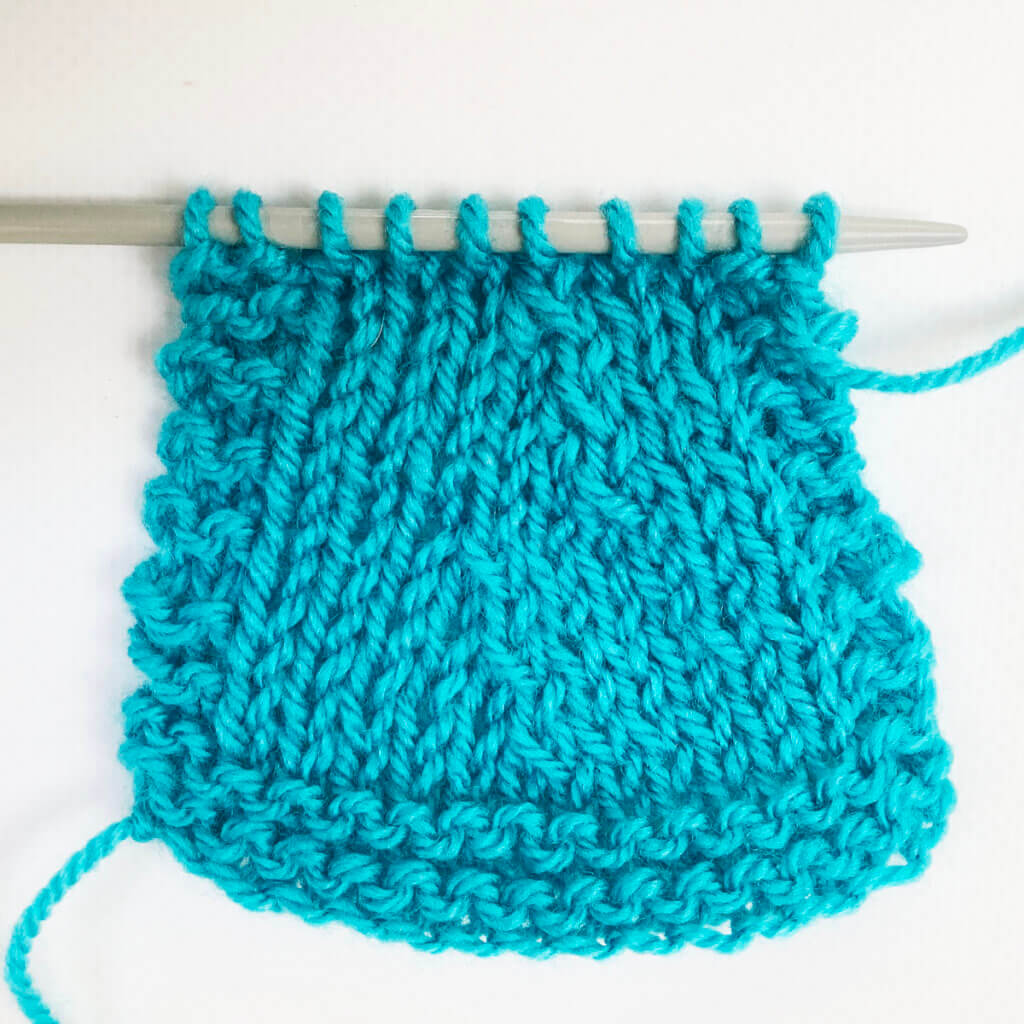
In this case, I’m using the same swatch as I did for the regular SSK. This time, I’m working the decrease 4 stitches in from the left side of the swatch. Including the edge stitches in garter stitch.
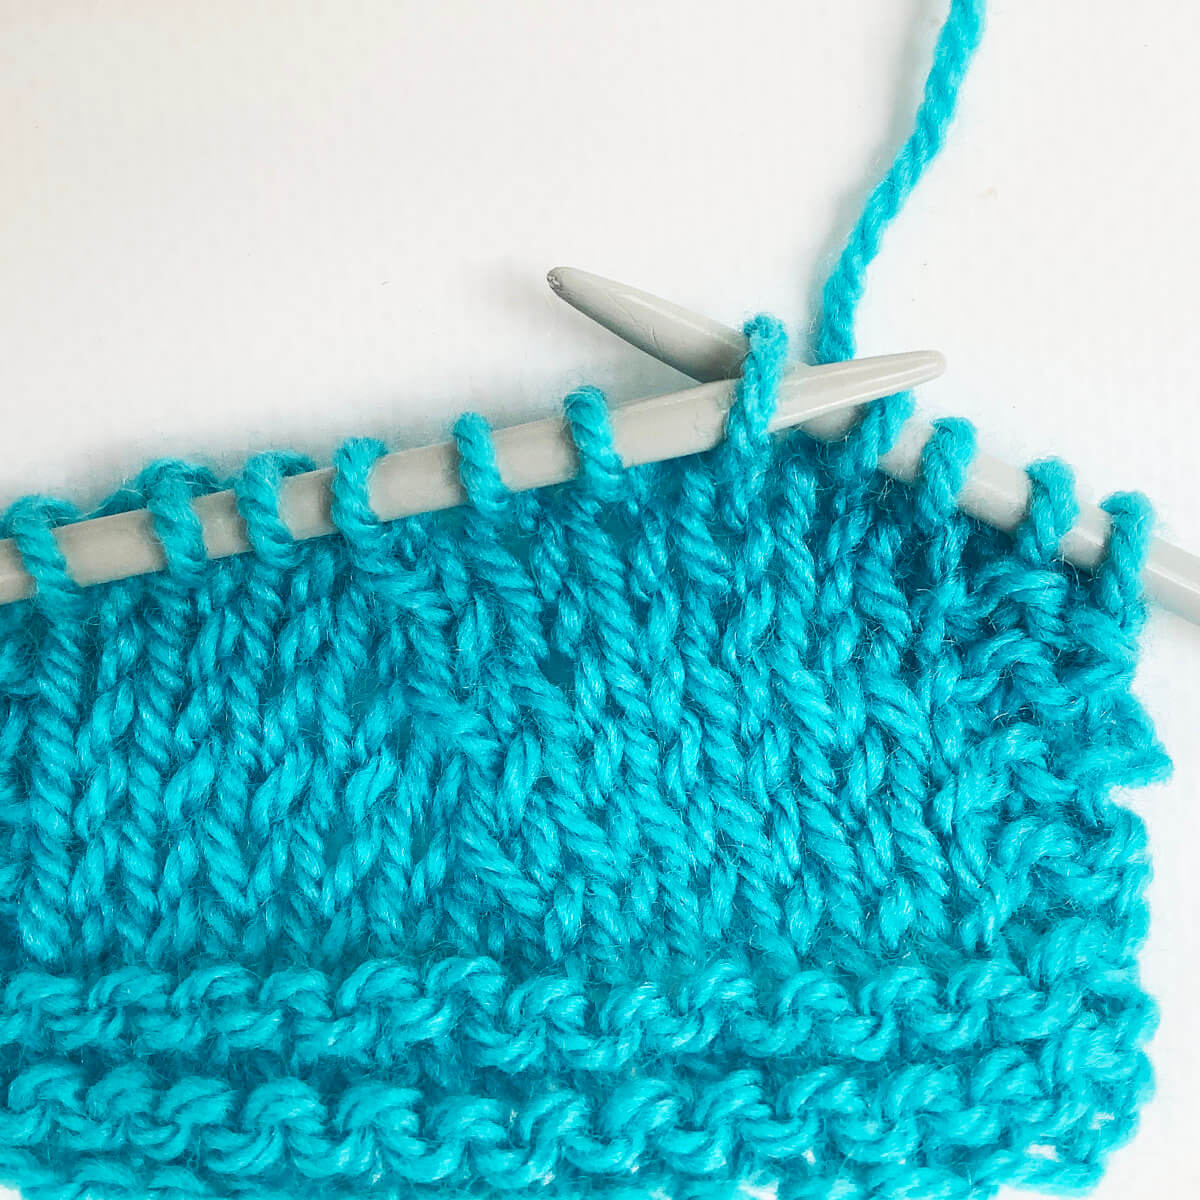
- Insert the needle into the first stitch on the left-hand needle as if to knit…
- … and slip the stitch to the right-hand needle.
With this action, you twist the stitch mount of the stitch. Do you see how it sits differently on the needle when compared with the other stitches?
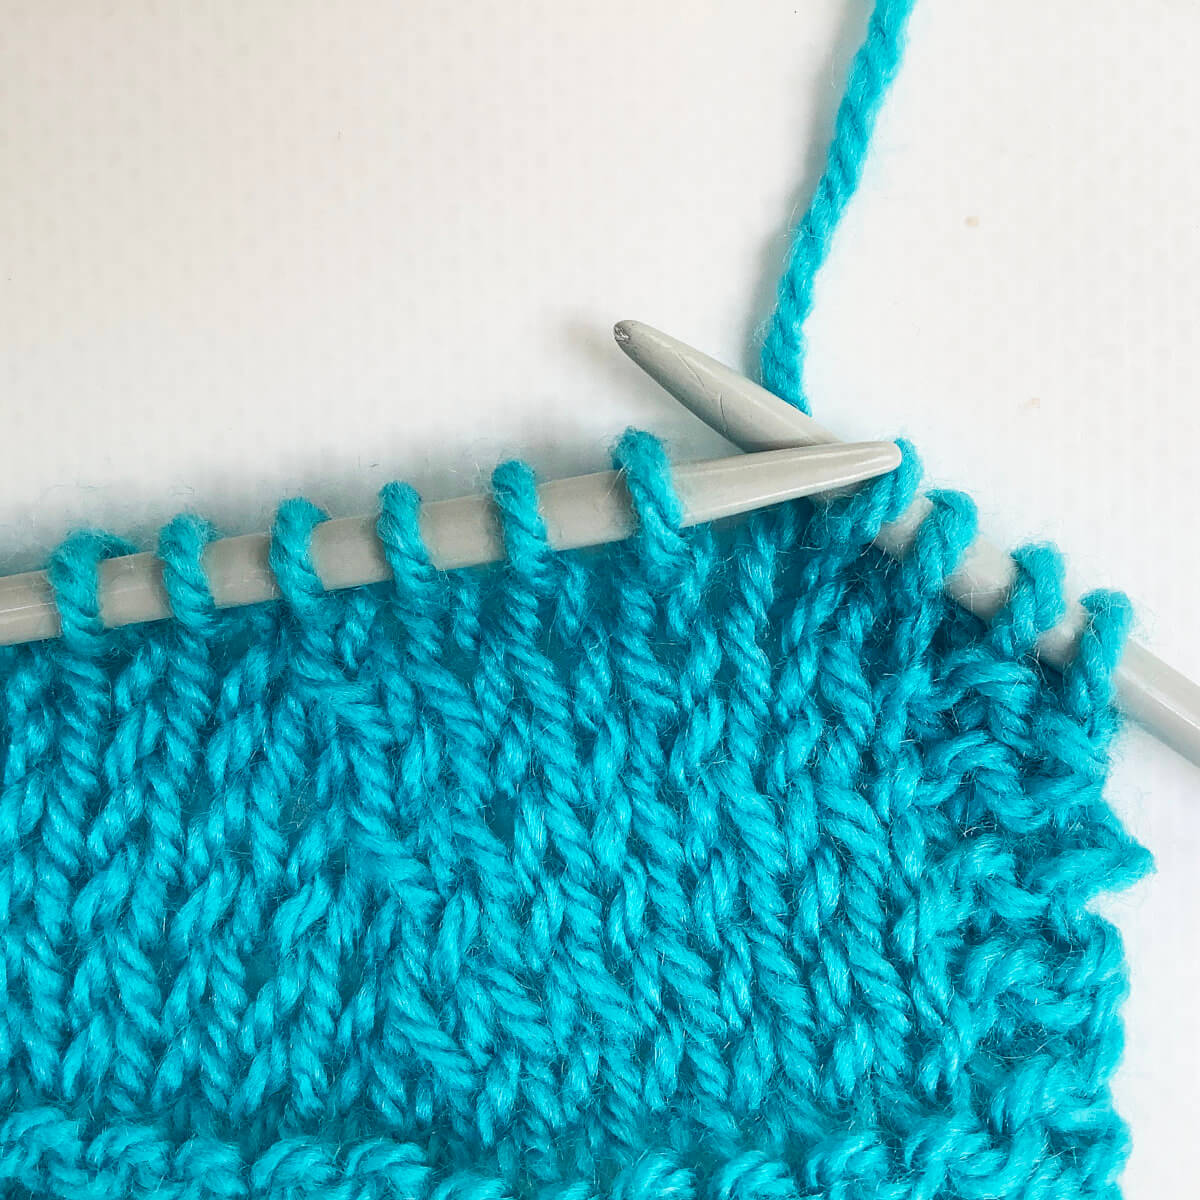
- Next, slip the stitch back to the left-hand needle, to do so I insert the left-hand needle into the front loop of the slipped stitch…
- …. and put it back on the left-hand needle.
- Now we want to work a k2tog tbl. To do so, insert the right-hand needle through the back loops of the first 2 stitches on the left-hand needle…
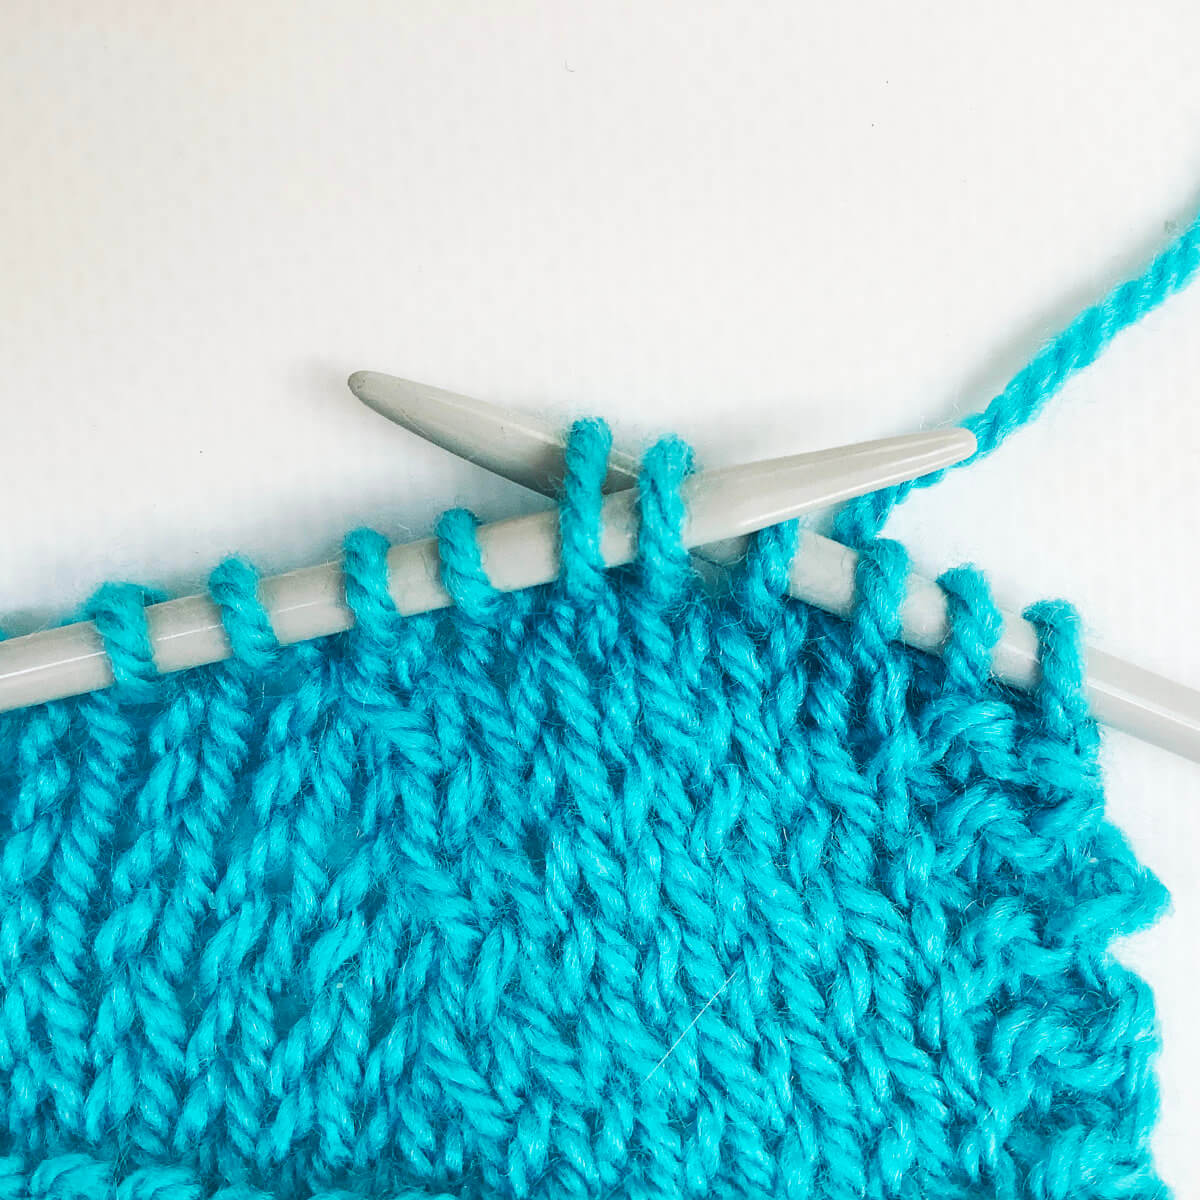
- … wrap the yarn around the needle….

- … Pull the yarn through…
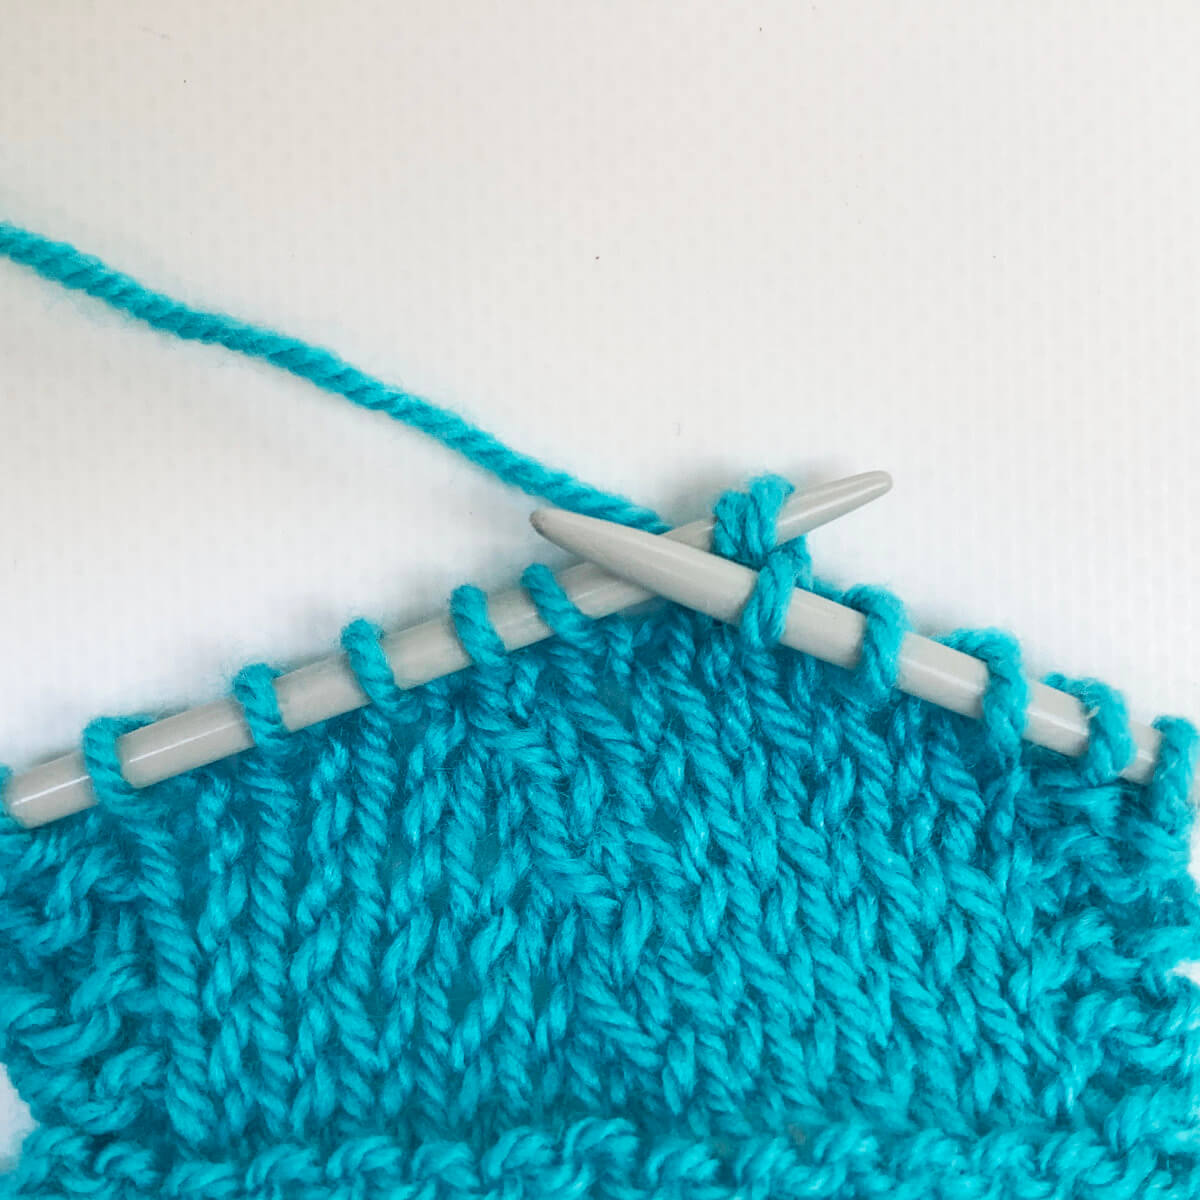
- … and slip the stitch of the needle to finish the decrease.
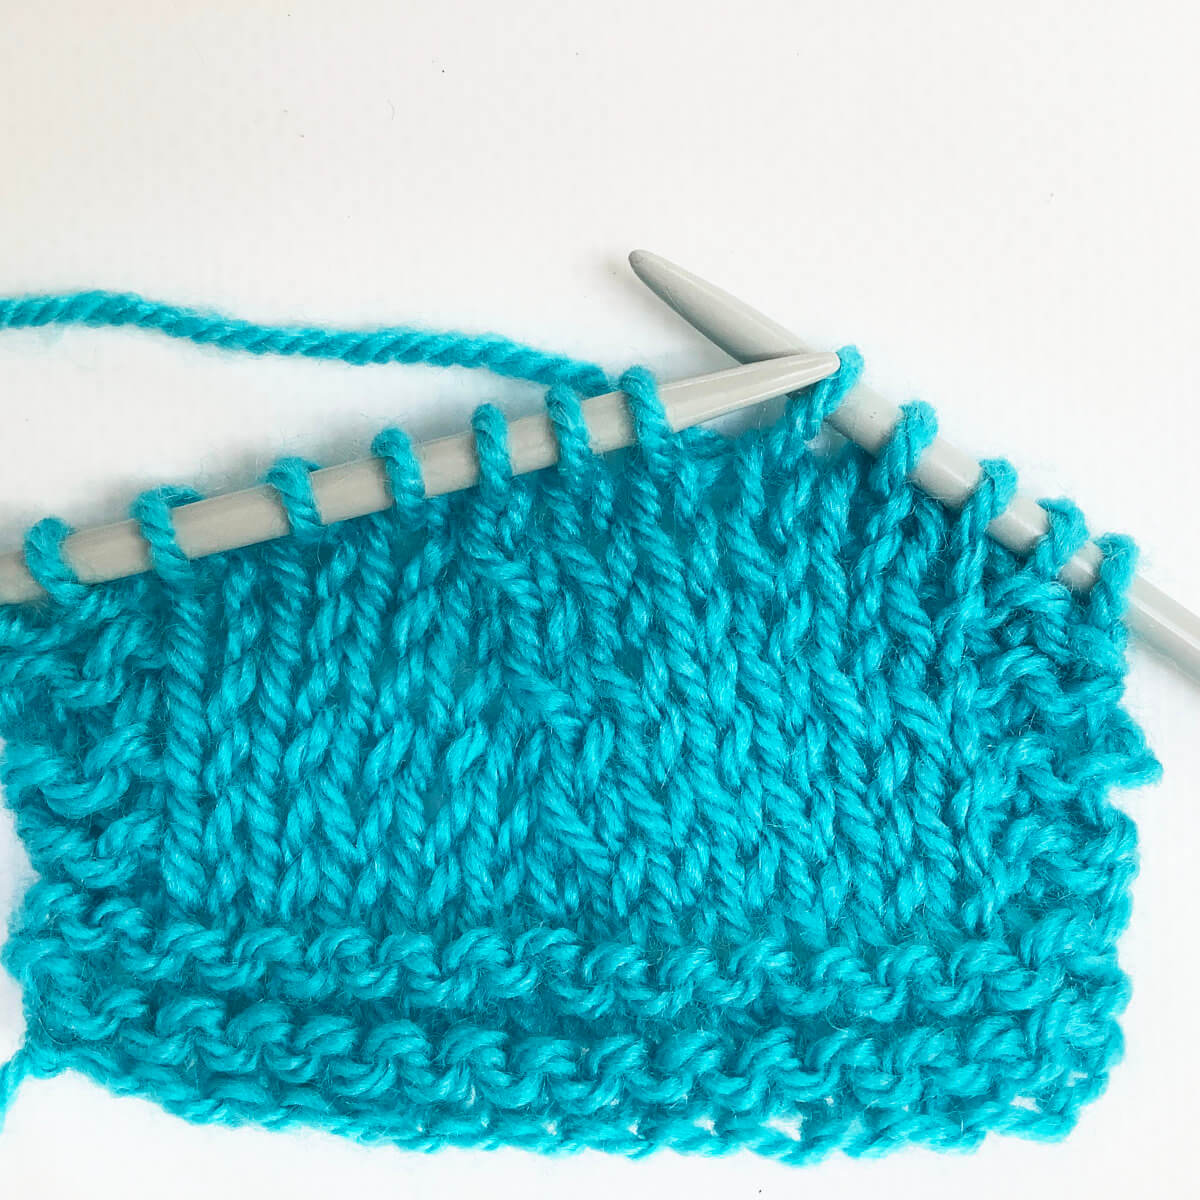
This is how it then looks:

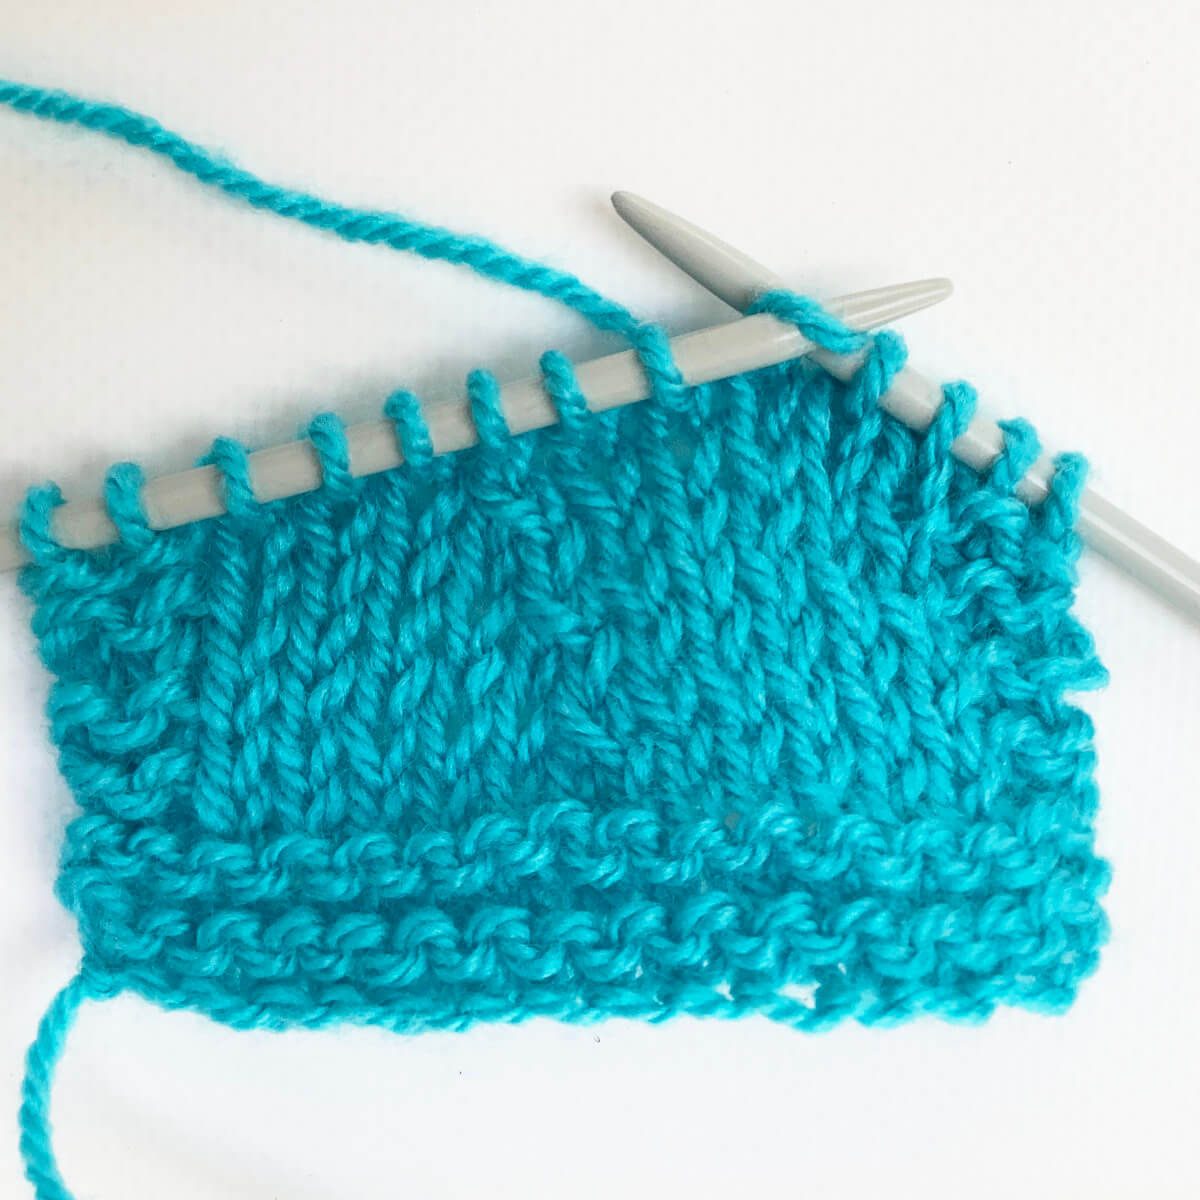
The below picture shows how it looks after 2 more decrease rows have been worked. You can compare the improved SSK decreases with the regular ones on the bottom half of the swatch. To be honest, I don’t see a lot of difference, but I’m sure it’s just my knitting that’s to blame. Try it yourself, your results may very well be better than mine!

Thanks to my Patreon supporters for bringing you this freebie! Creating quality patterns and tutorials is a lot of work and resource-intensive. However, I find it important to give you free content like this tutorial. Thanks to the generous support of my Patreon supporters, I can make it happen. Thank you, patrons! Click here to join, or click here to read more about La Visch Designs on Patreon.


