In a shawl project, I encountered a hiccup that I had to fix. When finishing the diamond patterning after a full repeat, and then working a garter stitch ridge to mirror the beginning of this section, this is what I noticed:
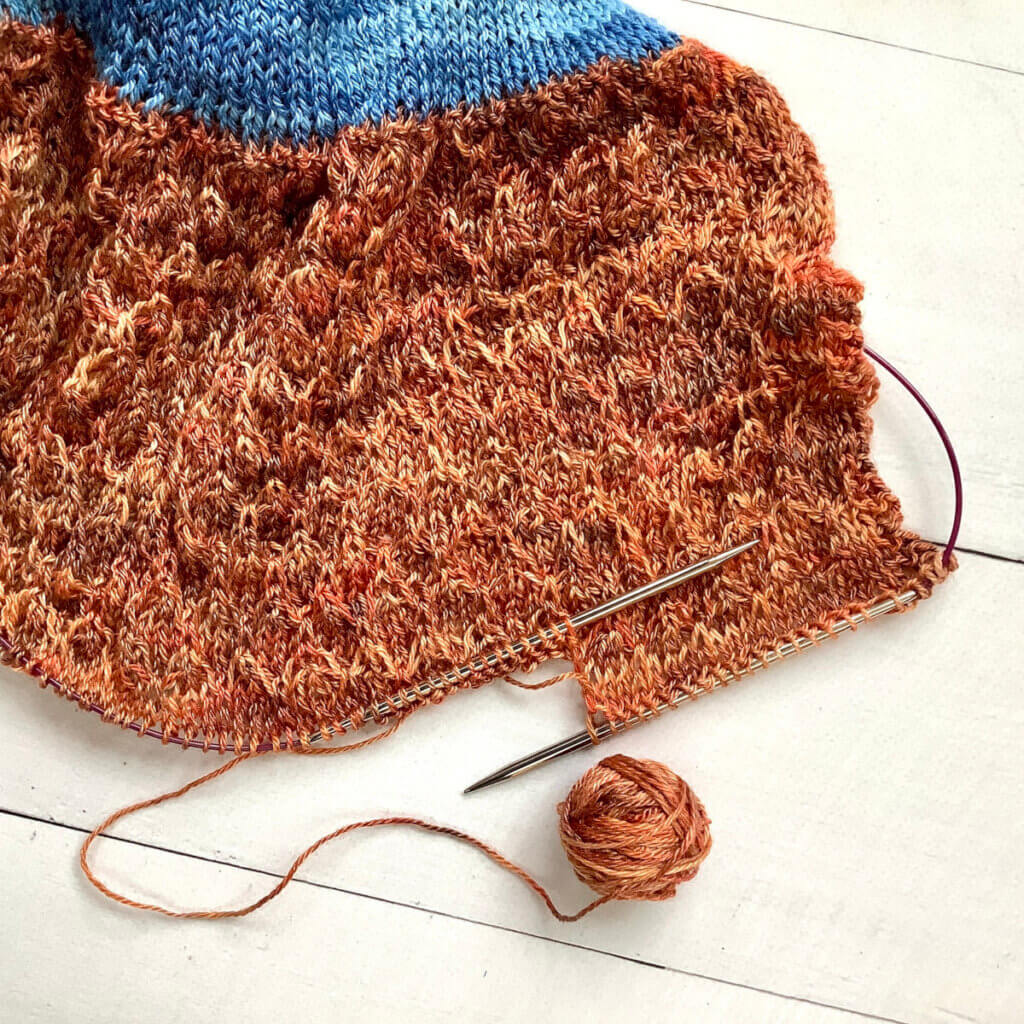
Do you see those plain rows of stockinette just above the needle and garter stitch ridge on the right? This did not mirror the start of the section at all… So, I undid some rows to start the garter stitch ridge earlier. With a rather “sticky” yarn, I would just remove the knitting needle, rip it out and place the stitches back on the needle at the right point. However, the yarn used in this project contains 50% tencel, making it rather slippery. I certainly didn’t want to drop any stitches in this patterning. But tinking (knitting spelled and done backwards) back 3 rows wasn’t a good option as well, with over 350 sts on the needle.
The solution: a technique that is something in between tinking and frogging! Below, I’ll show you how I went about it step by step.
Materials
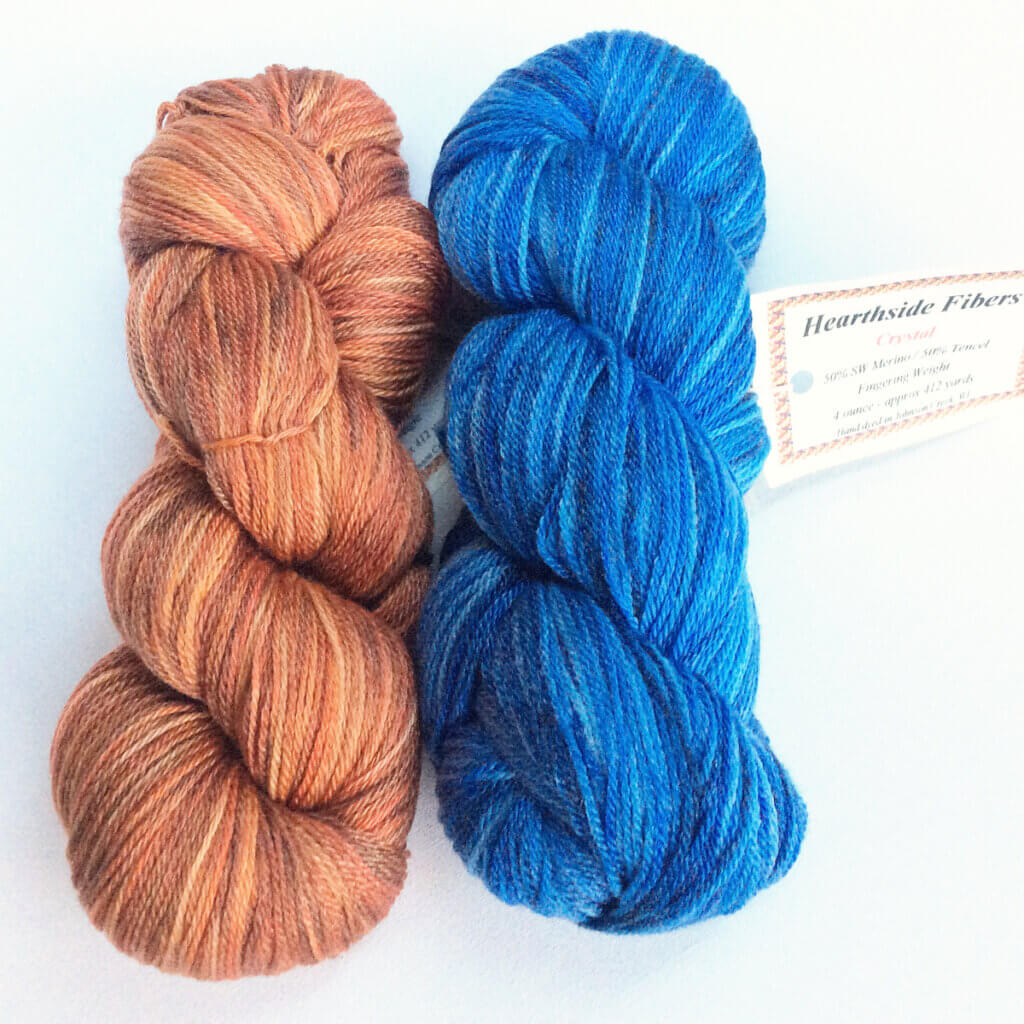
Yarn: Hearthside Fibers Crystal in the colors “Vermont”, and “Lake”.
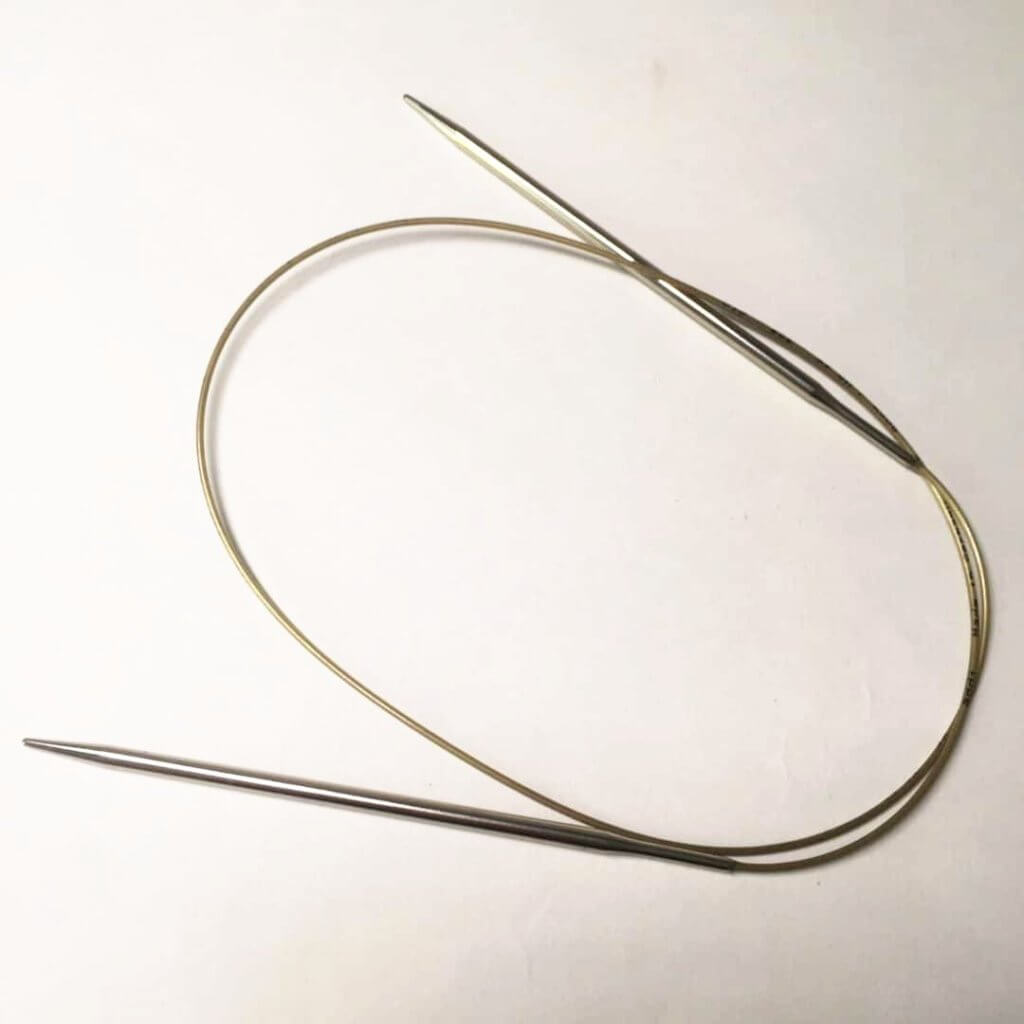
Needles: A pair of Addi circular needles in the size 4 mm (US 6)
In between tinking and frogging step by step
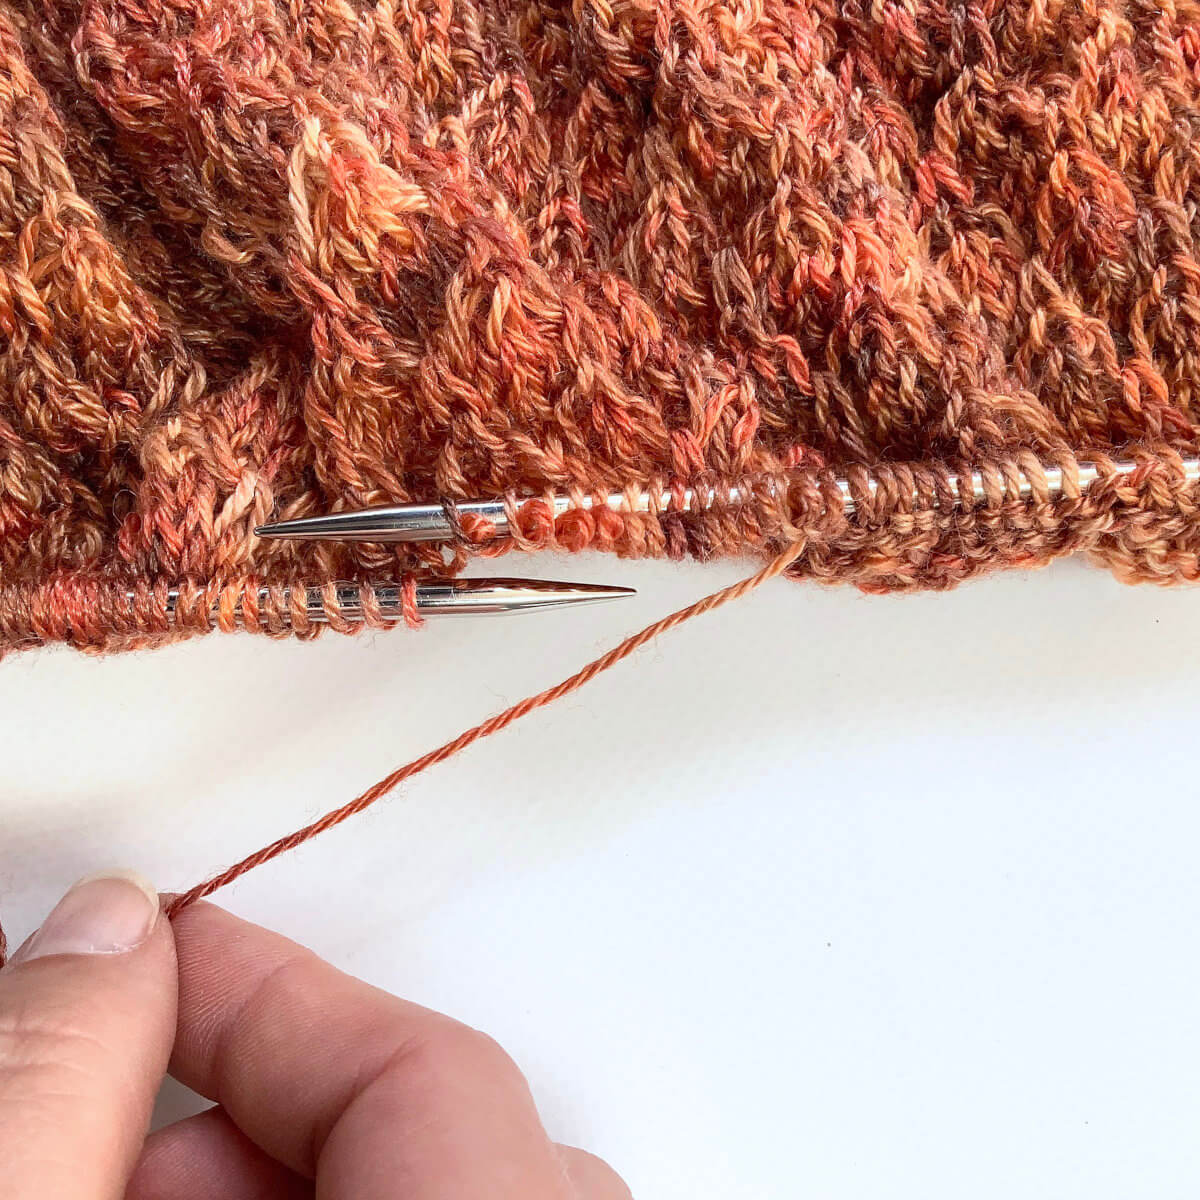
- I positioned my project in such a way, that I had a good view of the row I wanted to put back on the needle from the right side of the fabric.
In this case, that meant holding the work as shown.
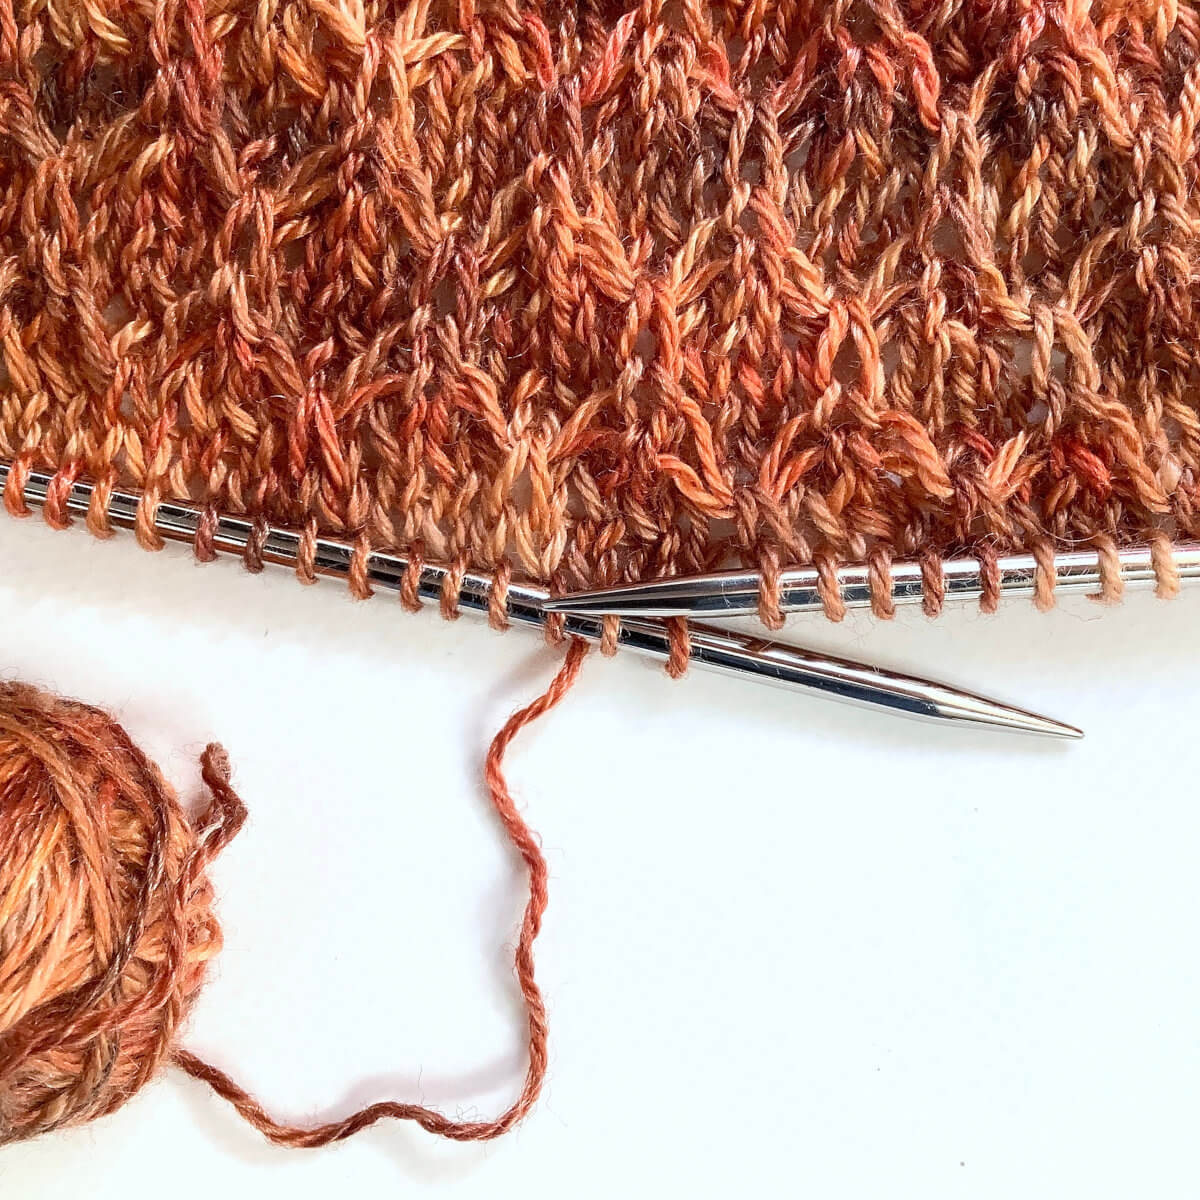
- Do you see the little “V” just above the knitting needle, positioned in between the loops on that needle? Insert the needle into the left leg of the first “V”
You could, of course, insert the needle under the other leg, but that would mean that the loops are placed on the needle with a twisted orientation. Not a big issue, but it would mean working a first row of the project through the back loops to get them oriented correctly again.
I do hope I haven’t mixed up my stitch legs here, though…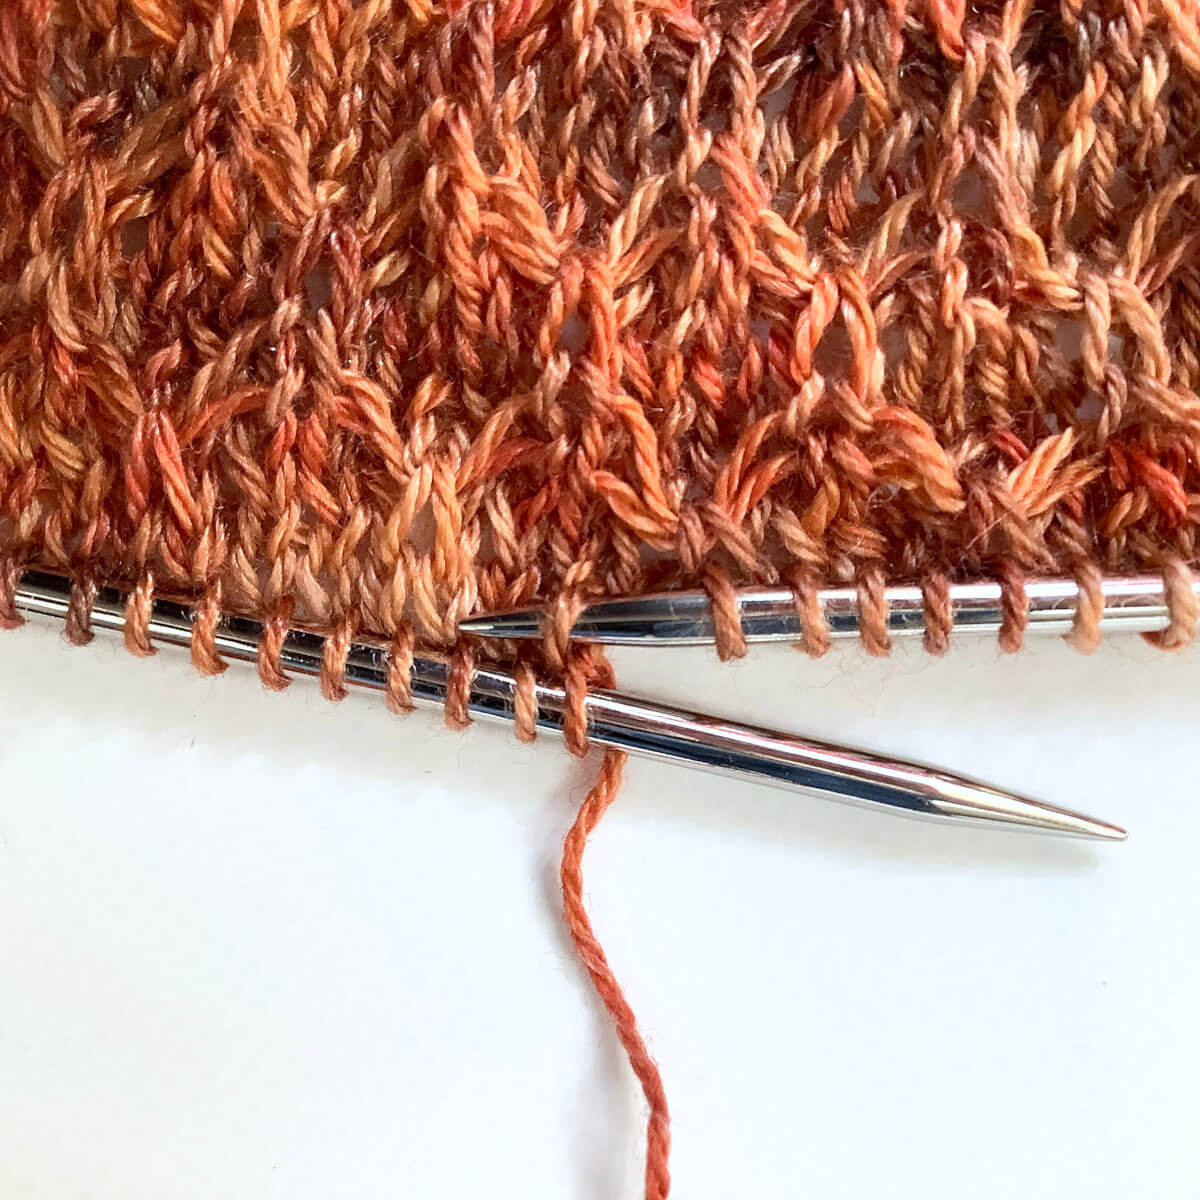
- Repeat step 2 until you have a decent number of stitches on your needle.
When working with circulars, that’s about 15 to 20 stitches for me.
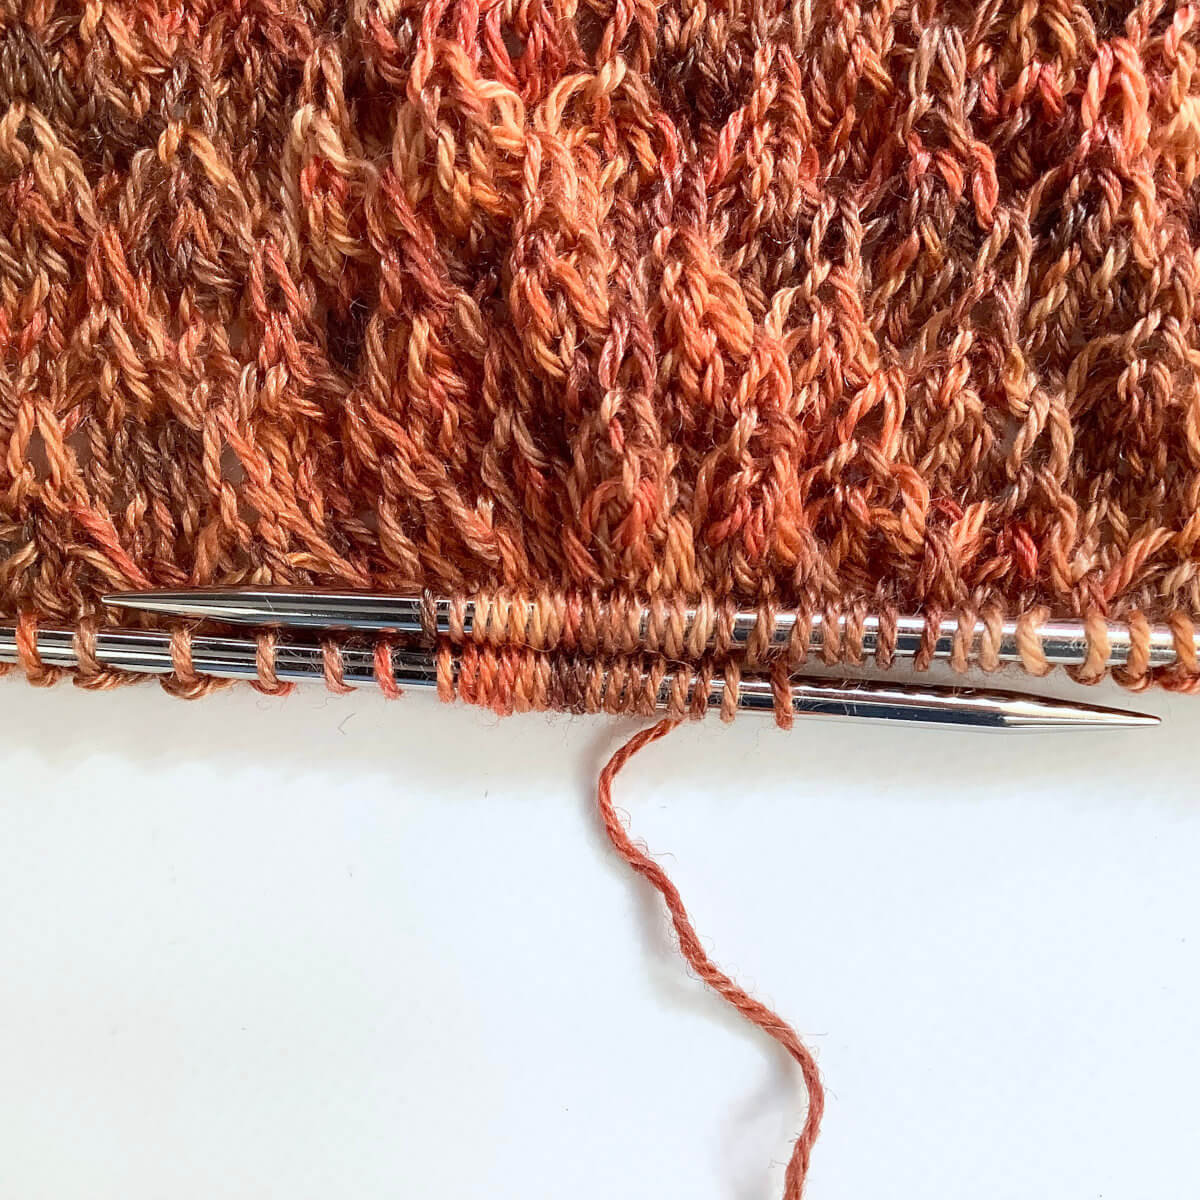
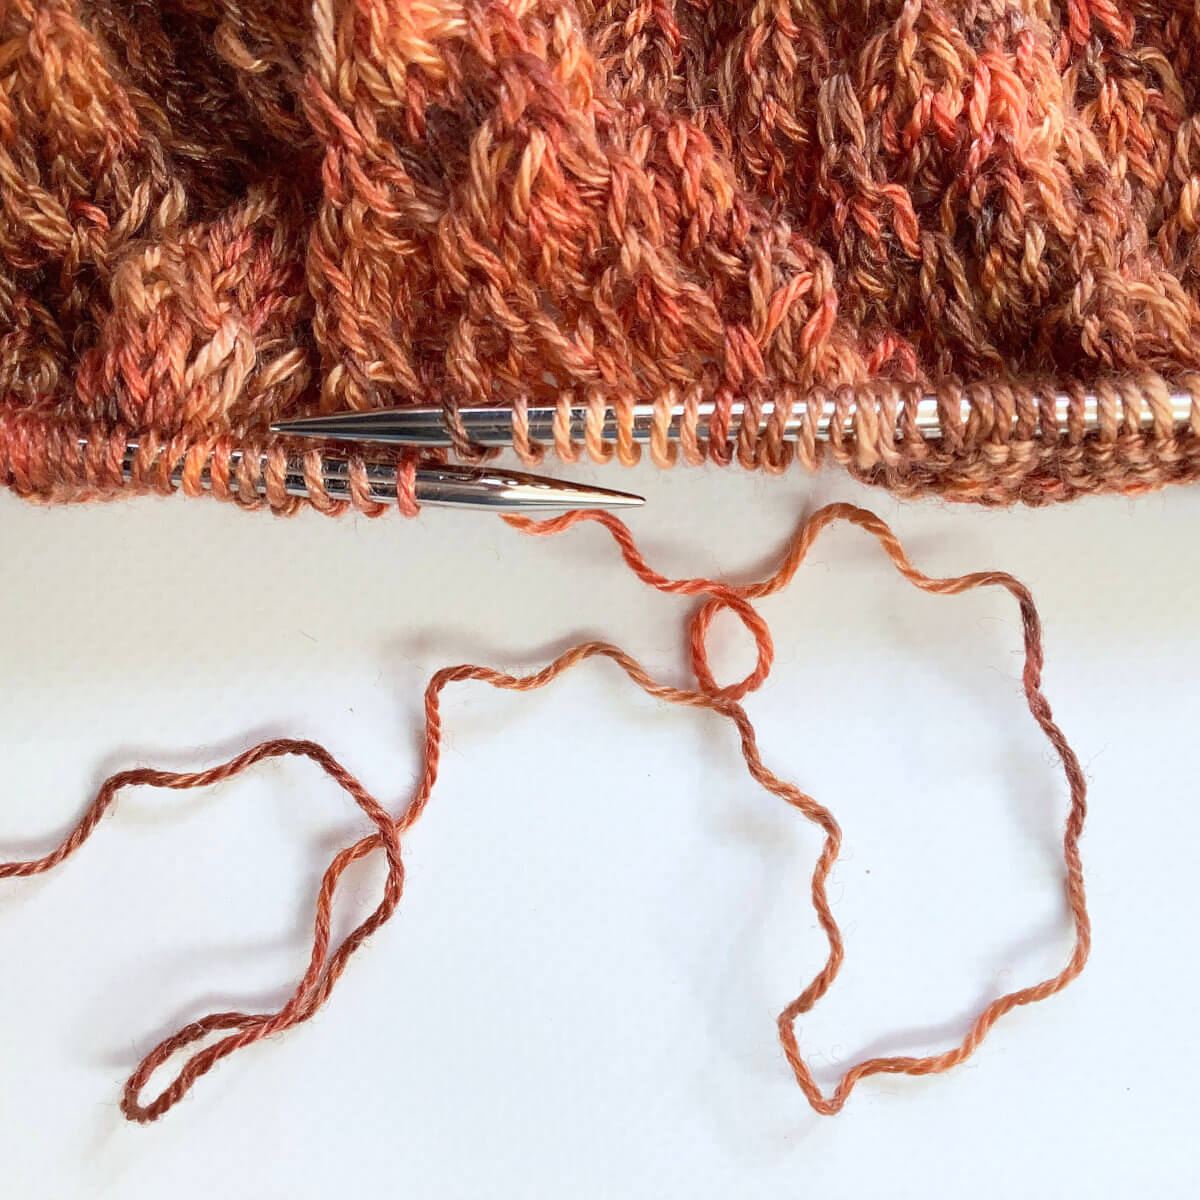
- Next, slide the knitting needle that holds all non-tinked back stitches out of the stitches below which you’ve just picked up stitches with the other needle.
- Now gently pull out the working yarn out of these stitches.
Make sure to watch out for any missed stitches, now it’s easy to fix it without any runners in your fabric. This will be less so when you’ve already moved on to a new section of stitches.
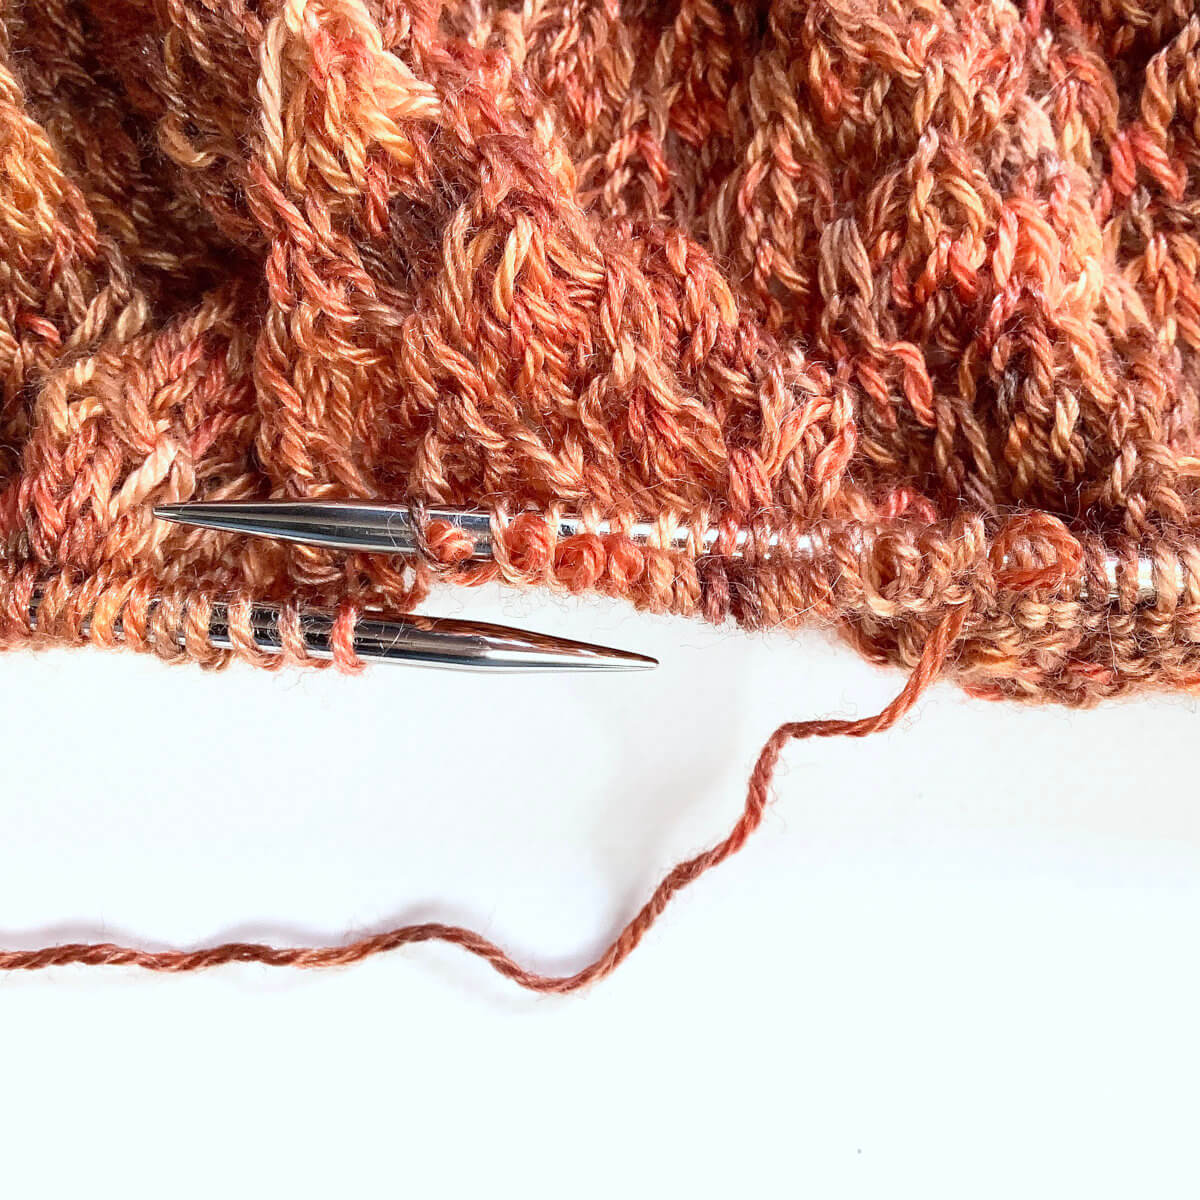
- And there you have it: a whole set of stitches safely on the needle, without either tinking or frogging.
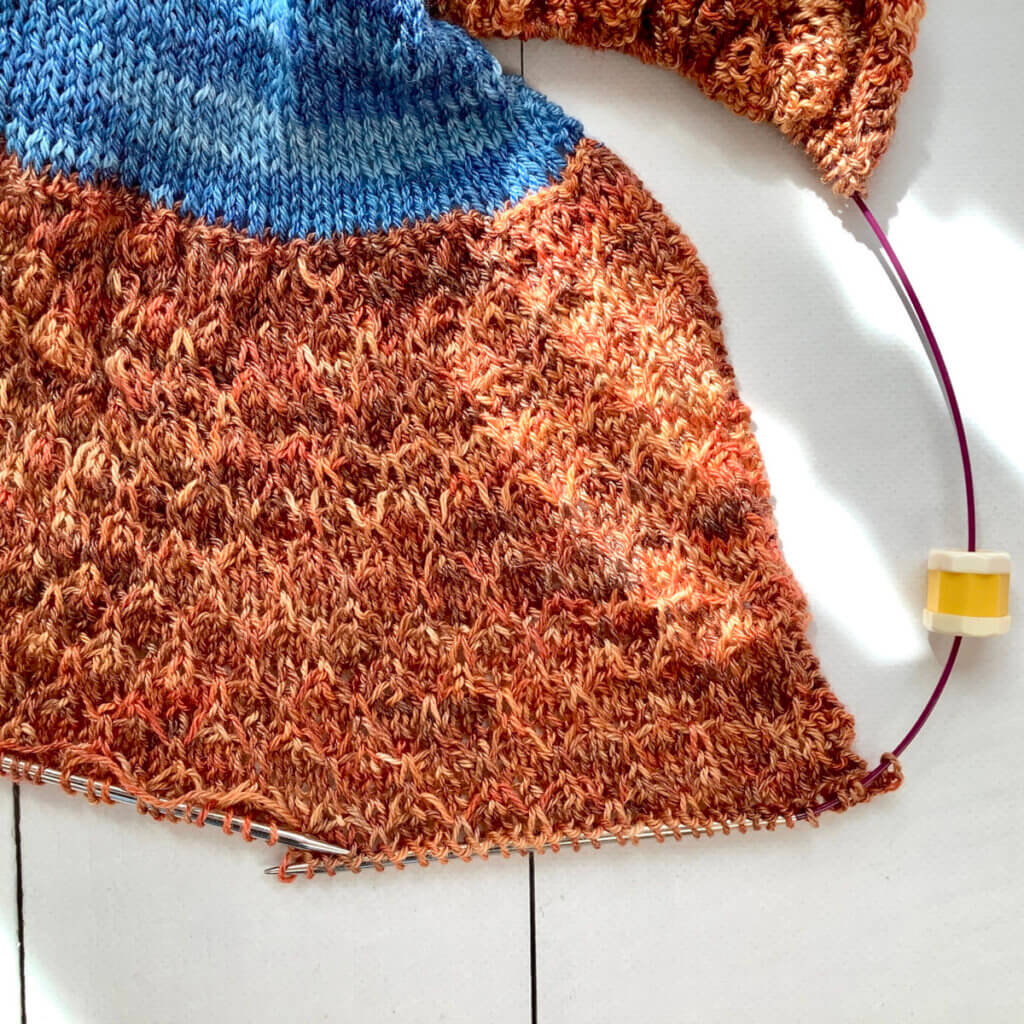
This way really is between tinking and frogging; a lovely compromise! And my project? I got the offending rows out and did the garter stitch ridge earlier. This is how I intended it to look!

Thanks to my Patreon supporters for bringing you this freebie! Creating quality patterns and tutorials is a lot of work and resource-intensive. However, I find it important to give you free content like this tutorial. Thanks to the generous support of my Patreon supporters, I can make it happen. Thank you, patrons! Click here to join, or click here to read more about La Visch Designs on Patreon.


