
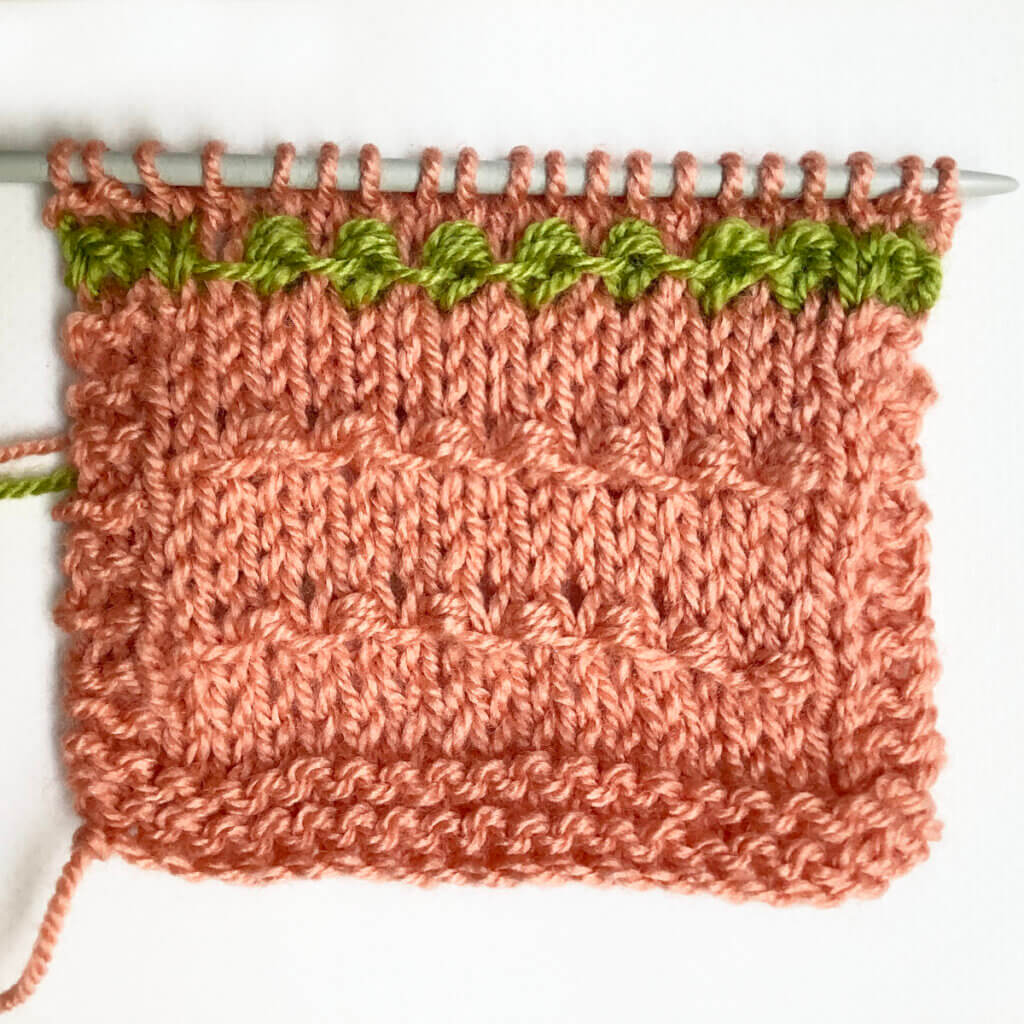
This tiny bobble stitch is a nicely textured stitch pattern, suitable for allover application. In my swatch, I’ve shown how it looks both in a single color all-over, and with the bobble part of the pattern in a contrasting color. I rather like the effect of both. I think the one with the contrast color would also work very well as a single accent near the hem and wrists of garments, for example. How would you use this lovely textured stitch pattern?
The tiny bobble stitch pattern is worked as a multiple of 2 + 1 stitches, and in a six-row repeat. In other words: any odd number of stitches will work. Please note that I’ve added 2 edge stitches in garter stitch on both sides of the swatch. These are not included in the stitch pattern description.
Materials used


Yarn: Paintbox Yarns Simply DK, a good value, good quality 100% acrylic yarn, in the colors Vintage Pink and Lime.
Needles: This is a pair of straights that I picked up at the second-hand store when I started knitting, brand unknown.
Stitches used
- k – knit
- k3tog tbl – knit 3 stitches together through the back loop
- p – purl
- RS / WS – right side / wrong side
- yo – yarn over
- rep – repeat
- sl1 wyib – slip 1 stitch purl-wise with the yarn held in the back
- st(s) – stitch(es)
Tiny bobble stitch
Row 1 (RS): Knit.
Row 2 (WS): Purl.
Rows 3-4: Rep rows 1-2.
Row 5: K1, *sl1 wyib, (k1, yo, k1) into the next st; rep from * to last 2 sts, sl1 wyib, k1.
Row 6: P1, *sl1 wyib, k3tog tbl; rep from * to last 2 sts, sl 1wyib, p1.
Repeat rows 1-6 for pattern until desired length.
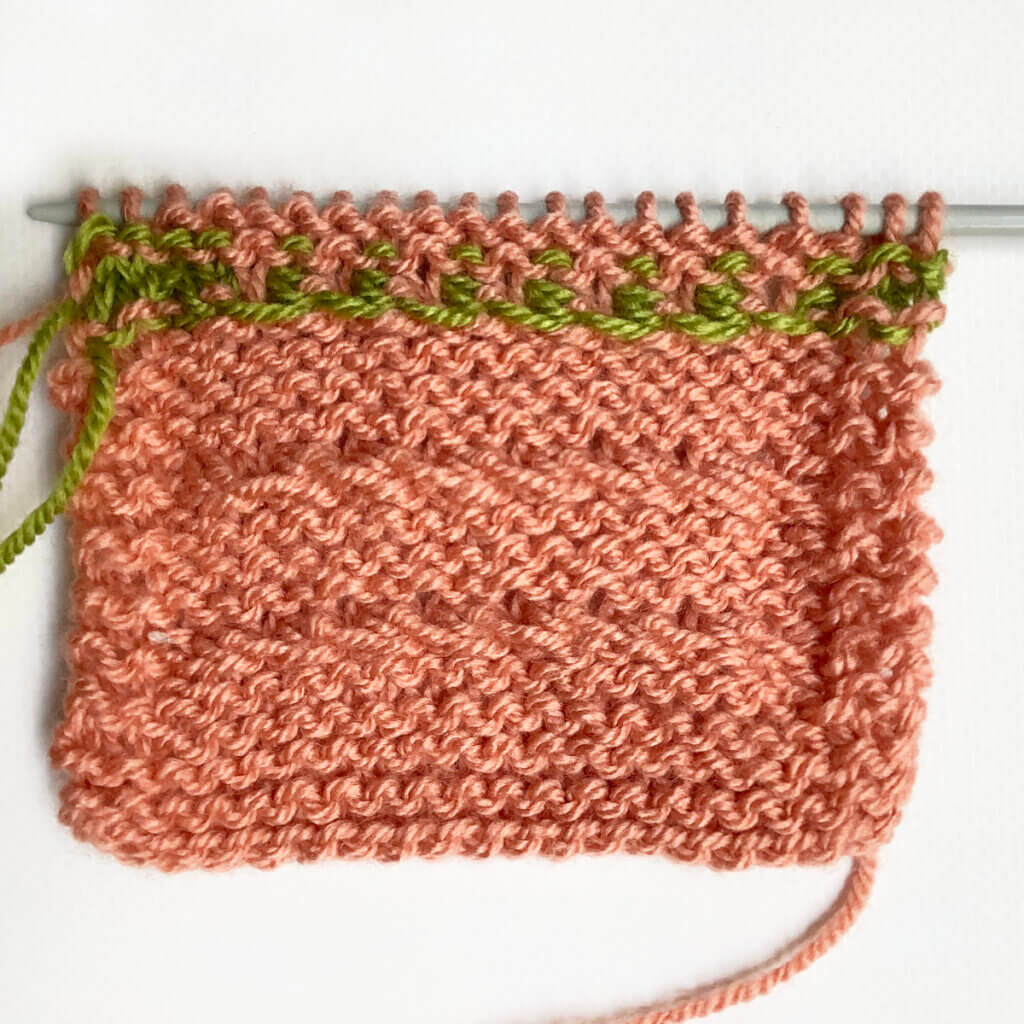
Please note that for the first part of the example, I’ve worked all 6 rows of the patterning in the same color twice. In the last repeat, though, rows 5 and 6 were worked in the green contrast color.
In the below pictures, you see the patterning first from the right, and then also from the wrong side of the fabric:

Thanks to my Patreon supporters for bringing you this freebie! Creating quality patterns and tutorials is a lot of work and resource-intensive. However, I find it important to give you free content like this tutorial. Thanks to the generous support of my Patreon supporters, I can make it happen. Thank you, patrons! Click here to join, or click here to read more about La Visch Designs on Patreon.


