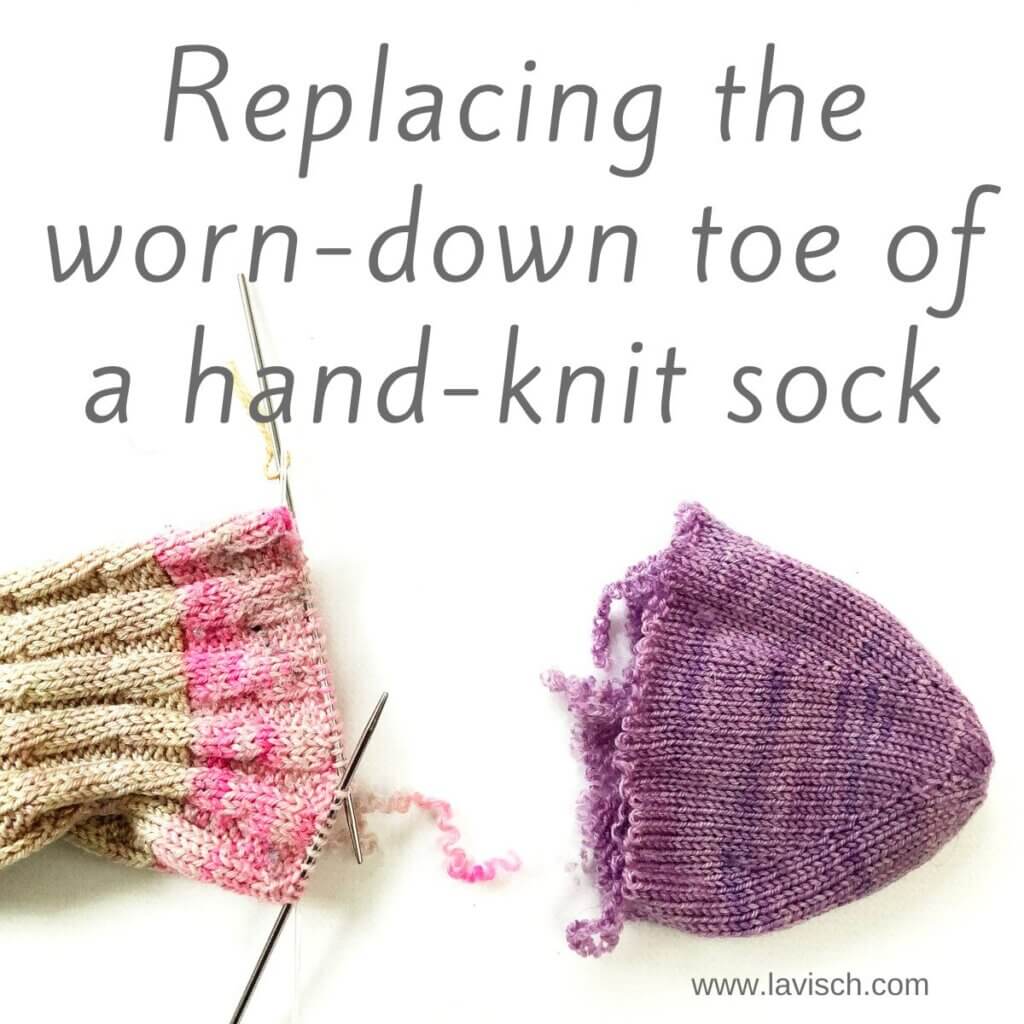
My youngest is a big fan of wearing hand knit socks. To make sure he gets enough wear out of a pair before growing out of them, I make him tube socks. The pattern I use is usually the No-Heel Spiral Socks by La Maison Rililie. Anyway, he wears these socks a lot, and that means they also get a lot of wear. With the sock pictured, a hole developed in the lilac toe section. On further inspection, it became clear that the whole lilac toe was thin all over, but that the rest of the sock was still good for a lot of wearing. So, time to learn how to go about replacing the worn-down toe of a hand-knit sock!
In this post, I show you how I go about it. There are probably many more ways to tackle this, this is just the one that I used here.
Materials used

Yarn: New sock yarn to work the new toe.
Tools: A pair of circular needles in size 2 mm (US 00) and a small circular in the same size.
Replacing the toe, step by step
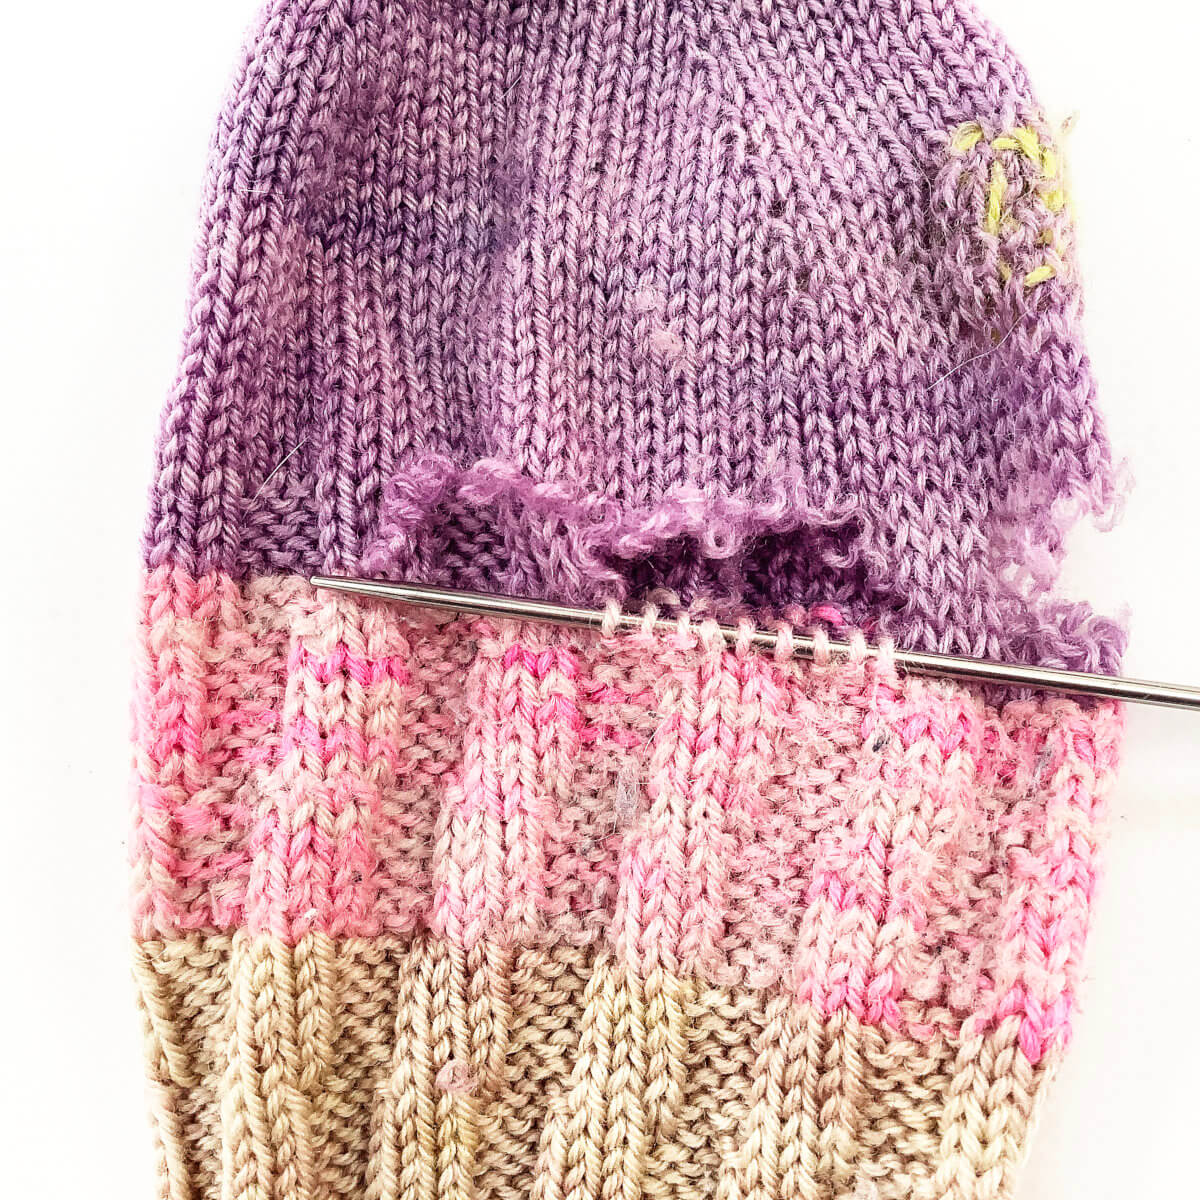
I determined that all the lilac was bad, but that the pink variegated yarn was still good.
- To start, I snipped some of the lilac yarn to free up the stitches in the pink and to put those on a circular needle.
This sock was originally knit toe-up, but the replacement toe will be knit the other way around. Because of this difference in knitting direction, I can’t unravel the lilac yarn easily. Instead, I have to tease it loose stitch by stitch with the smaller needle. This is not a problem, because it greatly reduces the risk of dropped stitches and running down stitches.
- Tease all the pink stitches loose and put them on the needle.
When this is done, you have a loose, worn-out toe and a project ready for knitting.
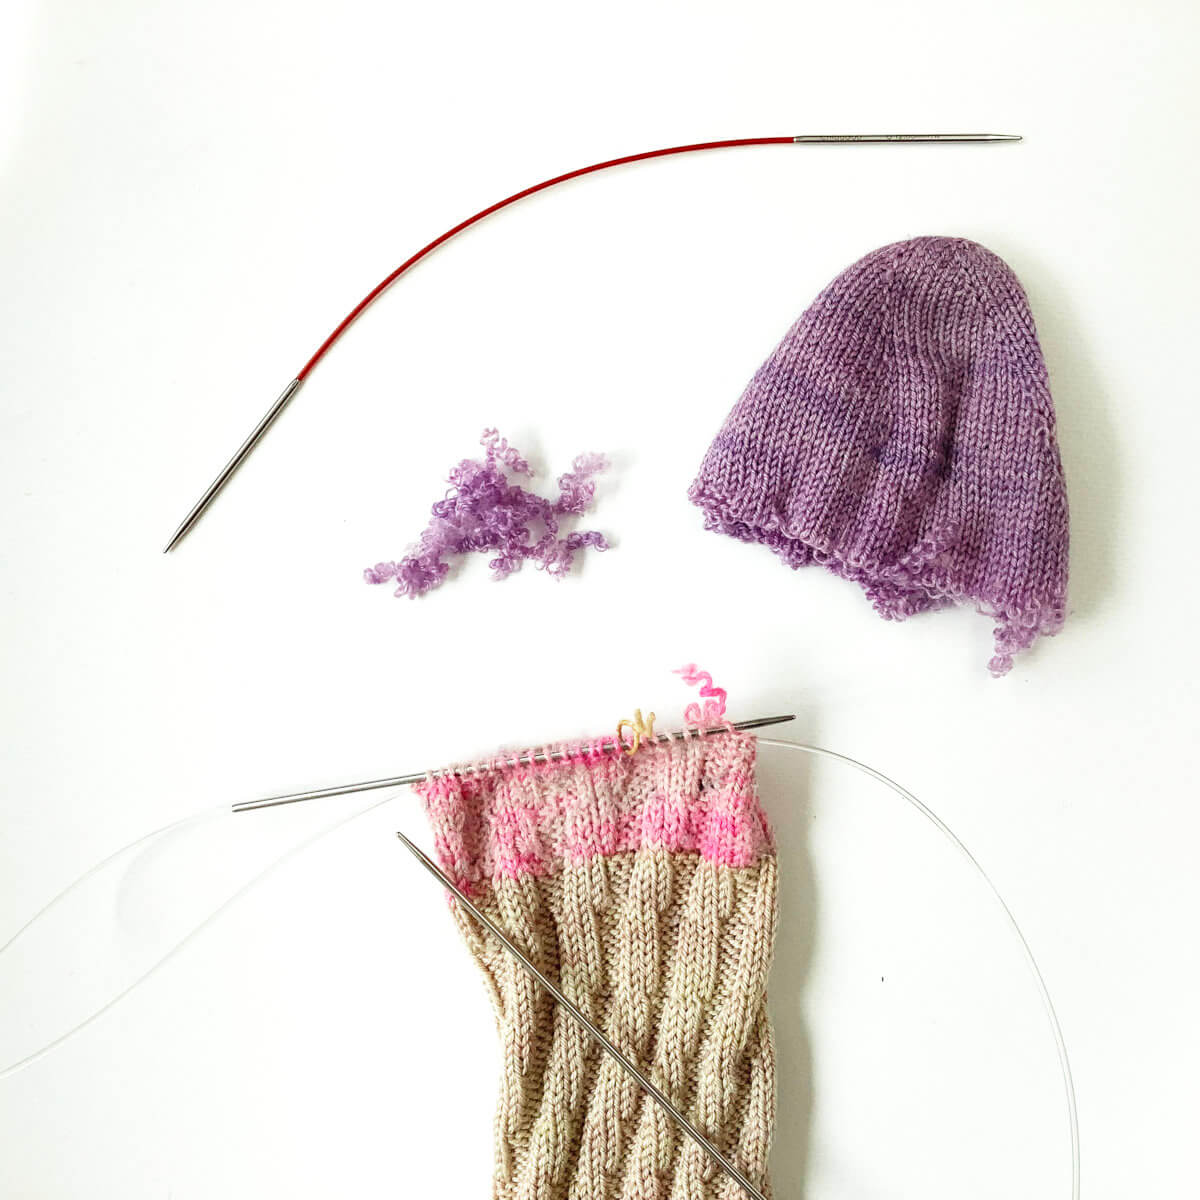
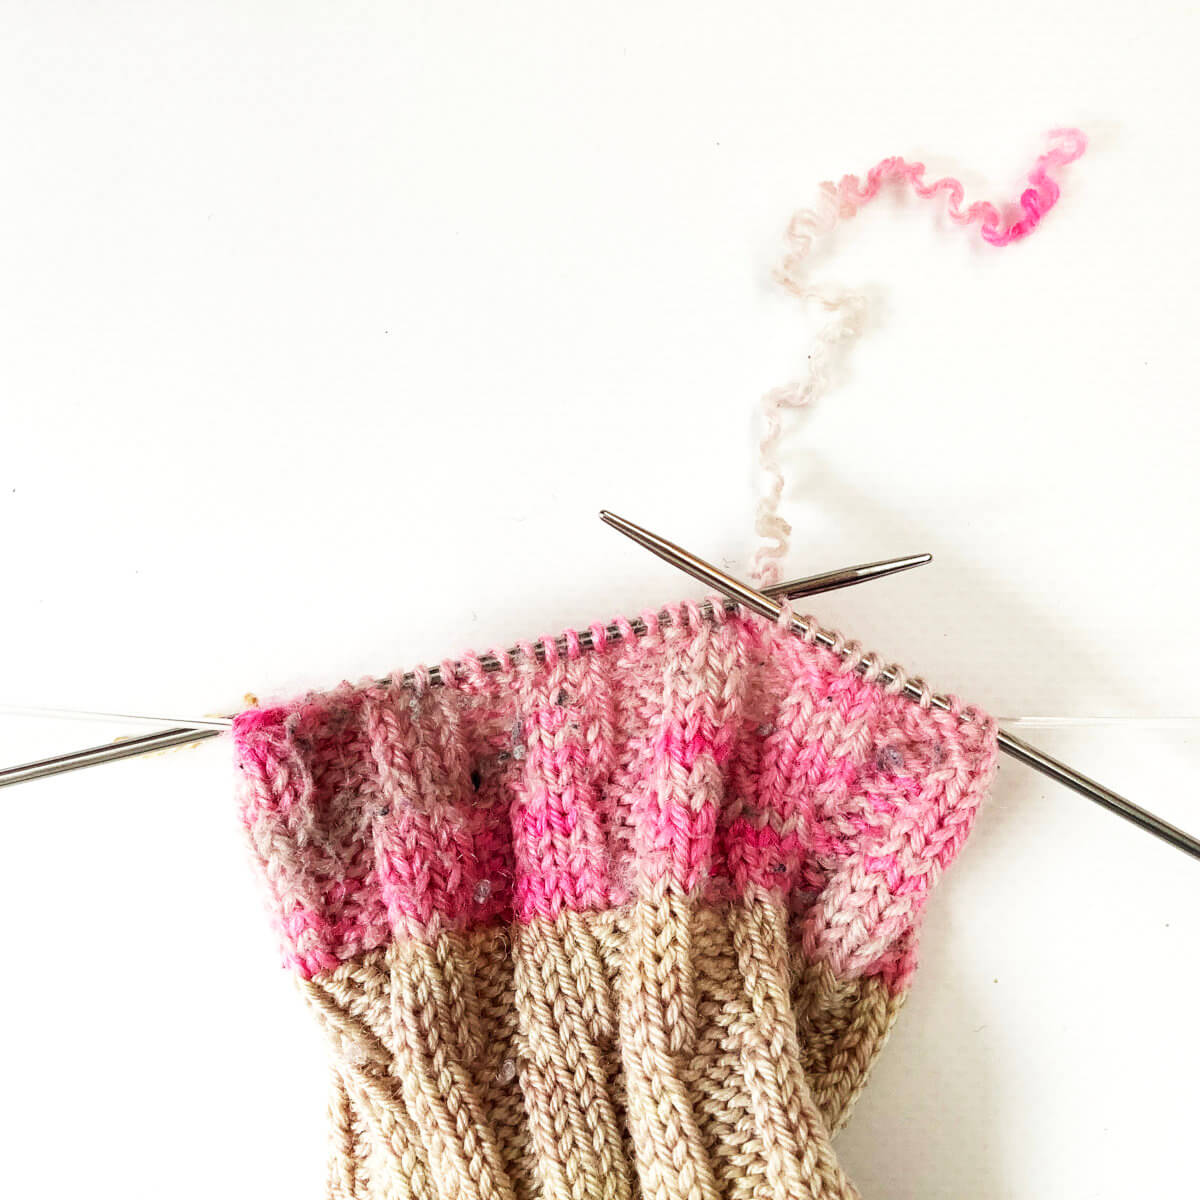
- Attach your new yarn and work the new toe.
In this picture, I’m ready to join the new yarn.
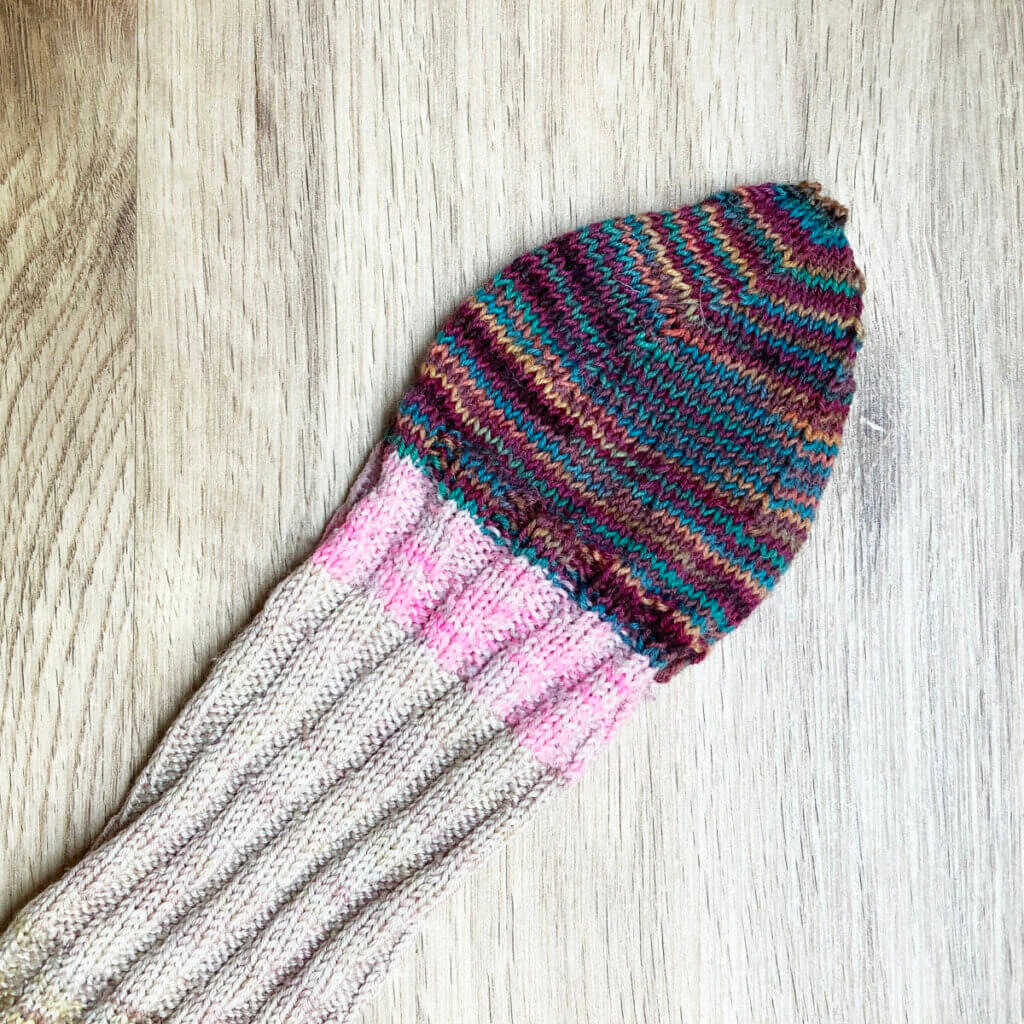
The result
The result of replacing the worn-down toe of a hand-knit sock: A sock with a new toe, ready for some more wearing!

Thanks to my Patreon supporters for bringing you this freebie! Creating quality patterns and tutorials is a lot of work and resource-intensive. However, I find it important to give you free content like this tutorial. Thanks to the generous support of my Patreon supporters, I can make it happen. Thank you, patrons! Click here to join, or click here to read more about La Visch Designs on Patreon.


