Recently, it was pointed out to me, that in the Scalloped edge tutorial, I don’t show step by step how to work the increases needed. So, time for a new tutorial! With the (k1, yo, k1, yo, k1) increase, 1 stitch is increased to 5 by working [k1, yo] twice in the same loop, followed by another k1. That said, if you’d like to increase 7 or even 9 stitches instead of 5, just work more repeats of [k1, yo] into the original stitch.
Let’s get our materials and get started!
Materials used


Yarn: Paintbox Yarns Simply DK, a good value, good quality 100% acrylic yarn, here in the color 142 Tea Rose.
Knitting needles: This is a pair of straights that I picked up at the second-hand store when I started knitting, brand unknown.
Working the (k1, yo, k1, yo, k1) increase step by step
- To start, work as instructed by your pattern until the point where you want to make the increase.
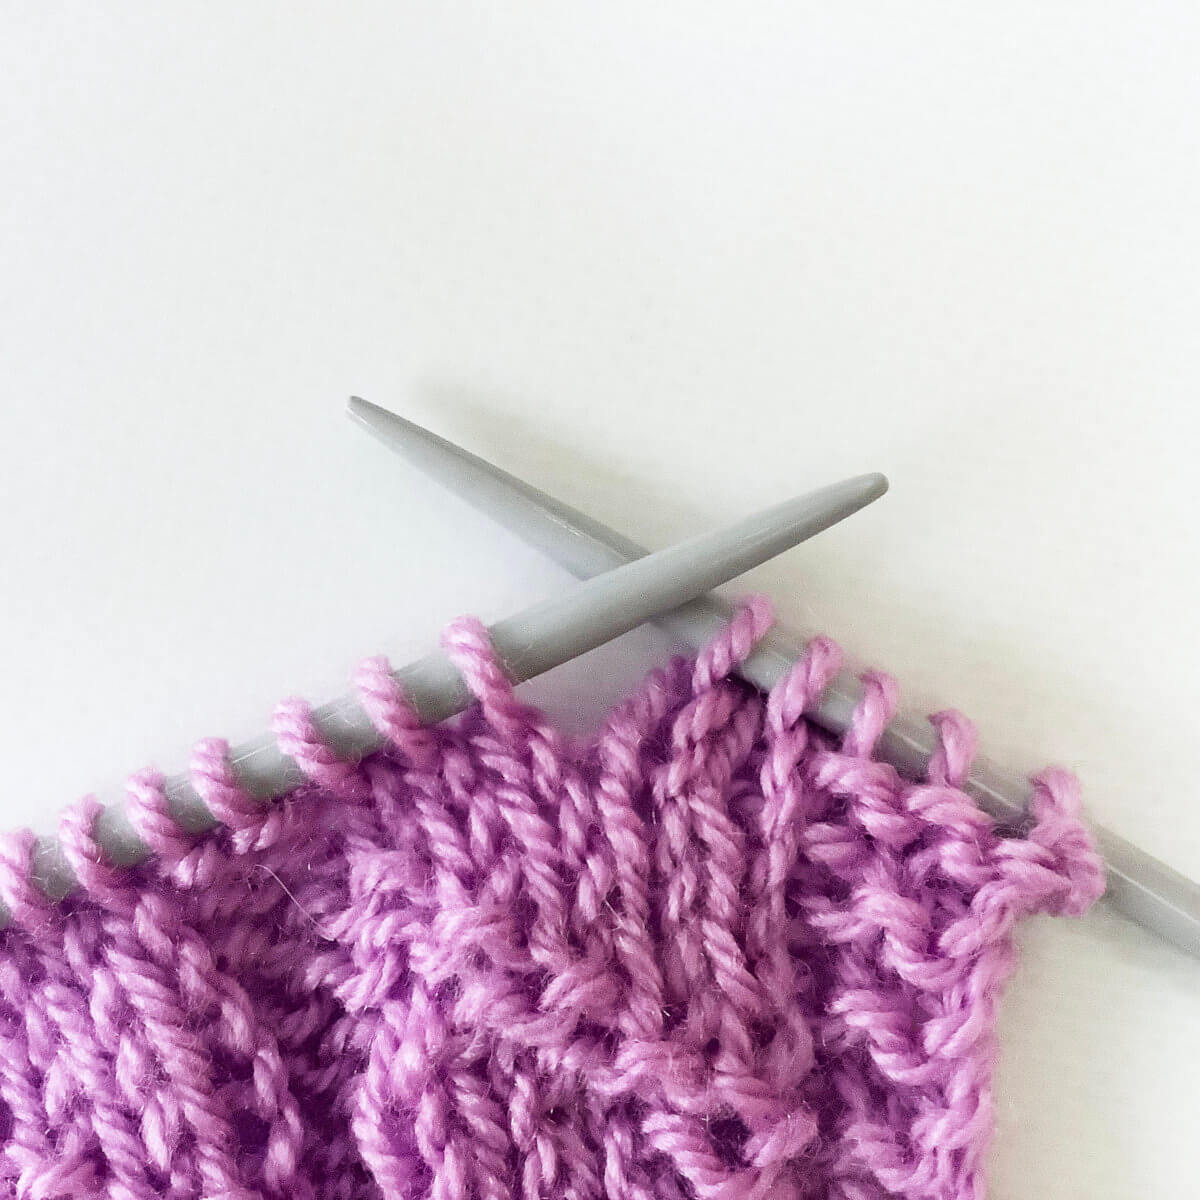
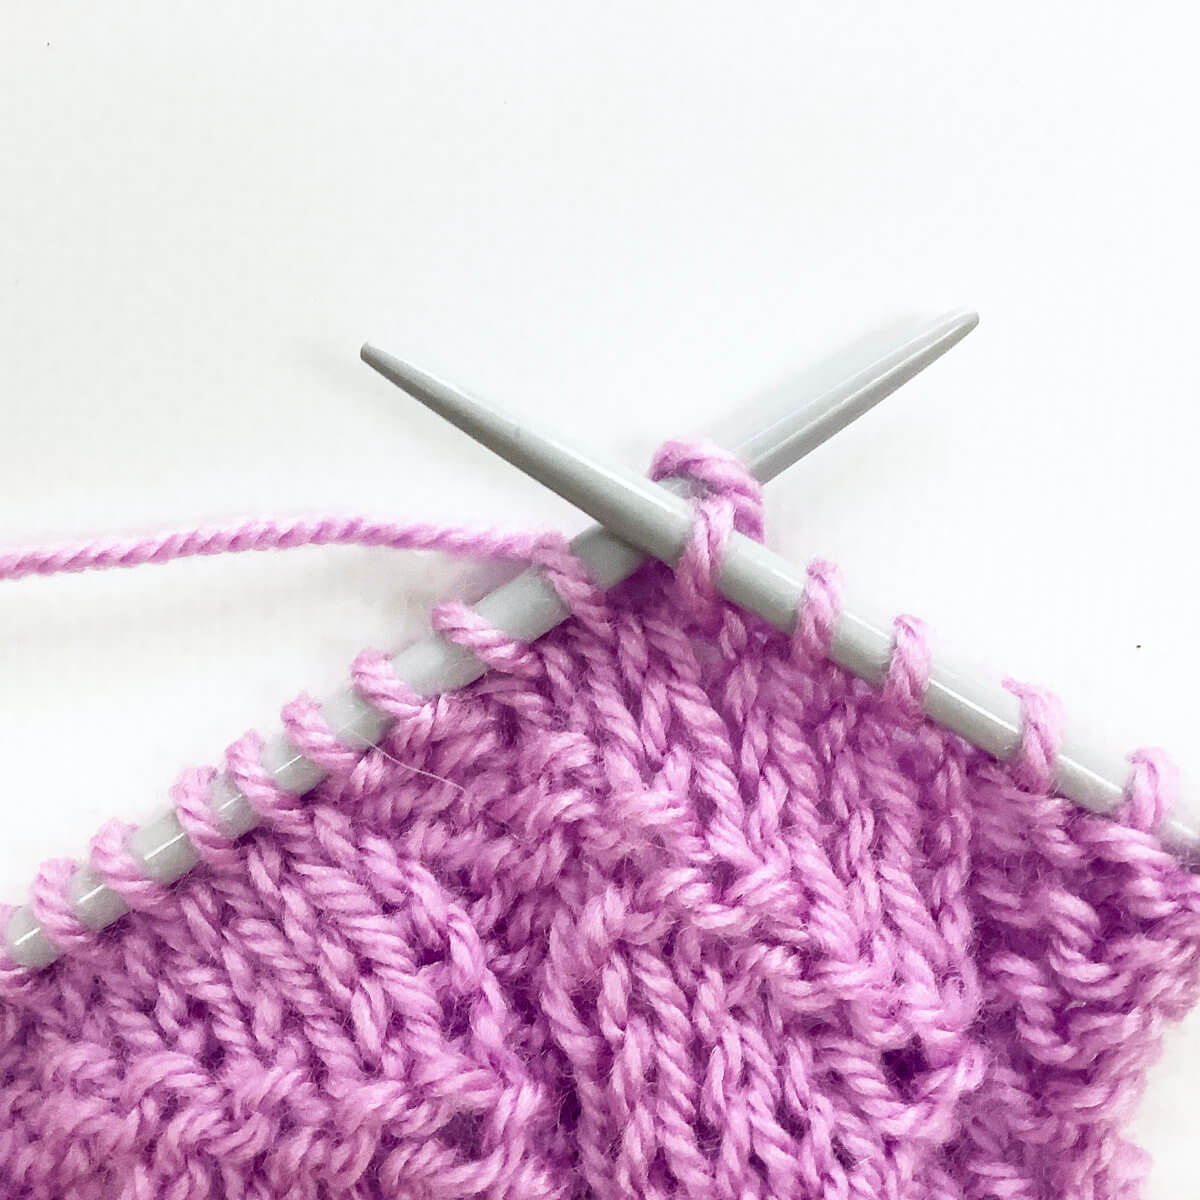
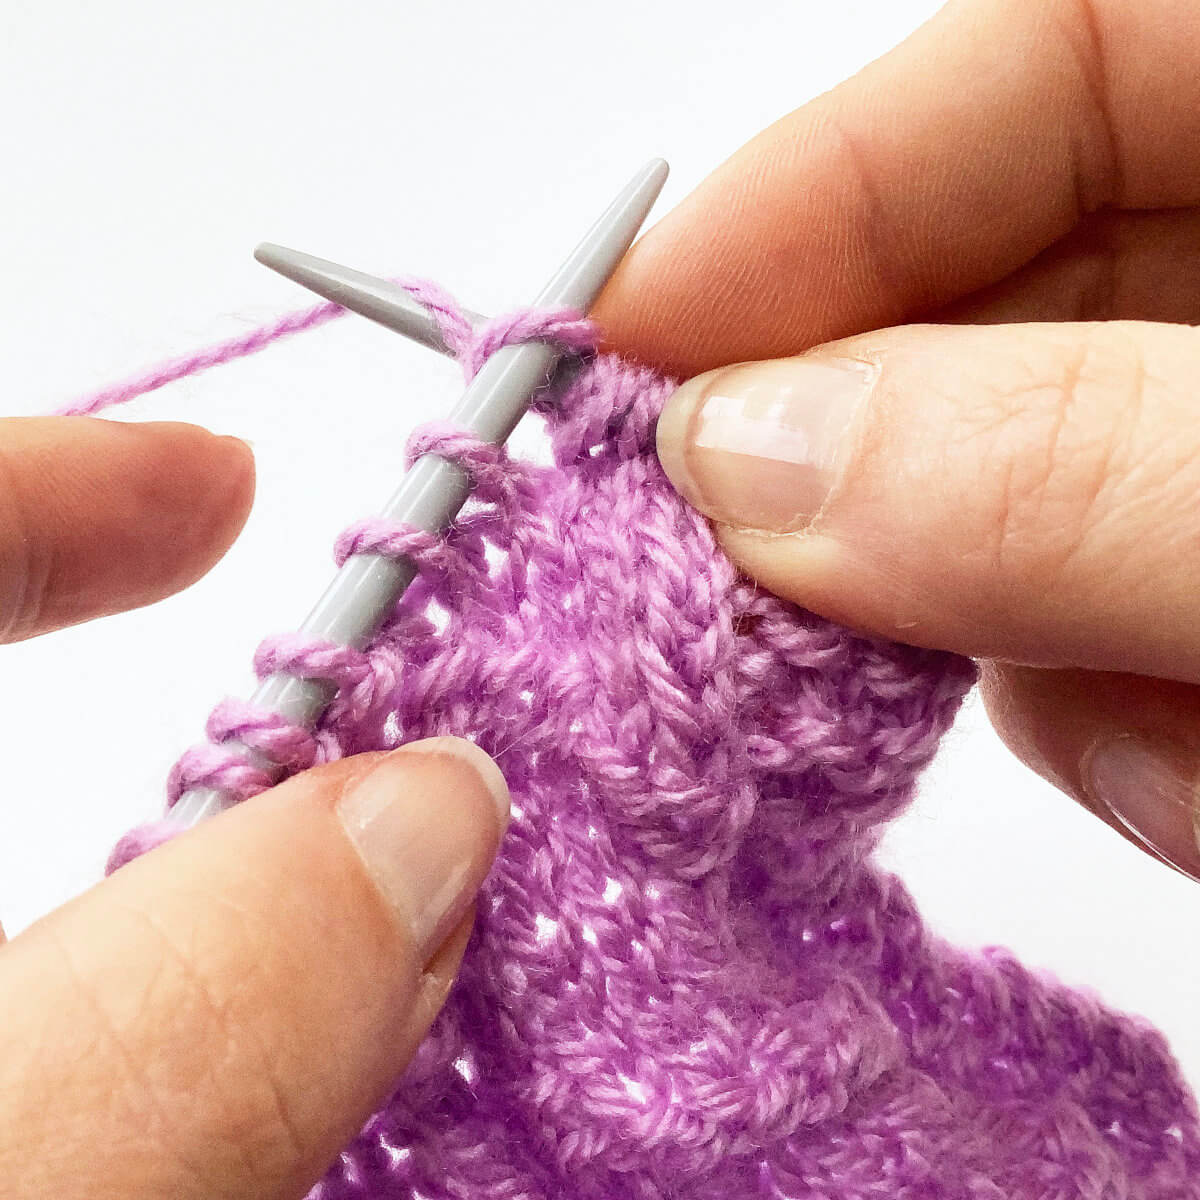
- First, insert your right-hand needle into the first stitch on the left-hand needle as if to knit.
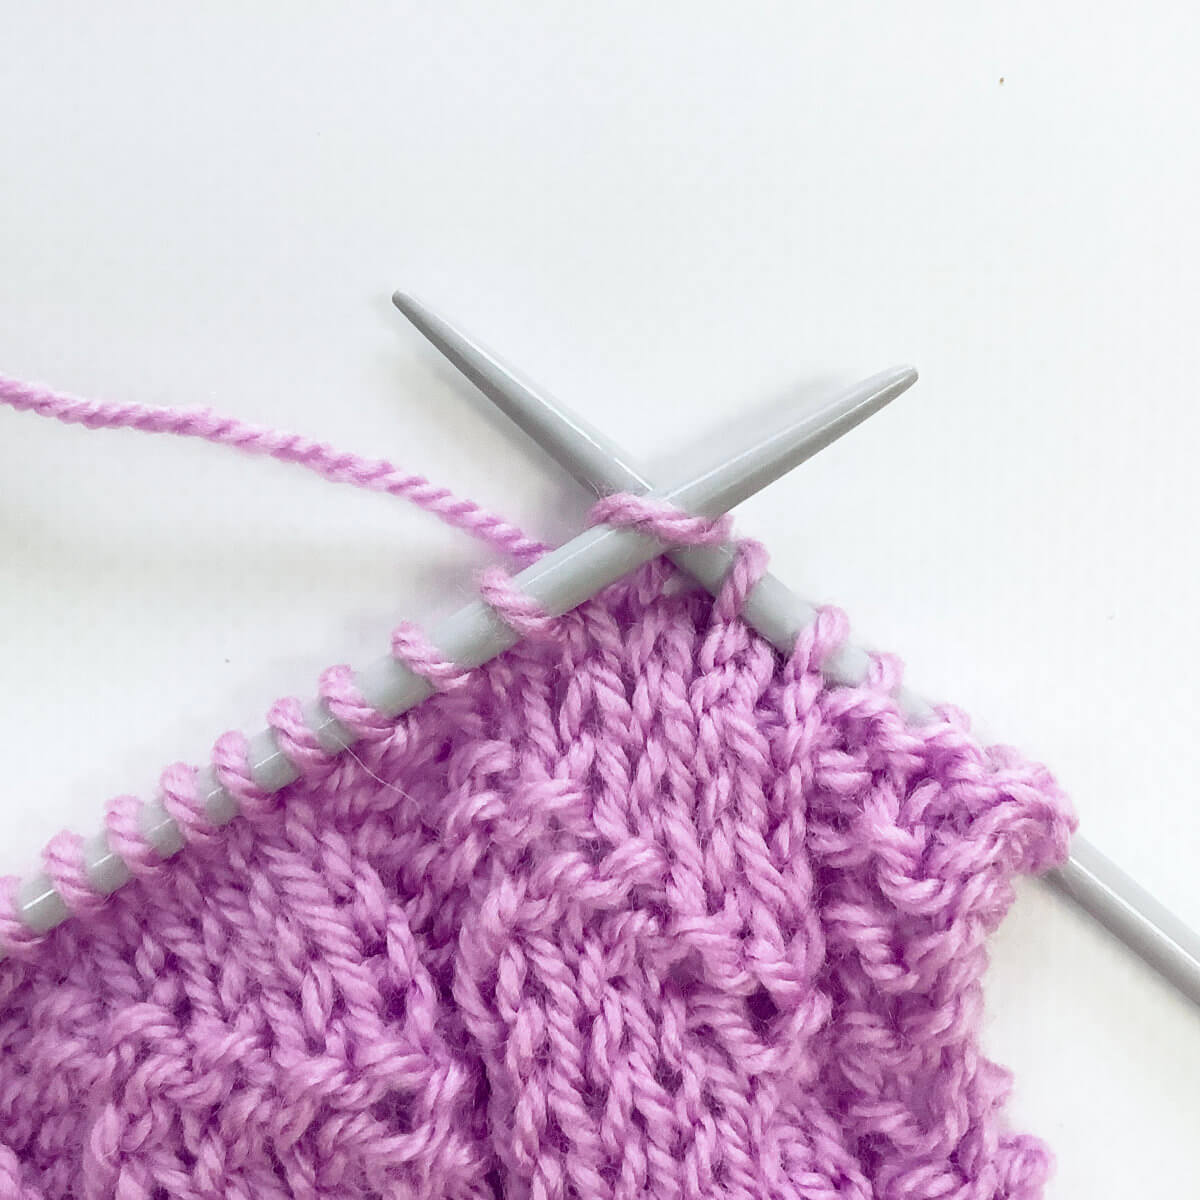
- Next, wrap the yarn around the needle …
- … and pull it through to work a k1. Do not slip the loop off the needle yet!
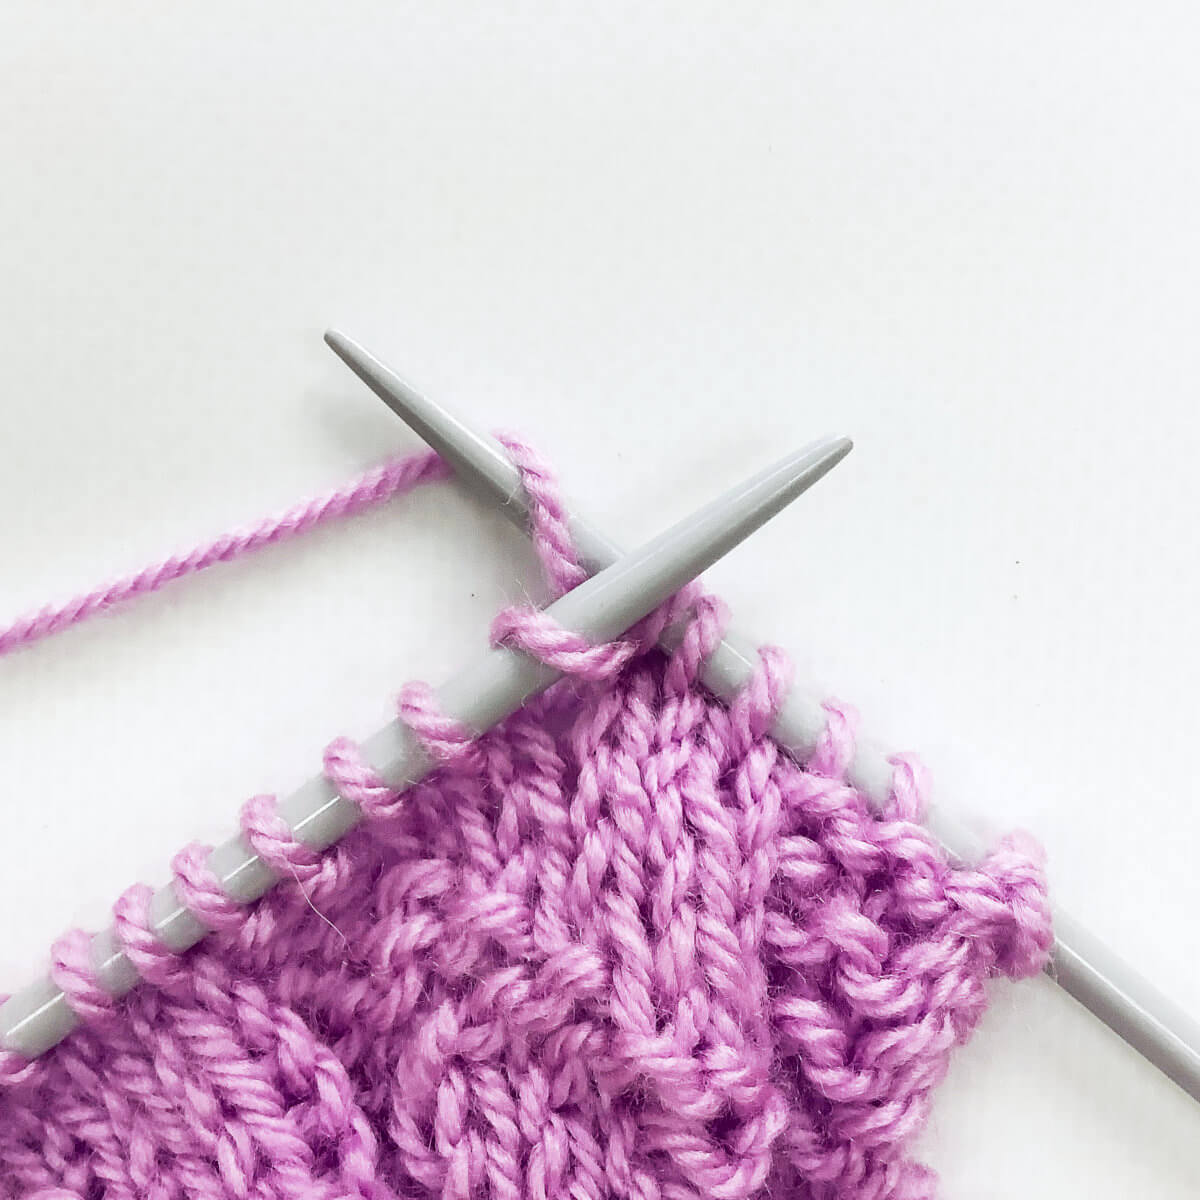
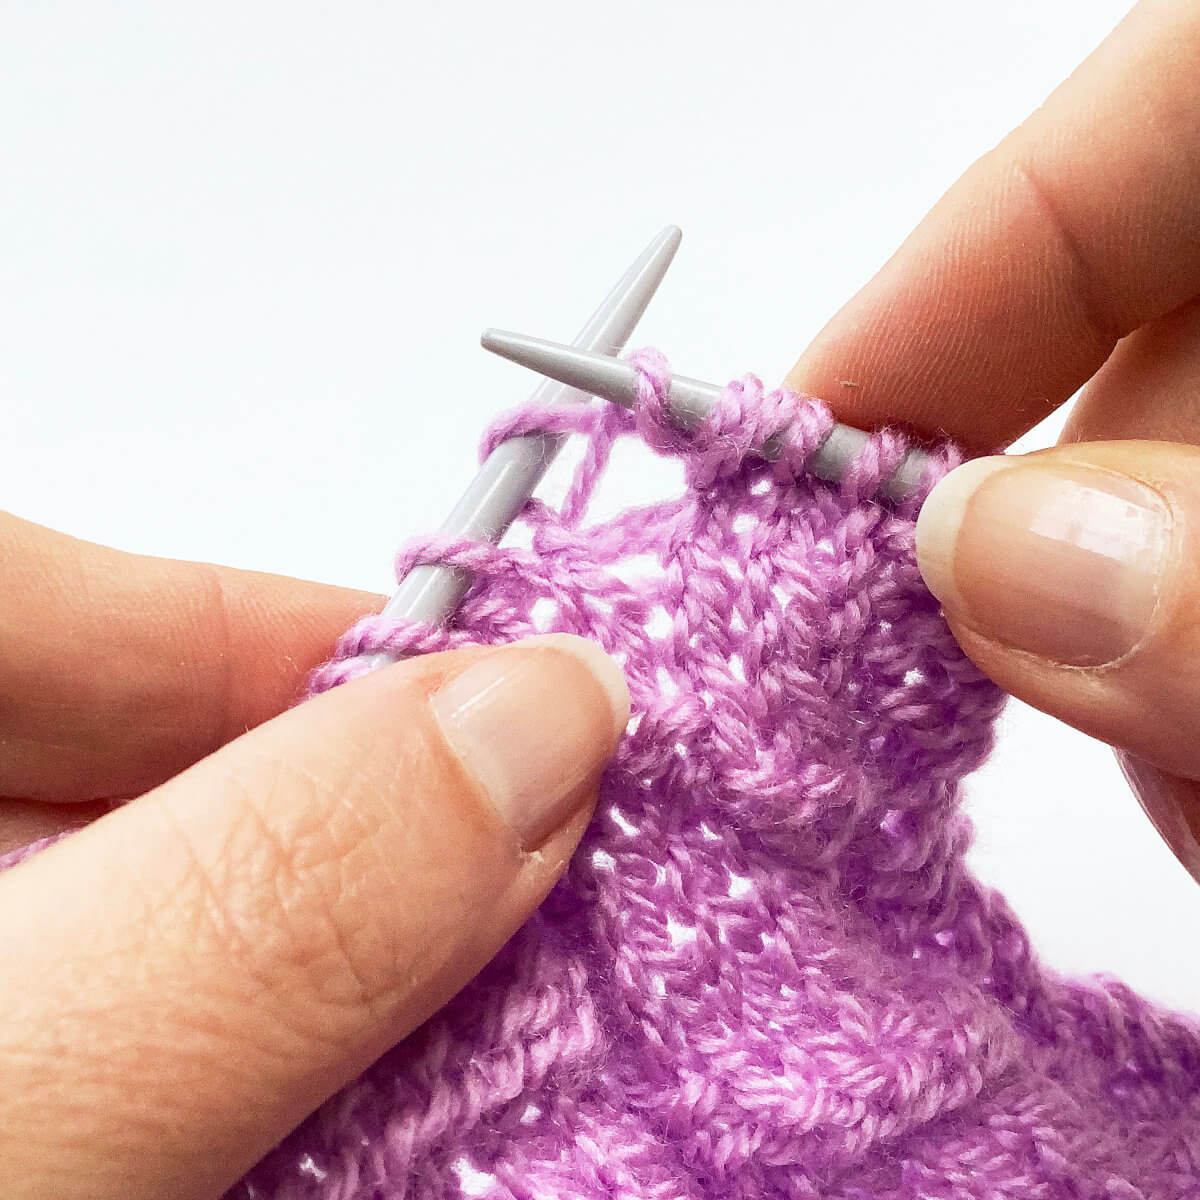
- Now, wrap the yarn around the needle again.
This is one of the yo’s in the increase.
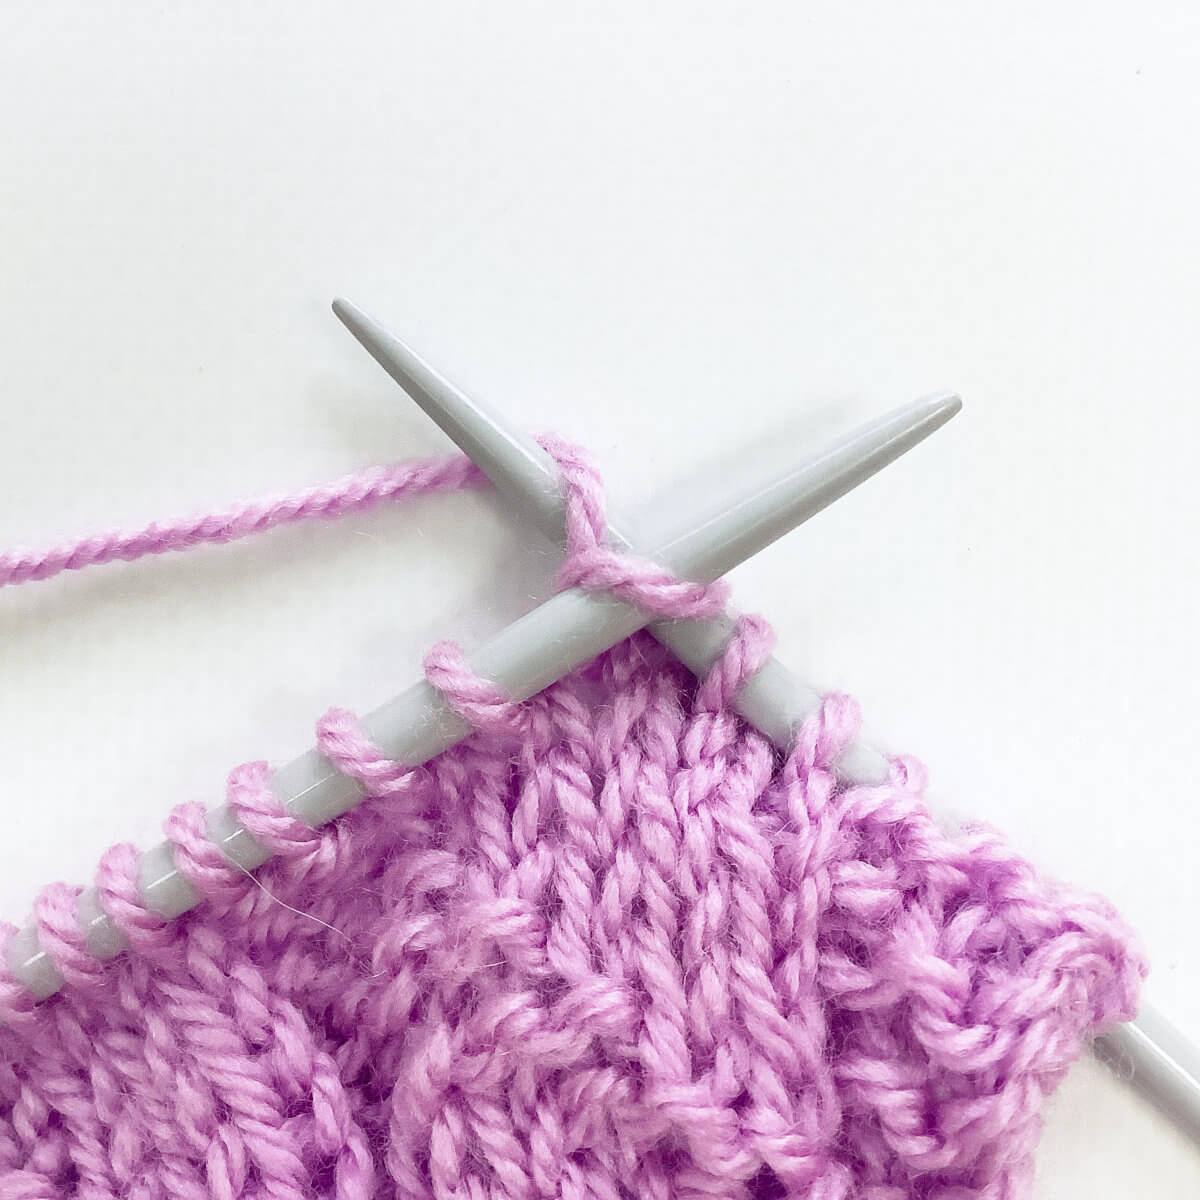
- To work the next set of (k1, yo), I find it helps to put my finger on the last yo loop already on the needle. This will keep it from sliding off.
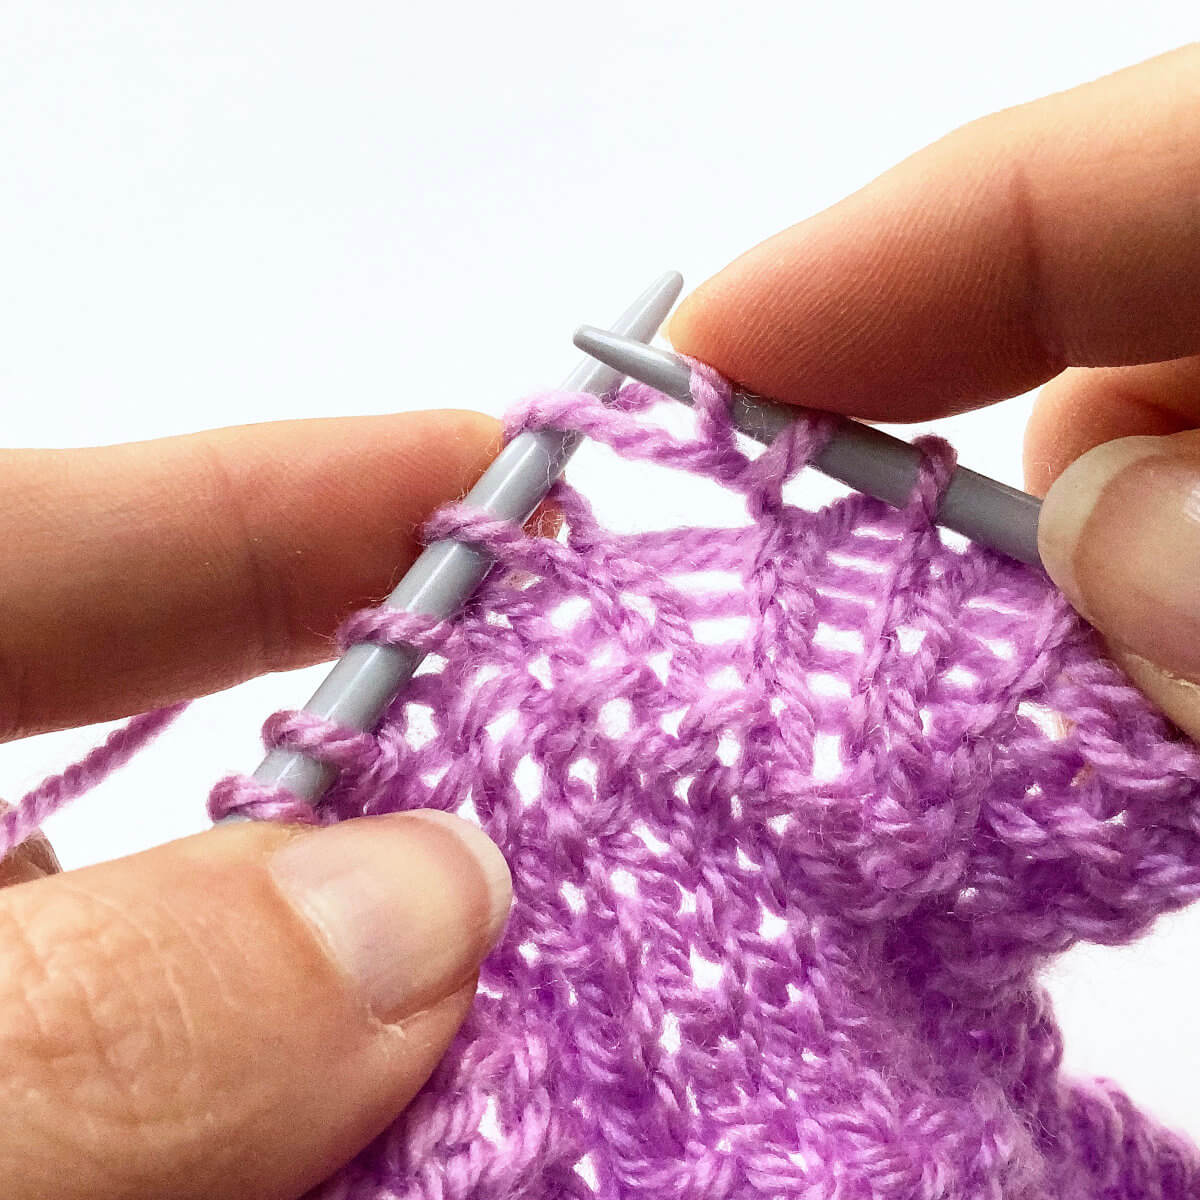
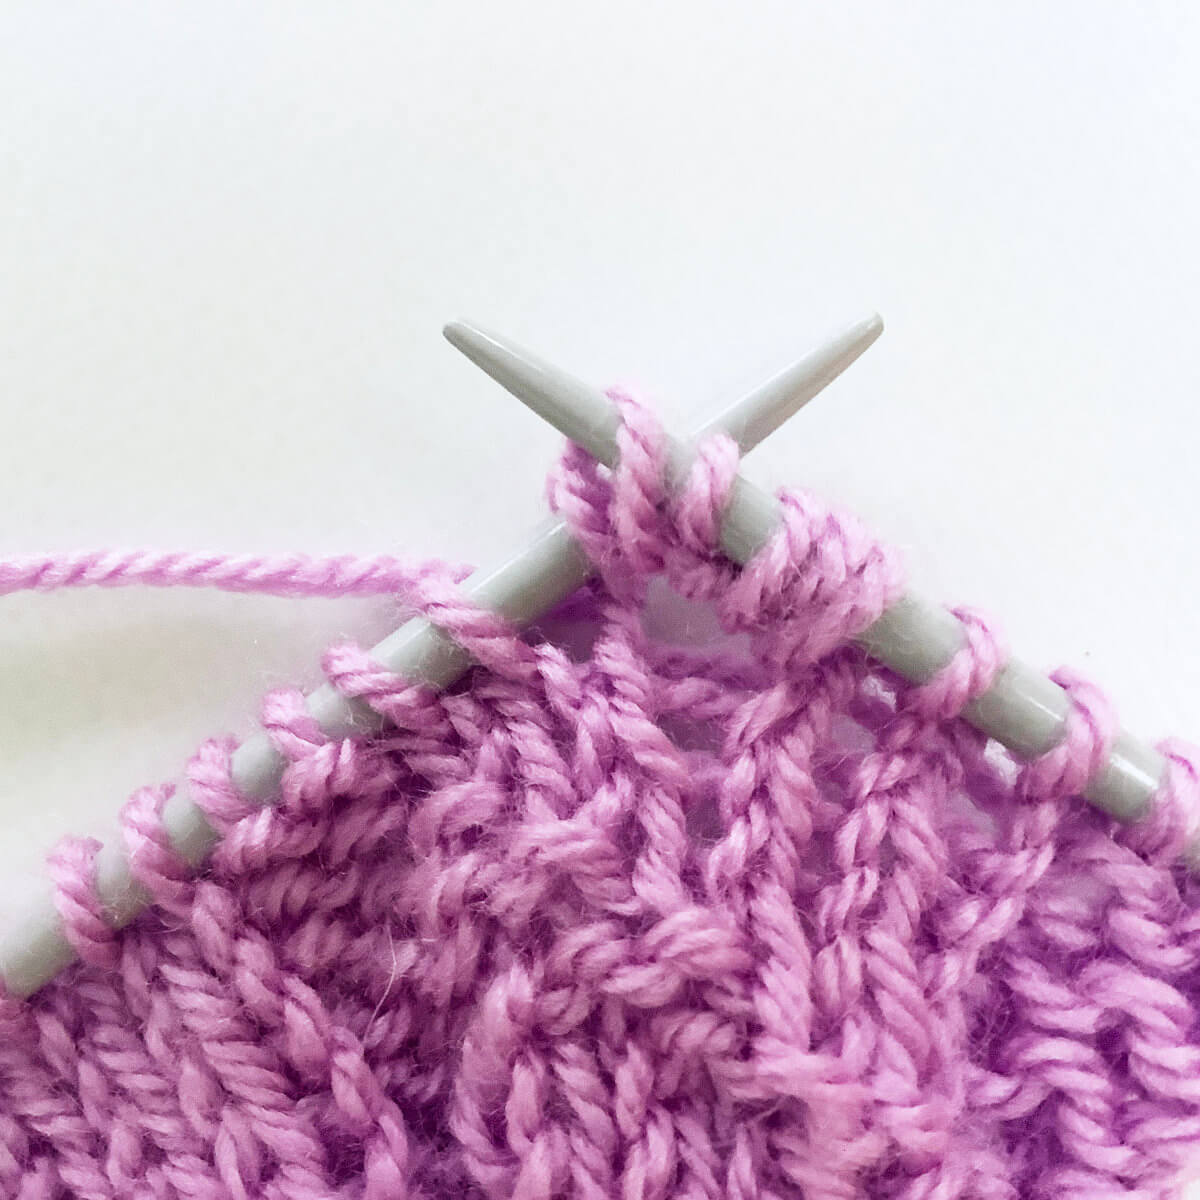
- Again, insert your right-hand needle into the first stitch on the left-hand needle as if to knit.
- Next, wrap the yarn around the needle …
- … and pull it through to work a k1. Do not slip the loop off the needle yet!
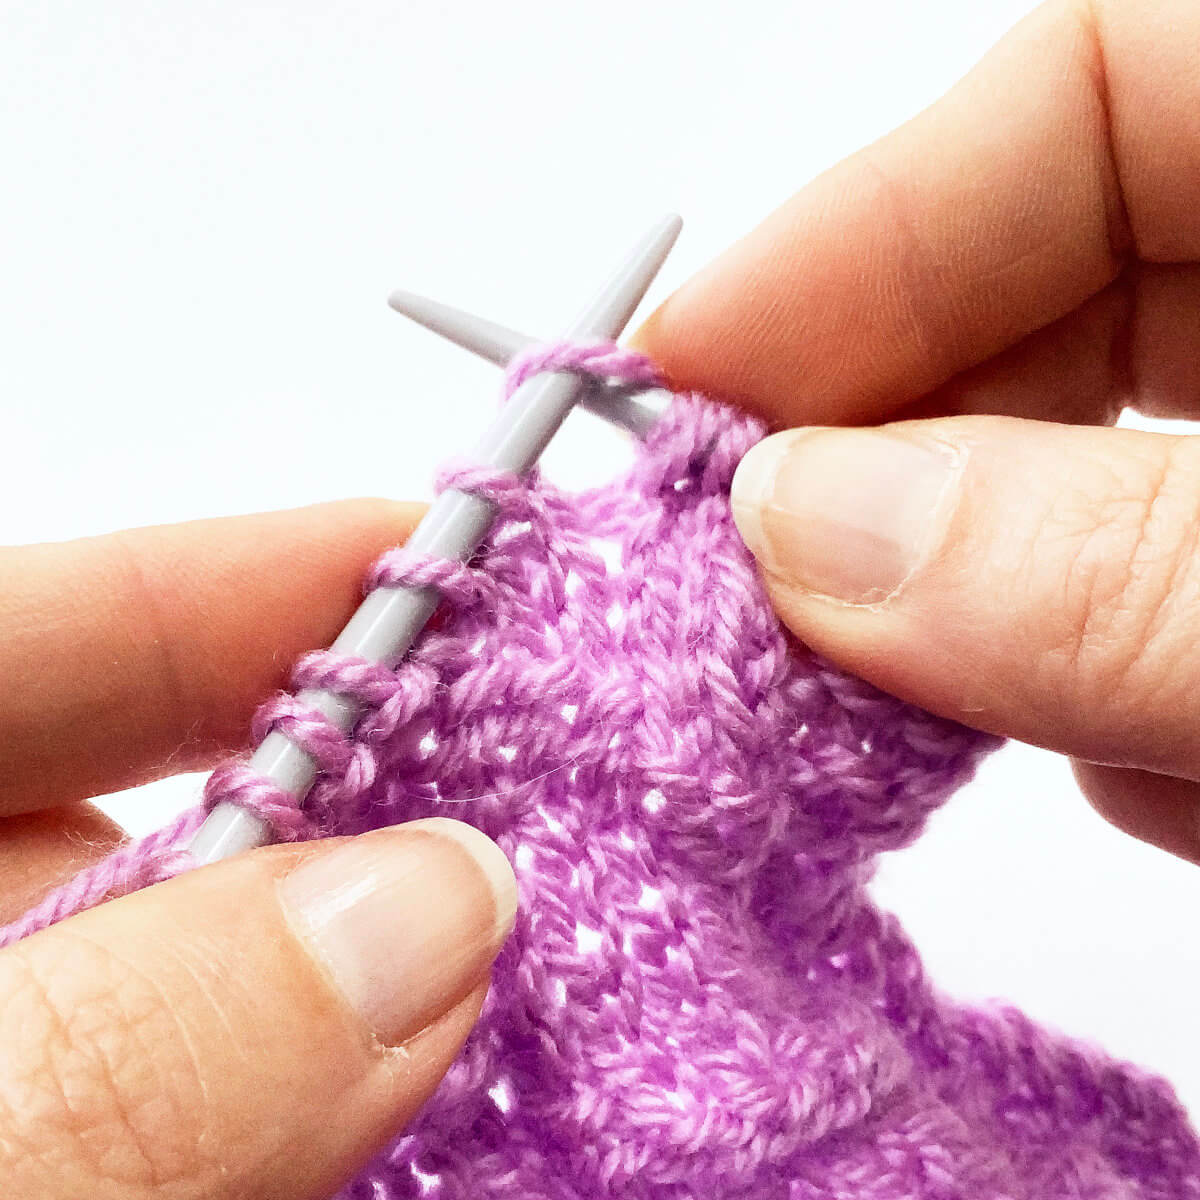
- Repeat steps 5 to 9 once more to create all the extra stitches needed.
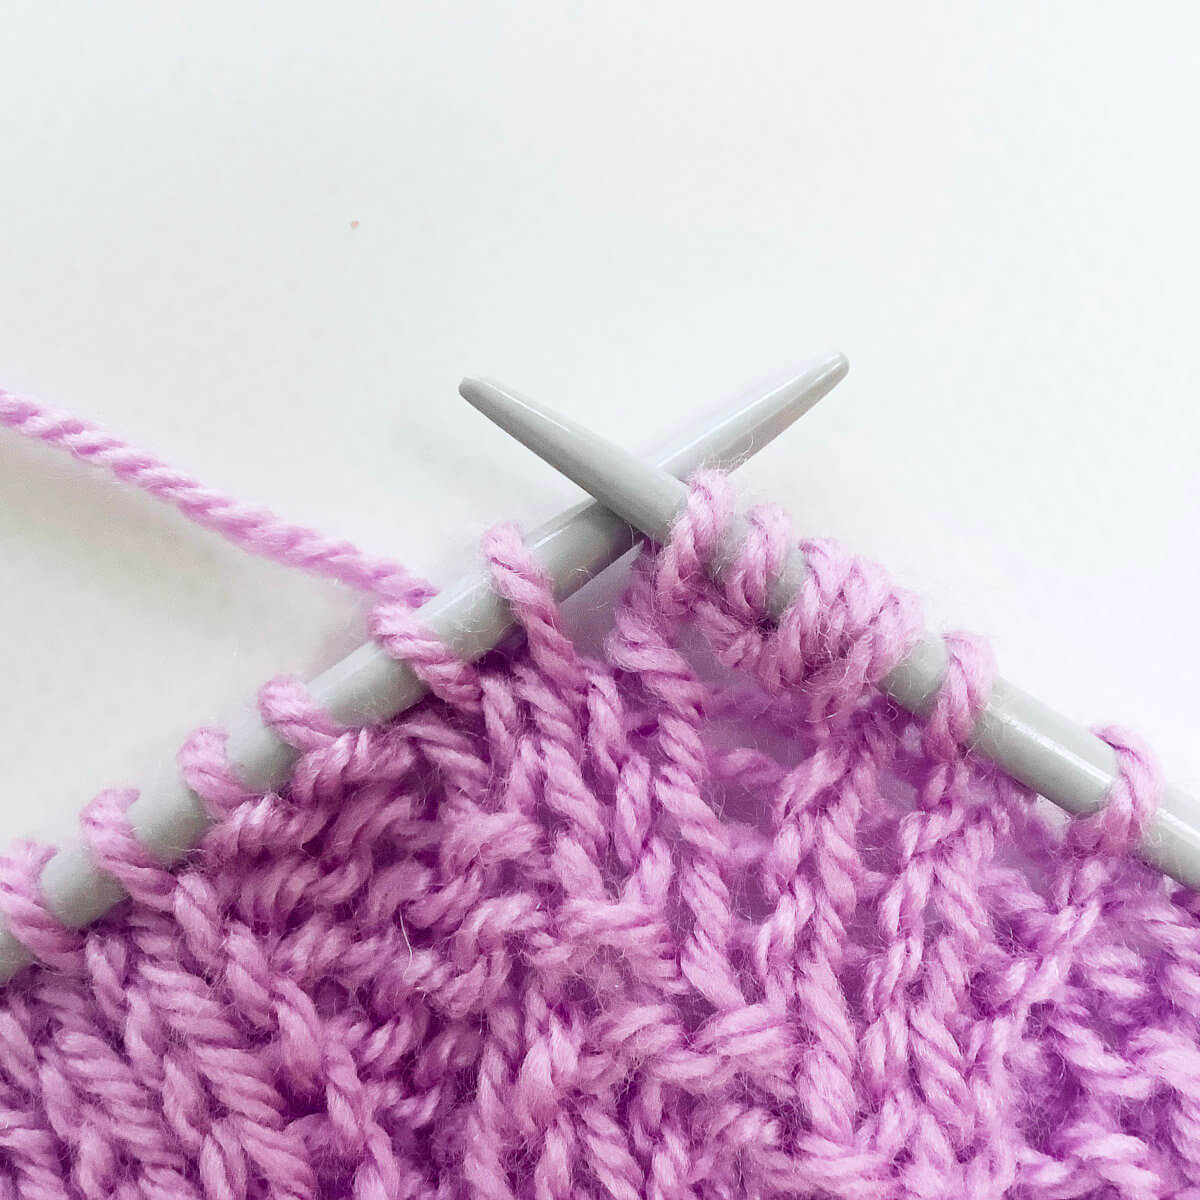
- After this, you can slide the original stitch off the left-hand needle to conclude the increase.
Below, you can see the result of the (k1, yo, k1, yo, k1) increase.

Thanks to my Patreon supporters for bringing you this freebie! Creating quality patterns and tutorials is a lot of work and resource-intensive. However, I find it important to give you free content like this tutorial. Thanks to the generous support of my Patreon supporters, I can make it happen. Thank you, patrons! Click here to join, or click here to read more about La Visch Designs on Patreon.


 in 1 st increase")