There are cases in which skipping the row on your needle for particular stitches is desired, and one is to knit or purl in the row below that one. In other words: you knit/purl into the stitch below where you normally would, exactly as the name suggests. Think, for example, off Fisherman’s Rib, but also off the bunny ears yo stitch, on its following wrong-side row.
The challenge in working this stitch is recognizing the stitch to insert your needle in. So that’s what I’ll be showing you in this tutorial. I’ll be using the same project I also used for the bunny ears yo tutorial, so please don’t be alarmed by all the lace. The p1b stitch in itself does not involve any lace knitting. To show you the difference between using a regular purl and a p1b stitch in bunny ear yo lace, take a look below:
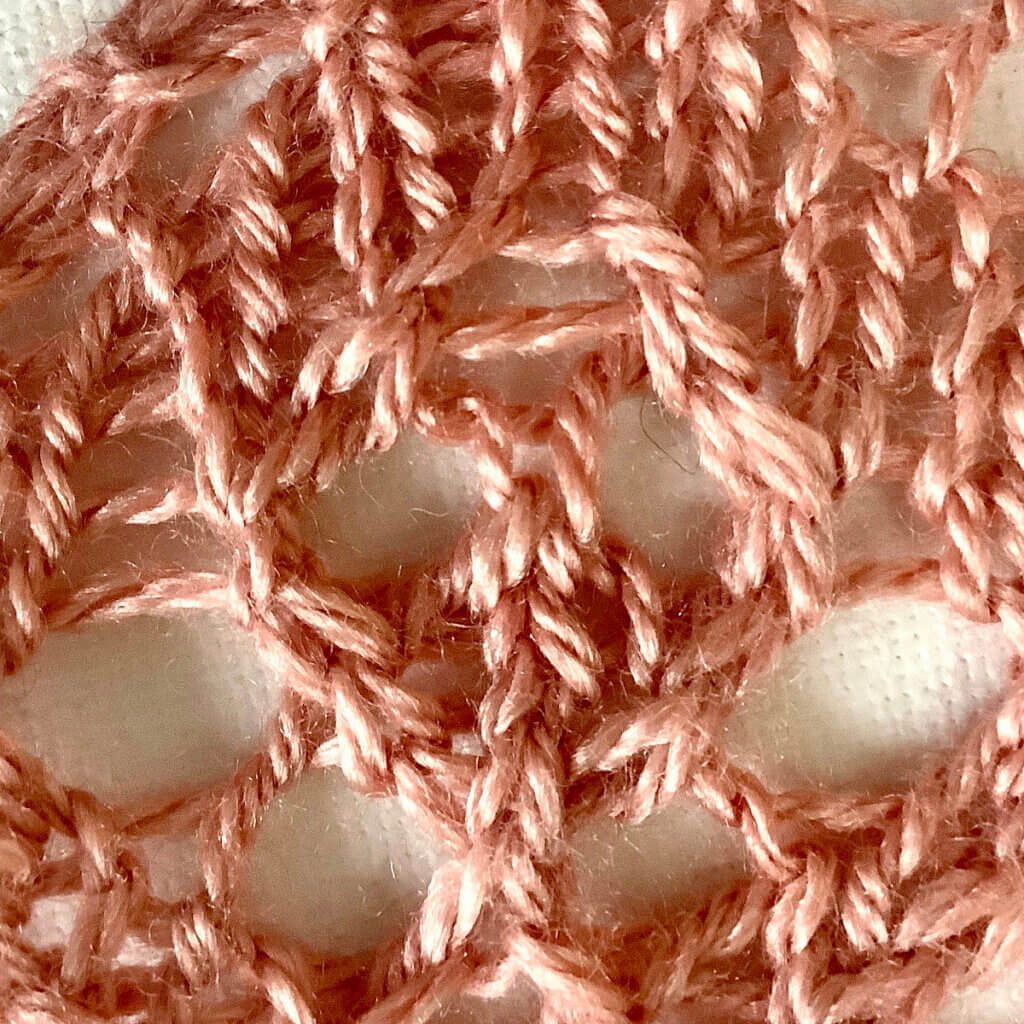
With regular p 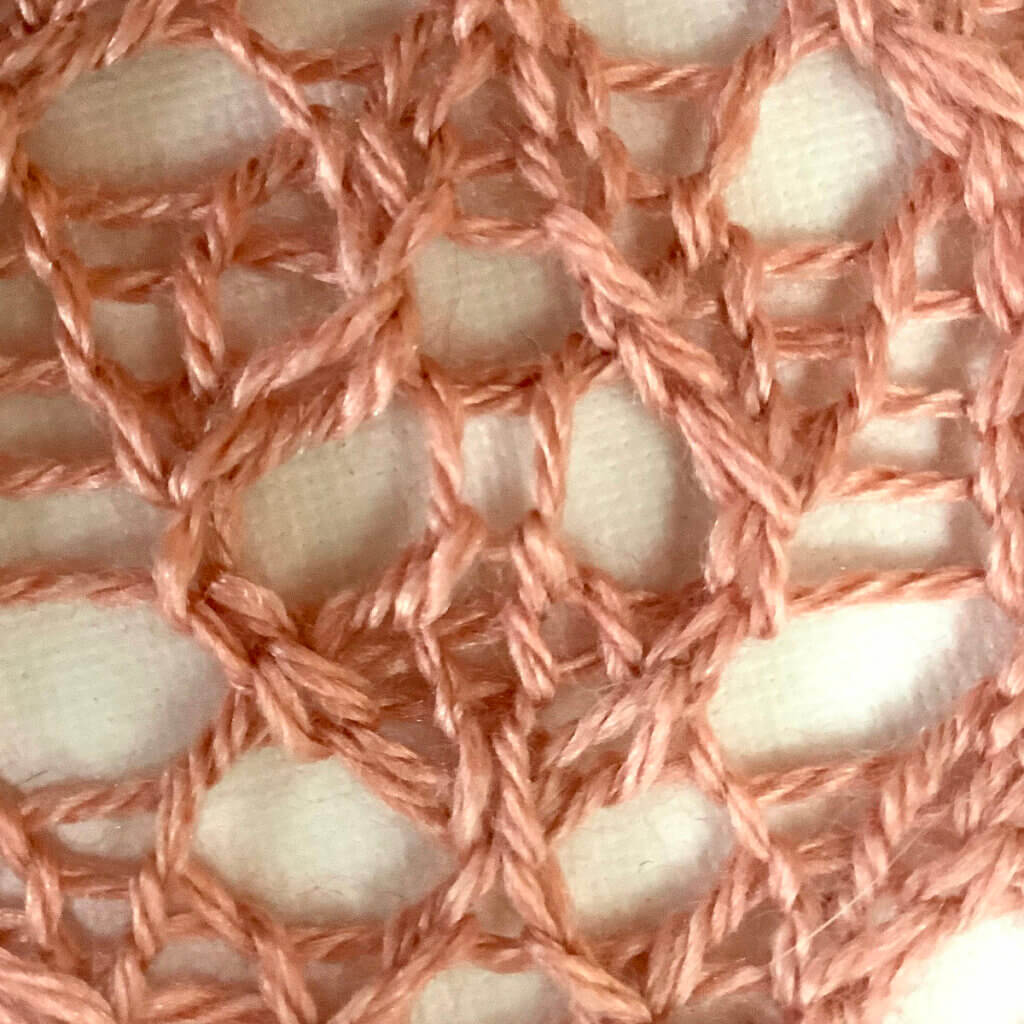
With p1b
See how they differ? In the one on the left there is a horizontal thread over the yo part of the stitch. In the picture on the right the new stitch is made catching that horizontal thread too and thus keeping the yarn over open!
Materials used
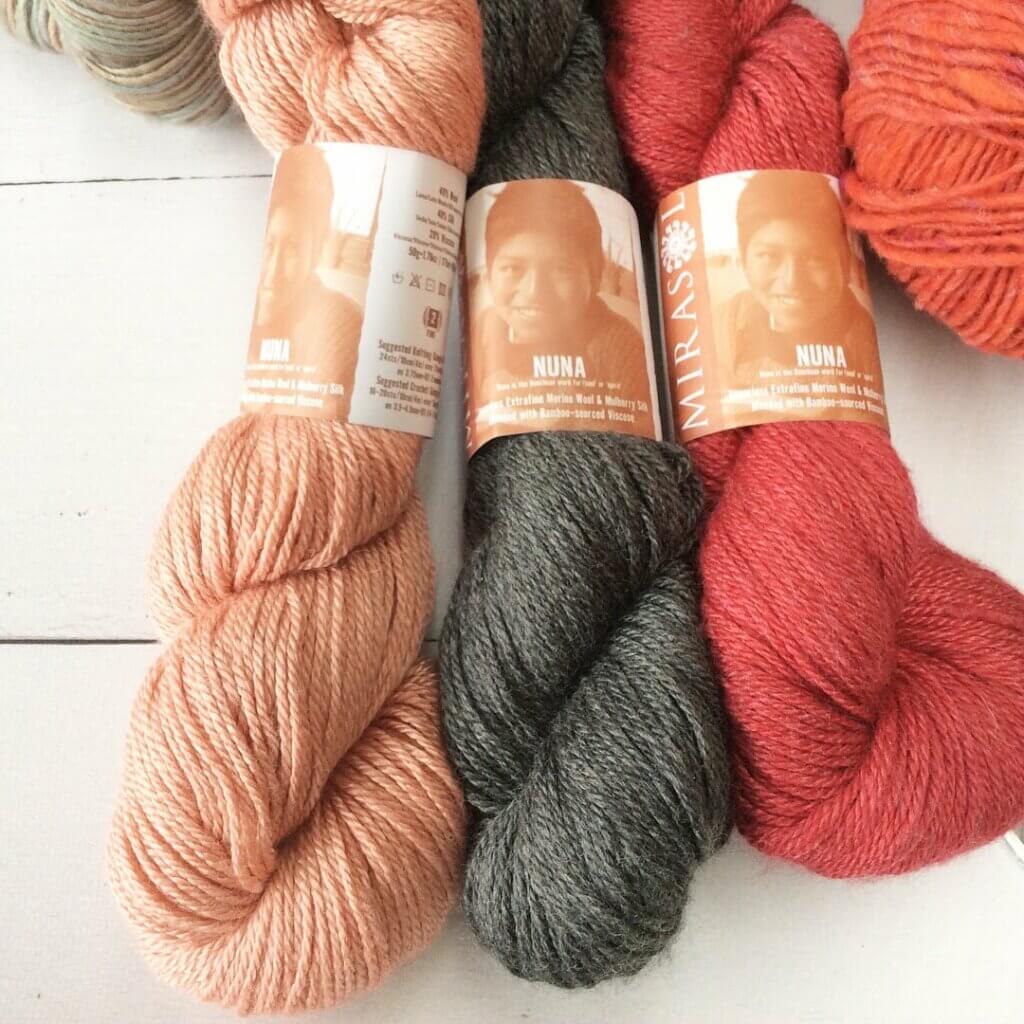
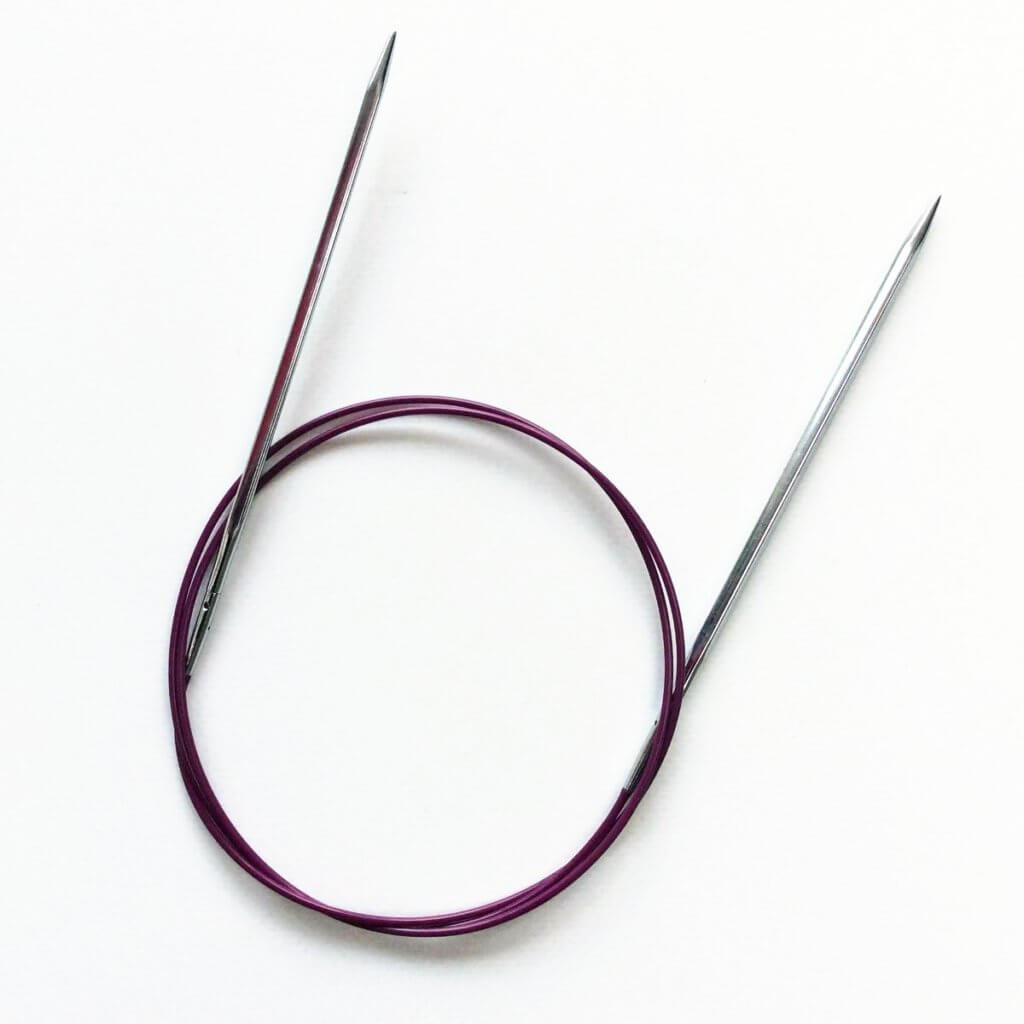
Yarn: Nuna by Mirasol Yarn (40% merino, 40% silk, 20% rayon from bamboo; 175 m (191 yds) / 50 g), here in the color 1046 Coral.
Needles: To be honest, I don’t recall what the brand is of the needles I used in this tutorial. I do know I used the 4 mm (US 6) size with a cable length of 80 cm (32 inches).
Working a p1b step by step
In patterns, you may encounter the following description of this stitch:
Purl 1 below (p1b): Purl into the stitch 1 row below the one on the needle by inserting the needle from back to front. Purl this stitch, then pull the worked stitch and the stitch above off the needle together.
But how to actually do this? Read on!
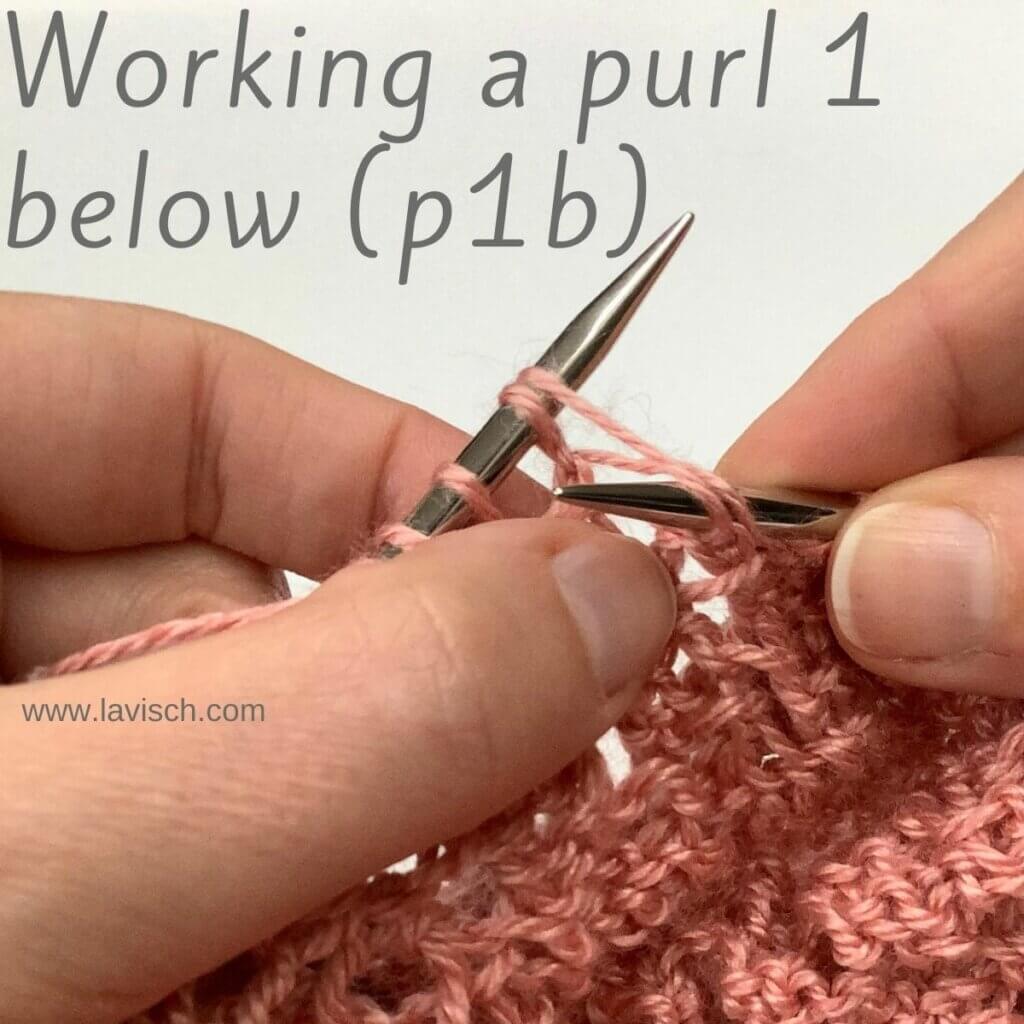
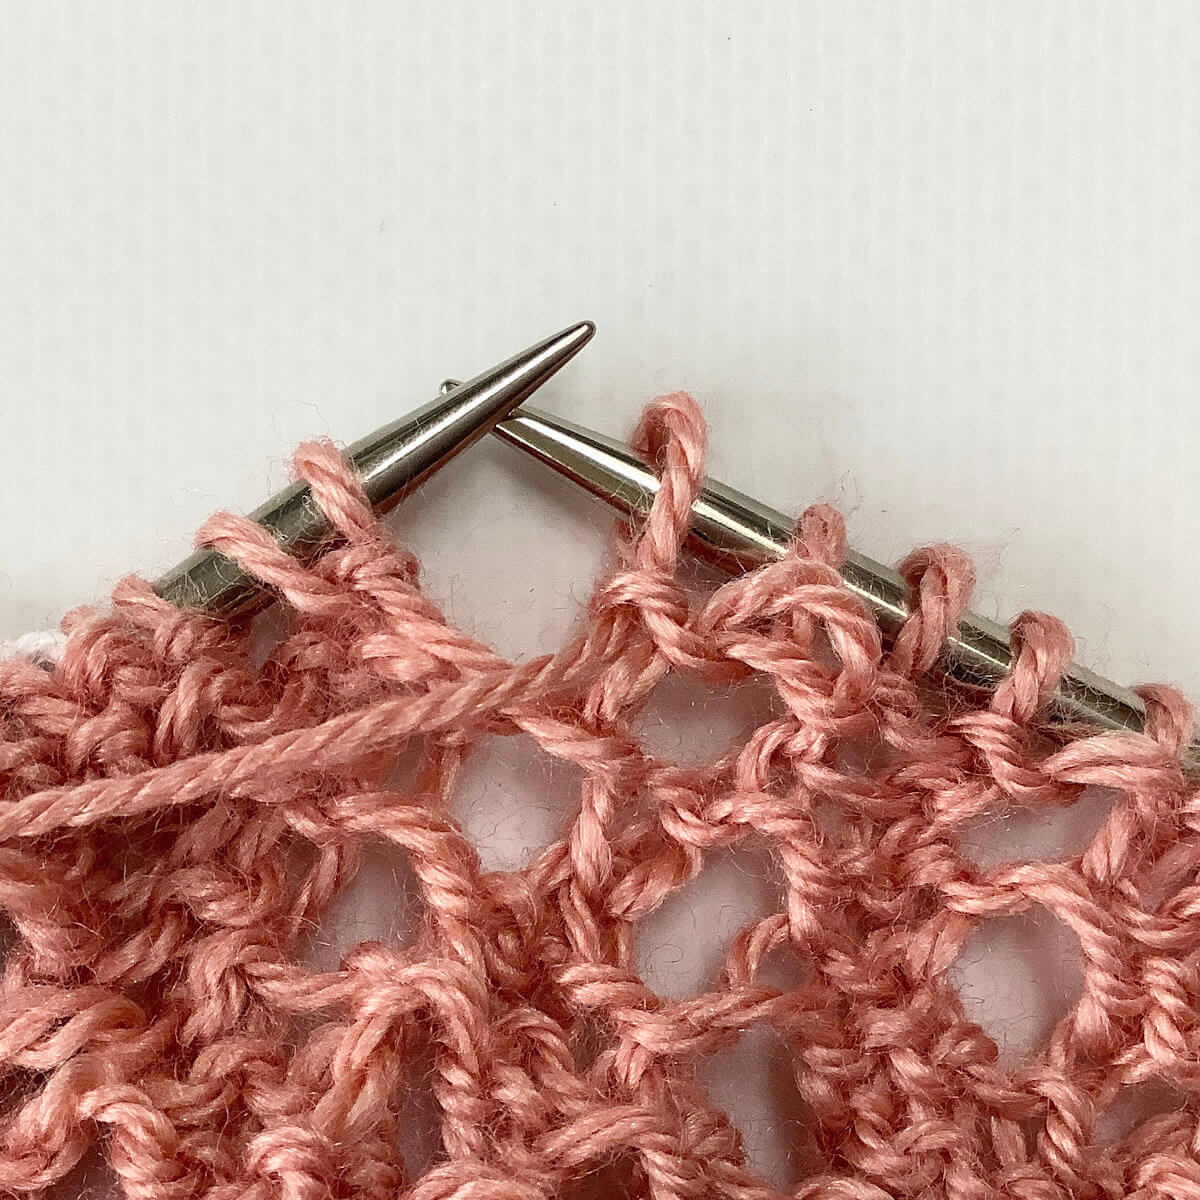
- First, work your way across the row until you’ve reached the point where you want to make the stitch.
See that first stitch on the left-hand needle? That’s the yo in the middle of the bey stitch where I’ll be making the p1b stitch.
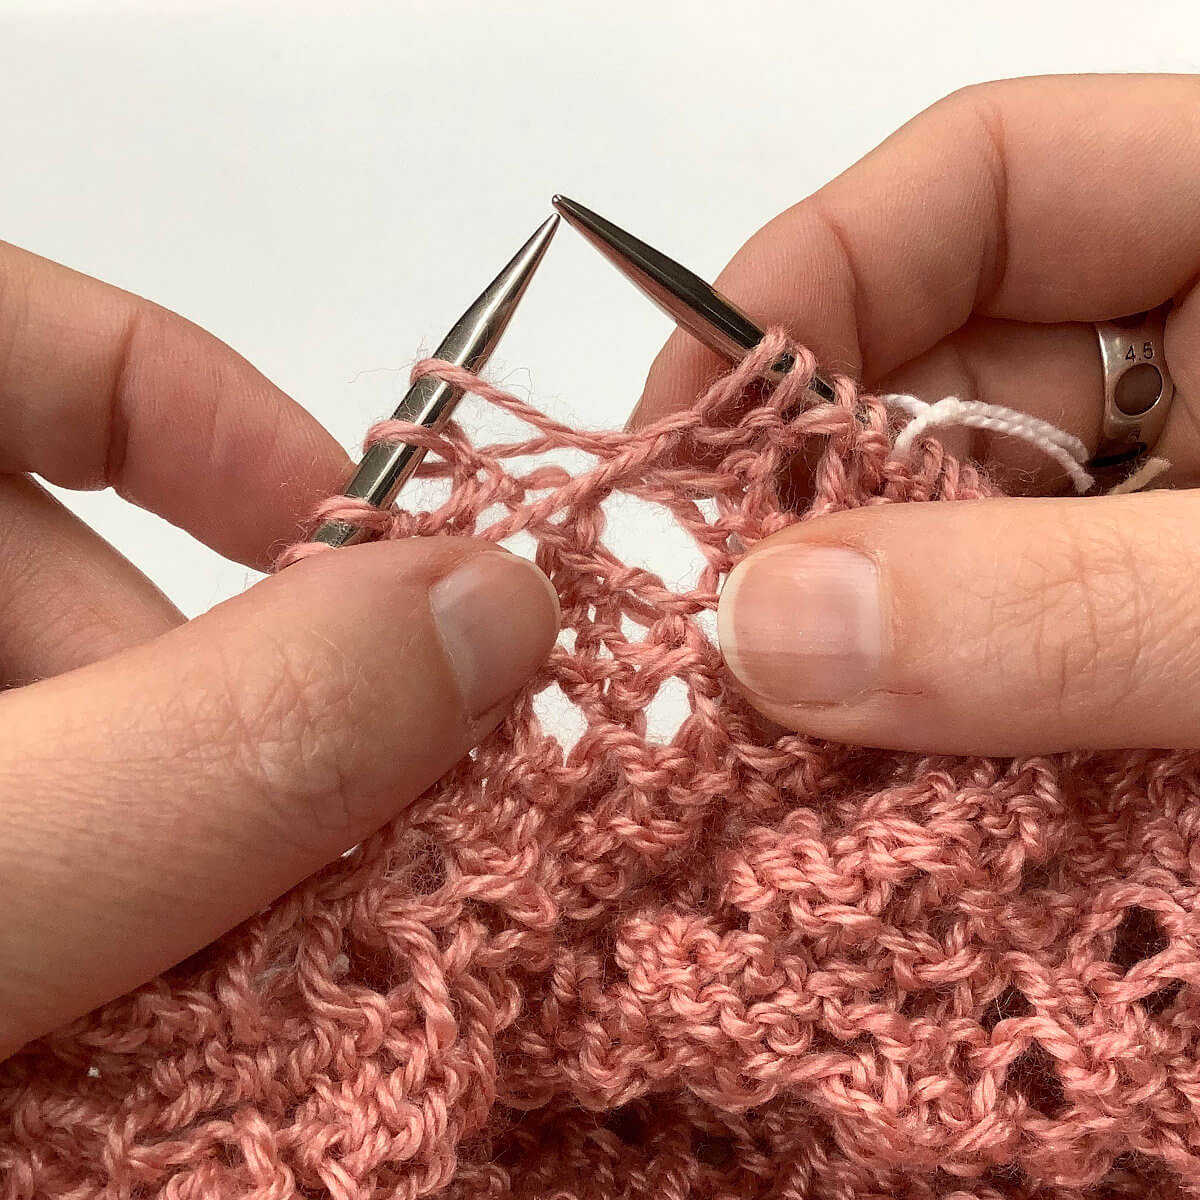
- Insert the right-hand needle purl wise
Normally, you’d insert the needle directly into the loop that’s on the left-hand needle. However, in this case we want to insert the needle into the stitch below that one.
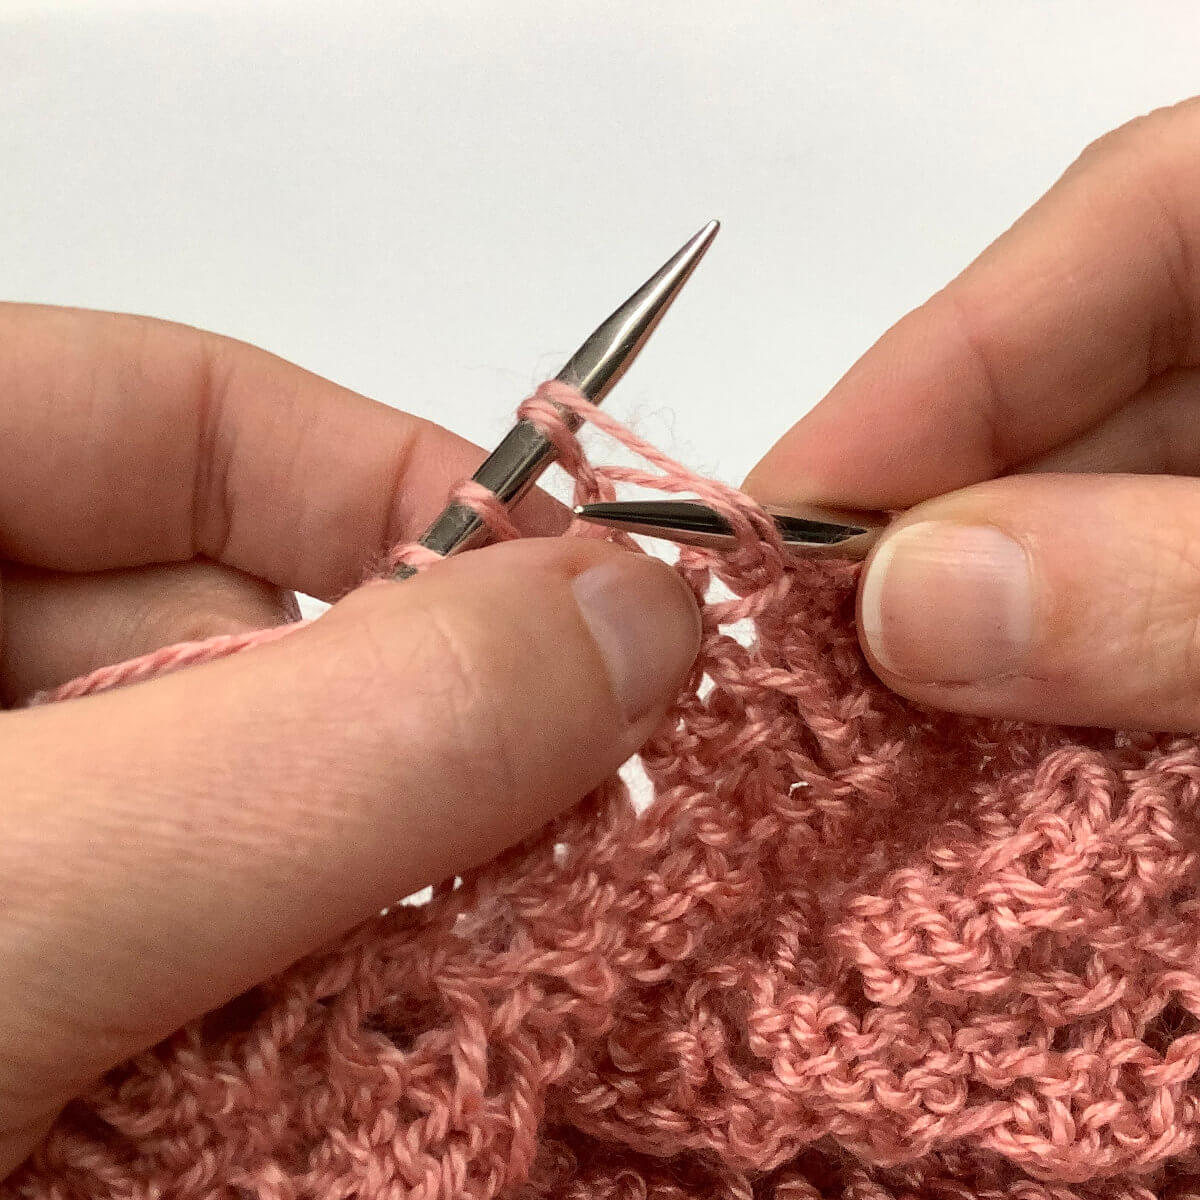
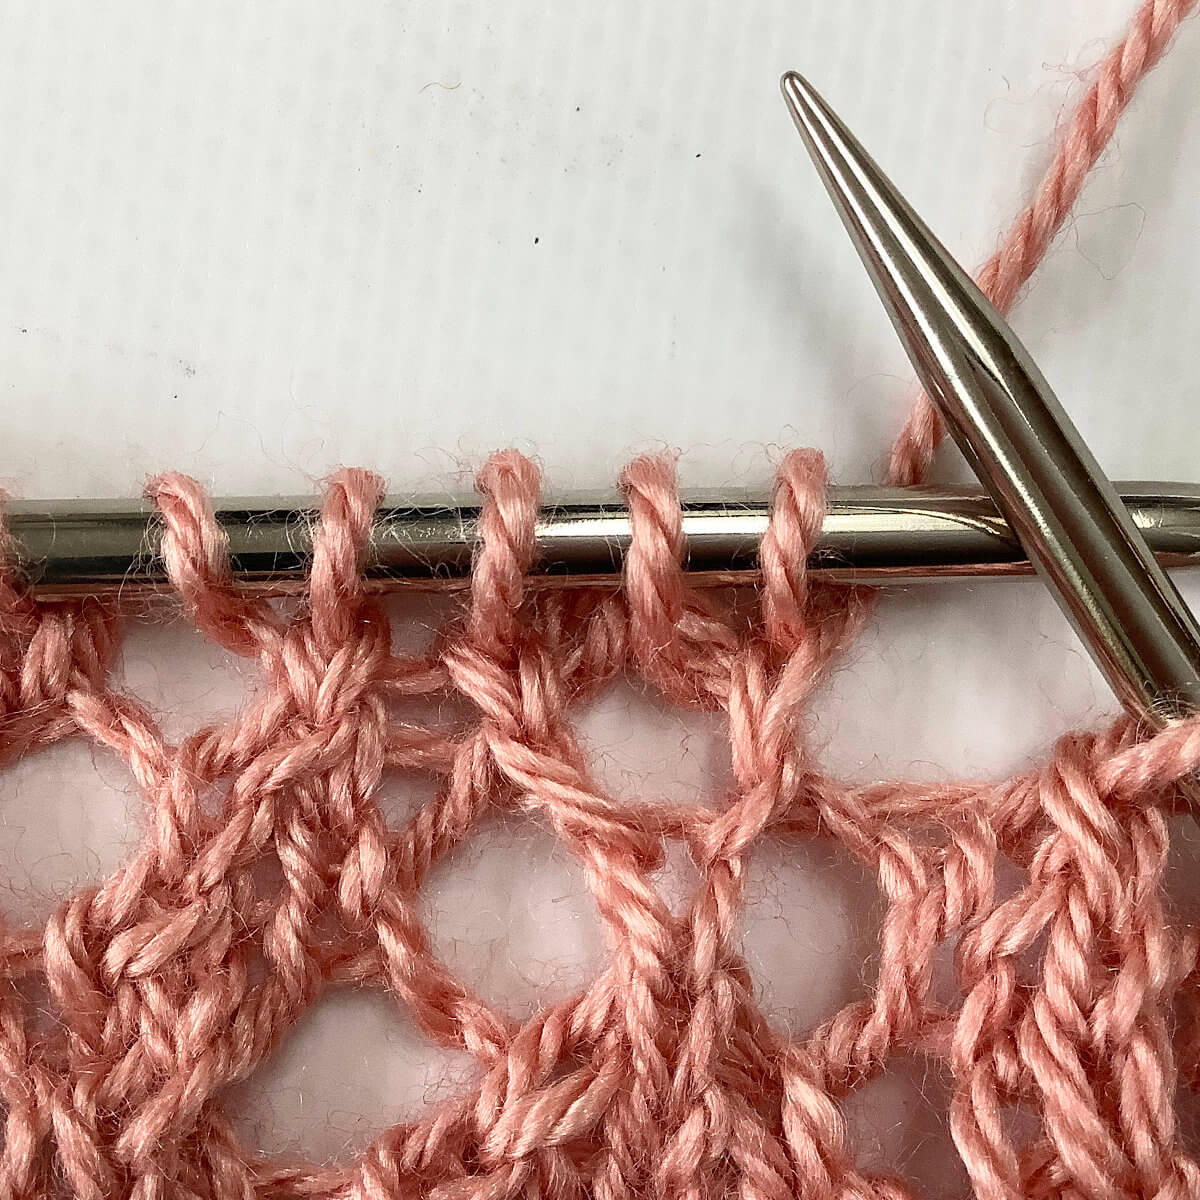
- Now wrap your working yarn around the needle and pull it through.
See that you’re actually pulling it through 2 stitches at once? That is, the one on the needle and the one directly below it. To finish the stitch just slip the top stitch off the left-hand needle without actually working it. Because the fabric is secured by purling into the stitch below it, the stitch won’t run down unraveling.
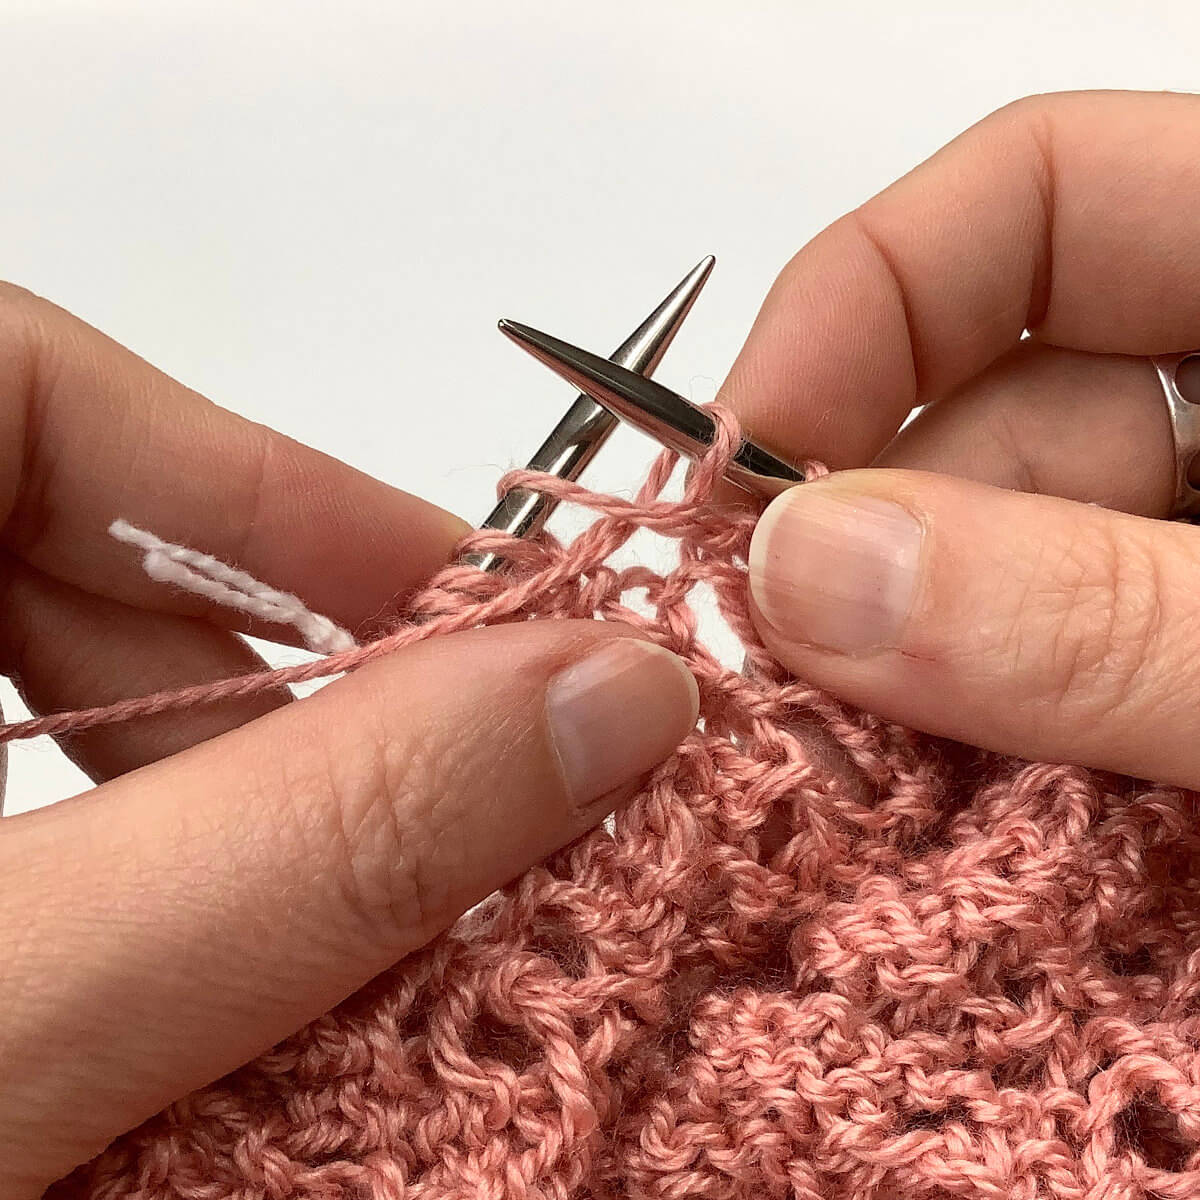
- The below picture shows how it looks on the purl side of the fabric after I’ve worked a regular purl stitch in the 3rd and last stitch of the bey.
You can see the 2 strands that are caught by the p1b pretty well.
- Turning the fabric around, this is how it looks on the right (knit) side of the fabric.
I really like how it looks!

Thanks to my Patreon supporters for bringing you this freebie! Creating quality patterns and tutorials is a lot of work and resource-intensive. However, I find it important to give you free content like this tutorial. Thanks to the generous support of my Patreon supporters, I can make it happen. Thank you, patrons! Click here to join, or click here to read more about La Visch Designs on Patreon.


