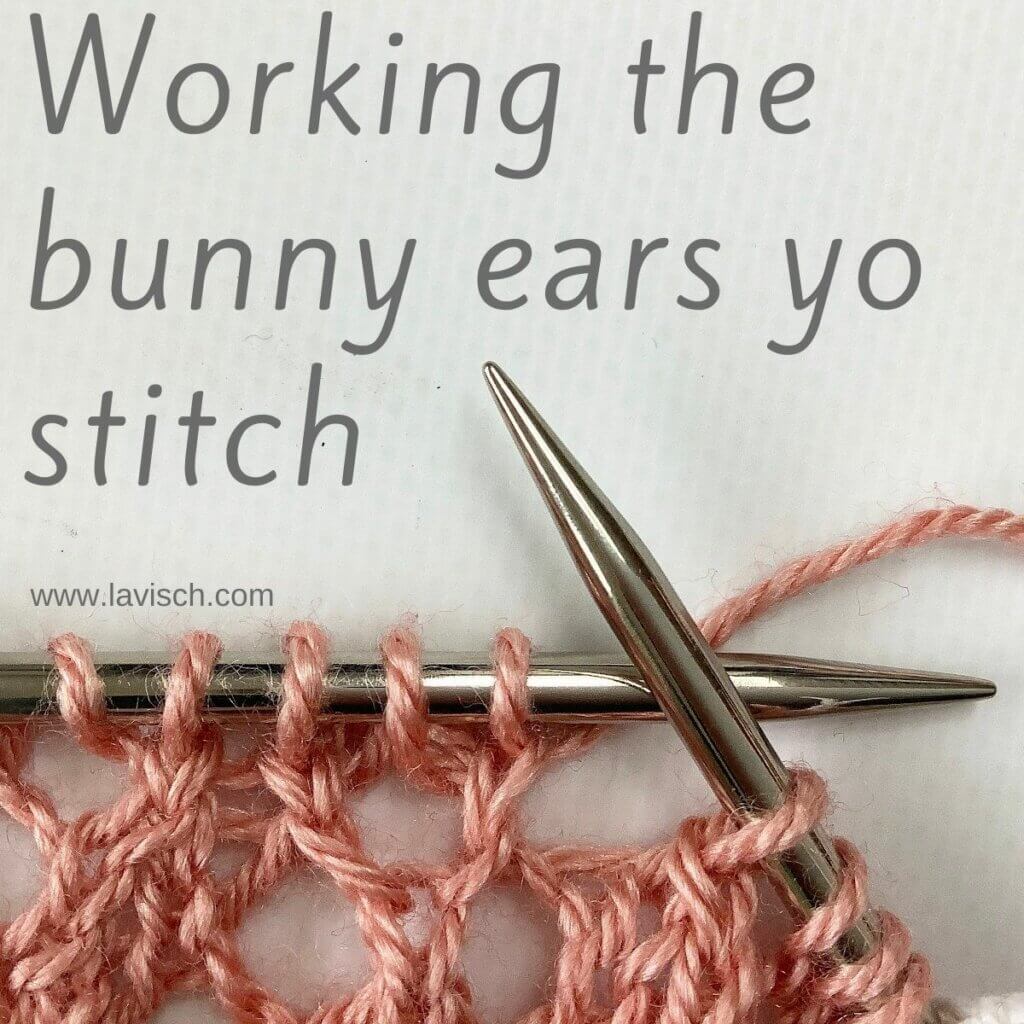
In this tutorial I’m going to show you a stitch that I’m using in a new design: the bunny ears yarn over stitch, or “bey” for short. It uses a bunny ears decrease combined with a yarn over. Now, you may wonder what a bunny ears decrease is. I’ll tell you! It’s a symmetrical way of decreasing 3 stitches to only 2! I’ll be making a tutorial on this decrease and it’s variations soon.
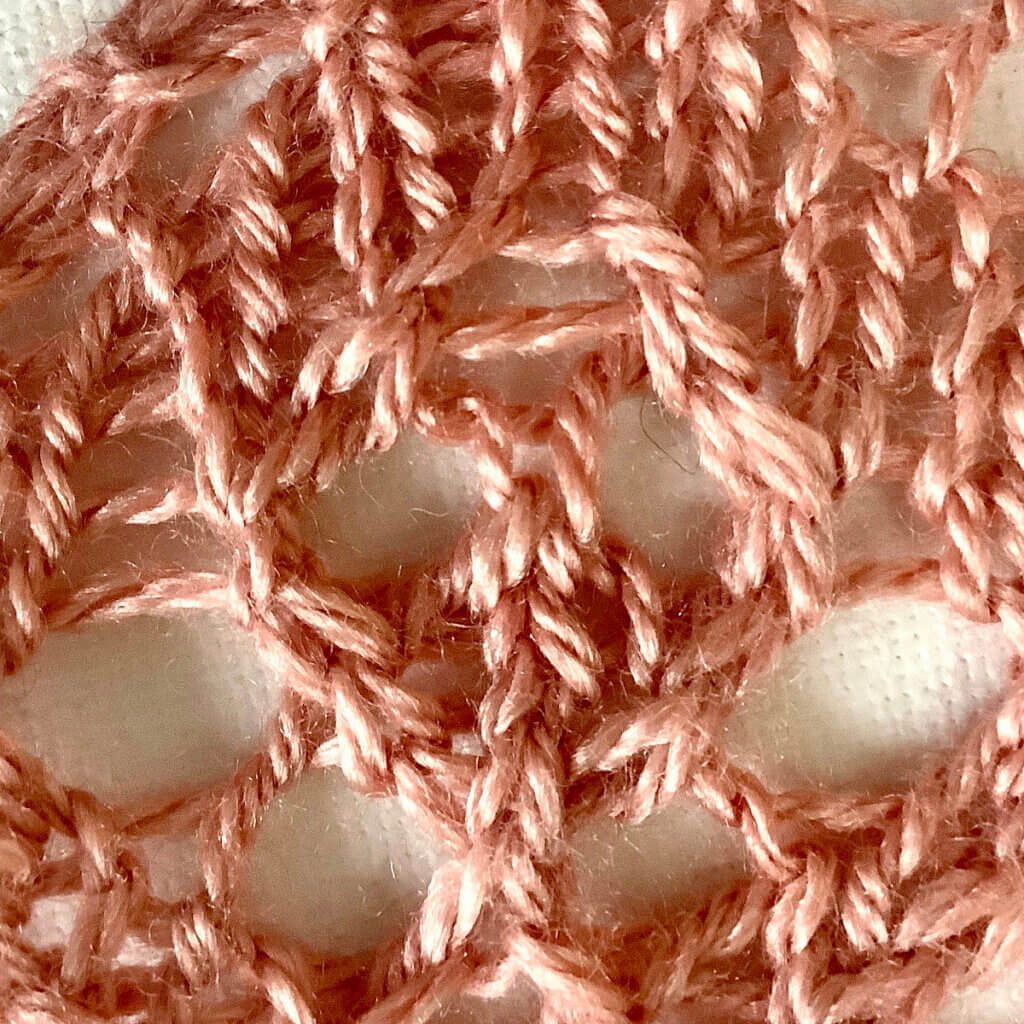
Back to the bunny ears yo stitch. In this stitch a yarn over is placed between both parts of the decrease, essentially negating the decrease. Adding the yo in between both parts of the decrease make it look like 2 directional decreases on both sides of a yo, but without actually increasing or decreasing anything. The result is a very pretty stitch that does wonderfully in lace patterning as pictured here. Let’s get started with how to actually work this stitch!
Materials used
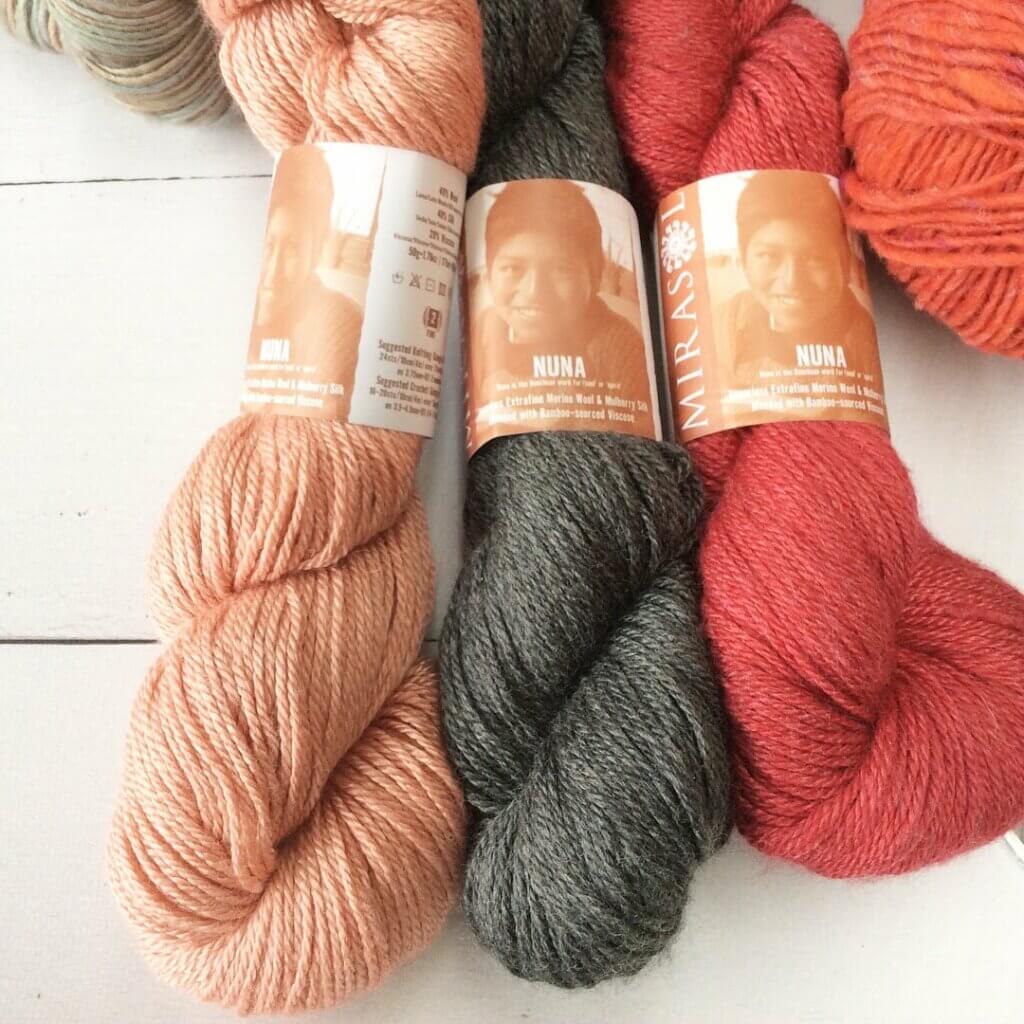
Yarn: Nuna by Mirasol Yarn (40% merino, 40% silk, 20% rayon from bamboo; 175 m (191 yds) / 50 g), here in the color 1046 Coral.
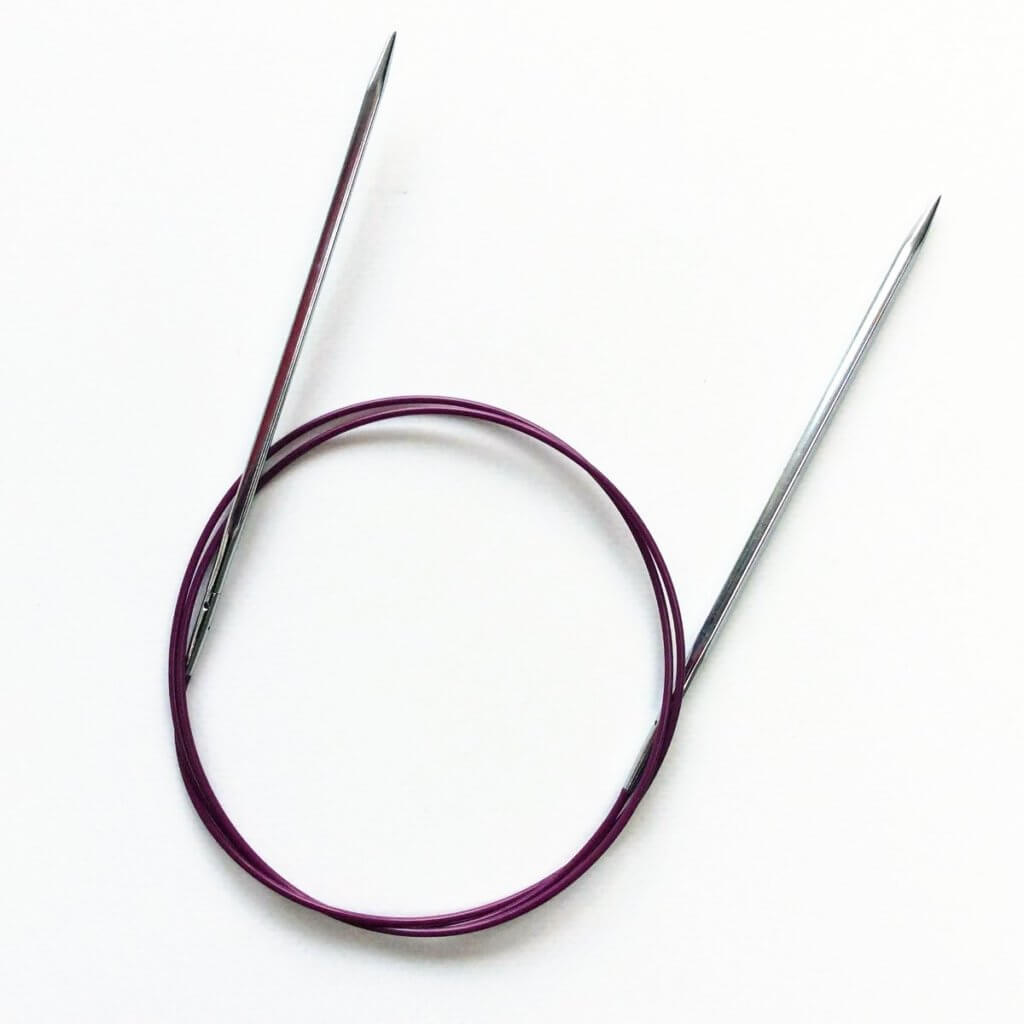
Needles: To be honest, I don’t recall what the brand is of the needles I used in this tutorial. I do know I used the 4 mm (US 6) size with a cable length of 80 cm (32 inches).
Working the bunny ears yo stitch step by step
In patterns, you may encounter the following description of this stitch:
Bunny ears yo (bey): Knit 2 stitches together but leave the second stitch on the left needle, yo, next work skp over the next 2 stitches.
But how to actually do this? Read on!
- First, work your way across the row until you’ve reached the point where you want to make the stitch.
See those 3 stitches on the left-hand needle? That’s where I’ll be making the bey stitch.
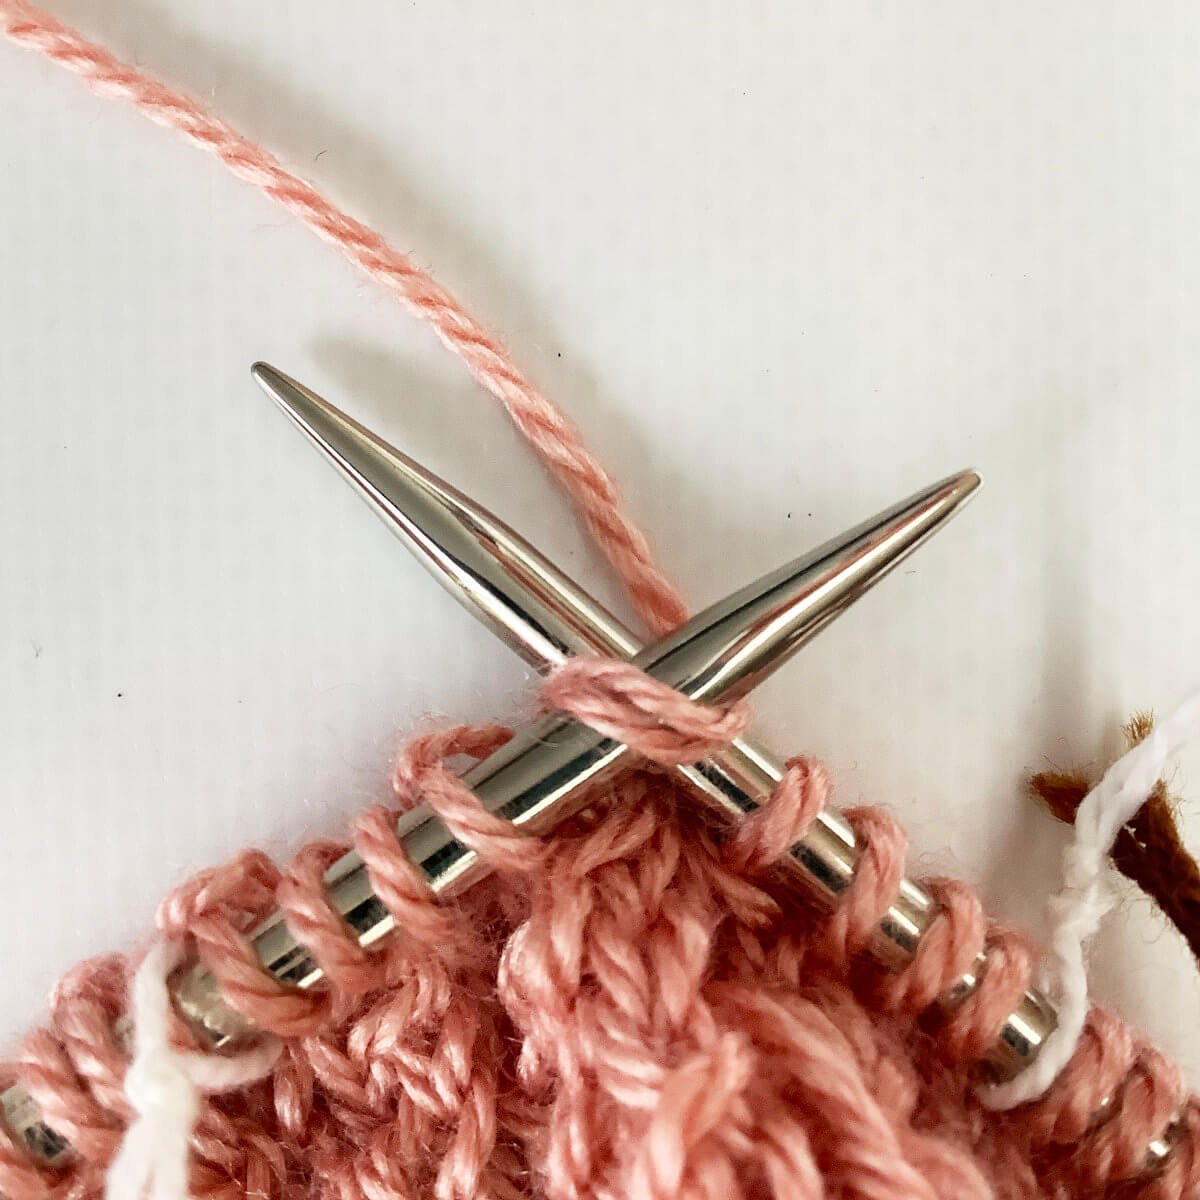
- Next, insert the tip of the right-hand needle into the first 2 stitches at the same time as if to knit.
Over these stitches, we’ll be doing the first steps of a k2tog.
- Wrap the yarn around the needle…
- … and pull the yarn through the 2 stitches.

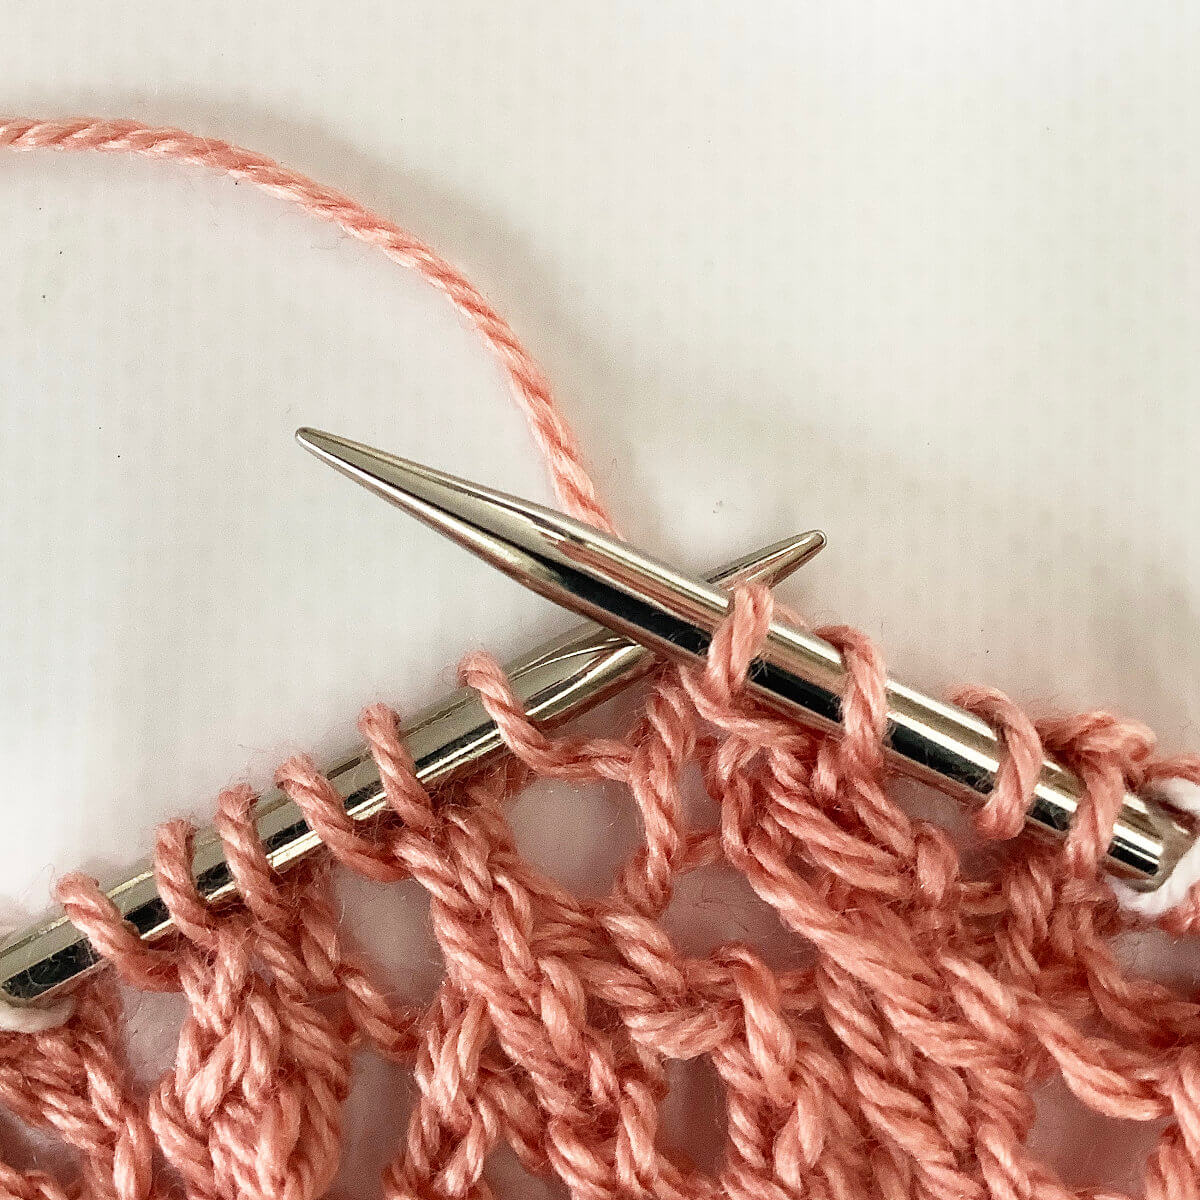
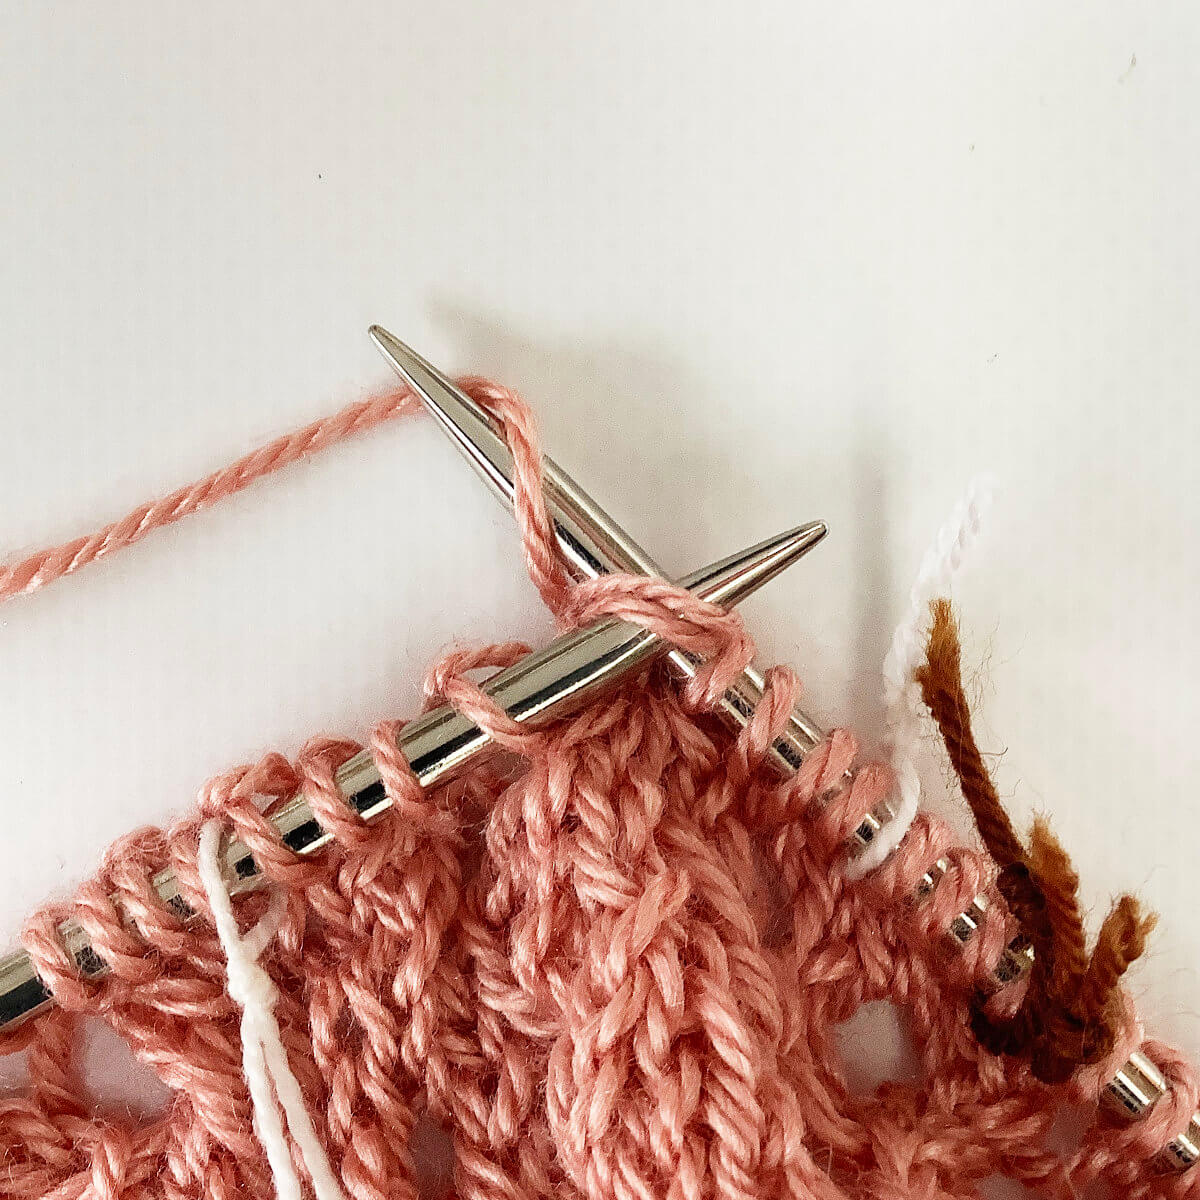
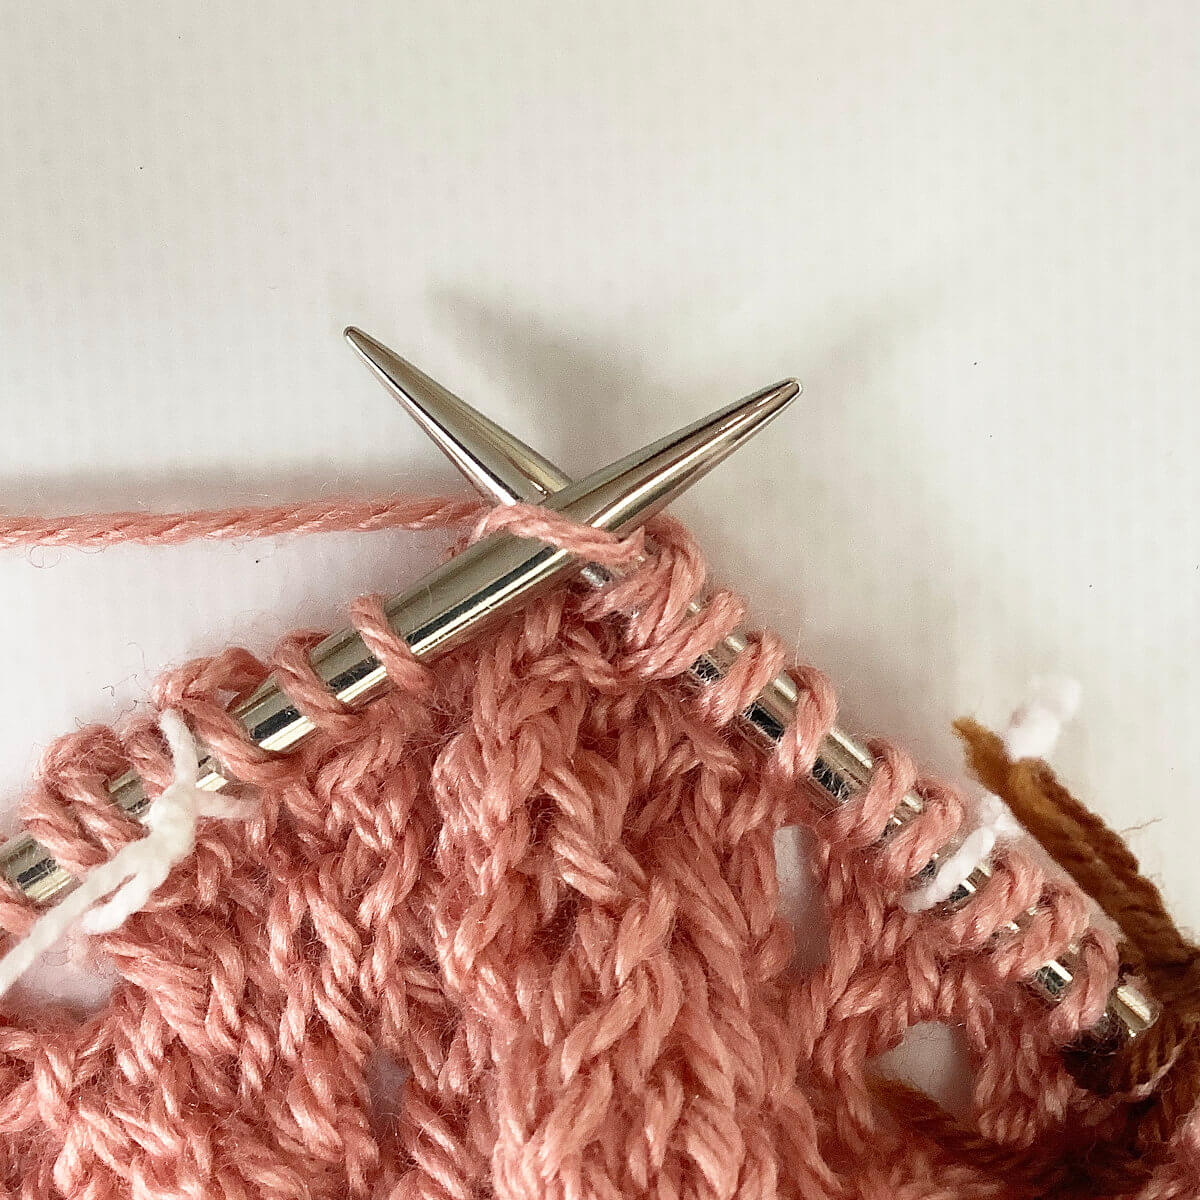
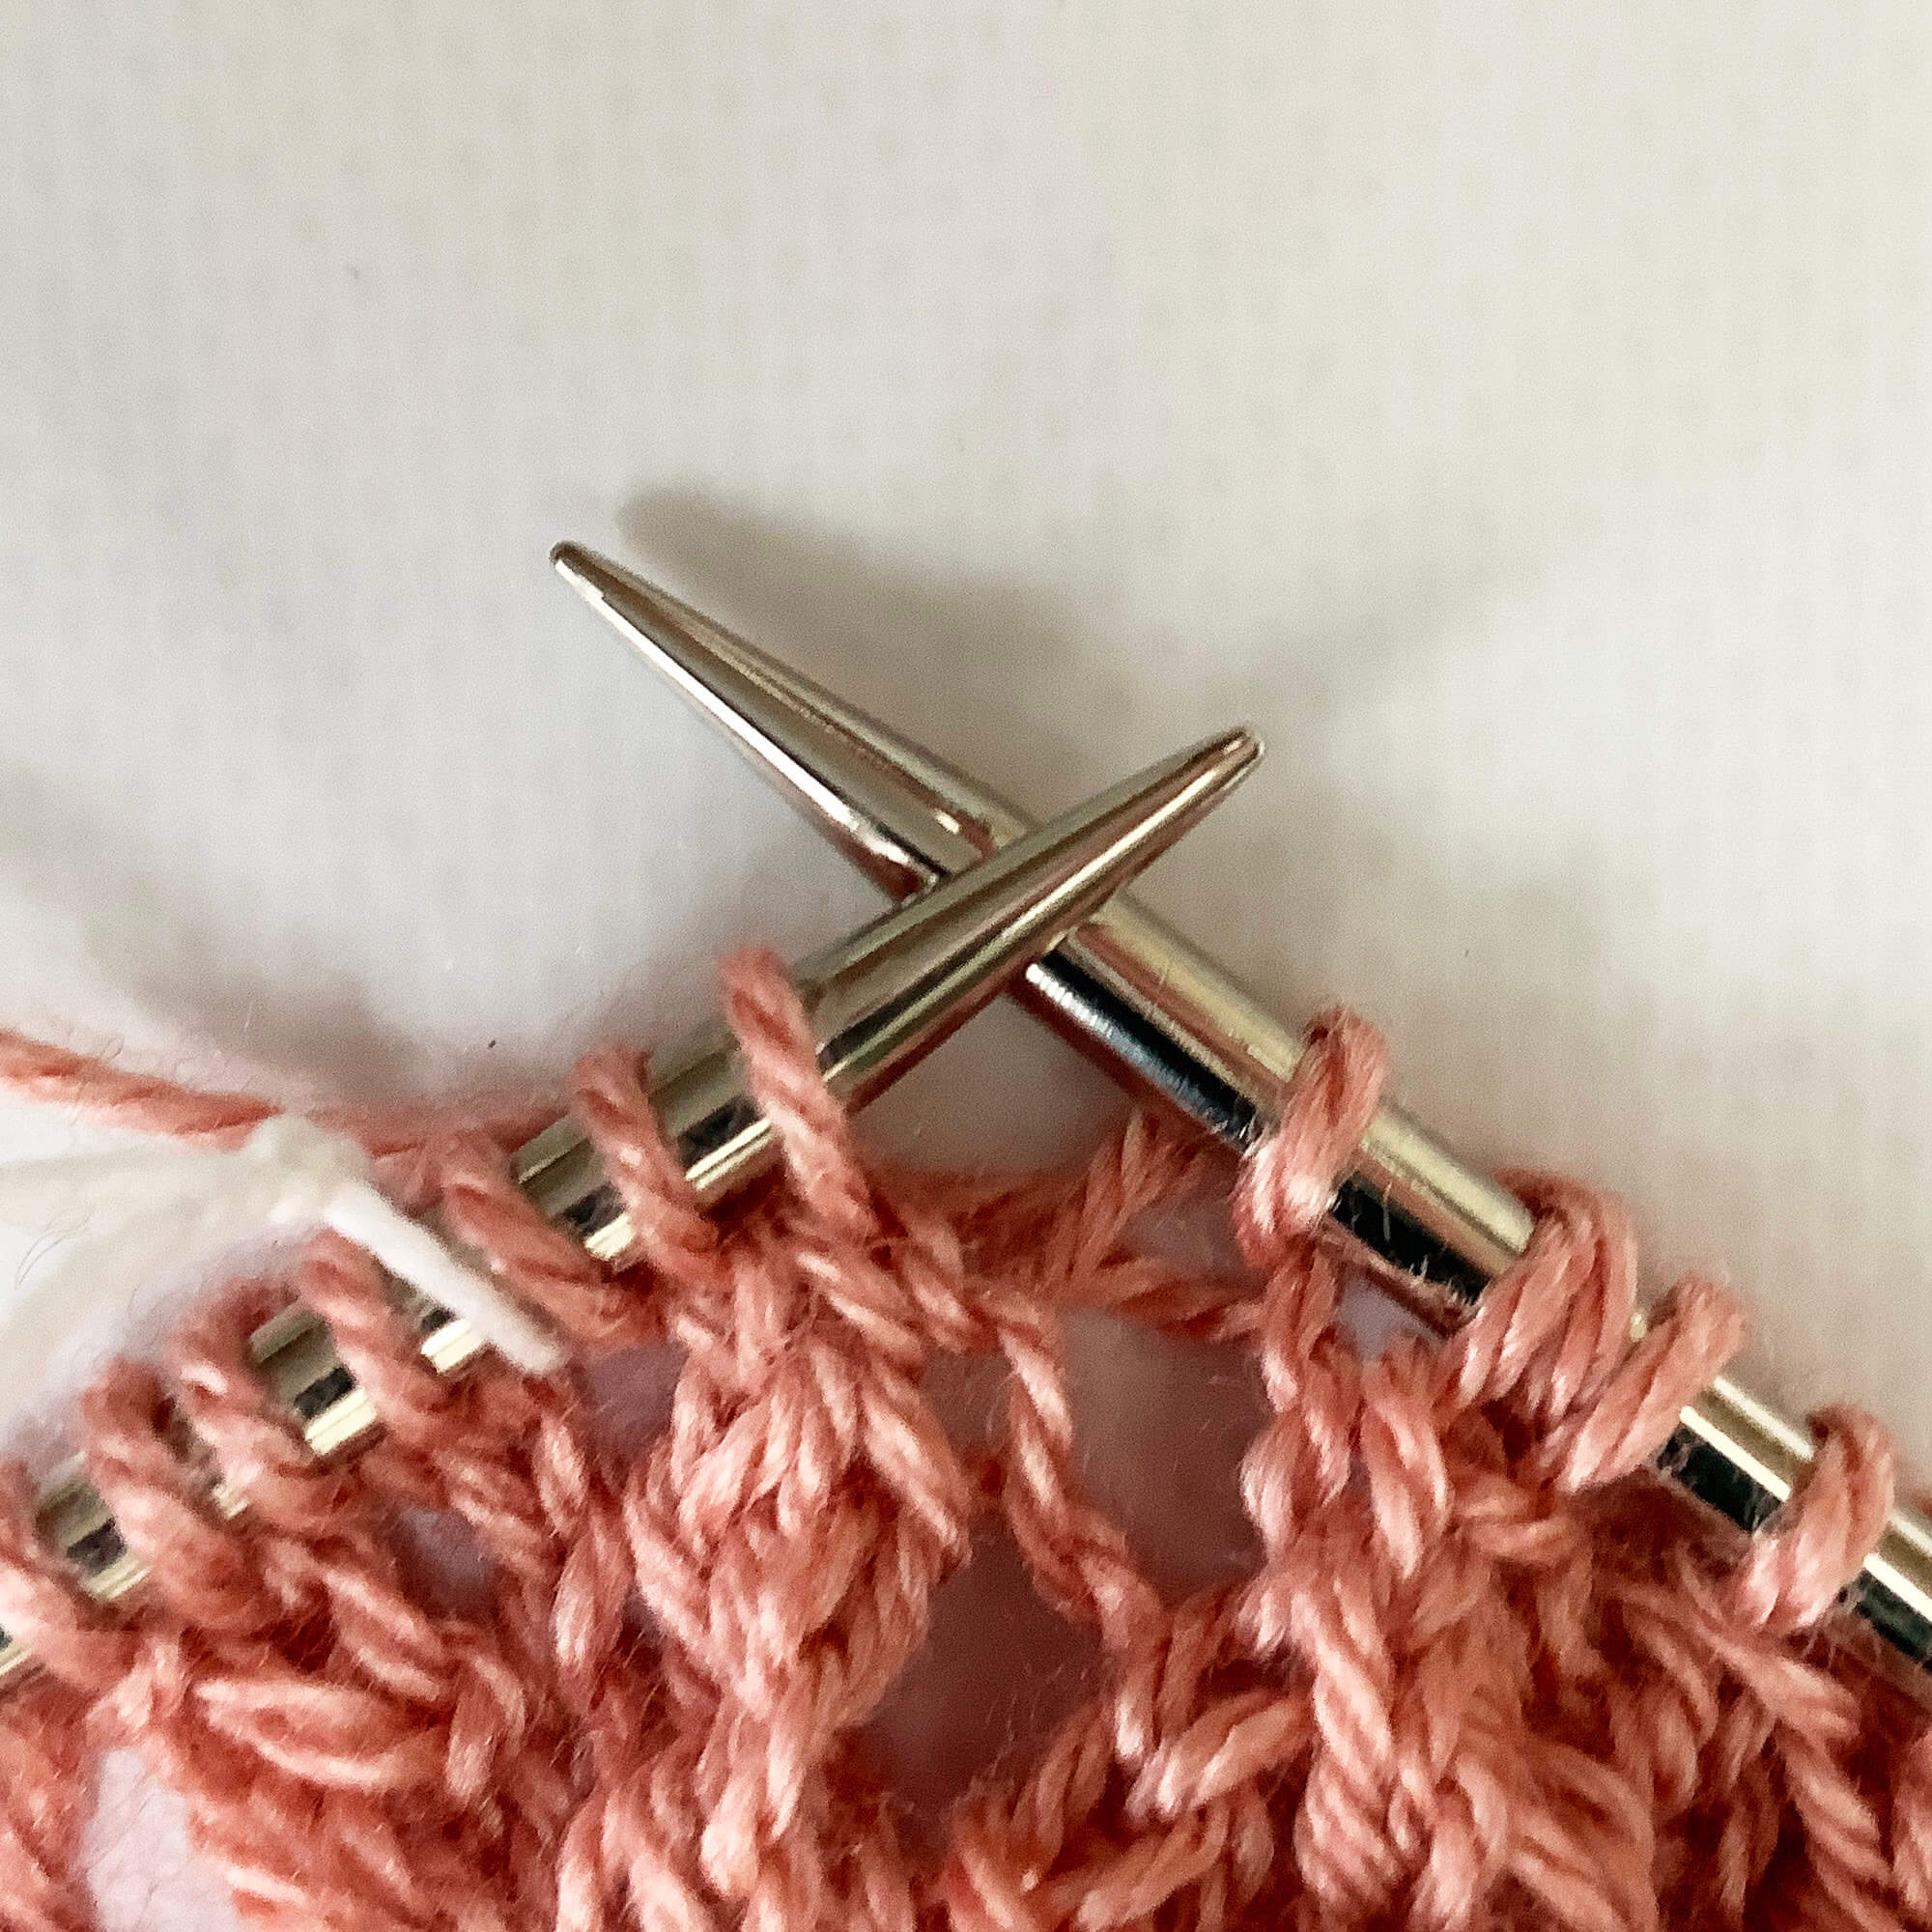
- Next, slide only 1 of the 2 original stitches of the left-hand needle.
With a regular k2tog, both stitches would be moved off the needle. So this is where it starts to go different.
- Next, wrap the yarn around the needle.
This is where we make the “yarn over” part of the stitch.
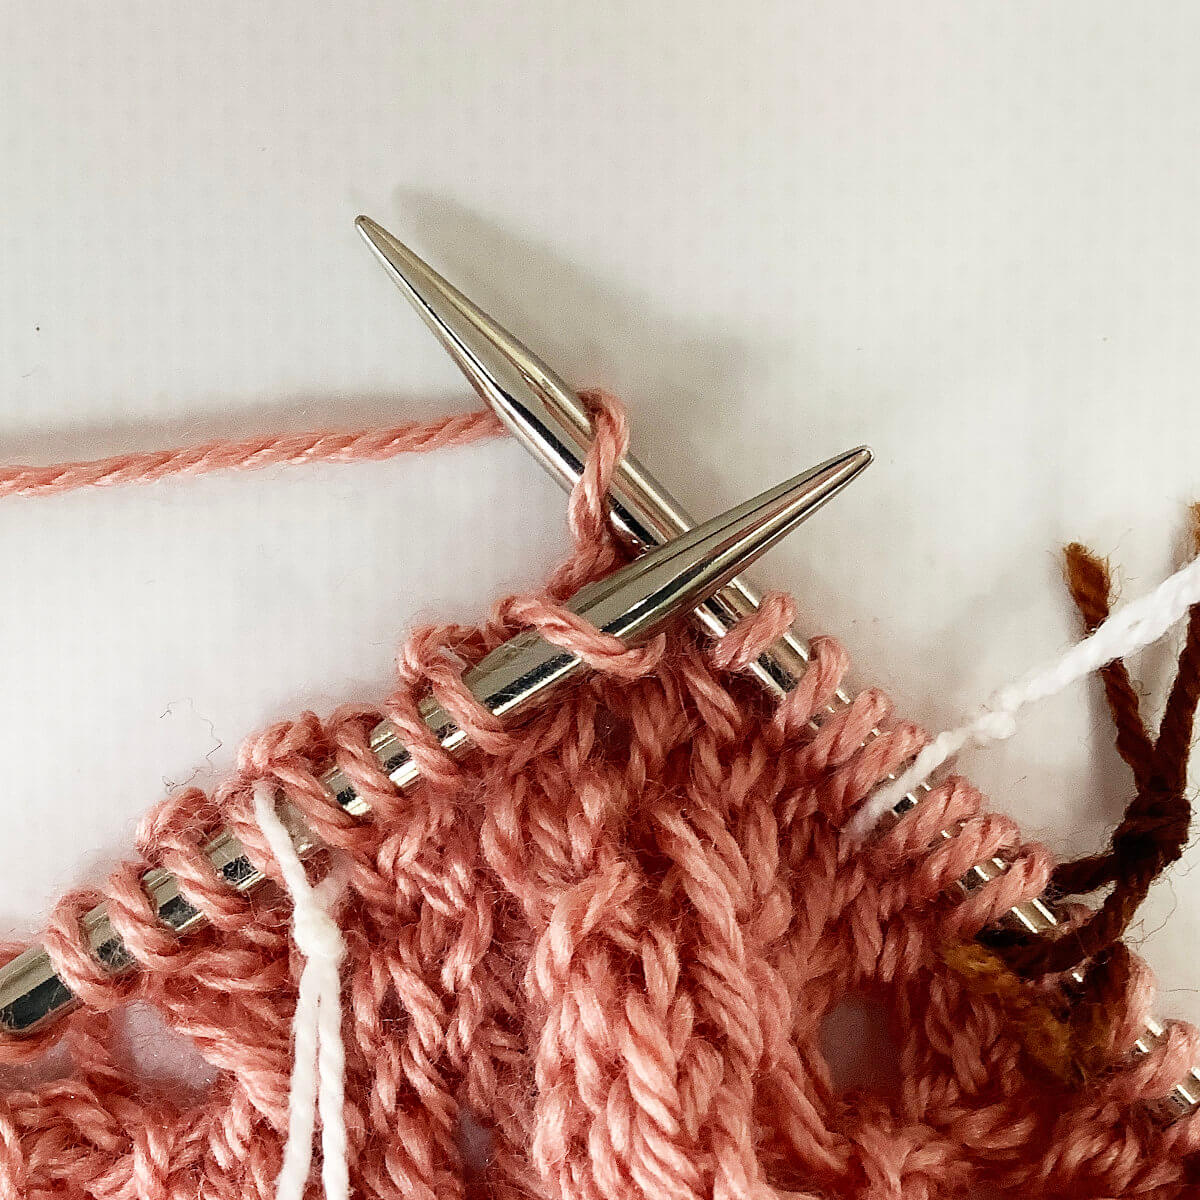
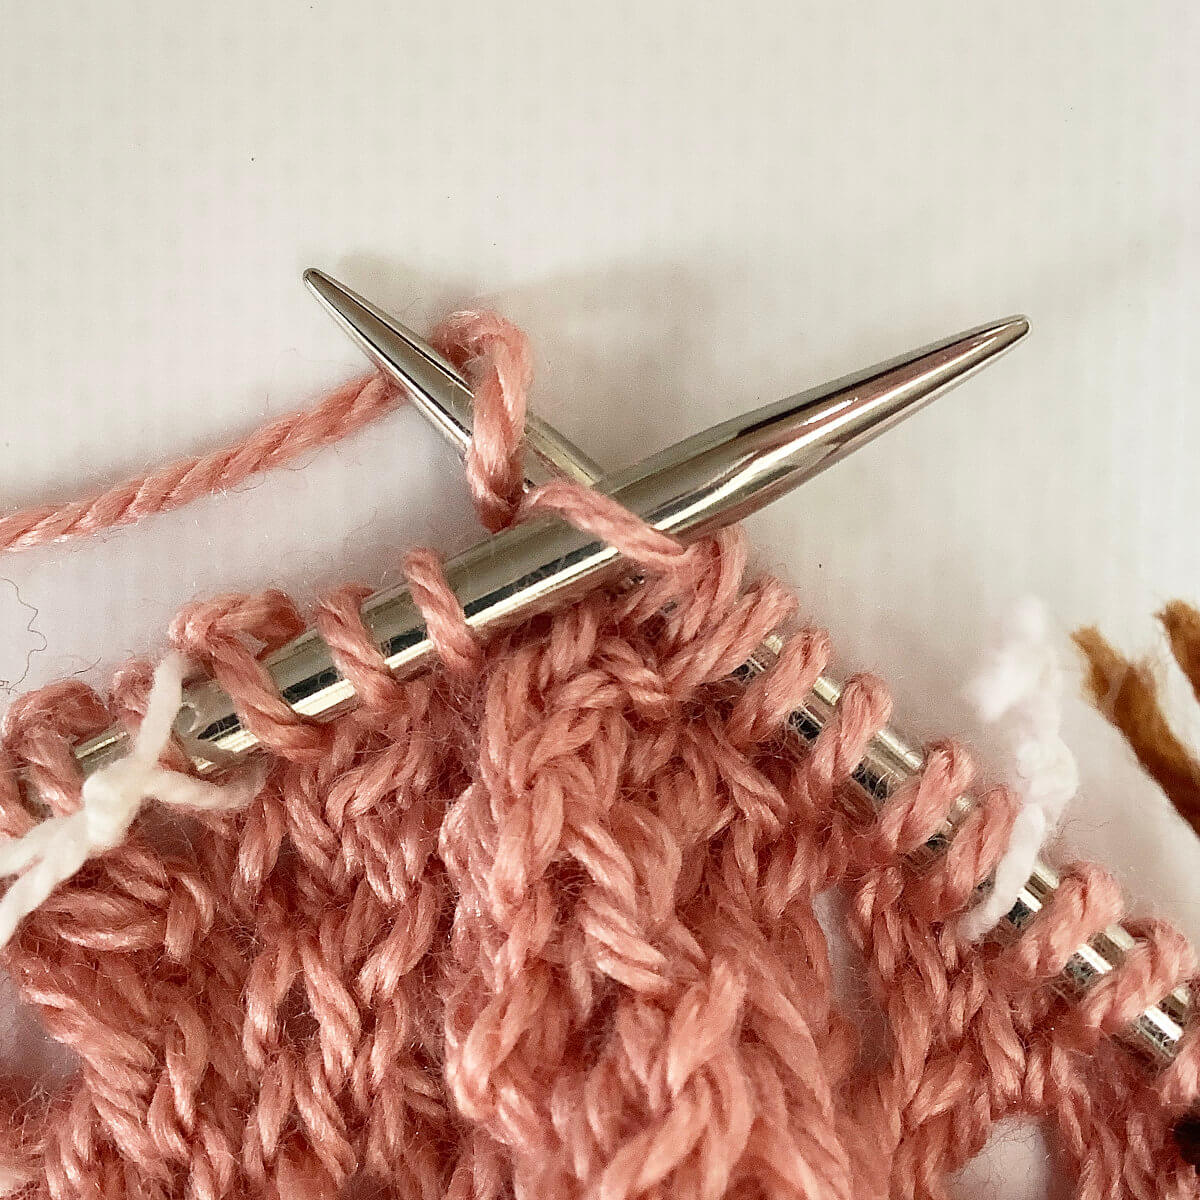
- Now we’re starting the left leaning decrease part of the stitch.
This we’ll be working on the 2 remaining stitches on the left-hand needle: 1 stitch we haven’t handled yet, and 1 stitch that we didn’t move off the needle when working the k2tog right-leaning decrease. This part of the stitch can be worked both as ssk and skp, but since I personally prefer skp I’ll be showing this in the tutorial.
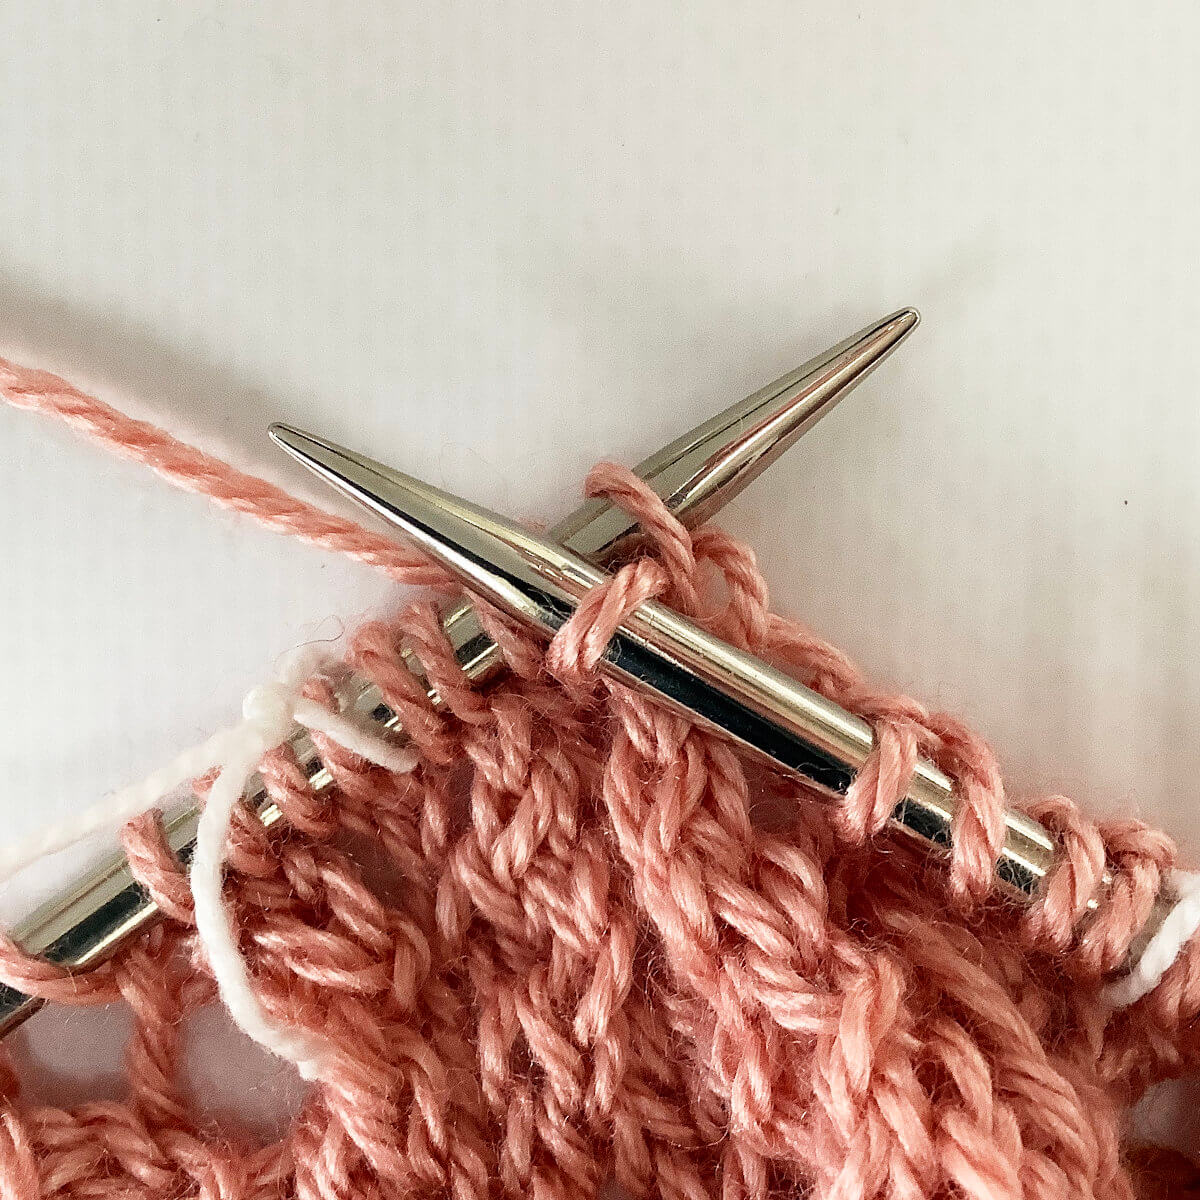
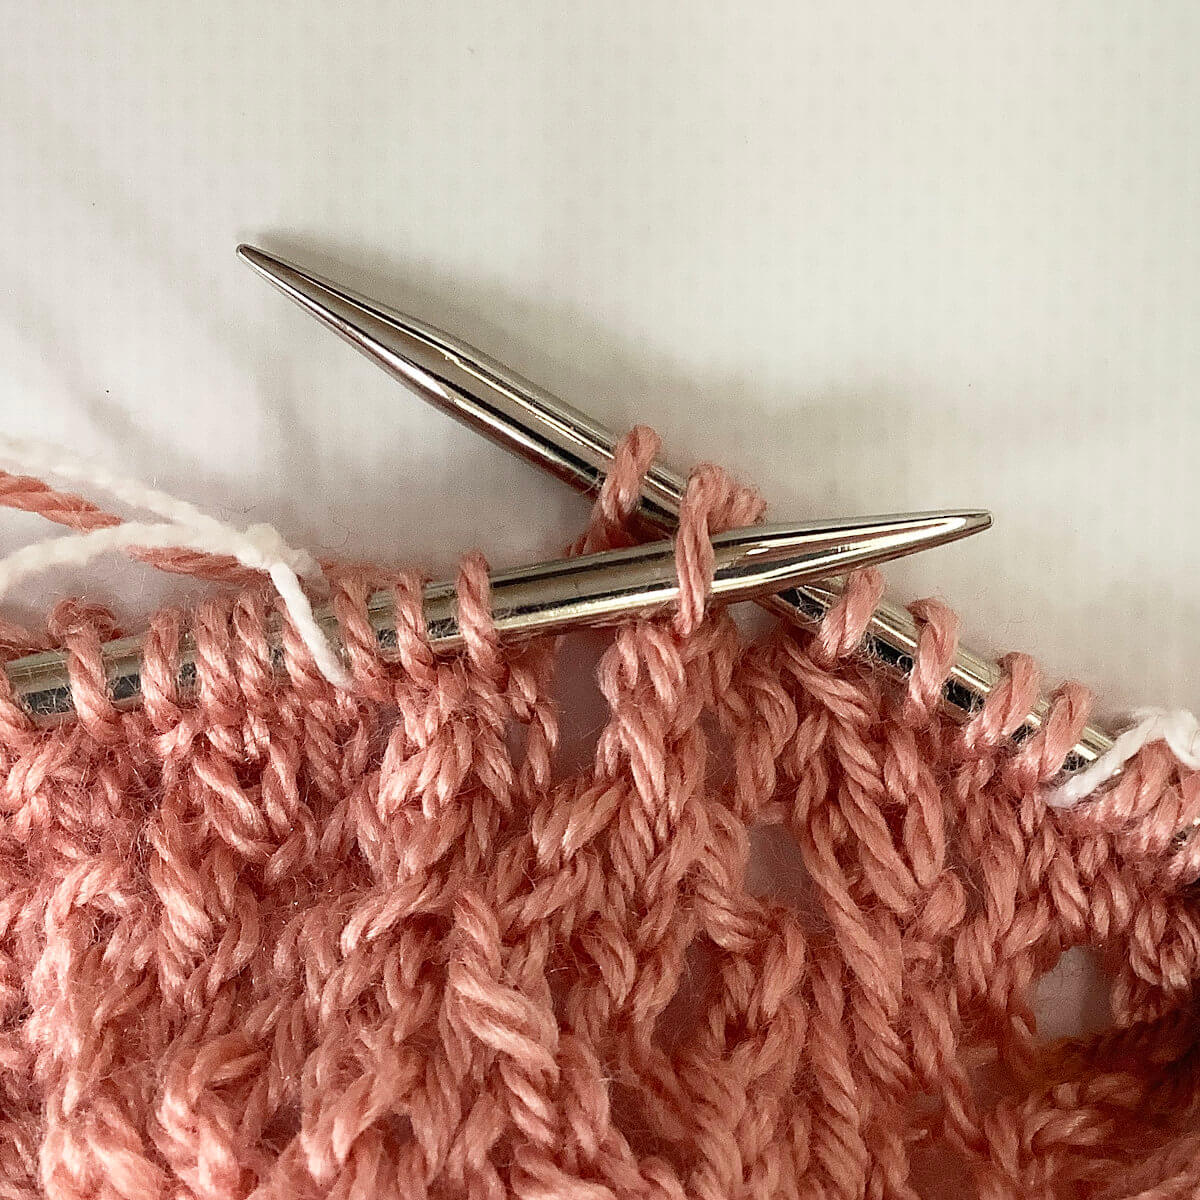
To start insert the tip of the right-hand needle into the first stitch as if to knit …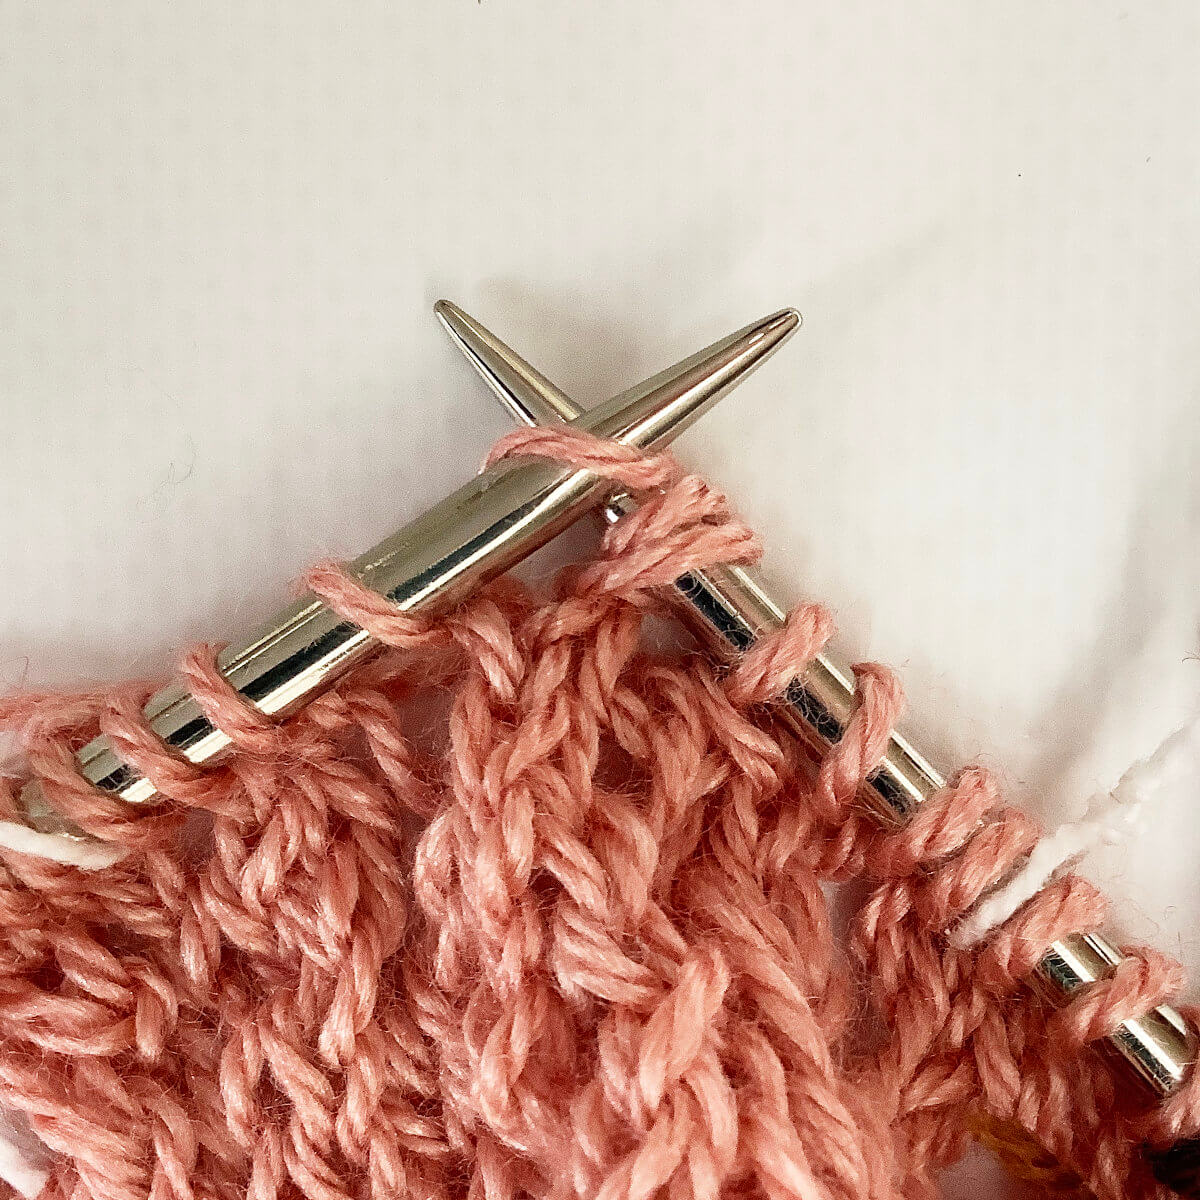
- … and slip it onto the right-hand needle without actually knitting it.
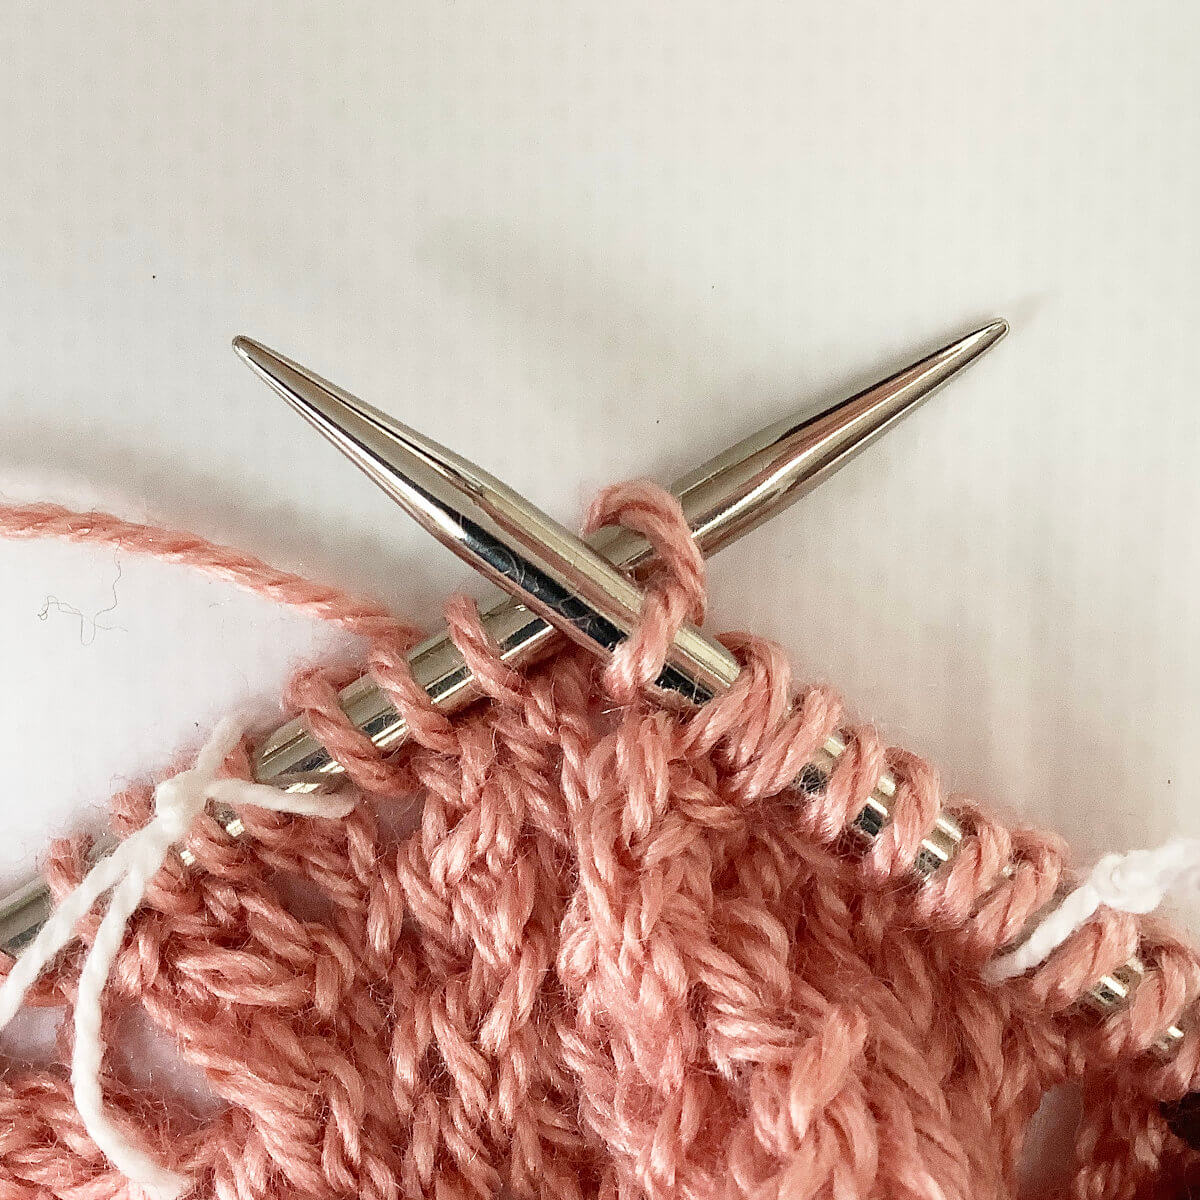
This is how it then looks:

- Next, we are going to knit the second stitch.
To do so, we start with inserting the right-hand needle into the first stitch on the other needle as shown below.
- Wrap the yarn around the needle…
- . …pull it through the stitch you inserted the right-hand needle in…
- …and slip the original stitch off the left-hand needle.
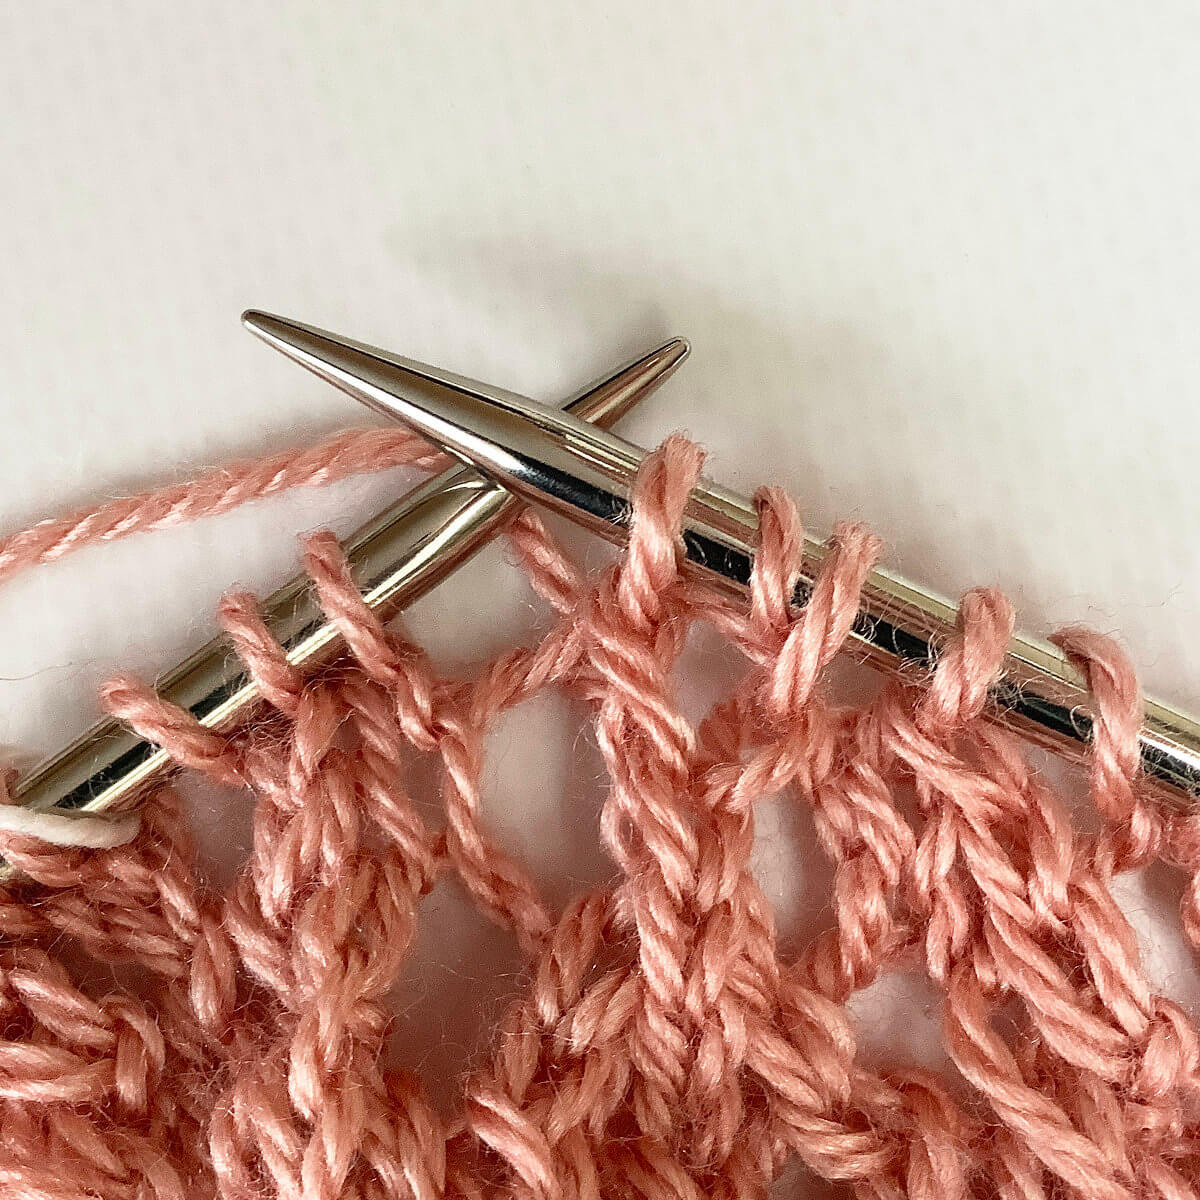
- Next, insert the left-hand needle into the second stitch counted from the tip of the right-hand needle…
- … after that, pull it over the first stitch from the tip of the right-hand needle to complete the decrease.
Do you see how it slants to the left? With this the bunny ears yarn over stitch itself is finished. But, for optimal results, we’re not done yet. Take a look at the next section to see why.
Working the WS row after the bey row
After working a row where bunny ear yo’s are worked there, of course, also follows a wrong side purl row. However, when working regular purl stitches over the bey stitches, this creates a horizontal thread over the yo part of the stitch. This is, of course, no problem if you like how this looks. You can see this below on the left. But, if you prefer the bey stitch to really look like a big yo, flanked by directional decreases, we really have to do something different from a regular purl stitch. The solution is working a purl 1 below or p1b instead. This gives the result as shown on the right:
Please note that the picture on the left was right at the beginning of my project, in the set-up section. The other one was further on in the body of the project, hence the difference in surrounding fabric.
With regular p 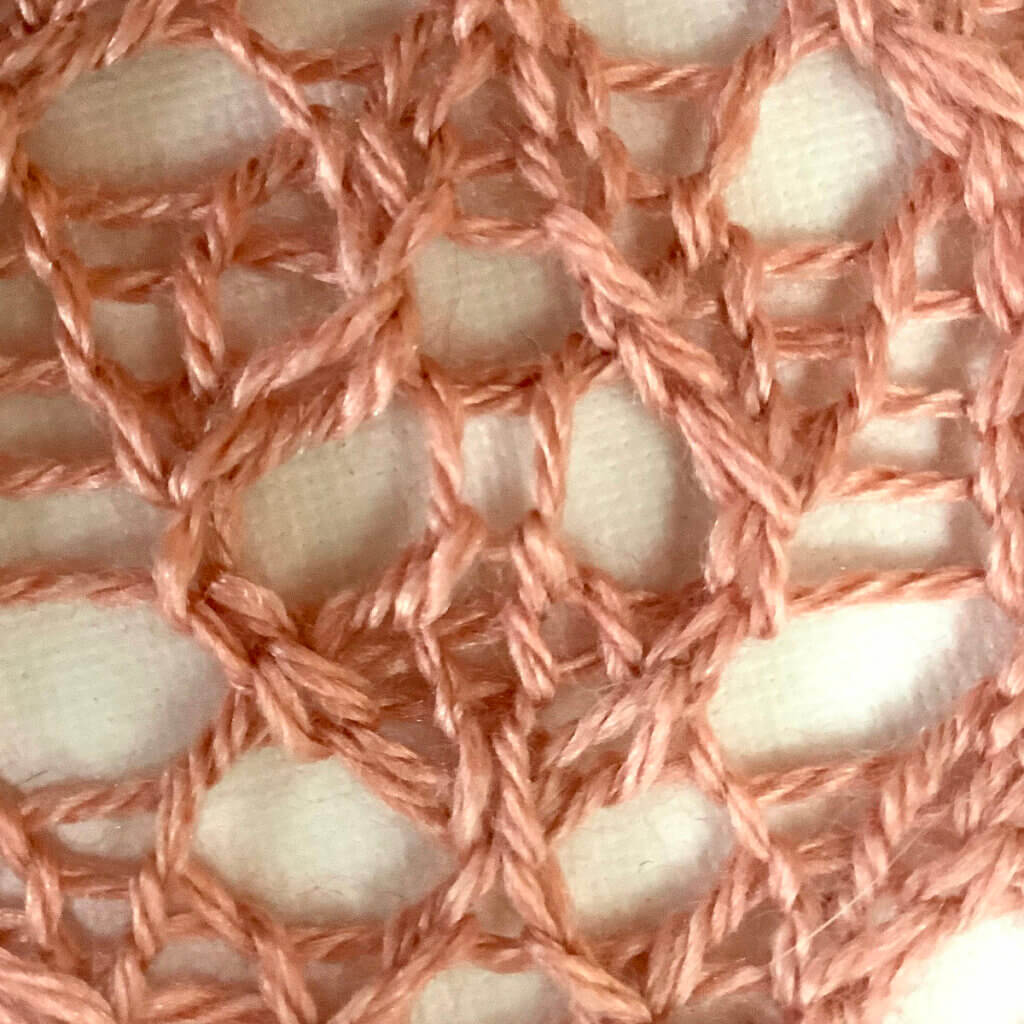
With p1b
A tutorial for the purl 1 below or p1b will follow soon!

Thanks to my Patreon supporters for bringing you this freebie! Creating quality patterns and tutorials is a lot of work and resource-intensive. However, I find it important to give you free content like this tutorial. Thanks to the generous support of my Patreon supporters, I can make it happen. Thank you, patrons! Click here to join, or click here to read more about La Visch Designs on Patreon.


")