What exactly are short rows? They’re partial rows of knitting in your project, that can be used to shape the fabric. Think for example of creating extra room for the bust, or to raise the back neck in sweaters. In this tutorial, I’ll tell you all about the wrap & turn method of working short rows. Good to know, is that “wrap & turn” is often abbreviated as “w&t”. If you encounter it in a knitting instruction, it is telling you to wrap a stitch with your working yarn, and then turn your work. By wrapping this stitch, any holes in the fabric by switching the knitting direction in the middle of your row or round are closed.
Grab your materials and let’s get started!
Materials used

Yarn: Paintbox Yarns Simply DK, a good value, good quality 100% acrylic yarn, here in the color 125 Spearmint Green.
Knitting needles: This is a pair of straights that I picked up at the second-hand store when I started knitting. Brand unknown.
Working wrap & turn short rows step by step
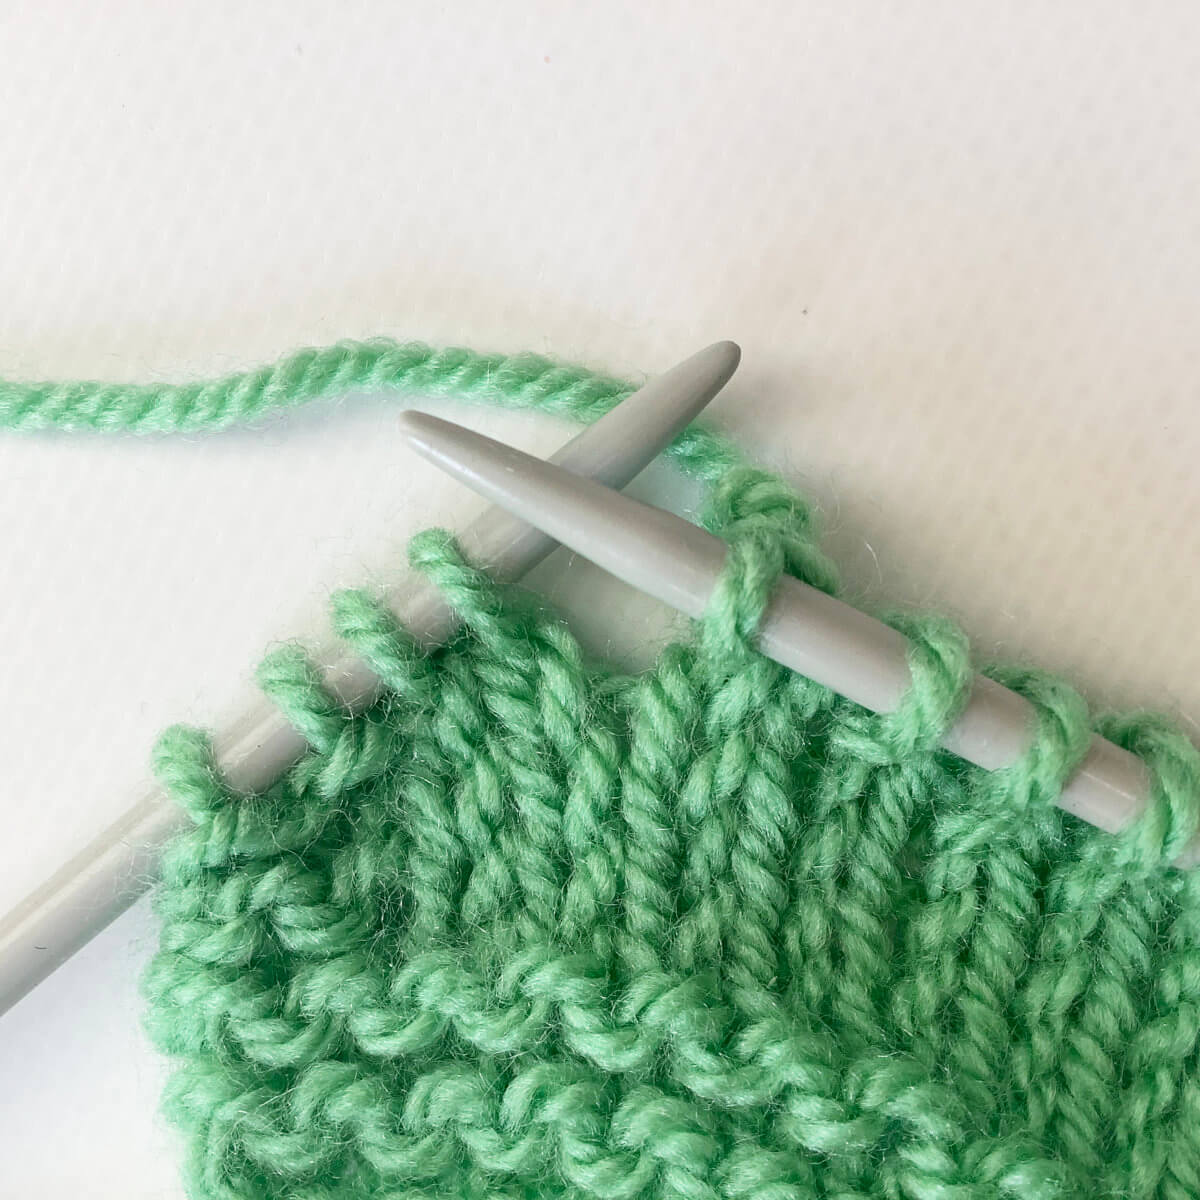
To start, work as instructed by your pattern until the point where it says “wrap & turn”.
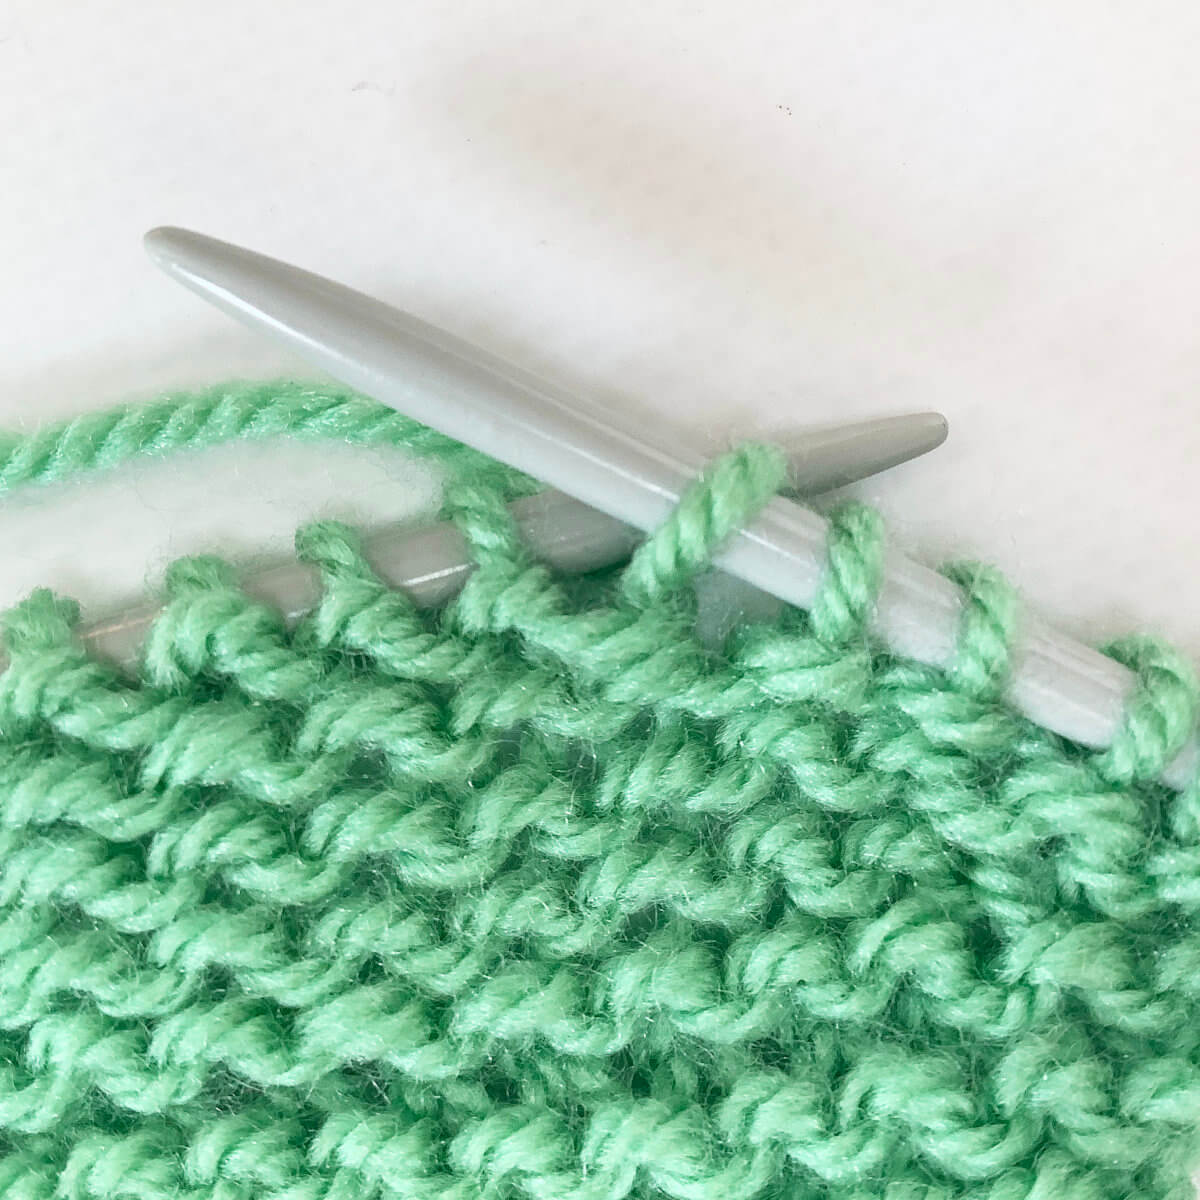
- With the yarn in back, slip the first stitch on the left-hand needle purlwise.
- Bring the yarn to the front of the work…
- … and slip the stitch back onto the left needle again.

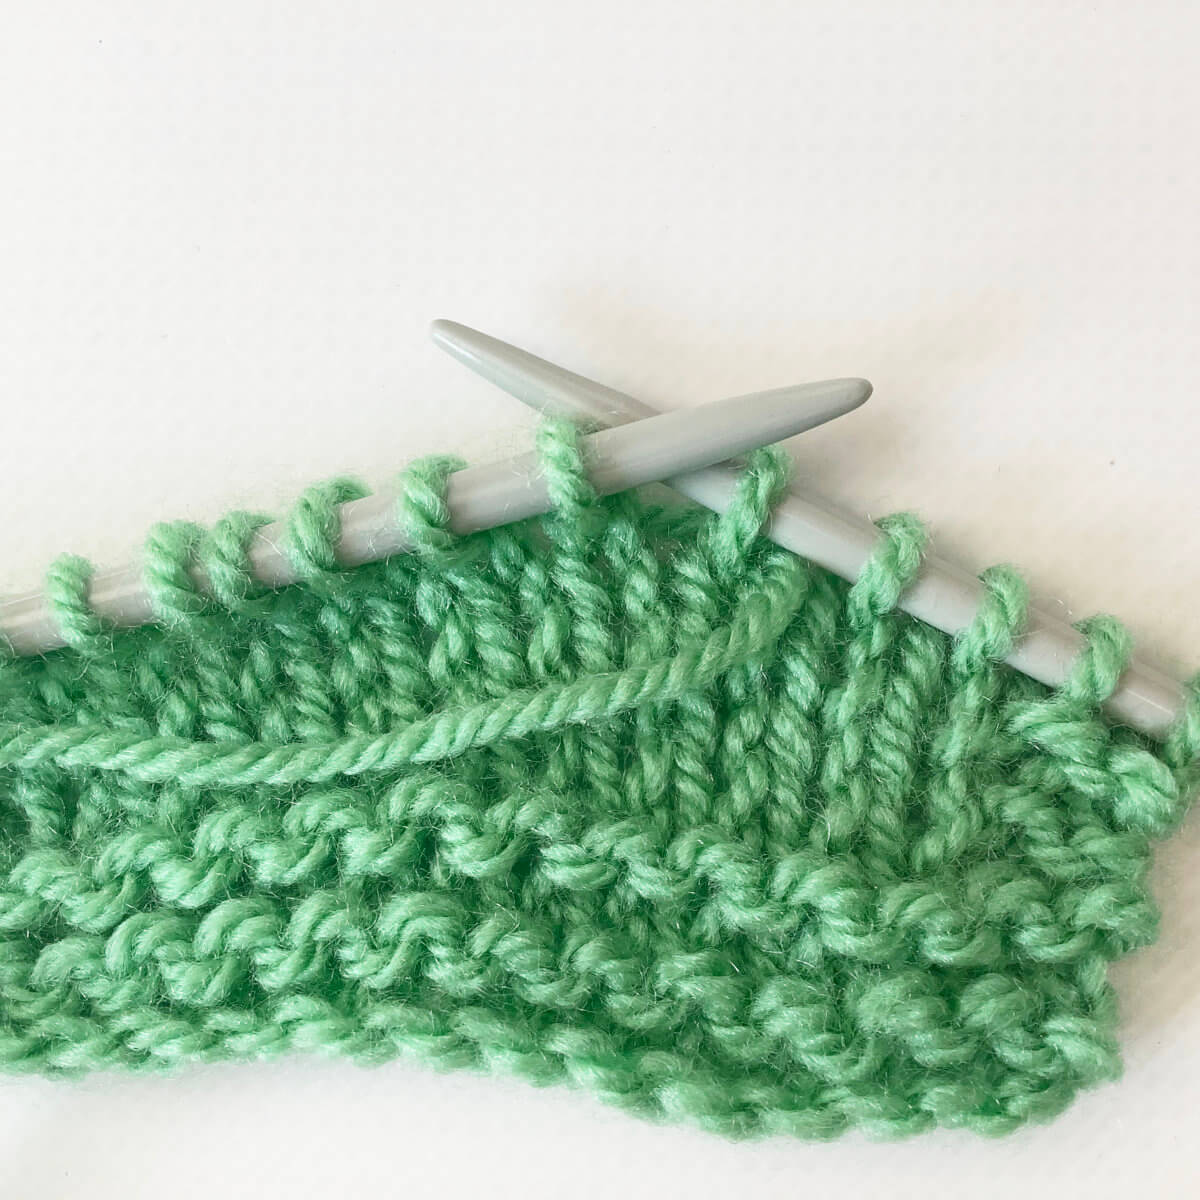
- Now turn your work to the wrong side.
Do you see that the stitch we slipped is now wrapped with the working yarn?
- Now we’re going to repeat steps 1 to 5, but working them on the purl side instead of on the knit side.
Again, work as instructed by your pattern until the point where it says “wrap & turn”. With the yarn in front, slip the first stitch on the left-hand needle purlwise.
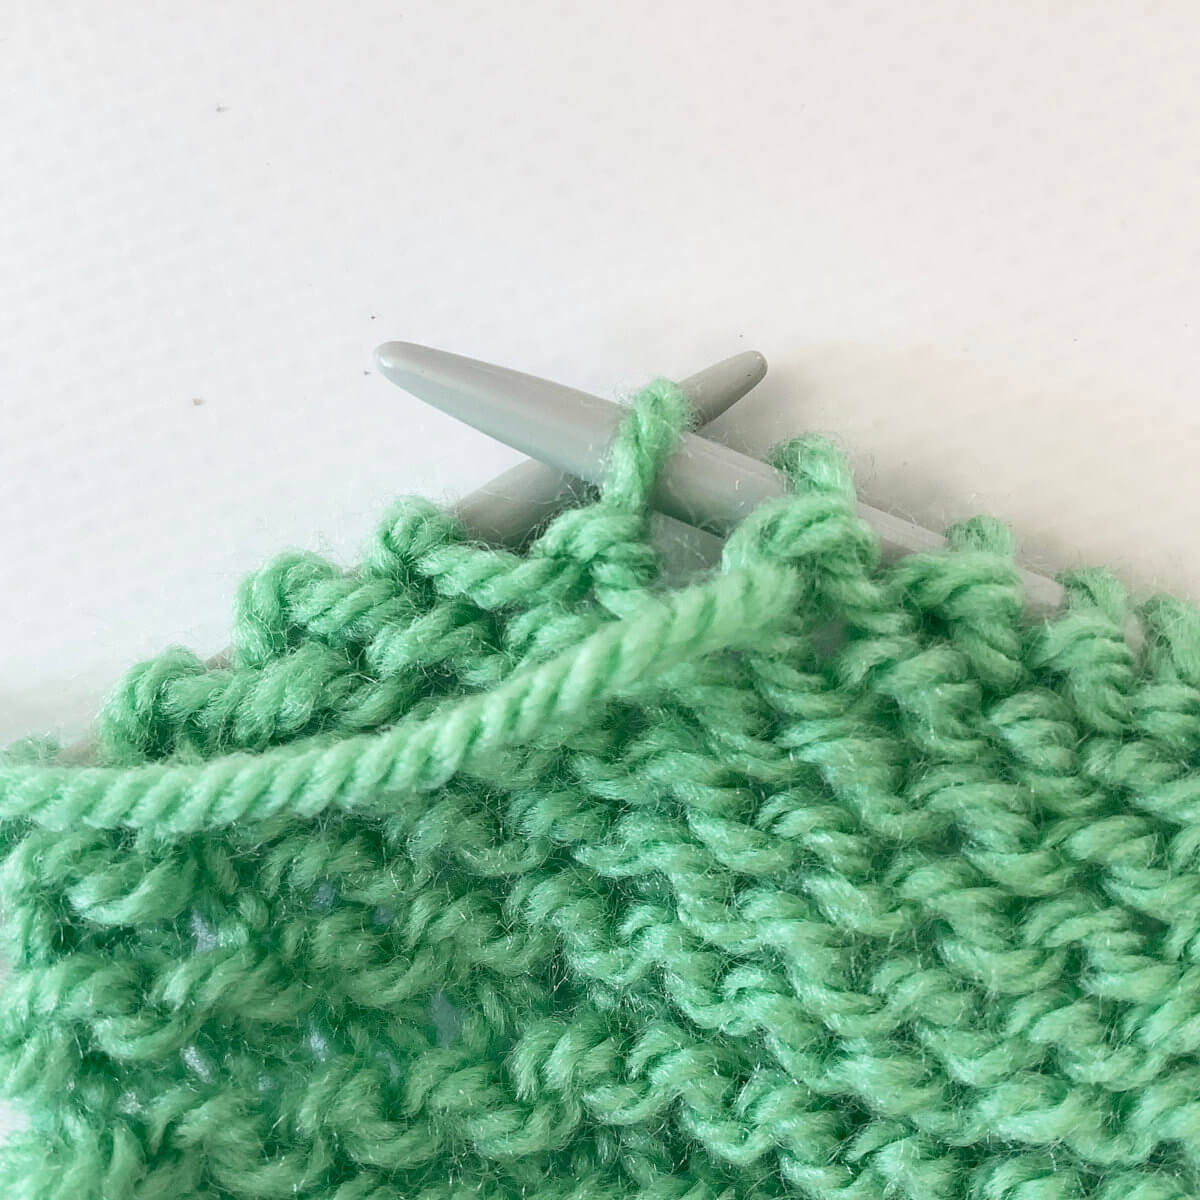
- Bring the yarn between the needles to the back of the work…
- … and slip the stitch back onto the left needle again.
- Now turn your work to the right side again. Do you see that the stitch we slipped is now wrapped with the working yarn?
Before you continue working in stockinette again, we, of course, have to move the working yarn to the back again. Do so in between the knitting needle tips.
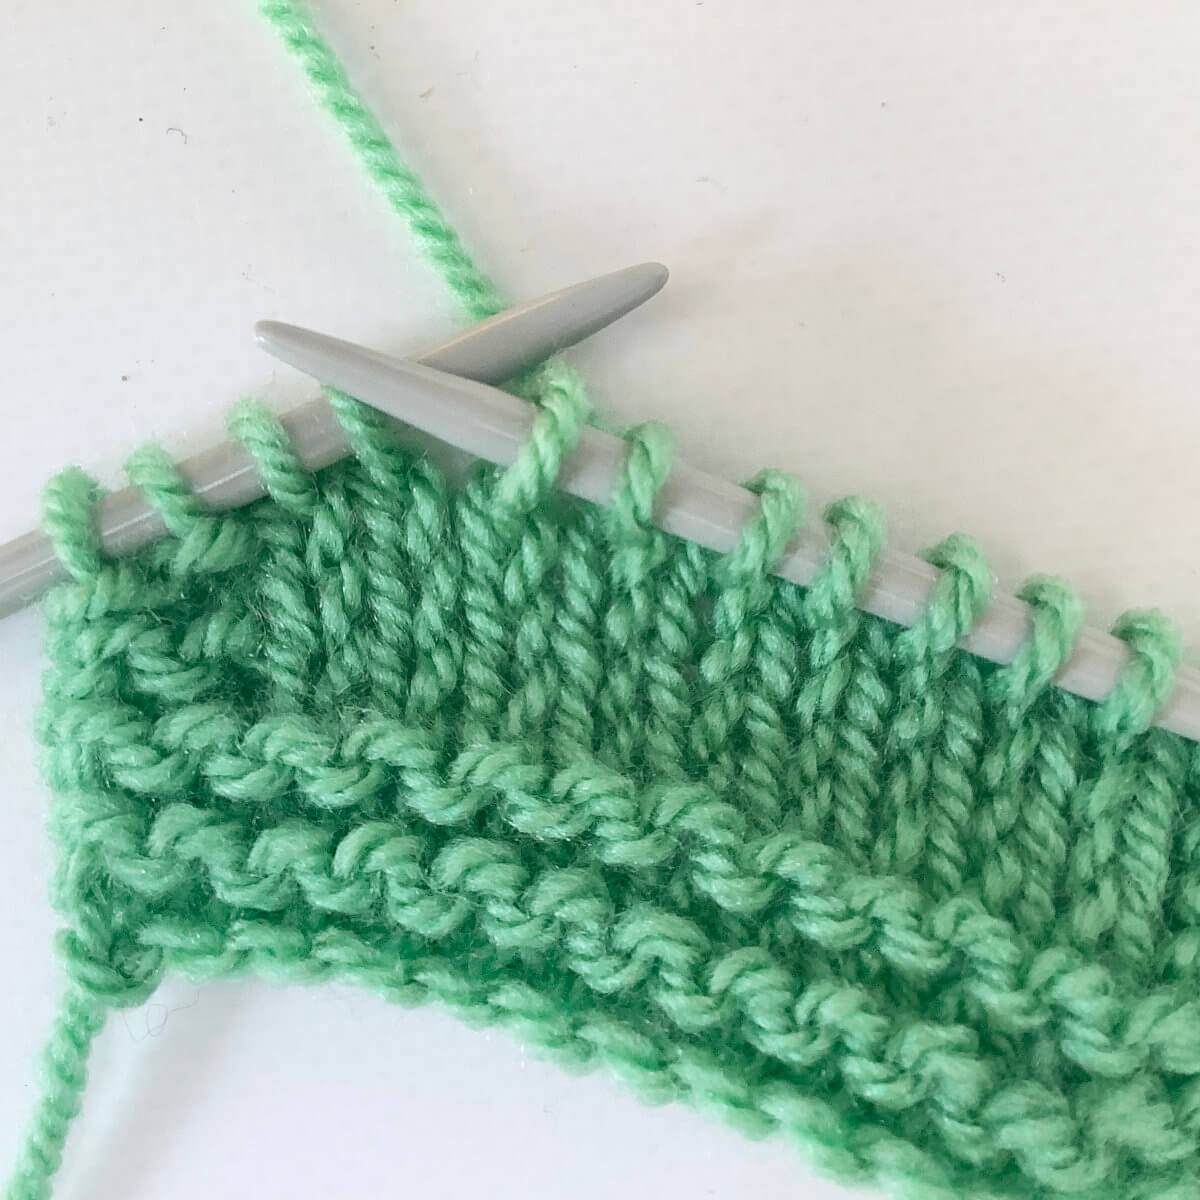
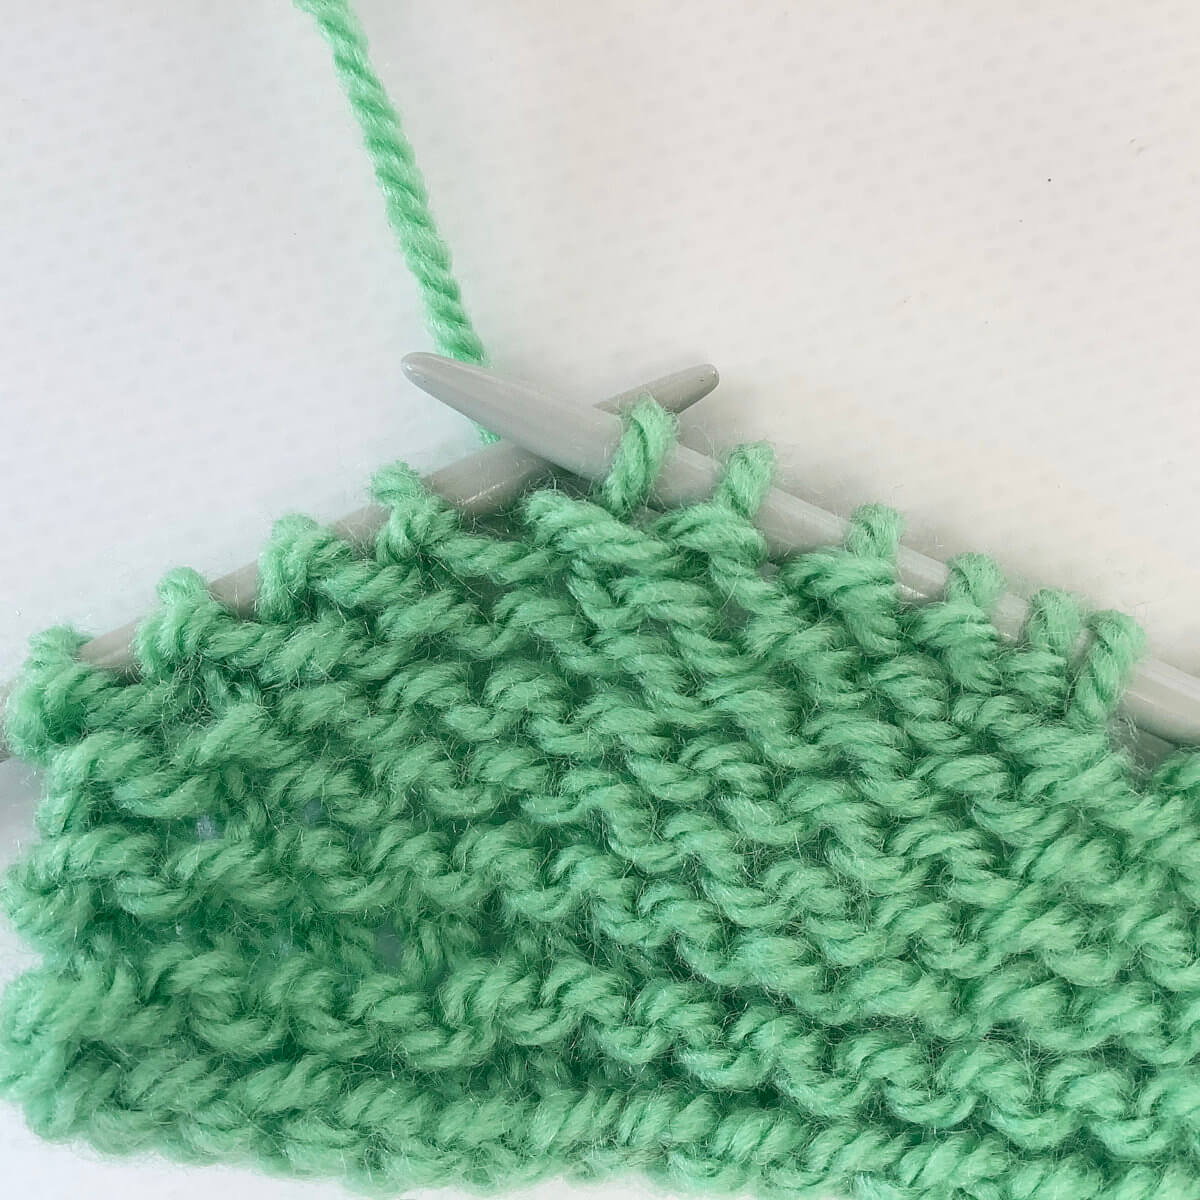
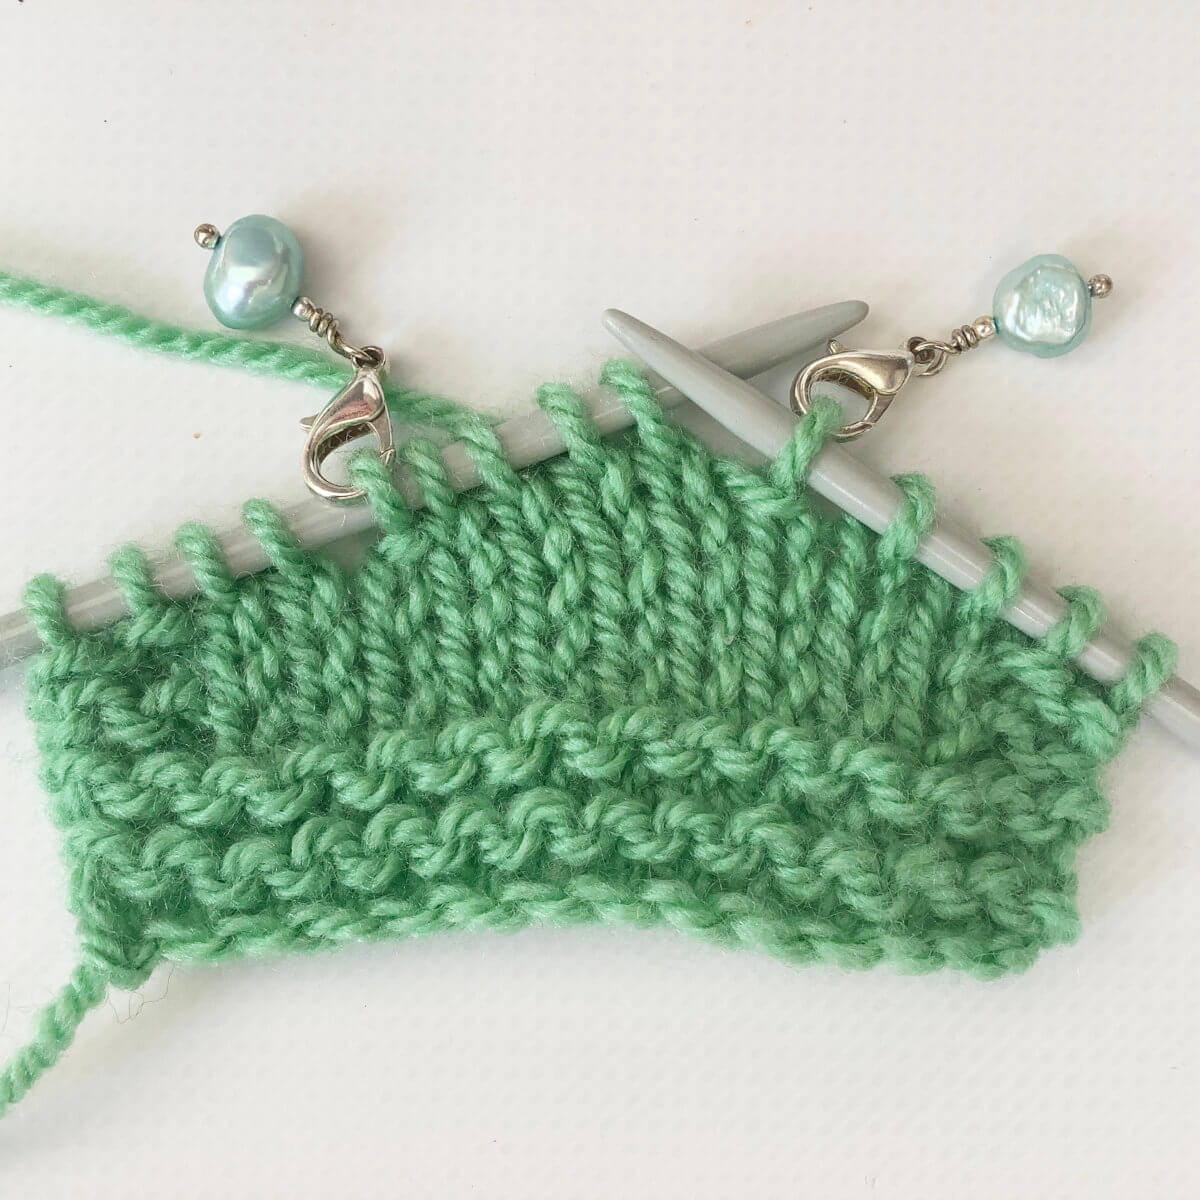
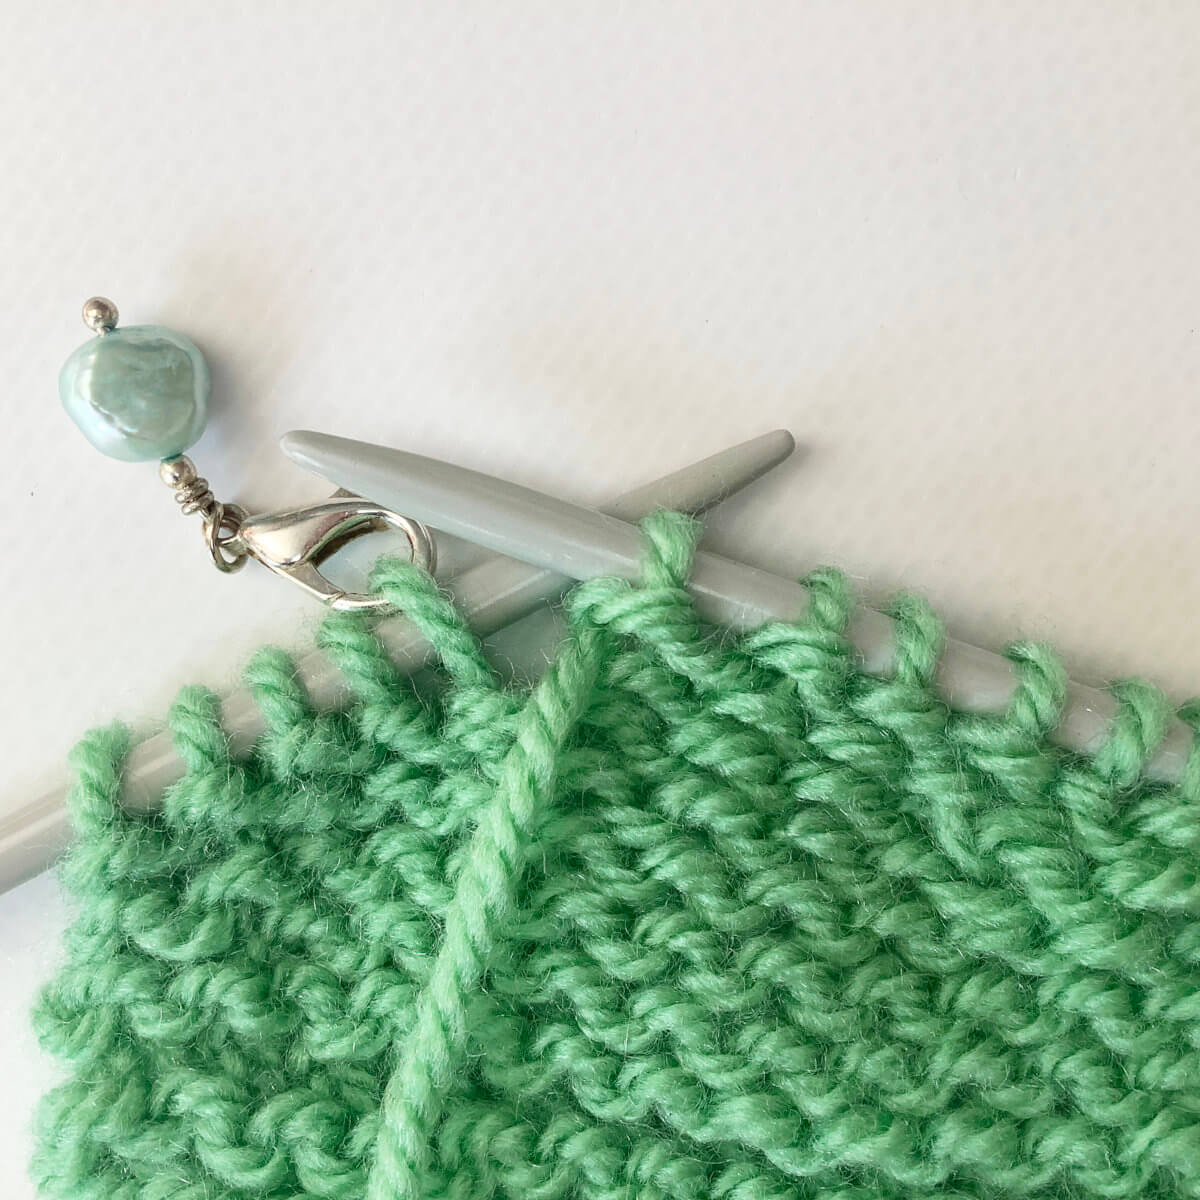
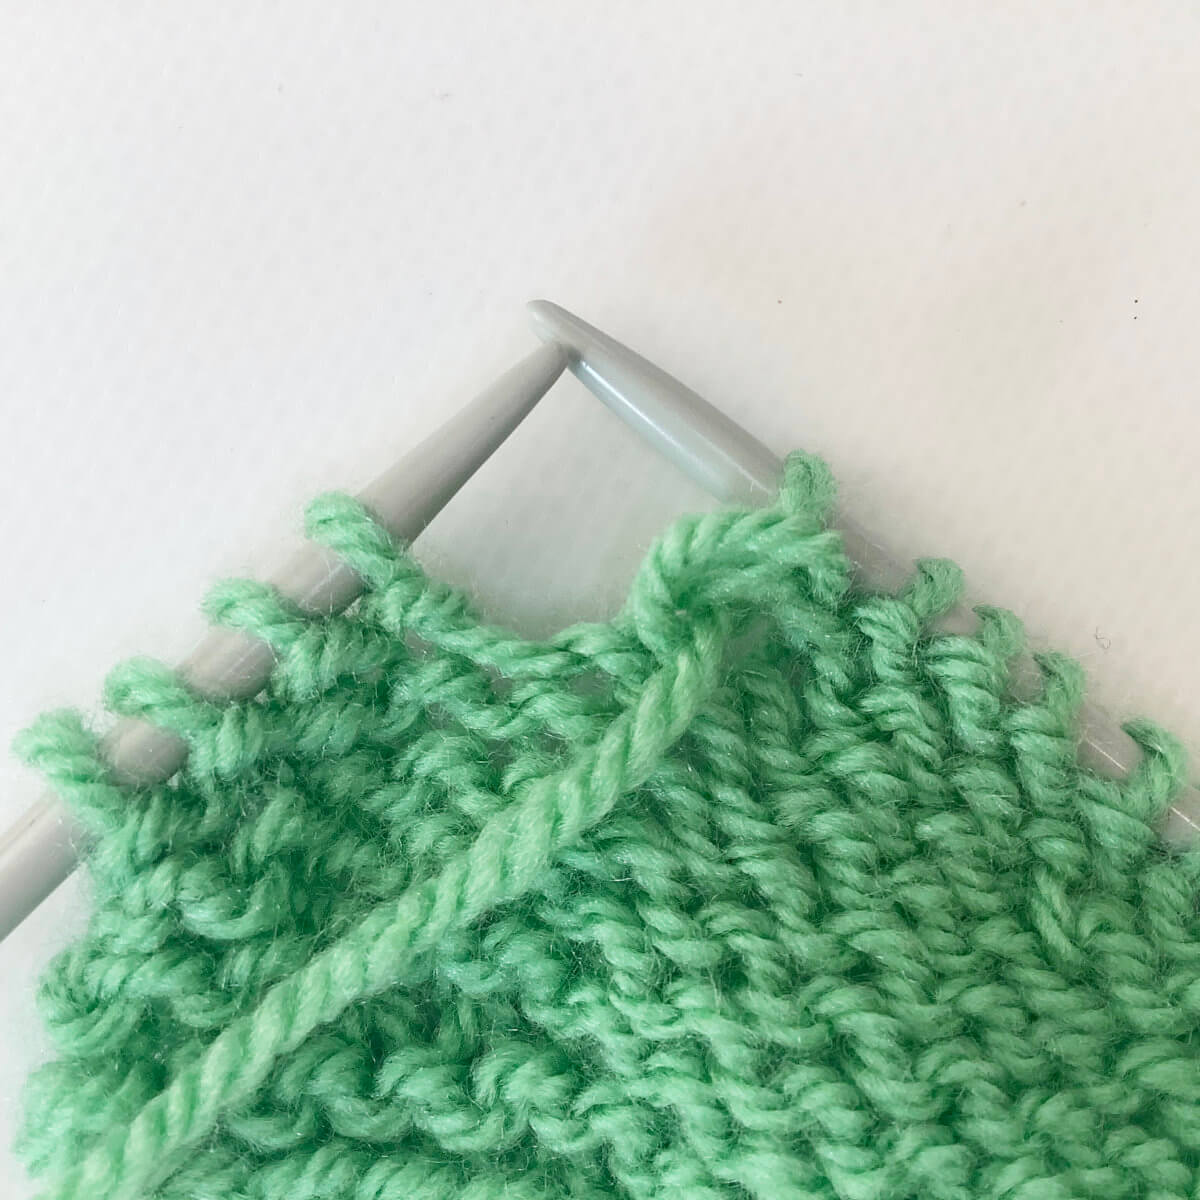
- In the below picture, I’ve marked the wrapped stitches with stitch markers. It is possible to identify them without marking, but this is just easier.
In this case I didn’t make my swatch big enough, otherwise I could have continued working more sets of short rows, starting the “w&t” 3 sts before the last wrapped (marked) stitch. In other words: Working steps 1 to 8 of this tutorial more times as needed.
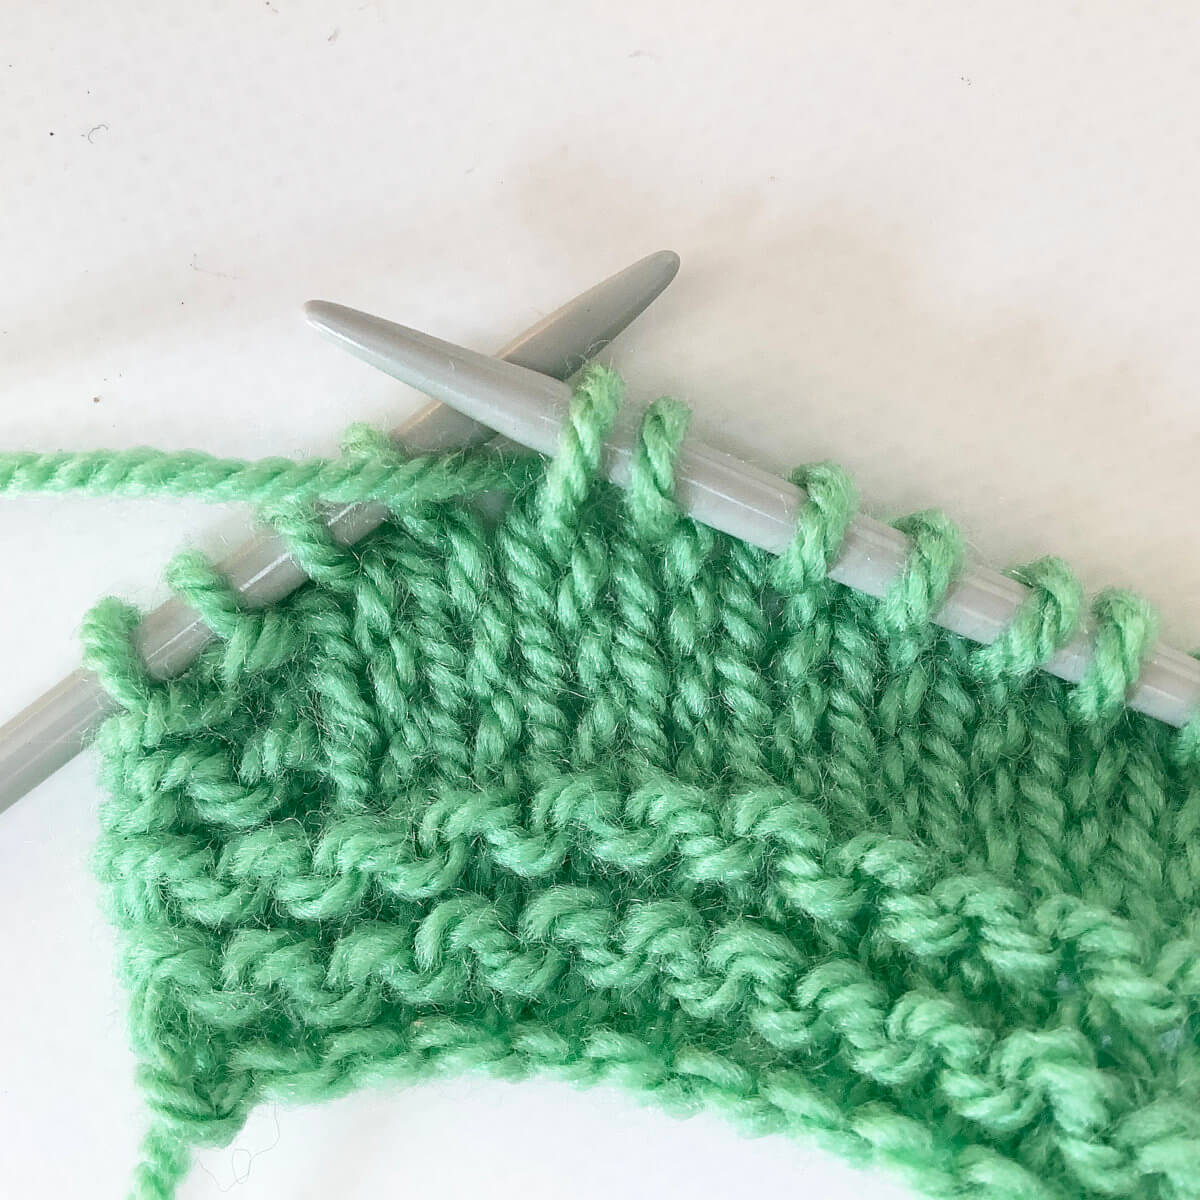
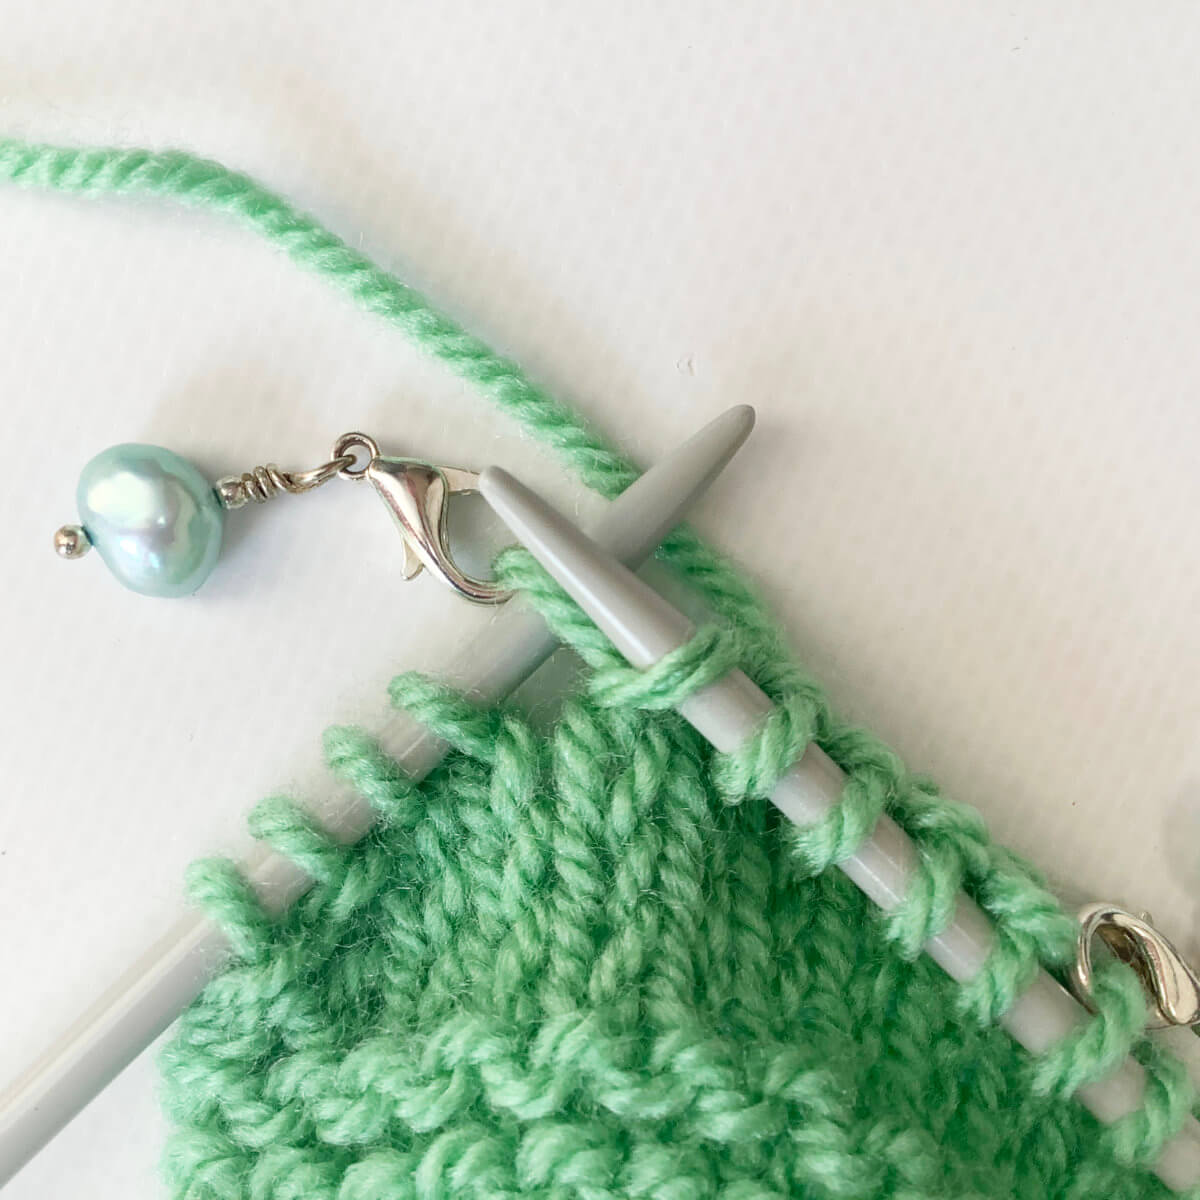
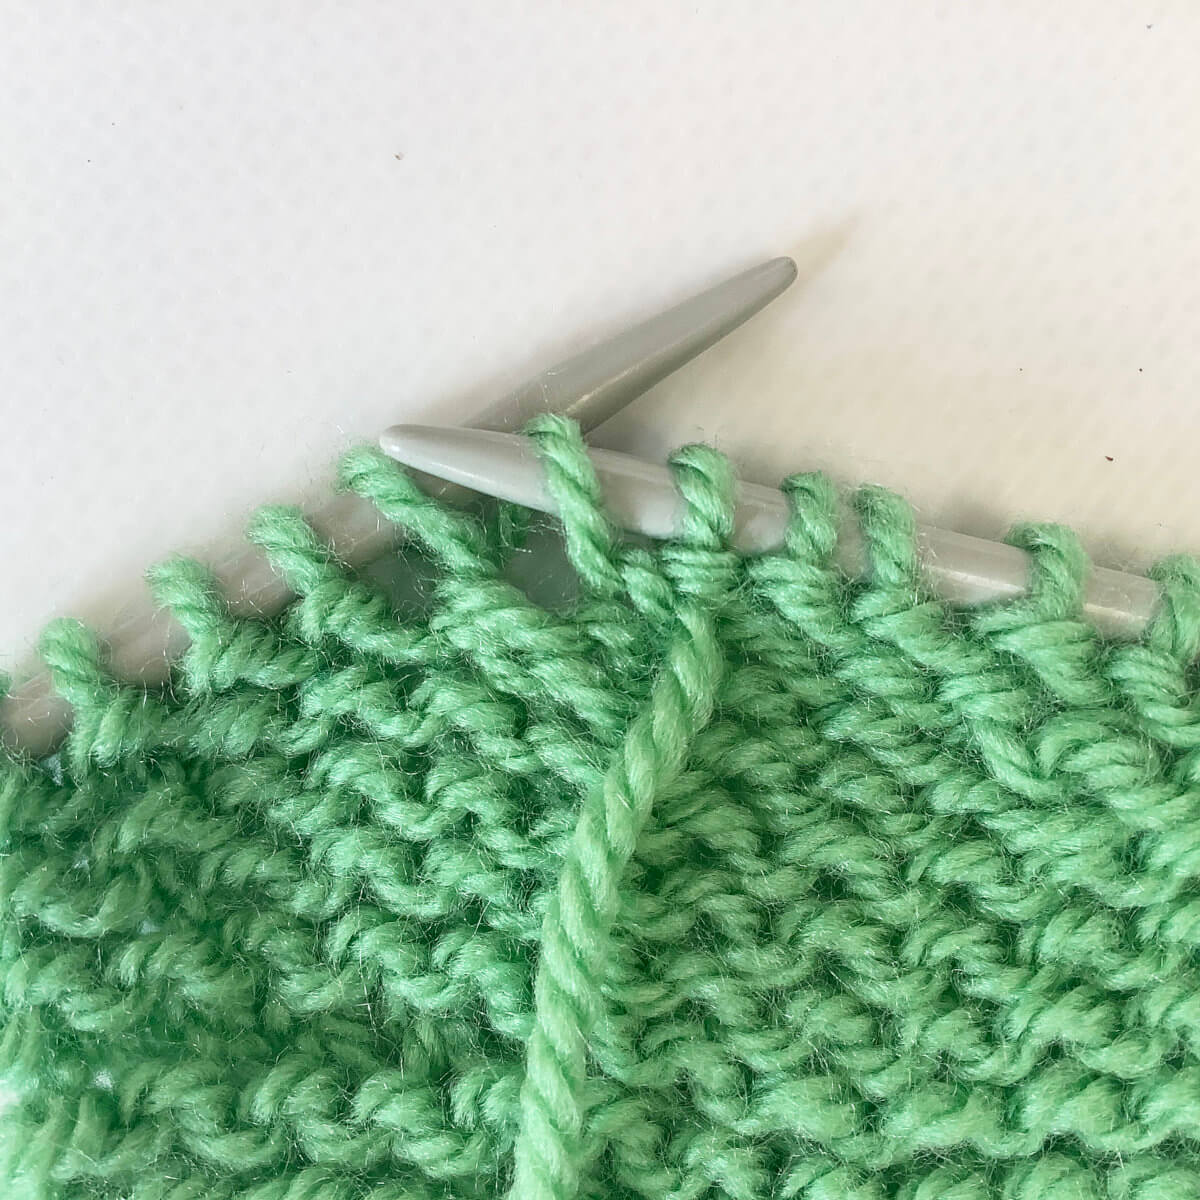
- At some point, you’ll want to resume working over the entire row or round of the work. This is also the row where you want to pick up the strand that you wrapped around the slipped stitch, and knit it together with the stitch that it wraps.
Especially in stockinette fabric, this wrap is very visible. Also, not knitting the wrap with its stitch will make a visible hole in the fabric. In garter stitch or lace, this may not be that noticeable, though. So, first, work to the first wrapped stitch, and insert the needle from bottom to top into the wrap…
- …. Then into the stitch itself as if to knit.
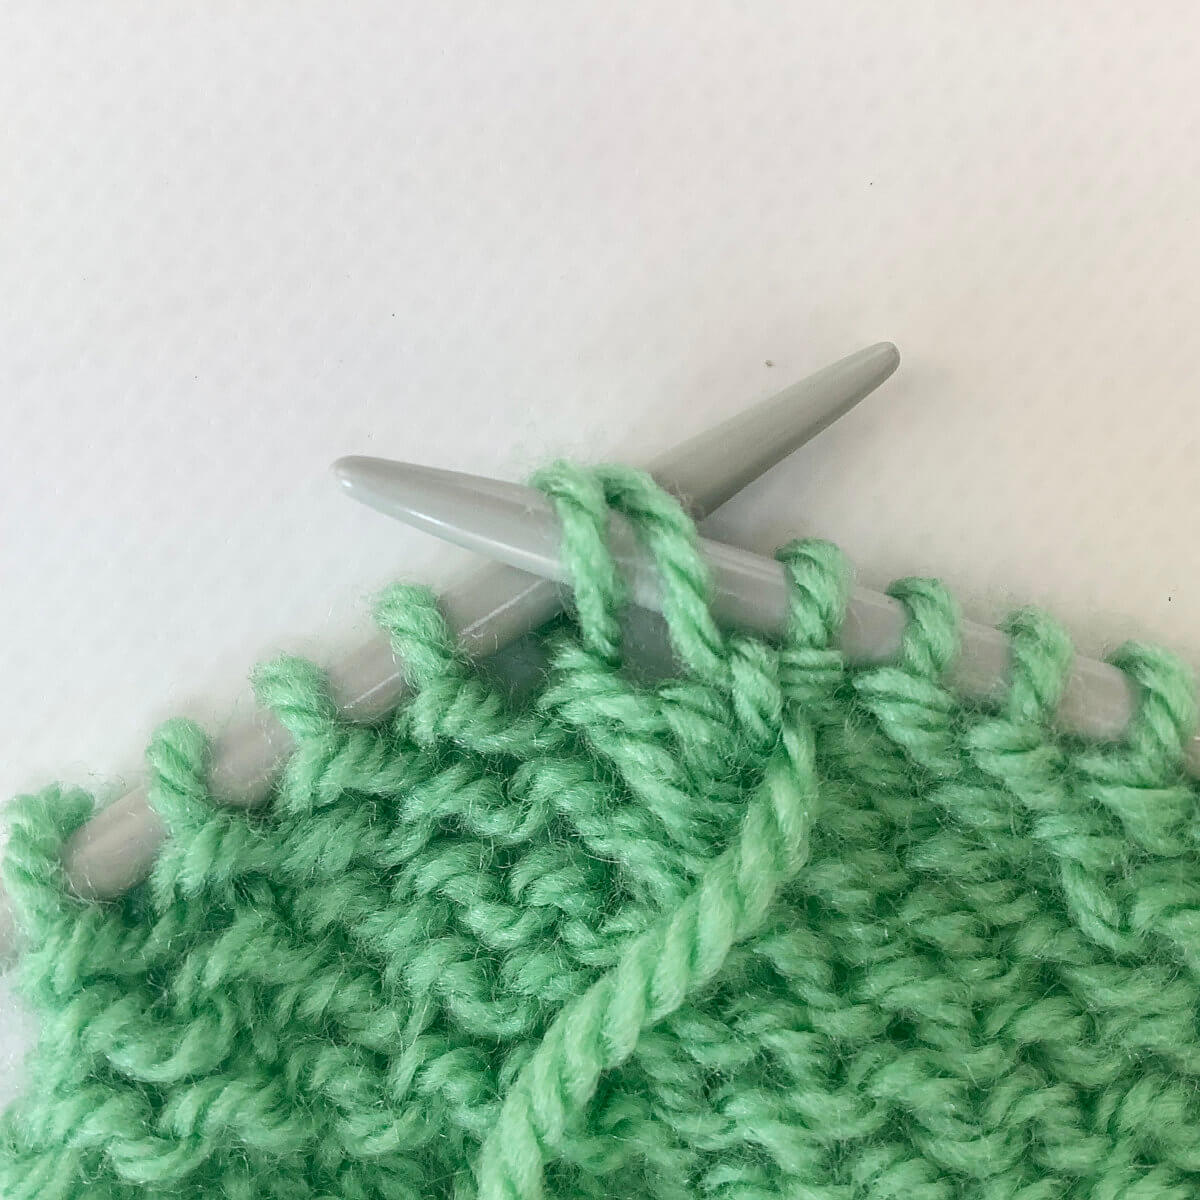
- Wrap the yarn around the needle, and pull it through both the stitch and the wrap. Pulling it through the wrap may be a tad fiddly.
To finish the stitch, let it slide off the needle.
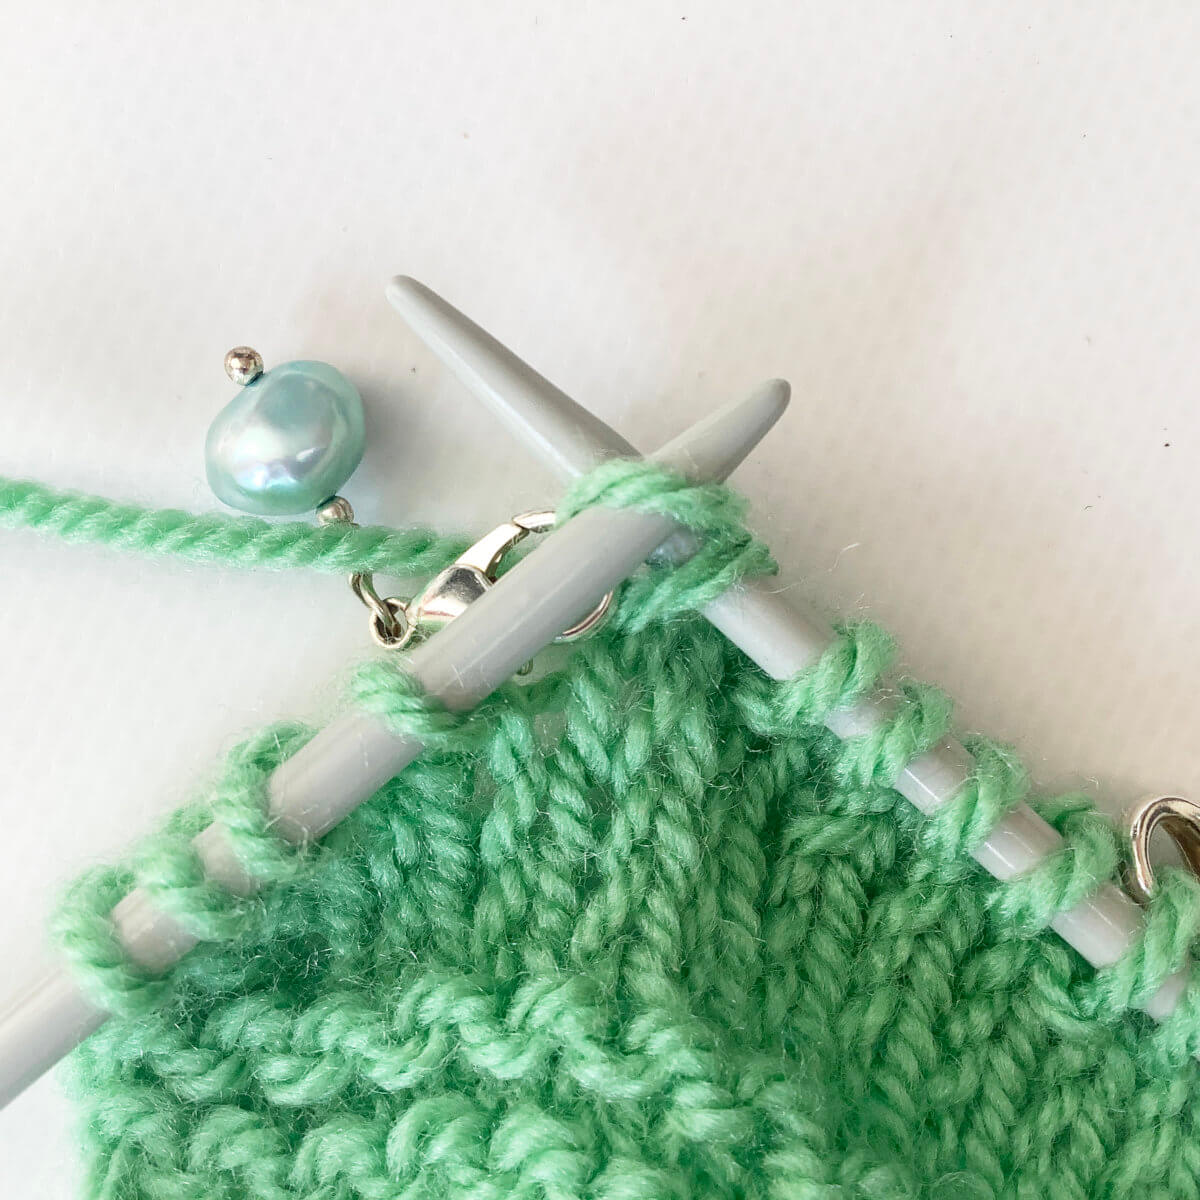
- Here, I finished the row, turned the work and purled right to the remaining wrapped stitch.
- Then, with the yarn in front, insert the needle into the **back** of the wrap, from back to front, and place it on the needle.
If you work the wrap any other way, it will be visible on the right side of the fabric.
- Next, insert the needle as if to purl into both the wrap and the stitch itself.
- Wrap the yarn around the needle, and pull it through both the stitch and the wrap. To finish the stitch, let it slide off the needle.
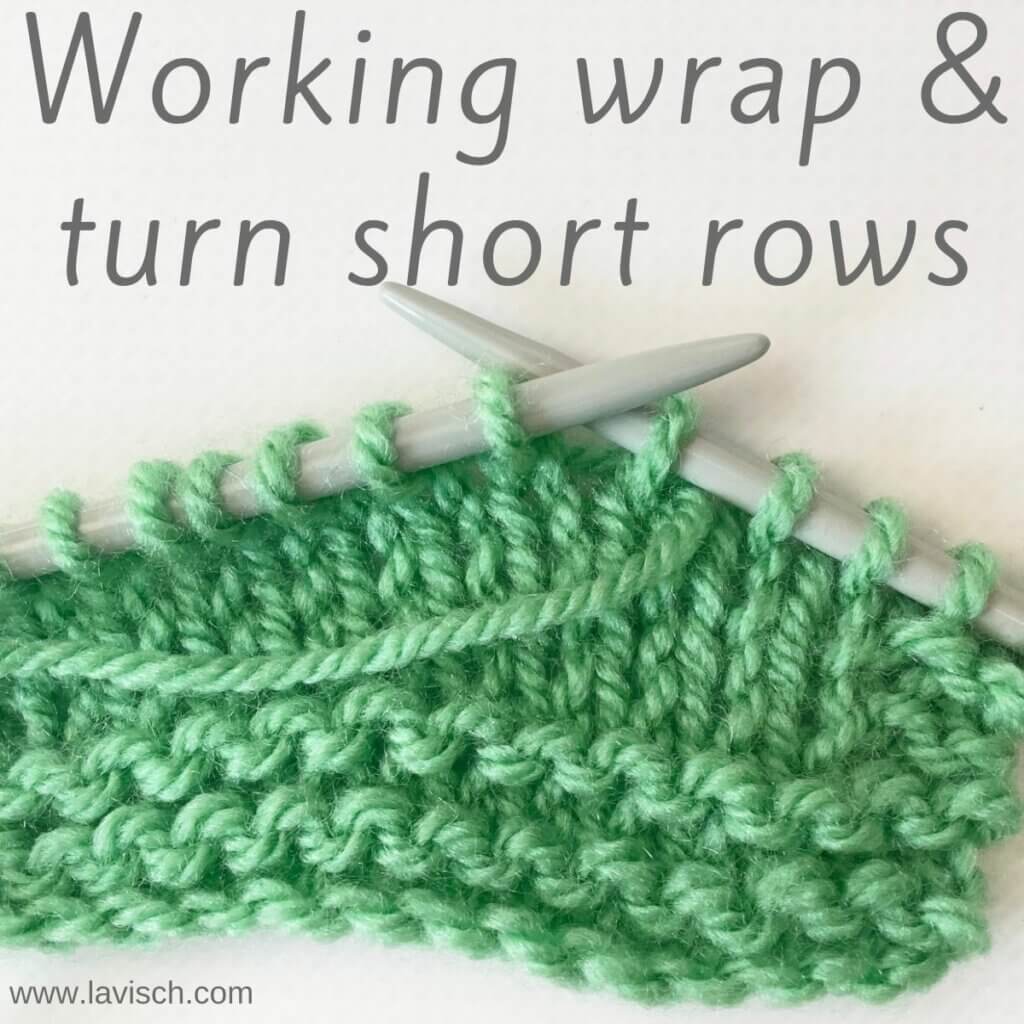
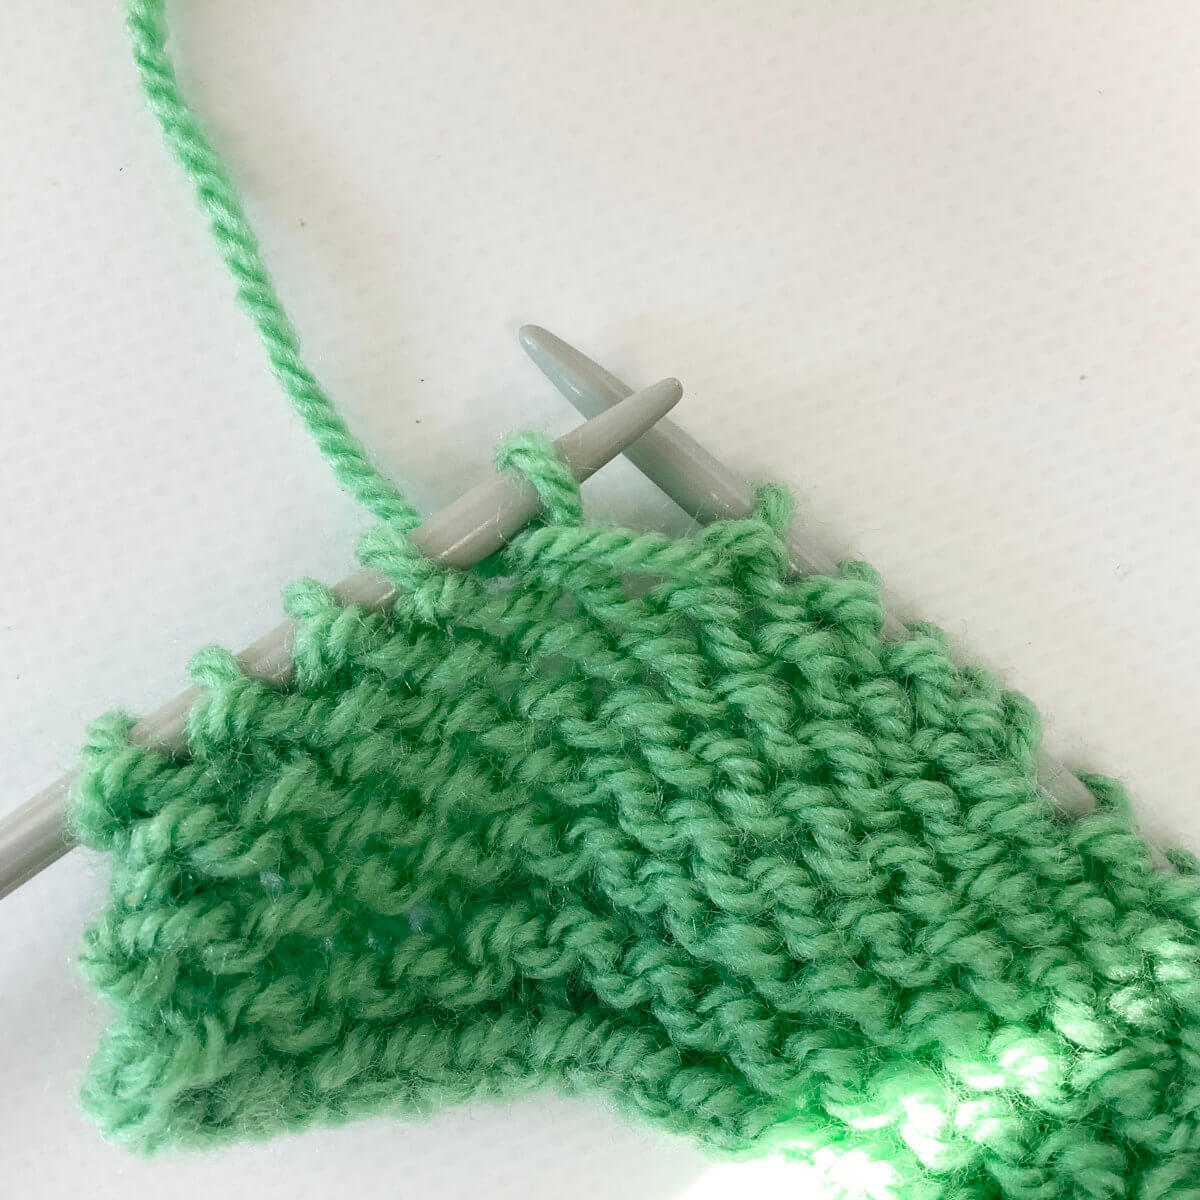
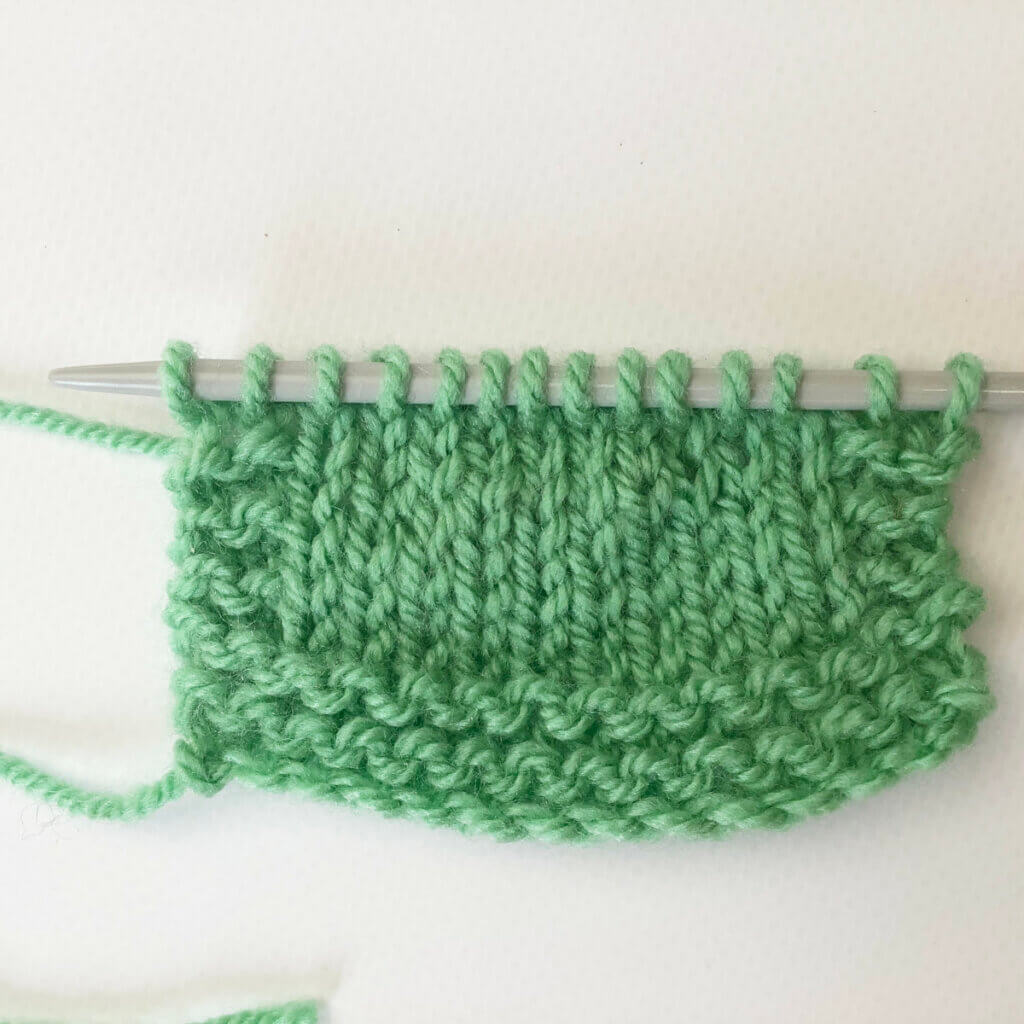
The result
Below, you can see the result of the wrap & turn short rows I worked for this tutorial. The shaping is not very dramatic, because I ended up only having room in my swatch for 1 set of short rows.

Thanks to my Patreon supporters for bringing you this freebie! Creating quality patterns and tutorials is a lot of work and resource-intensive. However, I find it important to give you free content like this tutorial. Thanks to the generous support of my Patreon supporters, I can make it happen. Thank you, patrons! Click here to join, or click here to read more about La Visch Designs on Patreon.


