To make shaping in your knitting possible, knowing how to decrease the number of stitches on your needles is quite important. In this post, I’m going to show you how to work the left-leaning decrease that is abbreviated with “skp”. Skp stands for “slip 1, knit 1, pass the slipped stitch over the knitted stitch”.
There are, of course, also other left-leaning decreases. Take for example the “slip slip knit” (ssk) decrease. And yes, the result is quite similar to that of the skp, but I find the latter personally much easier to work. That’s the reason I usually include the skp decrease in my patterns and add a note that instead, an ssk can be used if desired.
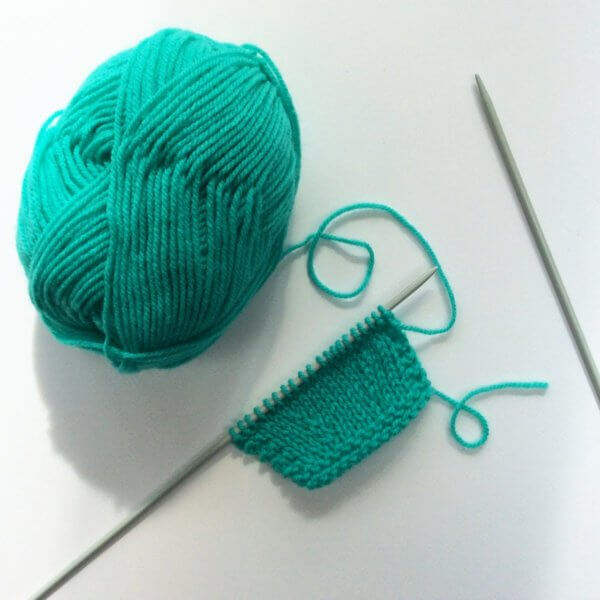
Below you can find how this decrease is worked, so get your materials and follow along! I’m starting with the same swatch I used in my previous tutorial on the m1bl increase.
Knitting the left-leaning skp decrease step by step
1. First, take your project and work to the spot indicated in your pattern, where you want to make the decrease. In my case, that’s 3 stitches in from the garter stitch edging on the right side of the swatch.

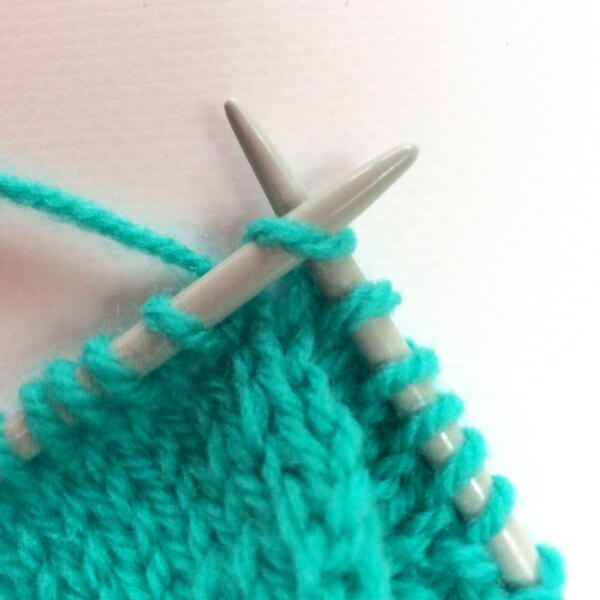
2. Next, insert the tip of the right-hand needle into the first stitch as if to knit…. (It is, of course, possible to insert the needle as if to purl, but this will twist the stitch mount and will make the decrease look like a twisted stitch.).
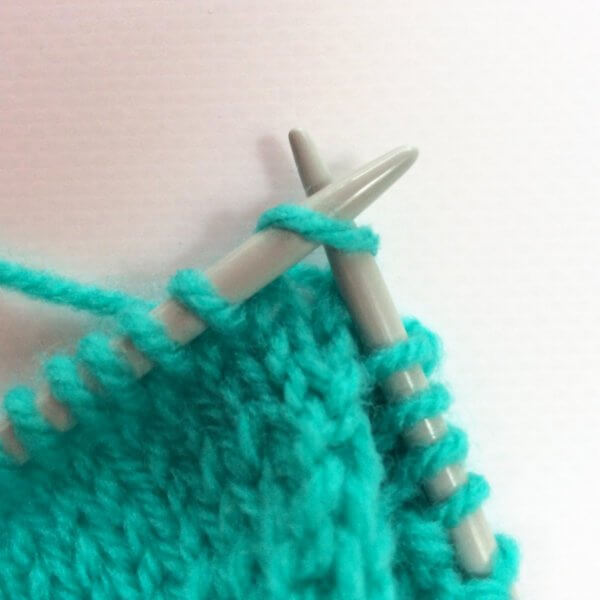
3. … and slip it onto the right-hand needle without actually knitting it.
4. Next, we are going to knit the second stitch. To do so, we start with inserting the right-hand needle into the first stitch on the other needle as shown below.
5. Wrap the yarn around the needle…
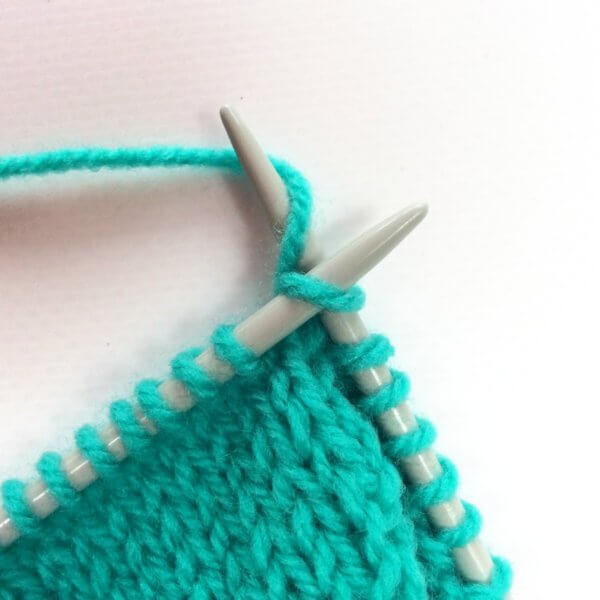
6. ..pull it through the stitch you inserted the right-hand needle in…
7. …and slip the original stitch off the left-hand needle.

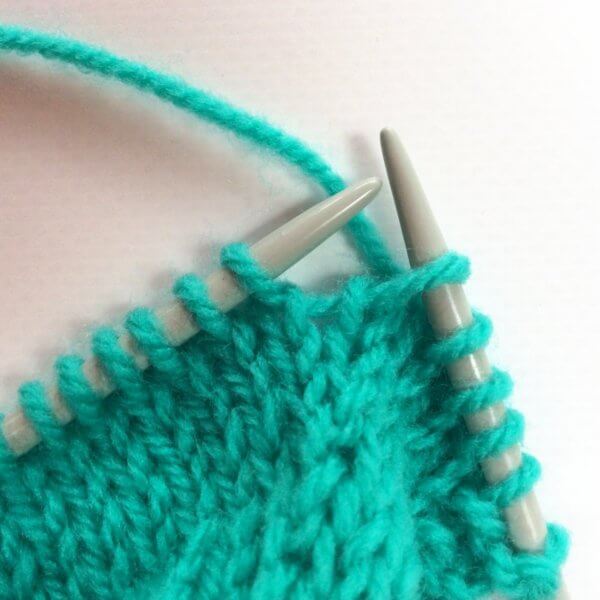
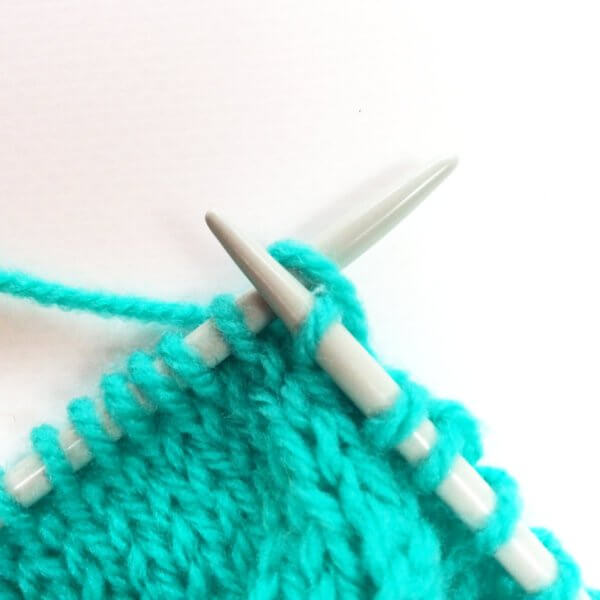
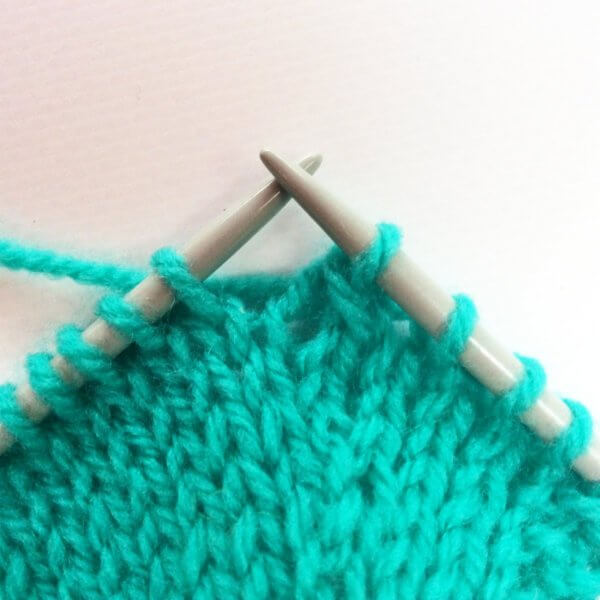
8. Next, insert the left-hand needle into the second stitch counted from the tip of the right-hand needle…
9. And pull it over the first stitch from the tip on the right-hand needle to complete the decrease. Do you see how it slants to the left?
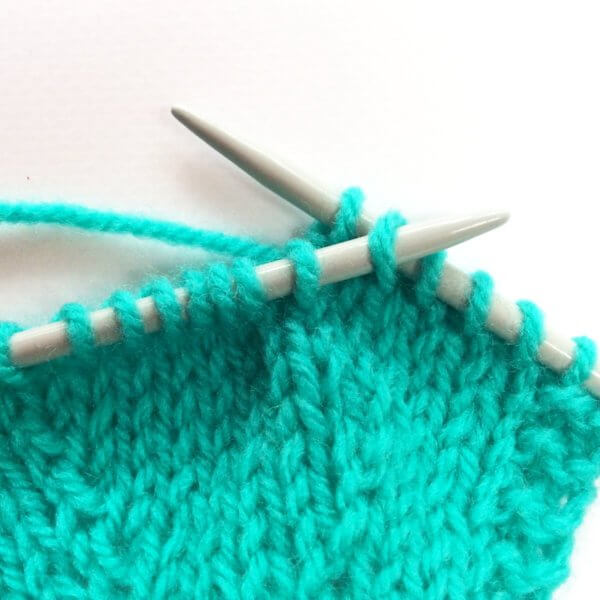
And this is how to work the skp decrease! The result in stockinette is shown below. In this example, there are three decrease rows worked every other row, at a distance of 2 stitches from the garter stitch edge.
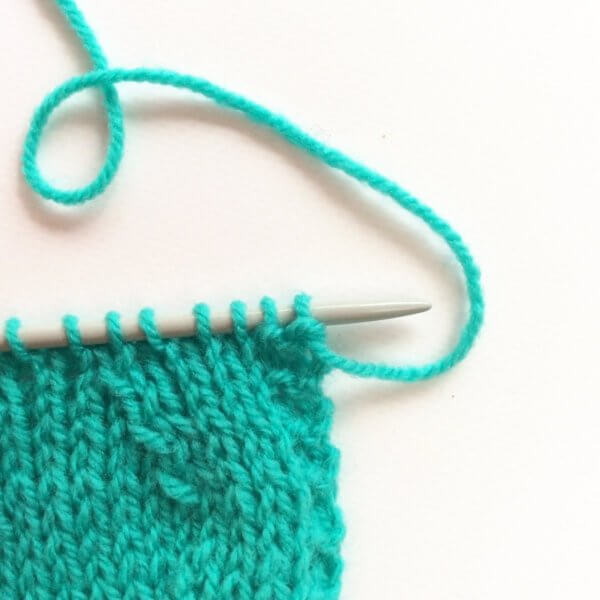
The decreases in this particular swatch look a bit wibbly/wobbly but in my experience that mostly disappears after blocking. In lace, however, I don’t notice it at all after blocking.


