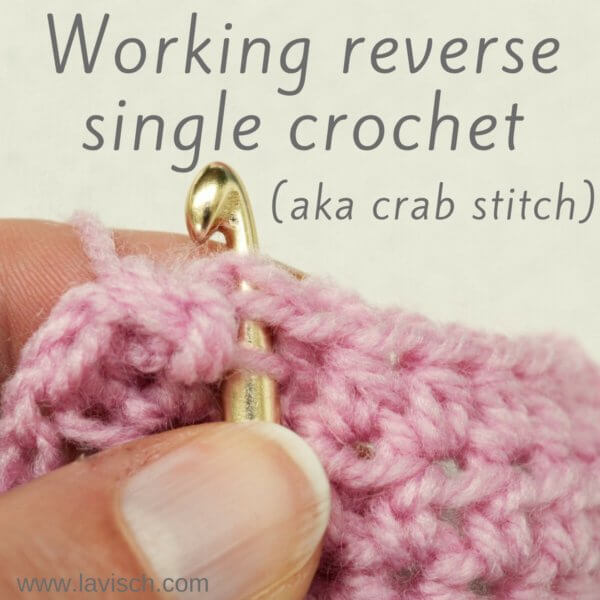
A knitting or crochet project isn’t really finished until all edges and borders are also finished. With knitted pieces, this plays an even more important role, as stockinette or stockinette-based fabric often curls. Applying a crocheted edge is a nice and easy solution to prevent this. In this post, I’m going to write about the “crab stitch” or “reverse single crochet”. This stitch is often abbreviated as “rsc”. The latter reveals a lot about how this stitch is worked: exactly the same way as a regular single crochet stitch, only in the reverse direction!
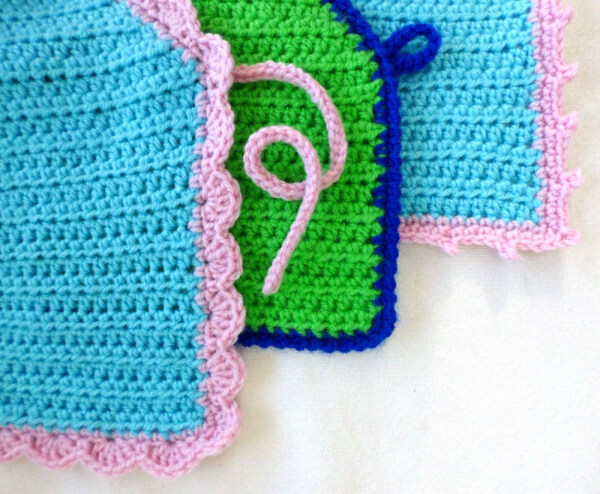
What I find really nice about the crab stitch, is that it has a very sleek unisex look. Because of this, it is very suitable for finishing of clothing items and accessories for men of all ages. Also, you can create very nice effects by stitching the crab stitch in a contrasting color. This is something I’ve done in the green and blue vest, which you can see a detail of in the picture above. In the step-by-step instructions, I will, however, be making the crab stitch edging in the same color as the main piece. Please note that American crochet terminology is used in this tutorial.
Crab stitch or reverse single crochet step by step:
1. Begin on the left side of the item, you will be working from the left to right.
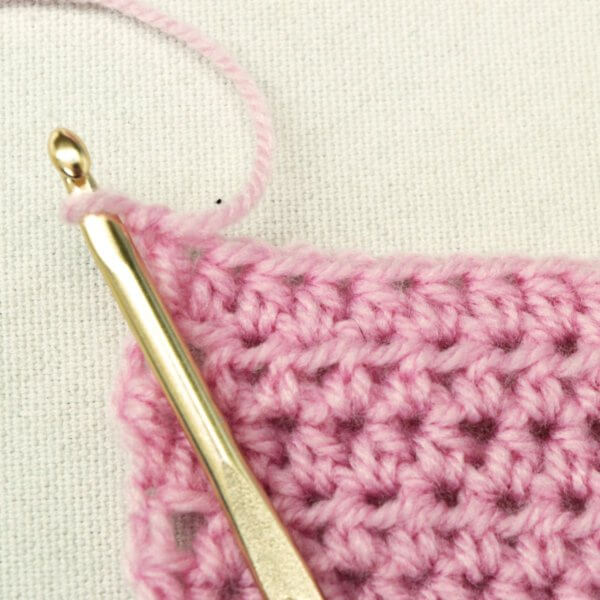
2. Insert the hook in the base stitch where you want to start your edging.
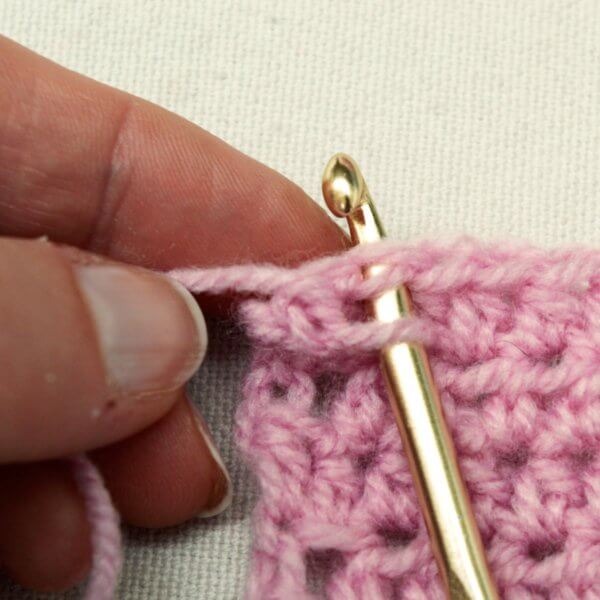
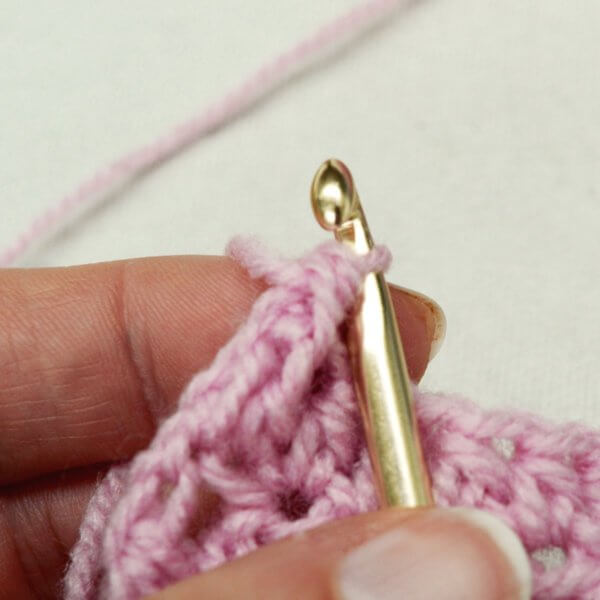
3. Twist the point of your hook to the left, grab the yarn and pull through the stitch. This is the hardest part of the reverse single crochet stitch to get right. There are now two loops on your hook.
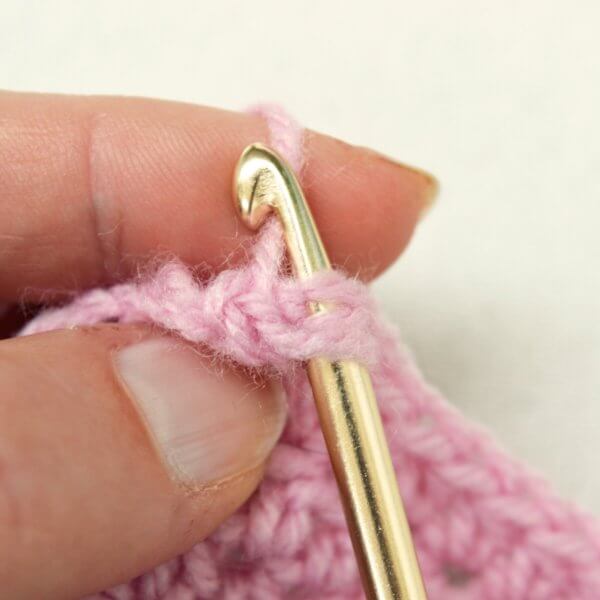
4. Yarn over and draw through the two loops on your hook.

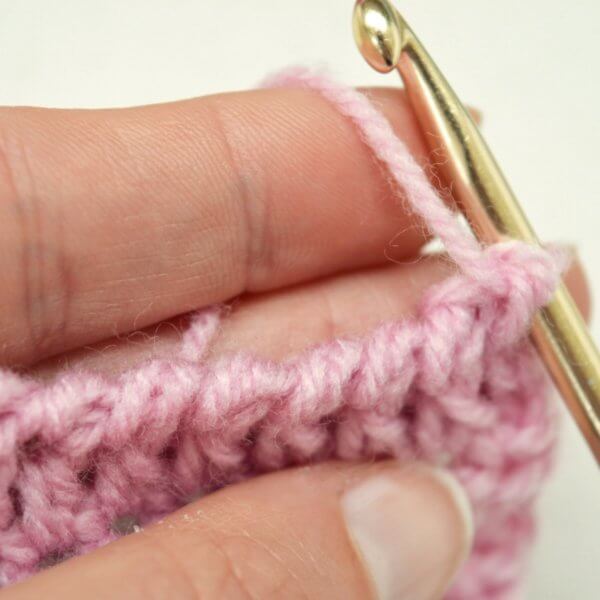
5. This completes the first stitch. Repeat steps 1 to 4 as often as needed for your project.
The completed edging will look like this:
In the picture below, you see in the middle a version of my Kimono Wrap Revisited, which I finished with a reverse single crochet edging in a contrasting color.
Have fun embellishing your projects with this wonderful, versatile stitch!

")

