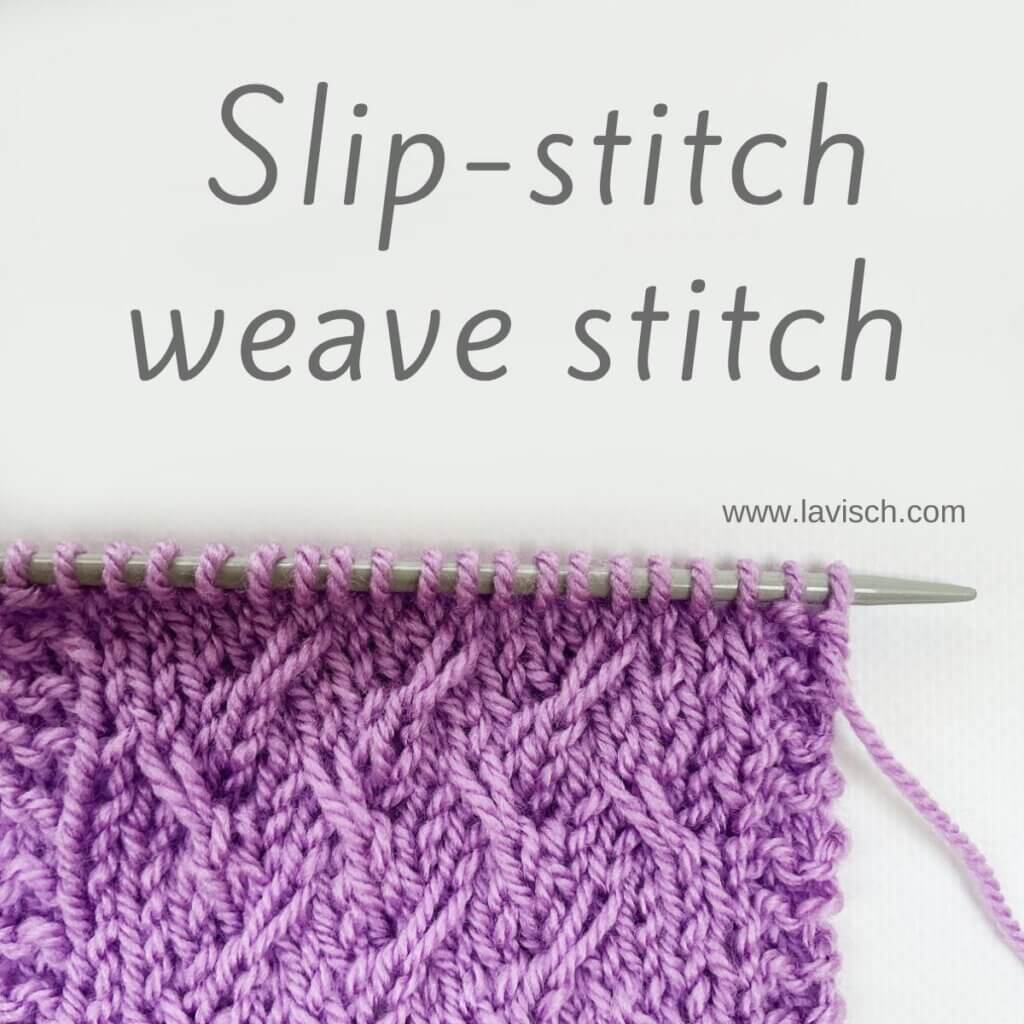
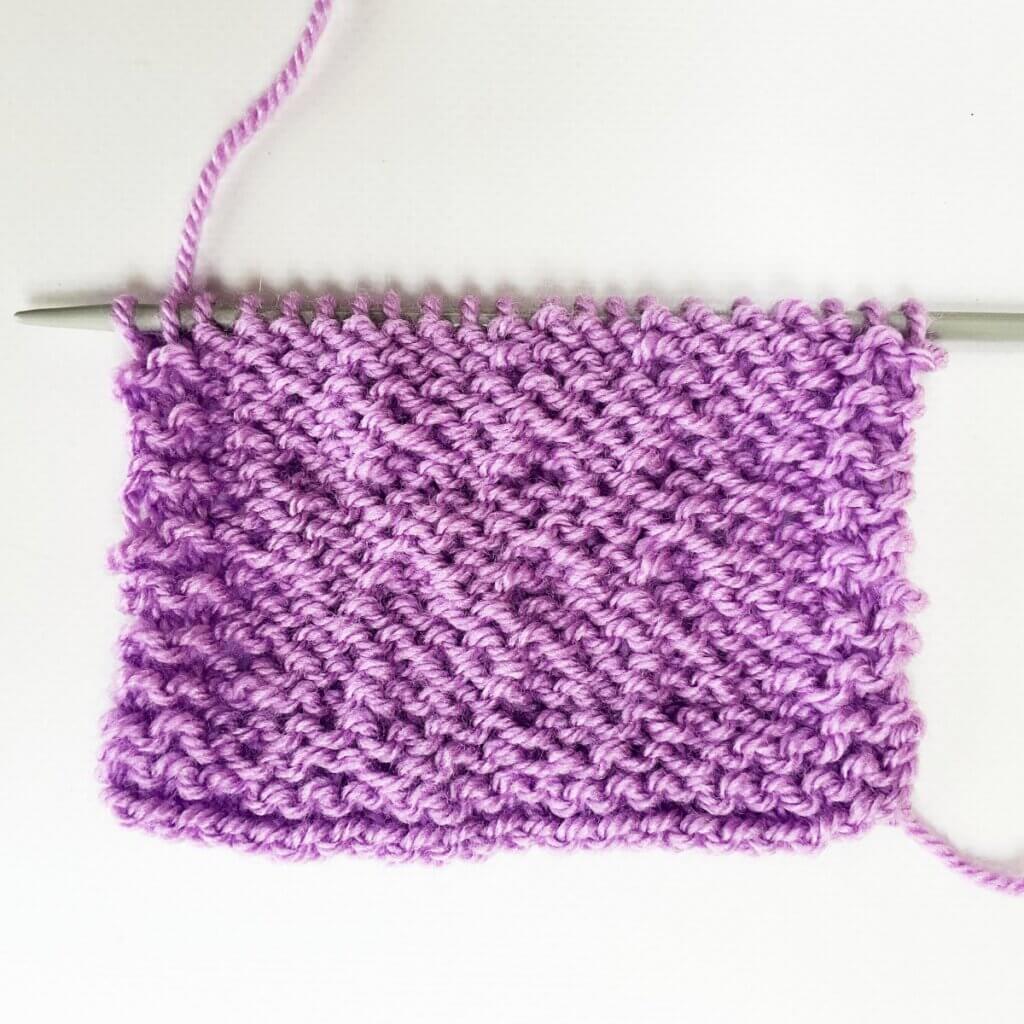
The slip-stitch weave stitch creates a richly textured fabric with the appearance of interlaced strands. Although the finished result looks intricate, the pattern is knit in plain stockinette with a straightforward combination of slipped stitches and small cable crossings. The slipped stitches add depth and definition, while the alternating cable rows produce the woven effect that gives this stitch its name.
Due to the slipped stitches, the fabric is a bit more dense than regular stockinette stitch. This makes it a good choice for projects like scarves, cowls, blankets, etc. This stitch pattern is worked as a multiple of 4 stitches + 1, and in an eight-row repeat. Please note that I’ve added 2 edge stitches in garter stitch on both sides of the swatch.
Materials used
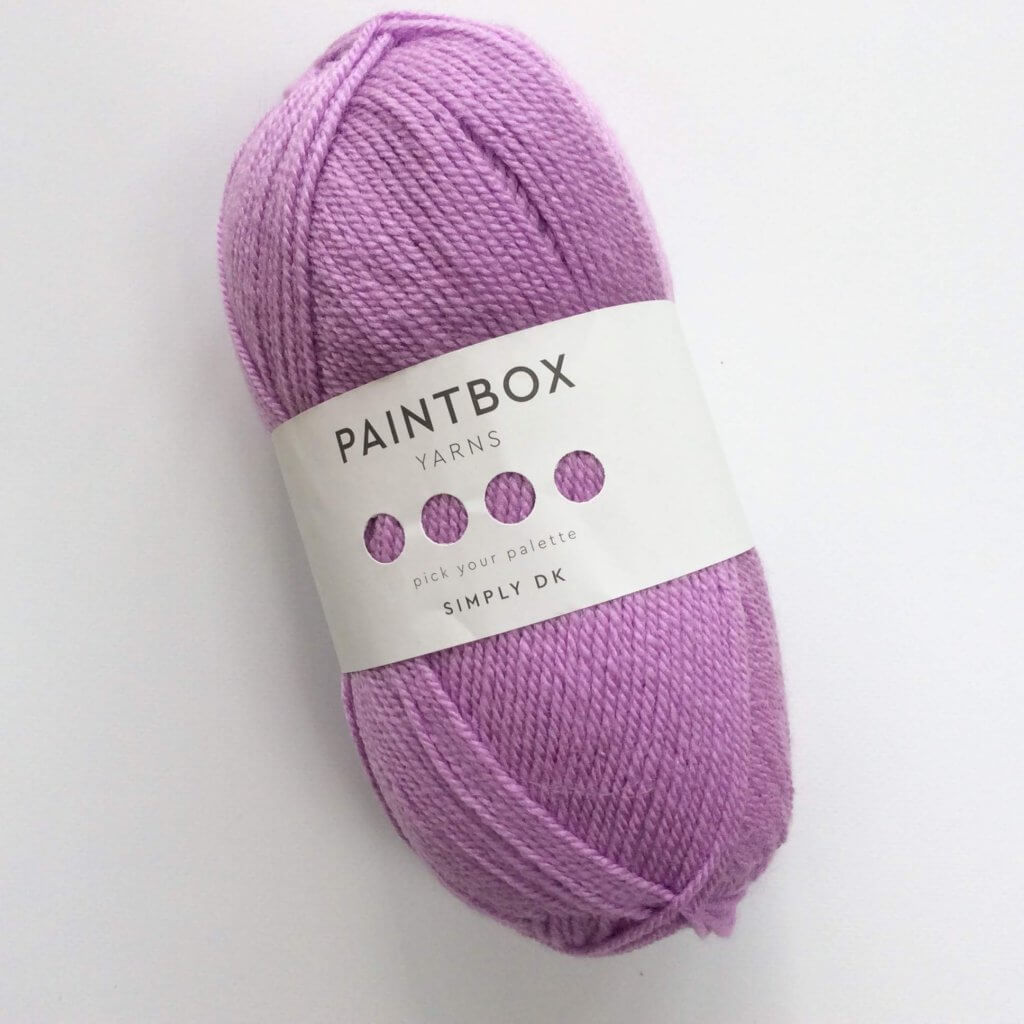
Yarn: Paintbox Yarns Simply DK, a good value, good quality 100% acrylic yarn, in the color Tea Rose.
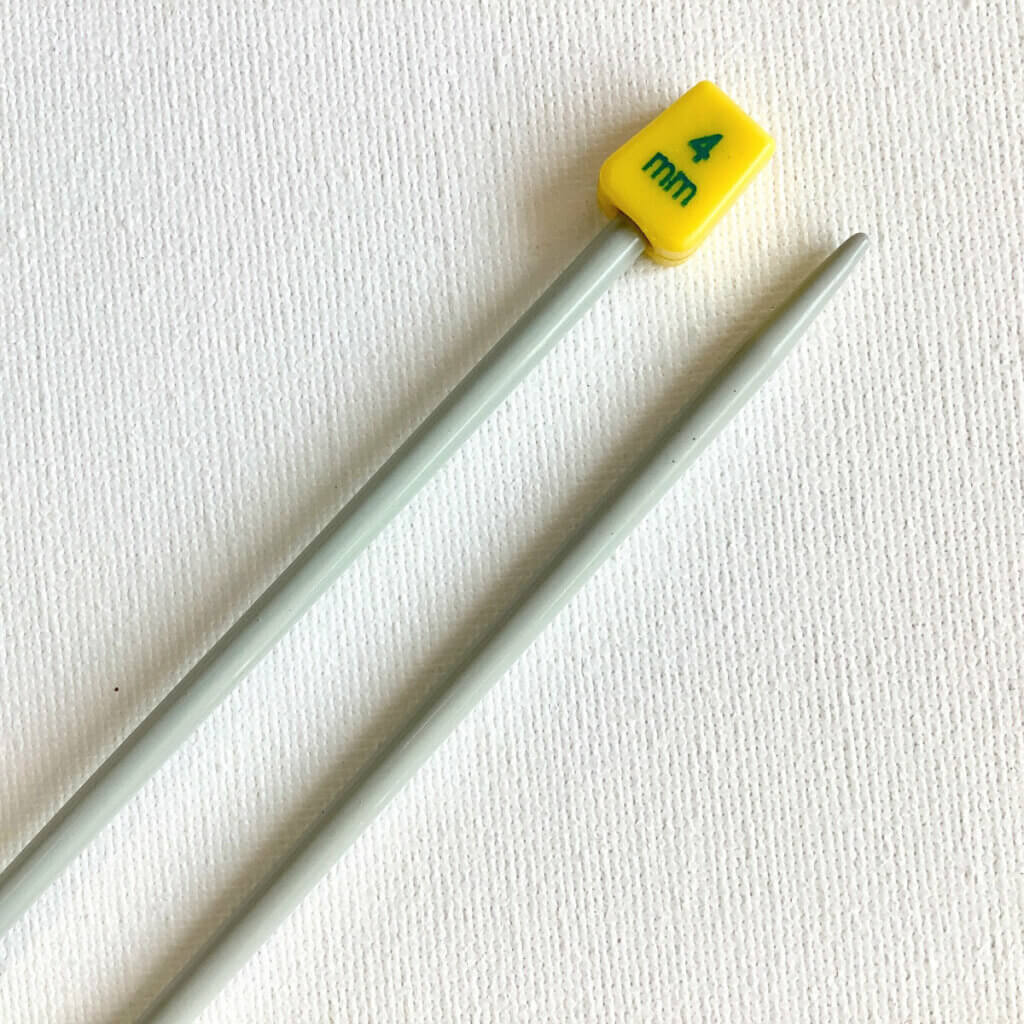
Knitting needles: This is a pair of straights that I picked up at the second-hand store when I started knitting, brand unknown.
Stitches used
- C3L – Slip next stitch onto cable needle and place at the front of work. Knit the next 2 stitches on your left hand needle, then knit the stitch from the cable needle.
- C3R – Slip next 2 sts onto cable needle and place at the back of work, knit the next stitch, then knit the 2 stitches from the cable needle.
- k – knit
- p – purl
- st(s) – stitch(es)
- Sl 1 – slip 1
- wyib – with the yarn held in the back of the work
- wyif – with the yarn held in front of the work
Slip-stitch weave stitch instructions
Row 1 (RS): K1, *sl1 purl-wise wyib, k3*; rep *-* to end.
Row 2 (WS): *P3, sl1 purl-wise wyif*; rep *-* to 1 st before end, p1.
Row 3: K1, *C3L, k1*; rep *-* to end.
Row 4: Purl.
Row 5: K5, *sl1 purl-wise wyib, k3*; rep *-* to end.
Row 6: *P3, sl1 purl-wise wyif*; rep *-* to 5 sts before end, p5.
Row 7: K3, *C3R, k1*; rep *-* to 2 sts before end, k2.
Row 8: Purl.
Repeat these 8 rows to desired length.
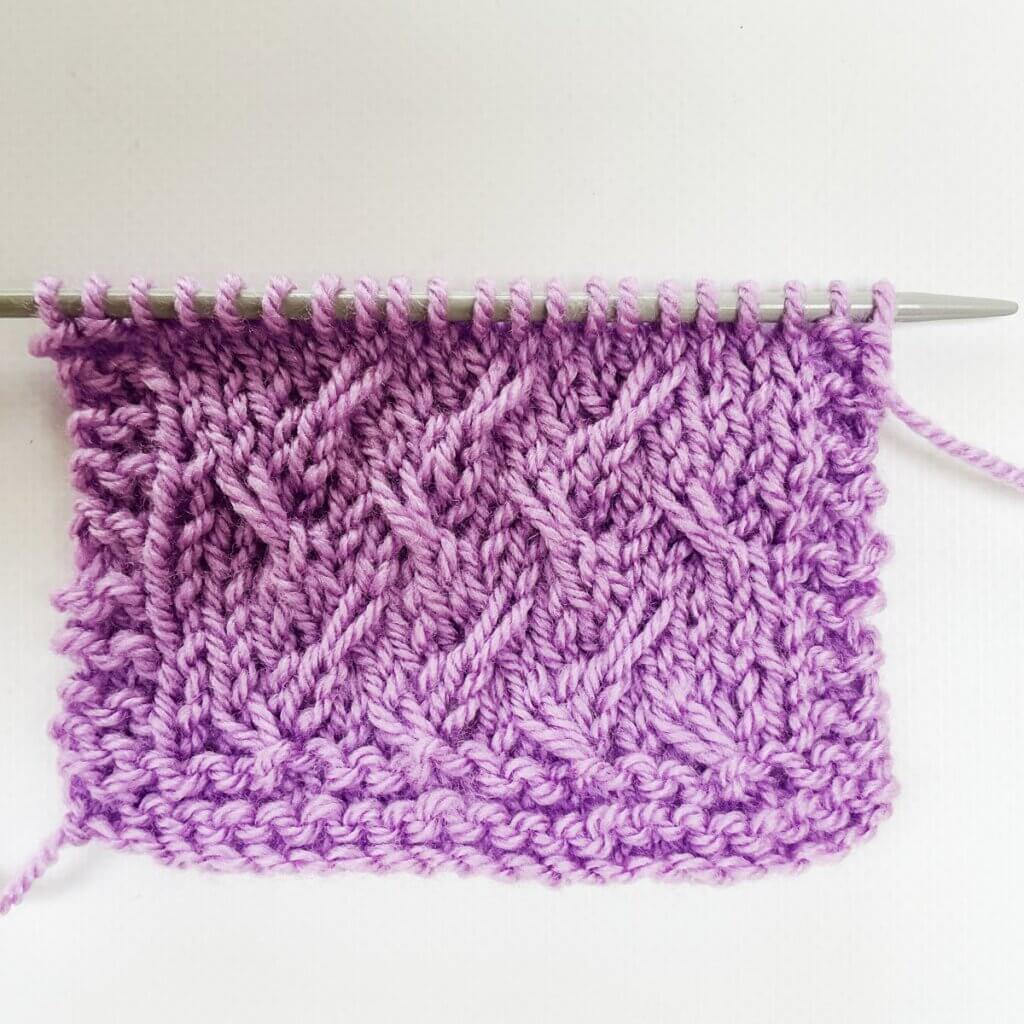
In the below pictures, you see the patterning first from the right, and then also from the wrong side of the fabric:

Thanks to my Patreon supporters for bringing you this freebie! Creating quality patterns and tutorials is a lot of work and resource-intensive. However, I find it important to give you free content like this tutorial. Thanks to the generous support of my Patreon supporters, I can make it happen. Thank you, patrons! Click here to join, or click here to read more about La Visch Designs on Patreon.