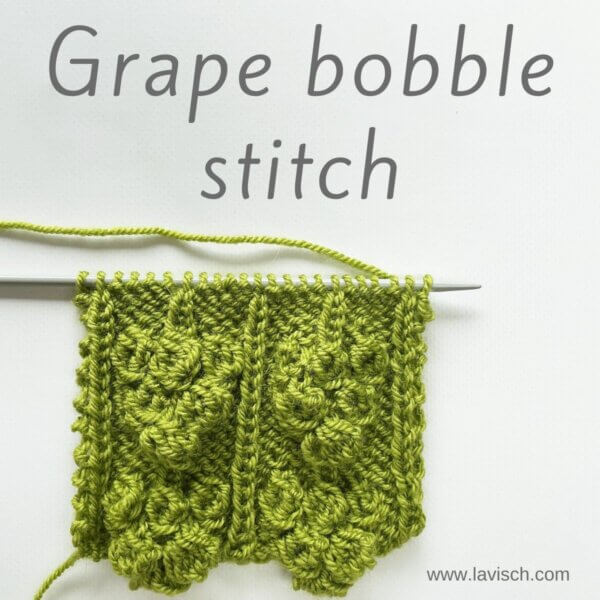
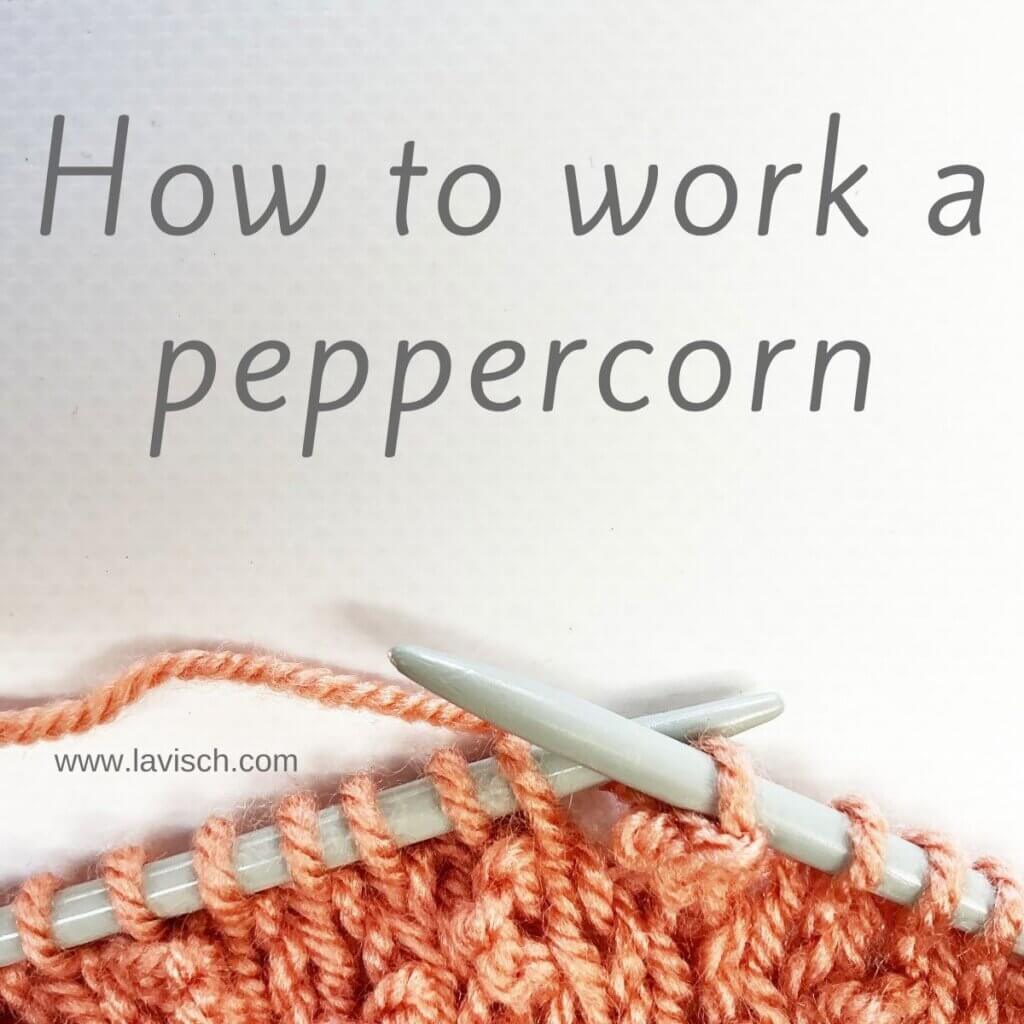
The peppercorn stitch is a small, compact bobble made from a single stitch. It is worked by knitting the stitch once, then repeatedly returning that newly worked stitch to the left-hand needle and knitting it through the back loop. The result is a little cluster of twisted stitches that pops out from the fabric. In the photo above, you can already catch a glimpse of the peppercorn stitch pattern in which it’s used. In this post, however, I’ll focus solely on how to work a peppercorn as used in that stitch pattern. Instructions for the full stitch pattern will be available soon.
Get your materials, and follow along!
Materials used
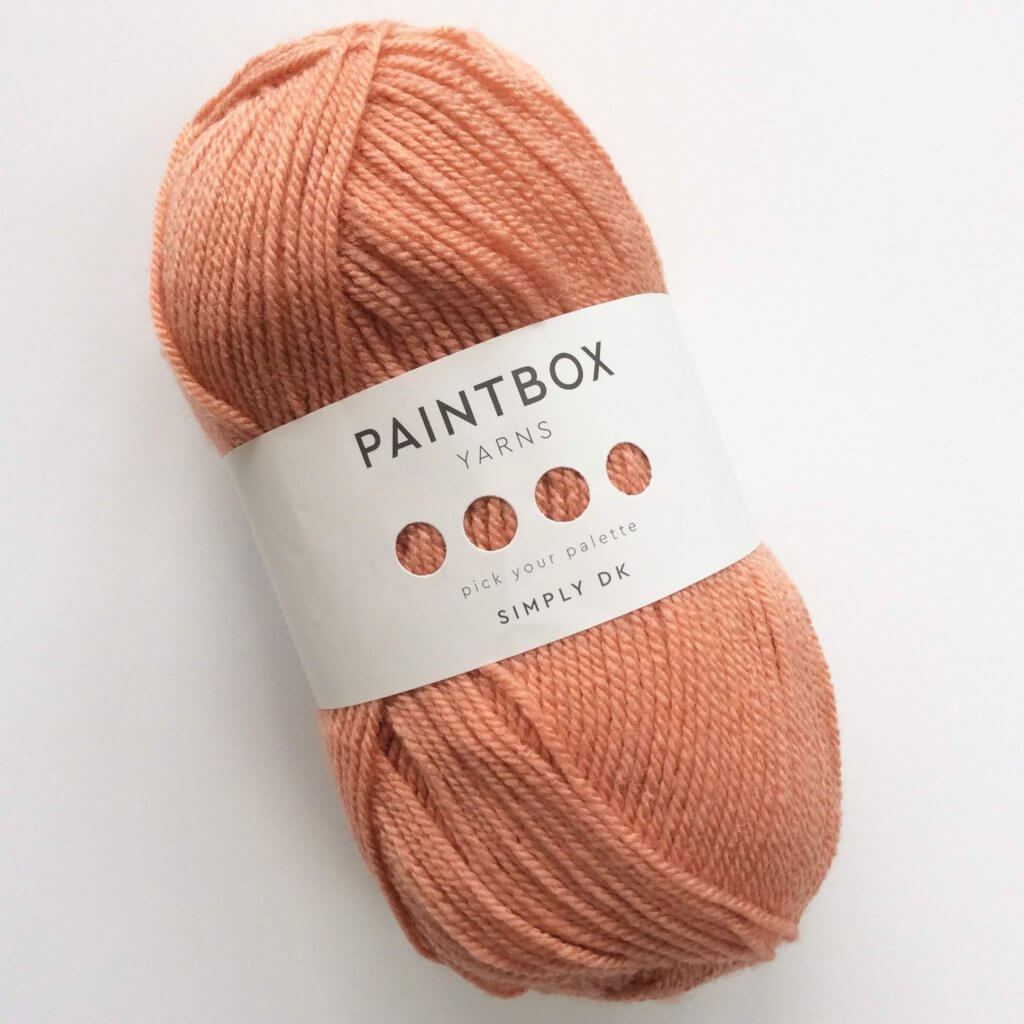
Yarn: Paintbox Yarns Simply DK, a good value, good quality 100% acrylic yarn, here in the color Vintage Pink.
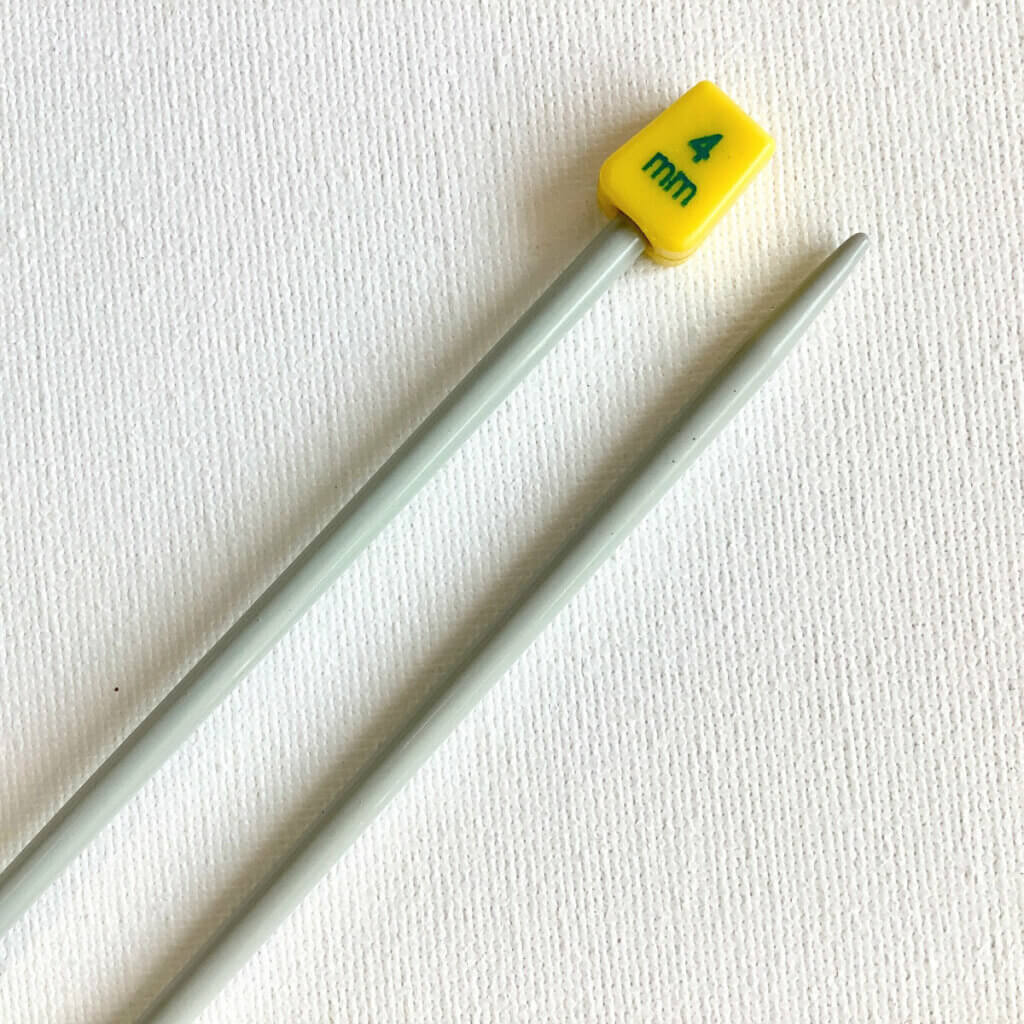
Needles: This is a pair of straights that I picked up at the second-hand store when I started knitting, brand unknown.
Working a peppercorn step by step
In pattern shorthand, the peppercorn stitch is described as: K1, (slip the stitch just worked back to the left-hand needle, then k tbl) 3 times.
Below, I show you how to execute these steps.
- First, work to the point where you want to insert the peppercorn.
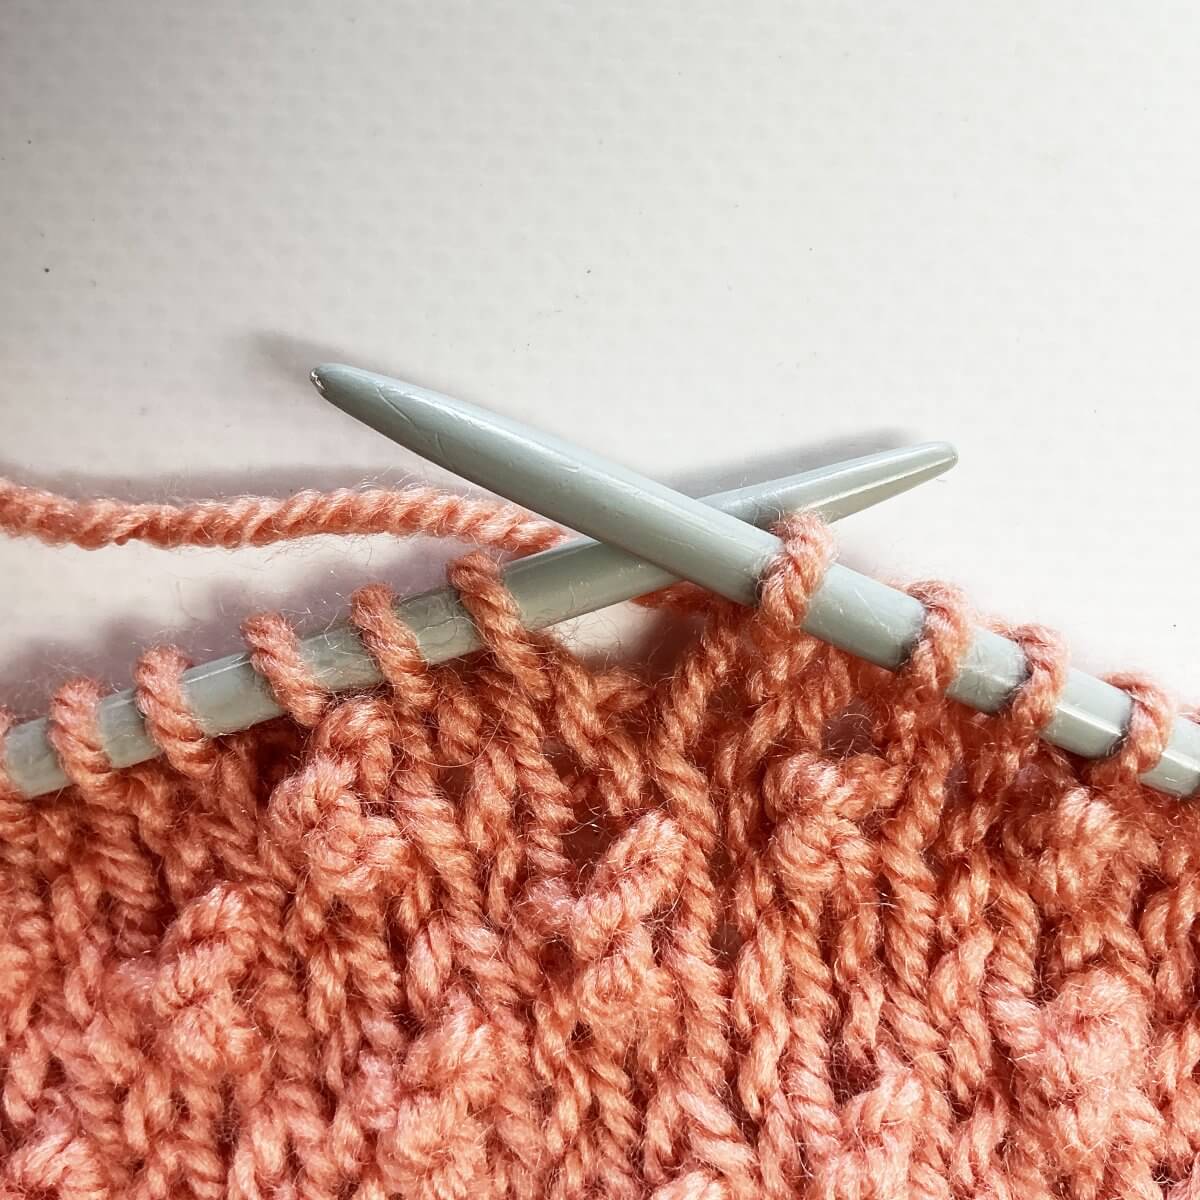
- Insert your right-hand needle into the stitch, and knit it.
Make sure to keep a loose tension, otherwise following steps may be harder to execute than necessary. You have now transferred the stitch from the left-hand needle to the right-hand needle.
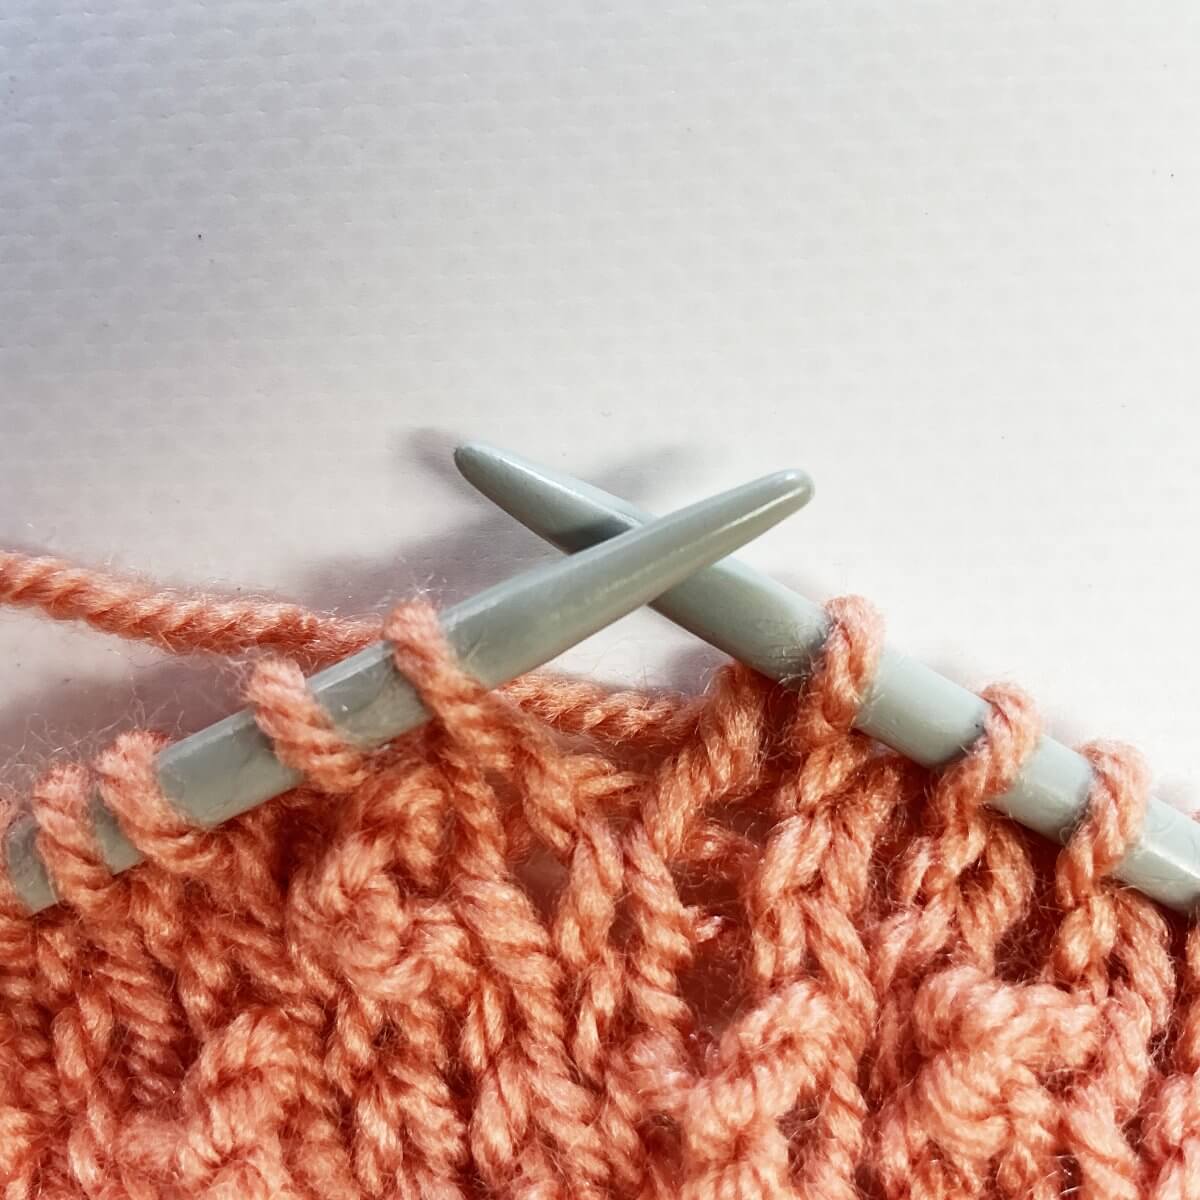
- Next, slip the new stitch you just worked from the right-hand needle, back to the left-hand needle.
Make sure not to twist the stitch when transferring it.
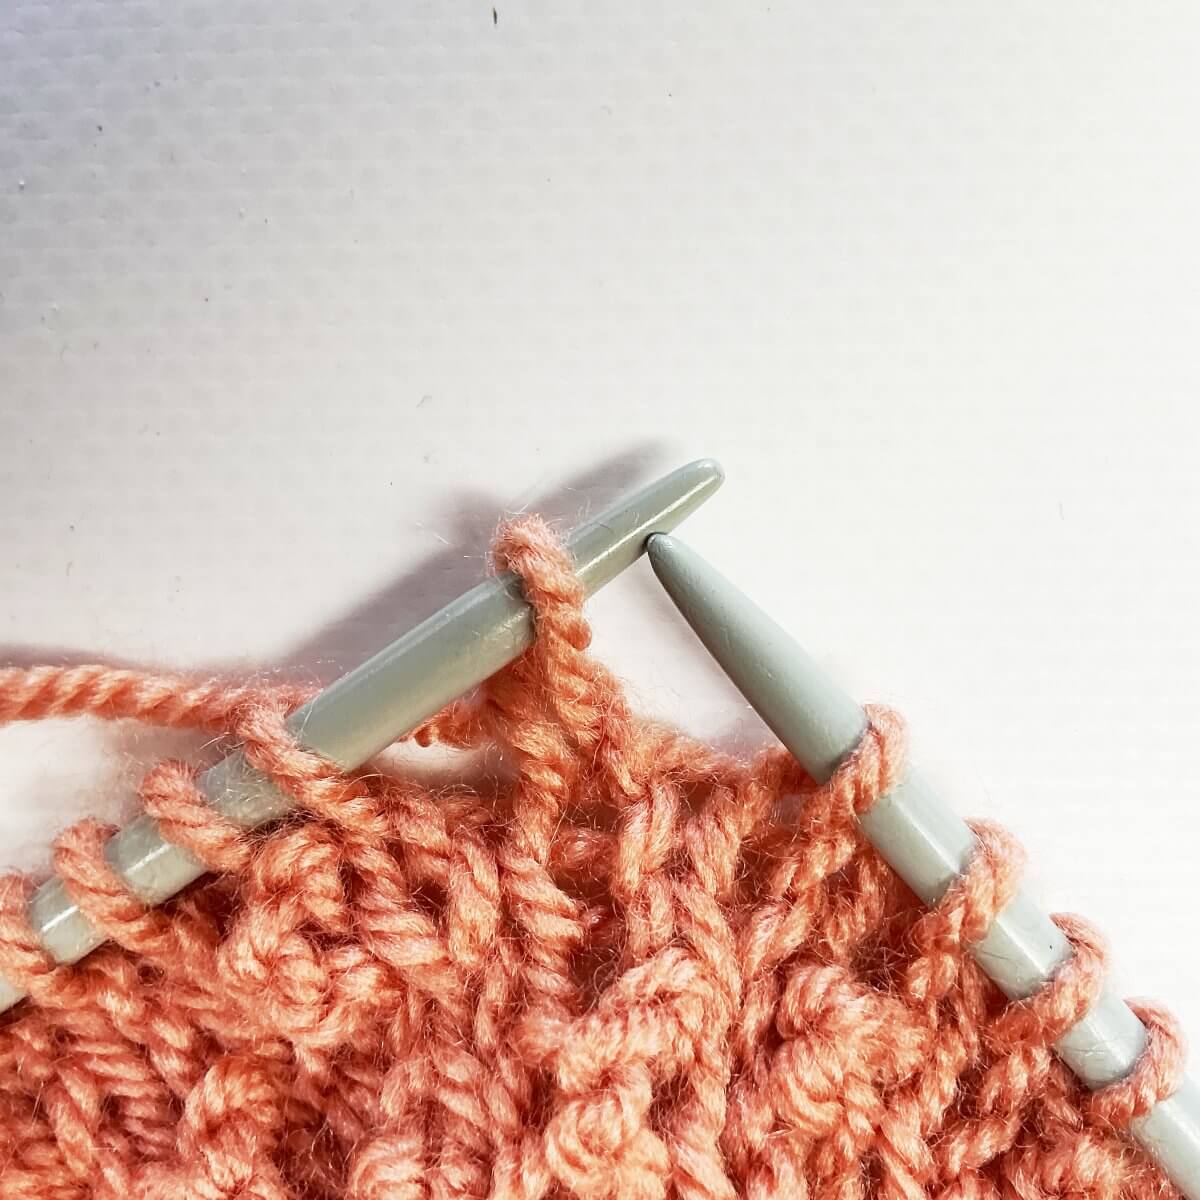
- Knit the slipped stitch through the back loop. To do so, insert the right-hand needle into the back leg of the stitch…
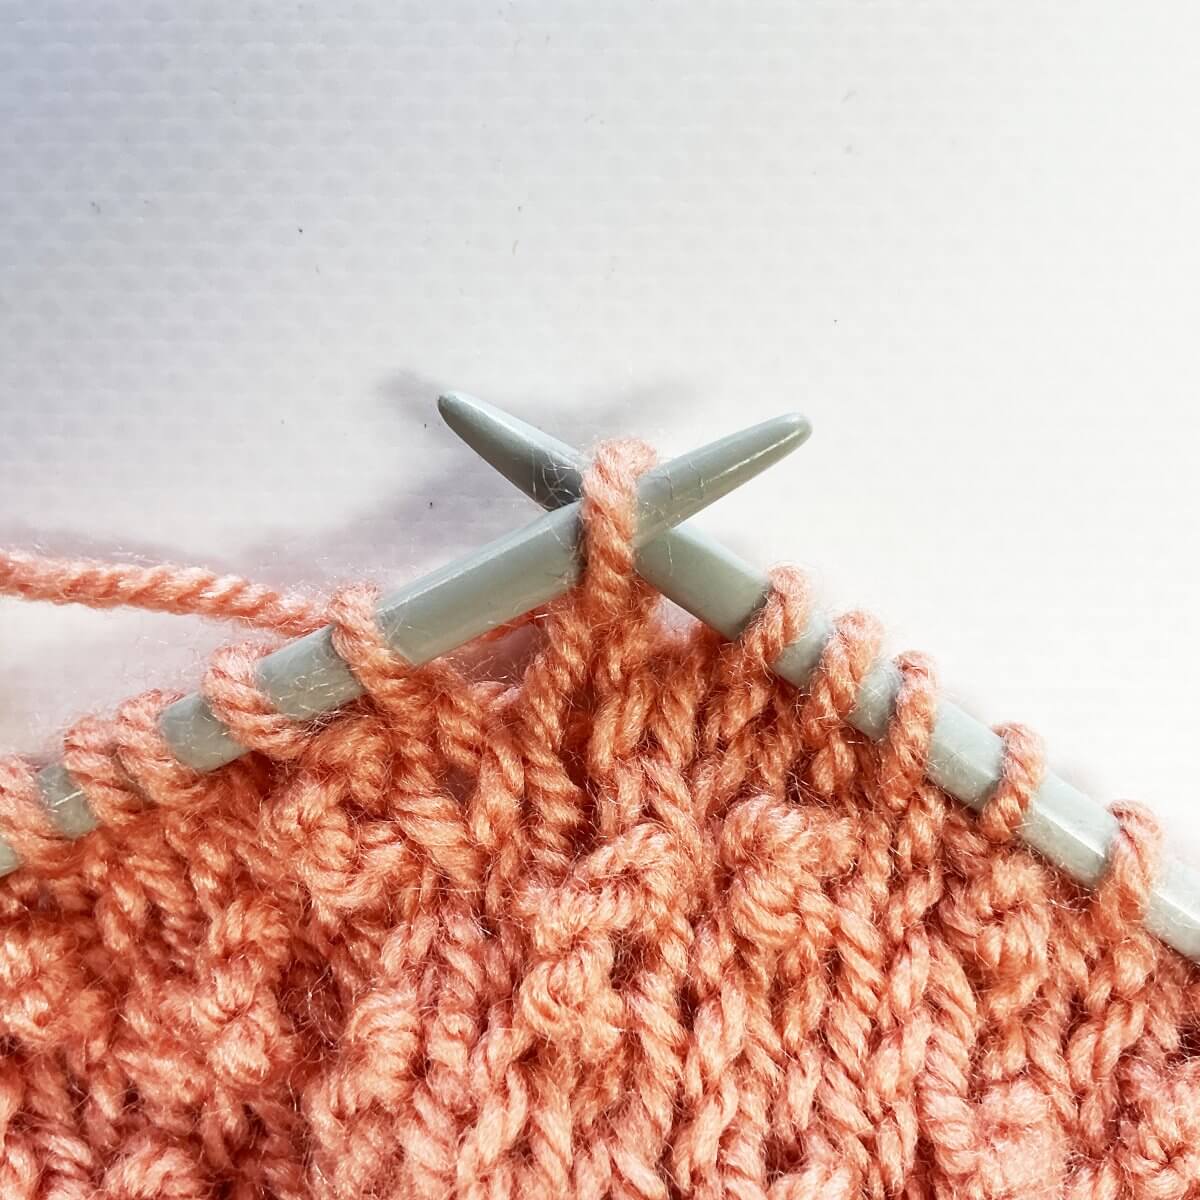
- … wrap the yarn around the needle…
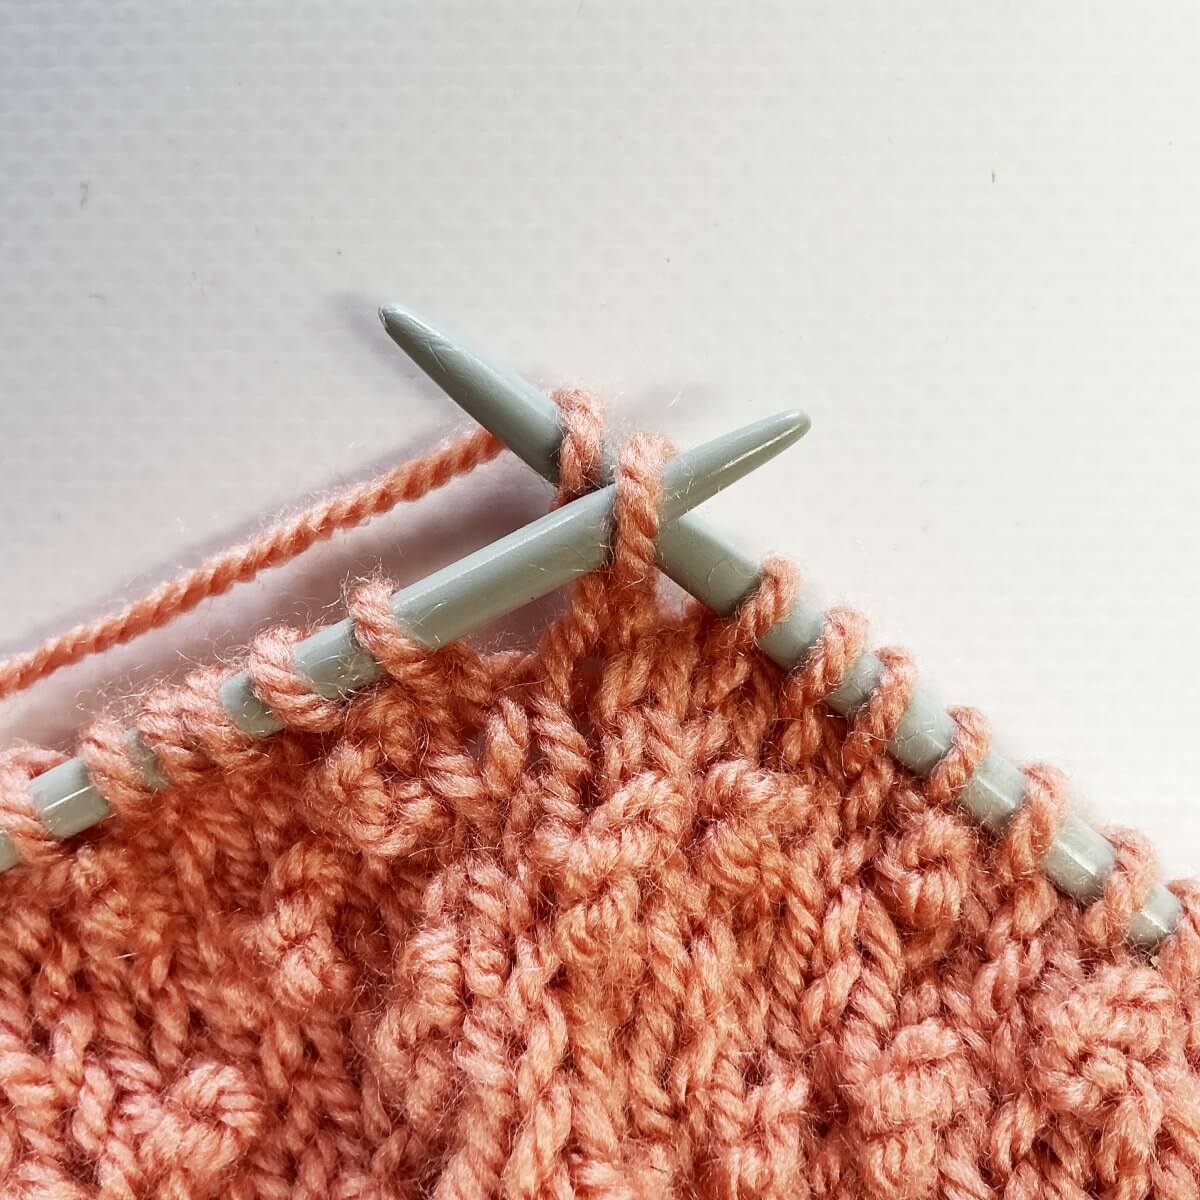
- … and pull it through the stitch.
Again, make sure to keep your tension somewhat on the loose side.
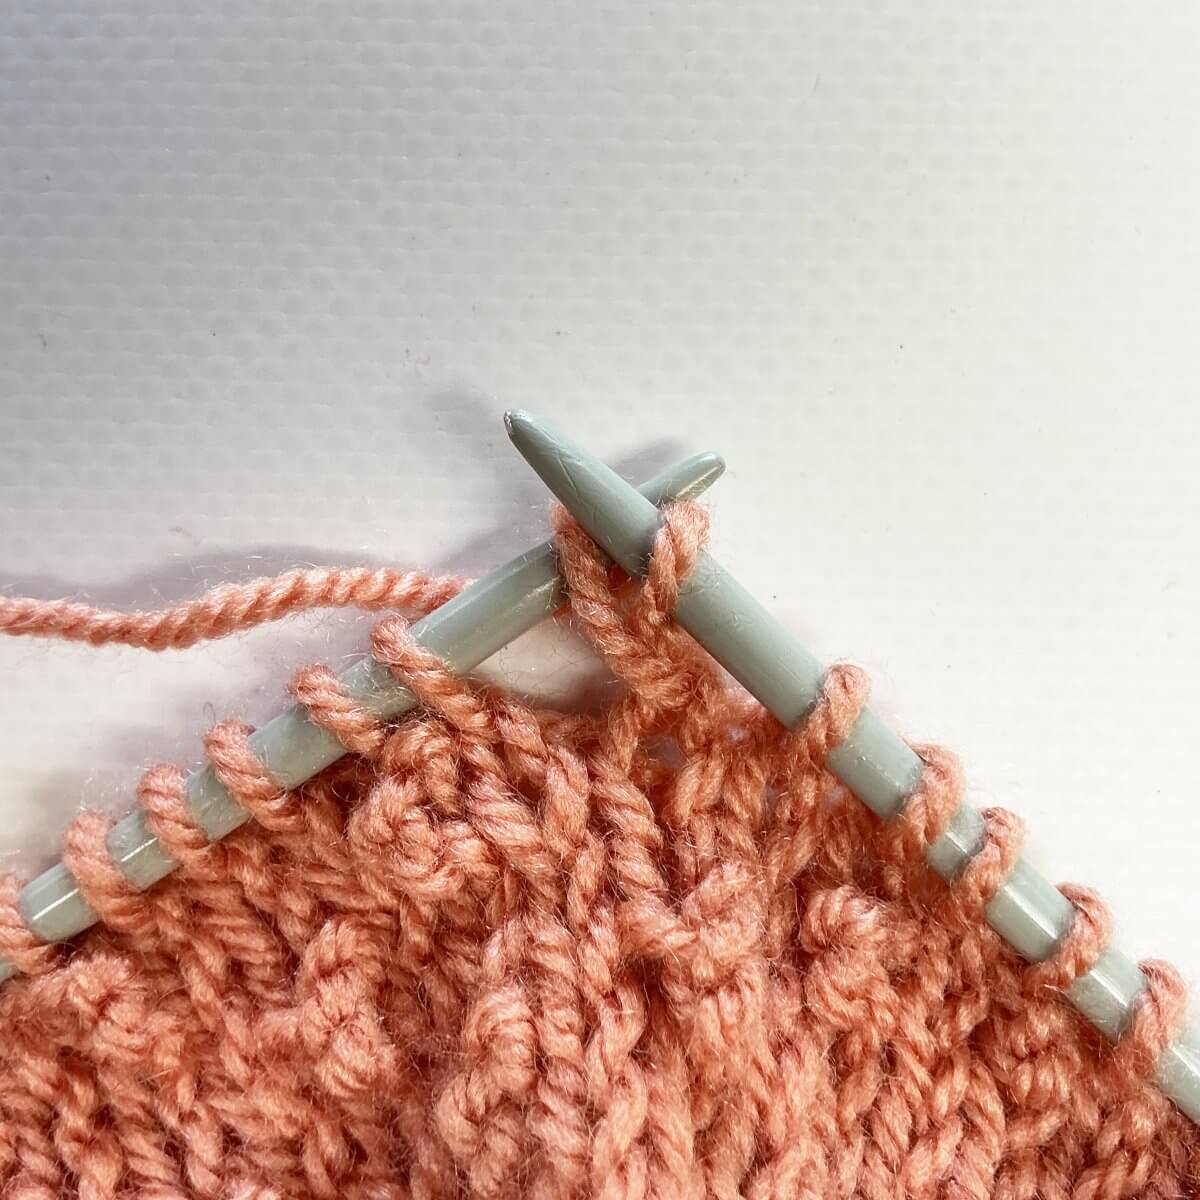
- To finish the stitch, slide the loop from the left to the right-hand needle.
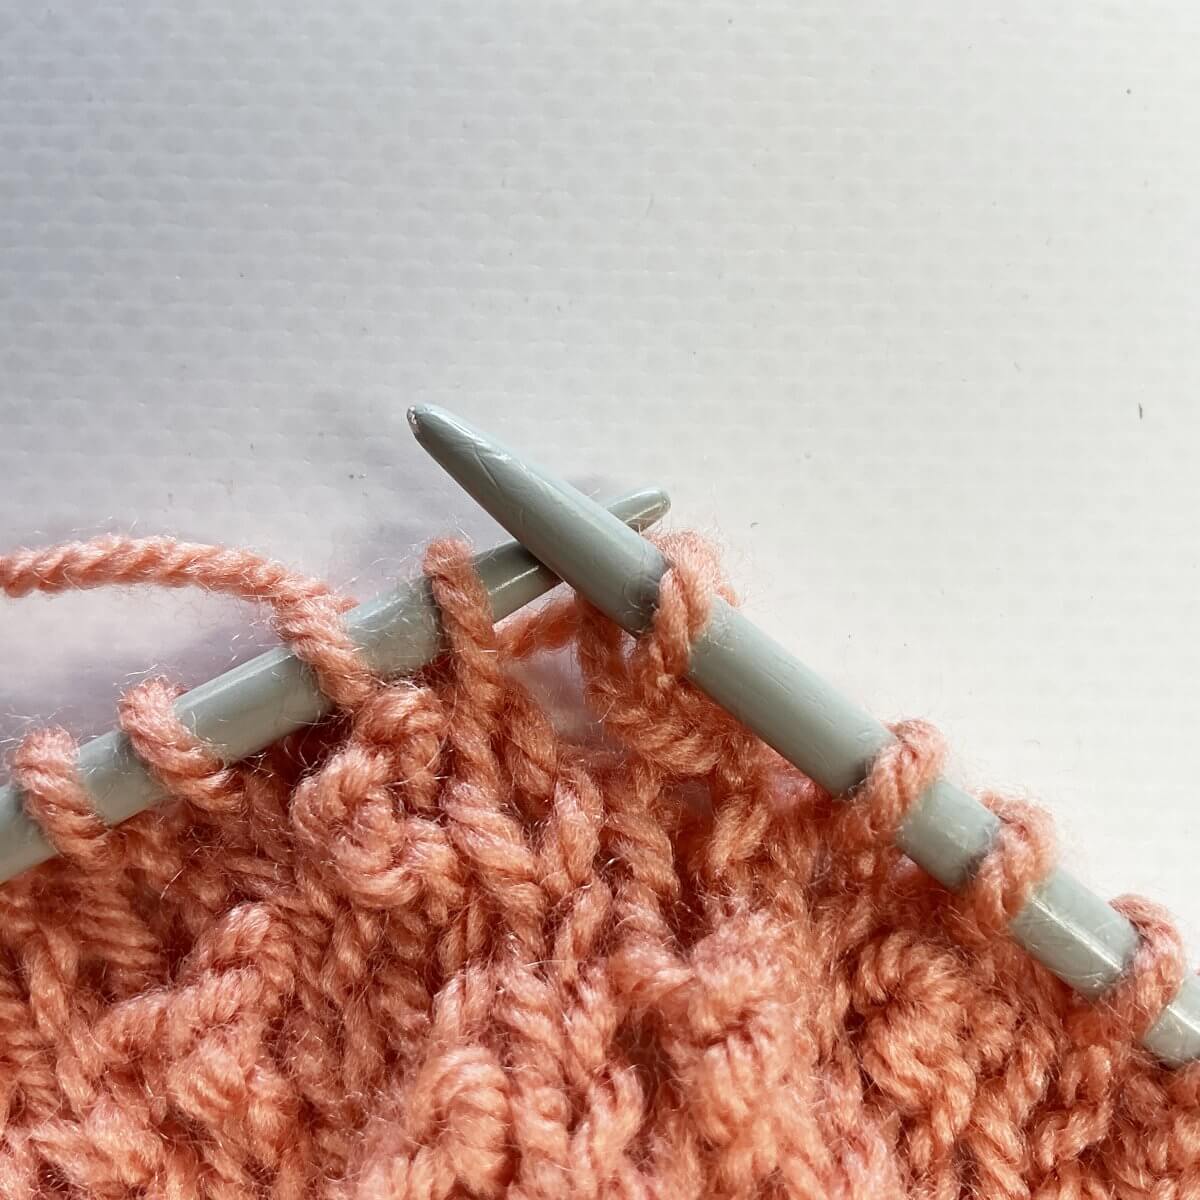
- Repeat steps 3 and 7 twice more.
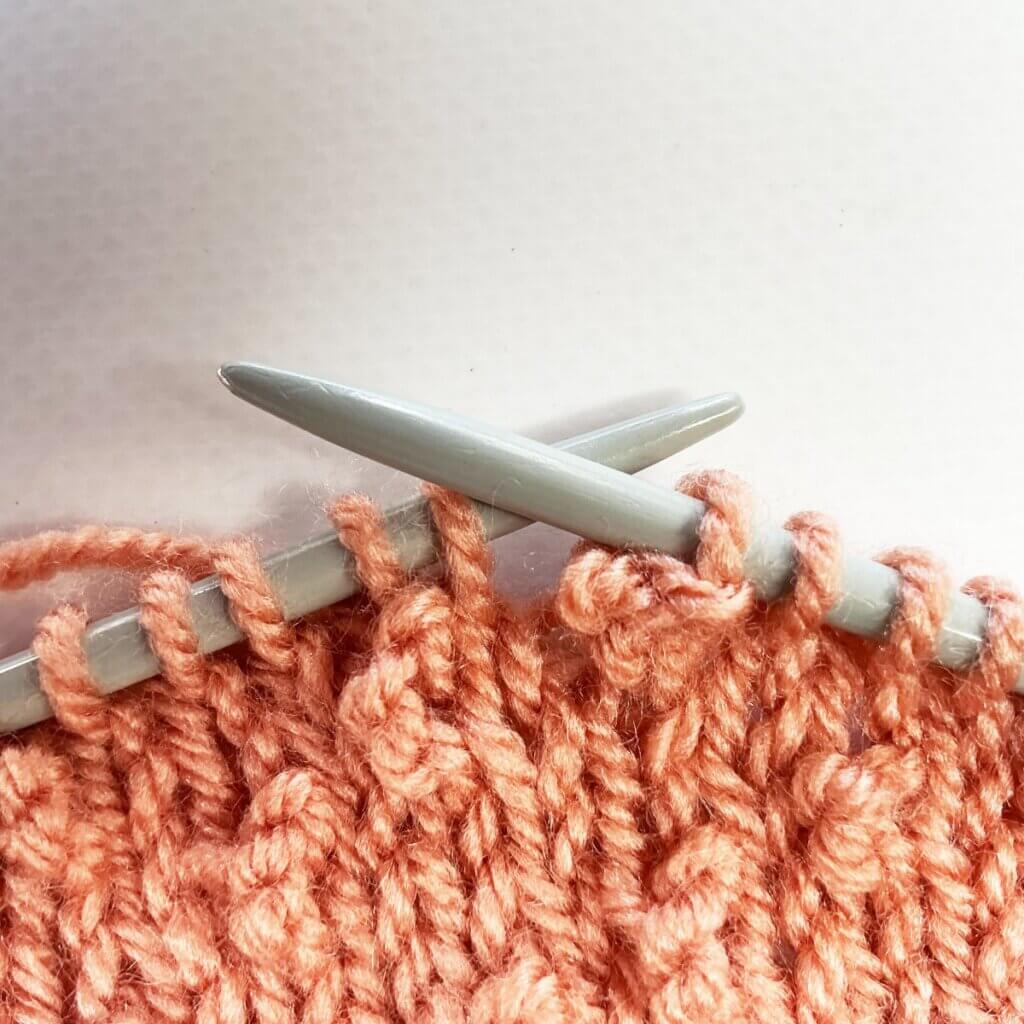
The result
Aren’t these compact little bobbles cute?!

Thanks to my Patreon supporters for bringing you this freebie! Creating quality patterns and tutorials is a lot of work and resource-intensive. However, I find it important to give you free content like this tutorial. Thanks to the generous support of my Patreon supporters, I can make it happen. Thank you, patrons! Click here to join, or click here to read more about La Visch Designs on Patreon.