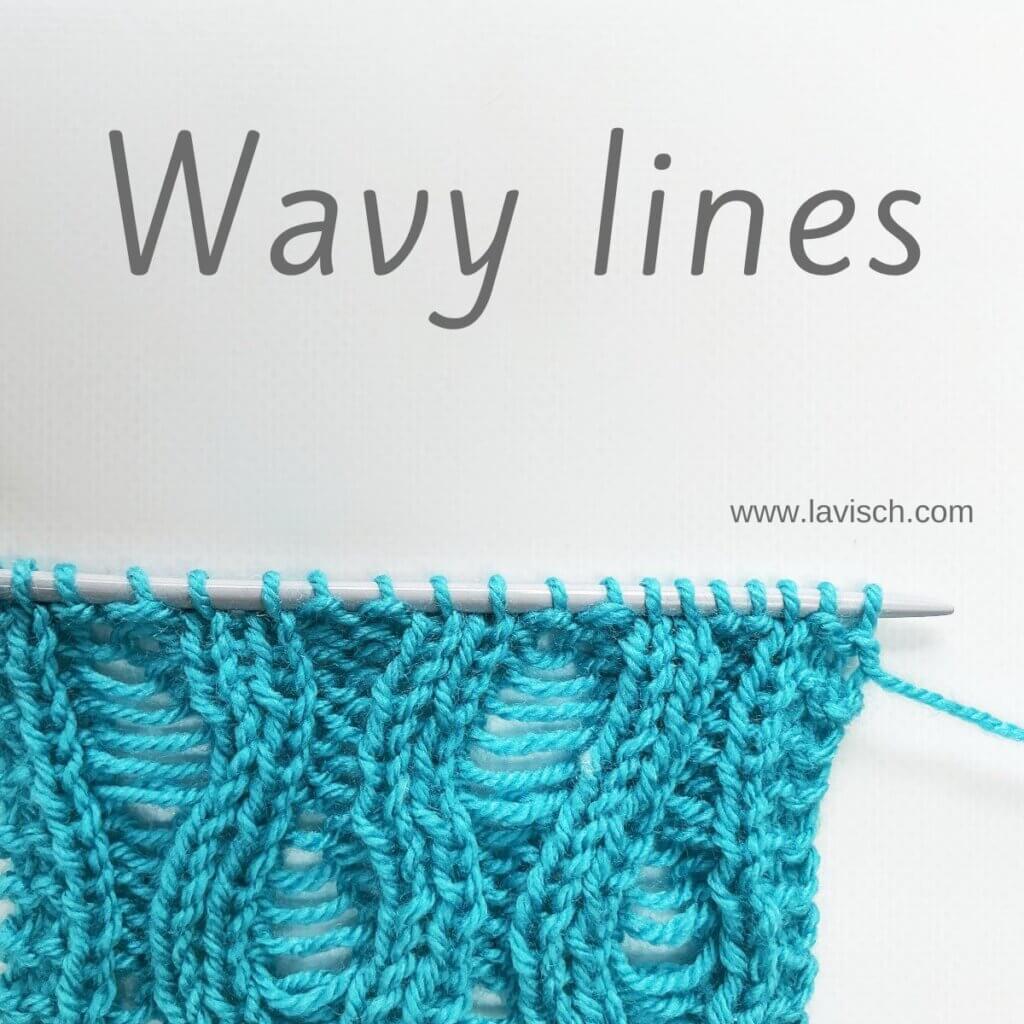
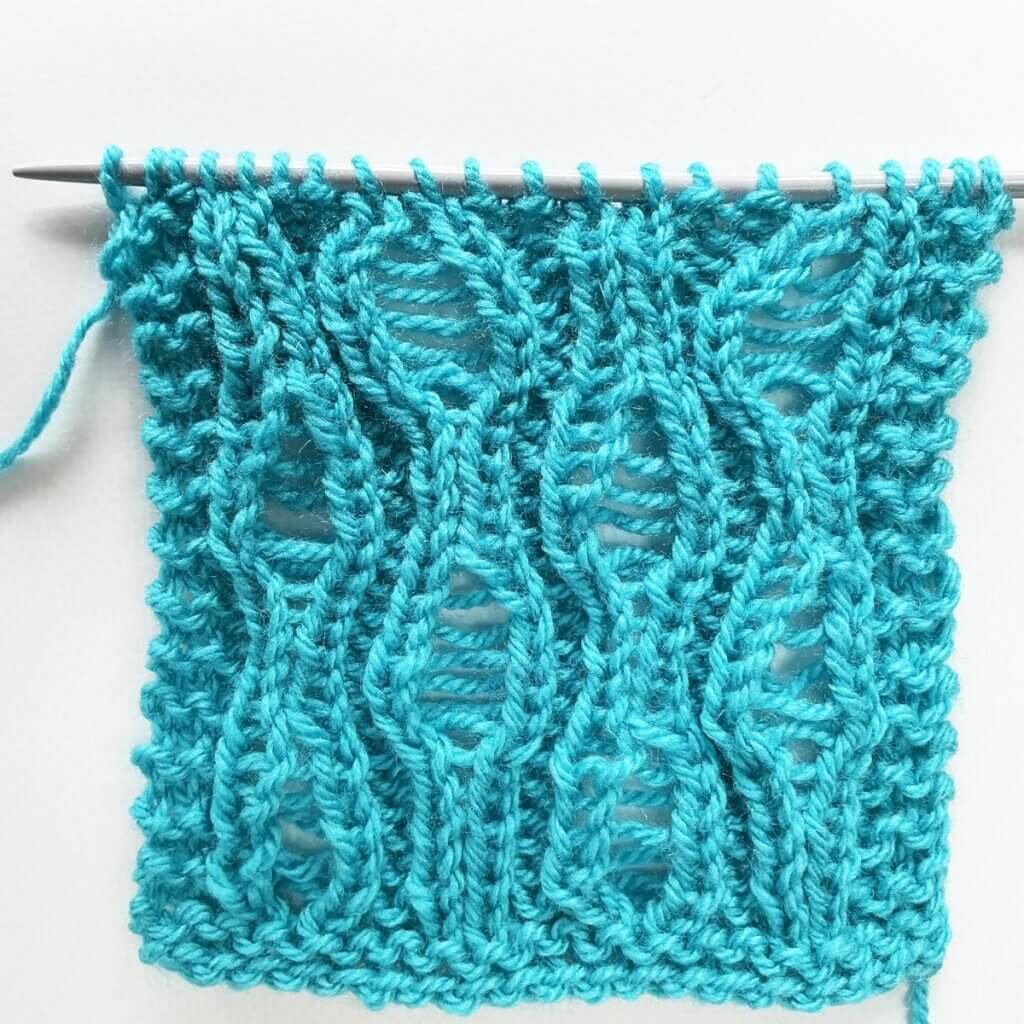
Some stitch patterns make their impact with intricate cables or elaborate lace. Others achieve something equally striking with just a few simple stitches arranged in a clever way. The wavy lines stitch falls firmly into the second category. Although the pattern may look complex, it’s actually quite simple once you’ve worked through it for a couple of rows. It’s really nothing more than a rib pattern with strategically placed drop-stitches. Whether worked as a sampler square, incorporated into an blanket, or used as an all-over pattern for shawls and accessories, wavy lines is an enjoyable stitch pattern with a stunning result.
This stitch pattern is worked as a multiple of 8 stitches, and in a twelve-row repeat. Please note that I’ve added 2 edge stitches in garter stitch on both sides of the swatch.
Materials used
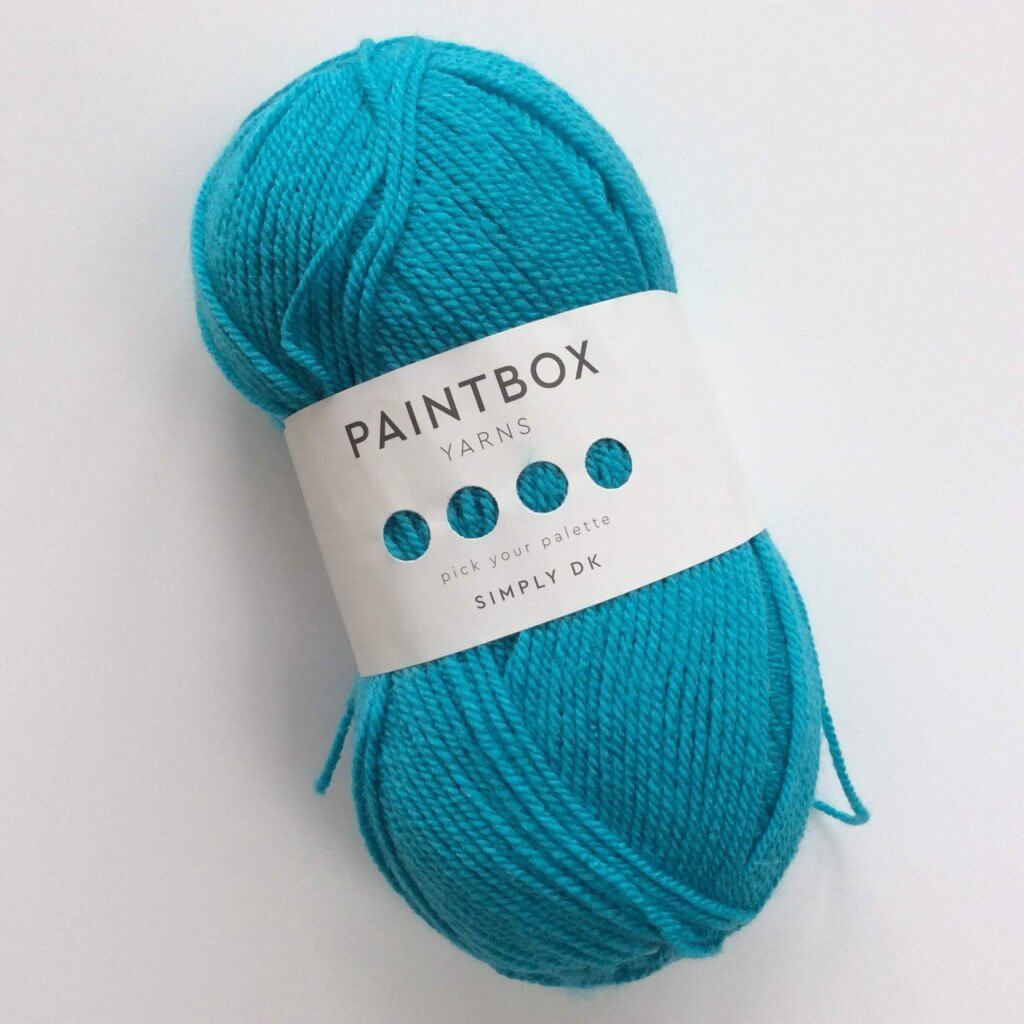
Yarn: Paintbox Yarns Simply DK, a good value, good quality 100% acrylic yarn, in the color Marine Blue.
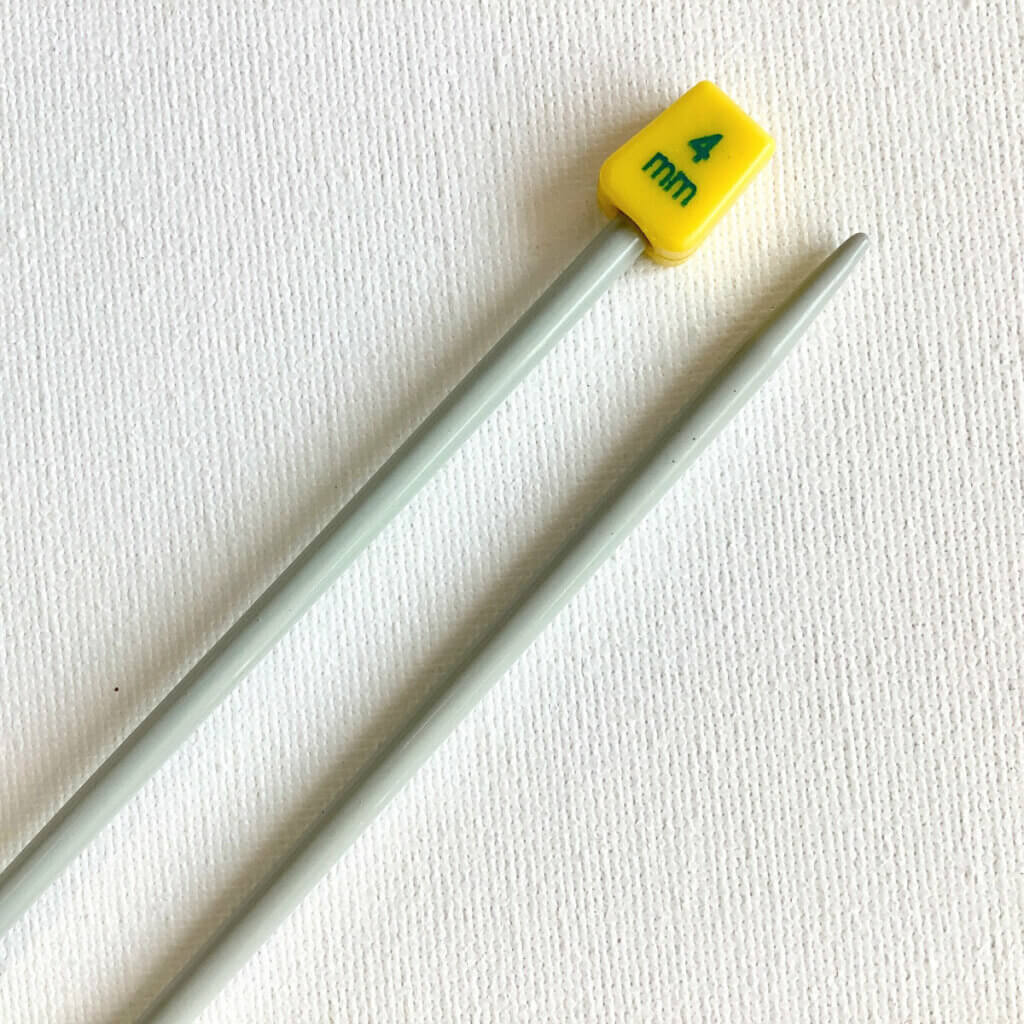
Knitting needles: This is a pair of straights that I picked up at the second-hand store when I started knitting, brand unknown.
Stitches used
- drop stitch – remove the next stitch from the needle, and let it drop down until it reaches the yarn over beneath in the same column of stitches.
- k – knit
- p – purl
- st(s) – stitch(es)
- yo – yarn over
Wavy lines stitch instructions
Set up row (RS): *K1, p1, yo, p1, k2, p2, k1*; rep *-* to end.
Row 1 (WS): *P1, k2, p2, k3, p1*; rep *-* to end.
Row 2 (RS): *K1, p3, k2, p2, k1*; rep *-* to end.
Rows 3-4: Rep rows 1-2 once.
Row 5: *P1, k2, p2, k3, p1*; rep *-* to end.
Row 6: *K1, p1, drop stitch, p1, k2, p1, yo, p1, k1*; rep *-* to end.
Row 7: *P1, k3, p2, k2, p1*; rep *-* to end.
Row 8: *K1, p2, k2, p3, k1*; rep *-* to end.
Rows 9-10: Rep rows 7-8 once.
Row 11: *P1, k3, p2, k2, p1*; rep *-* to end.
Row 12: *K1, p1, yo, p1, k2, p1, drop stitch, p1, k1*; rep *-* to end.
Repeat these 12 rows to desired length, ending with either a row 6 or 12. On your final row (6 or 12), omit the yarn overs.
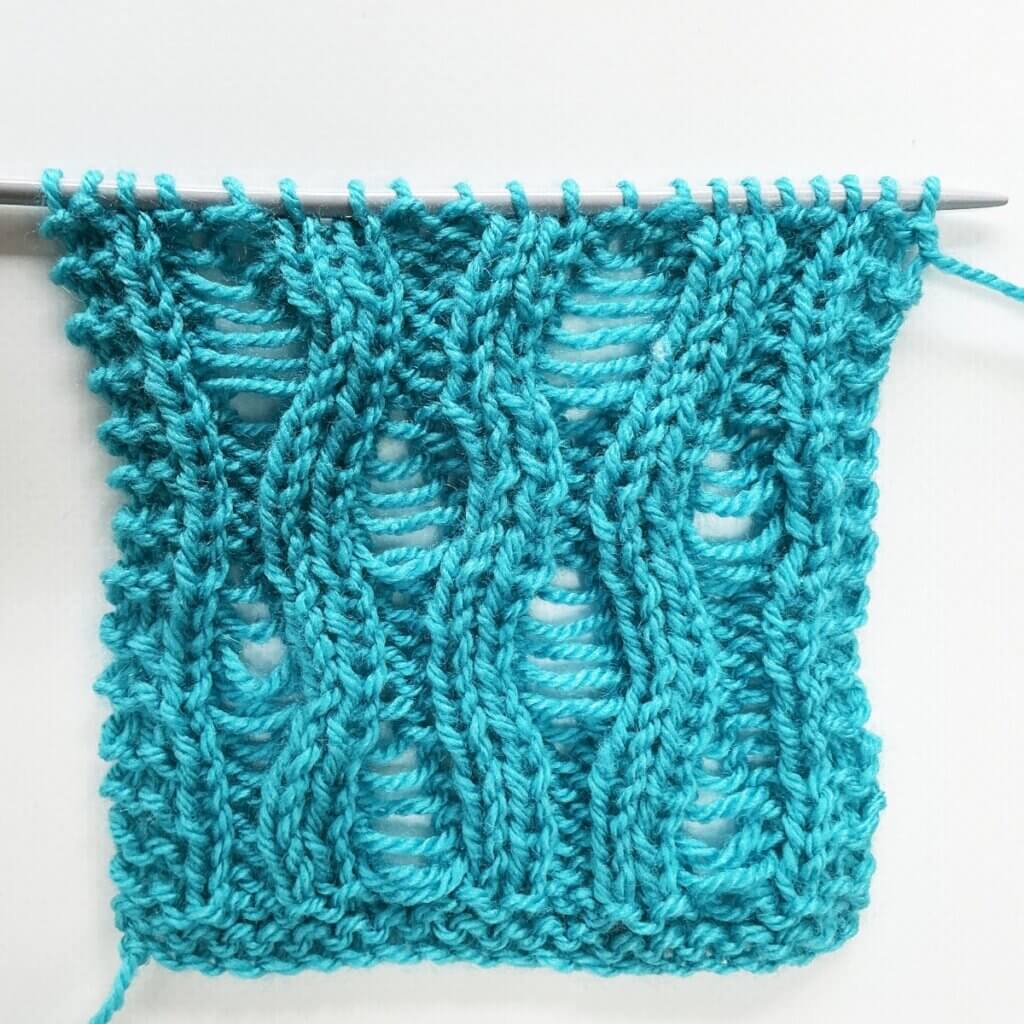
In the below pictures, you see the patterning first from the right, and then also from the wrong side of the fabric:

Thanks to my Patreon supporters for bringing you this freebie! Creating quality patterns and tutorials is a lot of work and resource-intensive. However, I find it important to give you free content like this tutorial. Thanks to the generous support of my Patreon supporters, I can make it happen. Thank you, patrons! Click here to join, or click here to read more about La Visch Designs on Patreon.