Knitting backwards, also known as reverse knitting or mirror knitting, is a useful technique that allows you to work stitches from left to right without turning your work. Instead of reaching the end of a row, turning the fabric, and working back across in the usual direction, you simply continue knitting in the opposite direction. This technique can be particularly useful when working short rows, entrelac, bobbles, or other stitch patterns that require frequent turning. Many knitters also use it to avoid purling, especially when working stockinette fabric. By alternating regular knitting with backwards knitting, it is possible to stay on the same side of the fabric throughout the project.
While knitting backwards may feel awkward at first, it becomes much easier with practice. The key is to remember that you are essentially performing the same actions as a knit stitch, but in reverse. Ok, lets get started!
Materials used
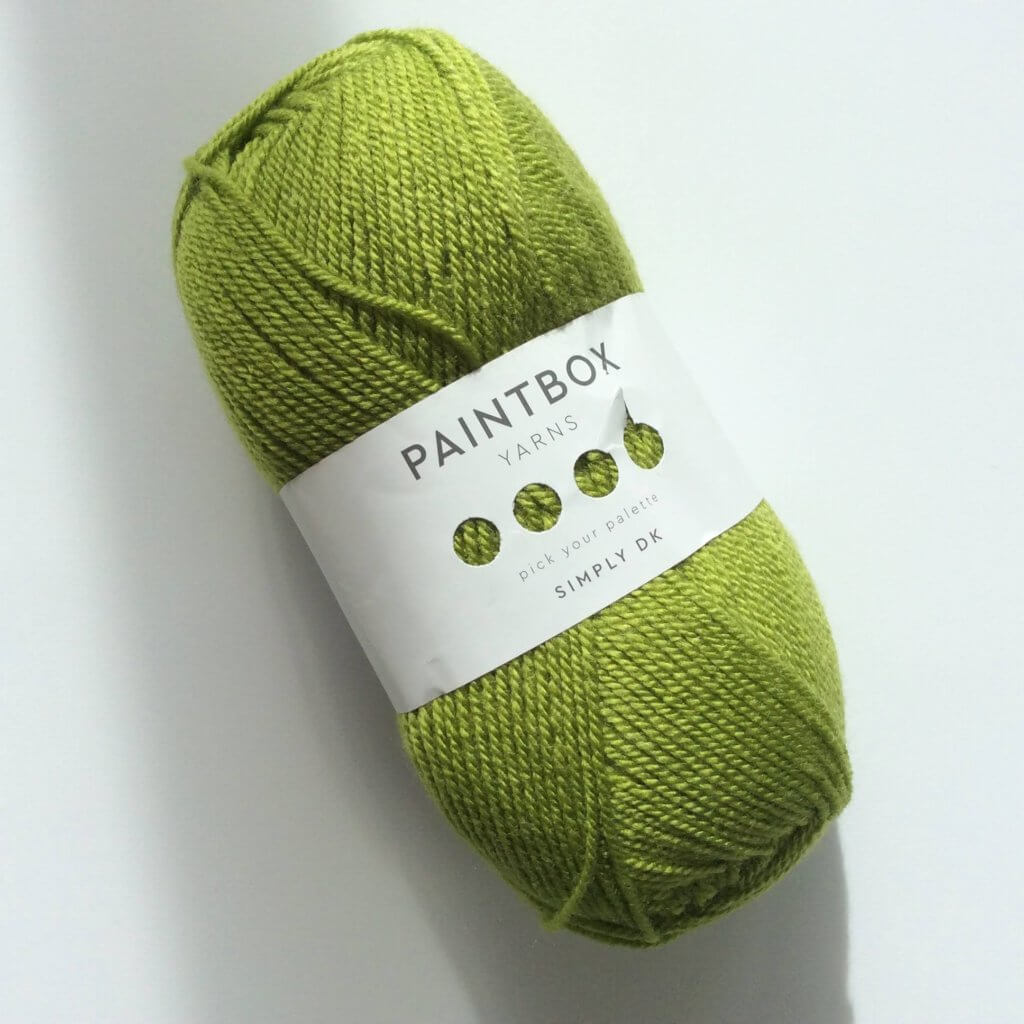
Yarn: Paintbox Yarns Simply DK, a good value, good quality 100% acrylic yarn, here in the color Lime.
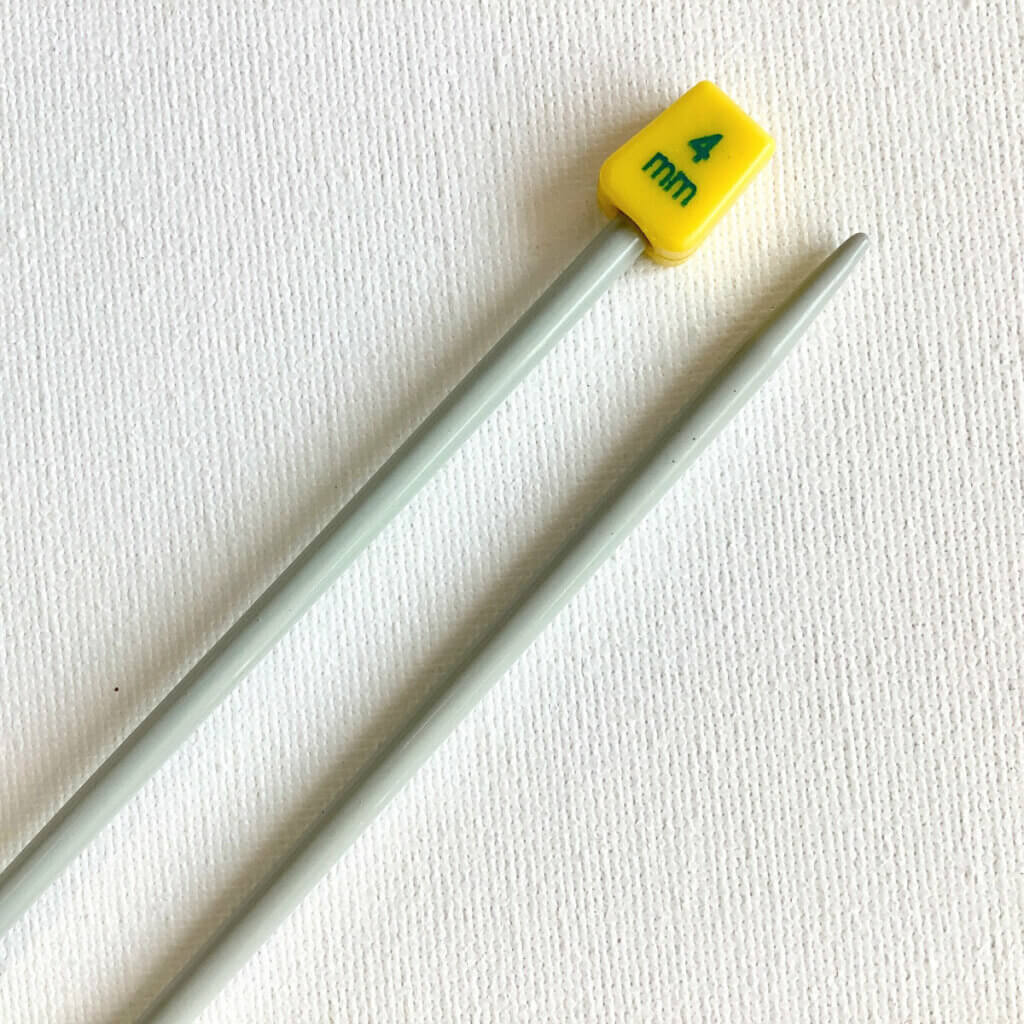
Knitting needles: This is a pair of straights that I picked up at the second-hand store when I started knitting, brand unknown.
Knitting backwards step by step
In this tutorial, I’m showing you how to work this technique in working a bobble. So much less hassle to knit backwards instead of turning your work for every bobble!
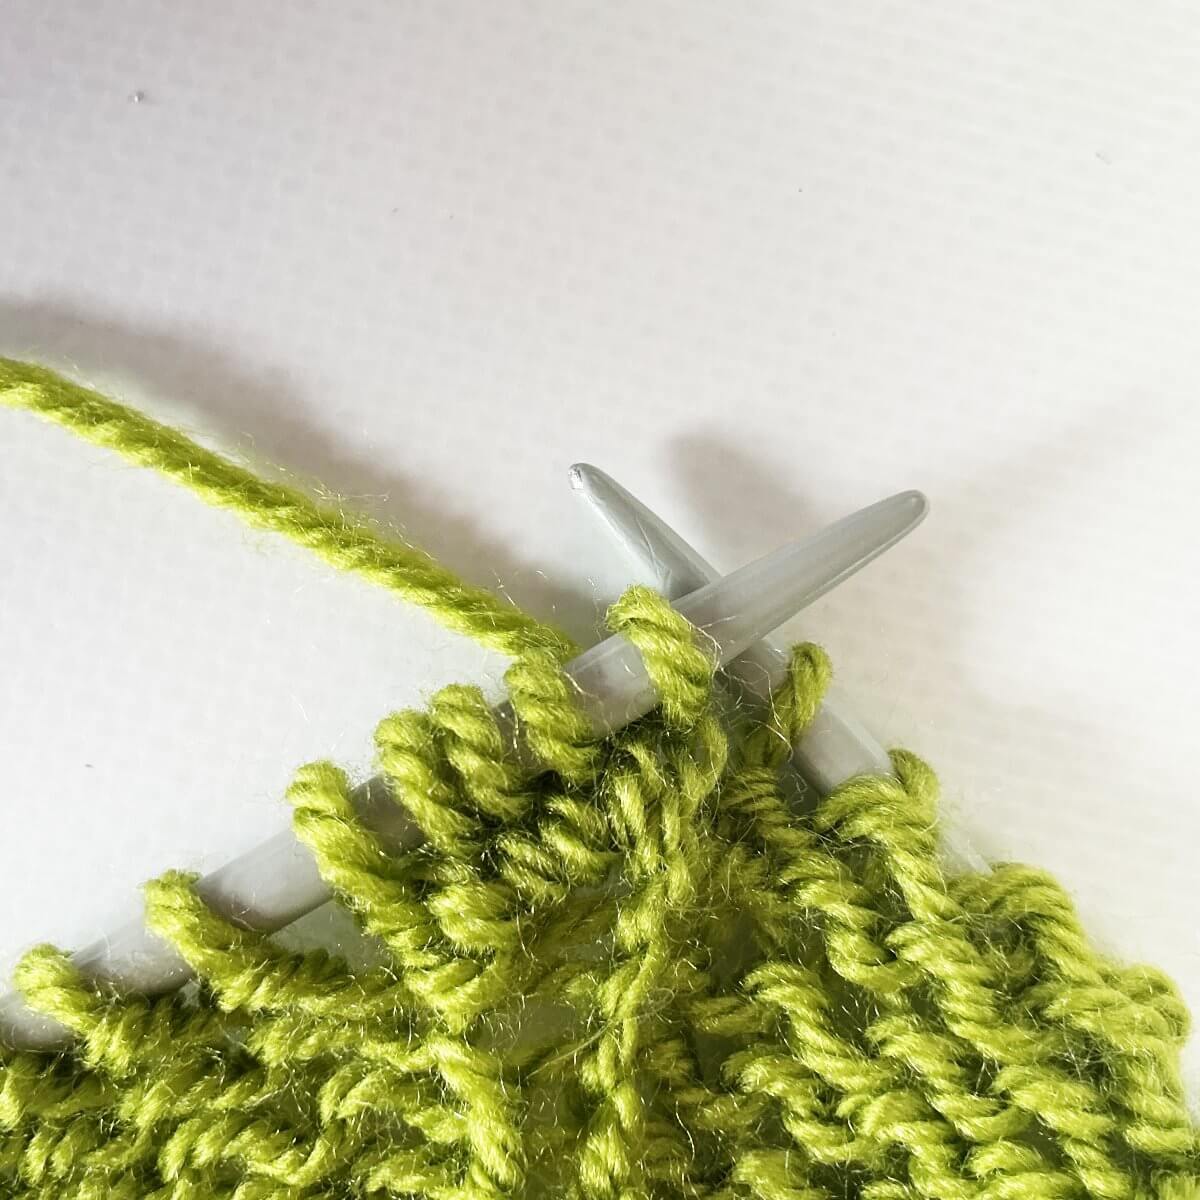
- Hold your knitting as you normally would. The stitches to be worked are the 5 near the point on the right-hand needle, and the working yarn is positioned at the back of the work.
Unlike regular knitting, you will now create new stitches on the left-hand needle while working from left to right across the row.
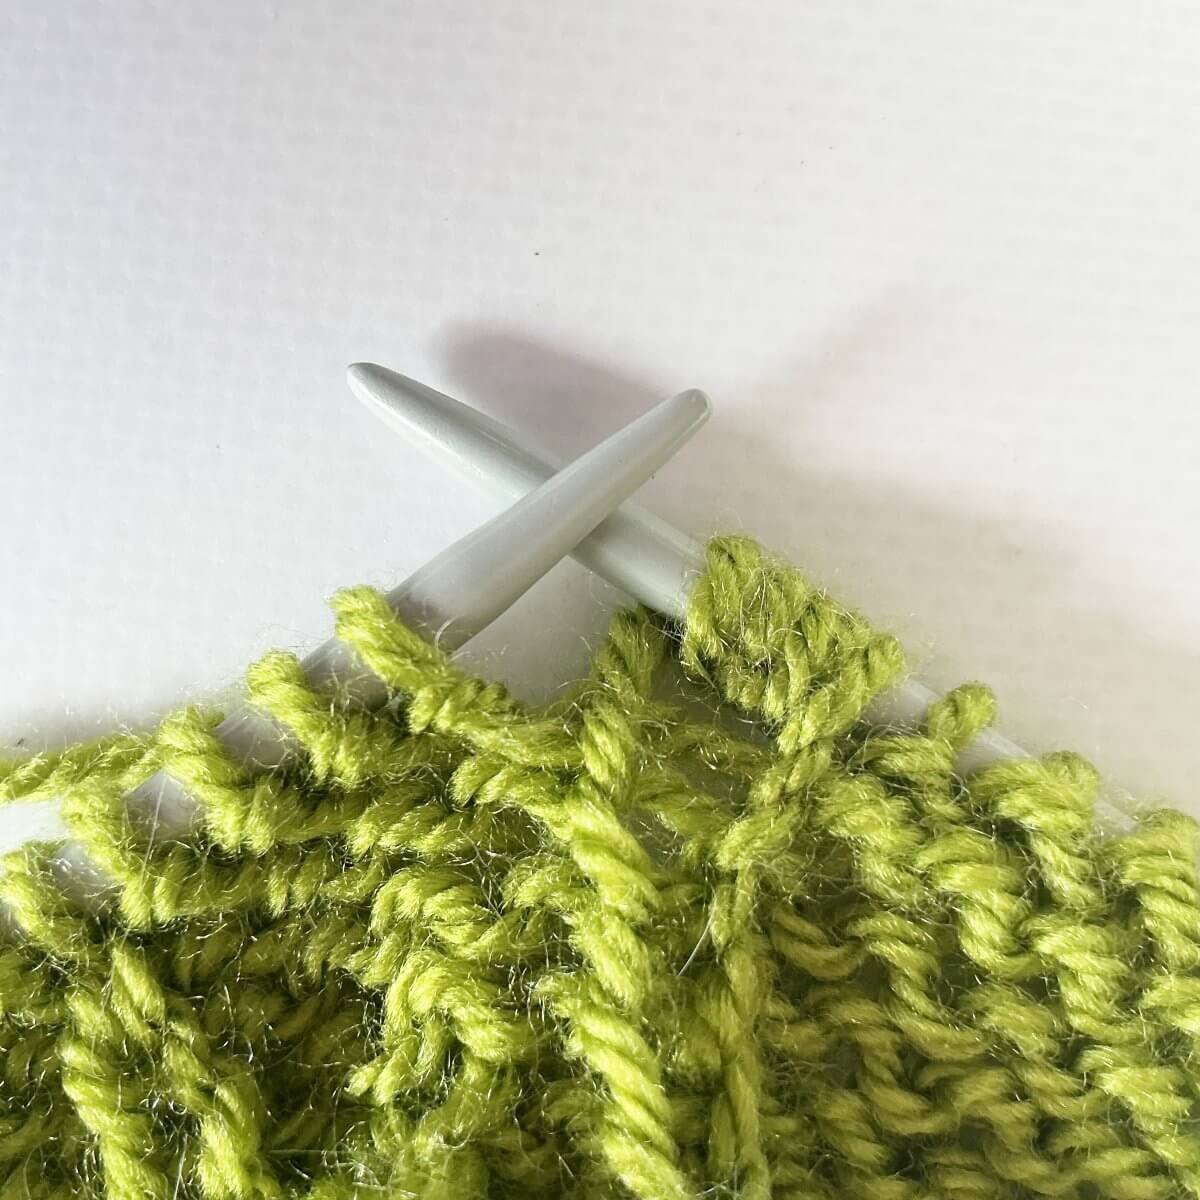
- Insert the tip of the left-hand needle into the back leg of the first stitch on the right-hand needle. Enter the stitch from left to right.
This feels unusual at first because the left needle becomes the active working needle.
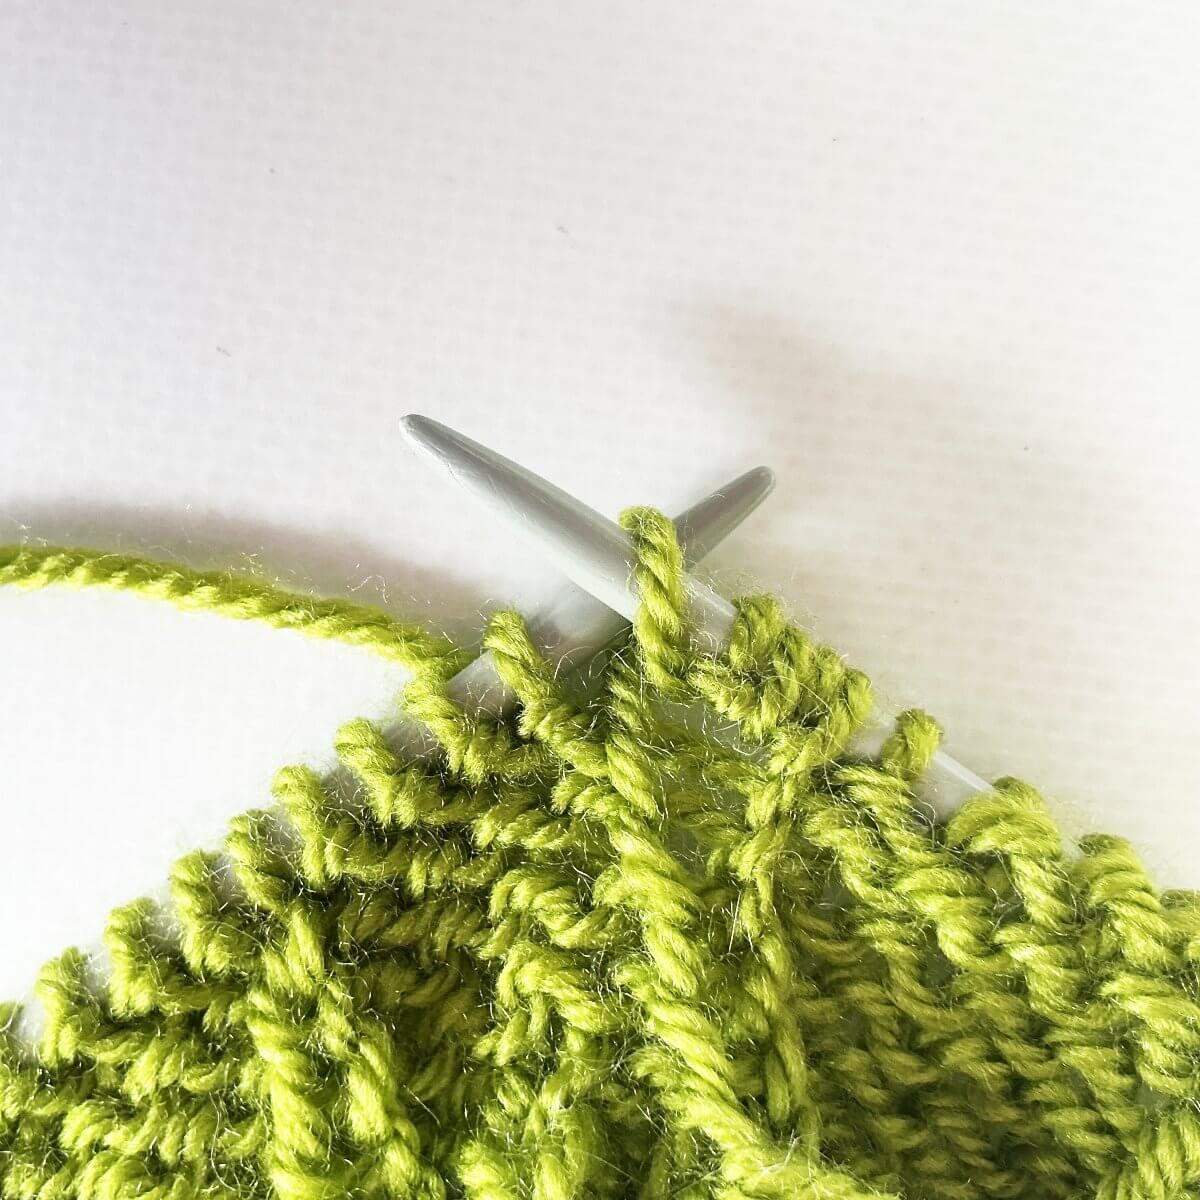
- Using your right hand, wrap the working yarn from the back and over, then around the tip of the left-hand needle.
Don’t wrap the yarn too tight, this can make the next row difficult to work. Also, you can wrap the working yarn the other way around around the needle. However, this will result in a twisted stitch. To untwist it in the next row, work it through the back loop.
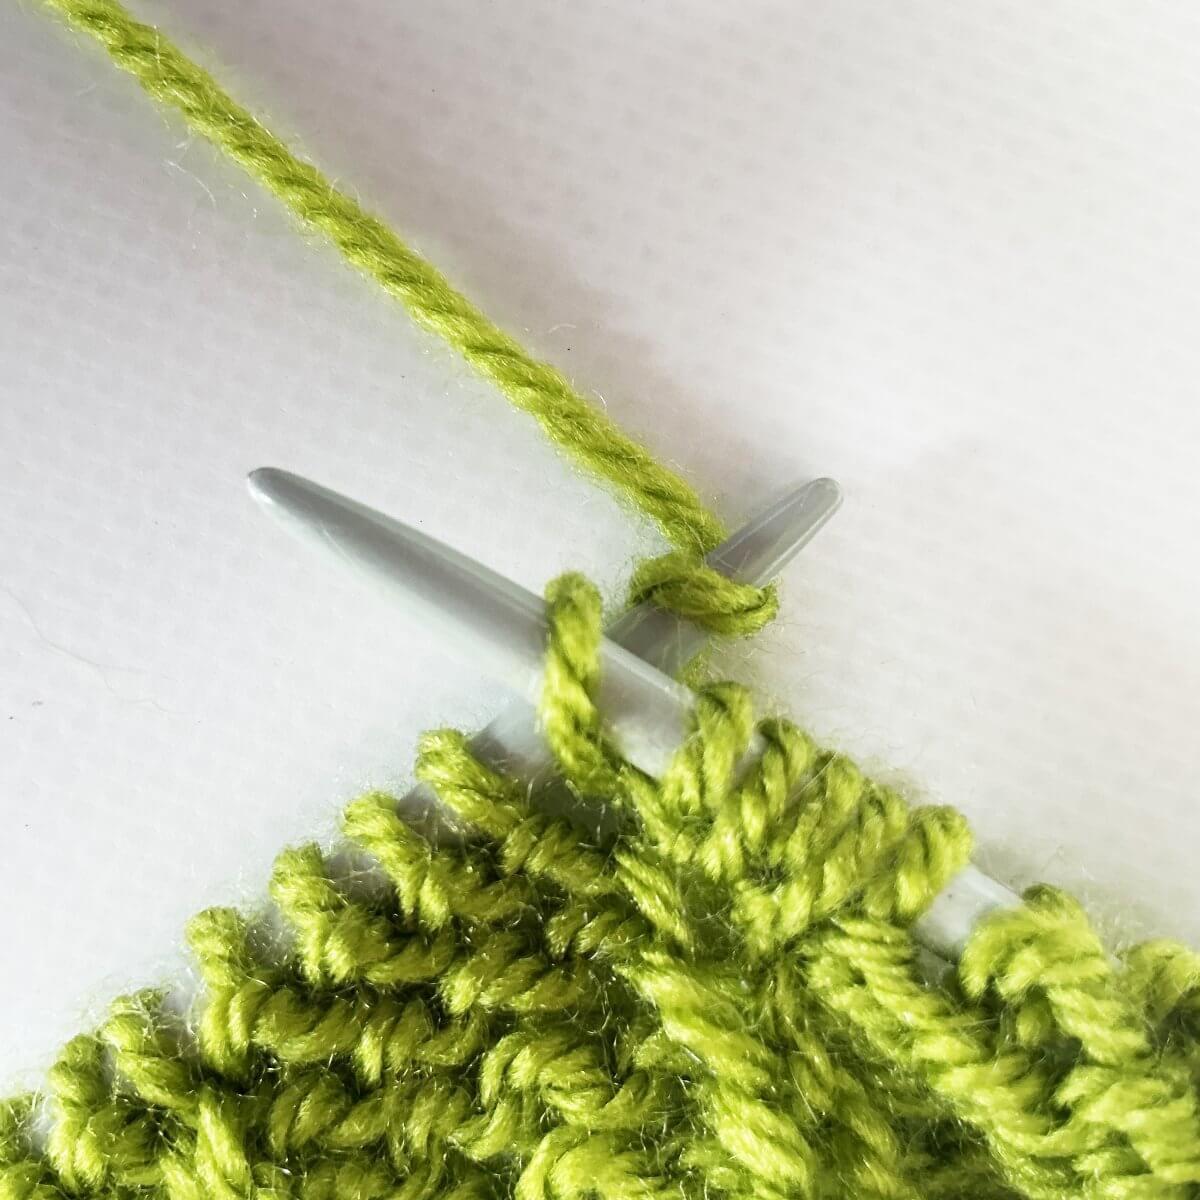
- Using the tip of the right-hand needle, lift the old stitch over the yarn you wrapped around the needle, and drop it from the needle.
Take care not to pull the working yarn too tightly, to prevent tension issues.
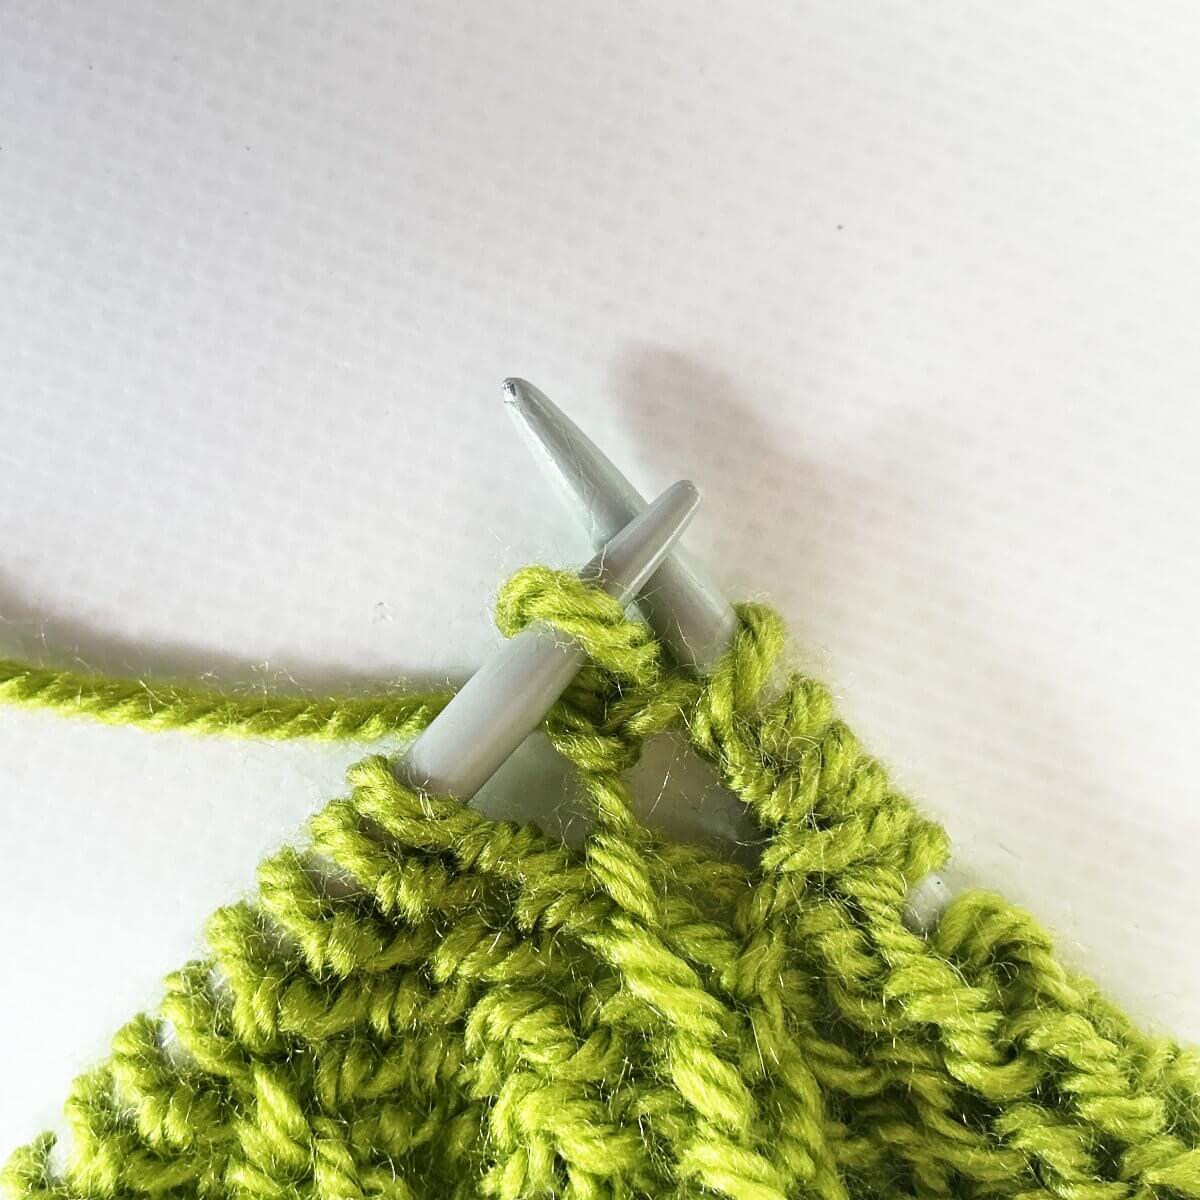
- Now pull the right-hand needle out of the stitch that is nearest to its tip.
The new loop remains on the left-hand needle while the old stitch has been released from the right-hand needle.
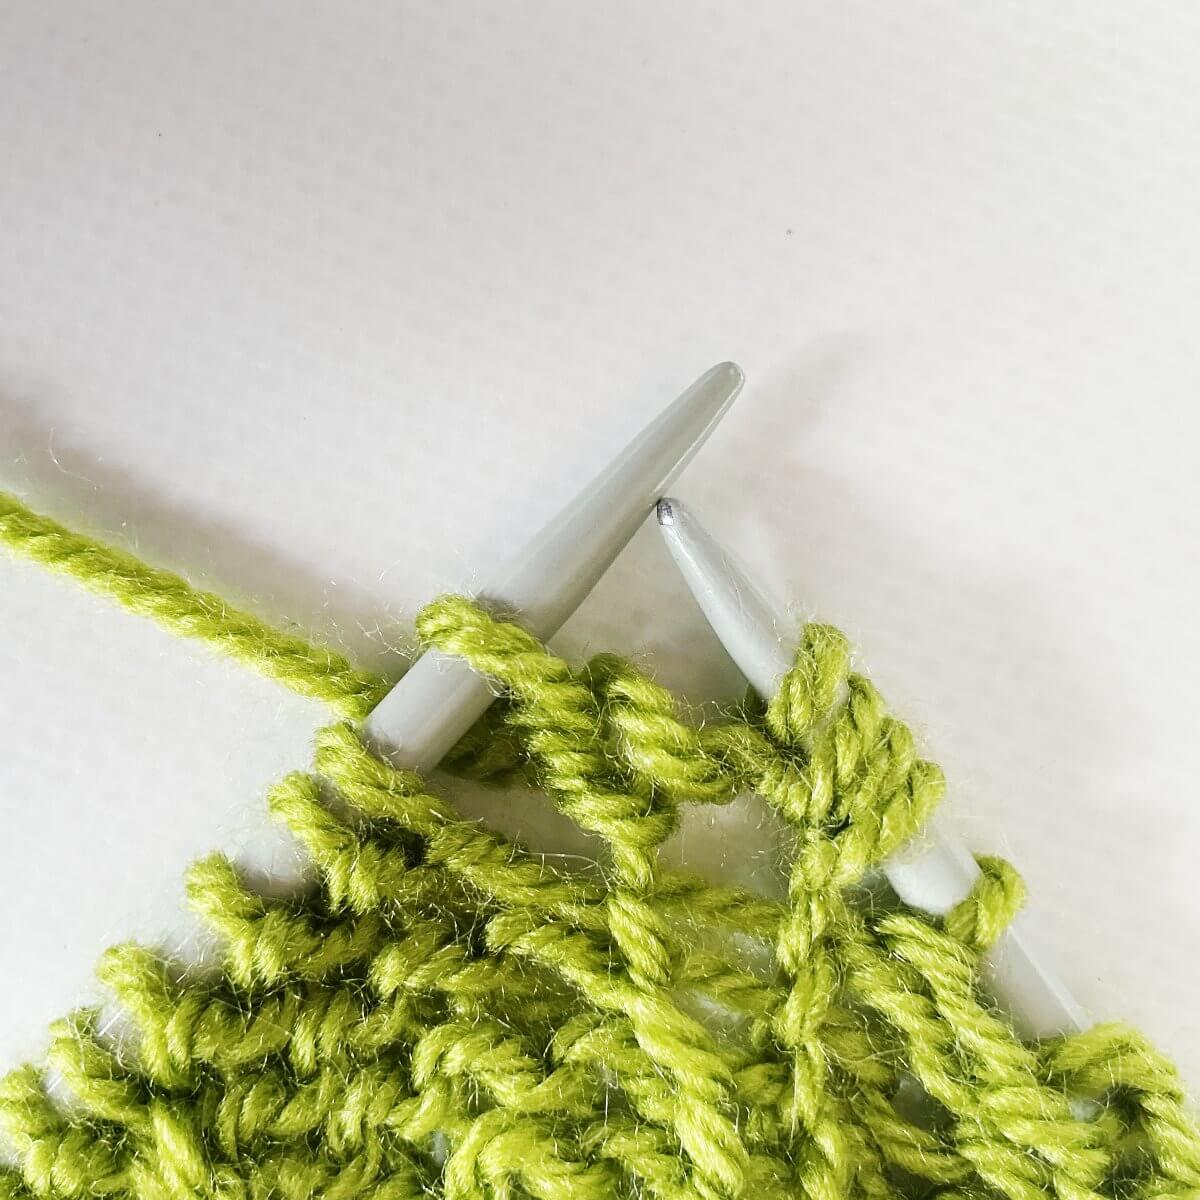
- Repeat Steps 2 through 5 for each stitch, in this case for the 5 stitches that make up the bobble.
After a few repeats, the movement becomes more fluid. Focus on maintaining even tension rather than speed.
Tips for success
Knitting backwards is one of those techniques that can seem awkward initially but becomes surprisingly intuitive once mastered. It is not intended to replace regular knitting, but it can be a valuable addition to your knitting toolbox. Whenever a pattern requires constant turning or small sections worked back and forth, knitting backwards can save time and help maintain a smooth workflow. To make sure you get the most out of this technique:
- Practice first on a small swatch before using the technique in a project.
- Keep the stitches relaxed to avoid tight gauge, many knitters find their backwards knitting tension is tighter than their regular knitting at first.
- Work slowly until the hand movements become familiar.
- If your stitches appear twisted on the next row, check that the yarn is being wrapped over the needle towards you, then around to the back again.

Thanks to my Patreon supporters for bringing you this freebie! Creating quality patterns and tutorials is a lot of work and resource-intensive. However, I find it important to give you free content like this tutorial. Thanks to the generous support of my Patreon supporters, I can make it happen. Thank you, patrons! Click here to join, or click here to read more about La Visch Designs on Patreon.