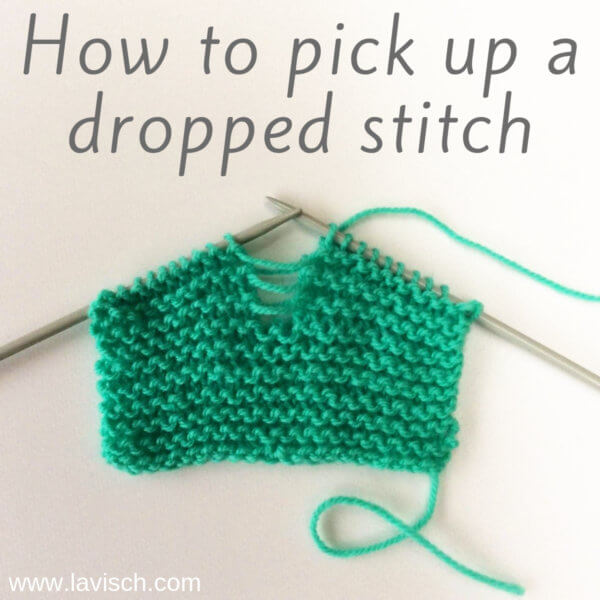
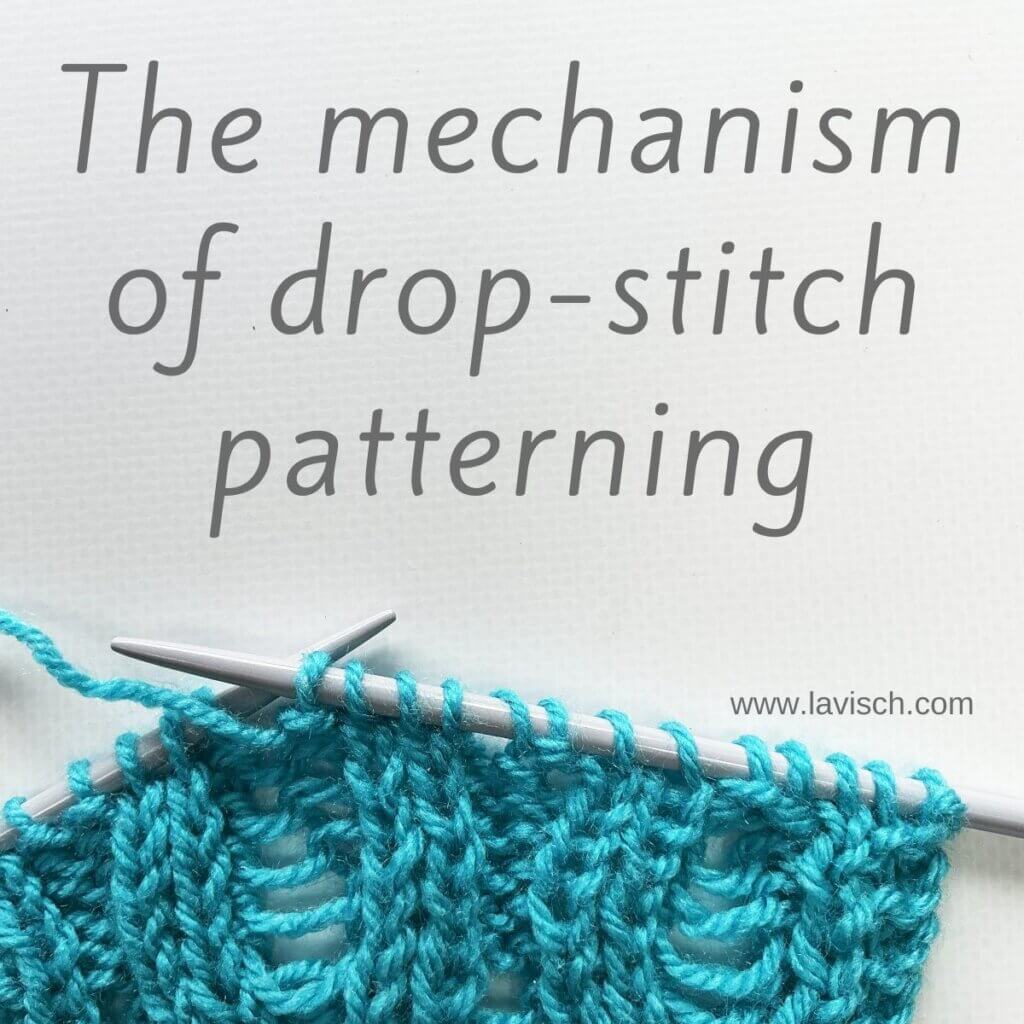
One of the first things knitters learn is how to avoid dropping stitches. So it can feel a little strange when a pattern asks you to do exactly that! Fortunately, intentional drop stitches are much less intimidating than accidental ones. Although those are not the end of the world either, take a look here and here for tutorials. In fact, when used thoughtfully, intentionally dropped stitches create beautiful openwork effects that are difficult to achieve any other way. The secret lies in understanding what controls the dropped stitch and prevents it from running all the way down to the cast-on edge.
A dropped stitch is simply a stitch that is deliberately allowed to unravel. Normally, such a dropped stitch could ladder down all the way in your knitting. However, in drop-stitch patterning, the drop-stitch is paired with a yarn over worked several rows below. The yarn over creates an eyelet that acts as a stopping point. When releasing the stitch, it unravels only until it reaches that eyelet. In other words: The yarn over acts as a built-in safety stop. It determines exactly how far the stitch can run down.
When working a pattern that includes dropped stitches, always identify 1) the stitch that will eventually be dropped, and 2) the yarn over that will stop the unraveling. If these two elements line up vertically, everything will behave exactly as intended. Lets grab our materials, and try it out!
Materials used
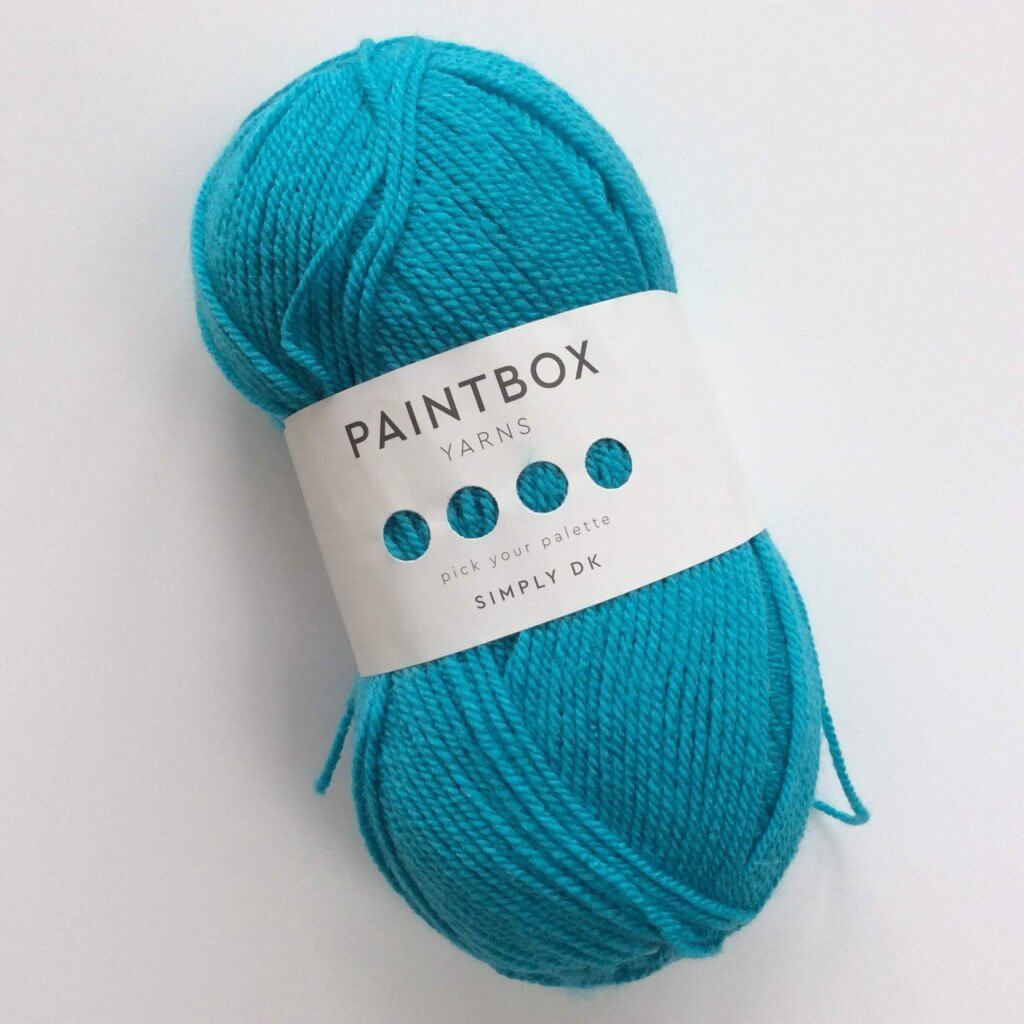
Yarn: Paintbox Yarns Simply DK, a good value, good quality 100% acrylic yarn, here in the color Marine Blue.
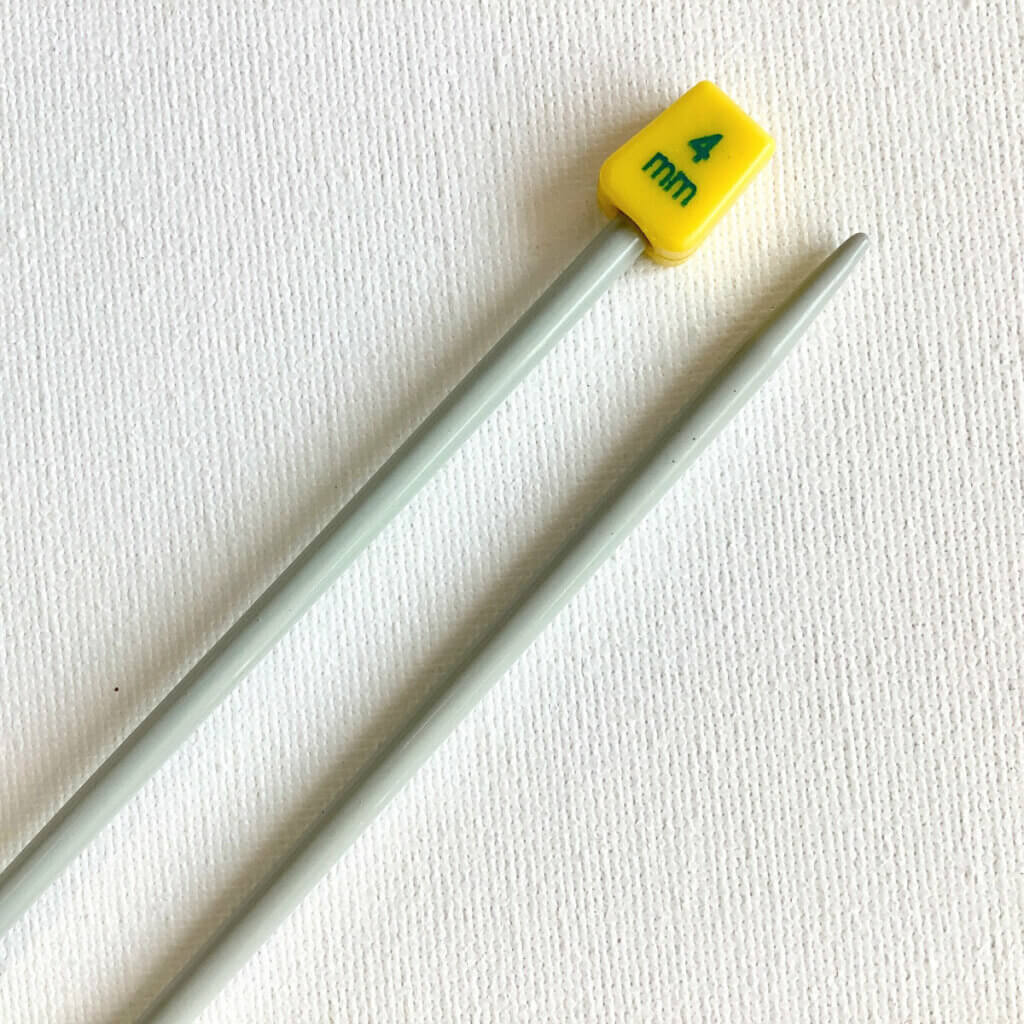
Needles: This is a pair of straights that I picked up at the second-hand store when I started knitting, brand unknown.
Working a drop stitch stitch step by step
I will share the directions for the stitch pattern used in this example in a separate post.
- Knit in pattern until you reach the stitch designated as the drop stitch.
In this particular stitch pattern, the drop stitch is always the center stitch of a purl-three section.
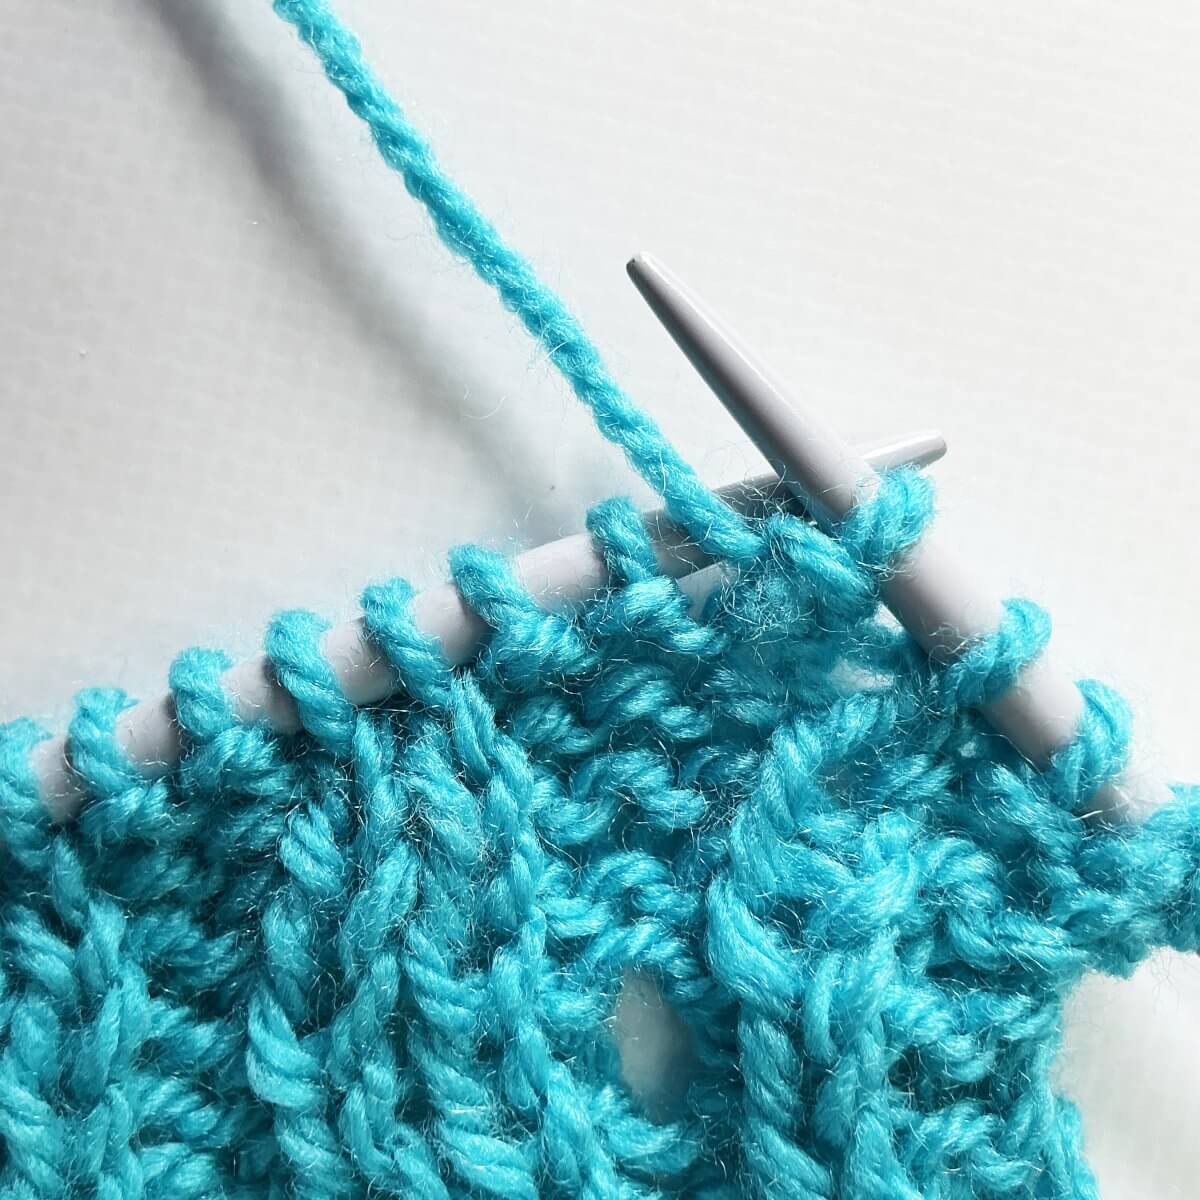
- Before continuing to the dropping part of working a drop-stitch, take a moment to look several rows below. You should see a yarn over directly beneath that stitch column. That yarn over is your stopping point.
Do you see it in the picture above?
- If there indeed is a yarn over beneath the stitch column, simply slip the stitch off the needle. There is no need to knit it, purl it, or manipulate it further. Just let it go!
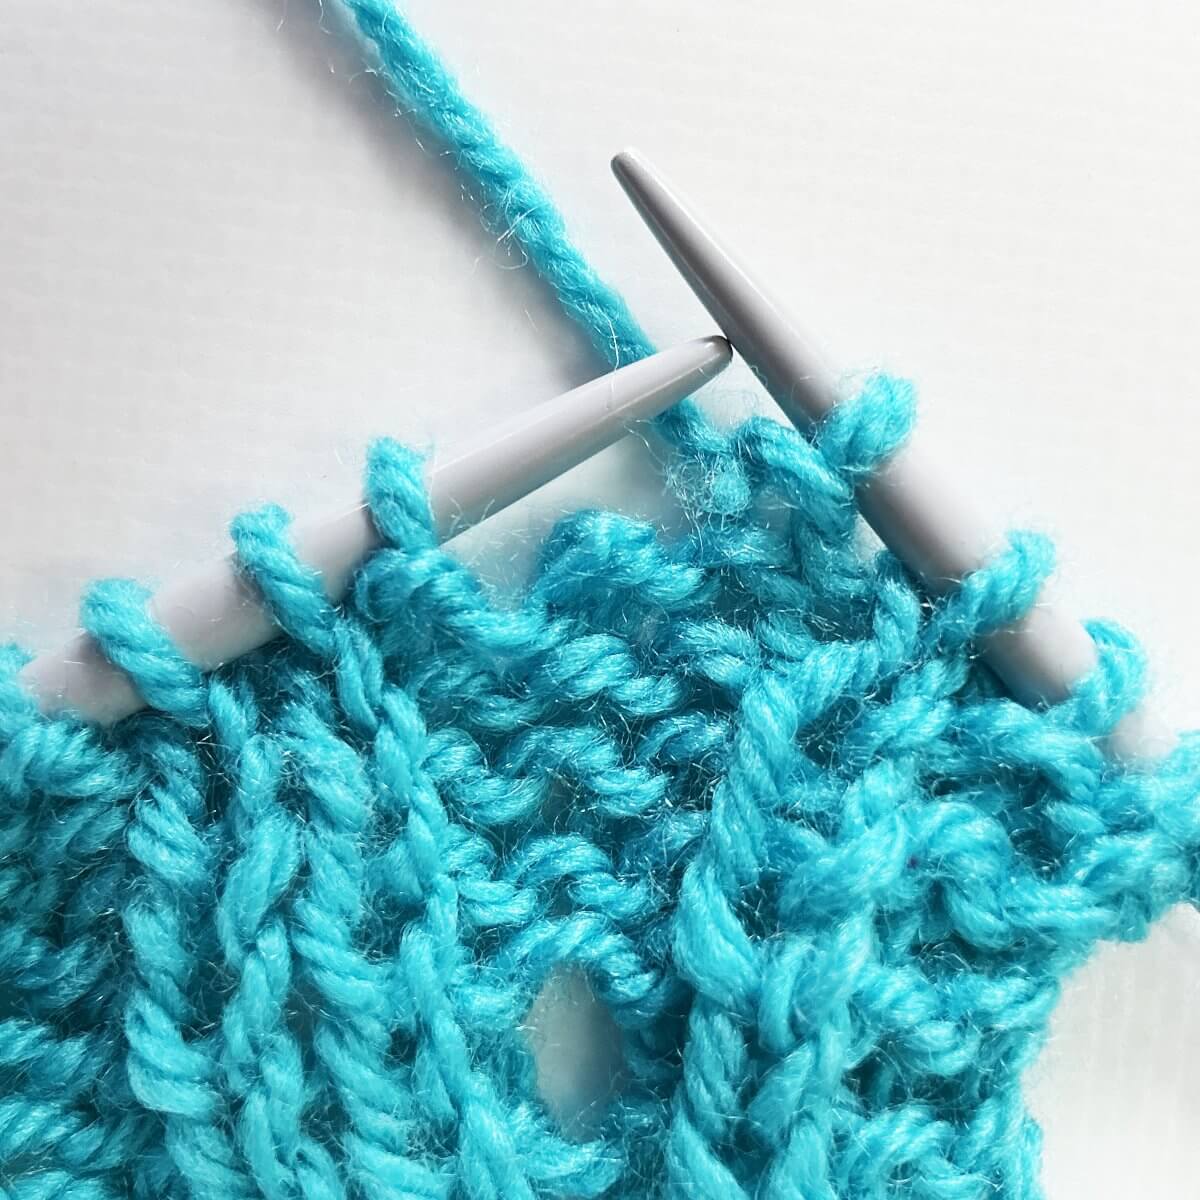
- Next, allow the stitch to unravel.
Smooth yarns may run down almost by themselves. Yarns that are more “grabby”, may need some help; just tease those strands loose.
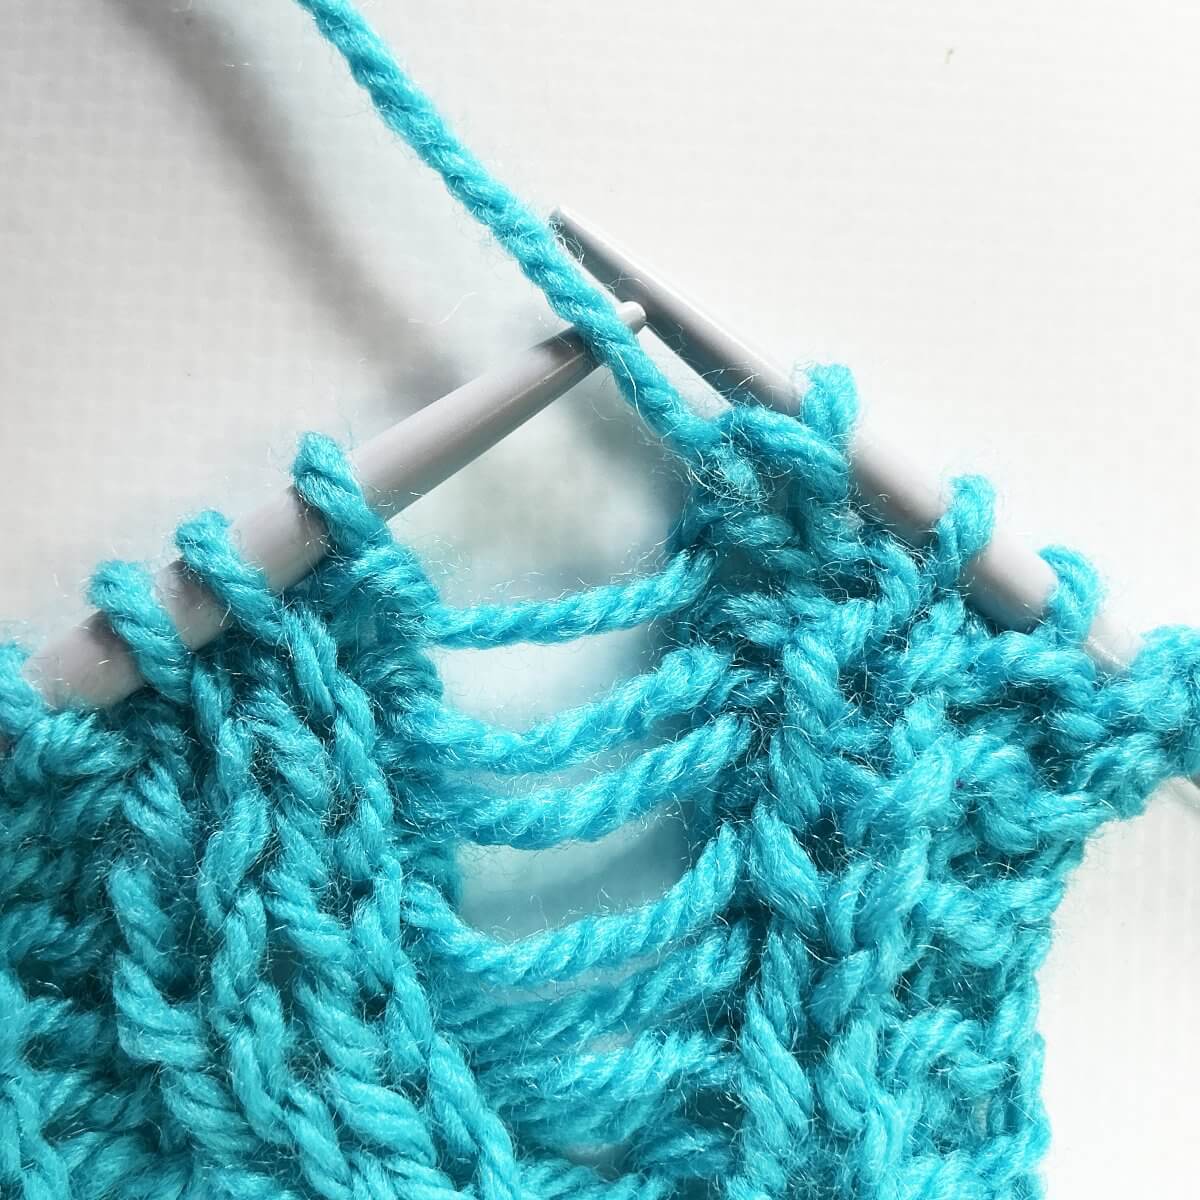
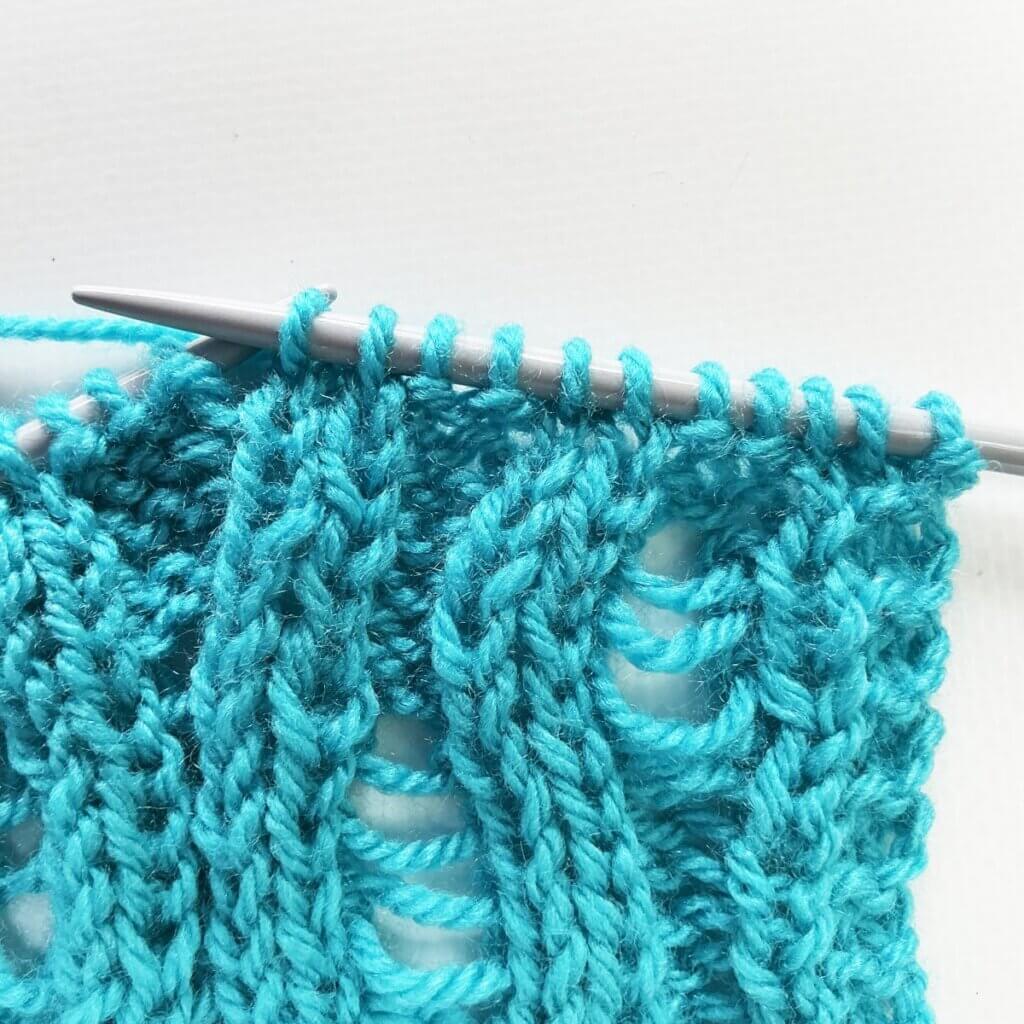
- As the stitch reaches the yarn over, it can unravel no farther. The eyelet forms a stable anchor point, stopping the dropped column exactly where intended. What remains is a series of elongated loops stretching neatly between the current row and the yarn over below.
If the stitch does not stop at the expected point, check whether the yarn over was worked correctly.
And that´s all there is to it. Pretty neat, right?

Thanks to my Patreon supporters for bringing you this freebie! Creating quality patterns and tutorials is a lot of work and resource-intensive. However, I find it important to give you free content like this tutorial. Thanks to the generous support of my Patreon supporters, I can make it happen. Thank you, patrons! Click here to join, or click here to read more about La Visch Designs on Patreon.