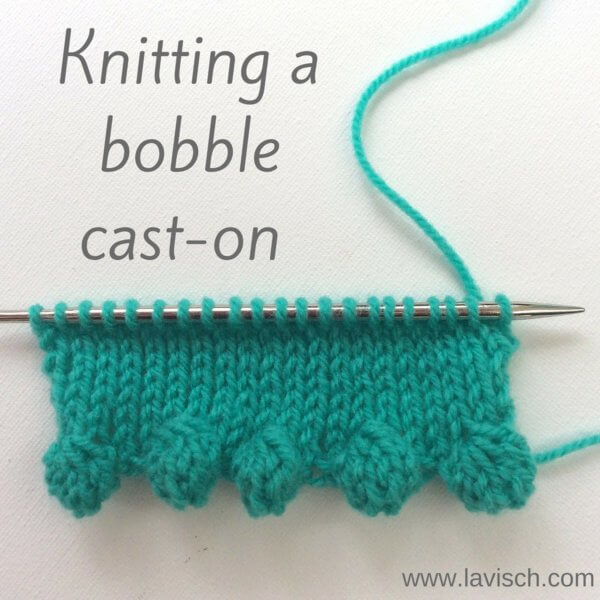
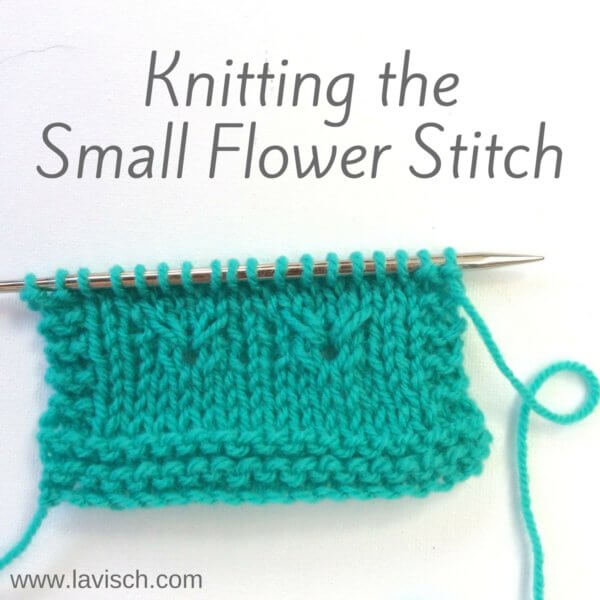
tutorial: knitting a bobble bind-off
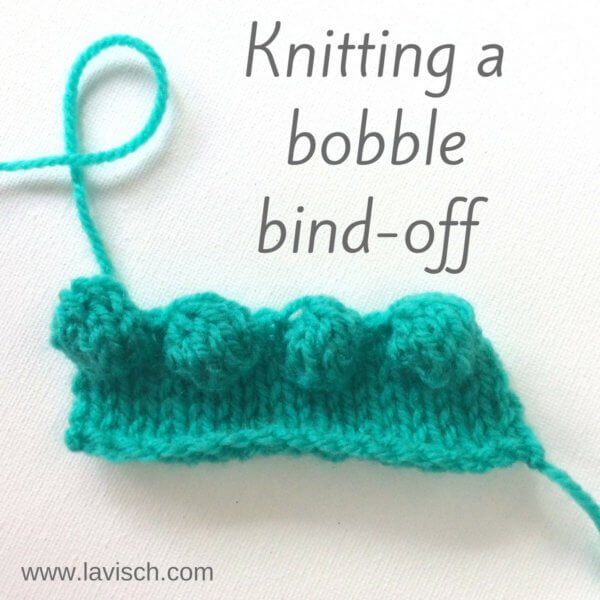
In a previous blog I’ve already shown you how to cast on your knitting project with decorative bobbles. Of course we also want to know how to knit the matching bobble bind-off. You never know when it comes in handy!
There are many different types of bobbles possible for this application. However, you want a reasonably “fat” bobble for the best result, because these makes the bobble “pop” better.
In short an instruction for such a bobble would will be as follows:
Bobble of 5 stitches: Work [k1, yo, k1 , yo, k1] all in the same st. Turn work, p1, p1 tbl, p1, p1 tbl, p1. Turn and k5. Turn work, and p5. Turn work, k5, * pass second st on the right hand needle over the first stitch; rep from * until 1 st remains – 1 bobble made.
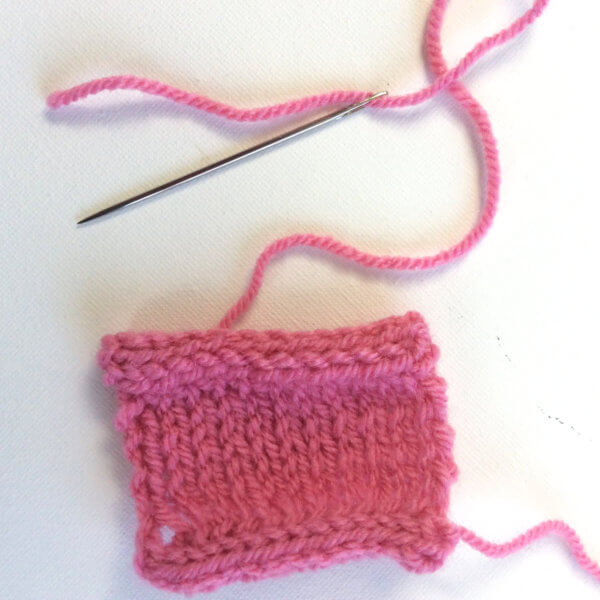
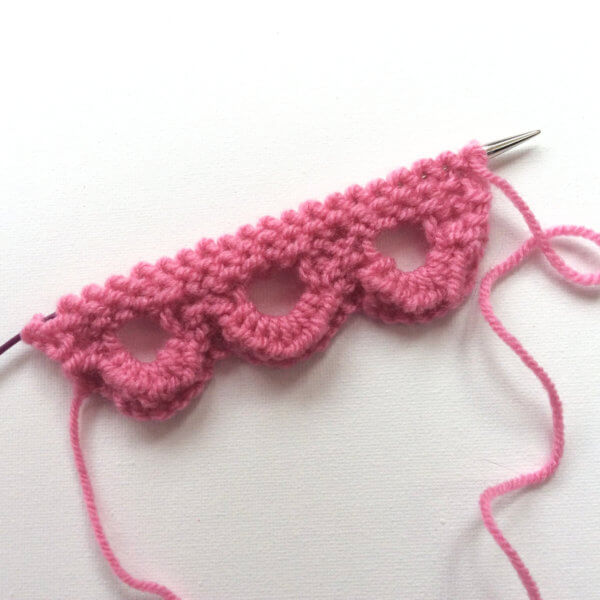
Below I’ll show you step by step how this looks when used at the bind-off edge of your knitting.
Knitting a bobble bind-off step by step
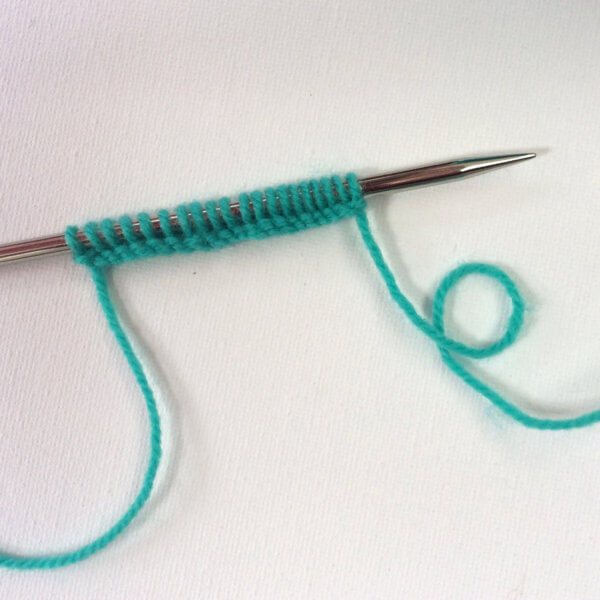
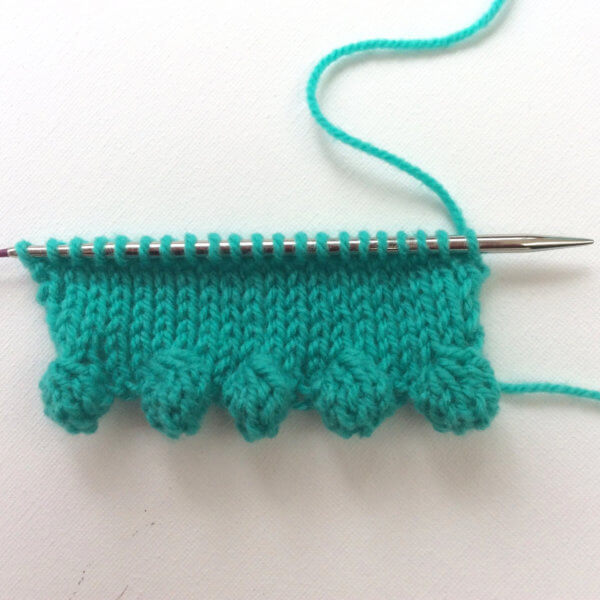
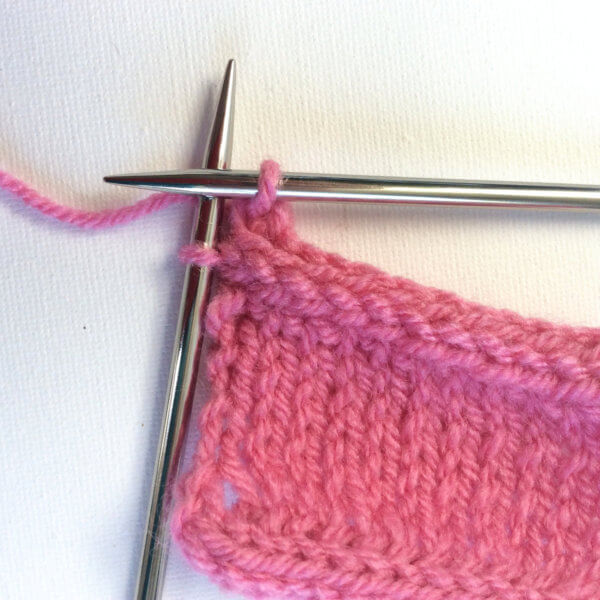
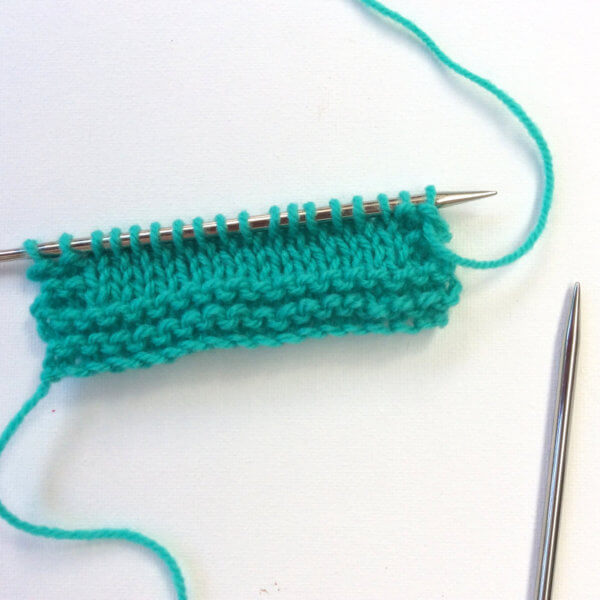
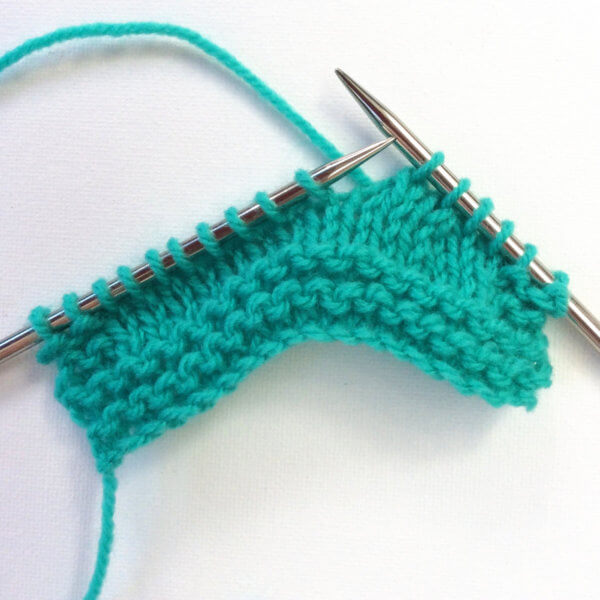
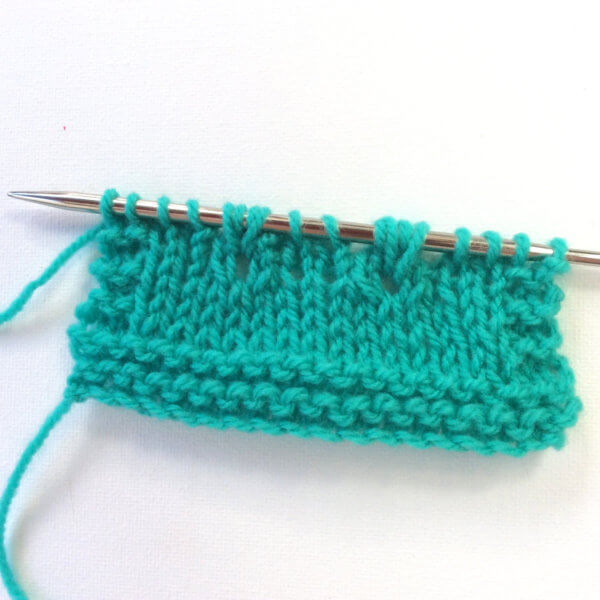
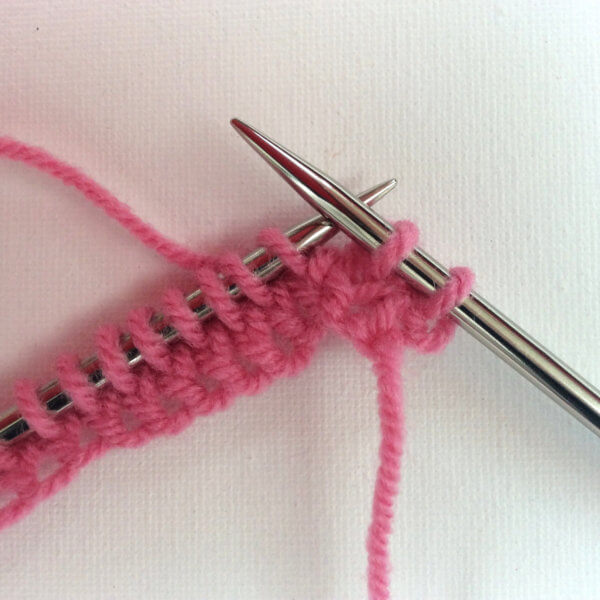
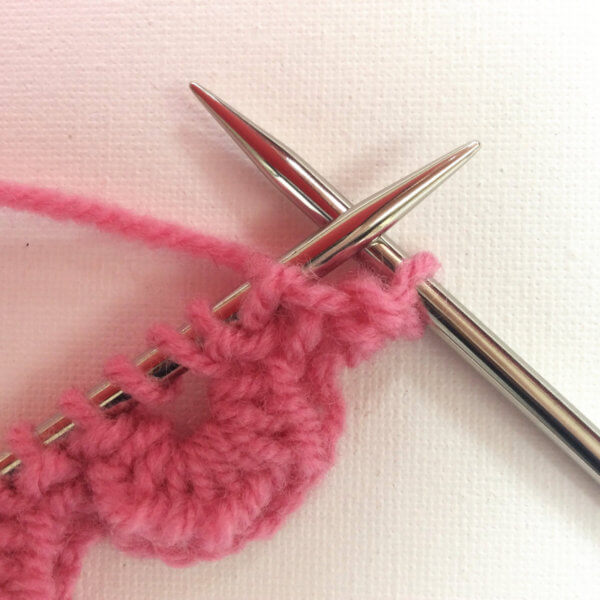
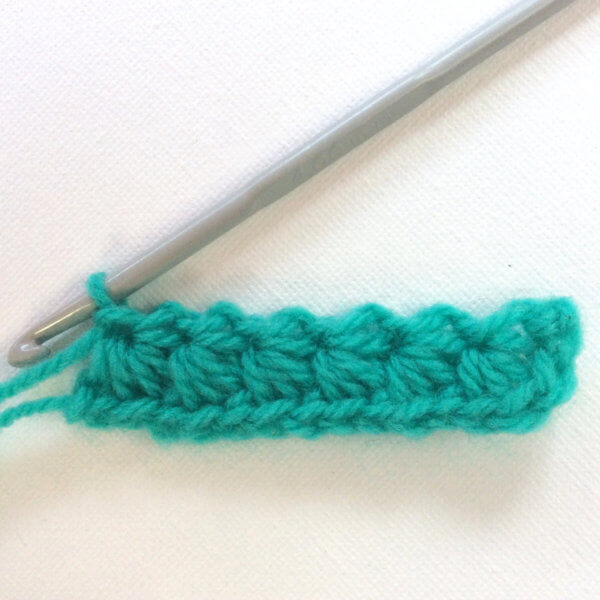
1. Your project is ready and you want to bind-off. First of all, make sure you’re using a multiple of 4+1 stitches plus any edge stitches. In this example I’m using a multiple of 4 + 1 + 2×2 edge stitches for both sides of the work. The 4 stitches consist of 1 stitch for every bobble and 3 stitches distance between each bobble.
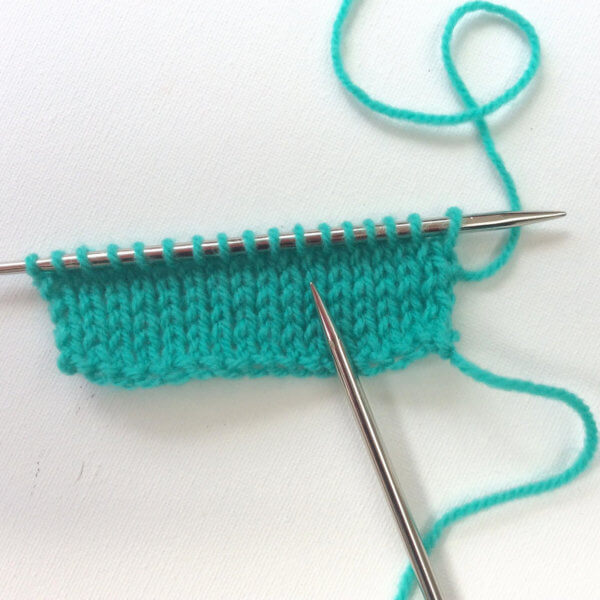
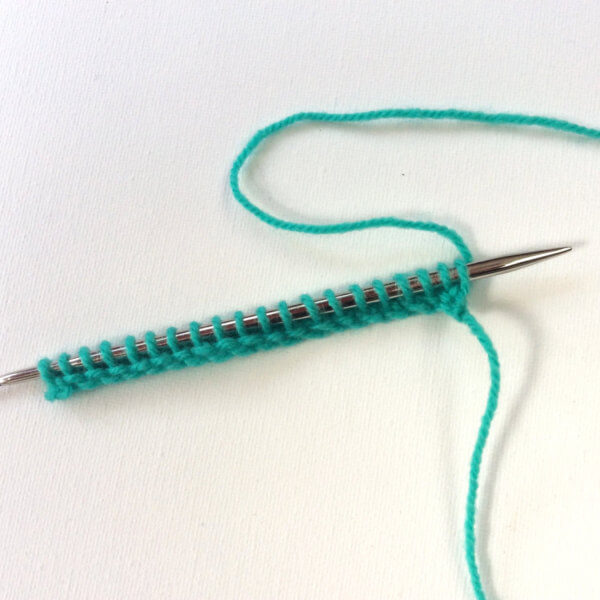
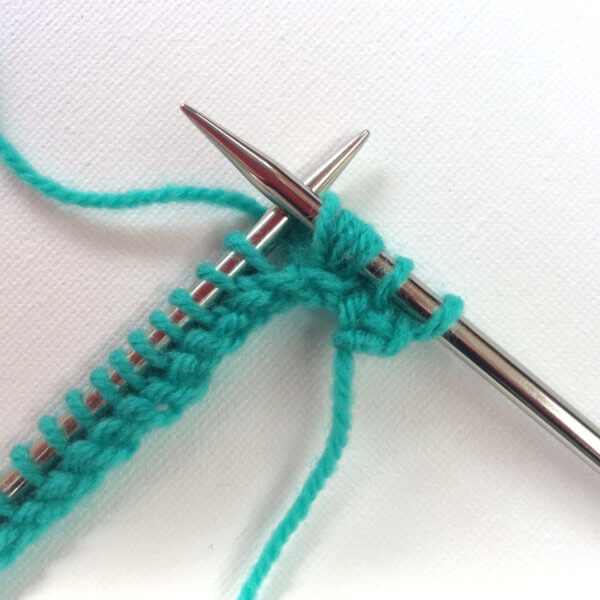
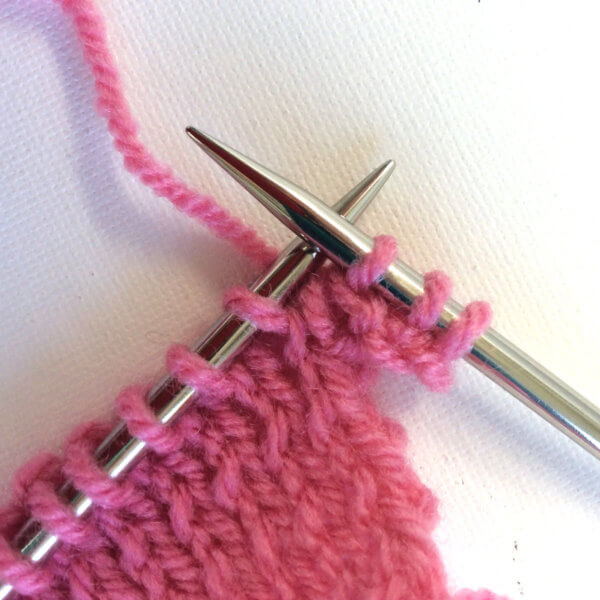
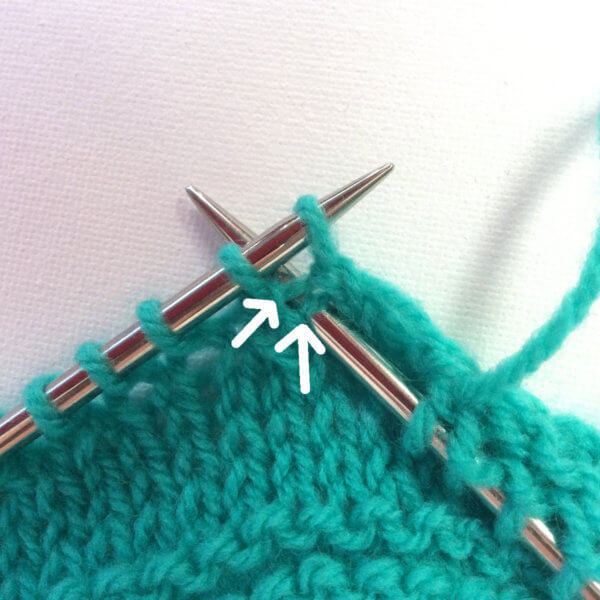
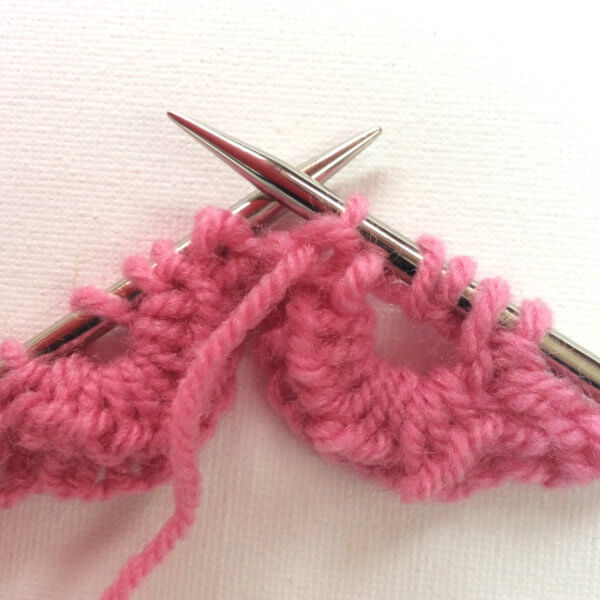
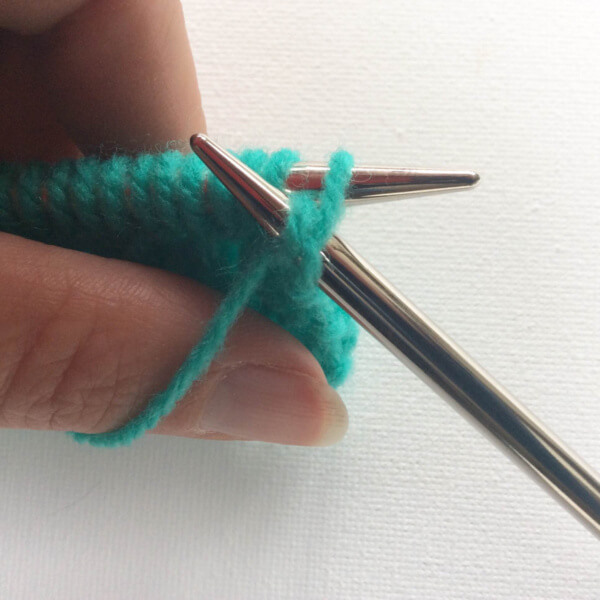
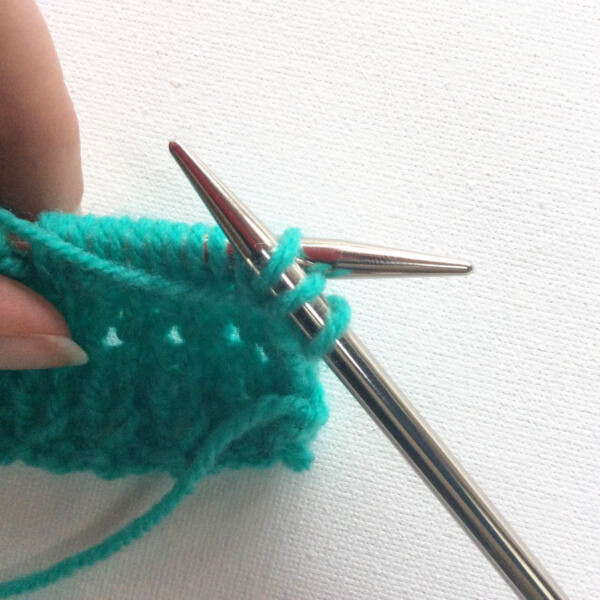
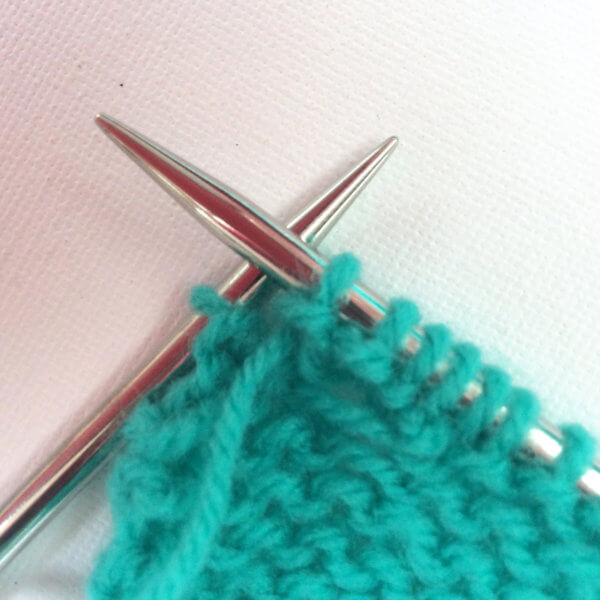
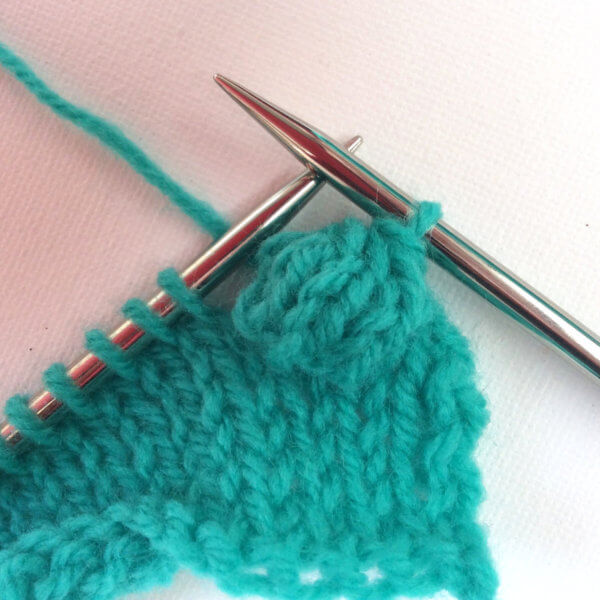
2. Make sure you are on the right side of the work and knit 2 stitches. Next pass the second stitch on the right-hand needle over the first stitch to cast it off.
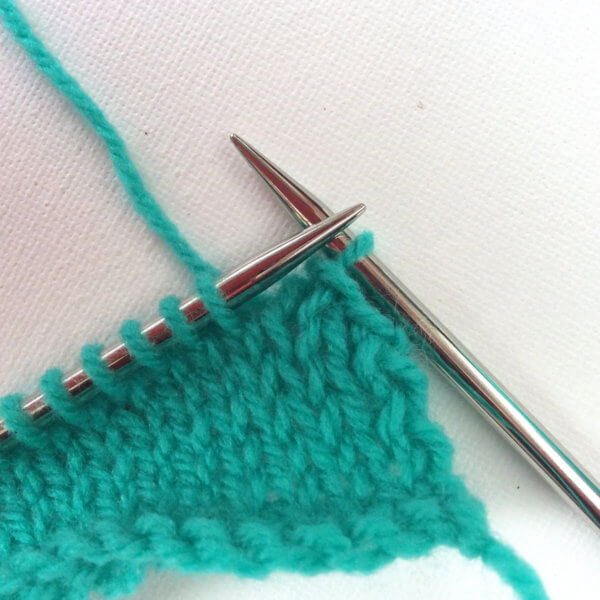
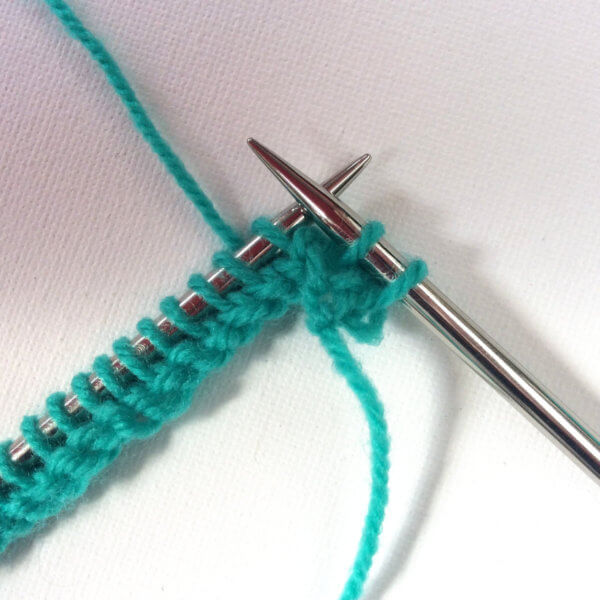
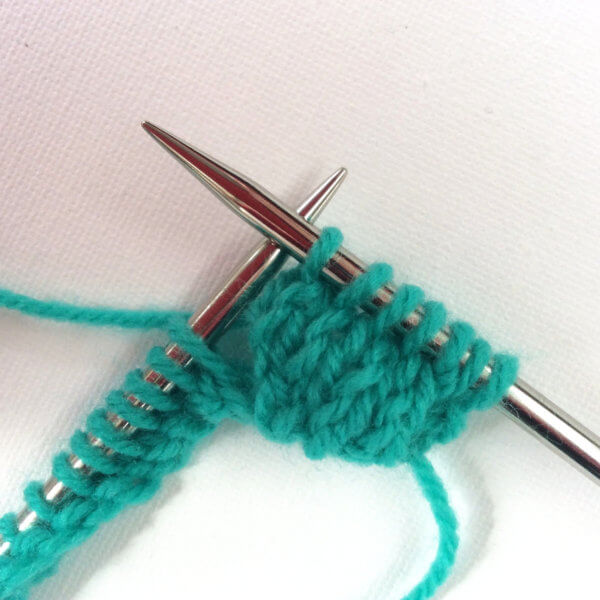
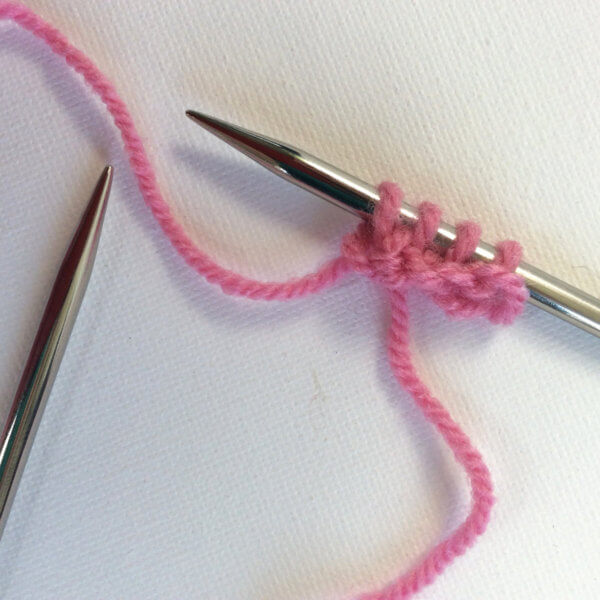
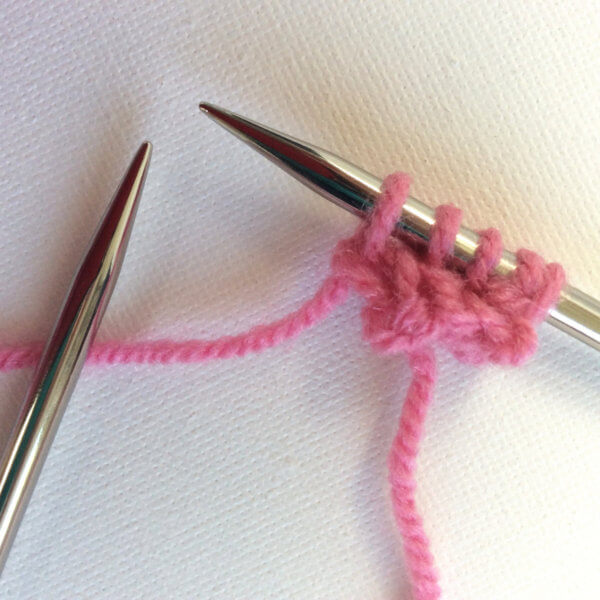
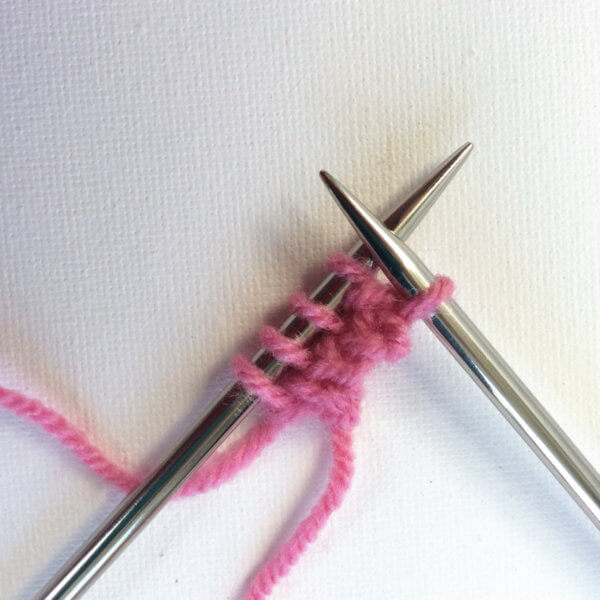
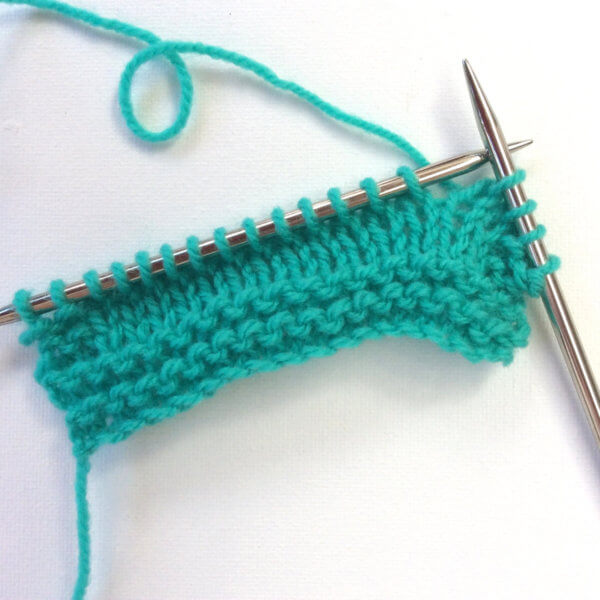
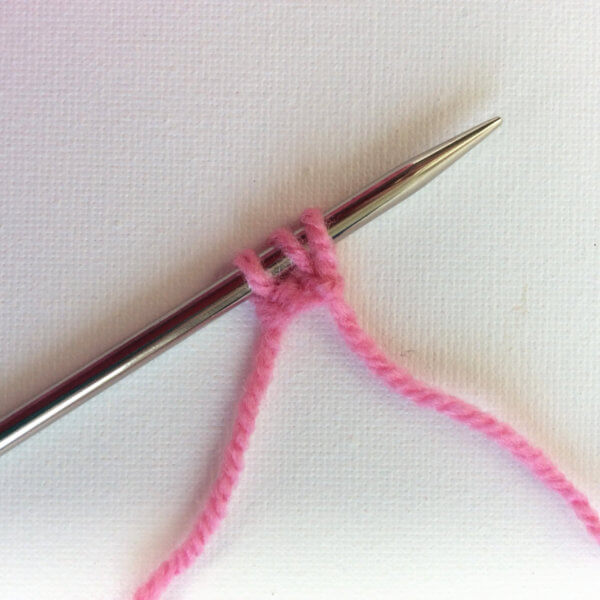
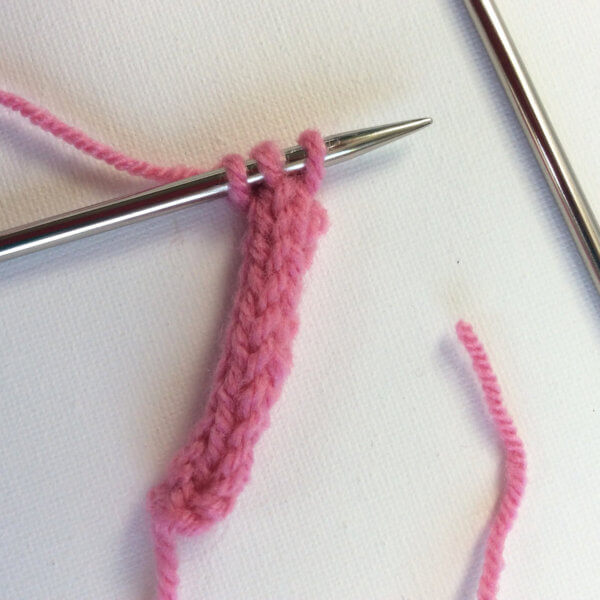
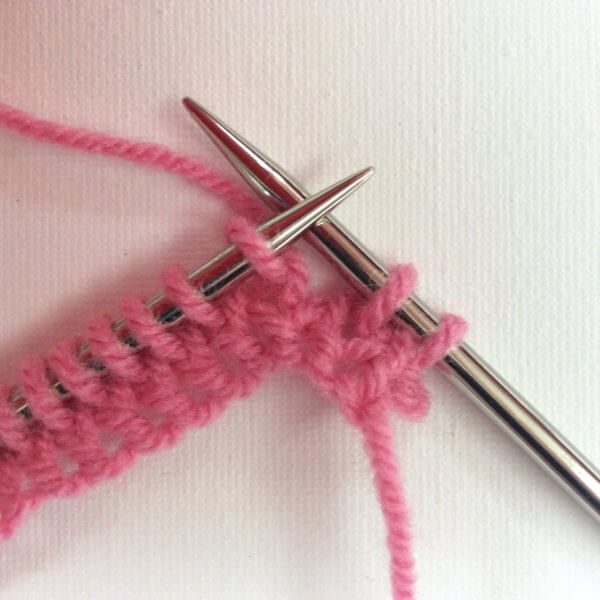
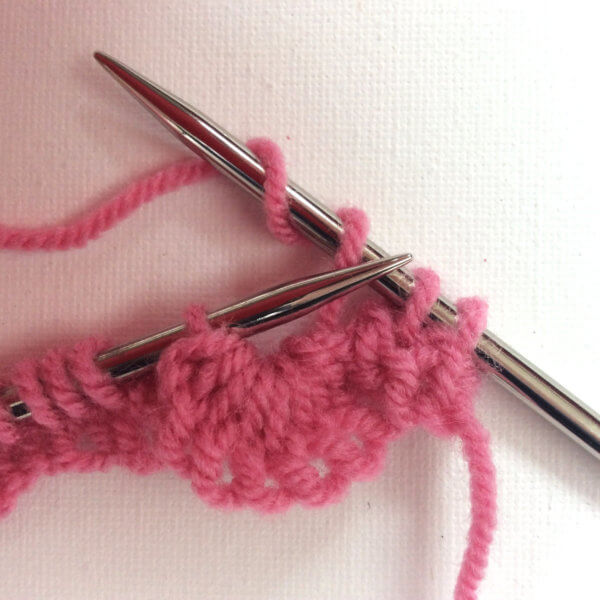
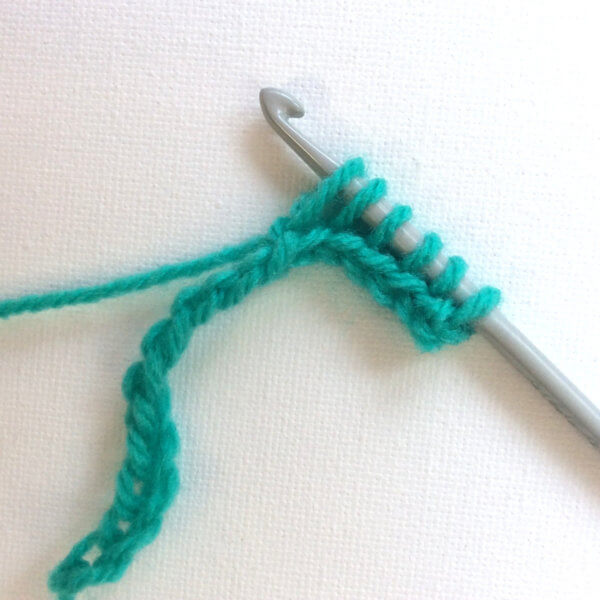
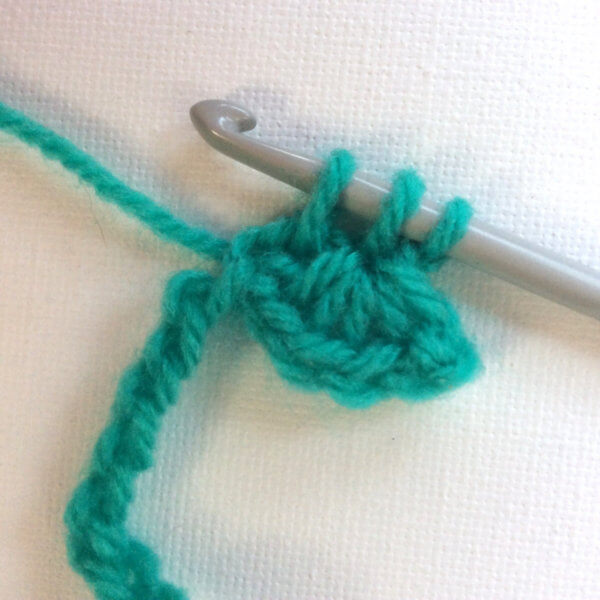
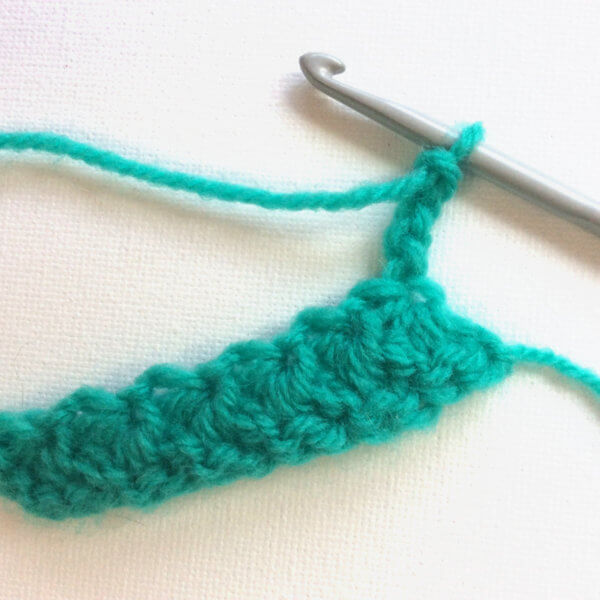
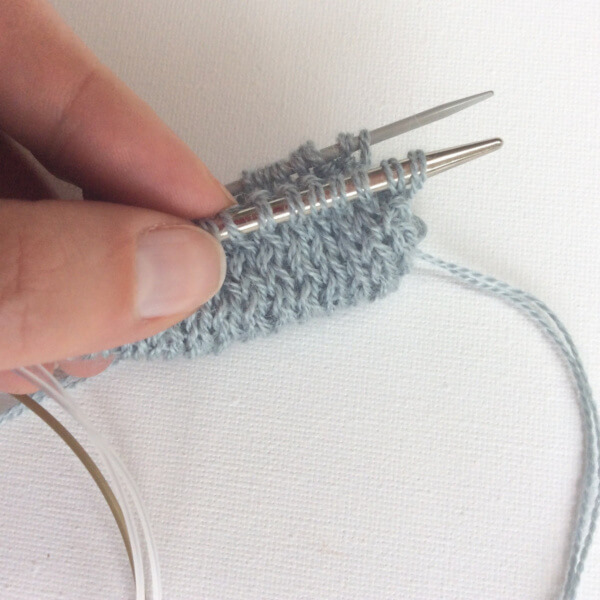
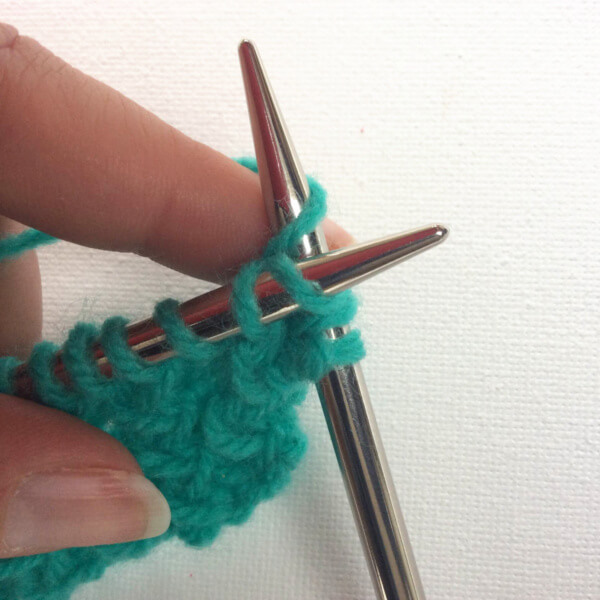
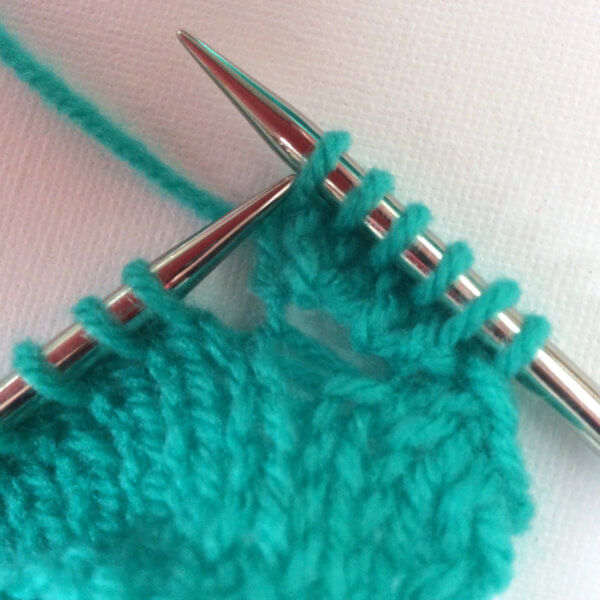
3.In the next stitch we will be making a bobble as follows: Work [k1, yo, k1 , yo, k1] all in the next stitch, without sliding it off prematurely. You now have 6 stitches on the right hand needle, we will knit the bobble over 5 of them.
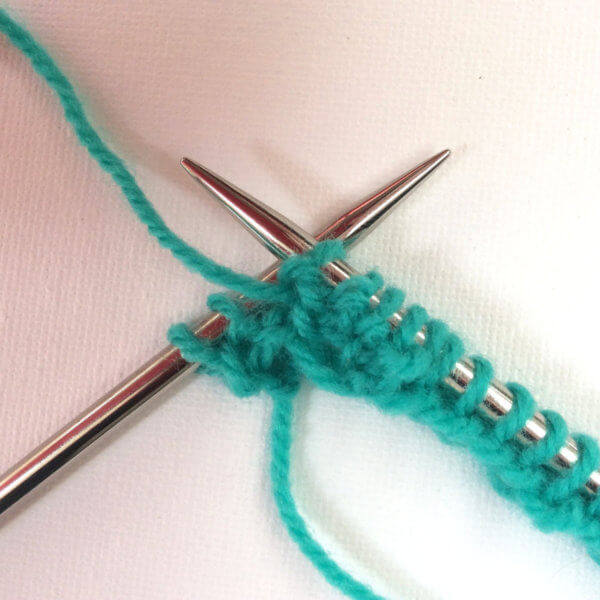
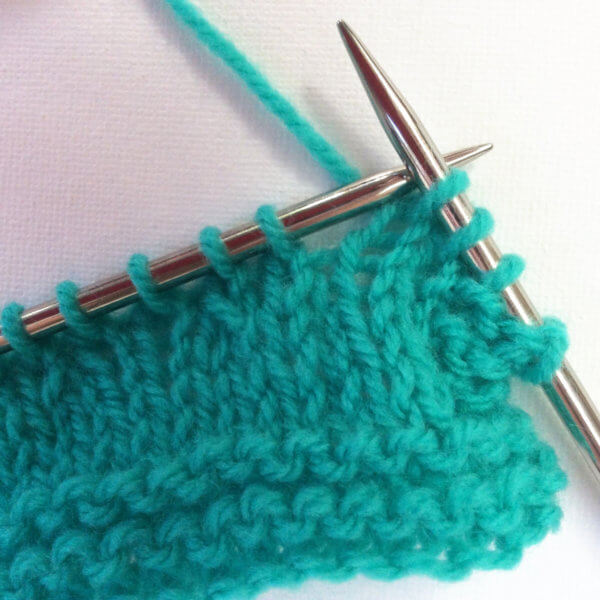
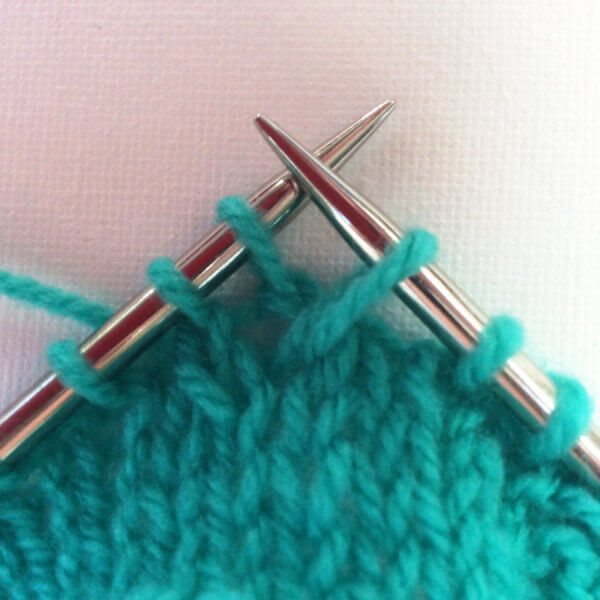
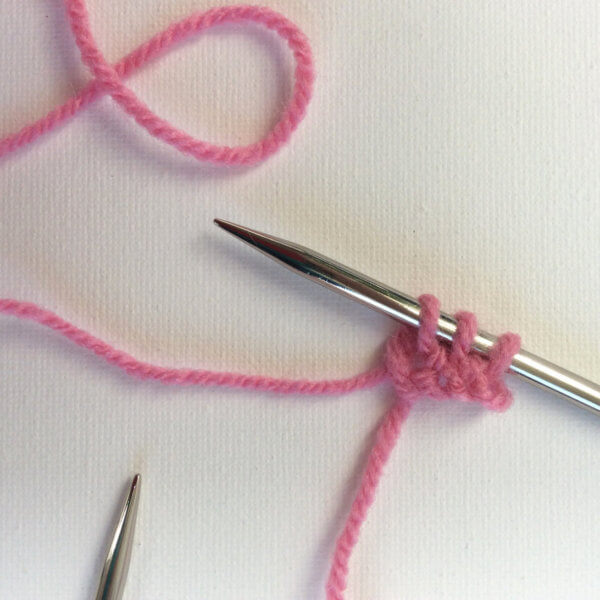
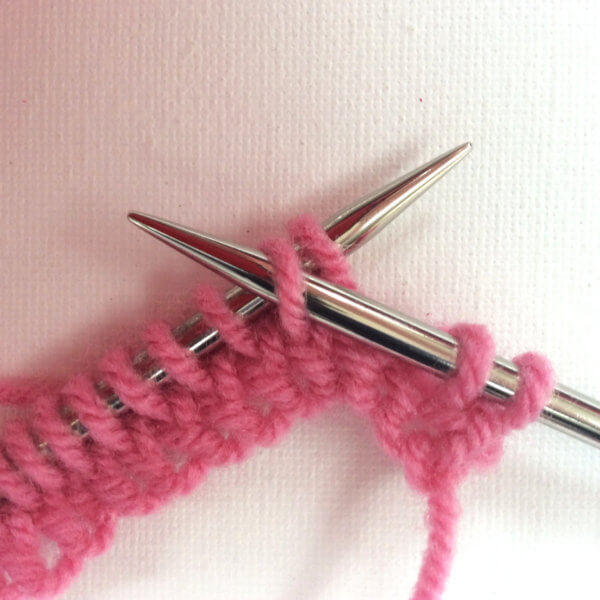
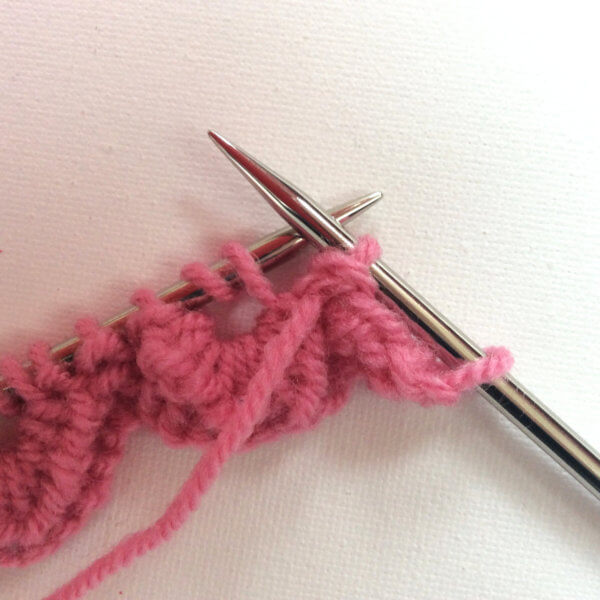
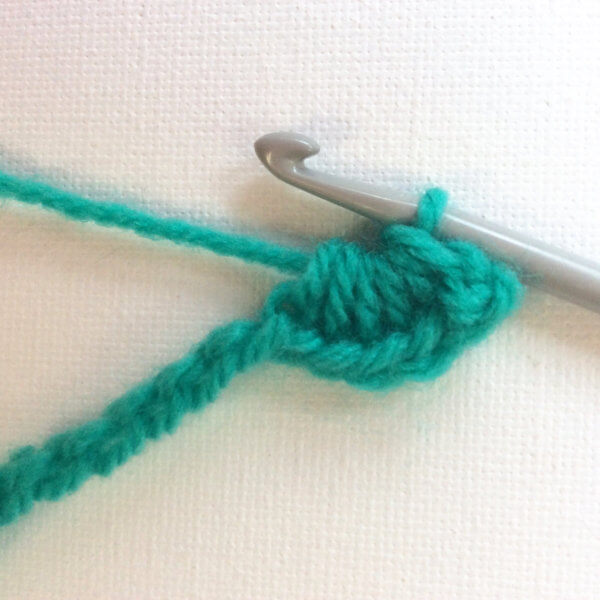
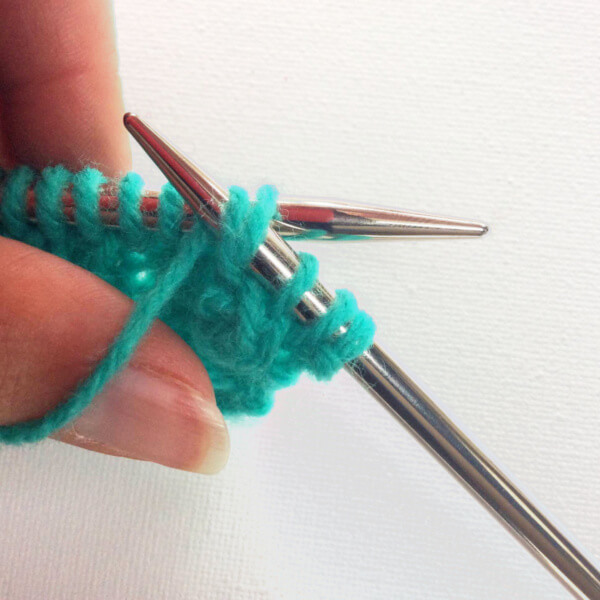
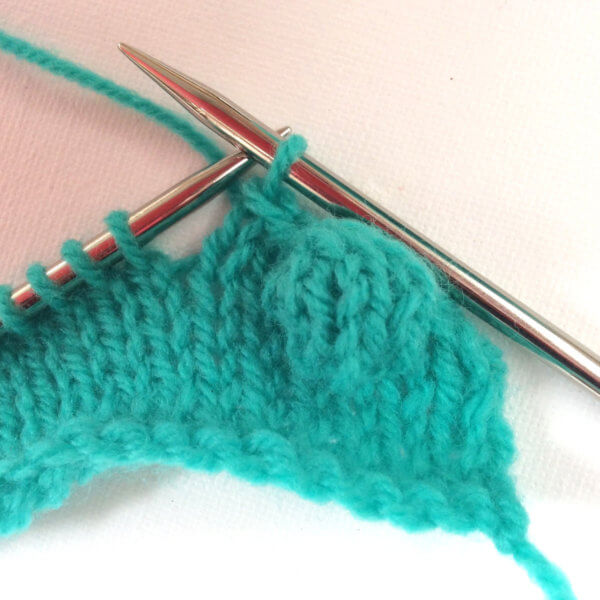
4. Turn work, p1, p1 tbl, p1, p1 tbl, p1. The “p tbl” stitches are worked that way to close up the yo’s of the previous row. This will make the resulting bobble smoother, this may require some practice!
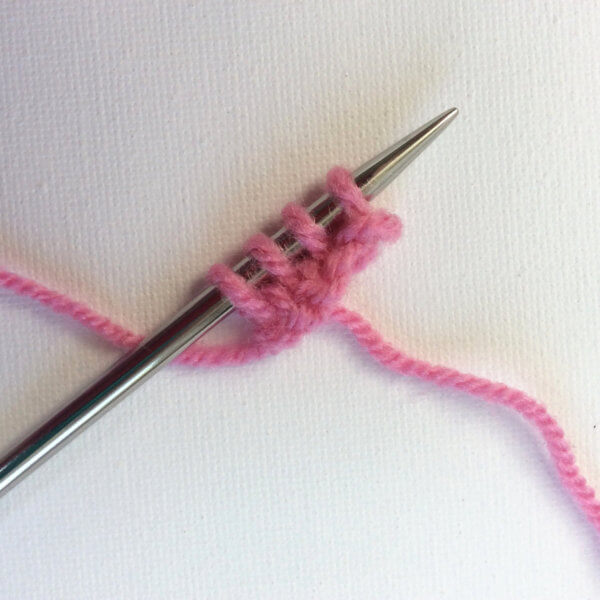
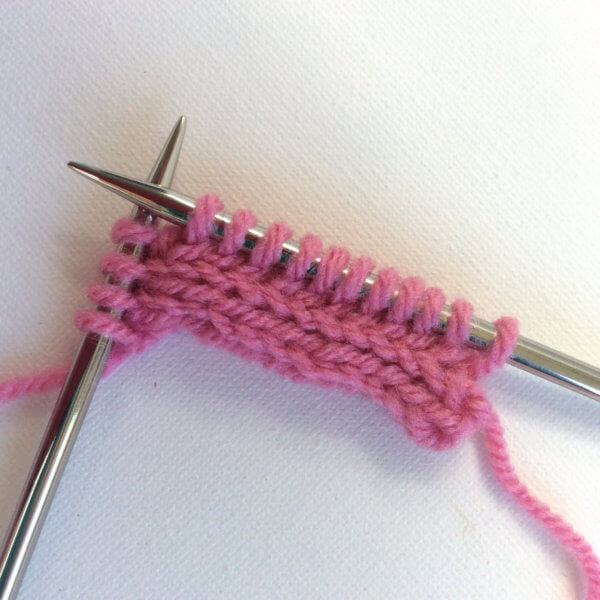
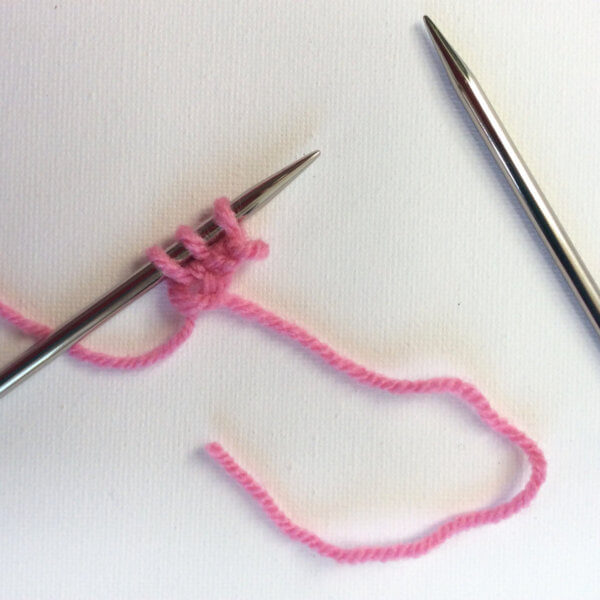
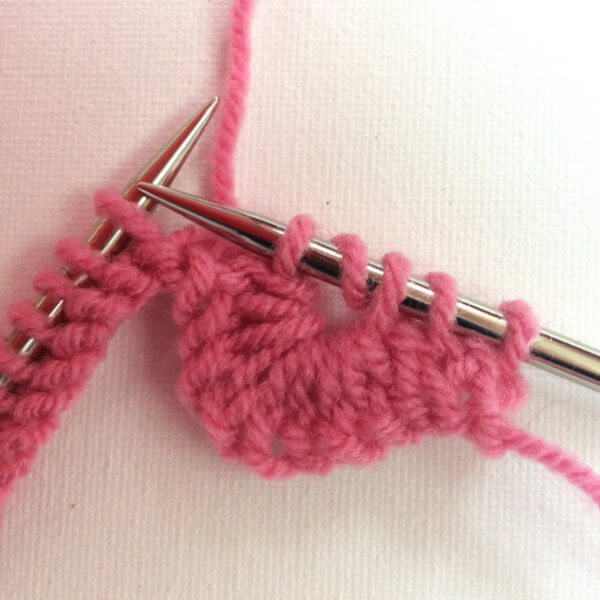
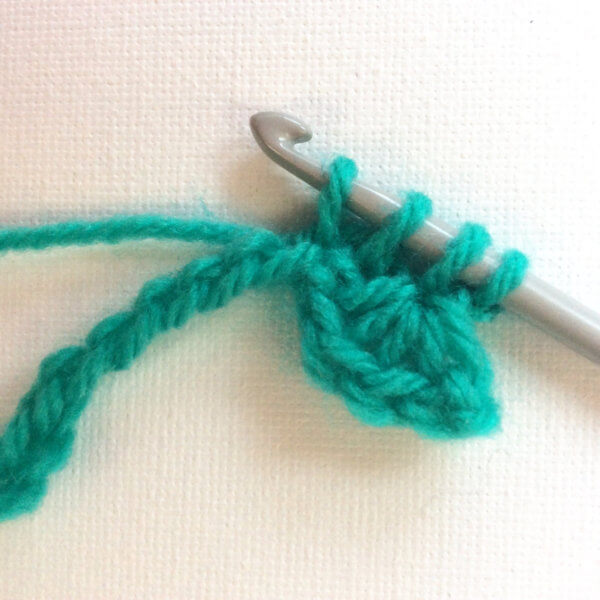
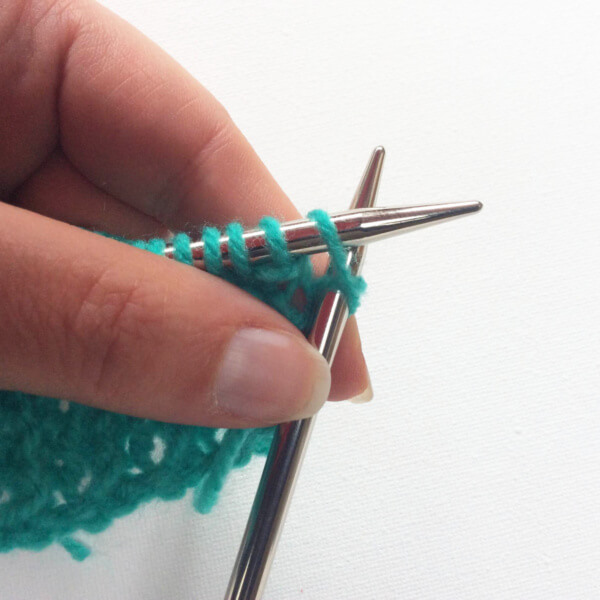
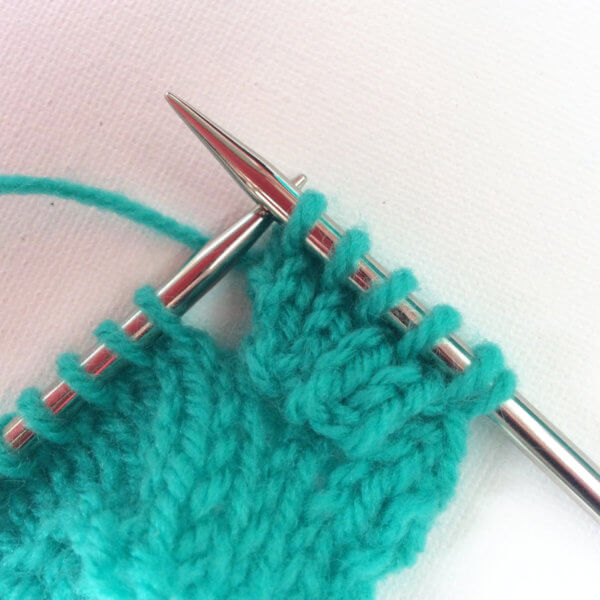
5. Turn work and knit 5 stitches.
6. Turn work and purl 5 stitches.

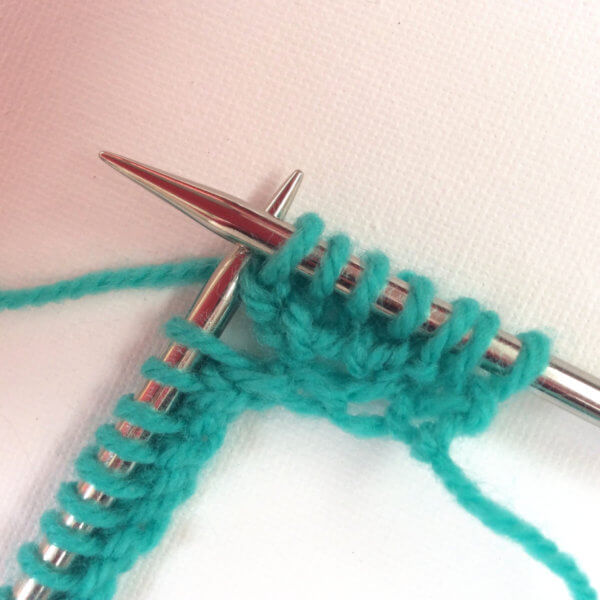
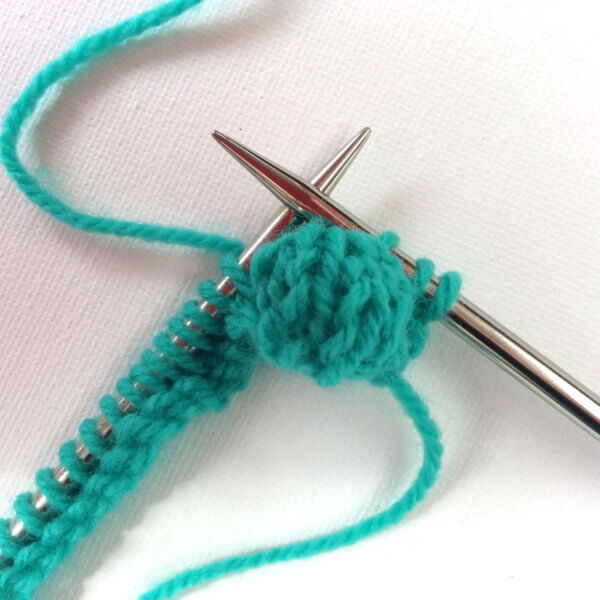
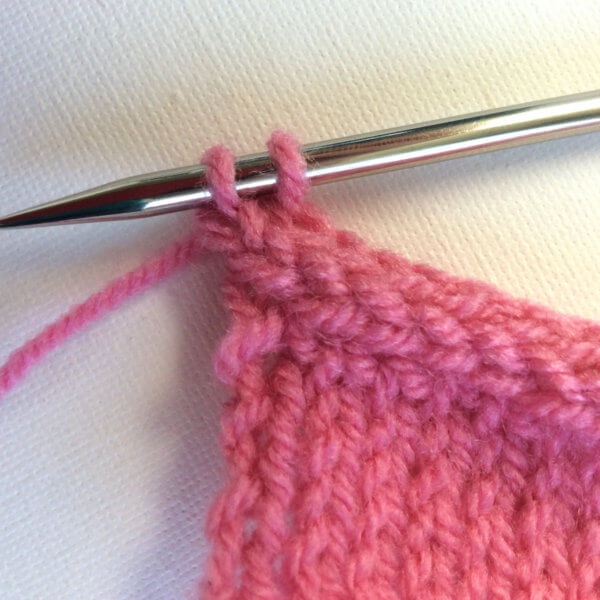
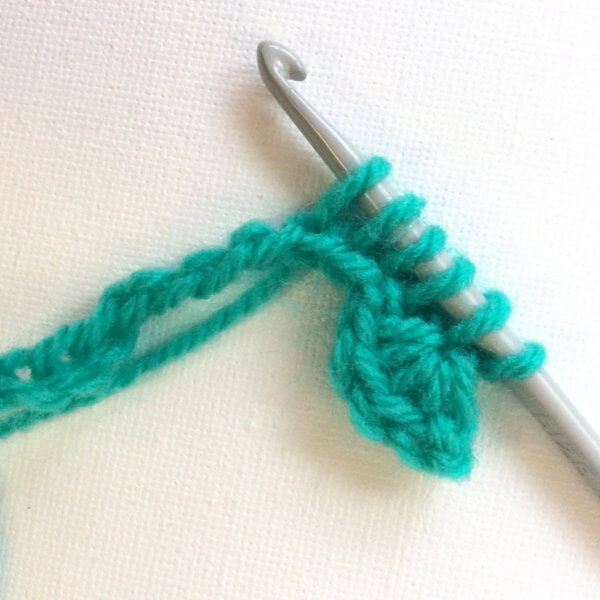
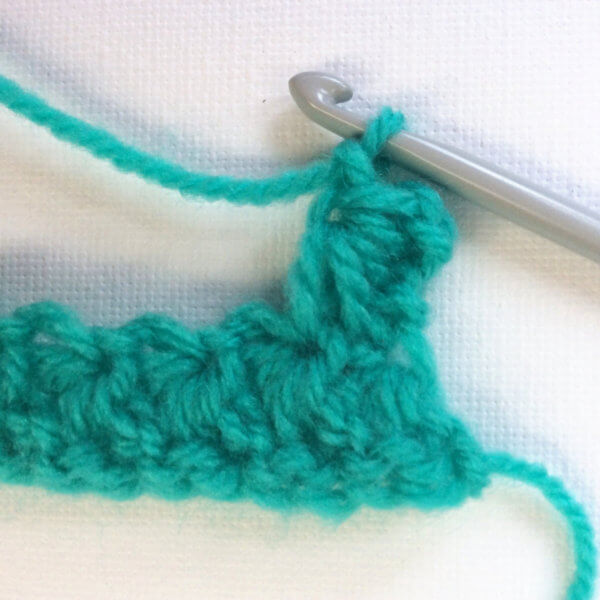
7. Turn work again and knit 5 stitches.
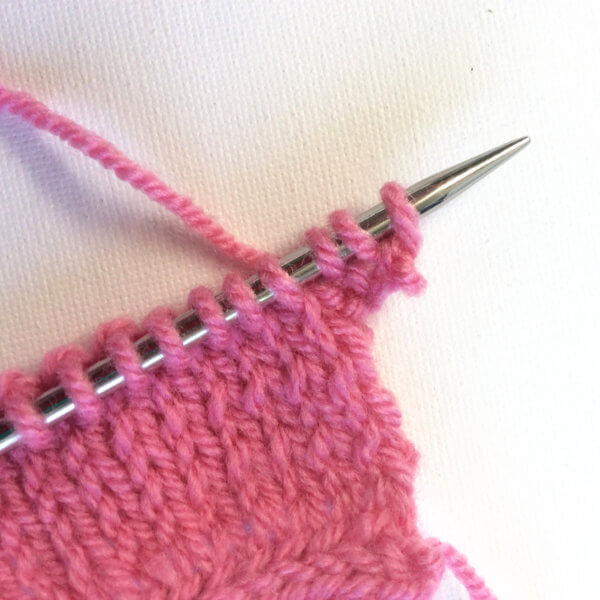
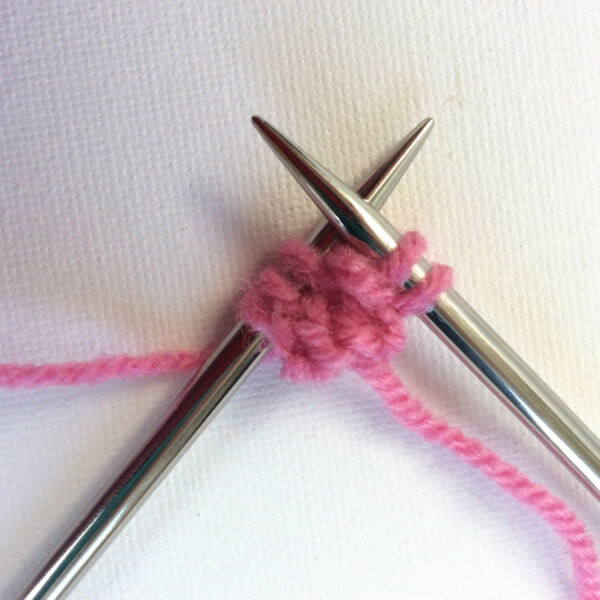
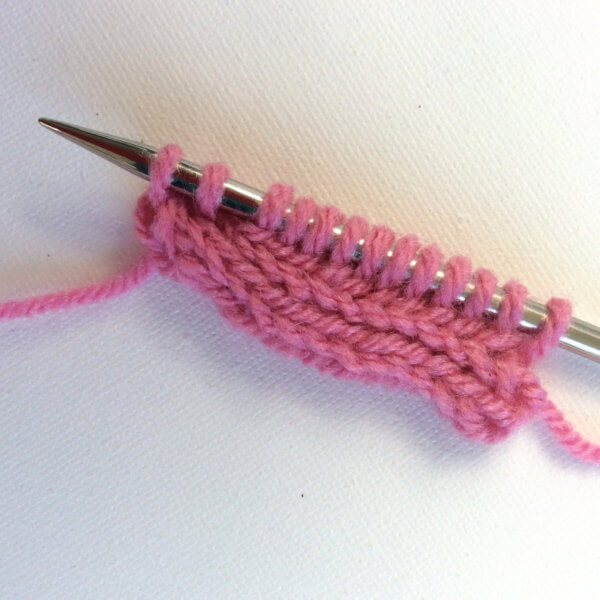
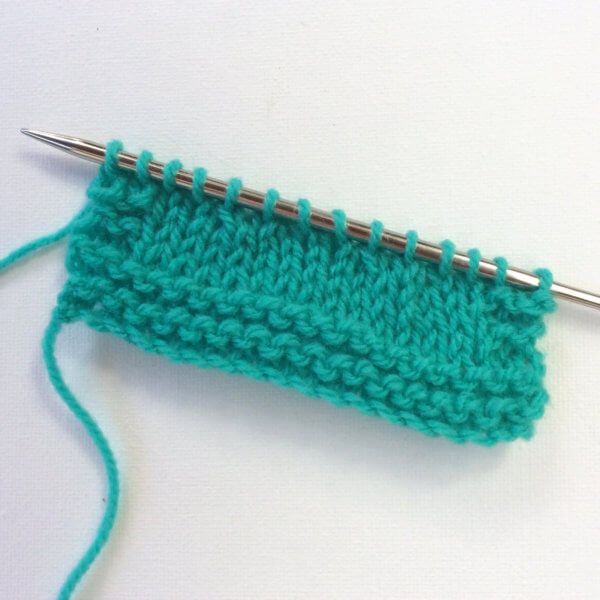
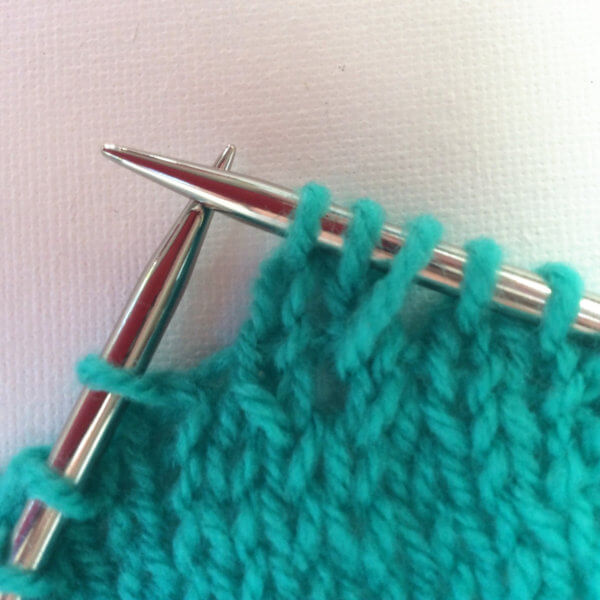
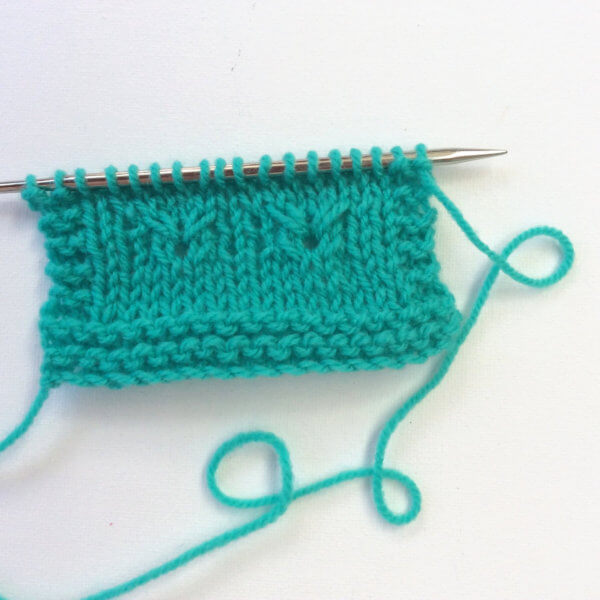
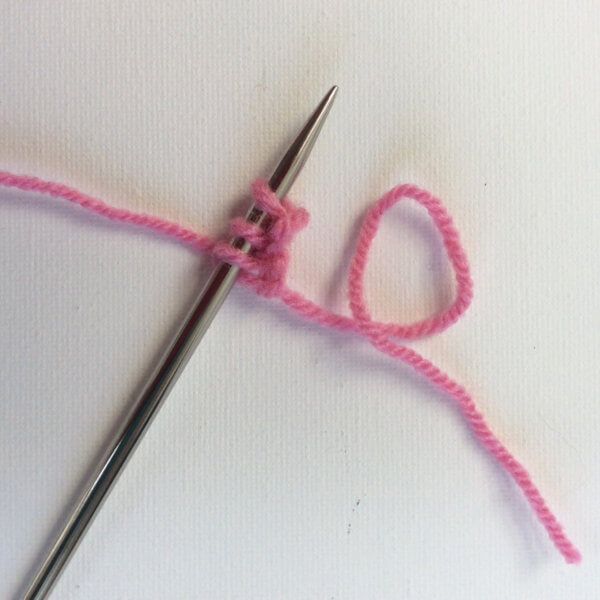
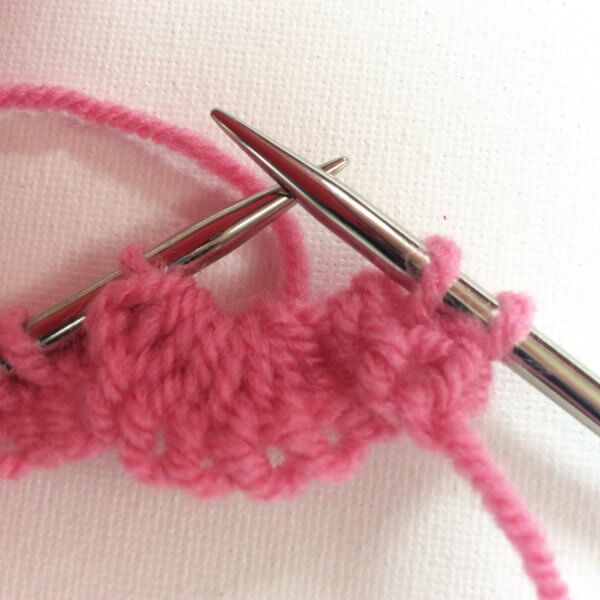
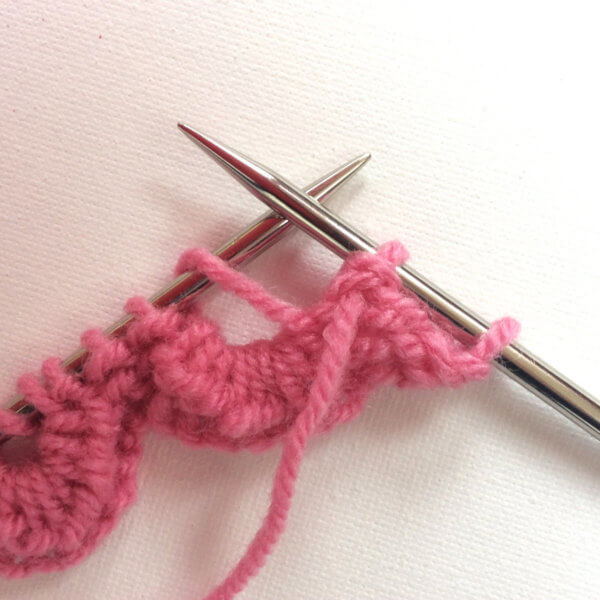
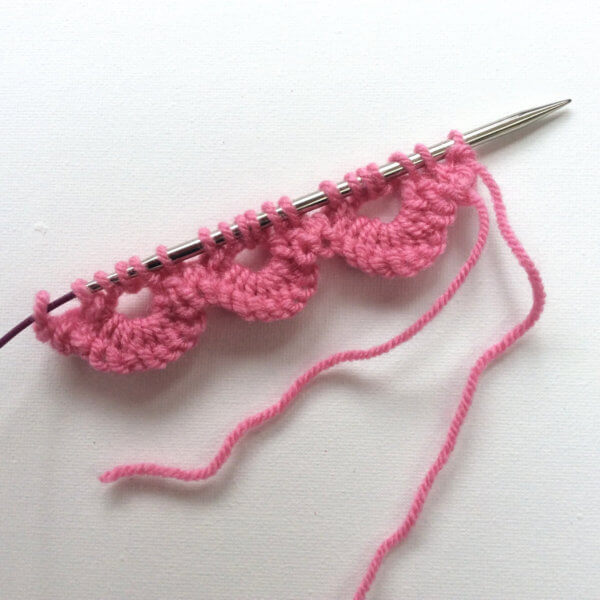
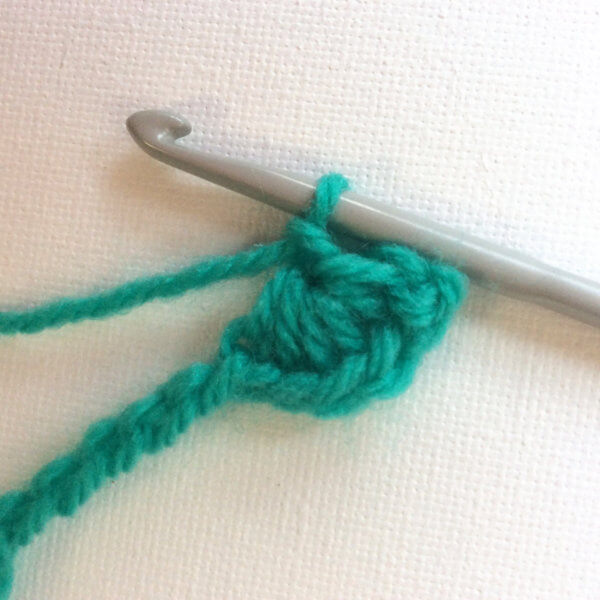
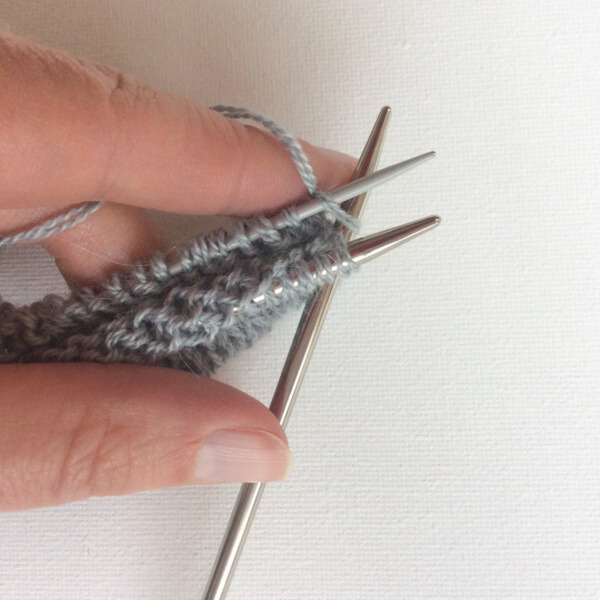
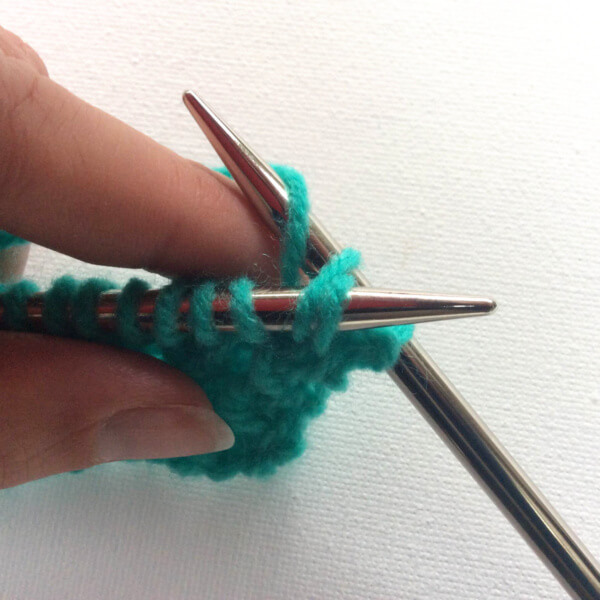
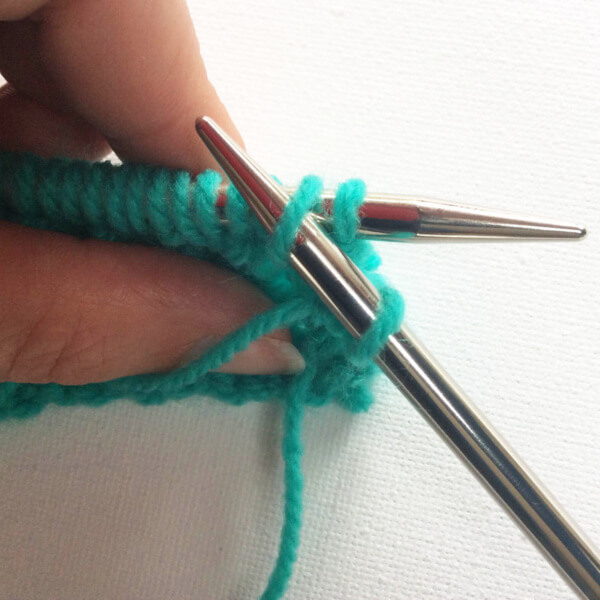
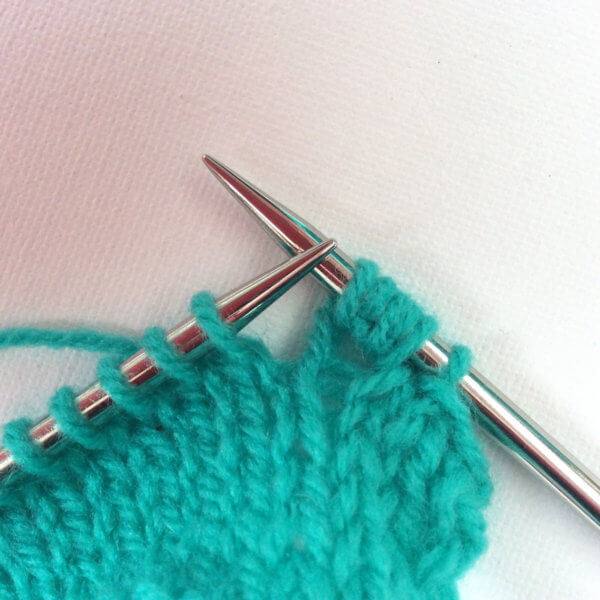
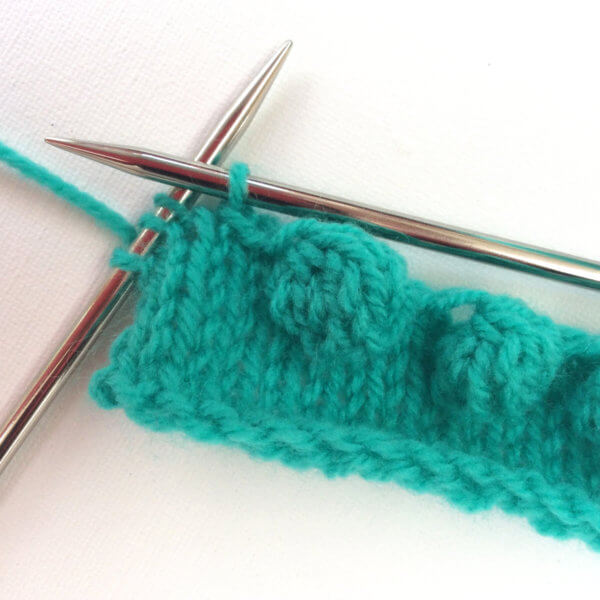
8. Now pass the second stitch on the right hand needle over the first stitch, repeat this until only 1 of the 5 bobble stitches remains. You have now created one bobble! You can push it out a bit to the right side of the work to show it to its best advantage. There are now only 2 stitches left on your right hand needle.
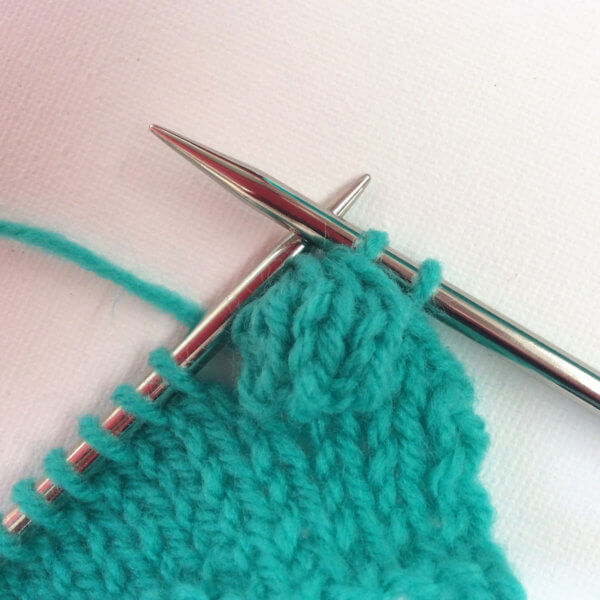
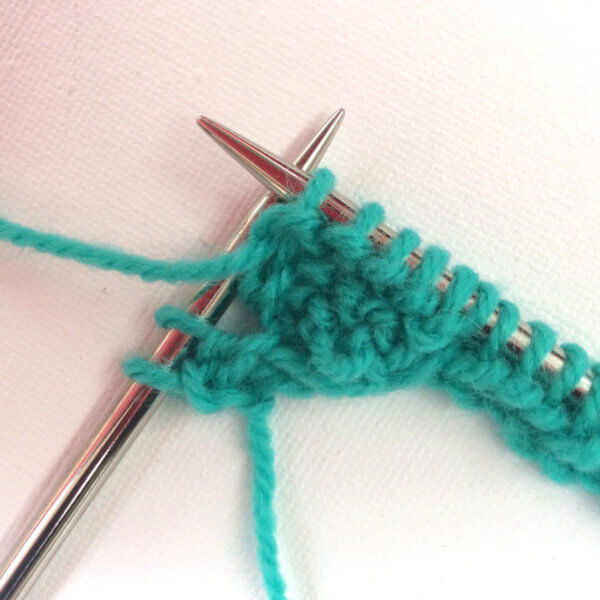
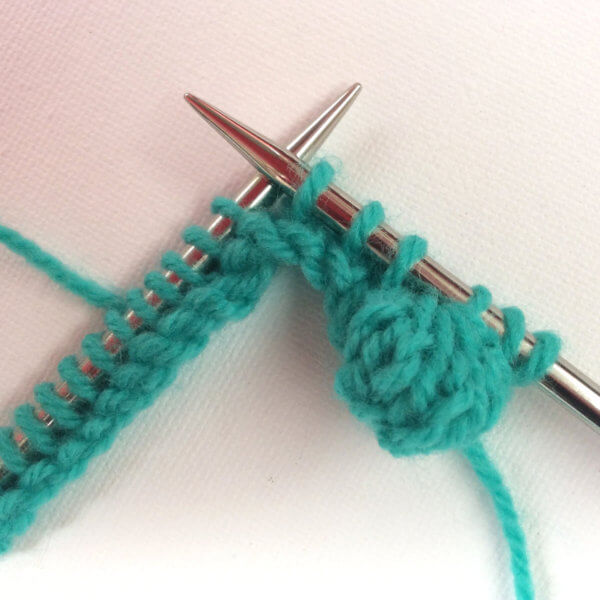
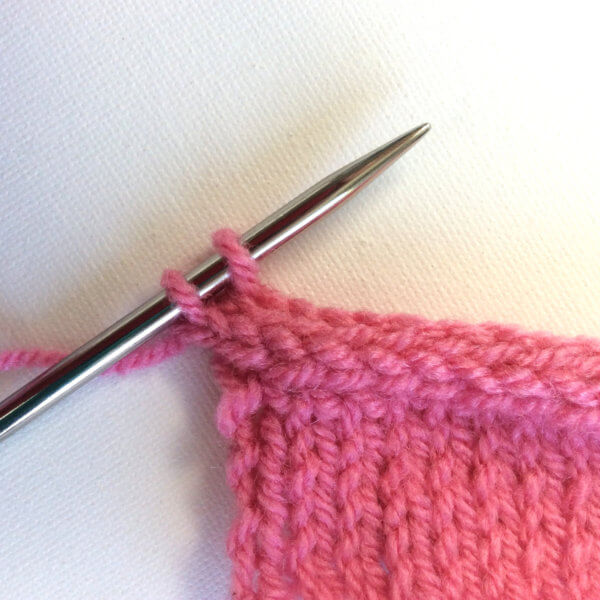
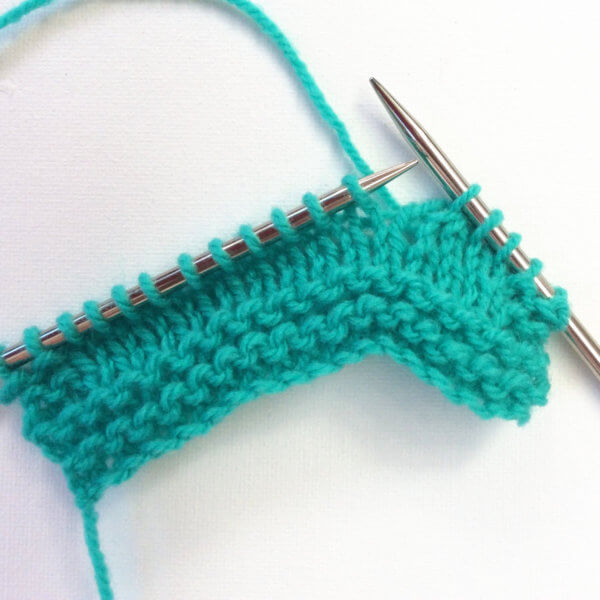
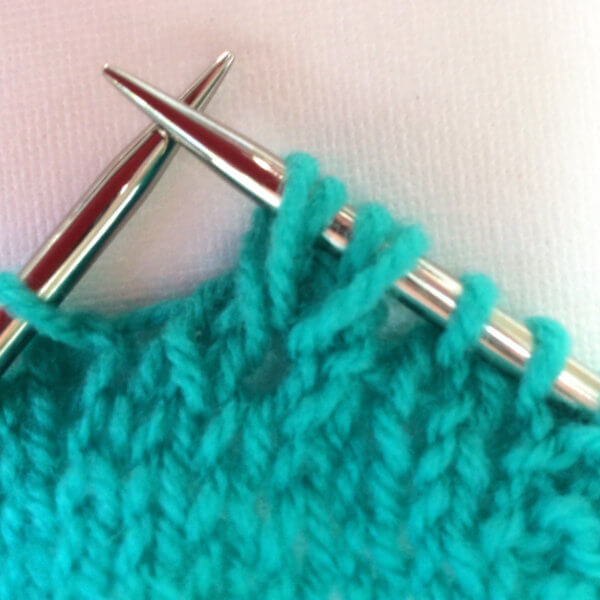
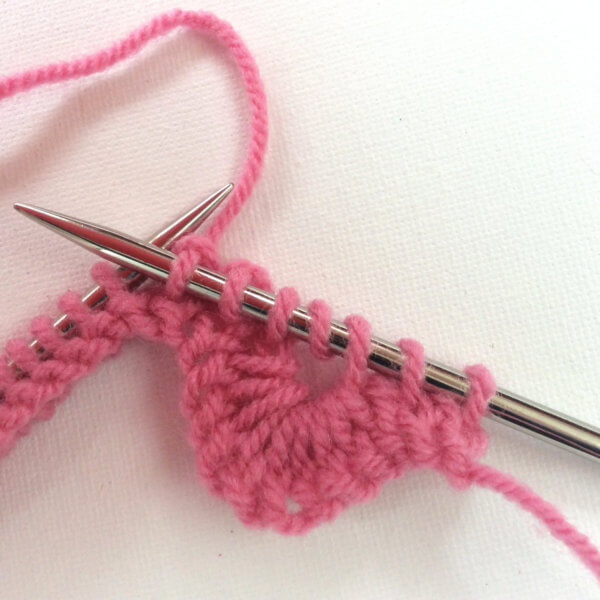
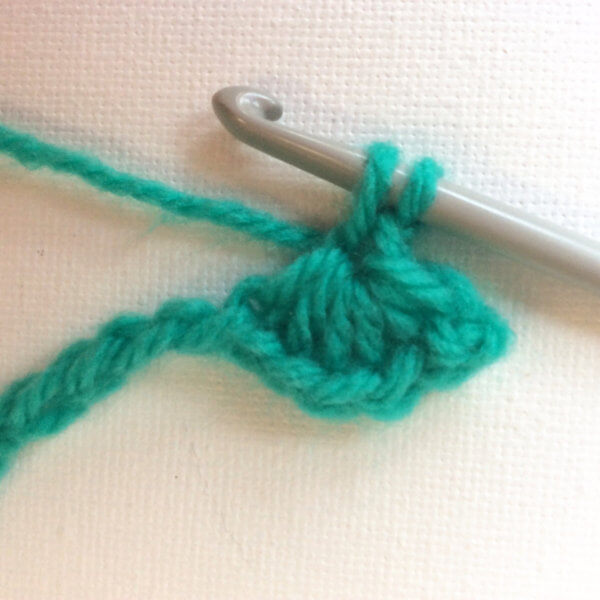
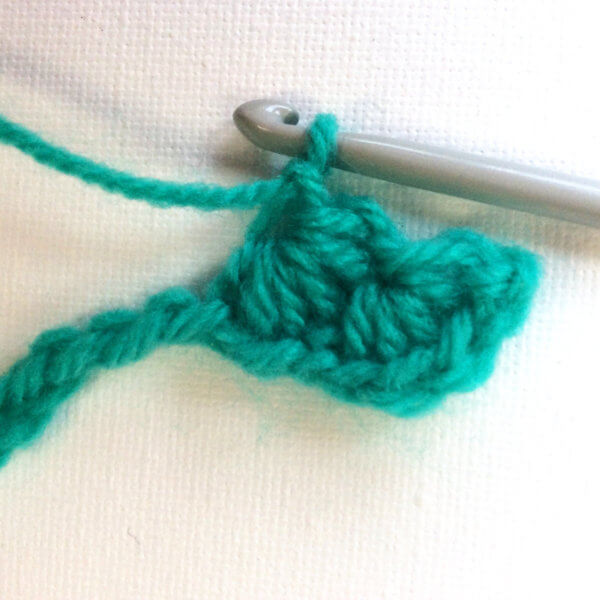
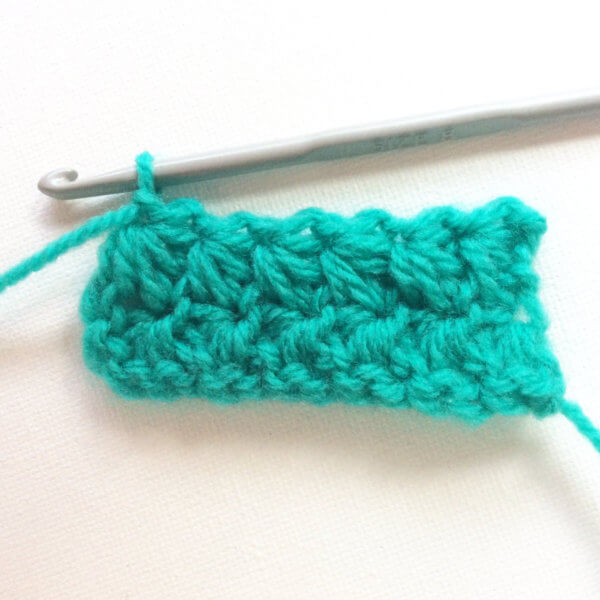
9. Next pass the second stitch on the right-hand needle over the first stitch to cast it off.
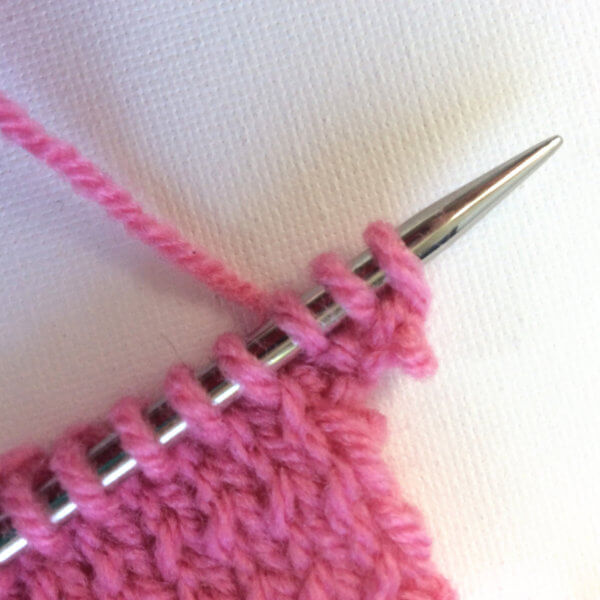
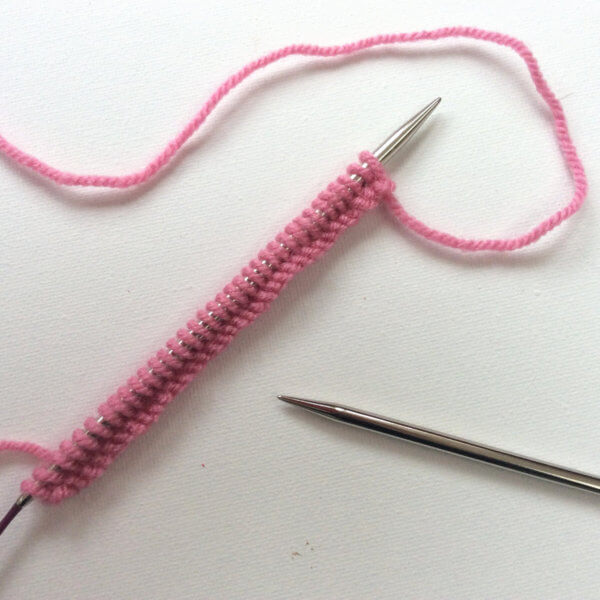
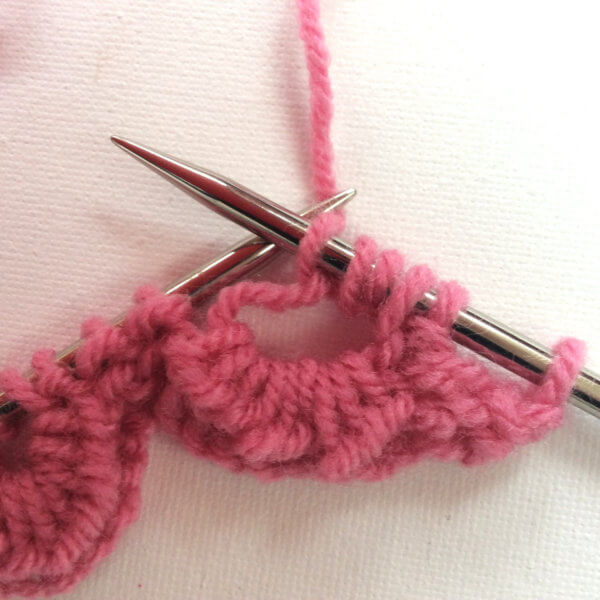
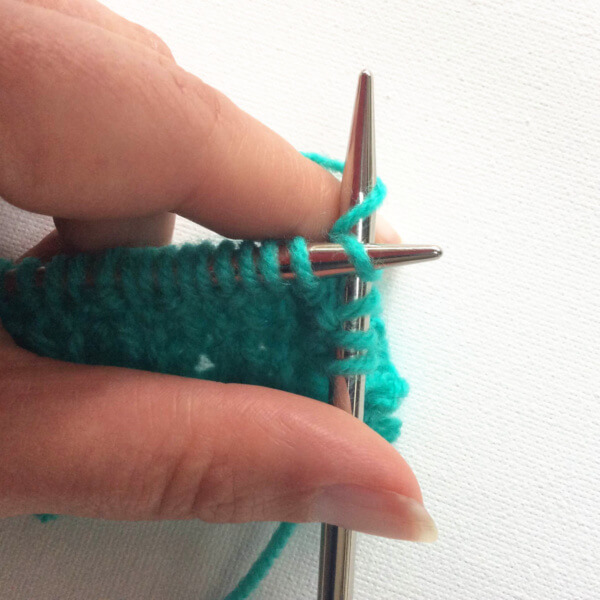
10. Knit one stitch and again pass the second stitch on the right-hand needle over the first stitch to cast it off. Repeat two more times to bind off 3 stitches in total.
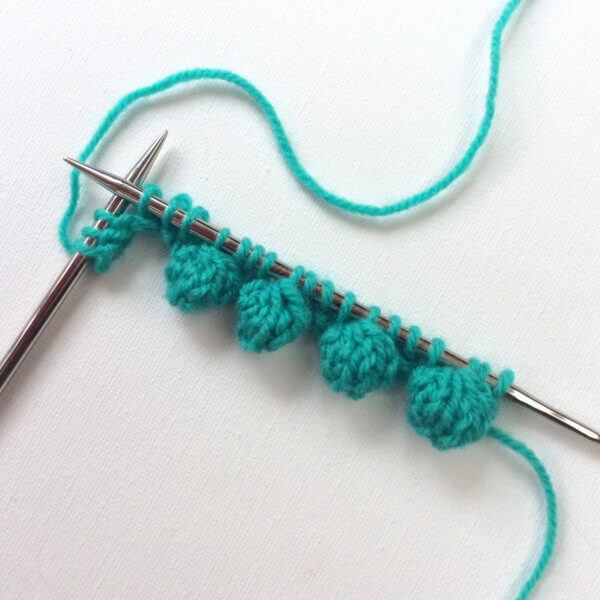
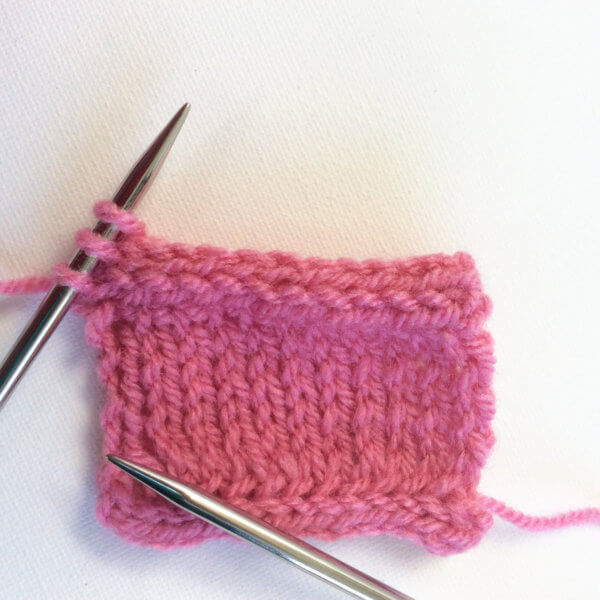
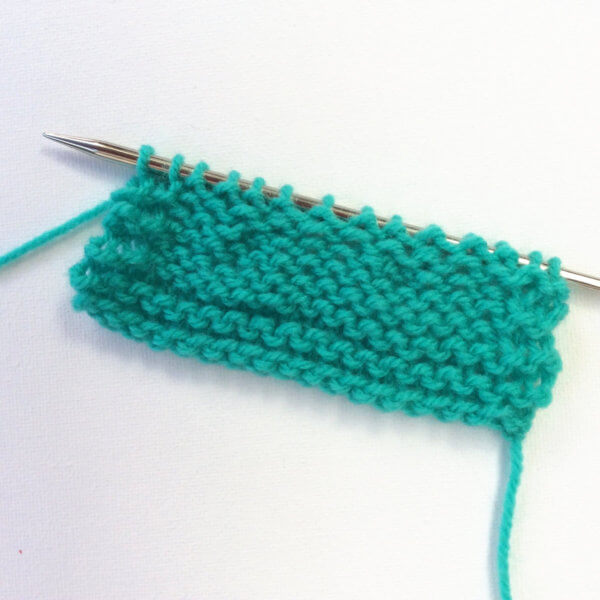
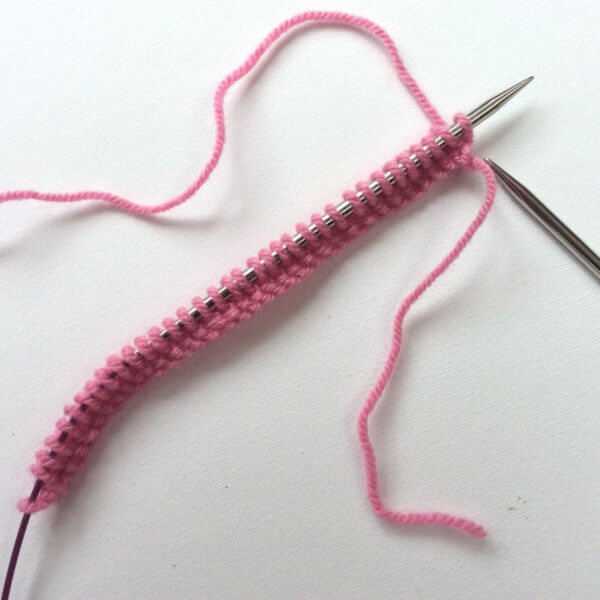
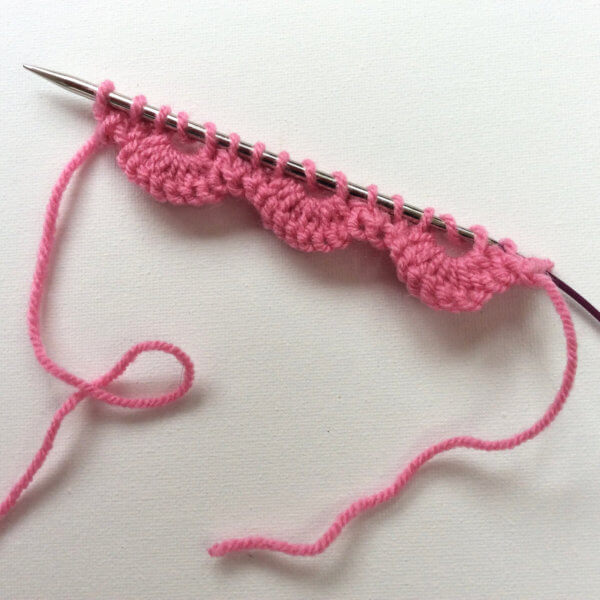
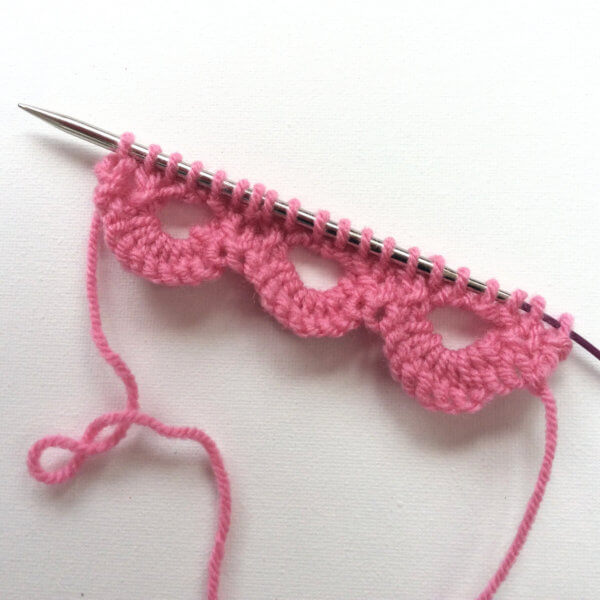
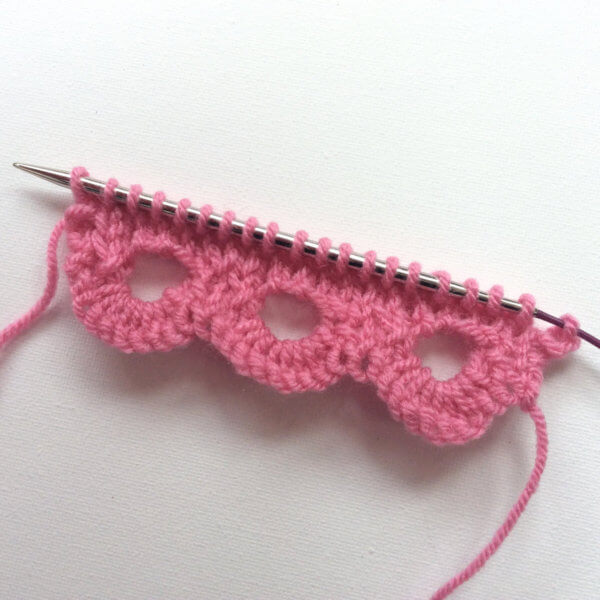
11. Repeat steps 3 to 10 until 3 stitches on the left-hand needle remain.
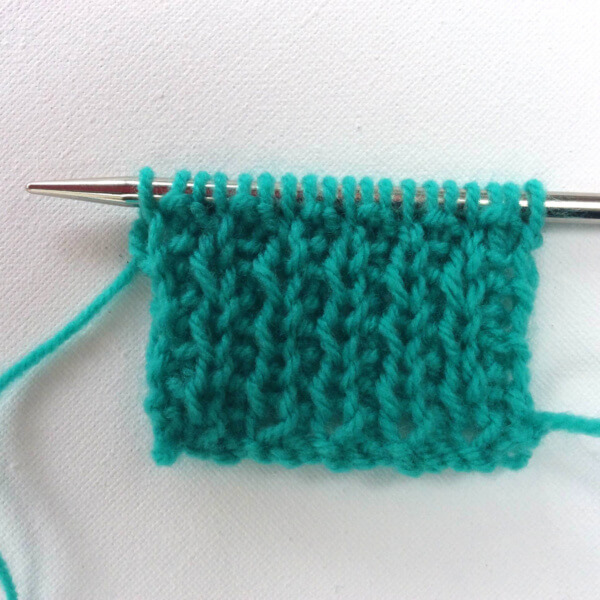
12. Repeat steps 3 to 9 once more to knit the last bobble and end with binding off the 2 edge stitches.
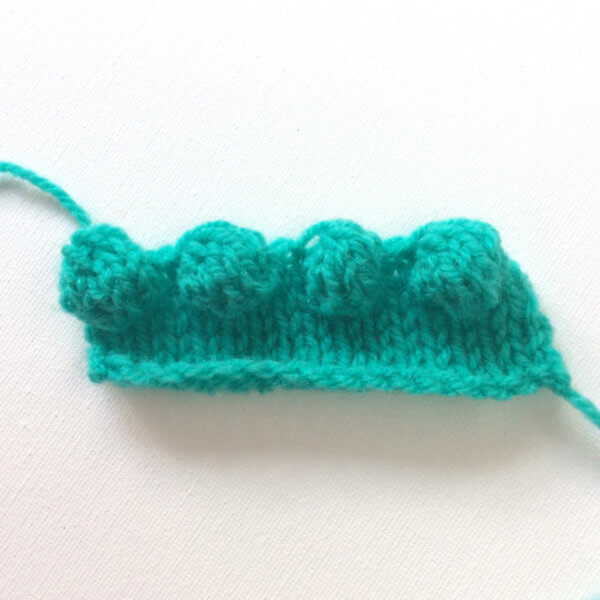
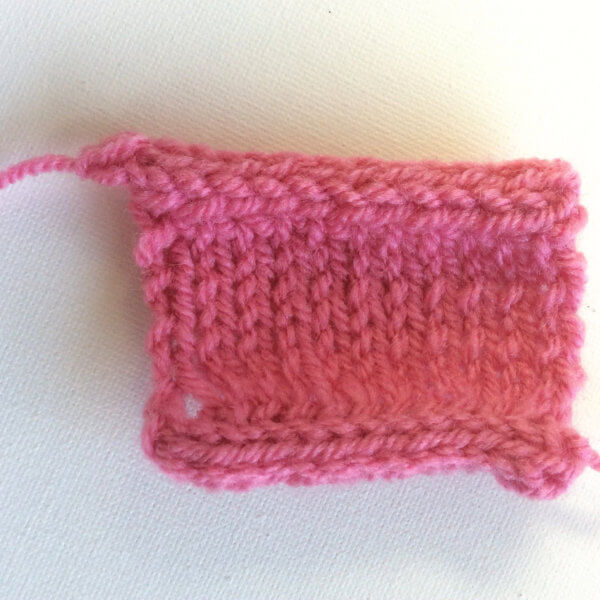
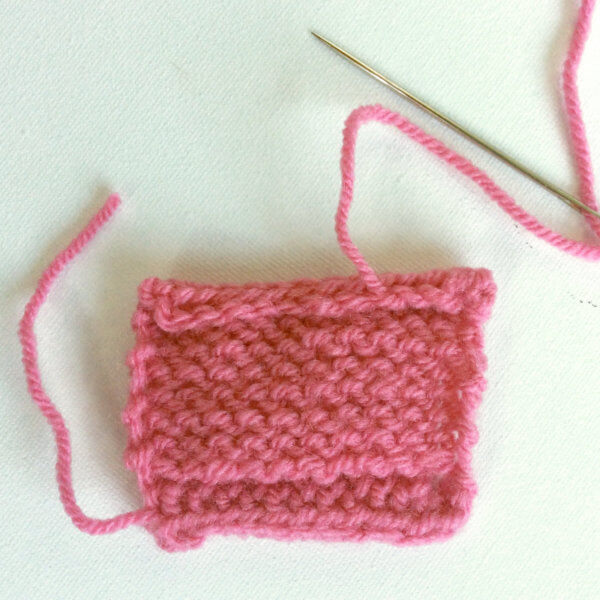
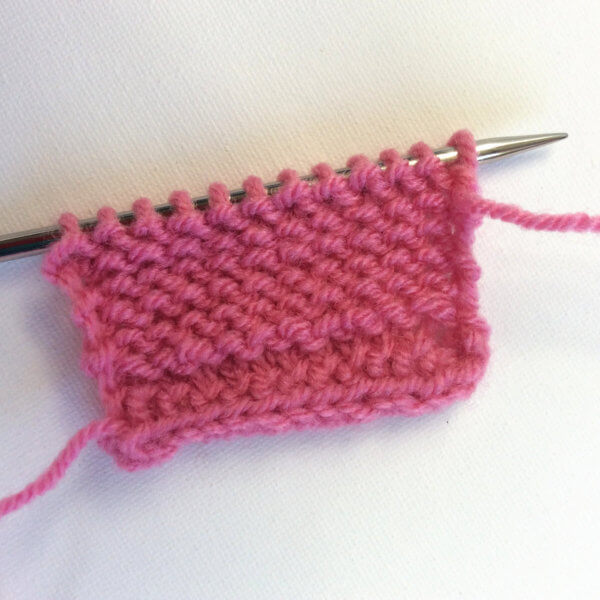
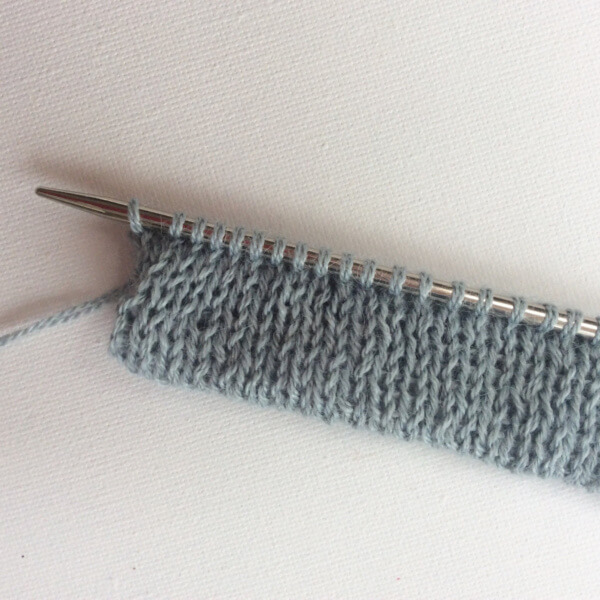
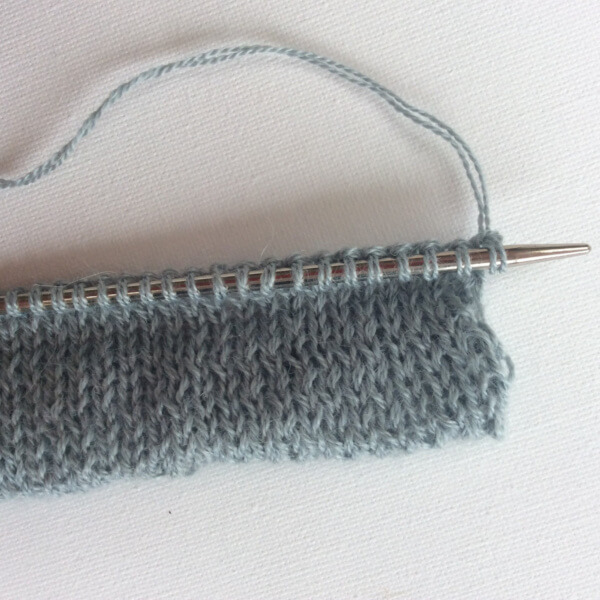
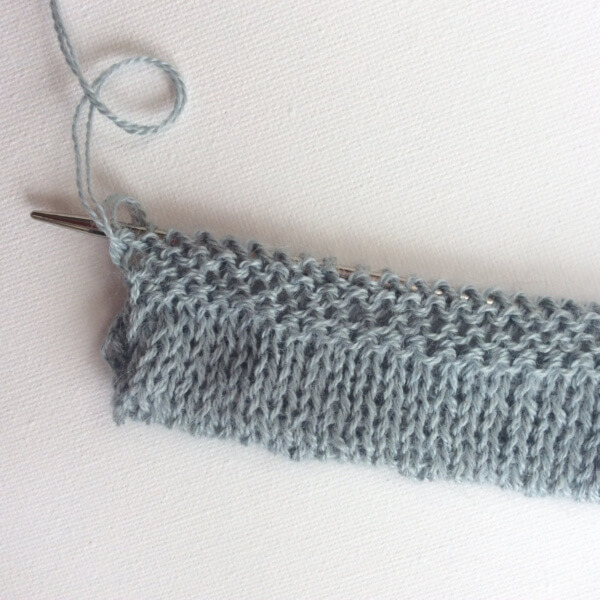
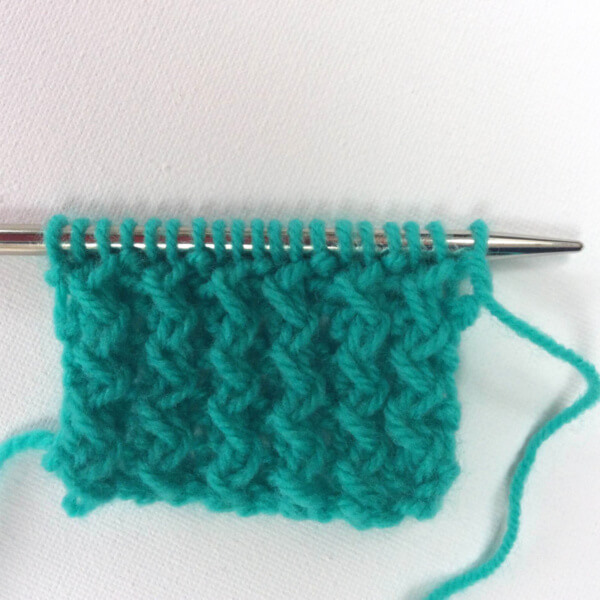
And this is how the bobble bind-off is done!
tutorial: knitting a bobble bind-off Read More »