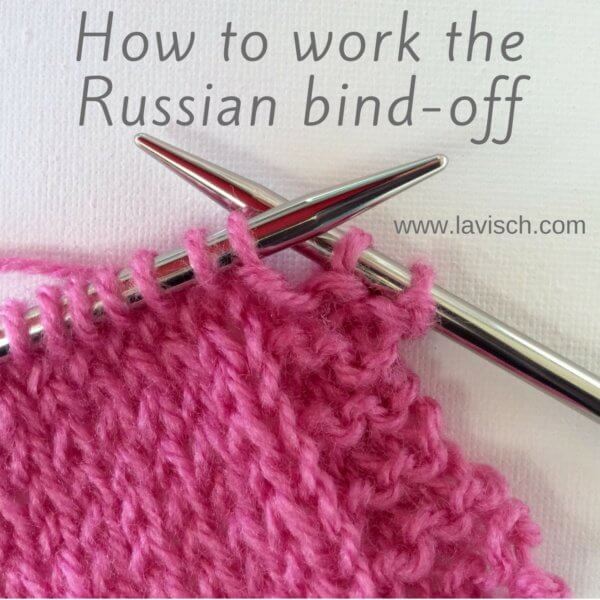
You probably already know that there are many different ways to bind off. A problem that sometimes occurs is that the bind off too tight. That is when you get the sweaters were no head fits through the neck opening, or those toe-up knitted socks where no foot can be put in and lace shawls that can’t be blocked out to reveal their patterning.
Of course, you can choose to go up in needle size when binding off. However, a too loose bind off is not pretty either… What to do? In these cases, my go-to bind off is the Russian bind-off. This is an elegant way to get a very elastic edge on your piece. This is often important to me because I knit a lot of lace shawls.
In patterns you may encounter the following instructions for this type of bind off:
Russian bind-off: K1, * k1, slip stitches from right-hand back to left-hand needle and k2tog tbl. Repeat from * to end.
The Russian bind-off step by step
1. Knit the first stitch.
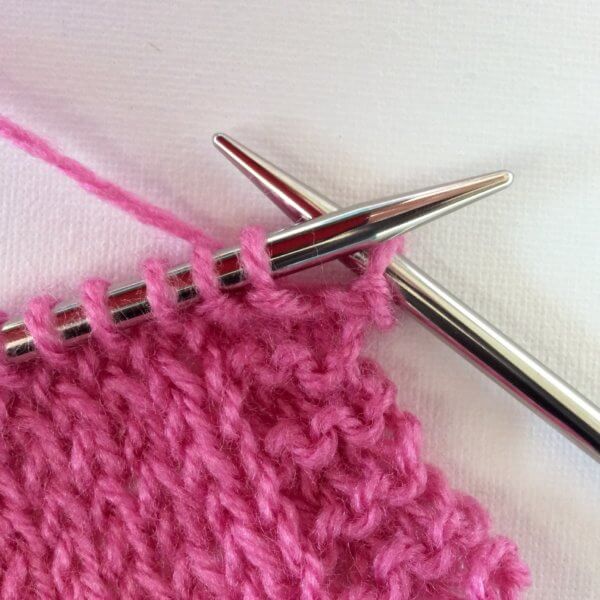
2. Knit the next stitch
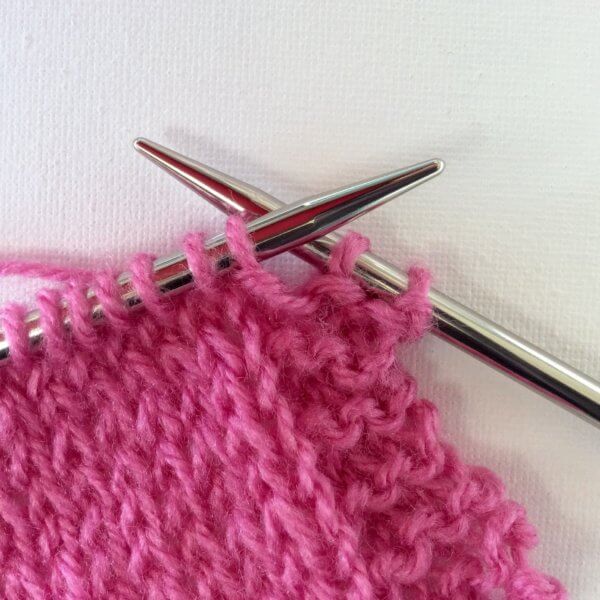
3. Slip the two stitches on your right-hand needle back to your left-hand needle.
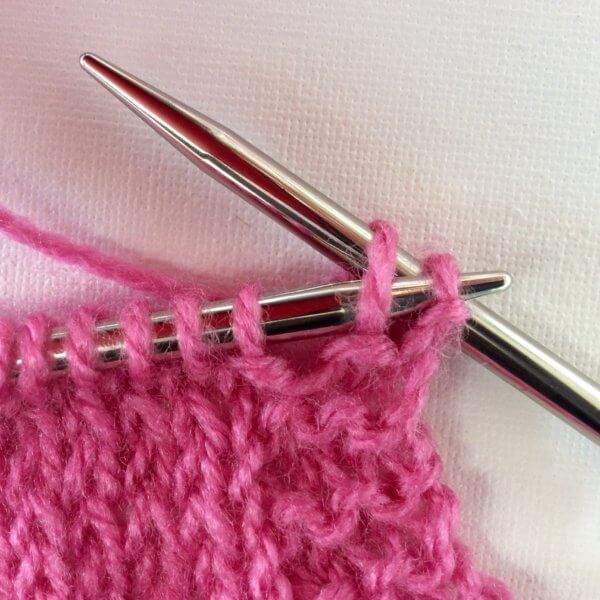
4. Knit these two stitches together through the back loop.
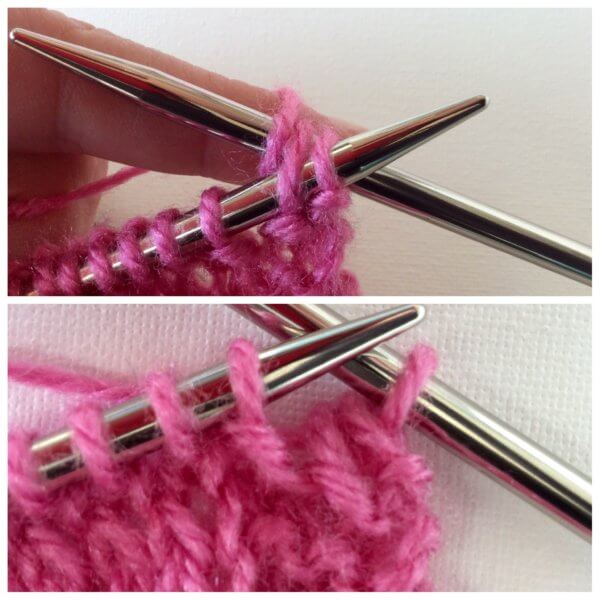
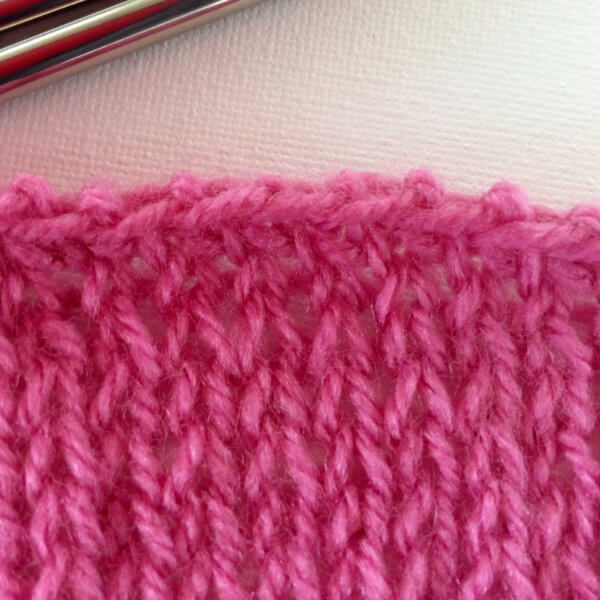
5. Repeat steps 2 to 4 until you have reached the end. The result on a piece in stockinette stitch will look like this:
Tip
The Russian bind-off can for example also be used to bind off in rib pattern. You only need to adjust step 2 of the above instructions: Knit the knit stitches that you encounter and purl the purl stitches. That’s all there is to it!


