As I wrote in my tutorial on the mattress stitch, there are many ways to join two pieces of knitted fabric together. And they all have their own advantages and disadvantages! In this post, I’ll be talking about seaming with slip stitch, using a crochet hook. This technique is particularly suited for joining pieces together, that are not an exact match in rows or stitch patterns. Think for example of easing a set-in sleeve into its sleeve cap. Personally, I also prefer it over other seaming methods, because of how easy it is to undo. That flexibility can be a lifesaver when working on long seams like those on flat-knit sleeves.
Materials used


Yarn: Paintbox Yarns Simply DK, a good value, good quality 100% acrylic yarn, here in the color 142 Tea Rose. I also used a bit of 155 Vintage Pink.
Crochet hook : A crochet hook similar or smaller to the size of the knitting needles used in the project. The hook pictured is by Pony.
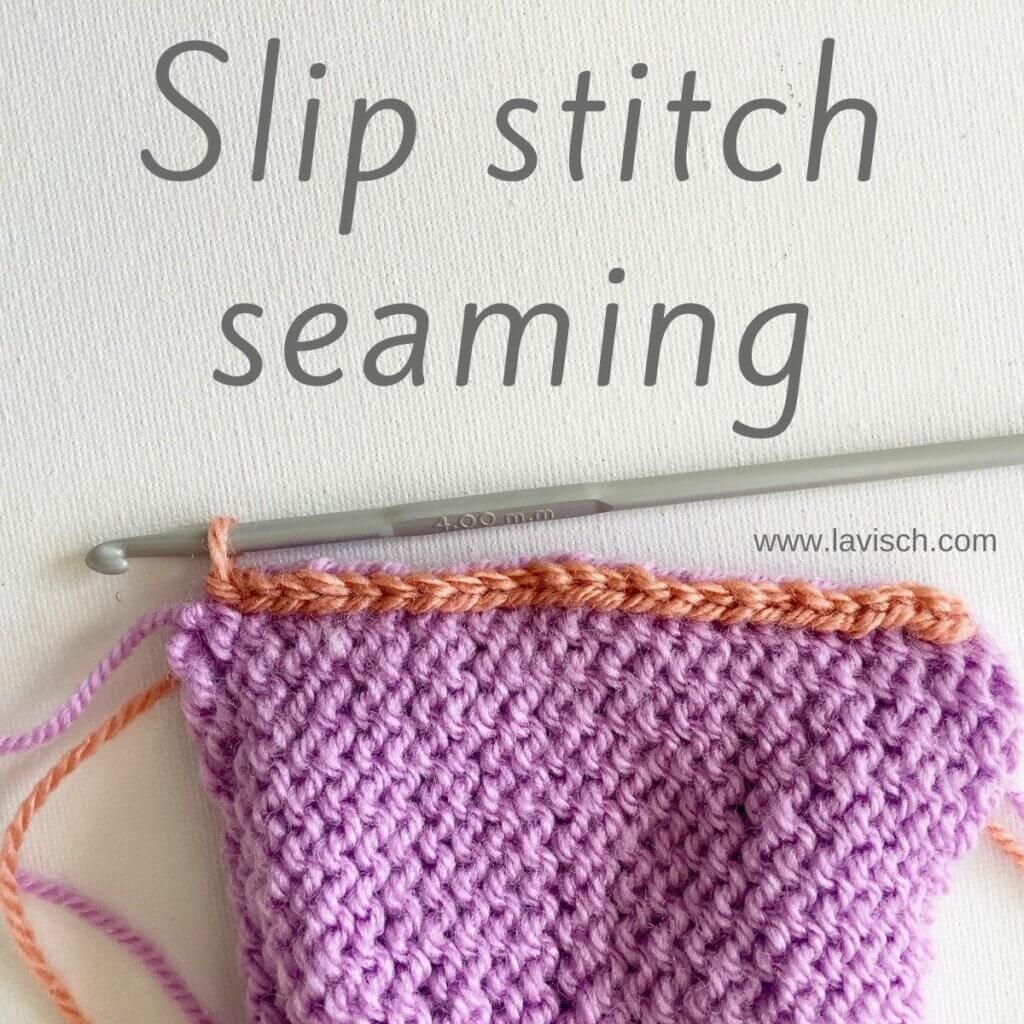
Slip stitch crochet seaming step by step

In this tutorial, I’m using the purple swatch to show you how to seam it close using slip stitch crochet, with the orange yarn. This particular seaming technique can be done with both the right side or the wrong side of the fabric facing. It yields a very decorative seam, that could be used as a design feature when visible on the outside of the piece, especially in a contrasting yarn. In this example, however, I’m working it with the wrong side facing, to have the seam on the inside of the piece.
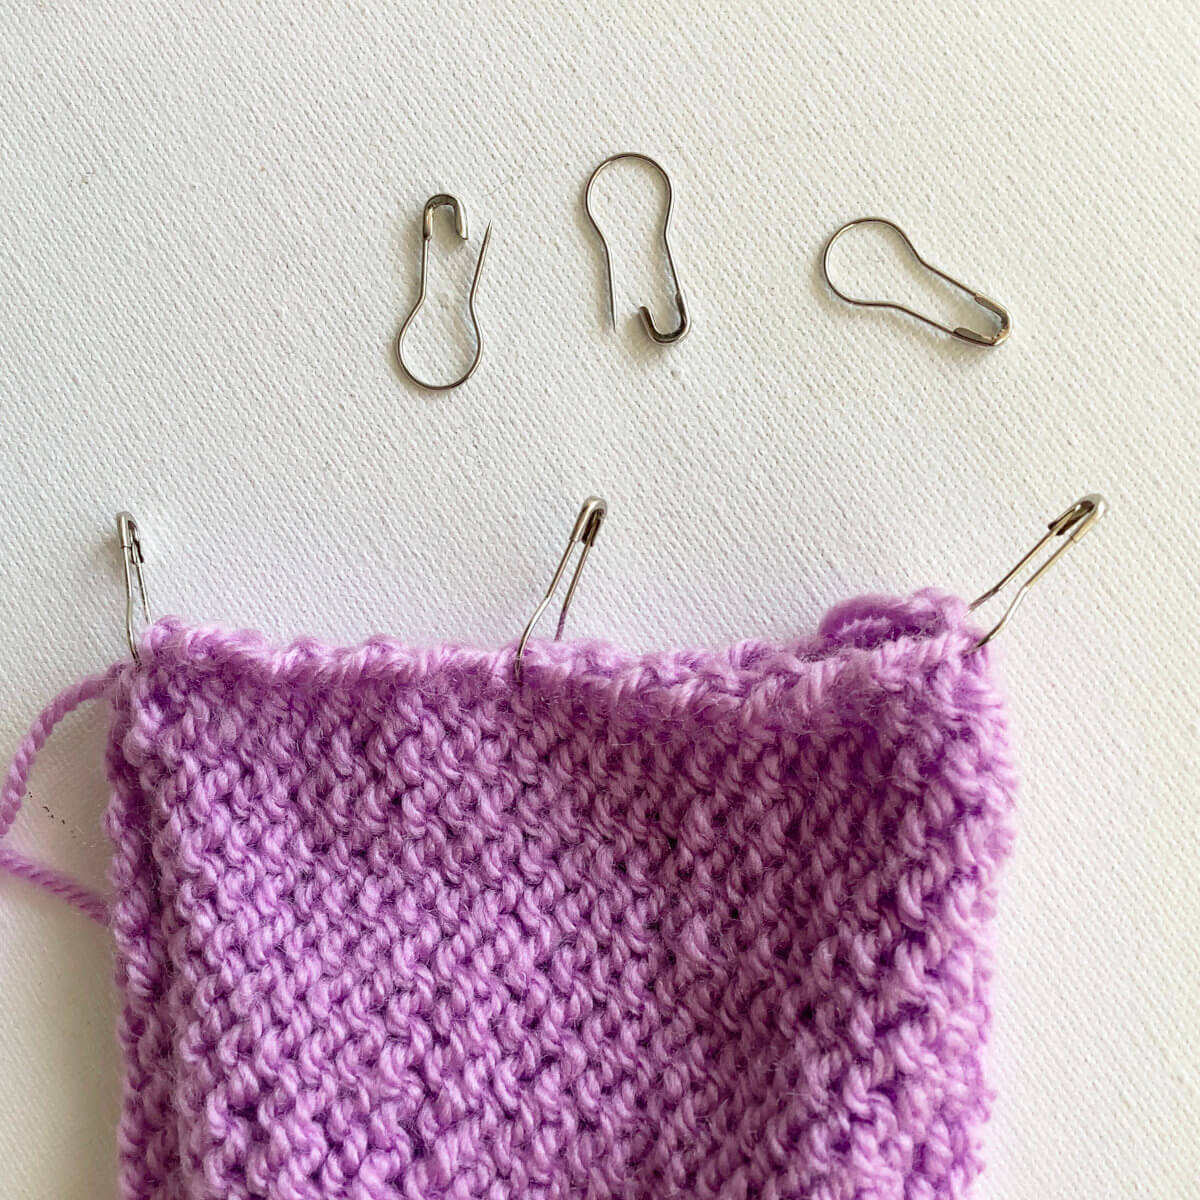
- First, line up the edges of the pieces to be seamed together.
I like to use these bulb-pins to hold the edges together, but regular safety pins or stitch markers could also be used.
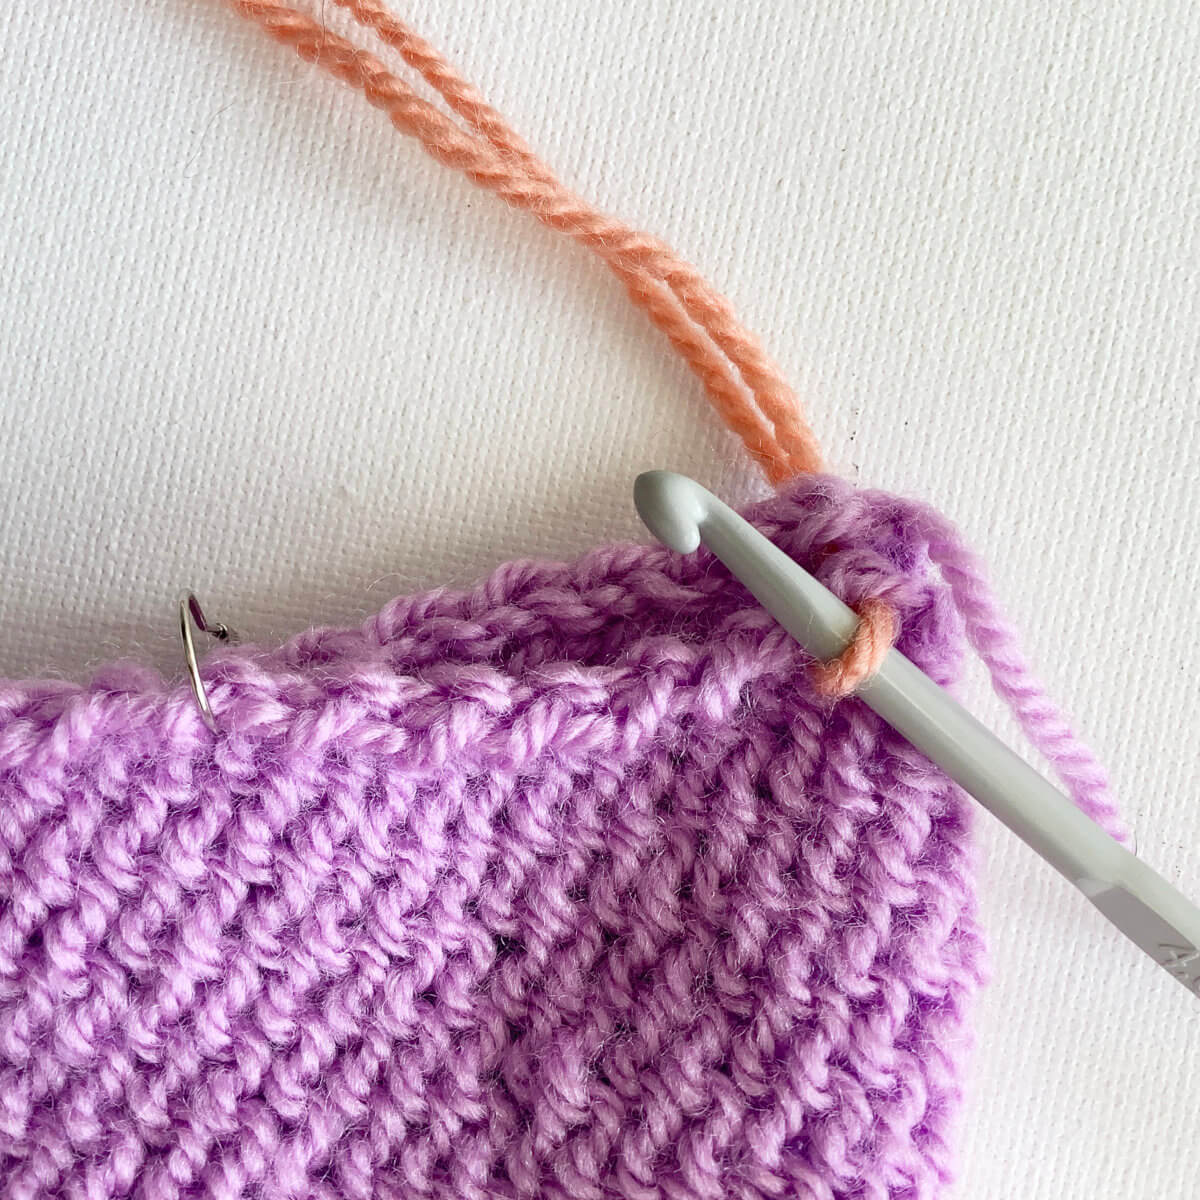
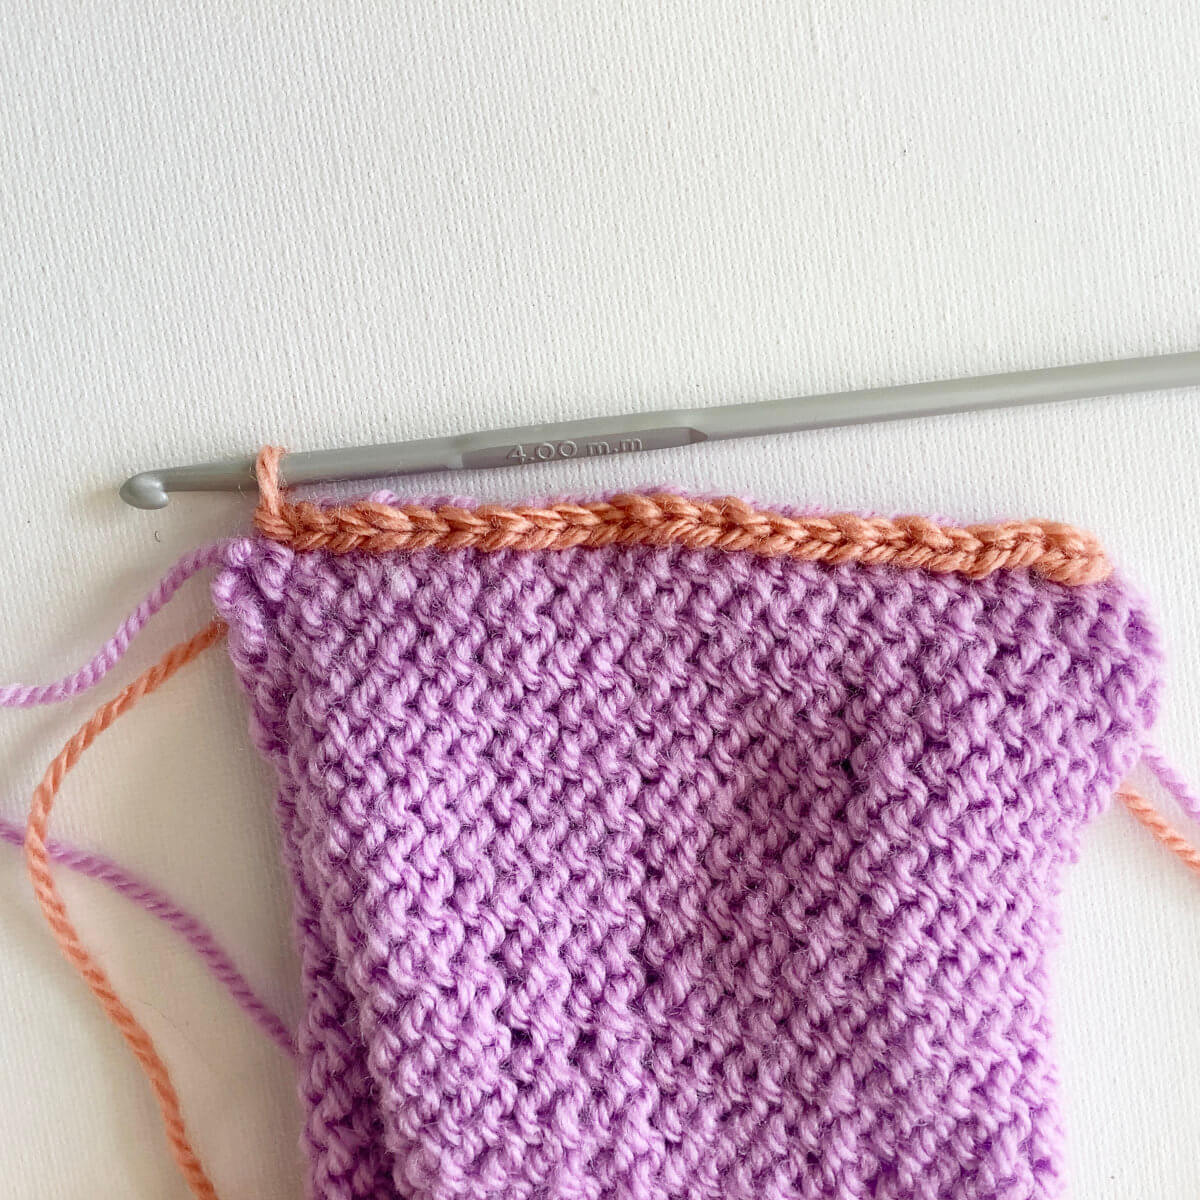
- To start, insert the crochet hook from front to back through both pieces, on the utmost right of the work. Take care to go under only one edge stitch for each piece.
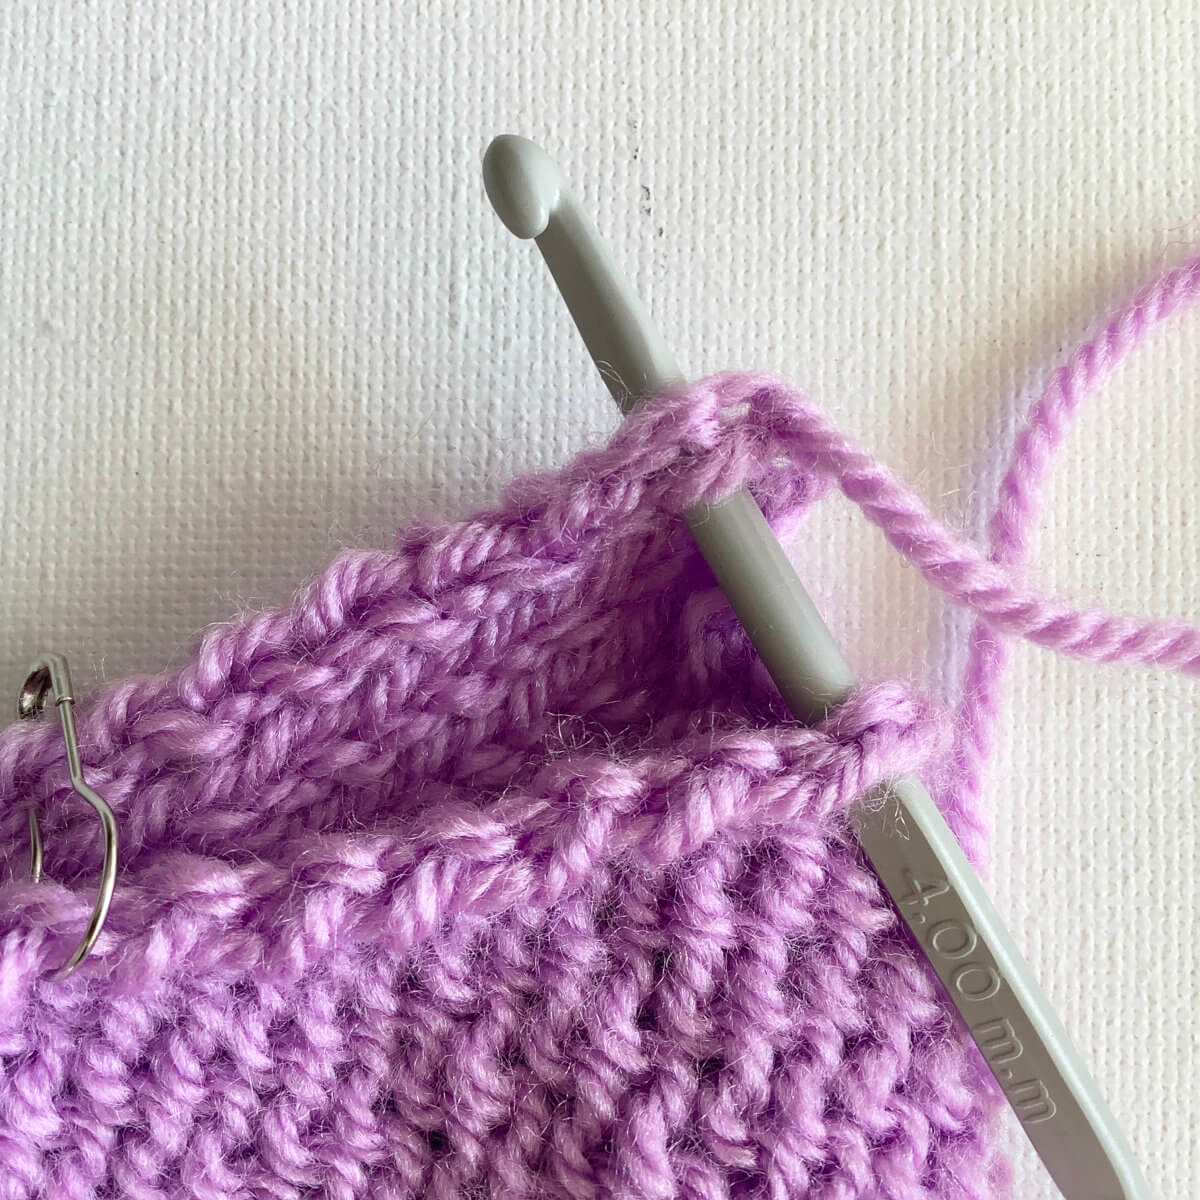
- Next, grab a loop of your seaming yarn …
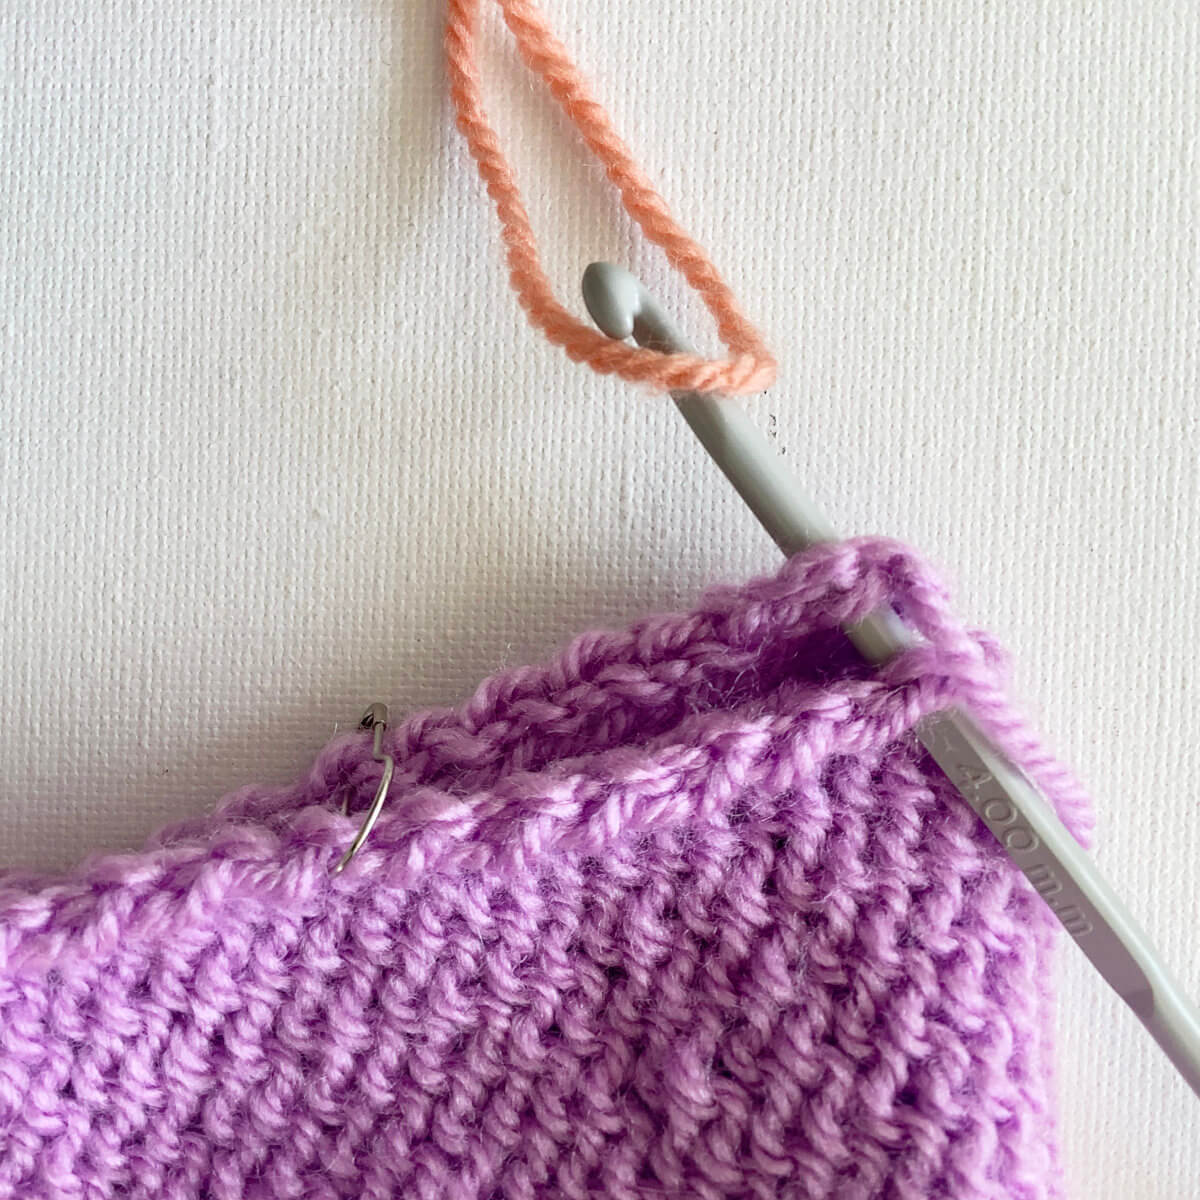
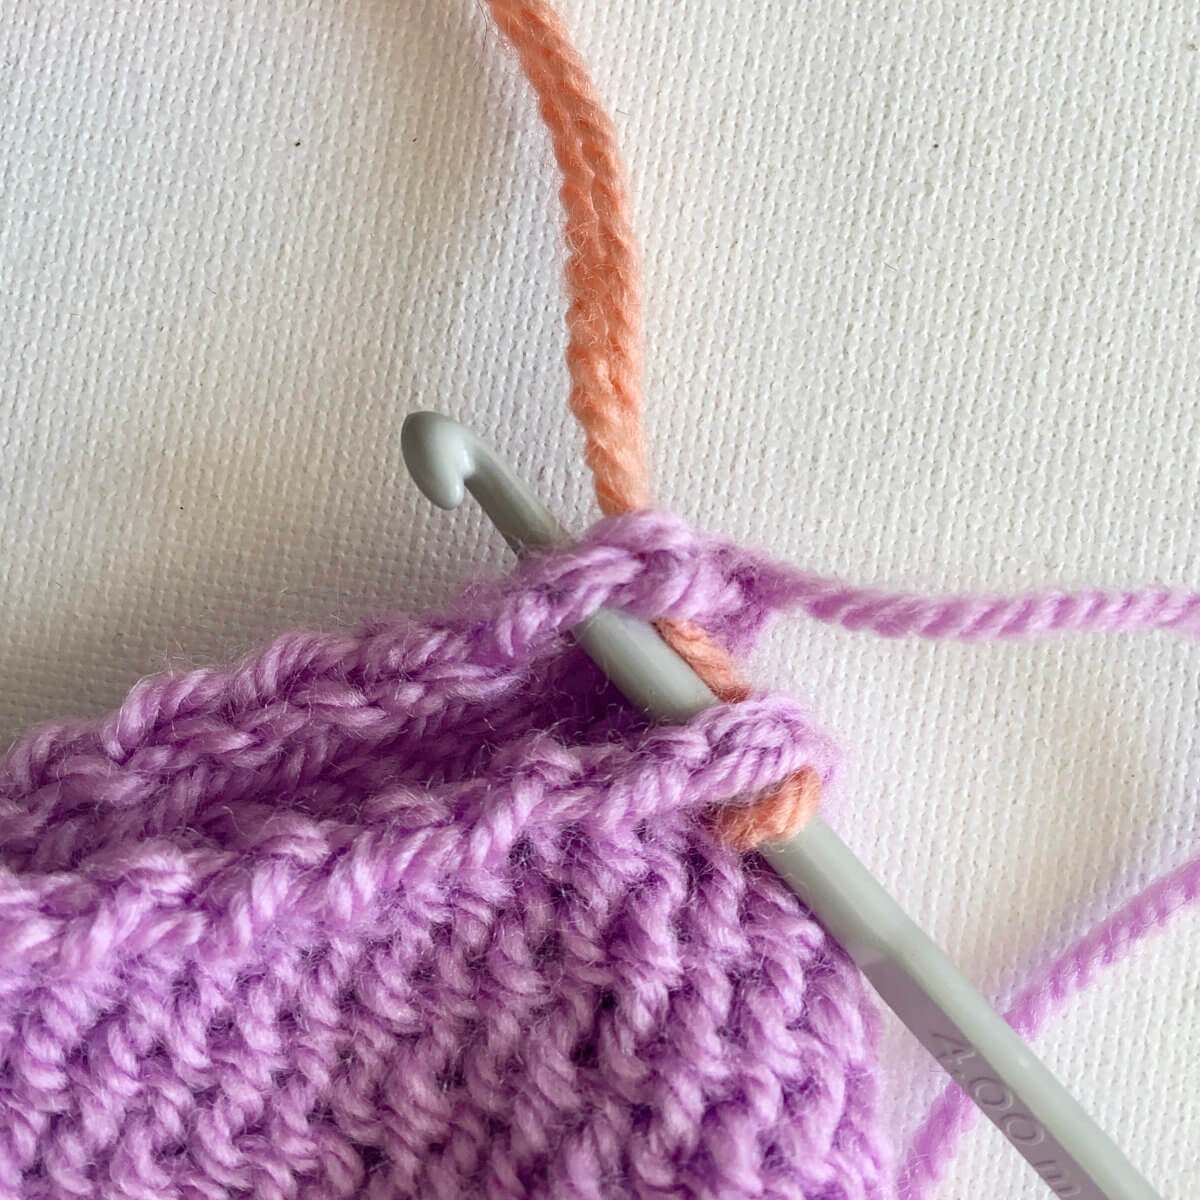
- …. and pull it through both edge stitches.
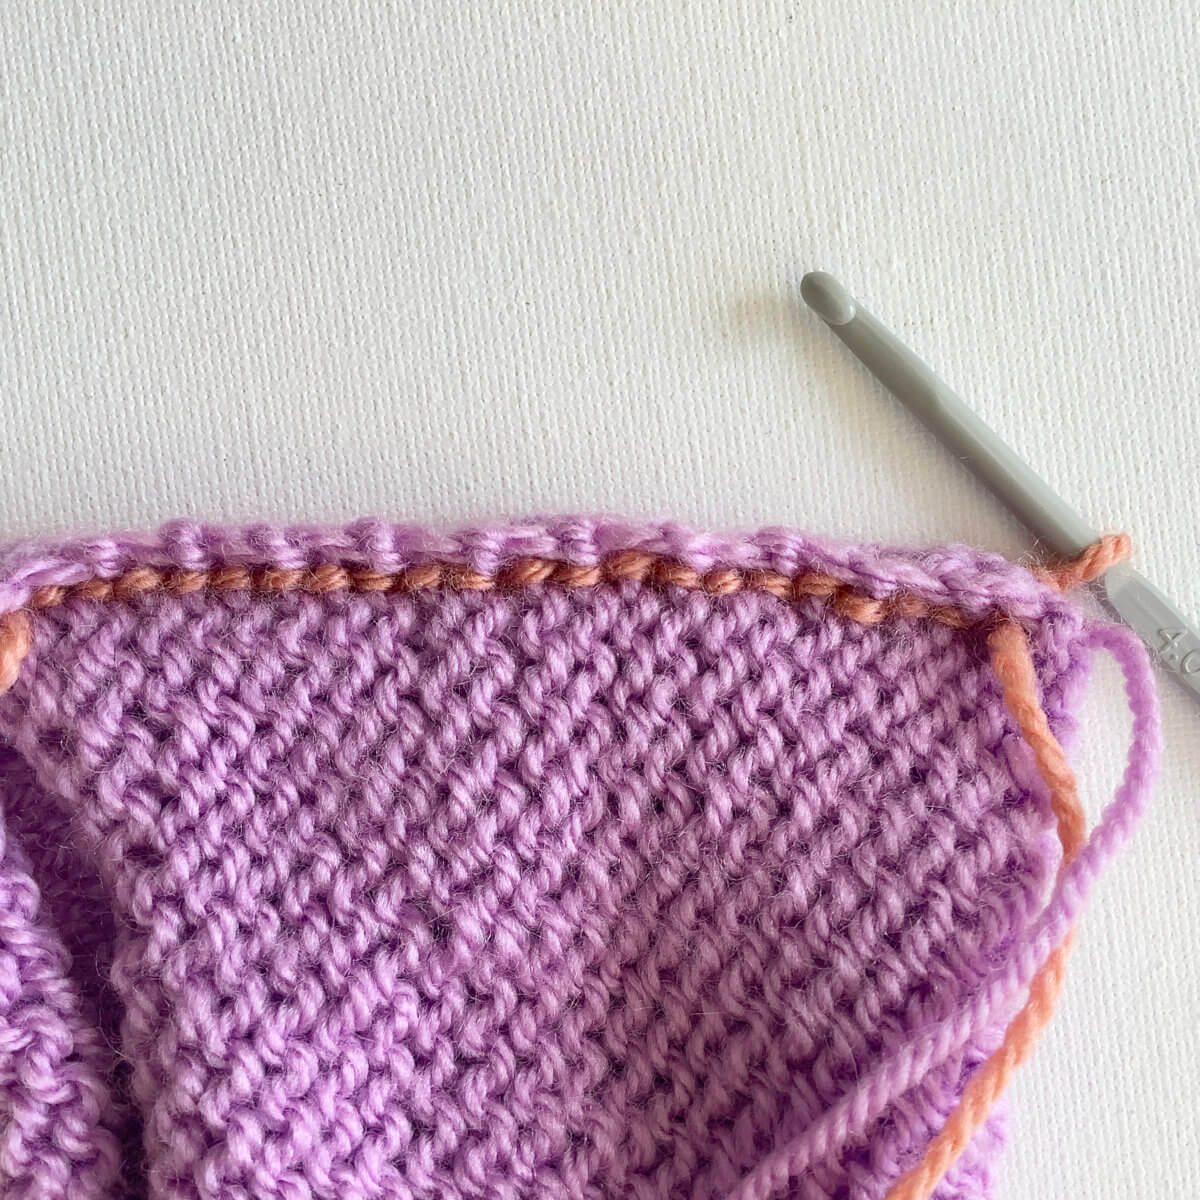
- Next, insert the hook from front to back through both pieces, one stitch to the left. Again, take care to go under only one edge stitch for each piece.
- Again, grab a loop from your seaming yarn, and pull it through both of the edge stitches.
You now have through 2 loops of yarn on your crochet hook.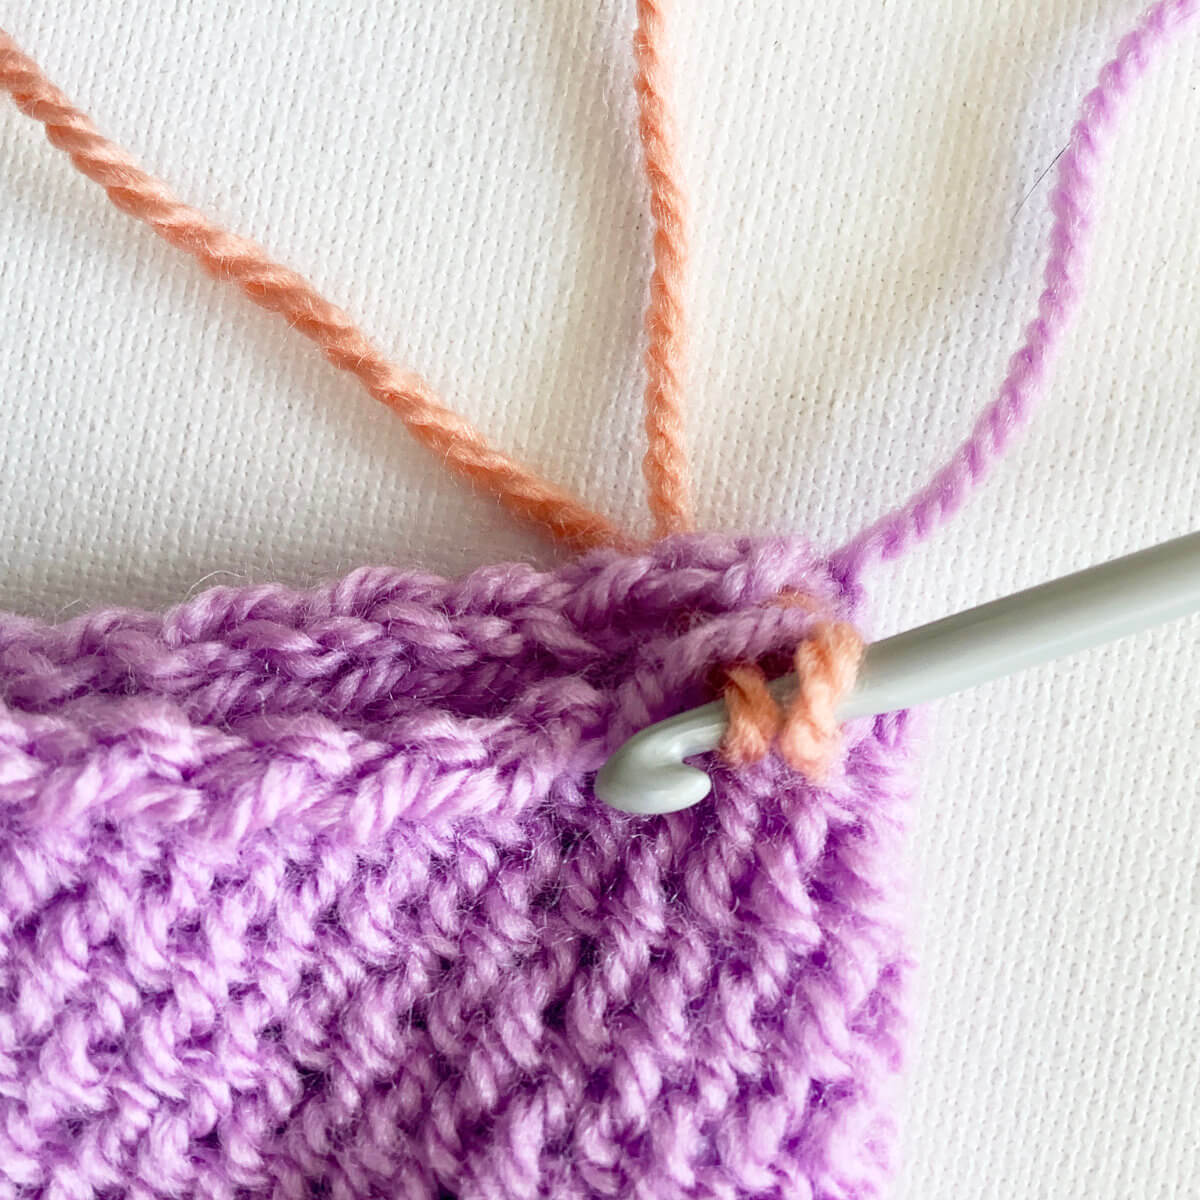
- Next, pull the loop closest to the tip of the hook through the second loop.
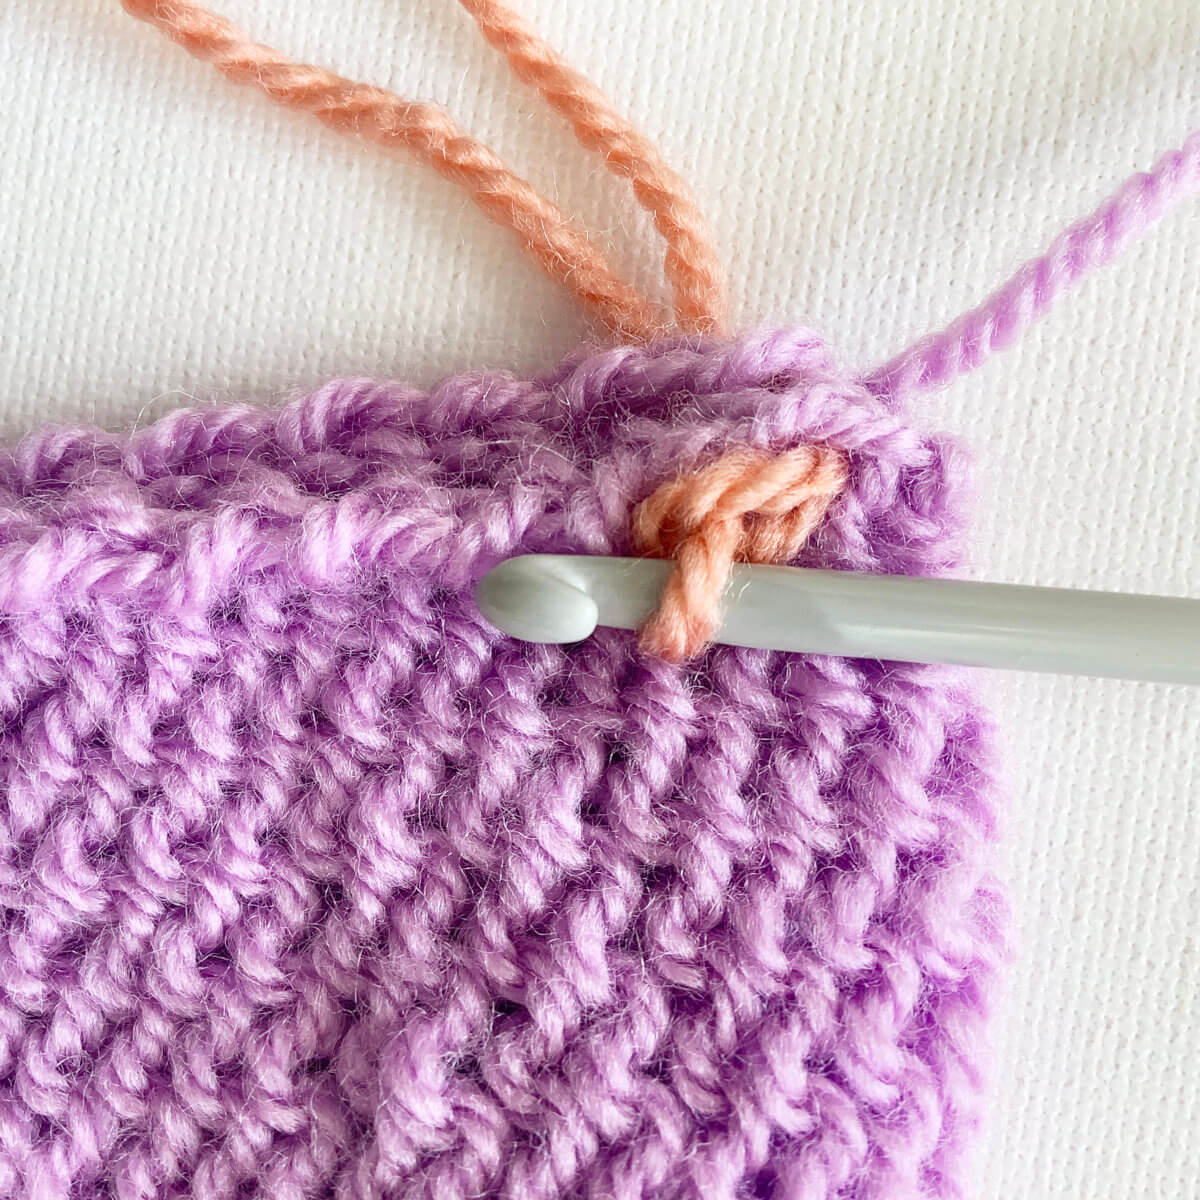
- Repeat steps 5 to 7, each time moving one edge stitch to the right, until the entire edge has been worked.
To complete it, just break the yarn and pull the end through the last remaining loop before weaving in the ends.
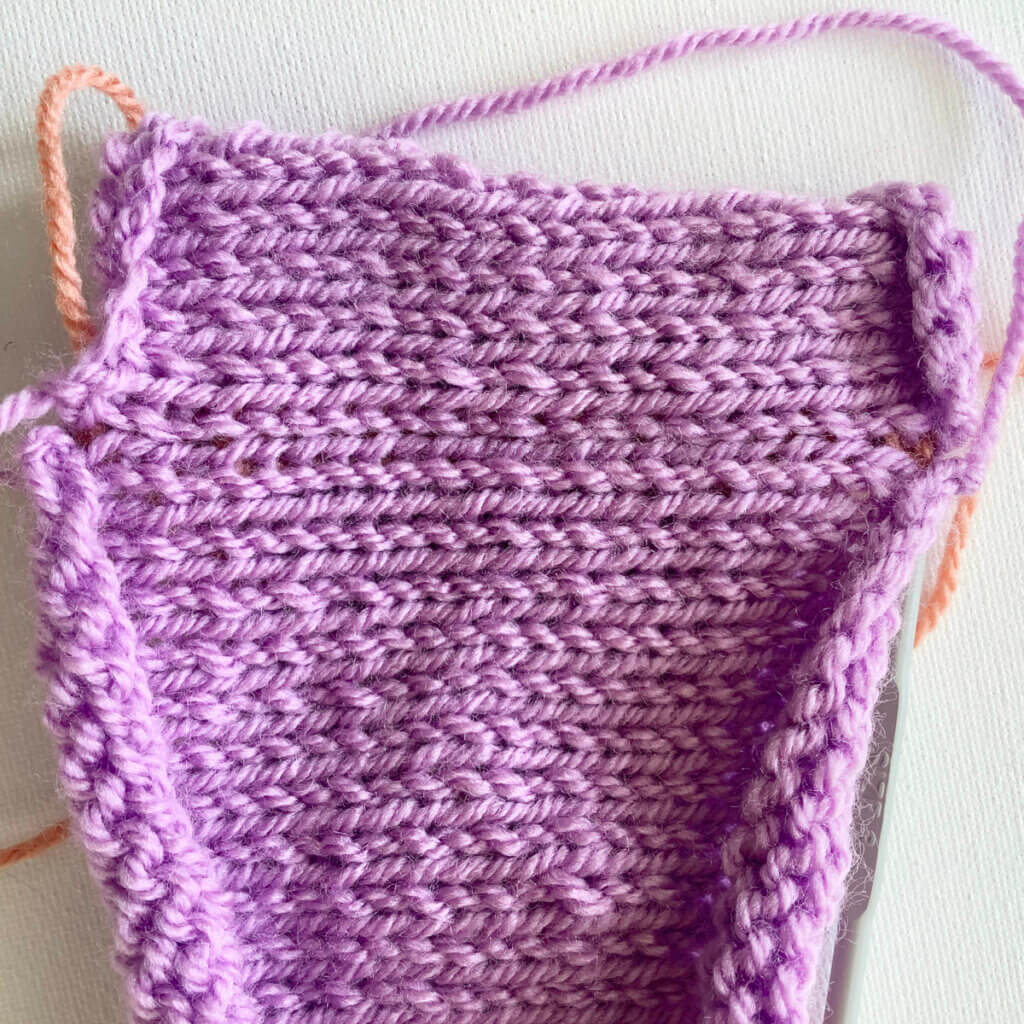
- Below, you can see how the seam looks when I flip the piece over.
Please note, this is still on the wrong side of the fabric!
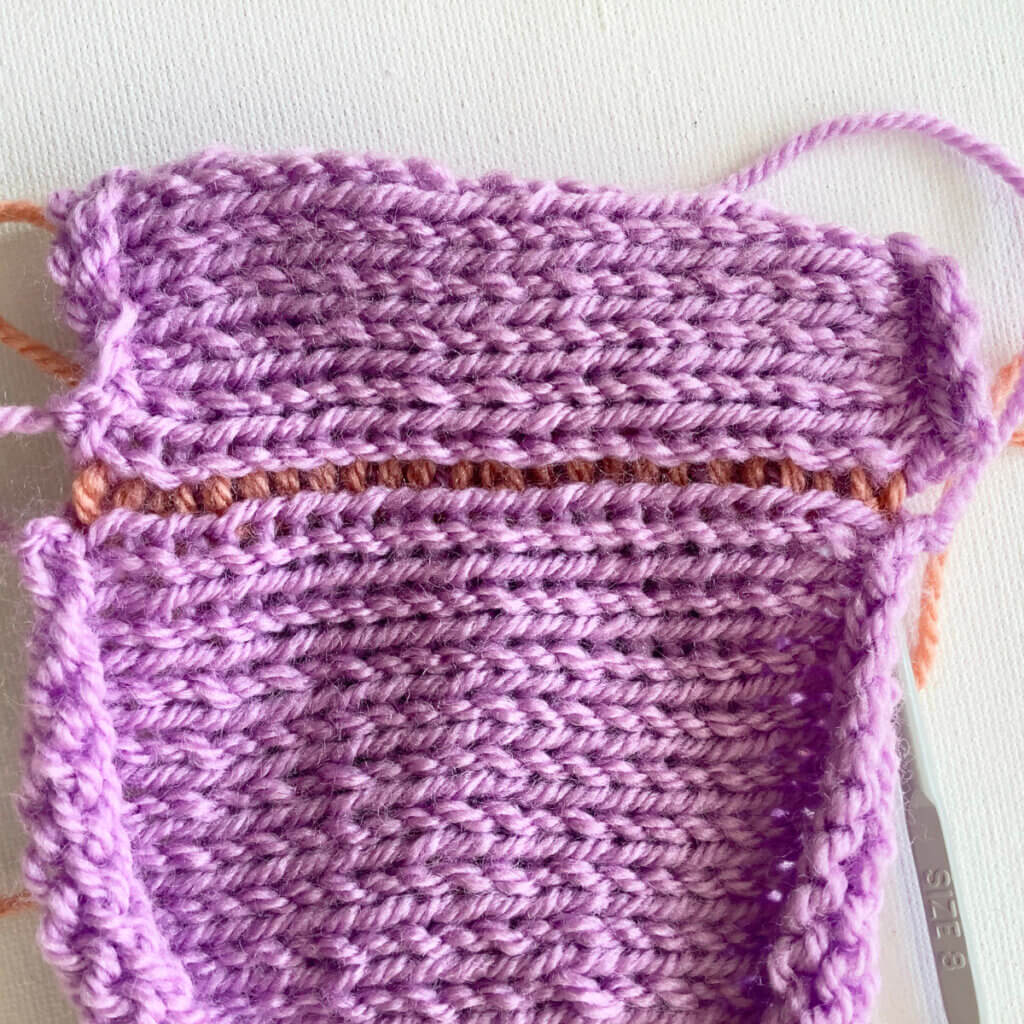
The result when viewed from the RS
For completeness’s sake, you can see below how this seam looks on the other side of the fabric, the right side, in this case:
When I put the seam under a bit of tension, you can see below that the yarn used peeps through for a bit. You can see it is a design feature, using a contrasting yarn. Or, of course, just use the same yarn as for the rest of the project.
And that’s how to work a slip stitch crochet seam. Really not that hard, right?!

Thanks to my Patreon supporters for bringing you this freebie! Creating quality patterns and tutorials is a lot of work and resource-intensive. However, I find it important to give you free content like this tutorial. Thanks to the generous support of my Patreon supporters, I can make it happen. Thank you, patrons! Click here to join, or click here to read more about La Visch Designs on Patreon.

 syndrome")

