The tubular cast on creates a rounded edge of your knitting project, as well as being very stretchy. This makes it a very good cast on for edges that are prone to wear and tear. And, of course, where the stretch is useful. Think, for example, of top-down socks, and the start of a bottom-up hat. In this example I’m casting on for a top-down sweater.
Of course, there are many ways to work a tubular cast on. This particular version is for working in the round in k1, p1 rib patterning.
Materials used
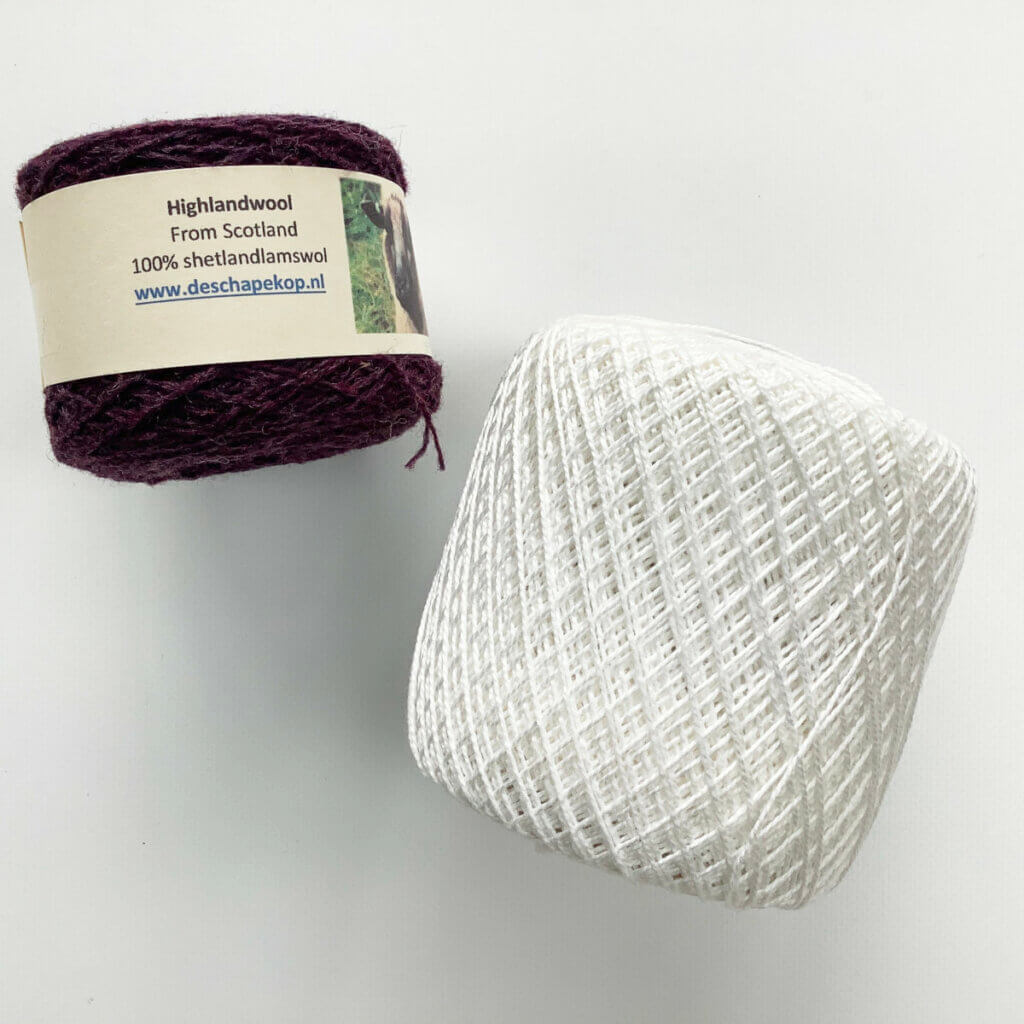
Yarn: Shetland Lambswool from De Schapekop, a yarn very similar to Jamieson & Smith 2ply Jumper Weight, and no. 5 crochet thread or other smooth waste yarn.
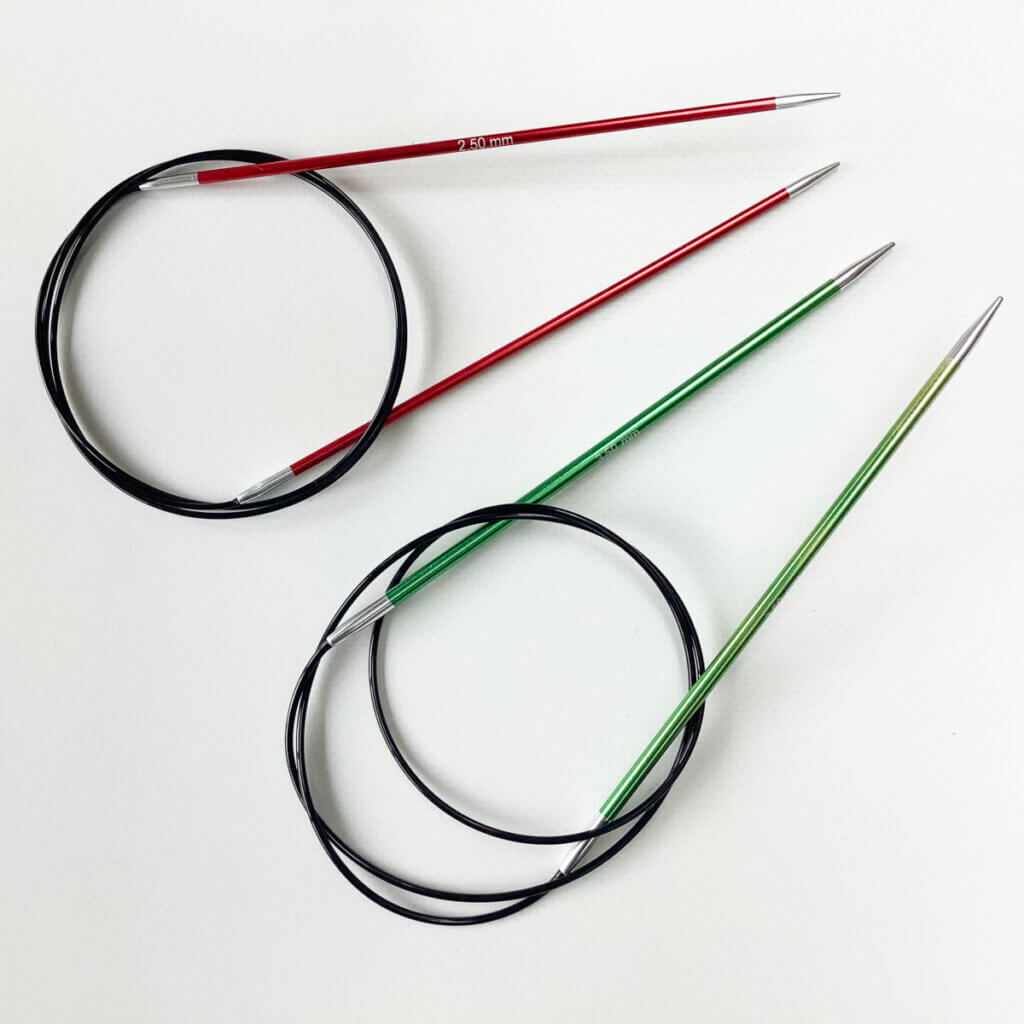
Needles: KnitPro Zing Fixed Circular Needles. In this tutorial, I used the 2.5 mm (US 1 1/2) and the 3.5 mm (US 4) size. Both with a cable length of 80 cm (32 inches).
Other materials: a crochet hook, and a stitch marker.
Working a tubular CO in the round for 1×1 rib step by step
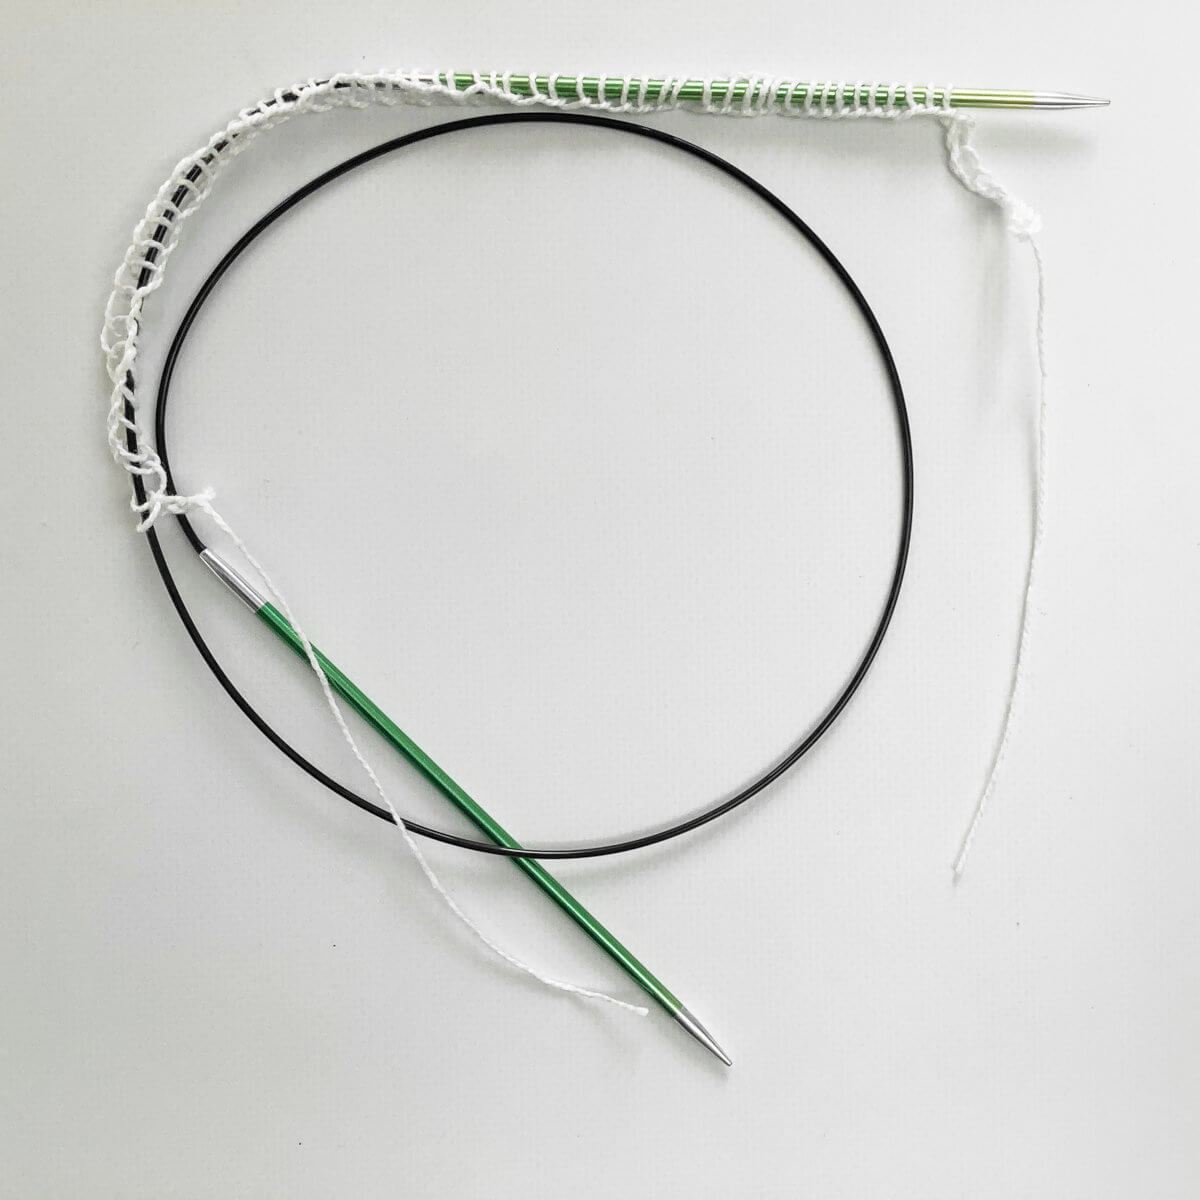
- First, using the larger size needles, the smooth waste yarn and the provisional cast on of your choice, cast on half as many stitches as you need according to your pattern.
In other words: if you need 80 stitches, cast on 40. I used the crochet provisional cast on for this step.
- Now, using the smaller size needle and the working yarn, work (k1, yo) across all provisionally cast on stitches.
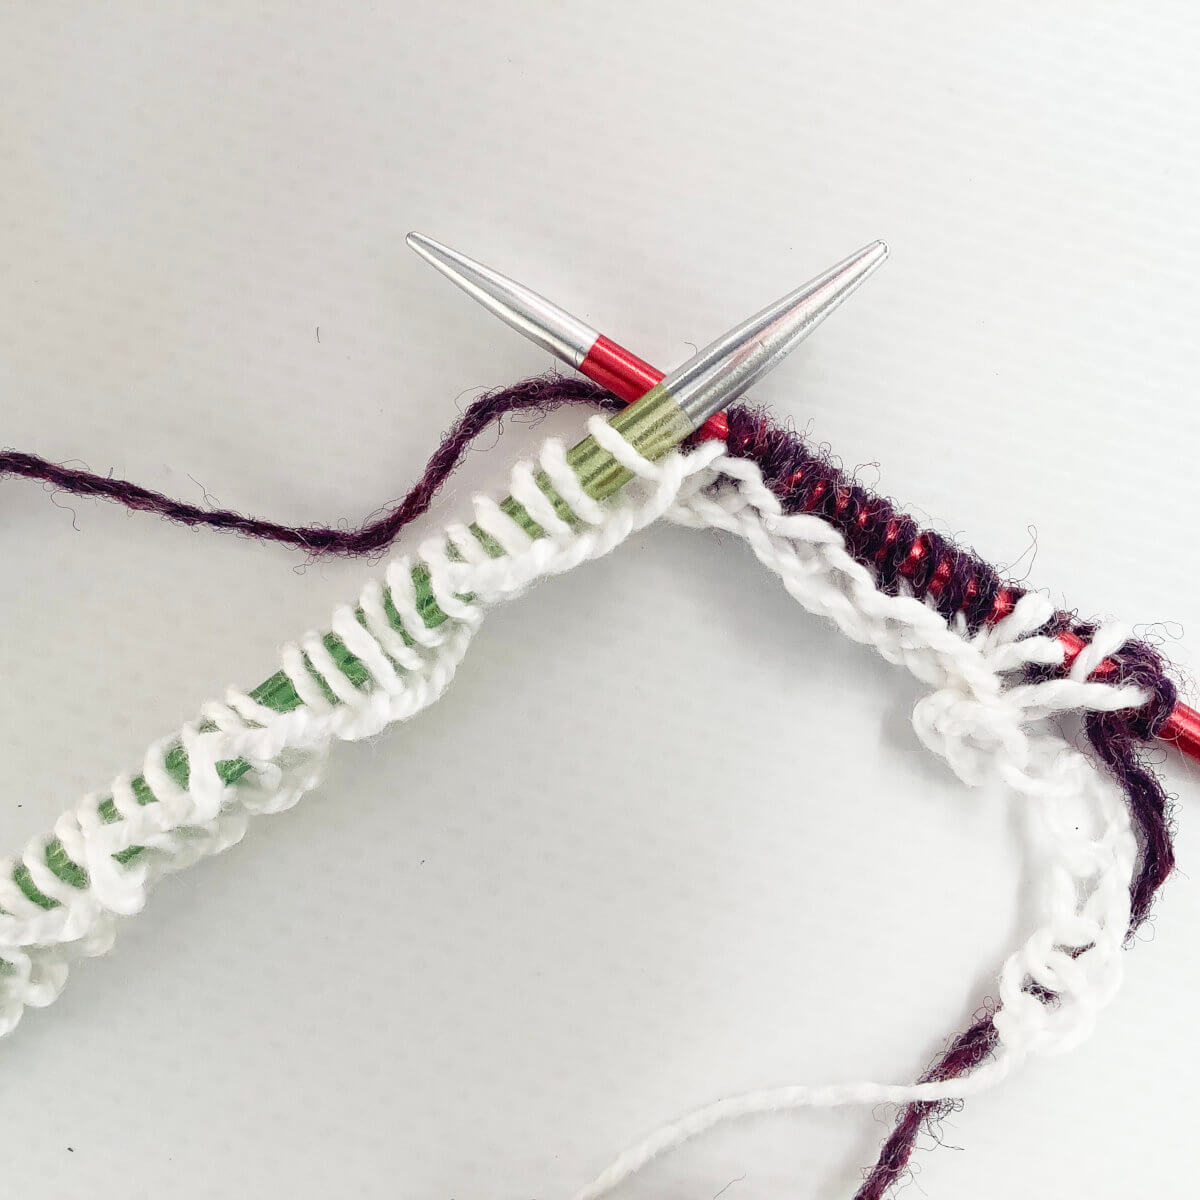
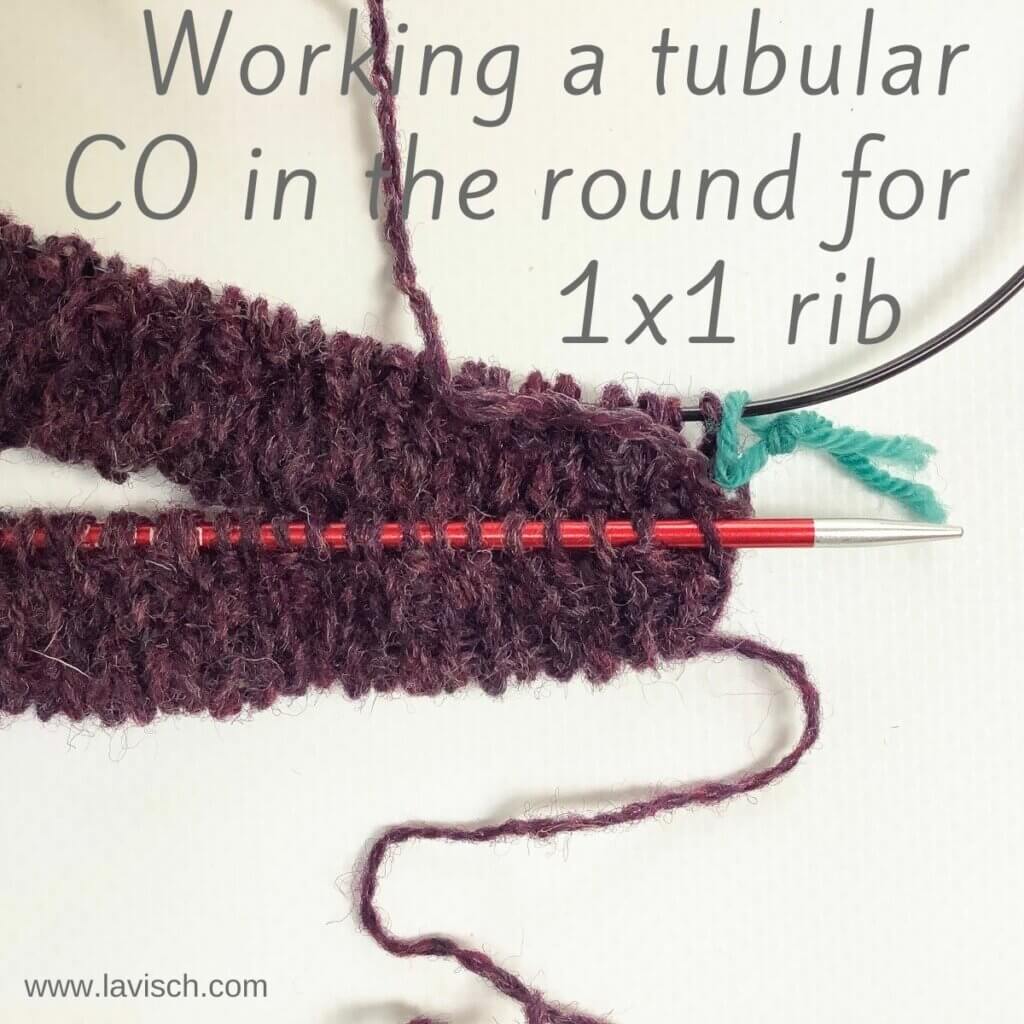
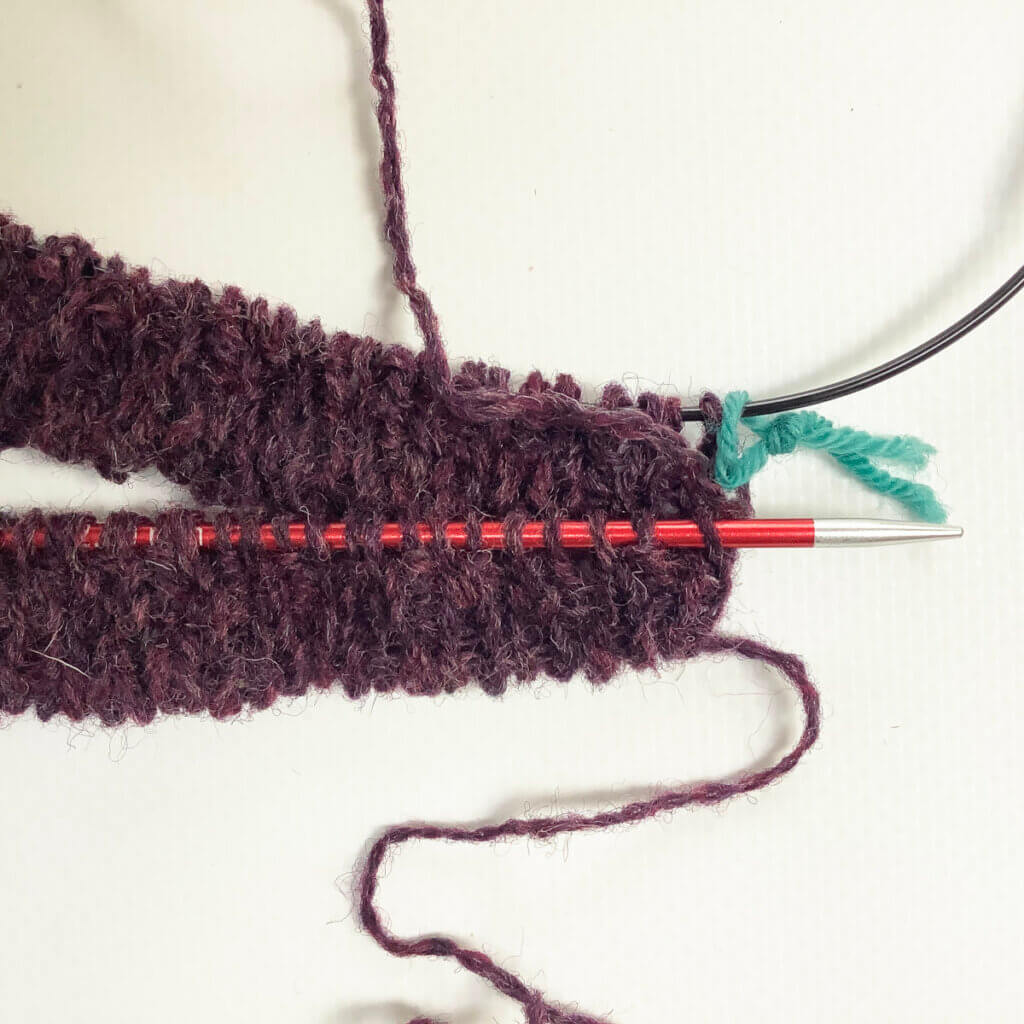
- After this row is finished, as shown below, it’s time to join into the round.
The last worked stitch is a yarn over, so make sure it stays intact when joining into the round.
- Here I’ve rearranged my stitches to continue knitting in the round, magic loop style.
Before joining, I made sure that my stitches weren’t twisted, and I’ve added the stitch marker to indicate the beginning (and end) of a round. Also, do you see that the yarn over is still there, behind the stitch marker?
- In this step, work (knit 1, slip 1 purl wise with the yarn in front) to the end of the round.
In other words: knit every stitch that was knit in the previous round, and slip every yarn over. Below, is how it looks after this round is completed.
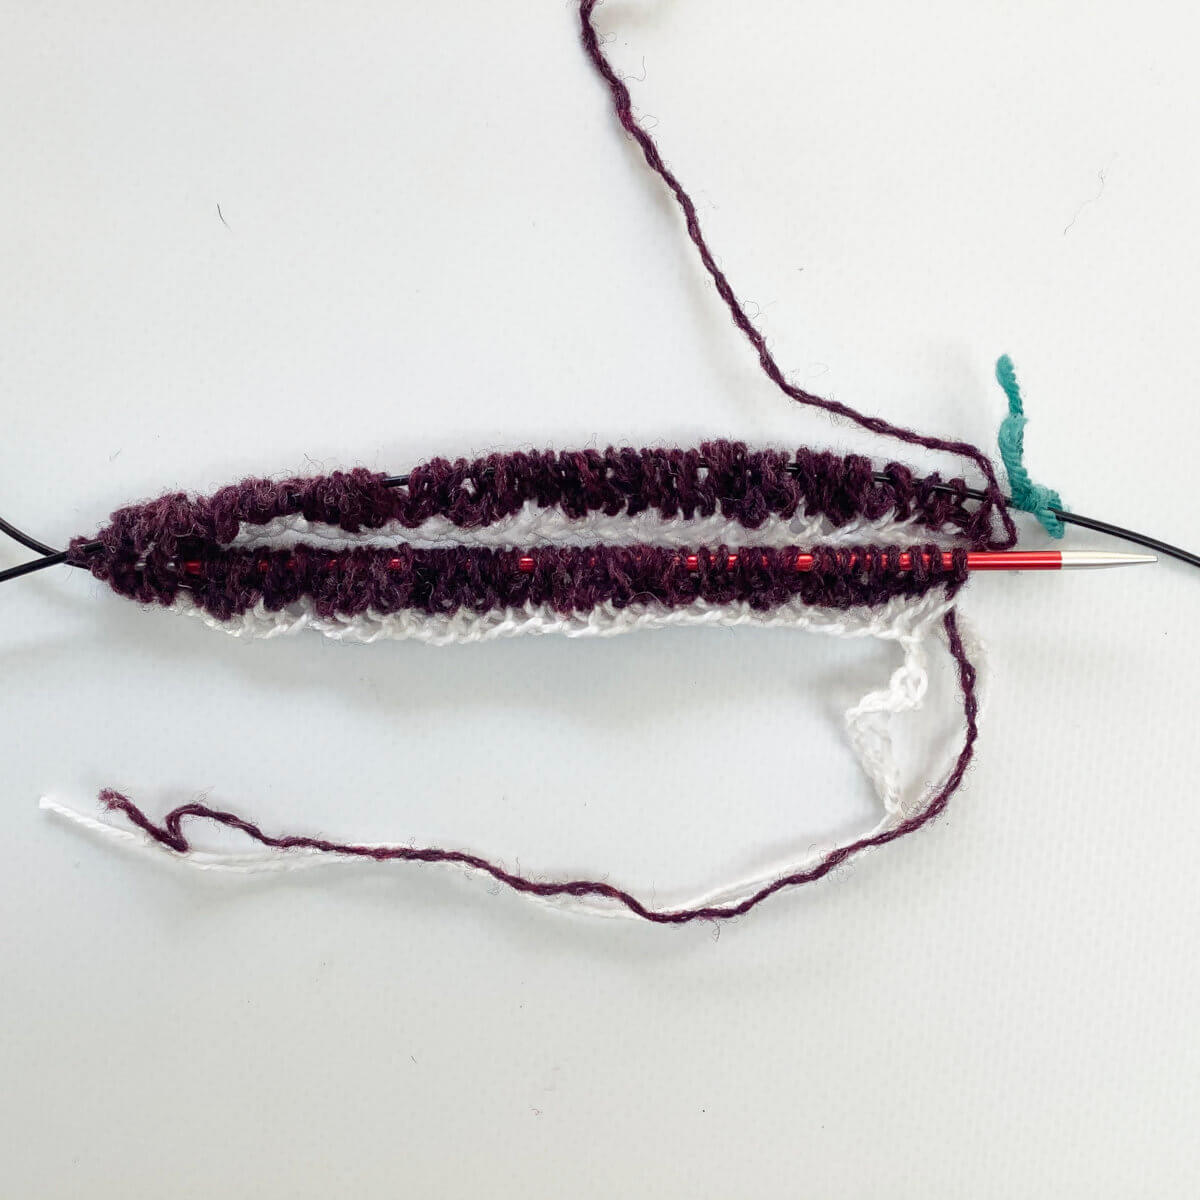
- Next, work (slip 1 purl wise with the yarn in the back, purl 1) to the end of the round.
In other words: slip every stitch that was knit in the previous round, and purl every stitch that was slipped. This is how it then looks:
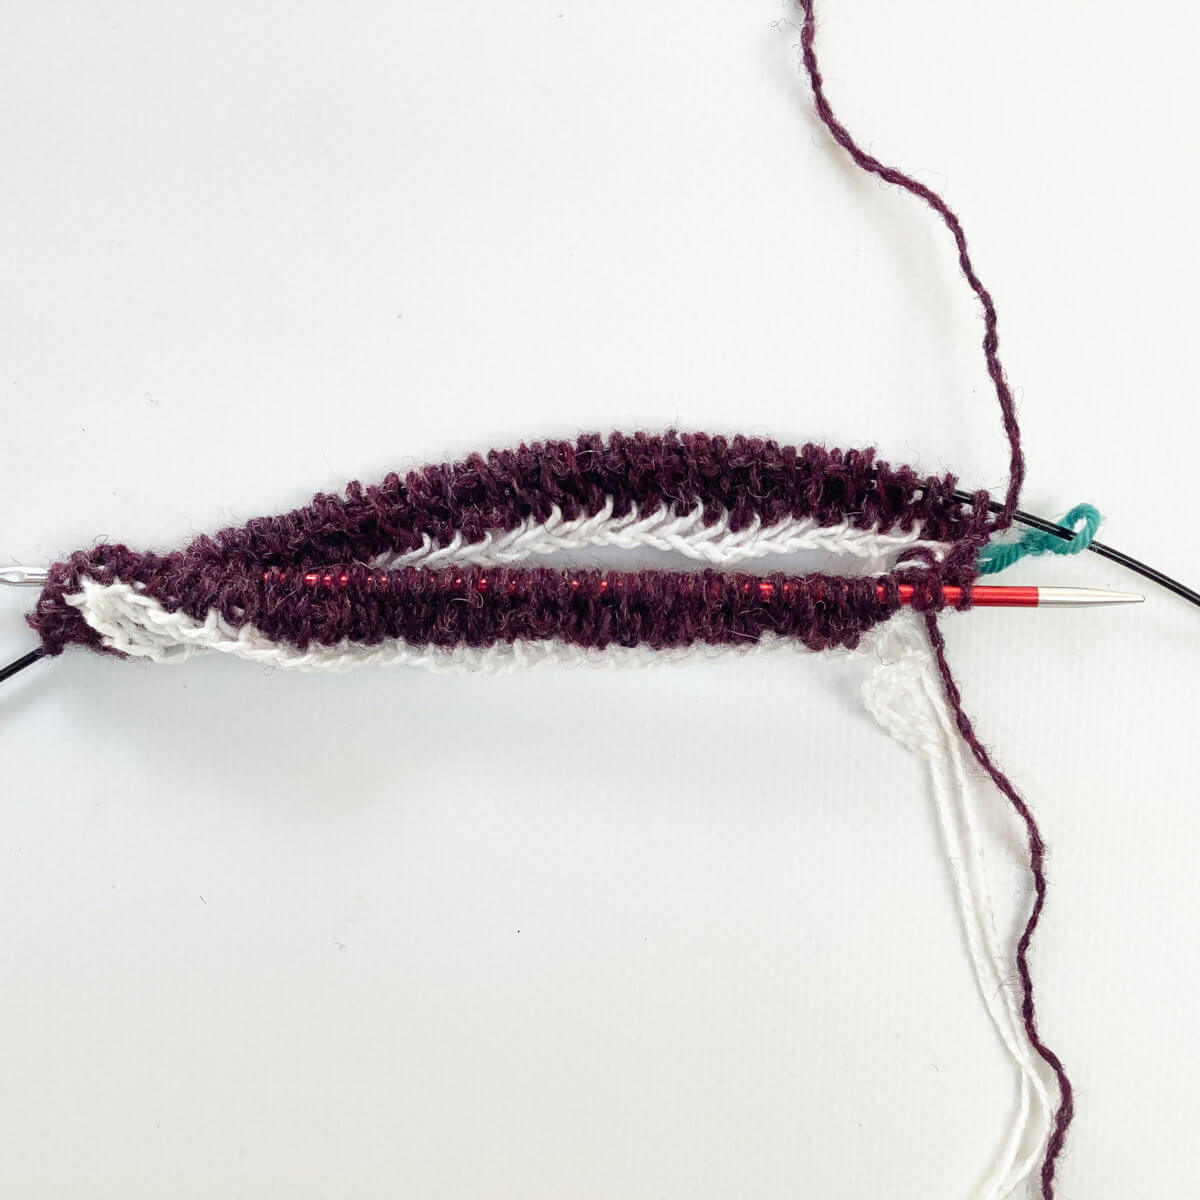
- In this step, work (knit 1, slip 1 purl wise with the yarn in front) to the end of the round.
In other words: knit every stitch that was slipped in the previous round, and slip every stitch that was purled.
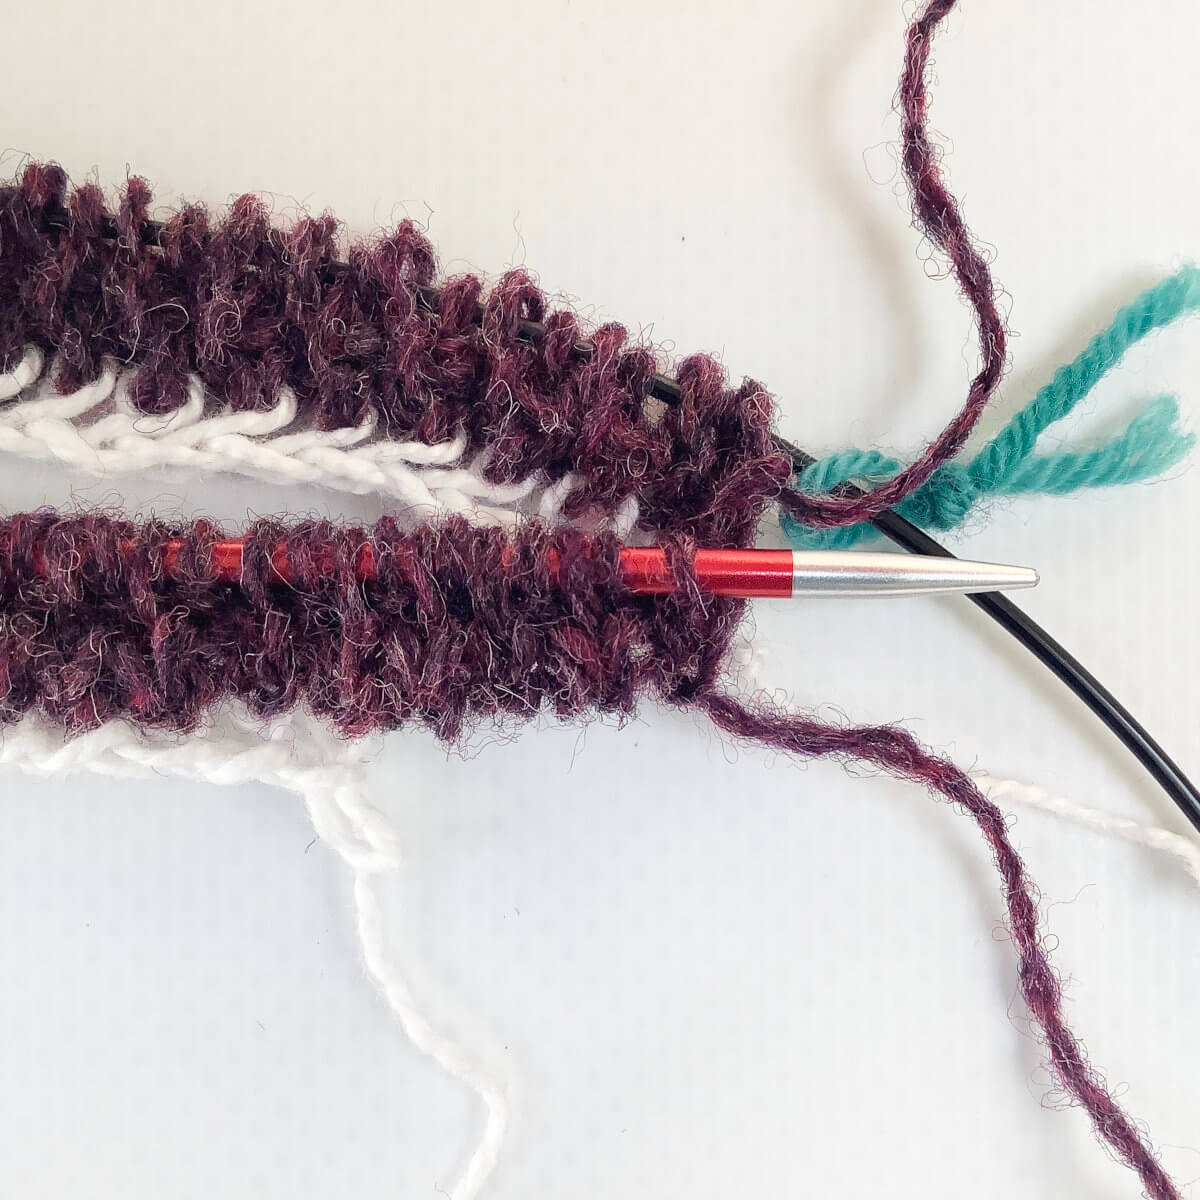
- Now we repeat step 6: work (slip 1 purl wise with the yarn in the back, purl 1) to the end of the round.
In other words: slip every stitch that was knit in the previous round, and purl every stitch that was slipped.

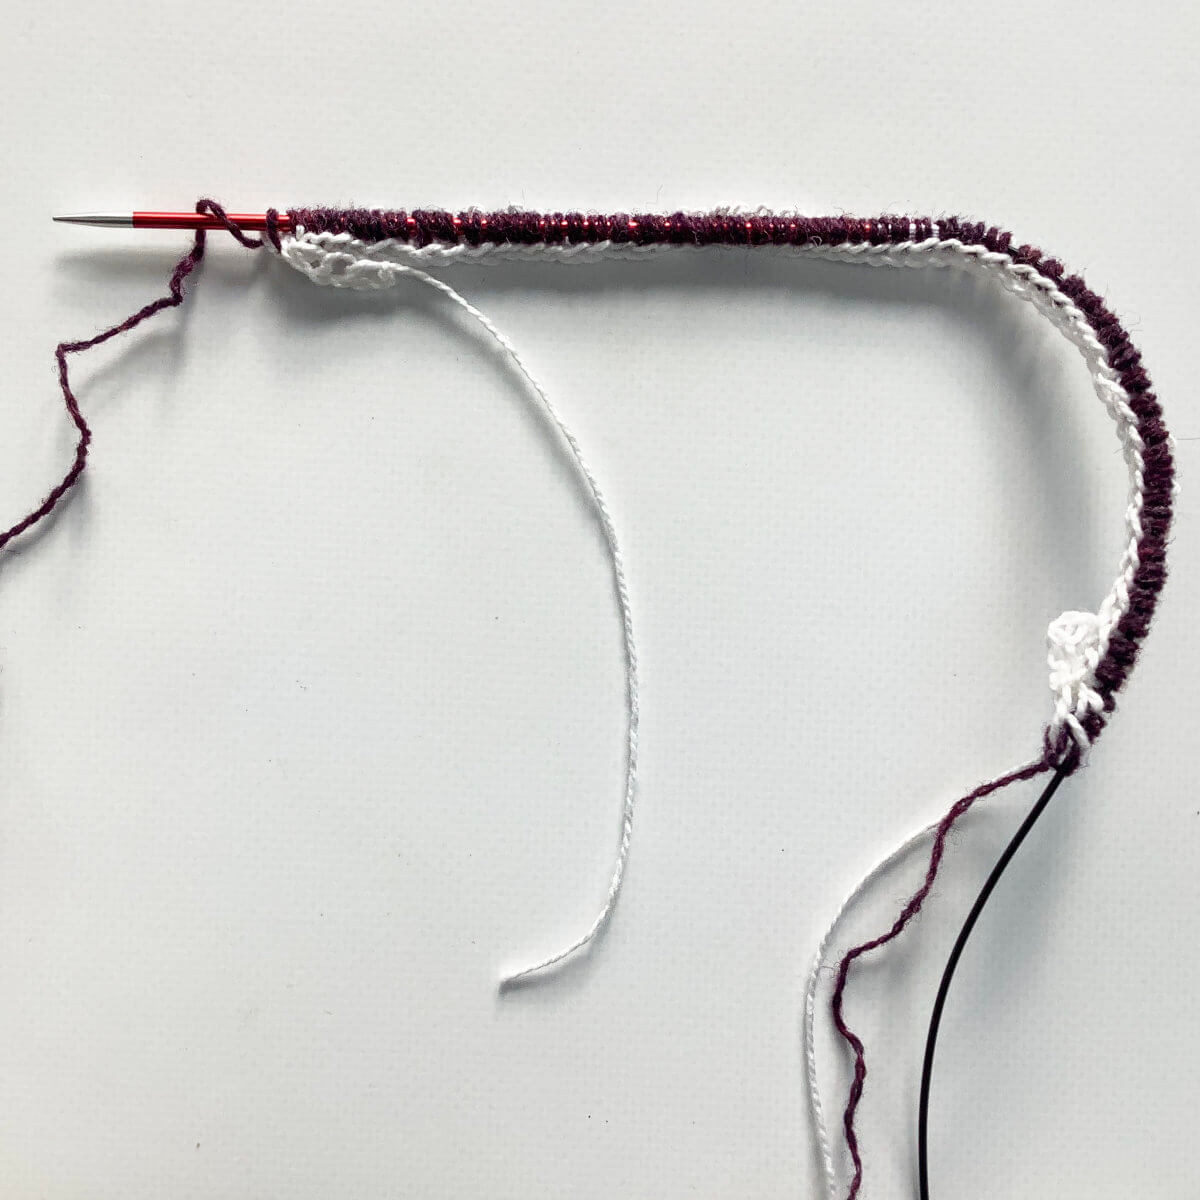
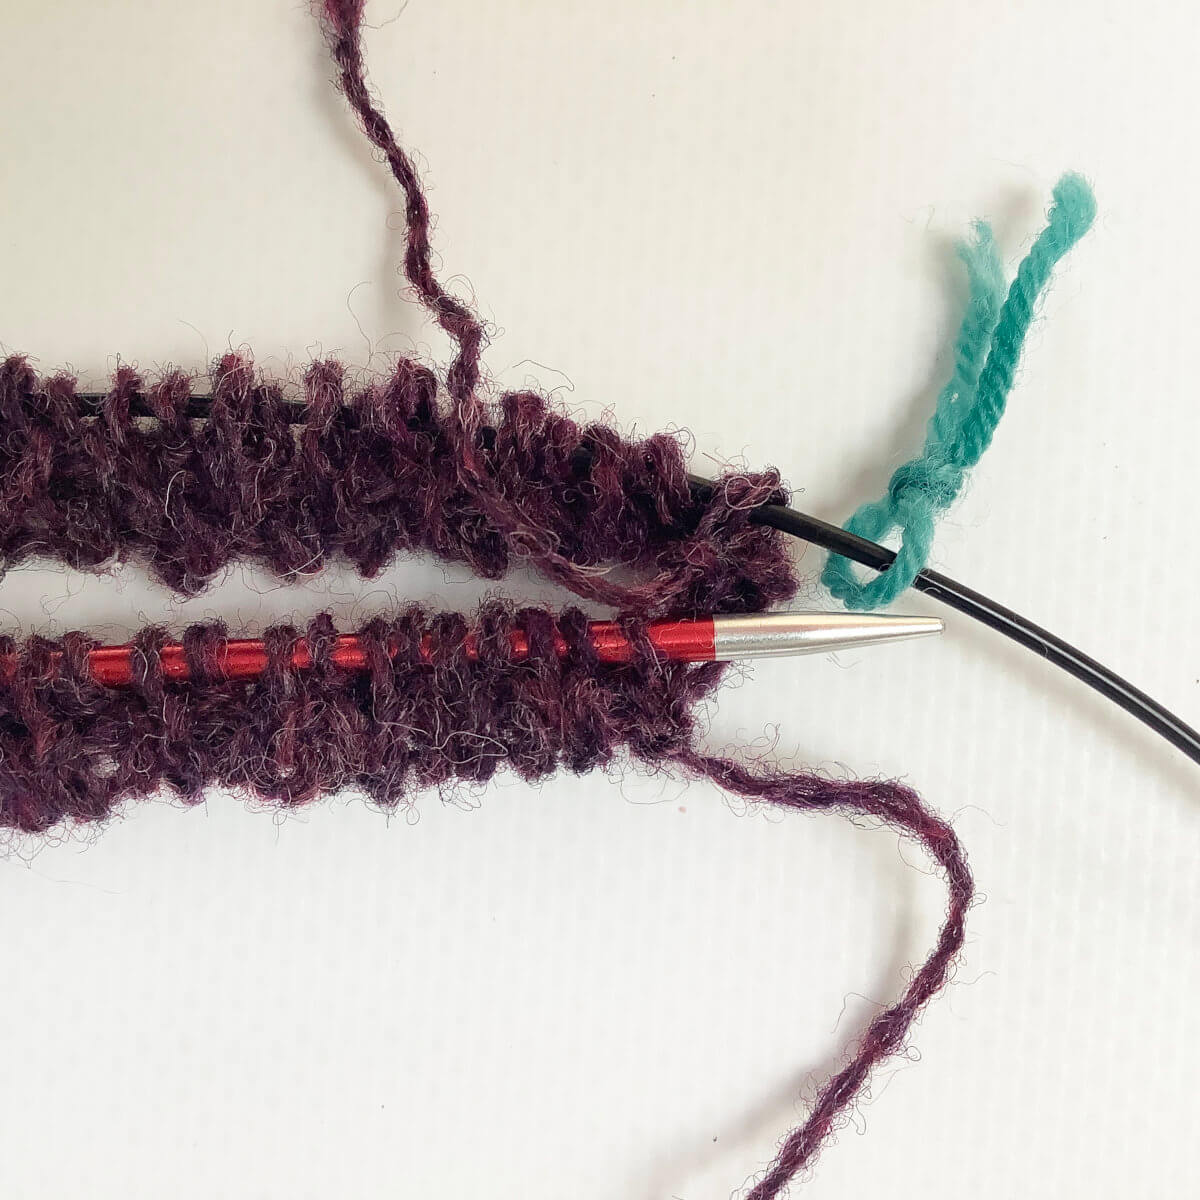
- In this step, it’s time to unravel the provisional cast on
Starting at the end that you indicated when doing the provisional cast on, undo the knot and gently pull the cast on loose.
- This is the cast-on result, ready for further knitting (k1, p1) rib in the round (using magic loop) as described in your pattern!
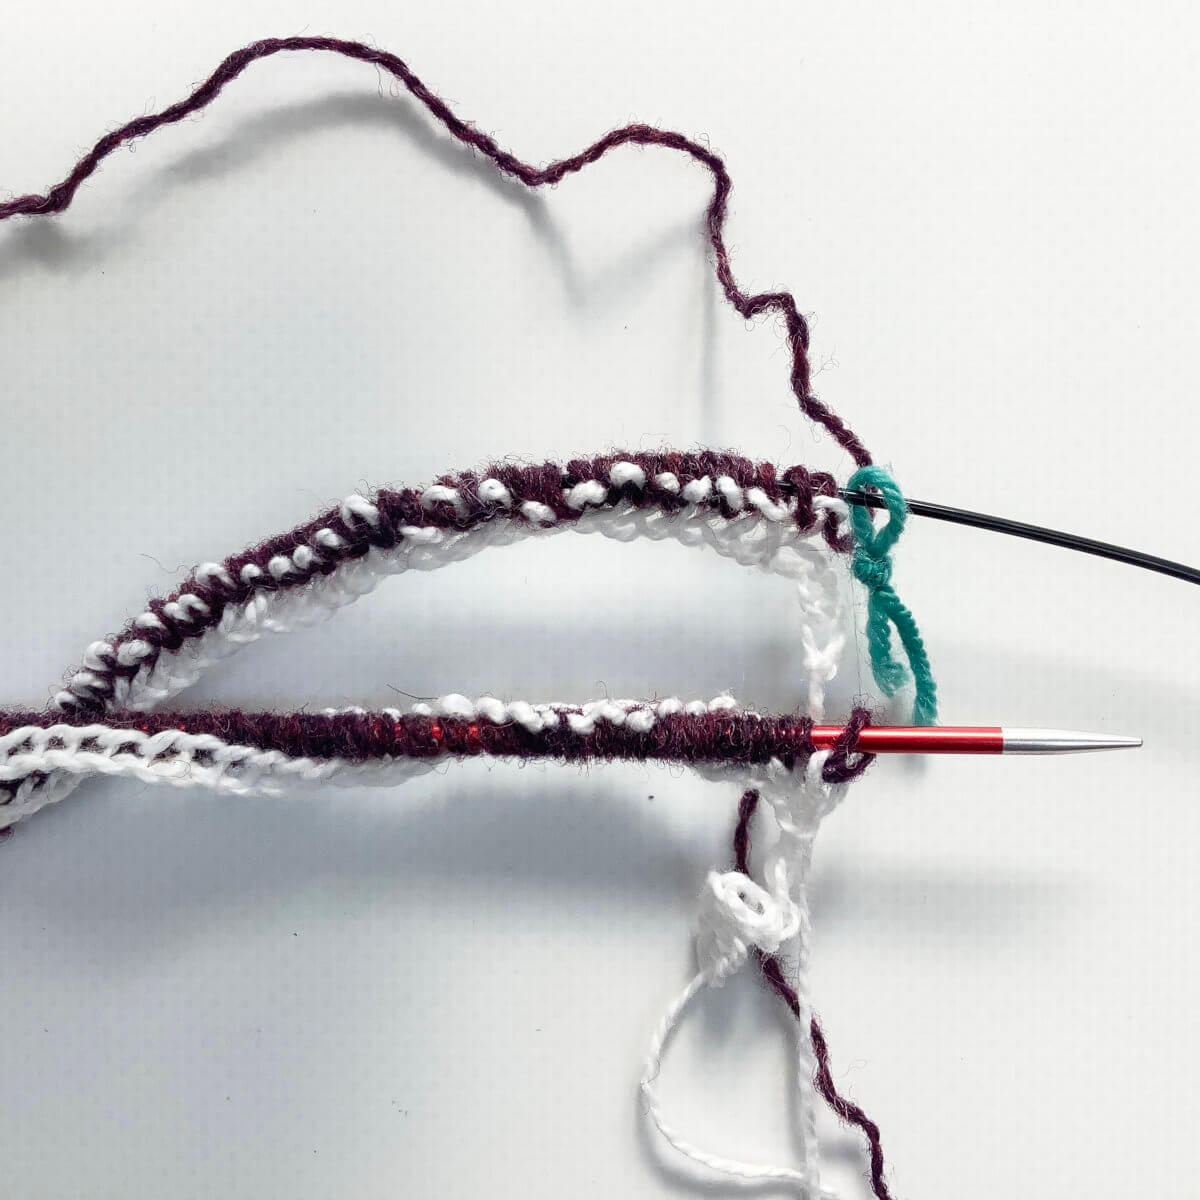
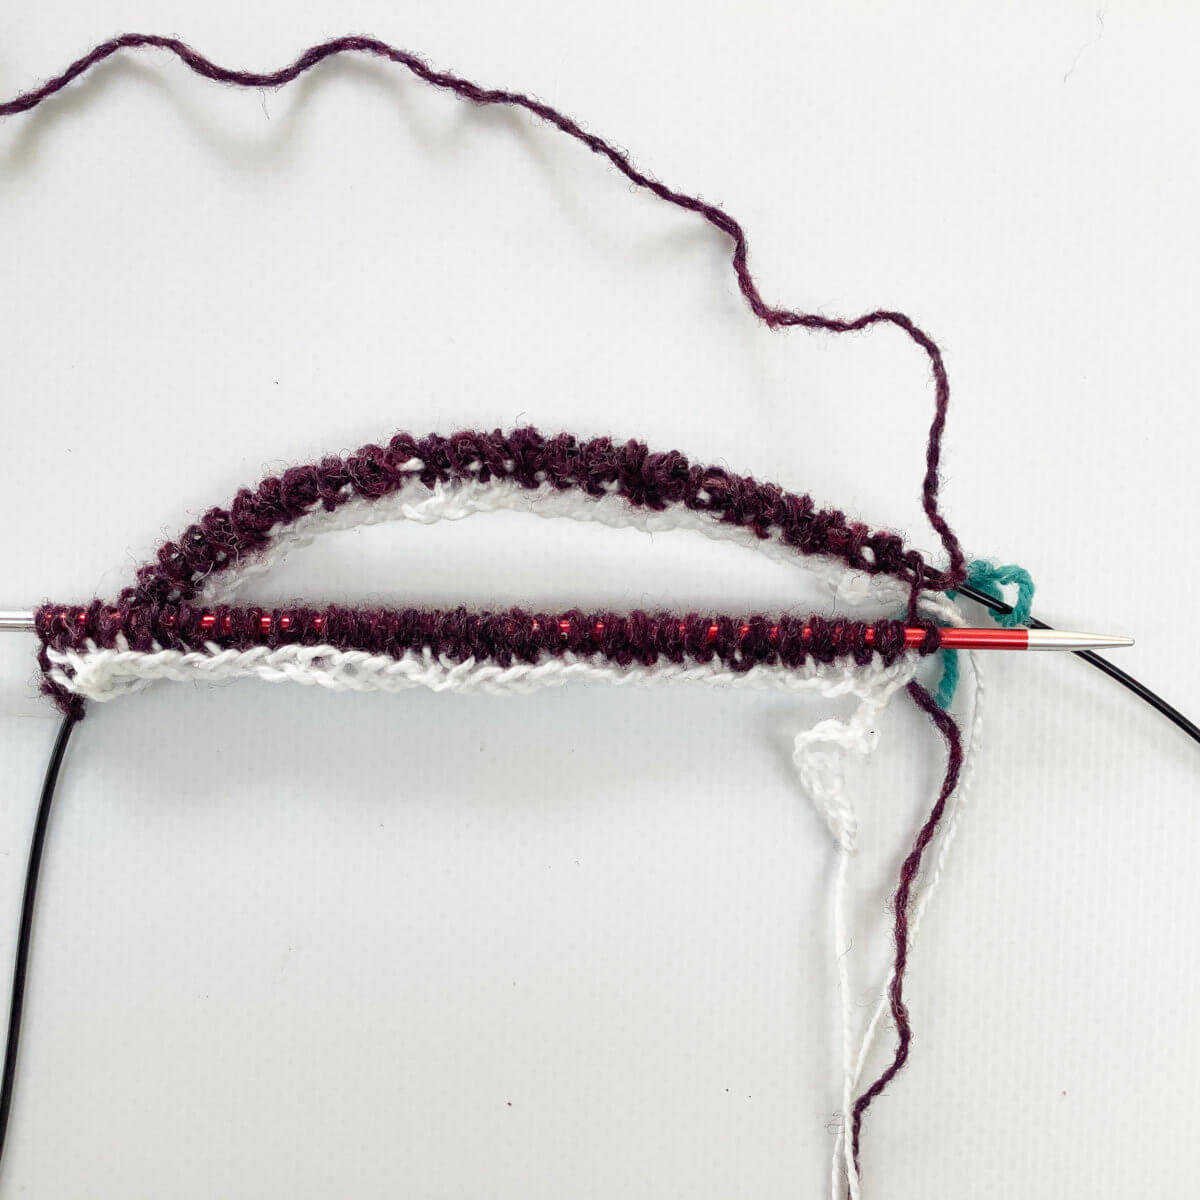
A comparison
I thought it would be useful to compare the tubular cast on with a regular knitted on cast on one. So, I continued the piece above with another few rounds in (k1, p1) rib until it measured 1.5 cm / 0.6″.
Now take a look at the following picture. The lower neckband has a regular knitted-on cast on, followed by 1×1 rib for 1.5 cm / 0.6″. The one at the top has the tubular cast on in the round with 1×1 rib. Both pieces are worked in the same yarn, and with the same needle size.
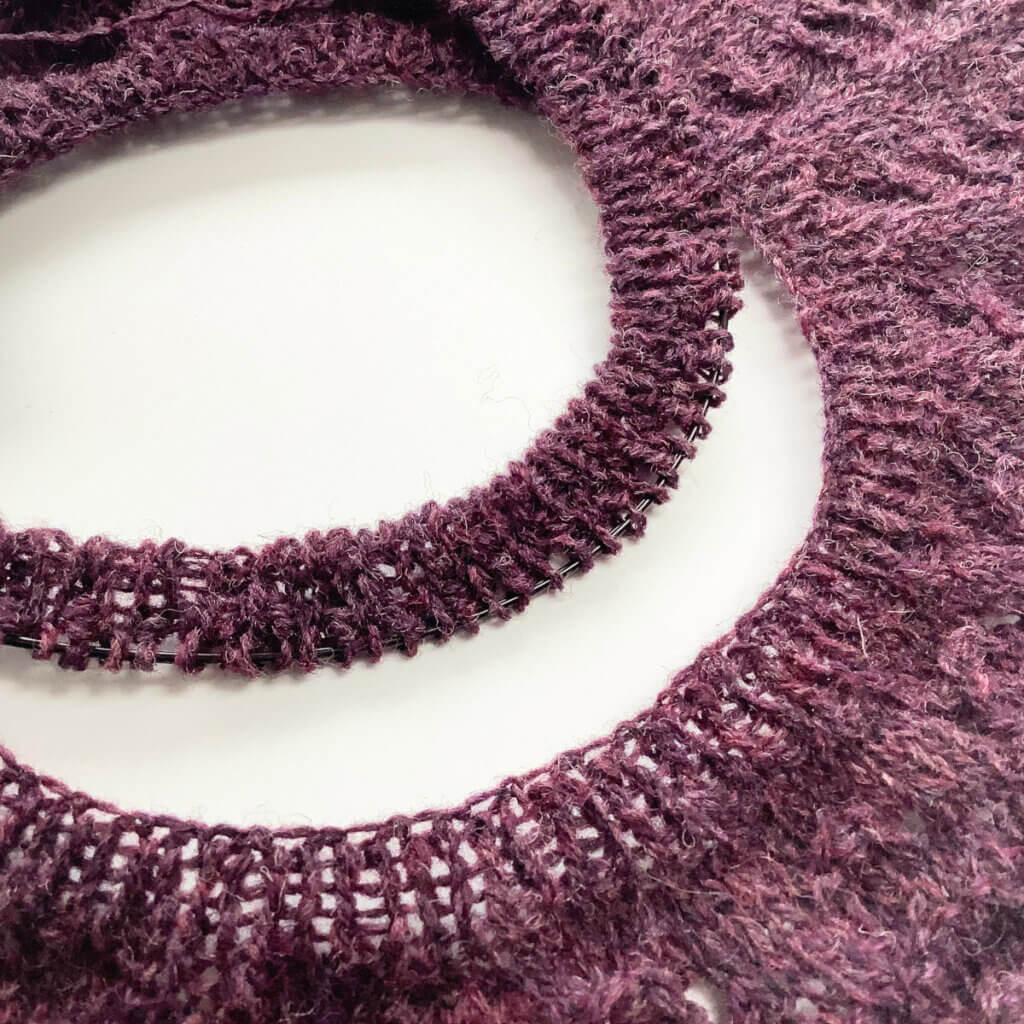
I think the neckband with the tubular cast on looks much better, with its rounded edge. It is also much less likely to give issues with wear & tear, because there are no single strands of yarn right at that edge. What do you think?

Thanks to my Patreon supporters for bringing you this freebie! Creating quality patterns and tutorials is a lot of work and resource-intensive. However, I find it important to give you free content like this tutorial. Thanks to the generous support of my Patreon supporters, I can make it happen. Thank you, patrons! Click here to join, or click here to read more about La Visch Designs on Patreon.


