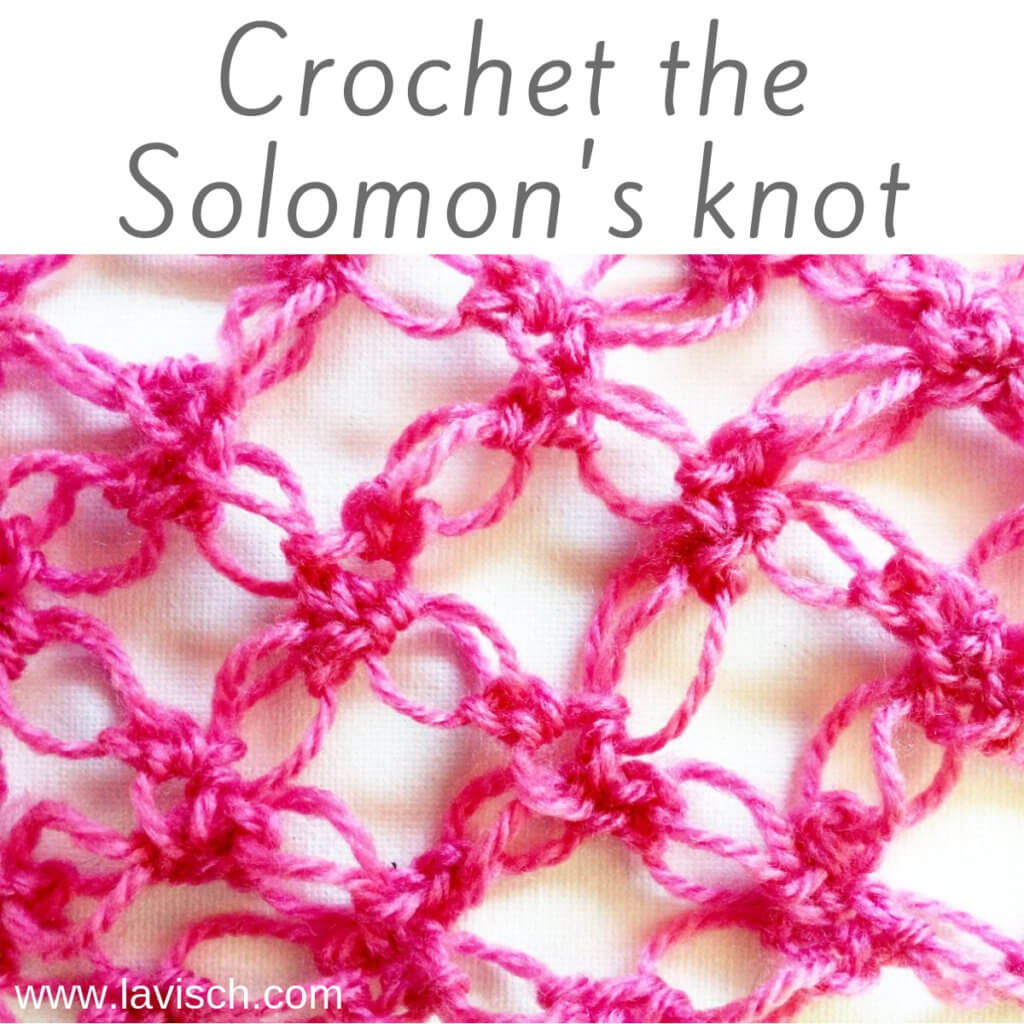
In this post, I want to introduce you to a very lovely crochet stitch: The Solomon’s knot stitch. This particular crochet stitch is also known as the “Lovers Knot.” This stitch is ideal for scarves and shawls with an open and airy structure.
The Solomon’s knot stitch gives a beautiful result when worked in a very thin yarn, as well as when it is made in a thicker yarn. And because the stitch is very “airy”, it also gives very quick results. Perfect for when you need a last minute present!
Do not be put off by the many steps, this stitch is easier than it seems!
Solomon’s knot step by step
In this example, I used a relatively thick acrylic yarn, to be able to show you well how to work it. However, as said, the result is also very nice when using a very thin and light fluffy yarn like a kid-silk type yarn. These instructions are written in American English crochet terminology.
Row 1
1. Crochet 2 chains.
2. Make a single crochet in the first stitch of the chain. Insert your hook under both loops of this first stitch.

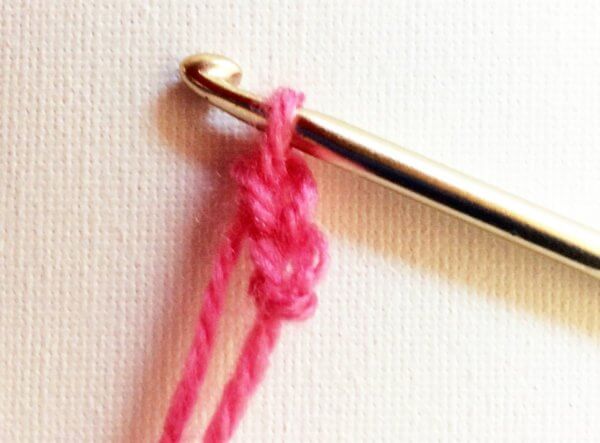
3. Make the loop on the hook bigger, with this it is important to maintain a constant size. I used my finger to assist with this. Next, make a yarn over and loosely pull up a loop through the enlarged loop.

4. Insert the hook from front to back through the enlarged loop you just created. Yarn over and pull up a loop through the first loop on the hook. You now have two loops on your hook.
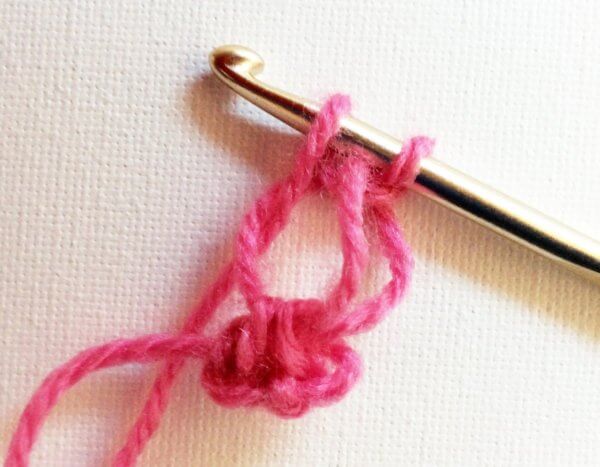
5. Again make a yarn over and pull through both loops on the needle. You have now created one elongated loop.

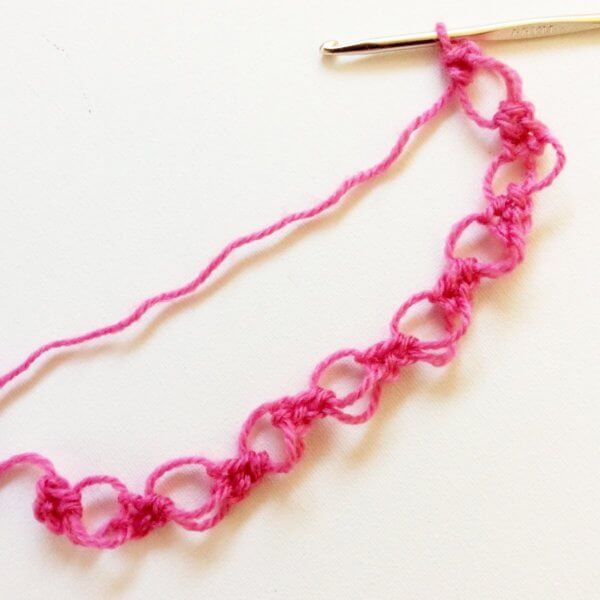
6. Repeat steps 2 to 5 for a multiple of 2 + 3 times. When starting with Step 2, insert the hook in the single crochet (the “knot”) that has been made last. In this example, I repeated steps 2 to 5 for a total of 7 times.
Row 2
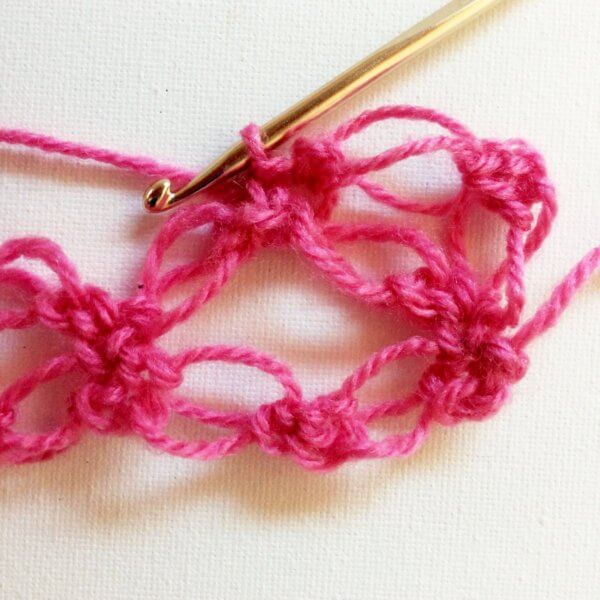
7. Turn piece, skip the first four knots, insert the needle in the middle of the next knot (the fifth from the hook) and make 1 single crochet.
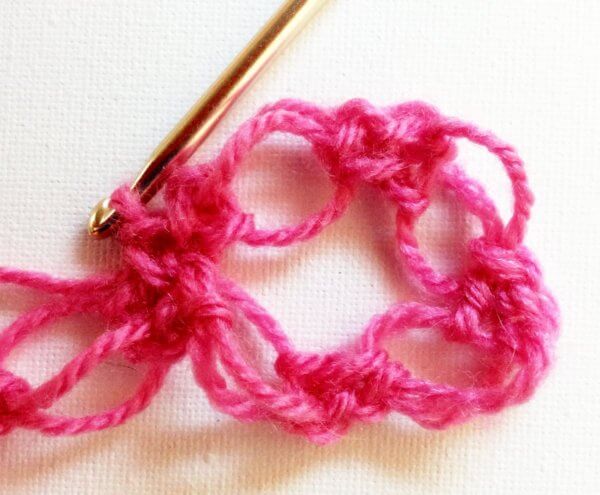
8. Make 2 elongated loops by working steps 3 to 5 as before, followed by steps 2 to 5 once more.

9. Skip 1 knot, insert the hook in the middle of the next knot and make 1 single crochet.
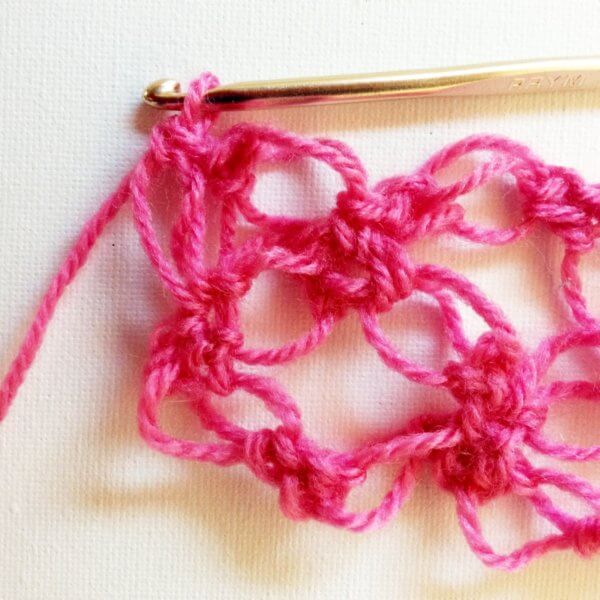
10. Repeat 8 and 9 until the end of the row, finish with 1 single crochet in the last knot.
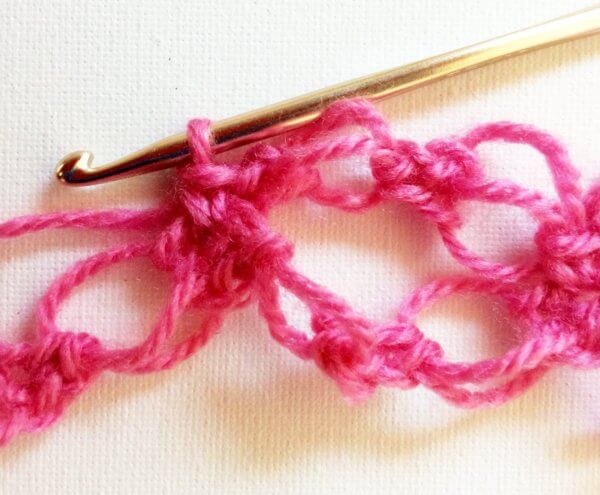
Row 3
11. Make 2 elongated loops by working steps 3 to 5 as before, followed by steps 2 to 5 once more. Turn the piece.
12. Make 1 single crochet in the next knot.
13. Make 2 elongated loops by working steps 3 to 5 as before, followed by steps 2 to 5 once more. Skip 1 knot, insert the hook in the middle of the next knot and make 1 single crochet. Repeat this until the last knot of the previous row.

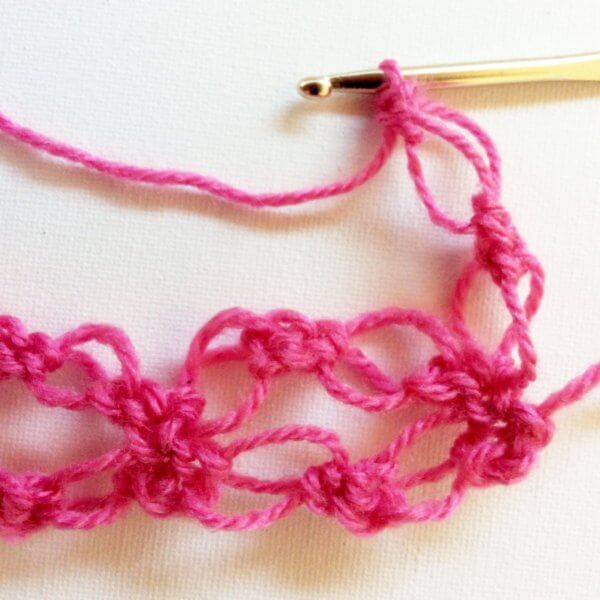
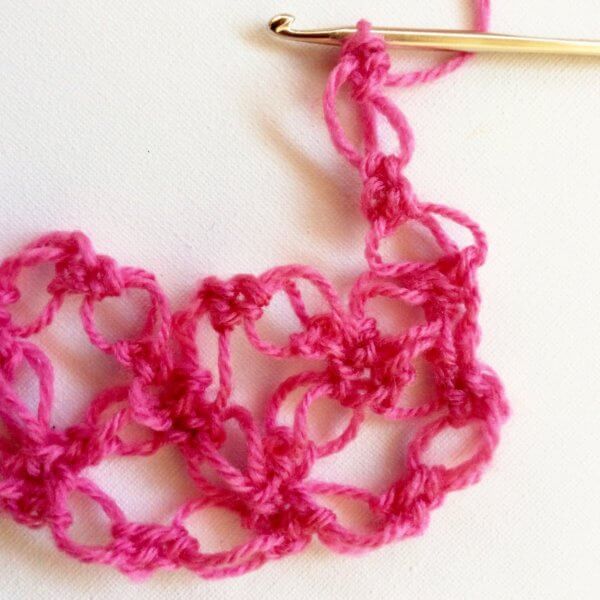
14. Make 2 elongated loops by working steps 3 to 5.

15. Then insert the hook into the knot of two rows below and make an extended loop. Then, make a yarn over and loosely pull up a loop through the enlarged loop. Next, repeat steps 4 and 5.
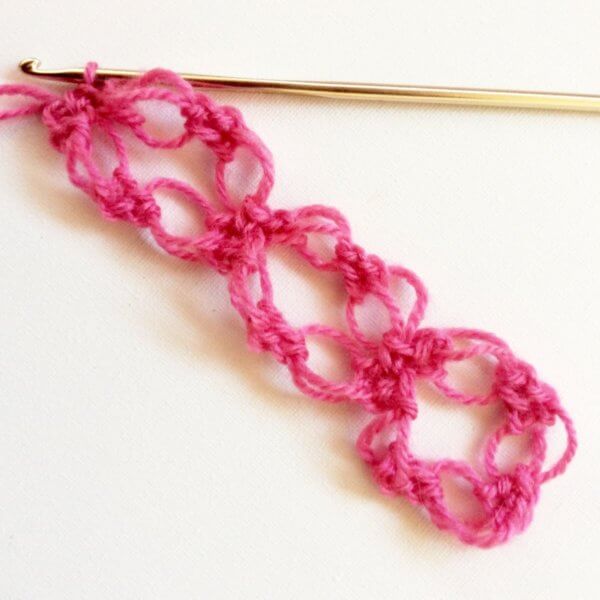
Row 4
16. Make 2 elongated loops by working steps 3 to 5 as before, followed by steps 2 to 5 once more. Turn the piece.
17. Skip 1 knot and crochet 1 single crochet in the next knot.
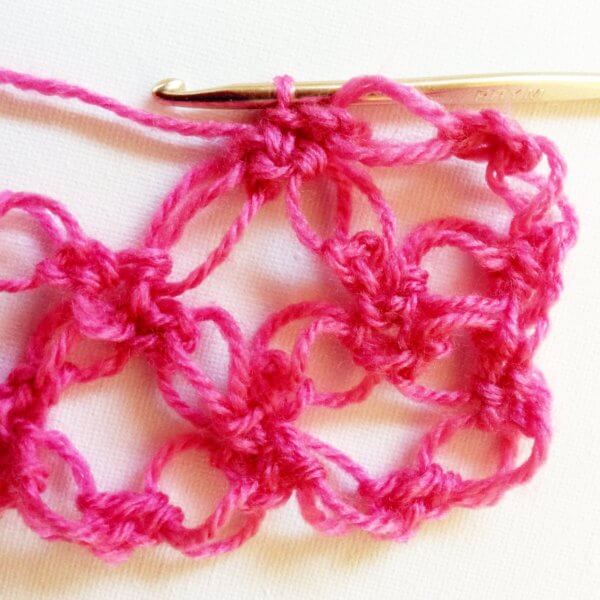
18. Repeat steps 16 and 17 until the end of the row, and finish the row with 1 single crochet in the last single crochet/knot.
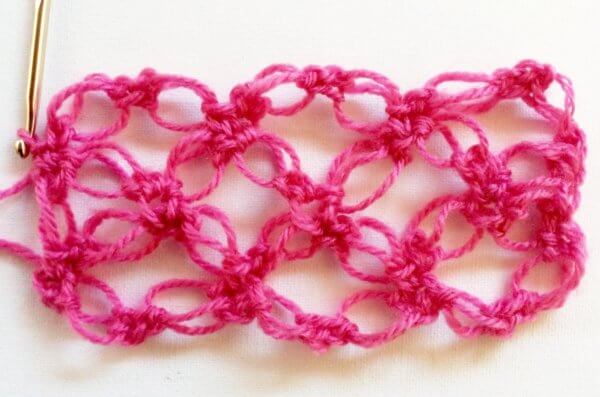
Repeat rows 3 and 4 until your work has the desired height.
And this is how to work the Solomon’s knot stitch!
")
")

