fixing lace

tutorial – fixing a forgotten m1

Fixing a forgotten m1 increase - a tutorial by La Visch Designs

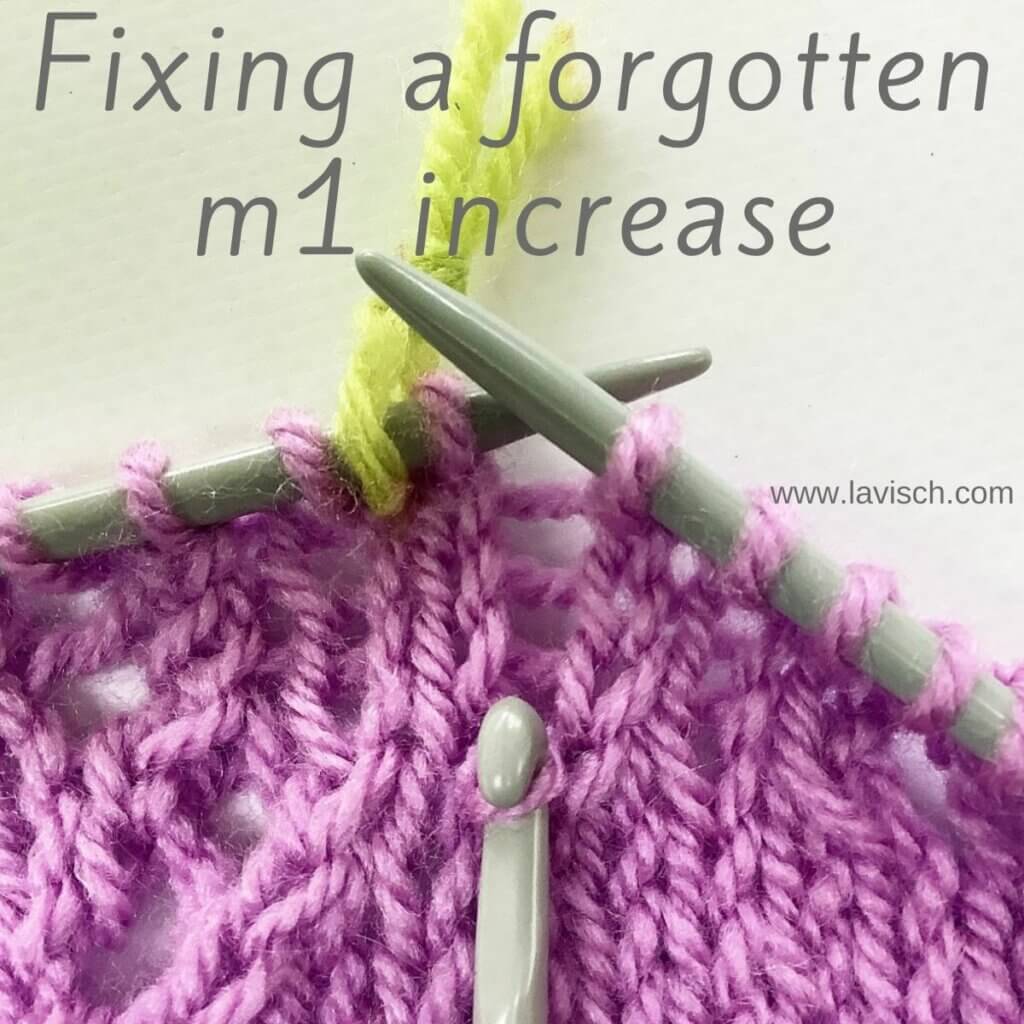
In an earlier tutorial I already showed you how to fix a forgotten yo. But, of course, that’s not the only type of increase that can be forgotten. What about fixing a forgotten m1? Personally, I have a very big aversion against ripping out my work, just because I forgot one teeny tiny stitch a couple of rows back. I mean, it certainly is an option, but I consider it to be more of a last resort type of option.

So, in this post I’ll show you to fix a forgotten m1 increase, specifically for the situation that the lack of the increase hasn’t been noticed until several more rows or rounds have been worked. I’ll address it for both the m1l and m1r variations of the increase.
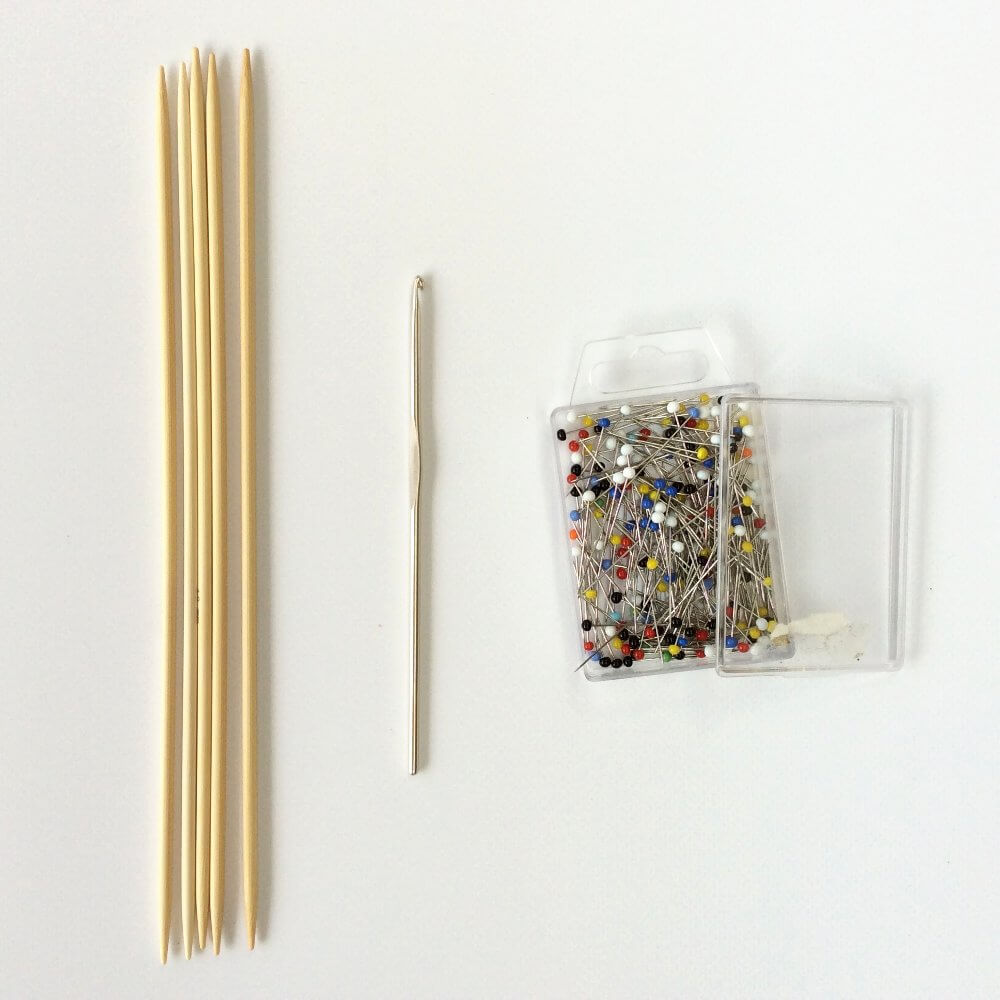
Materials used

Yarn: Paintbox Yarns Simply DK, a good value, good quality 100% acrylic yarn, here in the color 142 Tea Rose.

A crochet hook in the same size or slightly smaller than your knitting needles. For example this Pony Aluminum Crochet Hook in size 4 mm.

Fixing a forgotten m1 step by step

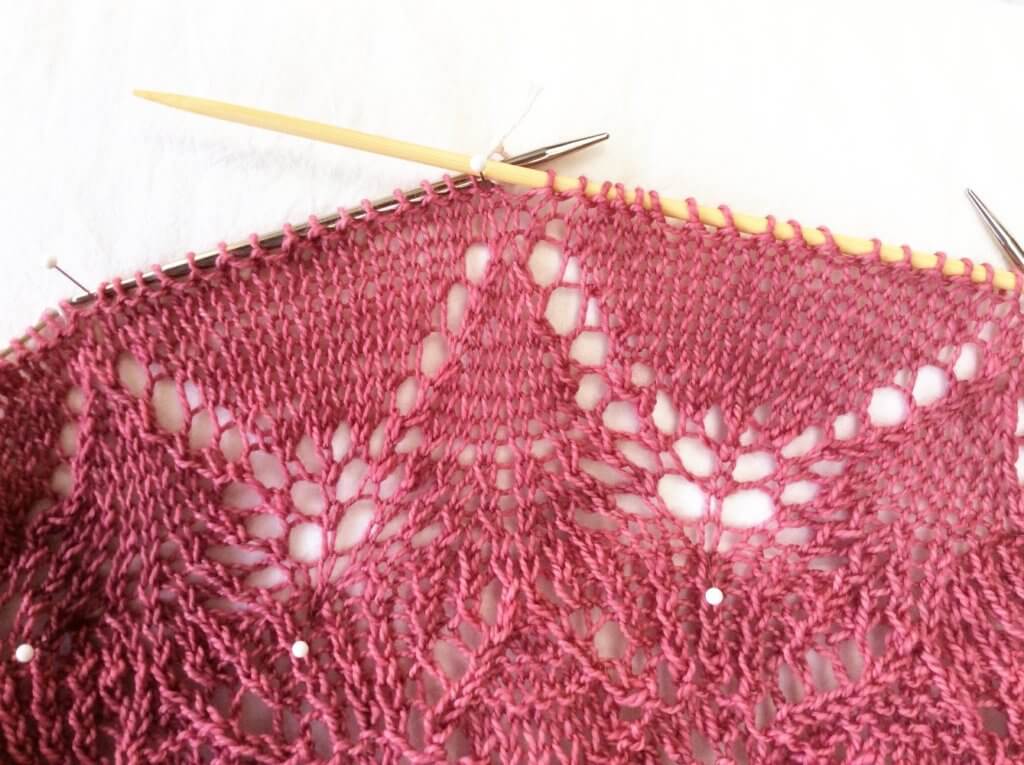
Let’s get started! In this tutorial I’m using the swatch I also used in previous tutorials on fixing things in knitting.

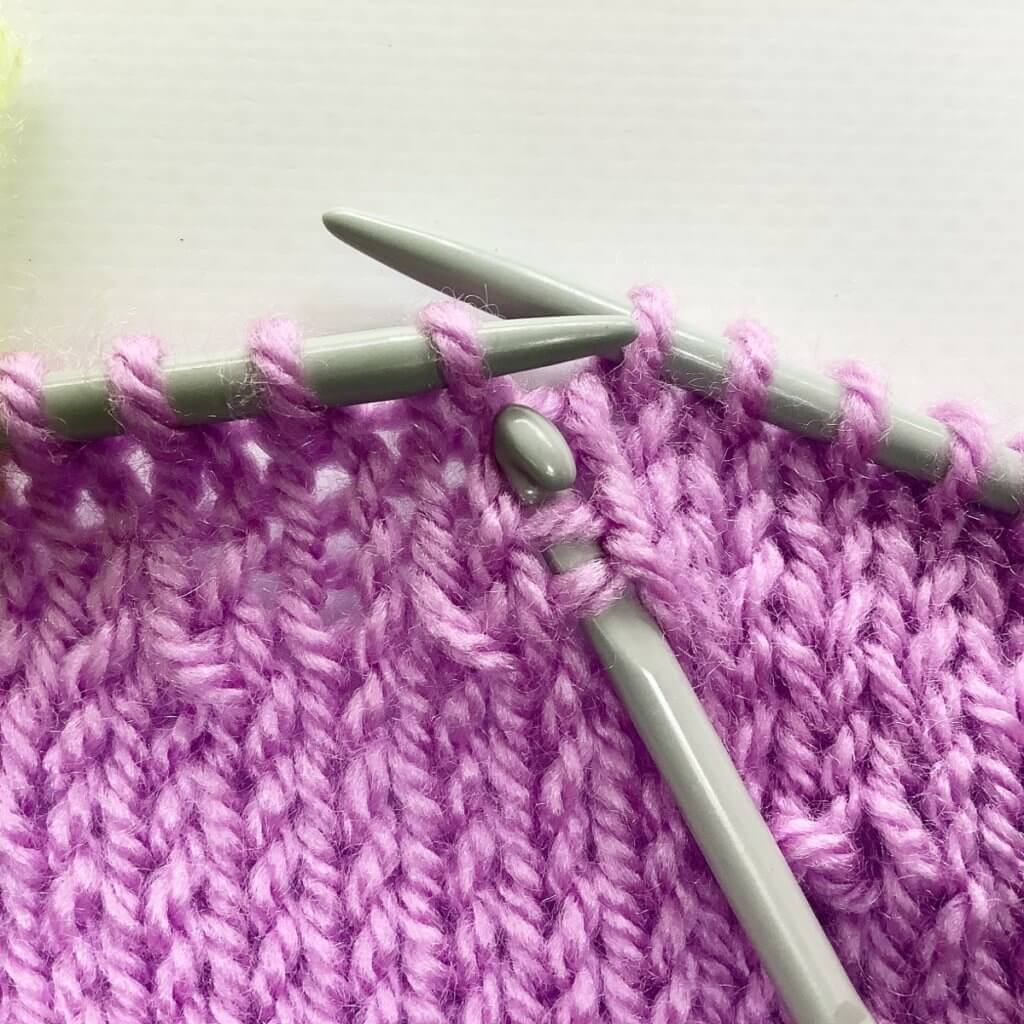
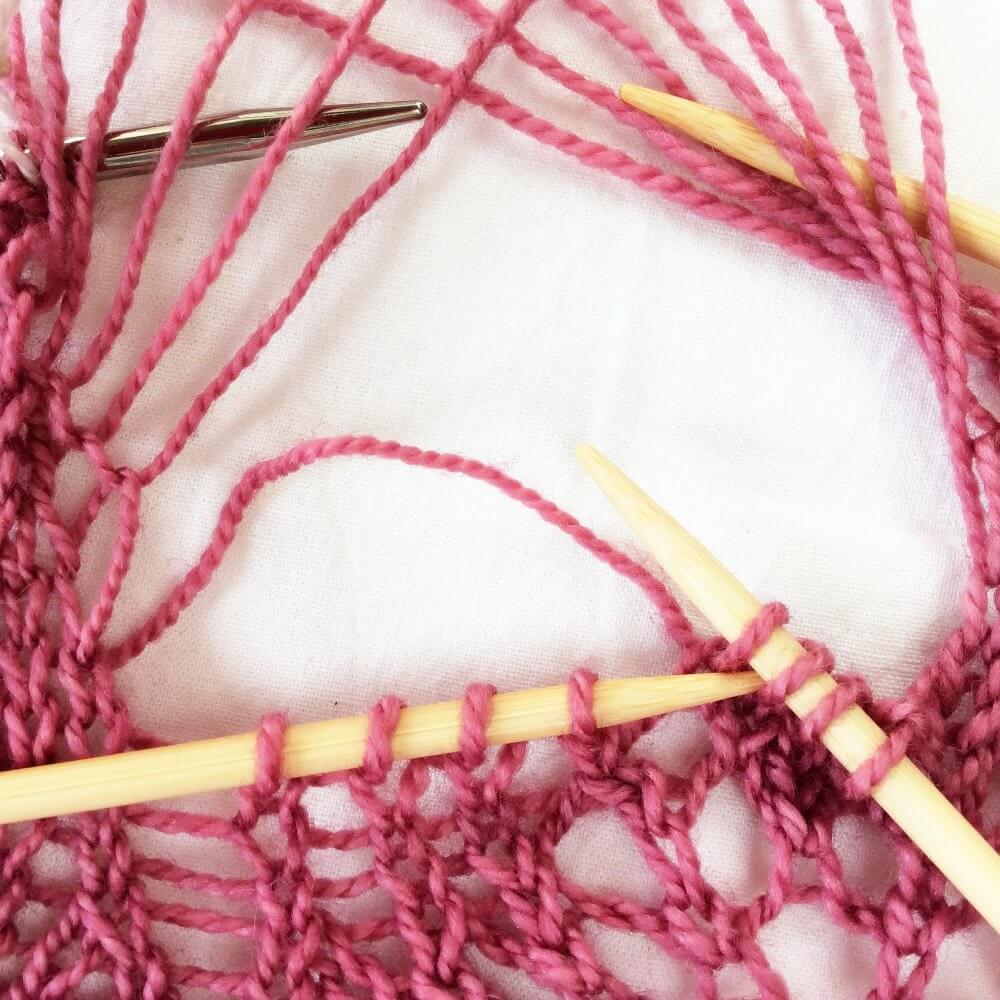
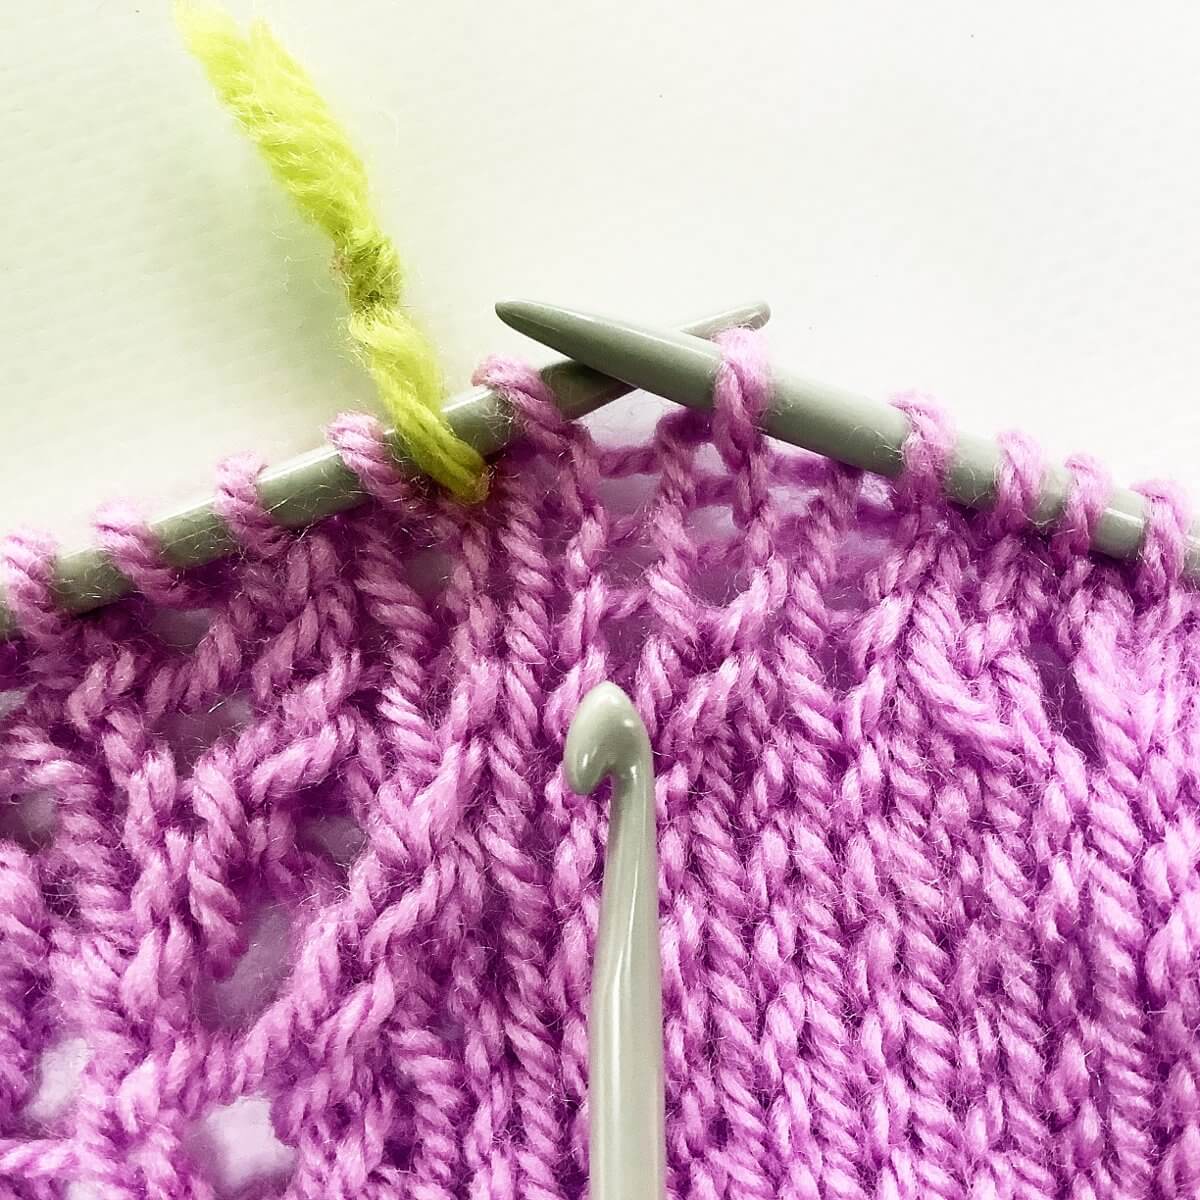
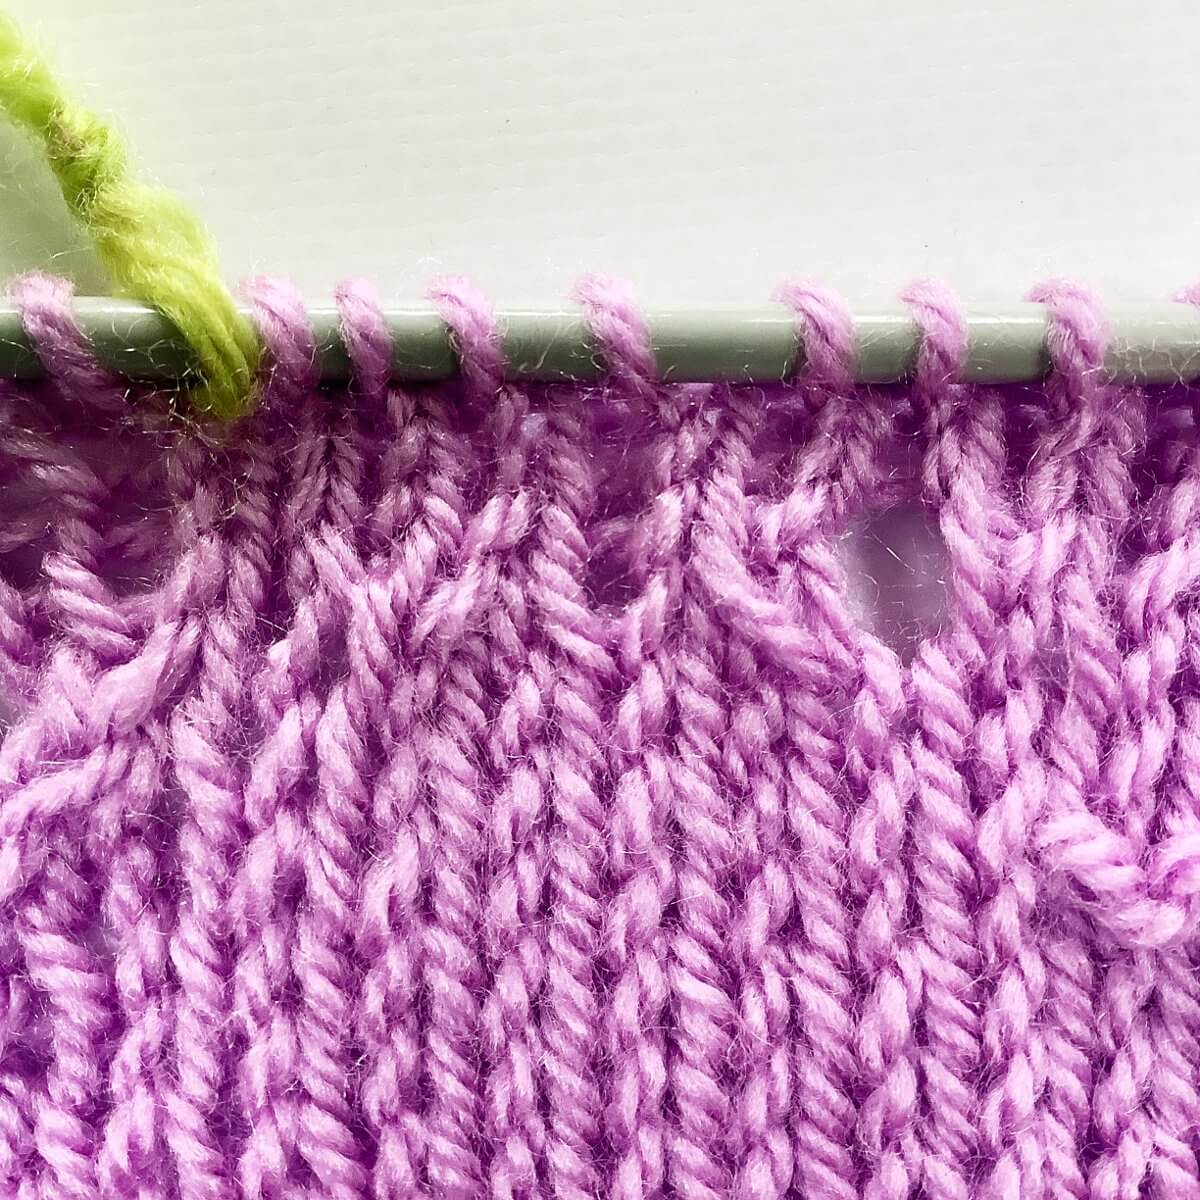
  1. First, go to the spot in your knitting where the m1 increase should have been.

    Let’s assume we’ve forgotten to work the increase at the spot indicated by the crochet hook. If you look carefully, you can see horizontal threads between the 2 columns of stitches.Fixing a forgotten m1 - step 1

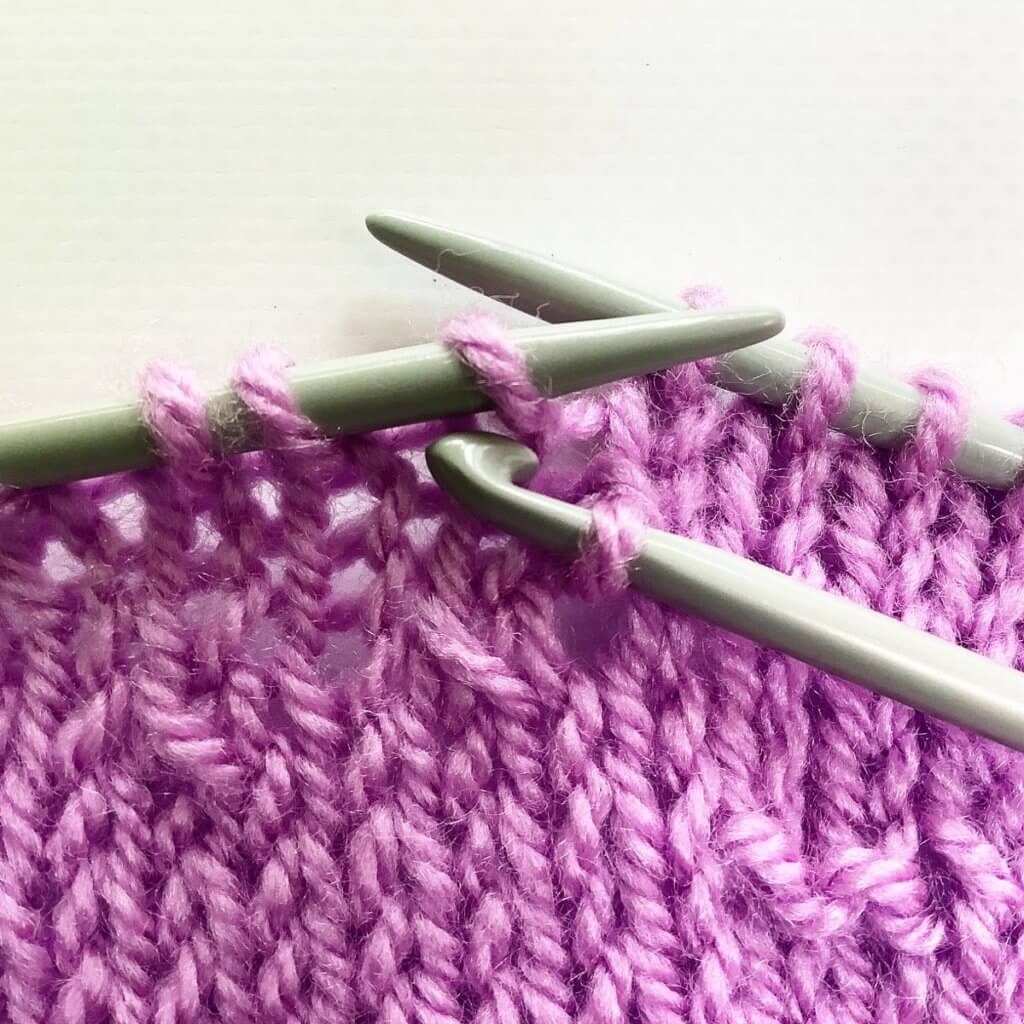
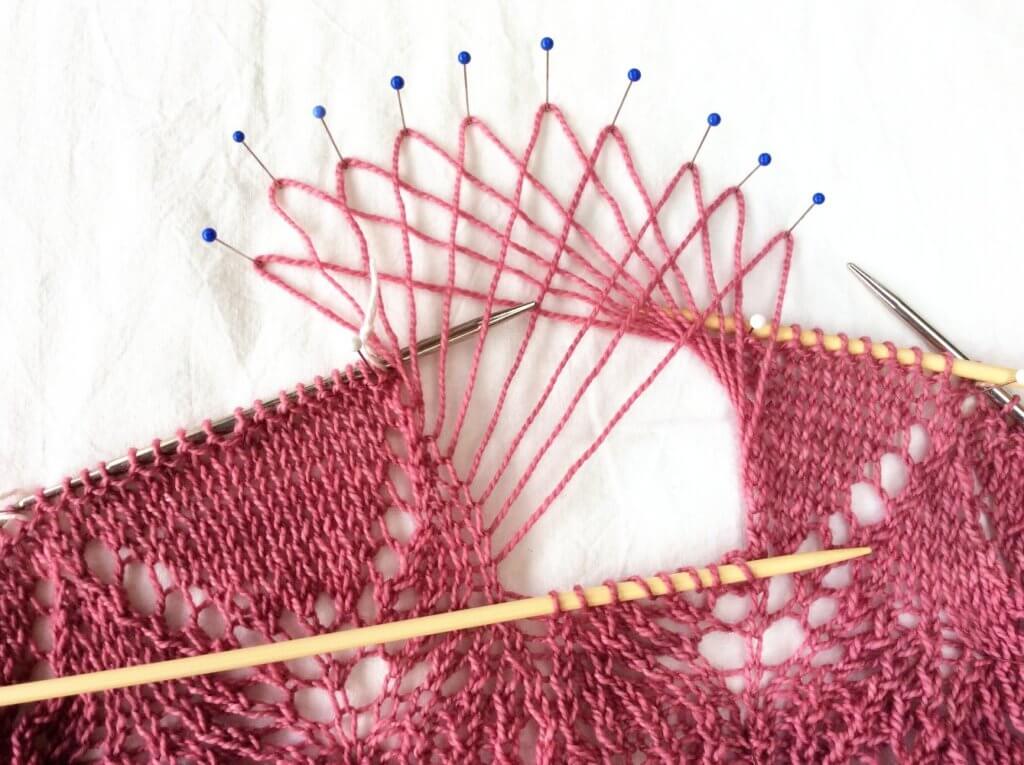
  2. Let’s assume we’ve forgotten the m1 increase 4 rows down.

    Now insert the crochet hook from top to bottom underneath the 5th horizontal thread.Fixing a forgotten m1 - step 2

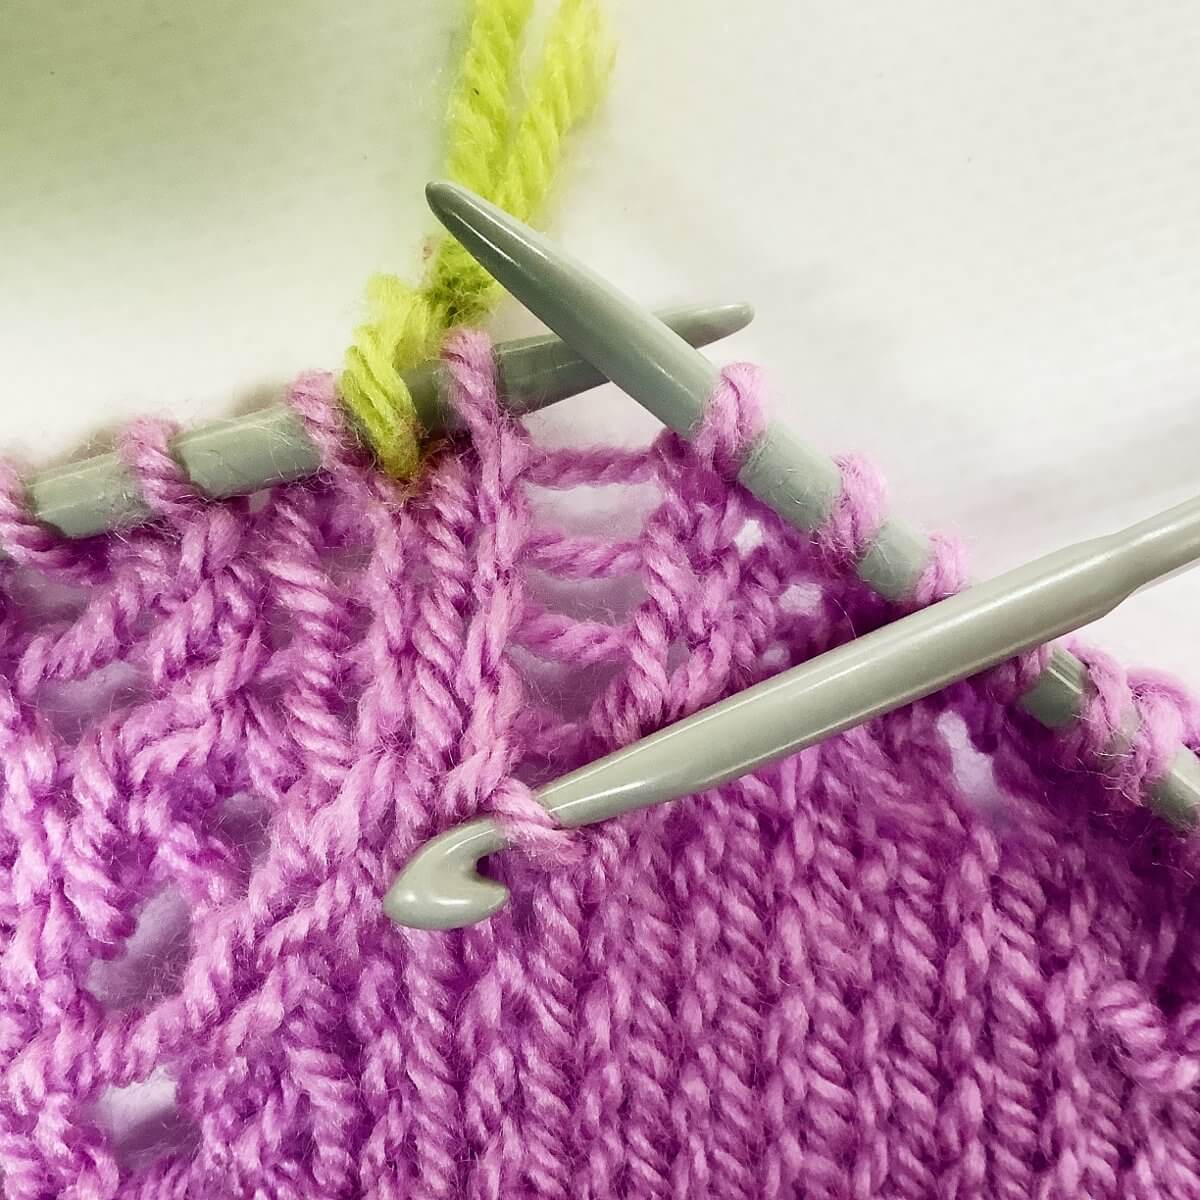
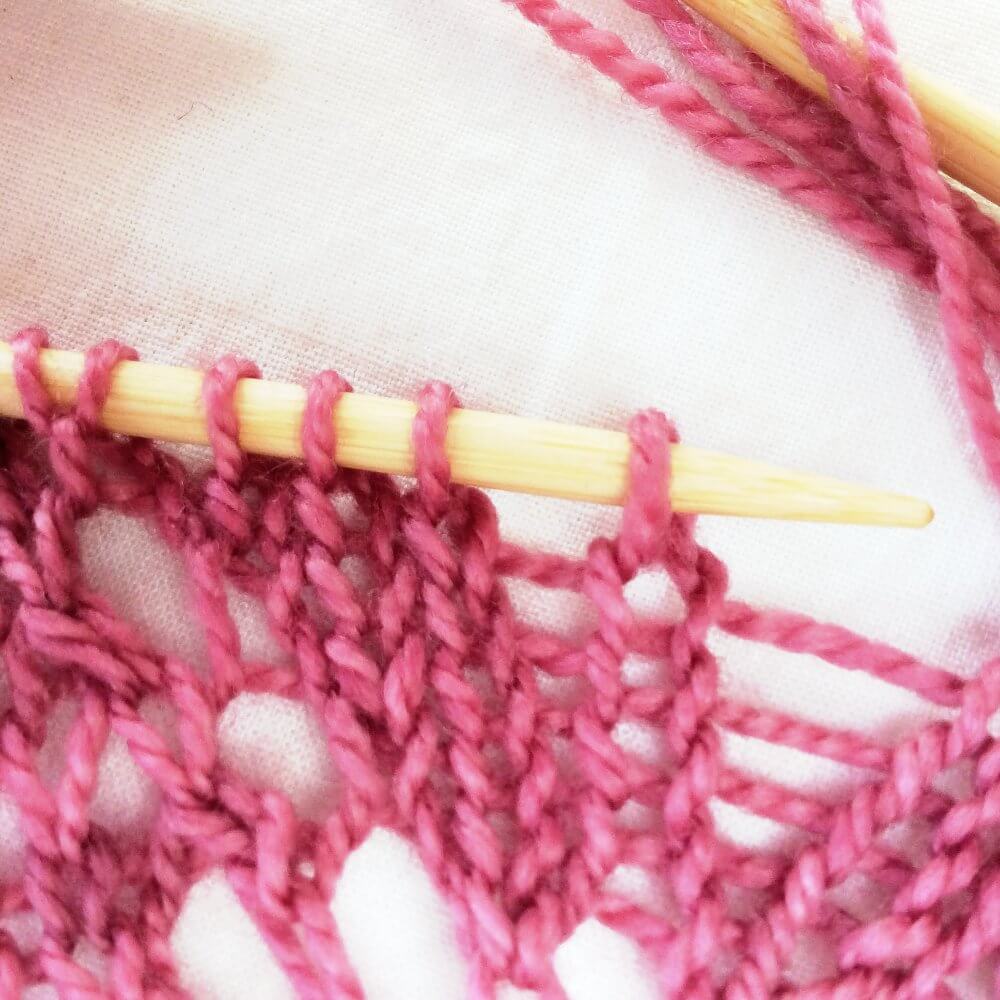
  3. Next, twist the crochet hook 180 degrees to twist the loop on the hook.

    The direction depends on the type of m1 increase you want to make. Twist it 180 degrees clockwise for a left leaning increase (m1l), or 180 degrees counterclockwise for a right leaning (m1r) increase. In the picture below the loop has been twisted, see how it sits more snugly on the crochet hook?Fixing a forgotten m1 - step 3

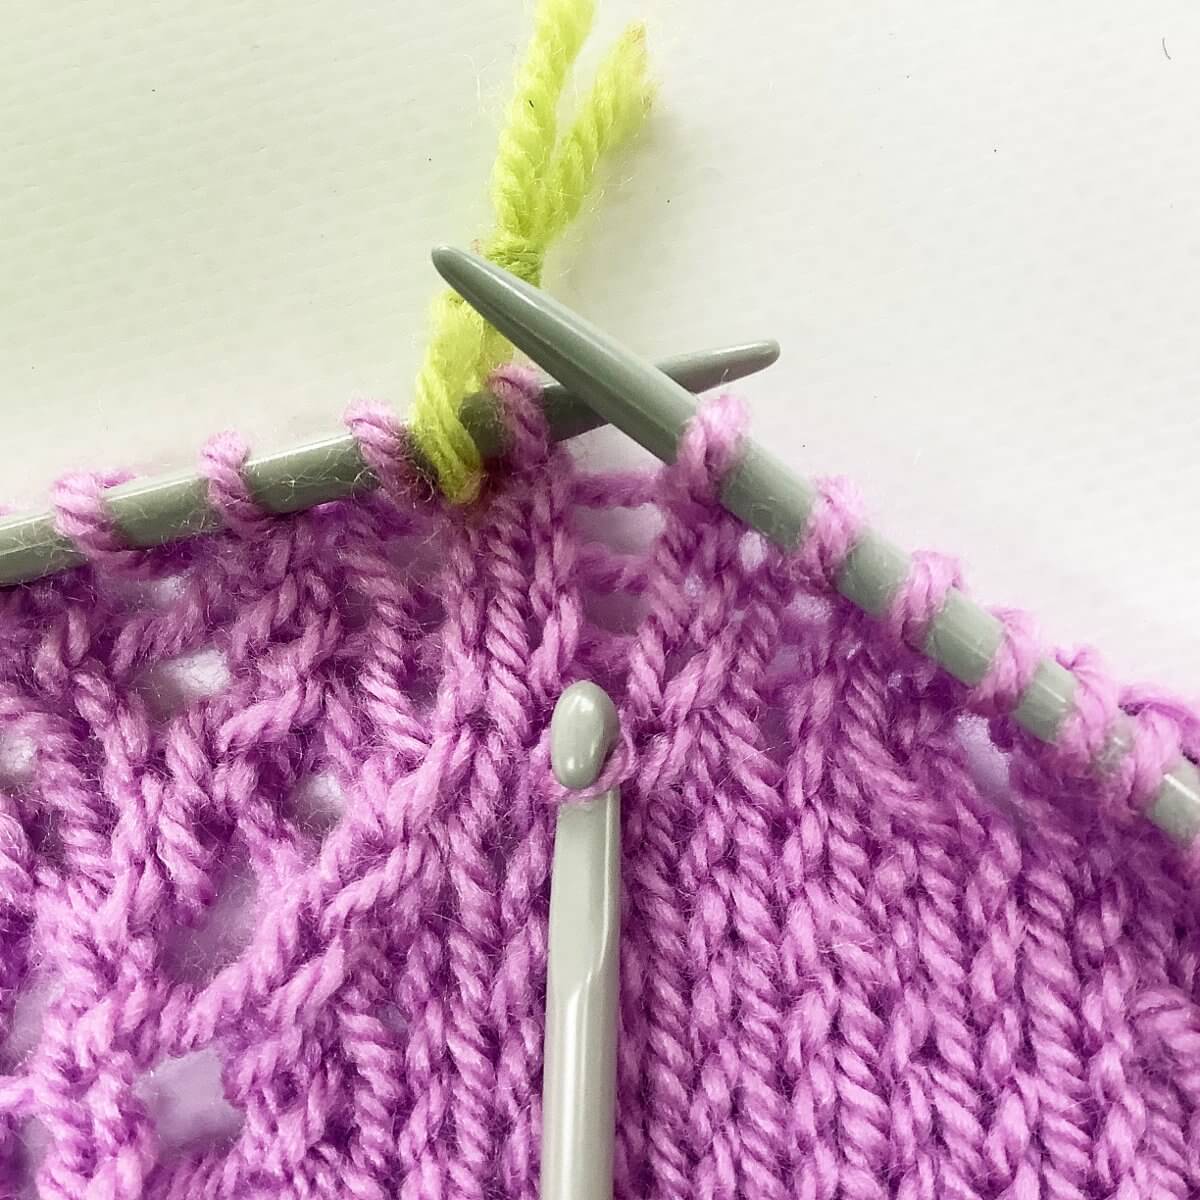
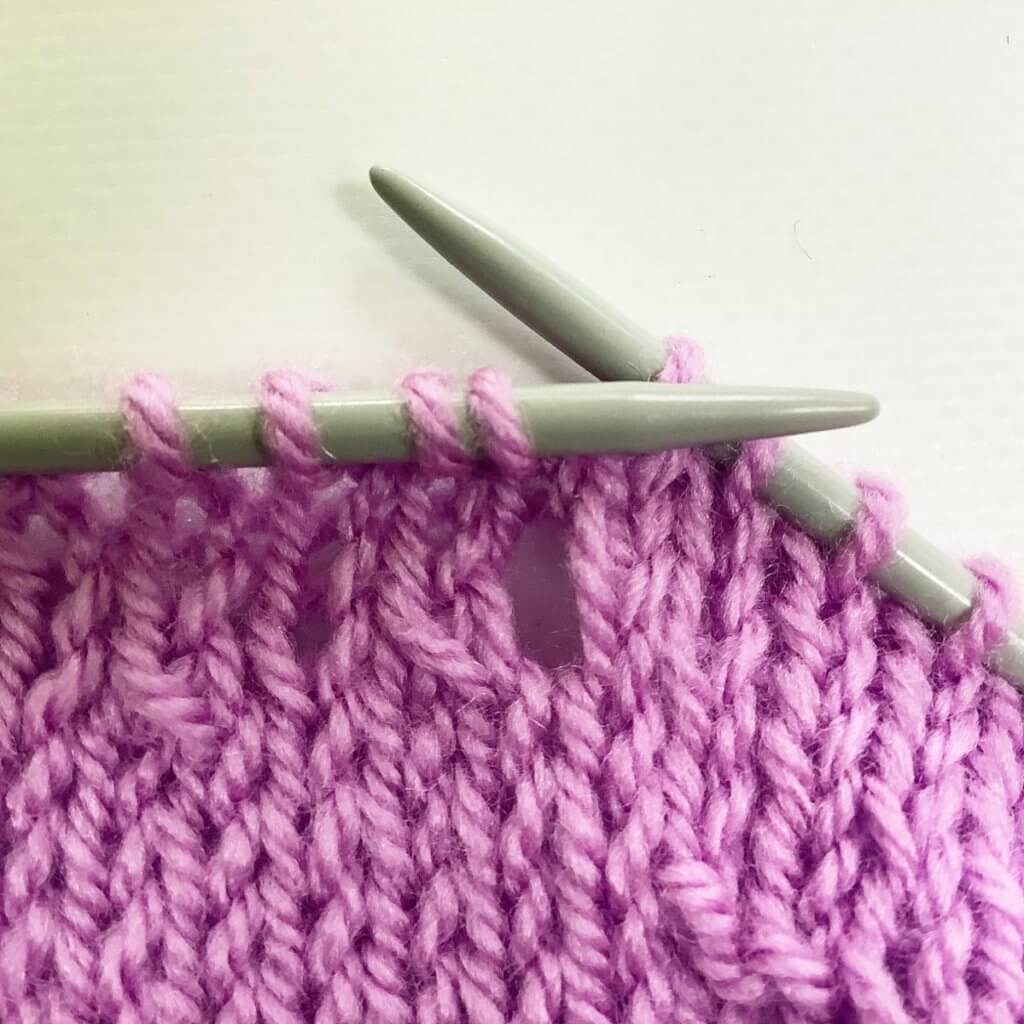
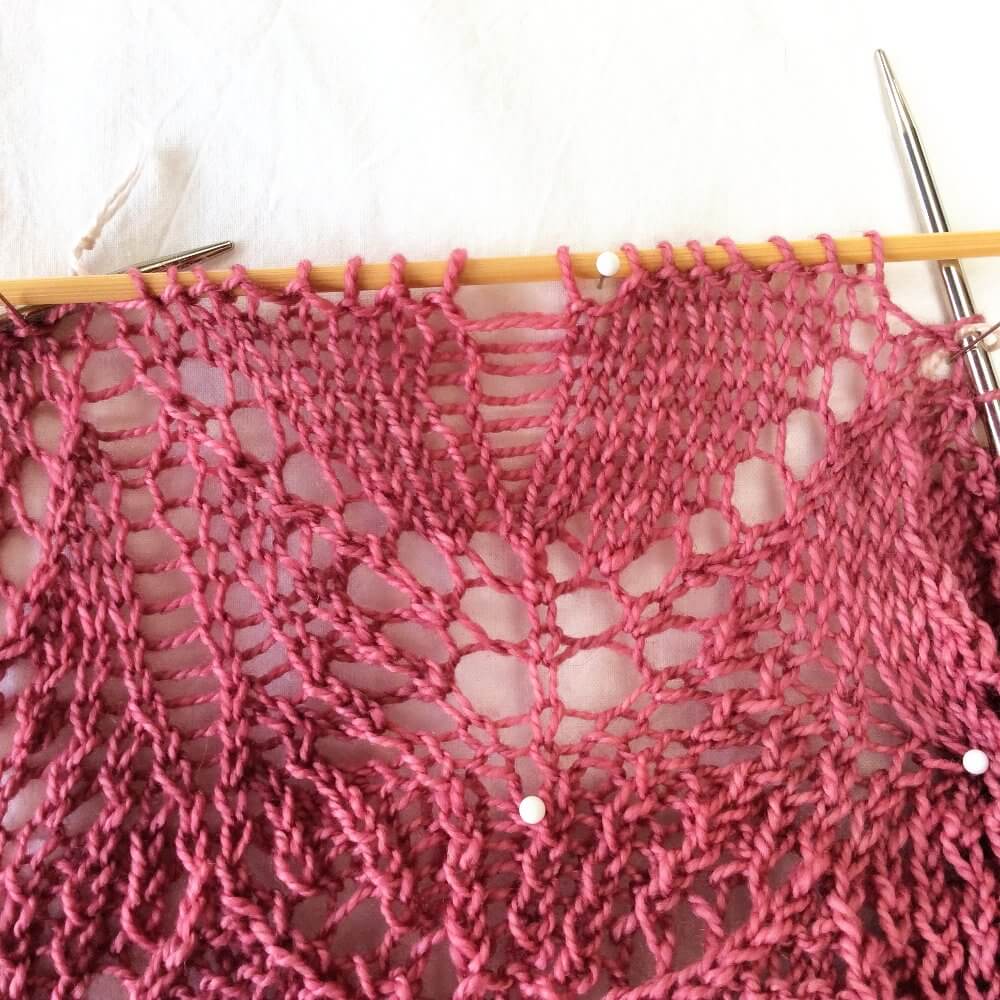
  4. Now we can ladder the work back up!

    To do so, insert the crochet hook underneath the horizontal thread directly above the new m1 (the 4th horizontal thread down), and pull the thread through the loop already on the hook to make a new knit stitch. Repeat this (for stockinette) as often as needed until you’ve run out of threads to pull through and place the stitch on the left-hand needle. Below you can see the result.Fixing a forgotten m1 - step 4

Now you’re ready to continue your knitting!

Patreon logo

Thanks to my Patreon supporters for bringing you this freebie! Creating quality patterns and tutorials is a lot of work and resource-intensive. However, I find it important to give you free content like this tutorial. Thanks to the generous support of my Patreon supporters, I can make it happen. Thank you, patrons! Click here to join, or click here to read more about La Visch Designs on Patreon.

tutorial – fixing a forgotten m1 Read More »

tutorial – fixing a forgotten yo

Fixing a forgotten YO - a tutorial by La Visch Designs

If you’ve ever knit lace or eyelet-patterning you know it can happen easily: a short distraction. And when your attention is somewhere else a yarn over or yo is forgotten and all patterning and shaping is thrown off-course. It may even be that you won’t notice it until several more rows or rounds have been worked.

Personally, I have a very big aversion against ripping out my work, just because I forgot one teeny tiny stitch a couple of rows back. I mean, it certainly is an option, but I consider it to be more of a last resort type of option.

So, without further ado, here a way to fix that forgotten yo without issues and stress!

Materials used

Yarn: * Paintbox Yarns Simply DK, a good value, good quality 100% acrylic yarn, here in the color 142 Tea Rose.

A crochet hook in the same size or slightly smaller than your knitting needles. For example this * Pony Aluminum Crochet Hook in size 4 mm.

Fixing a forgotten yo step by step

1. First, go to the spot in your knitting where the yo should have been. If you look carefully, you can see horizontal threads between the 2 columns of stitches. Do you also see the left-leaning decrease, 4 stitches down on the left-hand needle?

Right next to it is where the forgotten yo should have been. This means we need to insert the crochet hook from bottom to top underneath threads 3 and 4, counting from the needle down.

Step 1 of fixing a forgotten yo.

2. Next, pull the top thread through the other one on the hook to create the yarn over or yo.

Step 2 of fixing a forgotten yo.

3. The next step is to insert the crochet hook underneath the horizontal thread directly above new yo and pull the thread through the loop already on the hook to make a new knit stitch. Repeat this (for stockinette) as often as needed until you’ve run out of threads to pull through and place the stitch on the left-hand needle.

Step 3 of fixing a forgotten yo.

Now you’re ready to continue your knitting!

Patreon logo

Thanks to my Patreon supporters for bringing you this freebie! Creating quality patterns and tutorials is a lot of work and resource-intensive. However, I find it important to give you free content like this tutorial. Thanks to the generous support of my Patreon supporters, I can make it happen. Thank you, patrons! Click here to join, or click here to read more about La Visch Designs on Patreon.

tutorial – fixing a forgotten yo Read More »

fixing a mistake in lace knitting

Fixing a mistake in lace knitting - a tutorial by La Visch Designs

This post is all about my recent confrontation with fixing a mistake in lace knitting. As you may have seen if you’re following me on Instagram or Facebook, I’ve been happily knitting along on my latest design using Nurturing Fibres Super Twist Sock in “Odette” and “humbug”. I got mine from Wol zo Eerlijk, a lovely store with lots of environmentally friendly and fair trade yarns. Anyway, there I was, in the home stretch, with only 10 more rows of edging to go before the bind off. It was then that I saw it: a mistake in my lace, 9 rows down!

When I found the mistake in the pink border of my Pink Monarda shawl pictured, I had about 320 stitches per row. So no, I was not going to rip out all that work! Instead, I dropped down only 8 stitches to the place where I made the mistake. After that was correcting the error, followed by knitting everything back up to the row I was on.

In this post, I’ll show you exactly what I did!

Helpful materials

To start, it is pretty handy to have some tools available to make fixing the mistake easier. I used the following:

  • A set of DPN’s (double pointed needles) in the same size as the needles used in your project, or smaller.
  • A crochet hook.
  • Some pins.
  • A pillow.
Fixing a mistake in lace knitting with La Visch Designs

The pillow and pins were used to make sure that your work stays exactly where you need it to be. Also, it helps to see the mistake better when pinned out, instead of all scrunched up like lace tends to be before blocking.

On to the fixing!

1. To start, I pinned out my knitting on the pillow. I did this in such a way that I could clearly see a repeat of the lace pattern that was knitted correctly, as well as the one with the mistake in it. I slipped some of the stitches on one of the DPN’s to help fixate the whole better on the pillow. Can you see in the picture below where the mistake is?

Fixing a mistake in lace knitting with La Visch Designs

2. The mistake is in the left half of the repeat, near the 4th yarn over, counted from the needle. Can you see it? In the picture below, I have indicated it with the circle.

Fixing a mistake in lace knitting with La Visch Designs

3. In this particular case, it wasn’t necessary to drop down the whole repeat. Instead, I only dropped the 8 stitches on the left half of the repeat. I dropped down until I reached the purl row exactly below the row with the mistake in it.

When approaching the row below the mistake, I stopped ripping back and started to carefully tink (tink = knit backward!) further back, catching the released stitches with another DPN. It is especially important to do it like this when working with very slippery yarn. If you don’t take care, the knitting may run deeper down than desired, thus increasing the amount of fixing to do.

The yarn from every row dropped, I pinned to the pillow, going from left to right. This made sure nothing got tangled, and I could easily count the number of dropped down rows. This, in turn, made it easier to see where to pick up the chart when knitting it back up.

Fixing a mistake in lace knitting with La Visch Designs

4. Then it was a matter of knitting back in pattern. As you can see, you use the free loop of yarn, just as you would use the thread running to the ball of yarn. If you find it challenging to catch the thread correctly to pull it through a stitch, you can always use the crochet hook to assist with this.

Fixing a mistake in lace knitting with La Visch Designs

5. Because of the way I manipulated the yarn through the stitches, some of the stitches got mounted twisted. In the picture below, you can see that the left leg of the stitch is in front of the needle, instead of at the back. This really is no problem, but it is something to pay attention to. To correct this, I knitted these twisted stitches through the back loop.

Fixing a mistake in lace knitting with La Visch Designs

6. And here you see the result: all fixed! The loose stitches you can see next to the re-knitted stitches are because of the tension on those threads when manipulating the dropped down stitches. This should, however, correct itself during blocking. If it’s still a tad visible, you can redistribute the excess yarn a bit over the various stitches.

Fixing a mistake in lace knitting with La Visch Designs

7. And this is how to go about fixing a mistake in lace knitting. Now on to knitting those final rows of this shawl…

Fixing a mistake in lace knitting with La Visch Designs

fixing a mistake in lace knitting Read More »