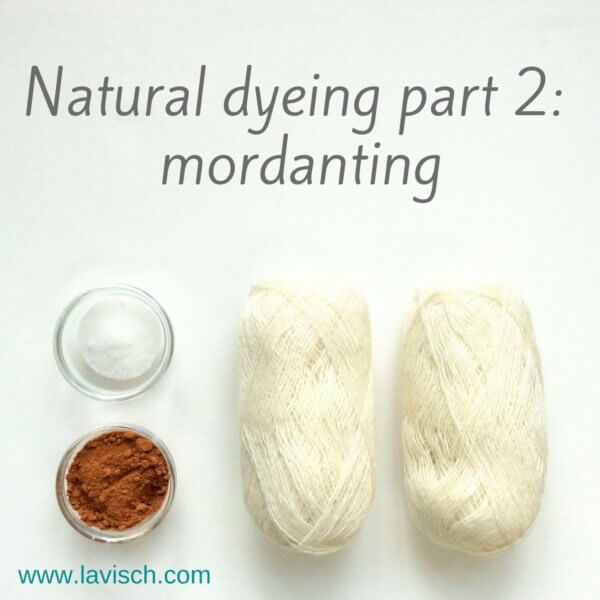
dyeing with natural dyes: part 2 – mordanting
This post about mordanting your fiber is part 2 in a series in which I tell you all about what is involved in dyeing wool with natural dyes. I guide you through the various steps and take you along with a natural dye experiment.
The steps to go through are as follows:
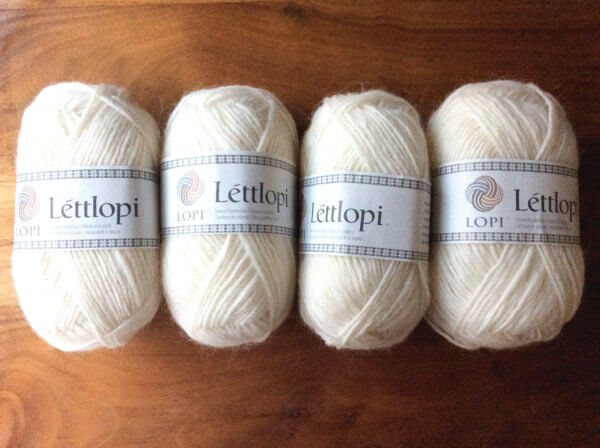
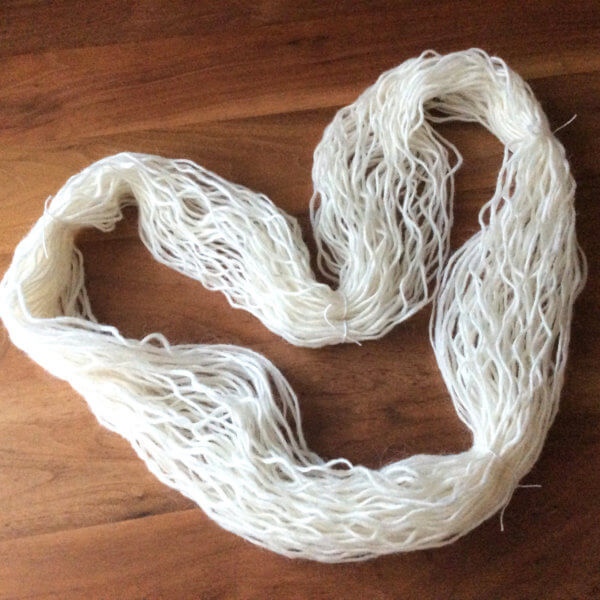
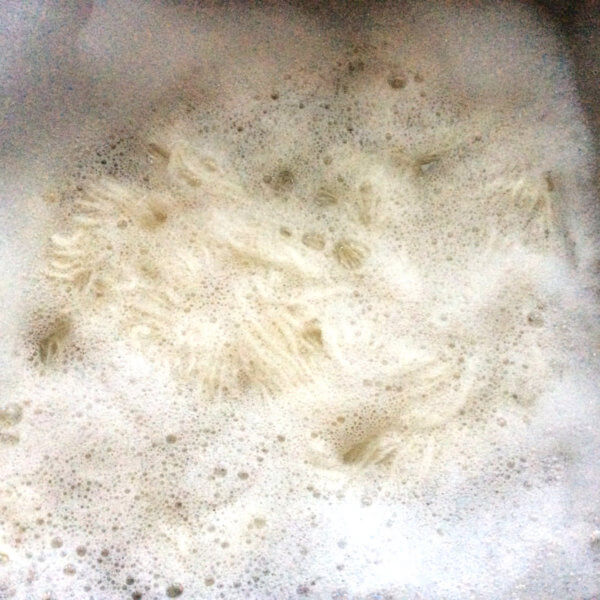
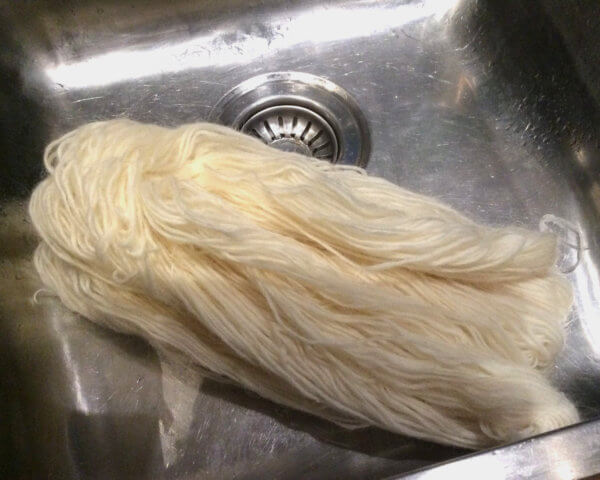
a. Washing the wool
b. Mordanting
c. Preparing the dye
d. Dyeing your wool
Today we are going to mordant the wool we washed in the previous step.
b. Mordanting
Mordanting of the wool is usually required with natural dyeing to ensure that the wool fibers are all opened up so that the dye can penetrate into the fiber. Without mordanting the dye adheres less well and the resulting color is less bright and colorfast.
There are several possible mordants: alum (potassium aluminum sulfate), chrome (potassium dichromate), copper sulfate, iron (ferrous sulfate), and tin (stannous chloride).
Each mordant has a different effect on the outcome of the dyeing process. Iron for example will “sadden” or darken colors, bringing out the green shades. Because alum is, when compared to the others, much less polluting and releases no harmful vapors during processing, I use it in this step-by-step guide.
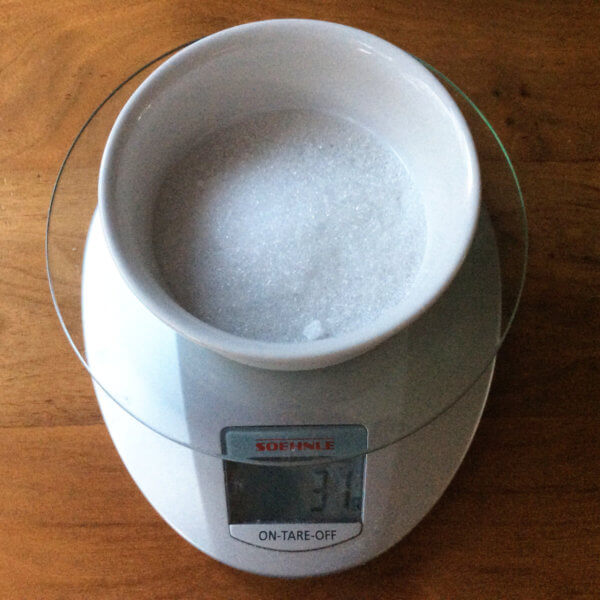
1. The amount of mordanting agent to use depends on the quantity of wool that you want to dye. Typically, alum is used between 8% and 20% of the weight of the wool (dry weight!). I start at 15% and have 200 g of wool, therefore I use 30 g alum. (I know that the photograph shows 31 g, have corrected the weight after making the picture!)
Tartaric acid (“cream of tartar”) is sometimes used as an additive when mordanting with alum. As I understand it, it can brighten the colors. Use at approx. 7% of the weight of fiber together with 8% alum. In this example, I however do not use it.
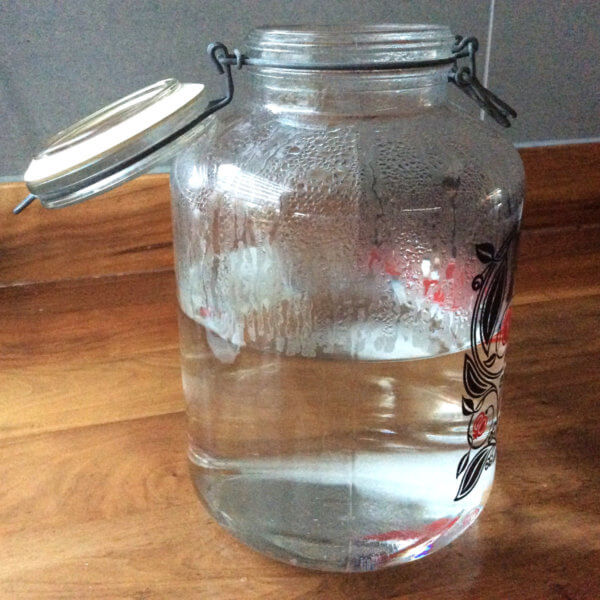
2. Dissolve the alum (and, possibly, tartaric acid) in a glass jar or stainless steel pan of boiling water. Use enough water to fully submerge your amount of wool.
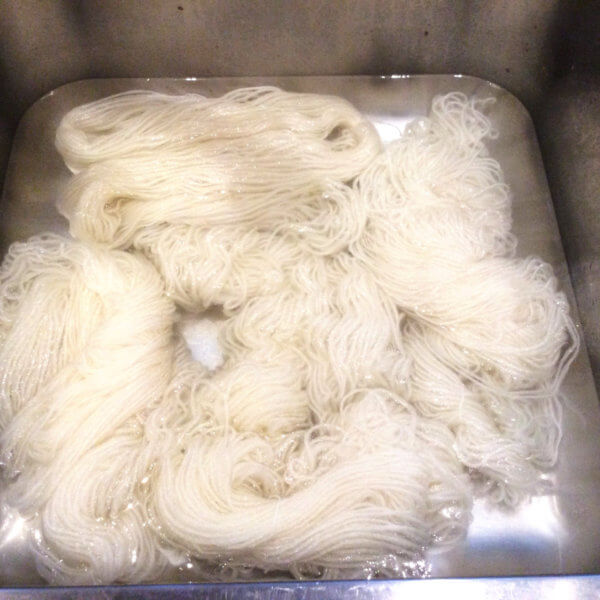
3. Add the wet wool to the pot. This may be immediately after washing. If your wool has dried between washing and mordanting, let it soak in water for about half an hour first. Adding dry wool to a mordanting or dye bath may cause streaks in your fiber.
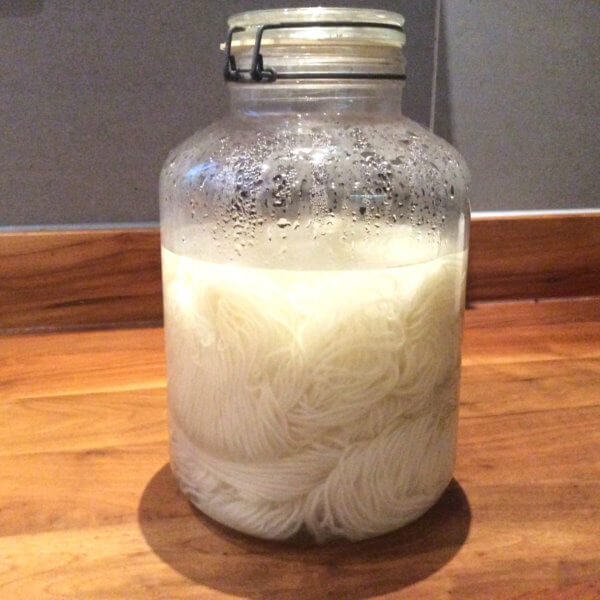
Many instructions for dyeing wool indicate to keep it all warm at the simmering point for more than an hour. That may indeed be the case, but you can also get good results if you let it cool completely and then allow to stand overnight. This cold mordanting takes more time, but much less energy and therefore has my preference.
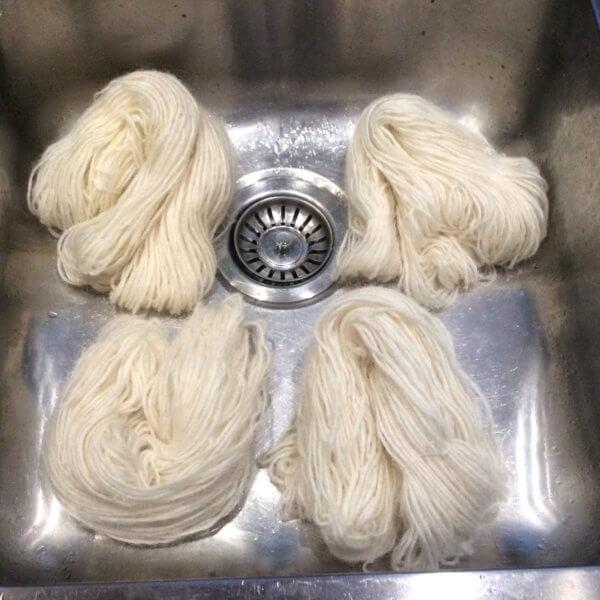
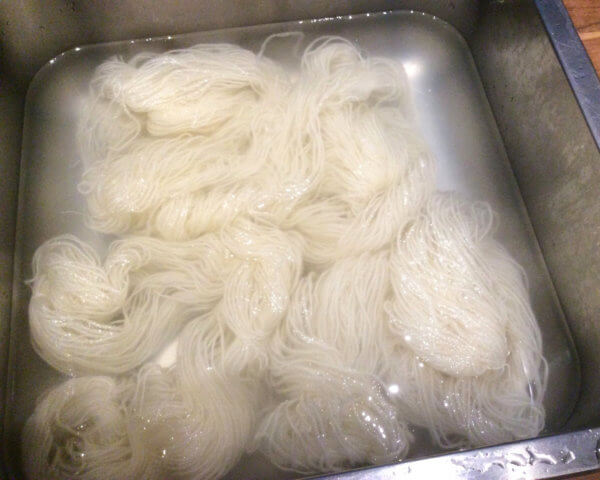
4. After mordanting, the wool must be rinsed.
5. Next you can directly proceed to dyeing the wool, or (if the timing is not quite right) hang your wool to dry. Once mordanted and dried, simply store the wool until you are ready to dye.
Now it is time to proceed to the next step: preparing your dye bath. More on this in my next post!
dyeing with natural dyes: part 2 – mordanting Read More »