tutorial – knitting colorwork tips
Knitting color work besides giving a gorgeous result is also a lot of fun. I must admit I haven’t gone beyond knitting color work with 2 colors yet, at this point in time. Doing that though, I have come across some things that make it easier to do and get a lovely result. And, of course, I love to share these color work tips with you!
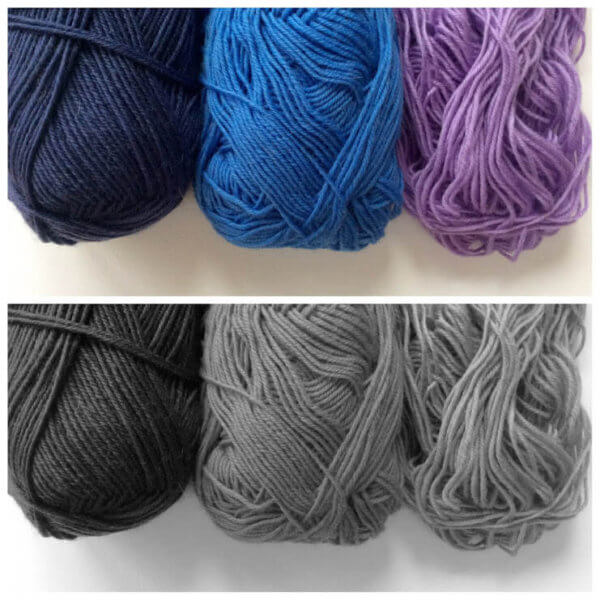
1. Picking your colors
Perhaps you’ve already noticed it with previous projects: sometimes when colors seem to go perfectly with each other, the result is just disappointing when combined. One possible reason for this is that the colors don’t have enough contrast between them. But how to make sure there is enough contrast? Read on this tutorial!
2. Start with a small project
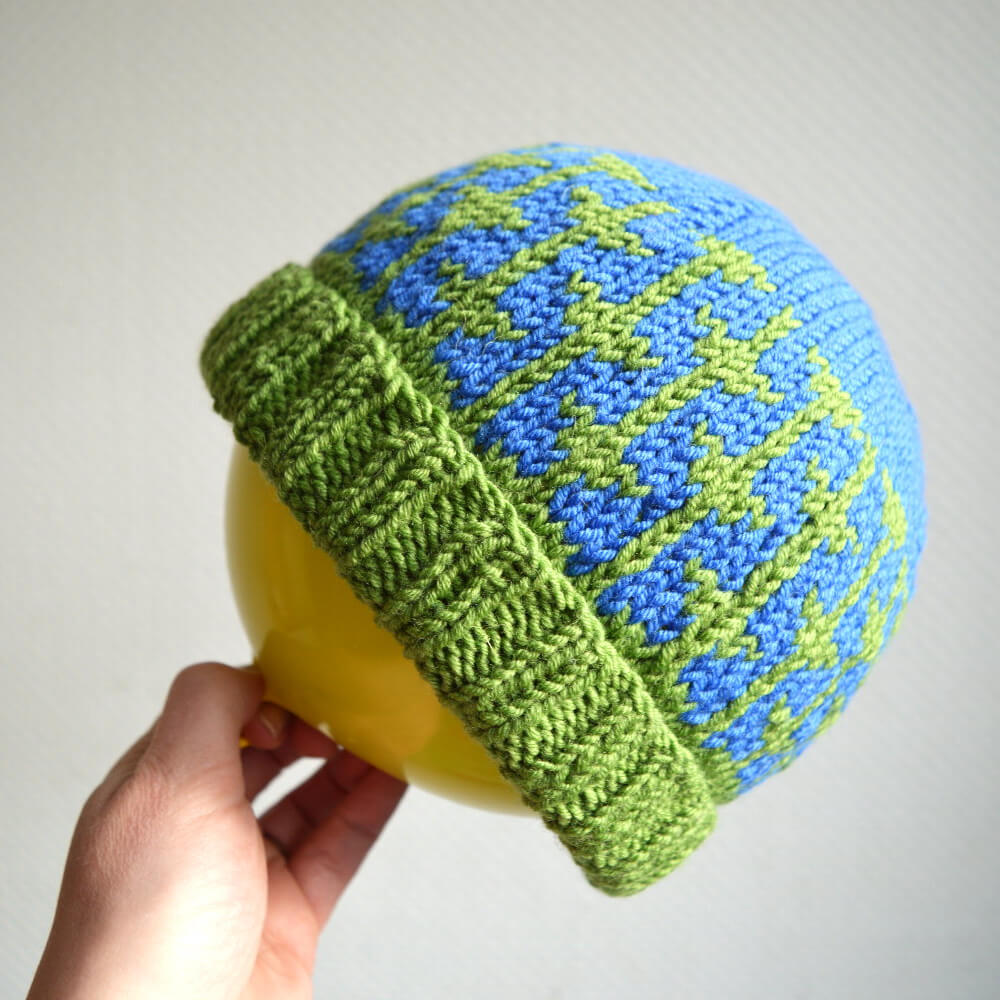
Handling multiple strands of yarn at the same time while following a chart can be pretty daunting if you’ve never done so before. My advice would, therefore, be to start with a smallish project and limit yourself to only 2 colors. Think for example of a hat, like the Pijl hat pictured below. This way you can find out how to hold your yarn etc. without adding an extreme tangle to the mix that even more colors of yarn could potentially bring.
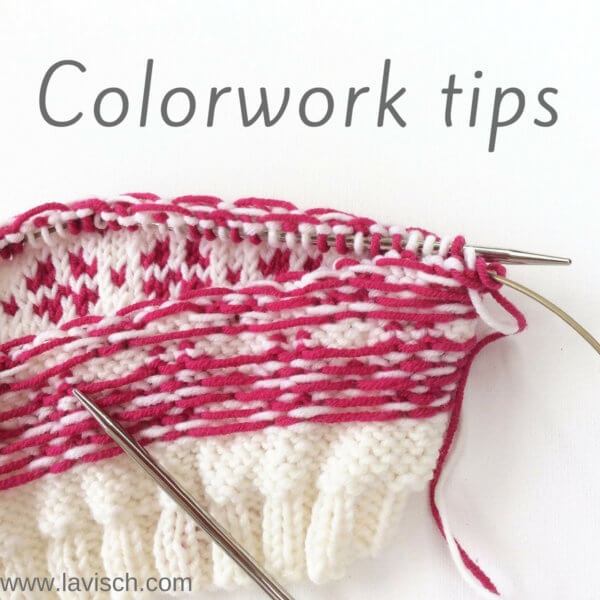
3. Managing floats
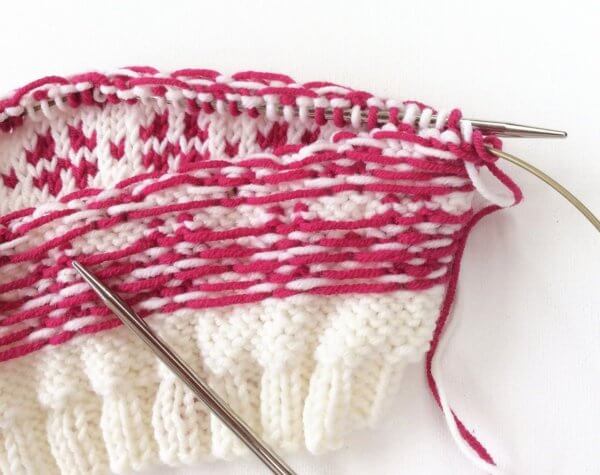
The pieces of yarn running at the inside of a color work project knitted in the round are called “floats”: the lengths of yarn not being knitted and simply carried along the back. Because they run at the inside circumference of the project, there is a risk of them getting too short and tight. This, in turn, will lead to puckering in the finished item. The solution is luckily a very easy one: just turn your knitting inside-out so the floats are on the outside circumference while knitting! This will usually give enough slack in the floats to avoid puckering. This is, by the way, a pic of my Bloem hat while in progress.
4. Gauge
Most knitters find that when knitting color work their gauge ends up much tighter (more stitches per 10 cm / 4 inches) than when knitting in a single color with that particular yarn/needle combination. This is because the floats lack the elasticity of regular knitting stitches. This may mean that a color work hat, sweater or sock turns out much smaller than expected. It’s therefor a good idea to either start with a smallish part of the project like a sleeve (for a big project like a sweater) or swatch. Don’t forget to swatch in the round though, because this is usually different from the gauge when worked flat.
5. Fixing mistakes
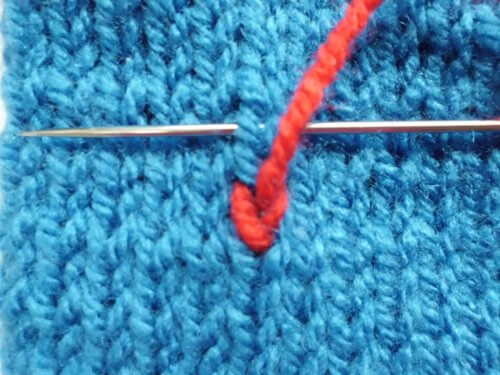
Let’s face it: mistakes will probably be made. I know I do! With some, you can just tink back (= knitting backward, in other words: stitch for stitch un-knitting what you did). In that case, make sure to wind back your yarn on the separate balls to avoid it all tangling up. It’s also possible to find a bit in your color work that didn’t quite go according to the chart, way back or even after binding off. In that case, there are several options. You can, of course, consider it a design element. If it bothers you too much, don’t be hesitant to fix it for the eye by embroidering over it using the duplicate stitch technique. And I’ve got a tutorial for that!
There you have it: several color work tips to help you with working lovely color work projects!

Thanks to my Patreon supporters for bringing you this freebie! Creating quality patterns and tutorials is a lot of work and resource-intensive. However, I find it important to give you free content like this tutorial. Thanks to the generous support of my Patreon supporters, I can make it happen. Thank you, patrons! Click here to join, or click here to read more about La Visch Designs on Patreon.
tutorial – knitting colorwork tips Read More »