keten
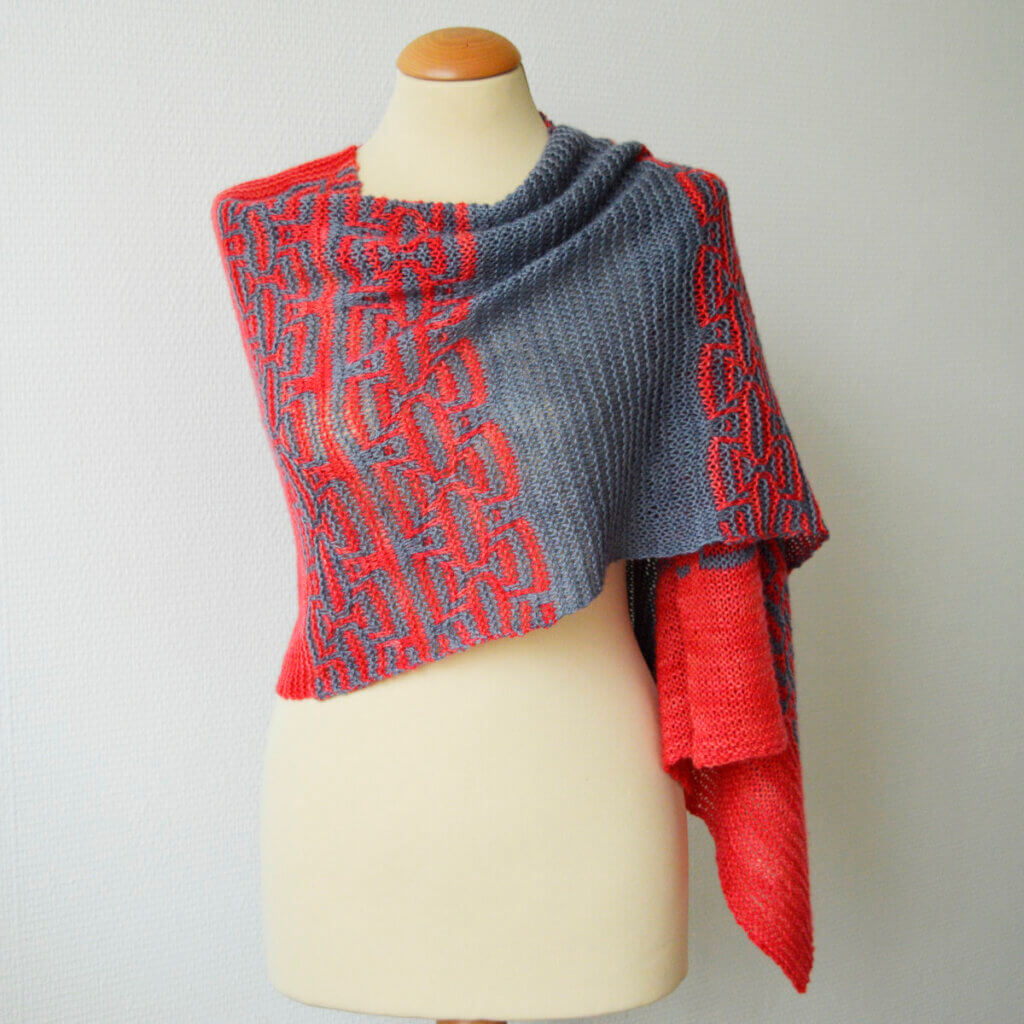
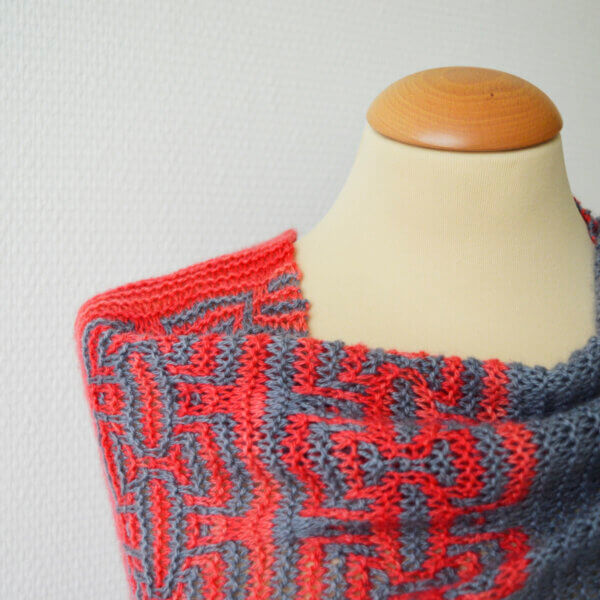
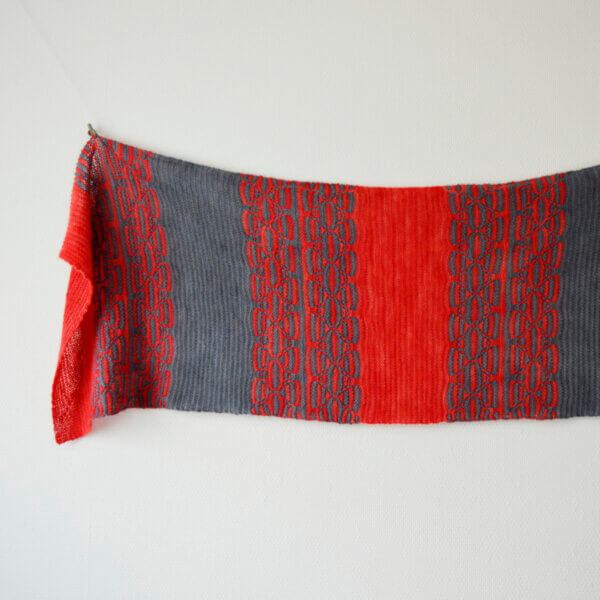
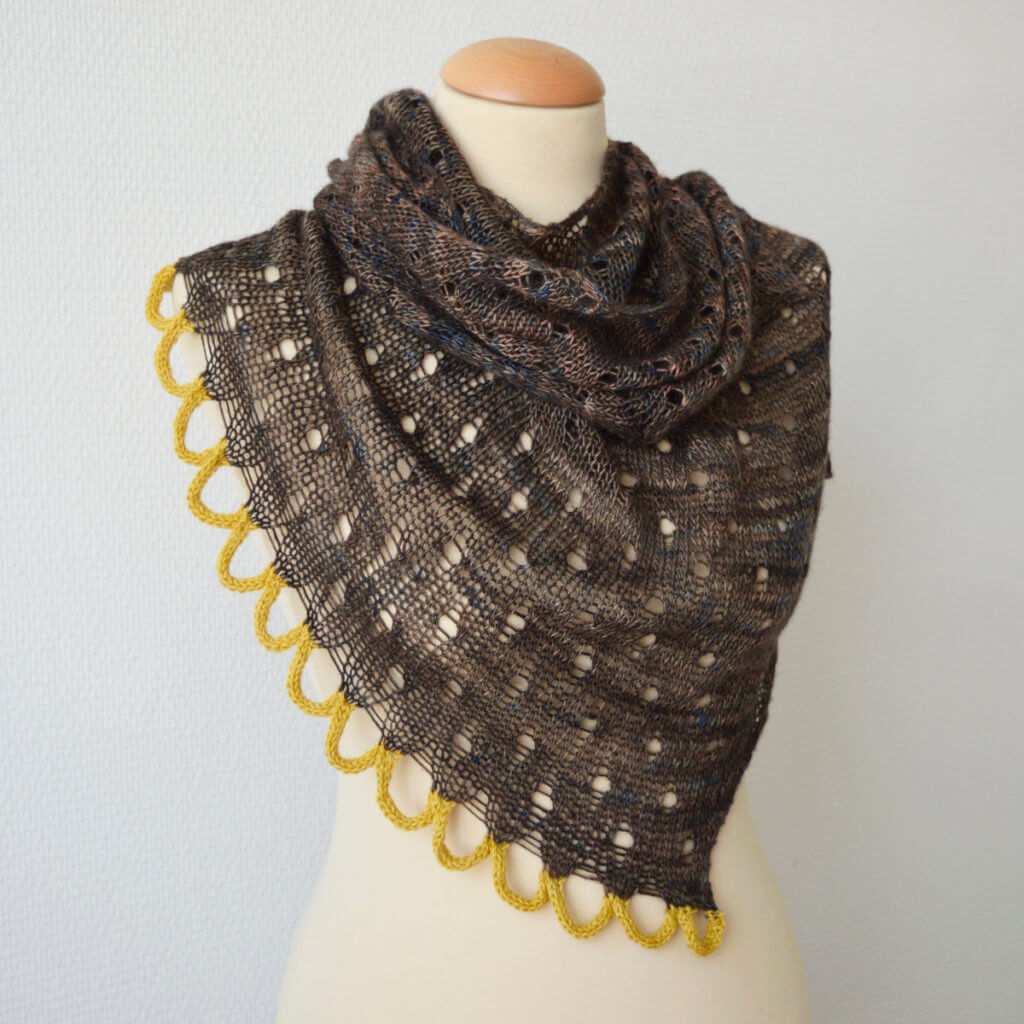
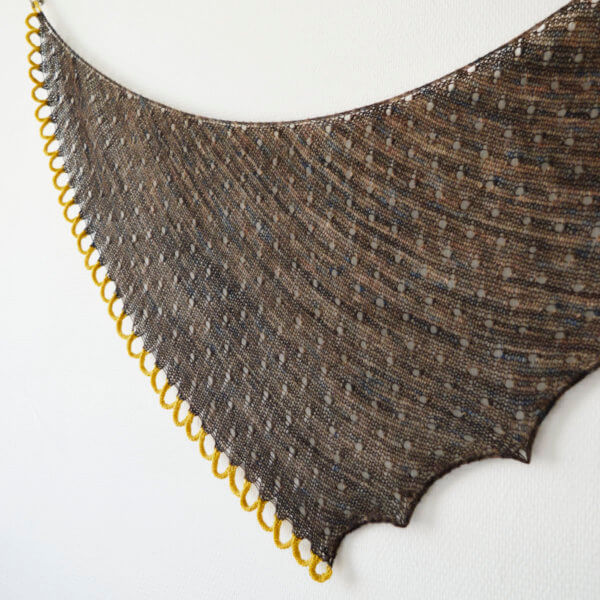
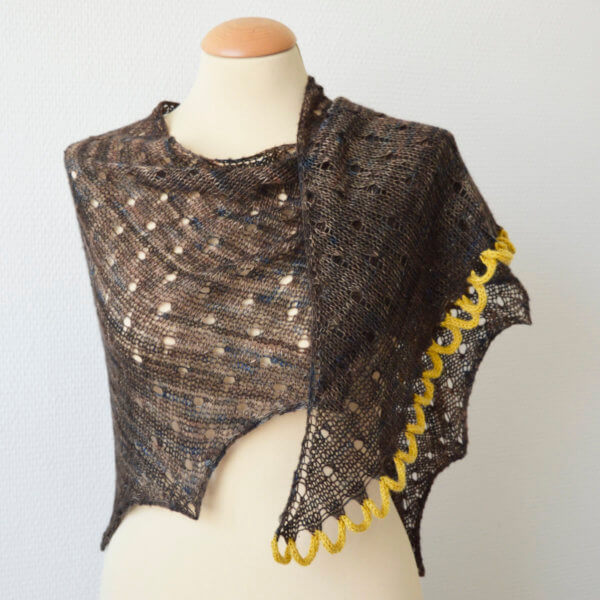
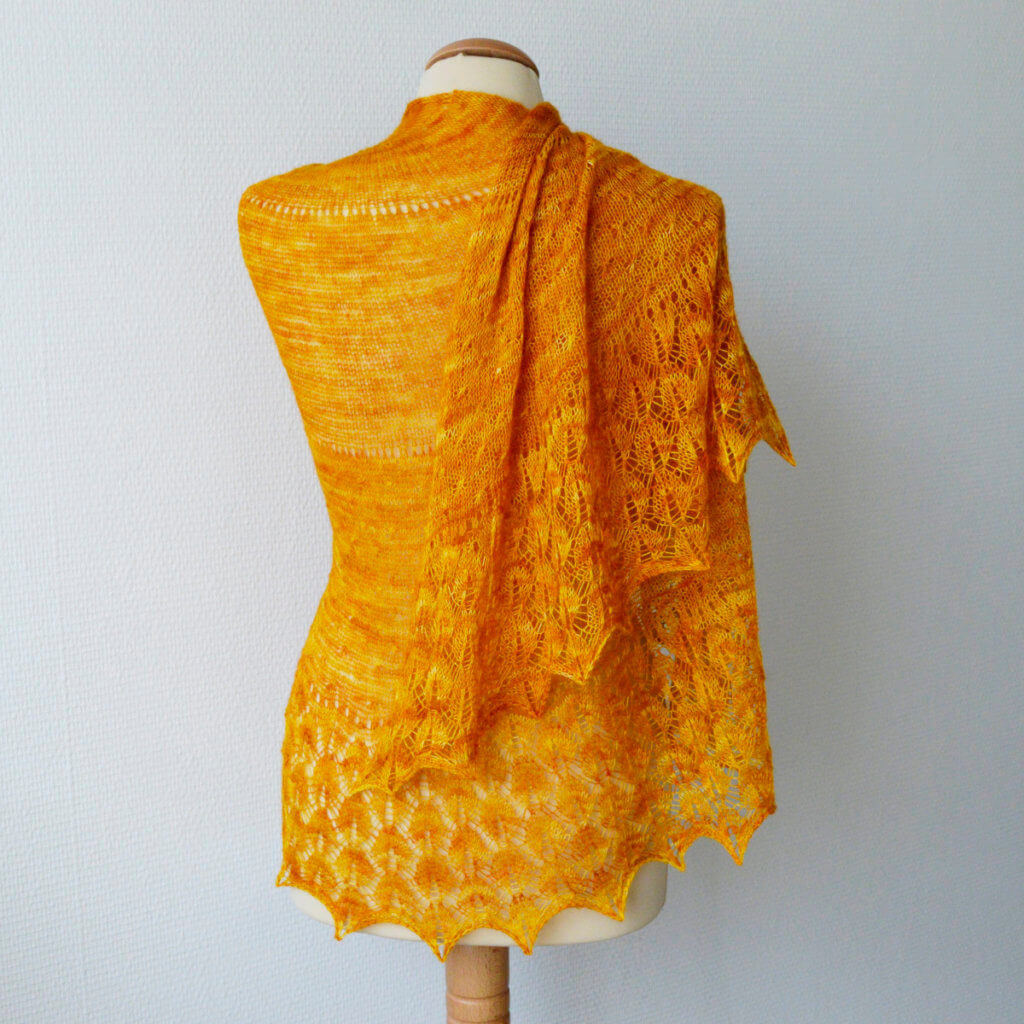
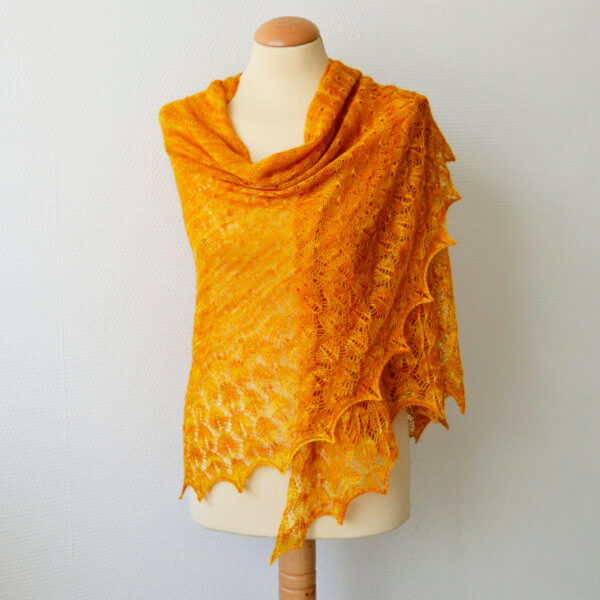
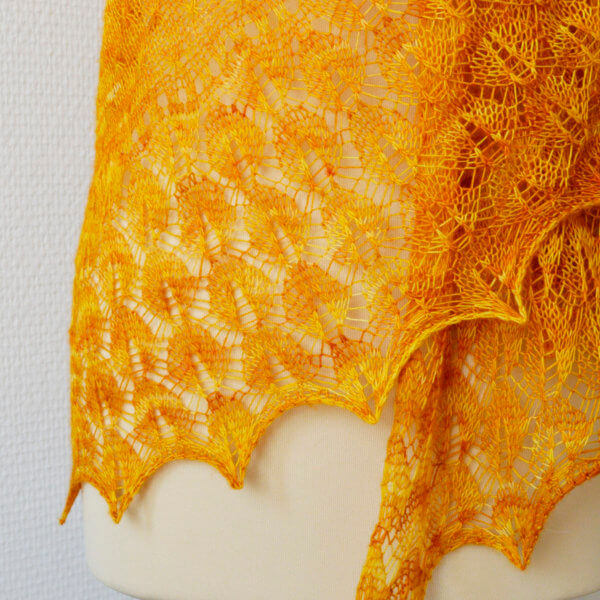
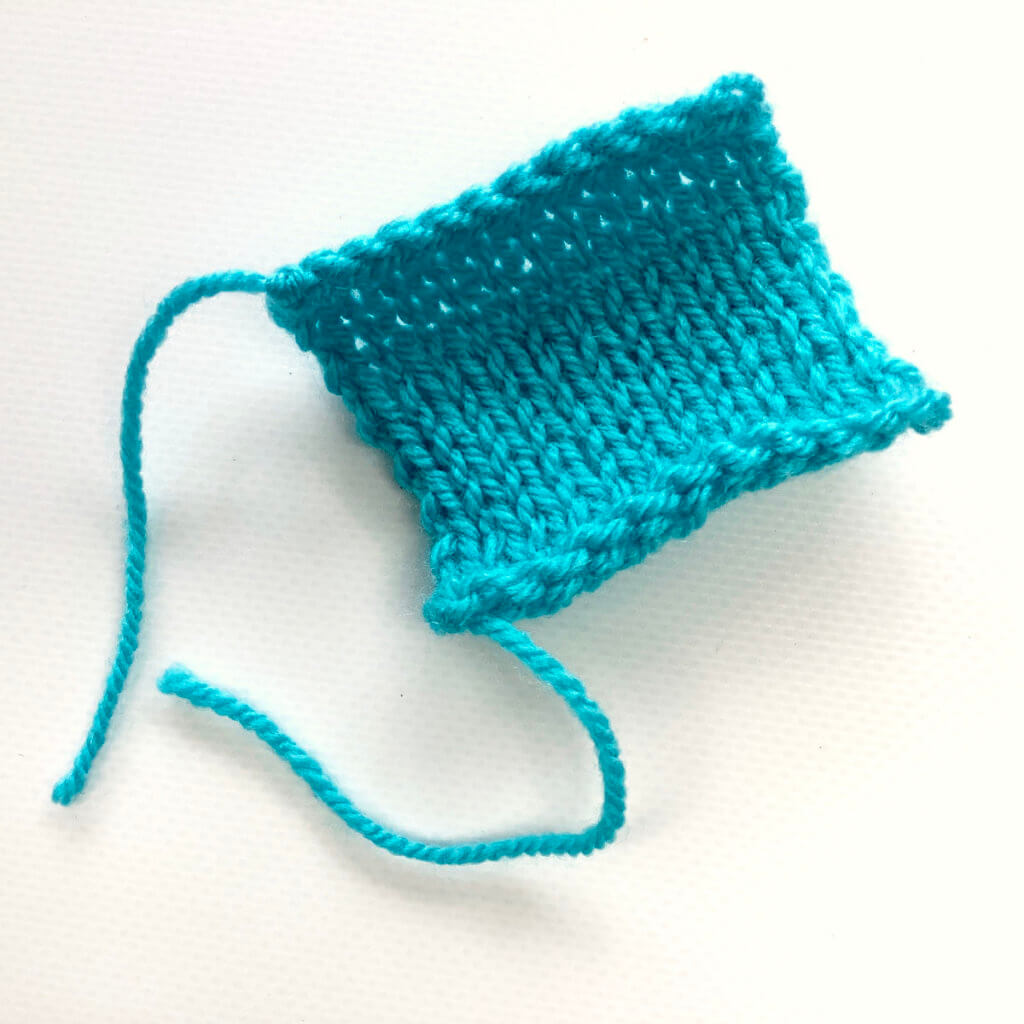
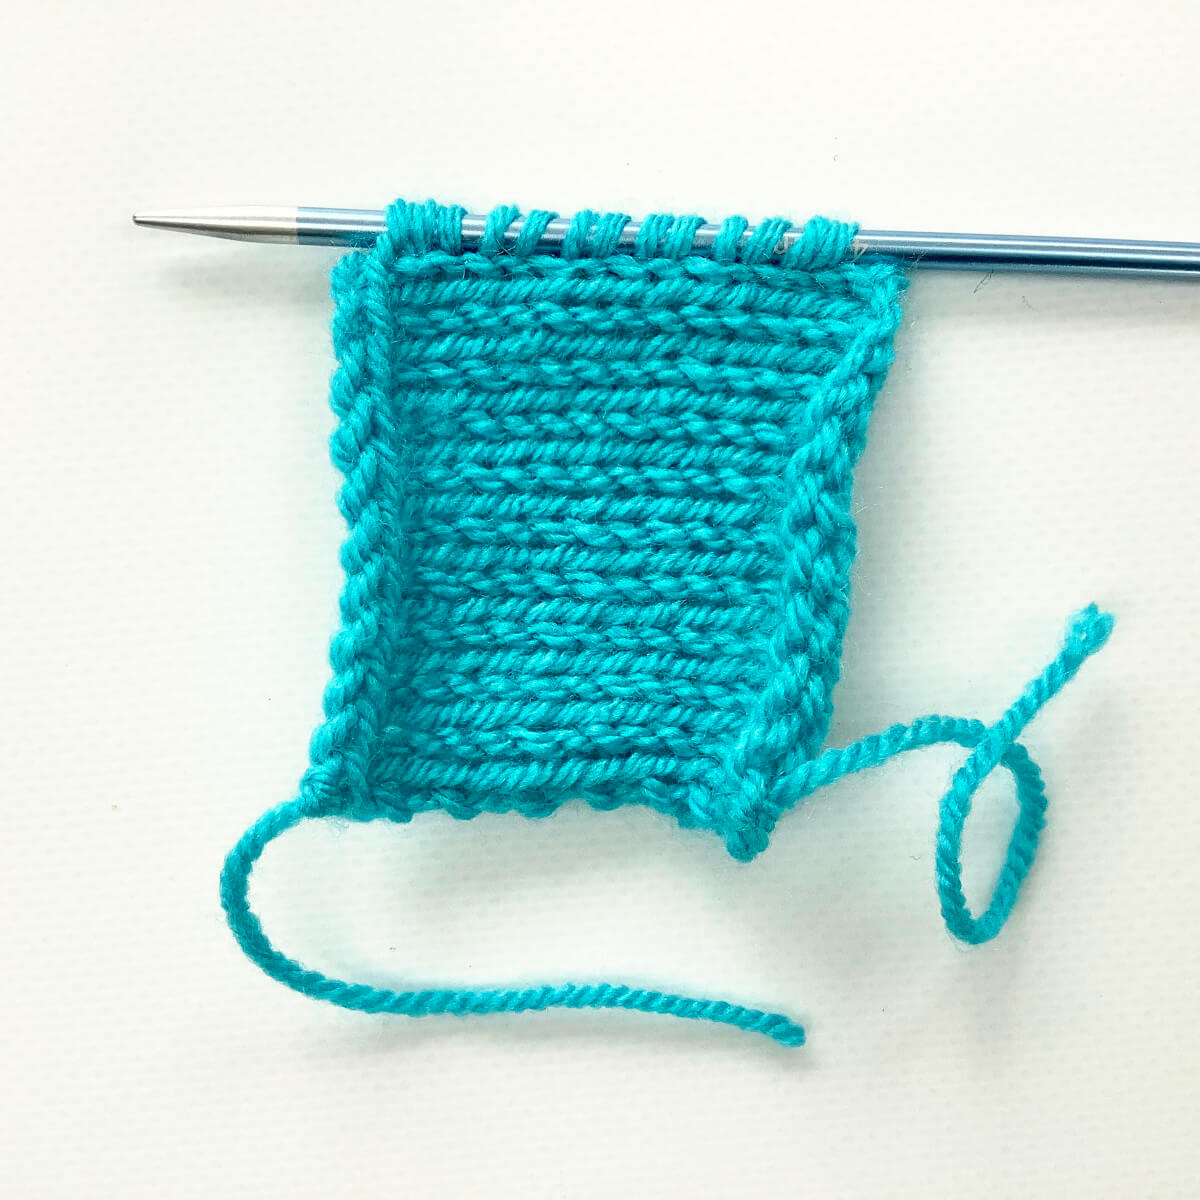
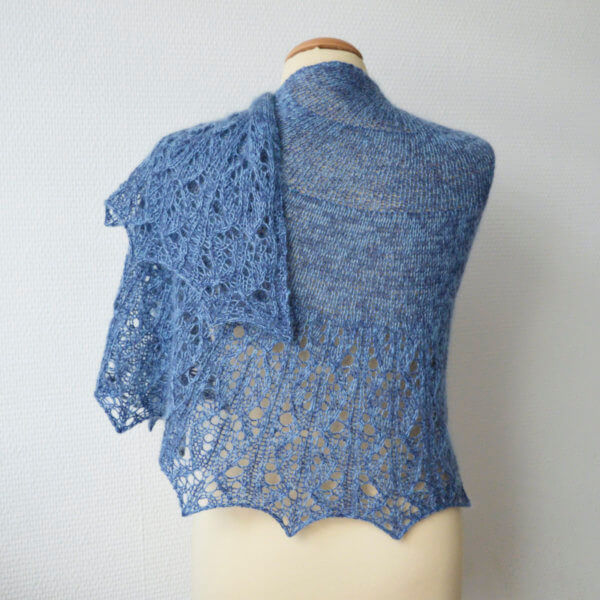
Keten is a simple stole, featuring mosaic slip stitch patterning. The combination with garter stitch makes it a perfect choice for both mindless relaxing and somewhat more challenging knitting. Don’t let the color work frighten you though; if you can knit stripes, you can do this! Keten is available in 2 sizes: a scarf and a wrap; pictured is the largest size.
The pattern contains fully written out instructions as well as charts for slip stitch sections.
Pay what you want: (minimum €6.50)

Skills required
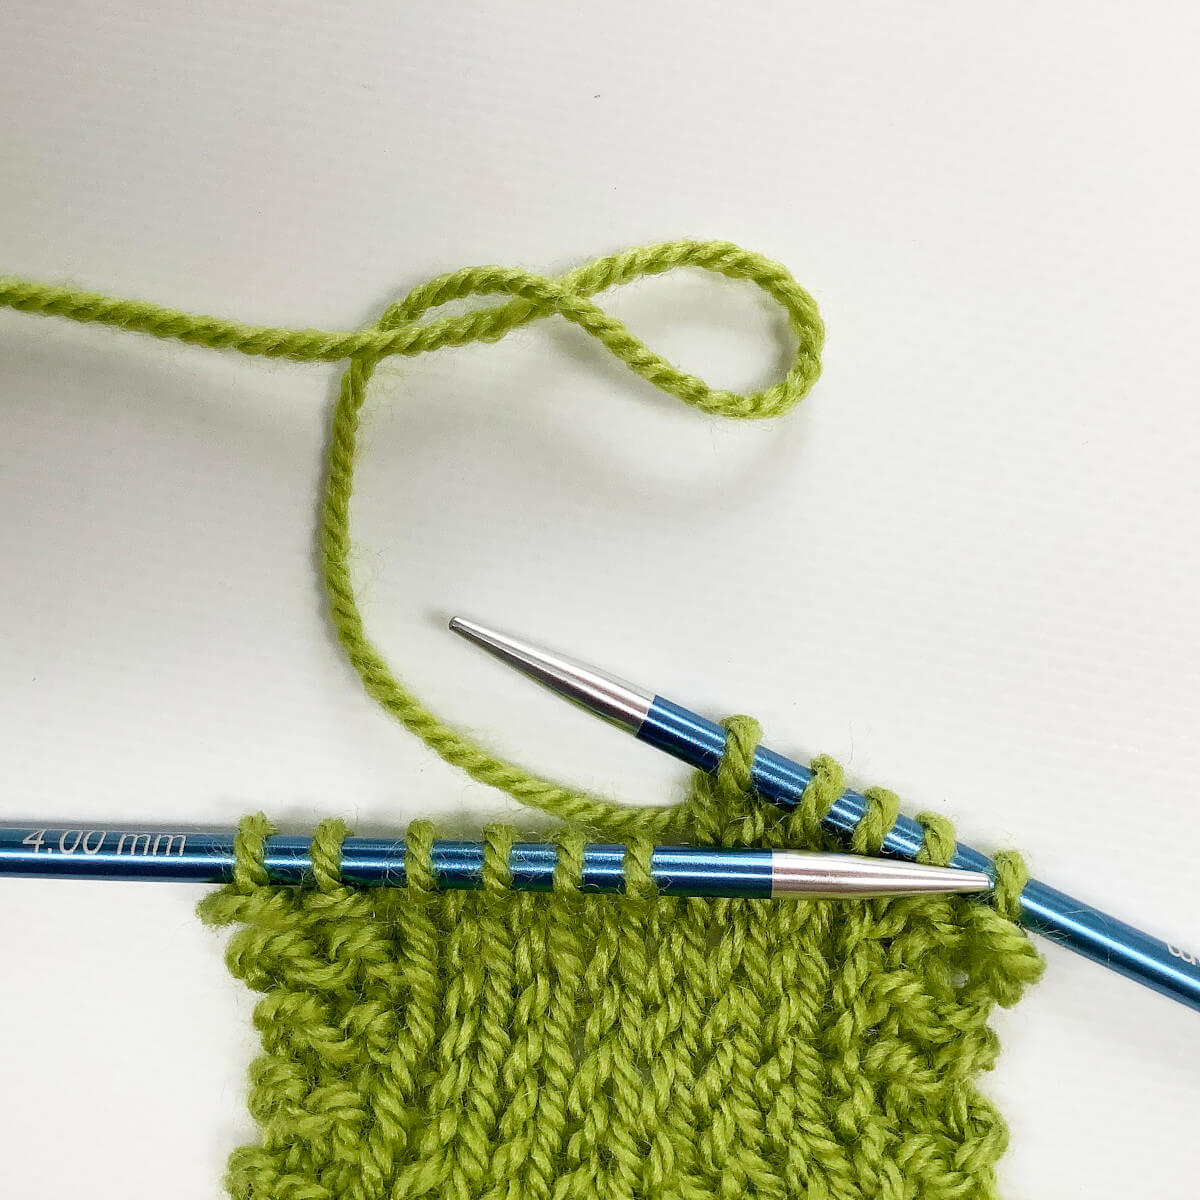
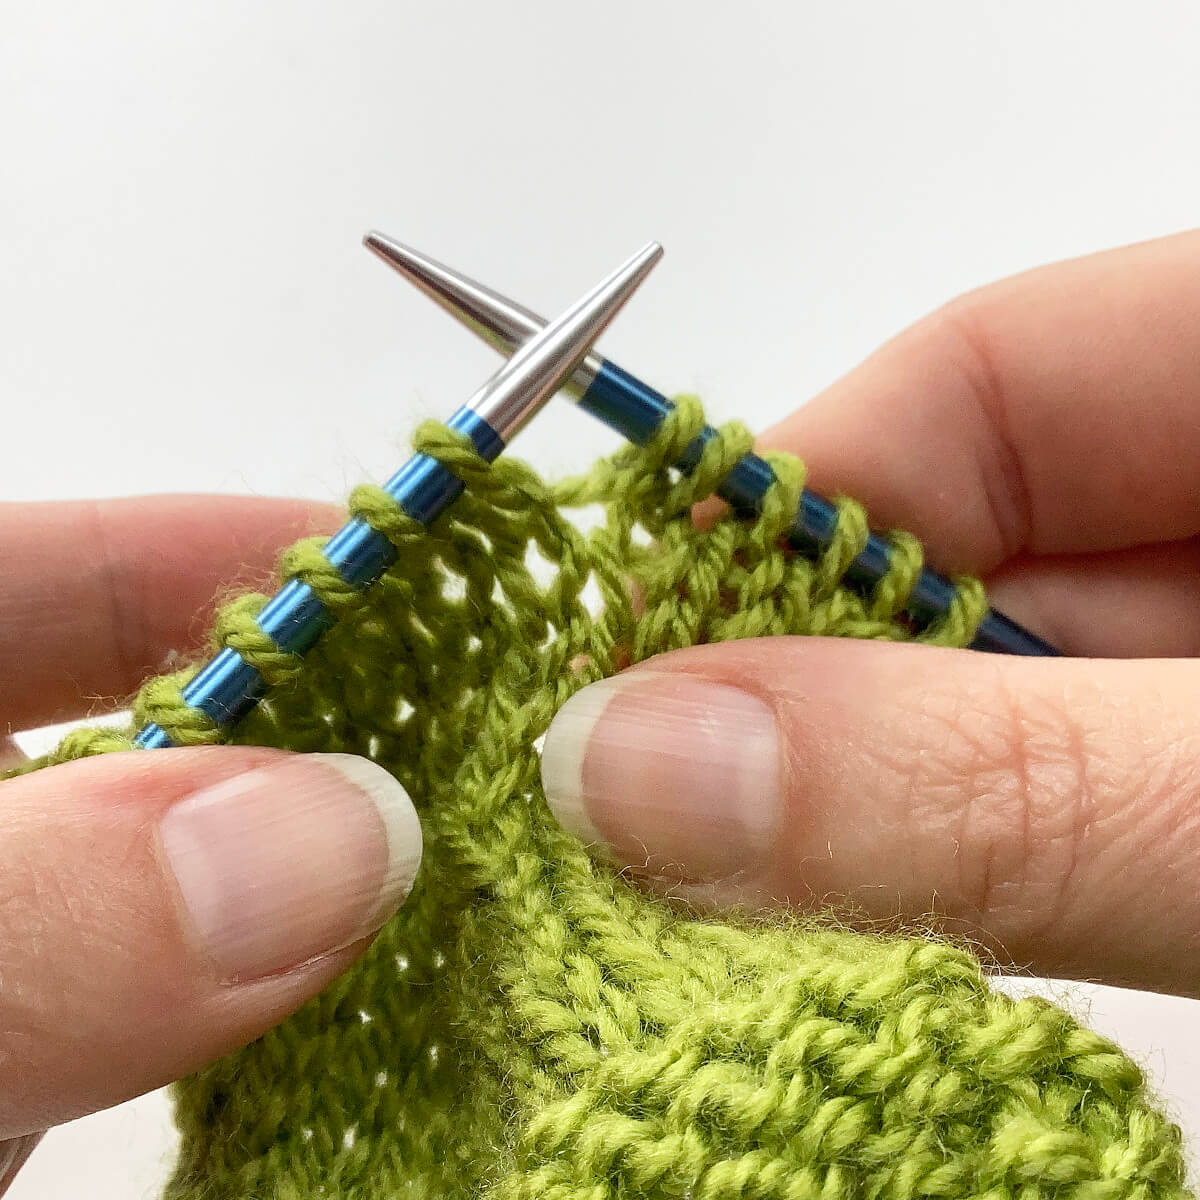
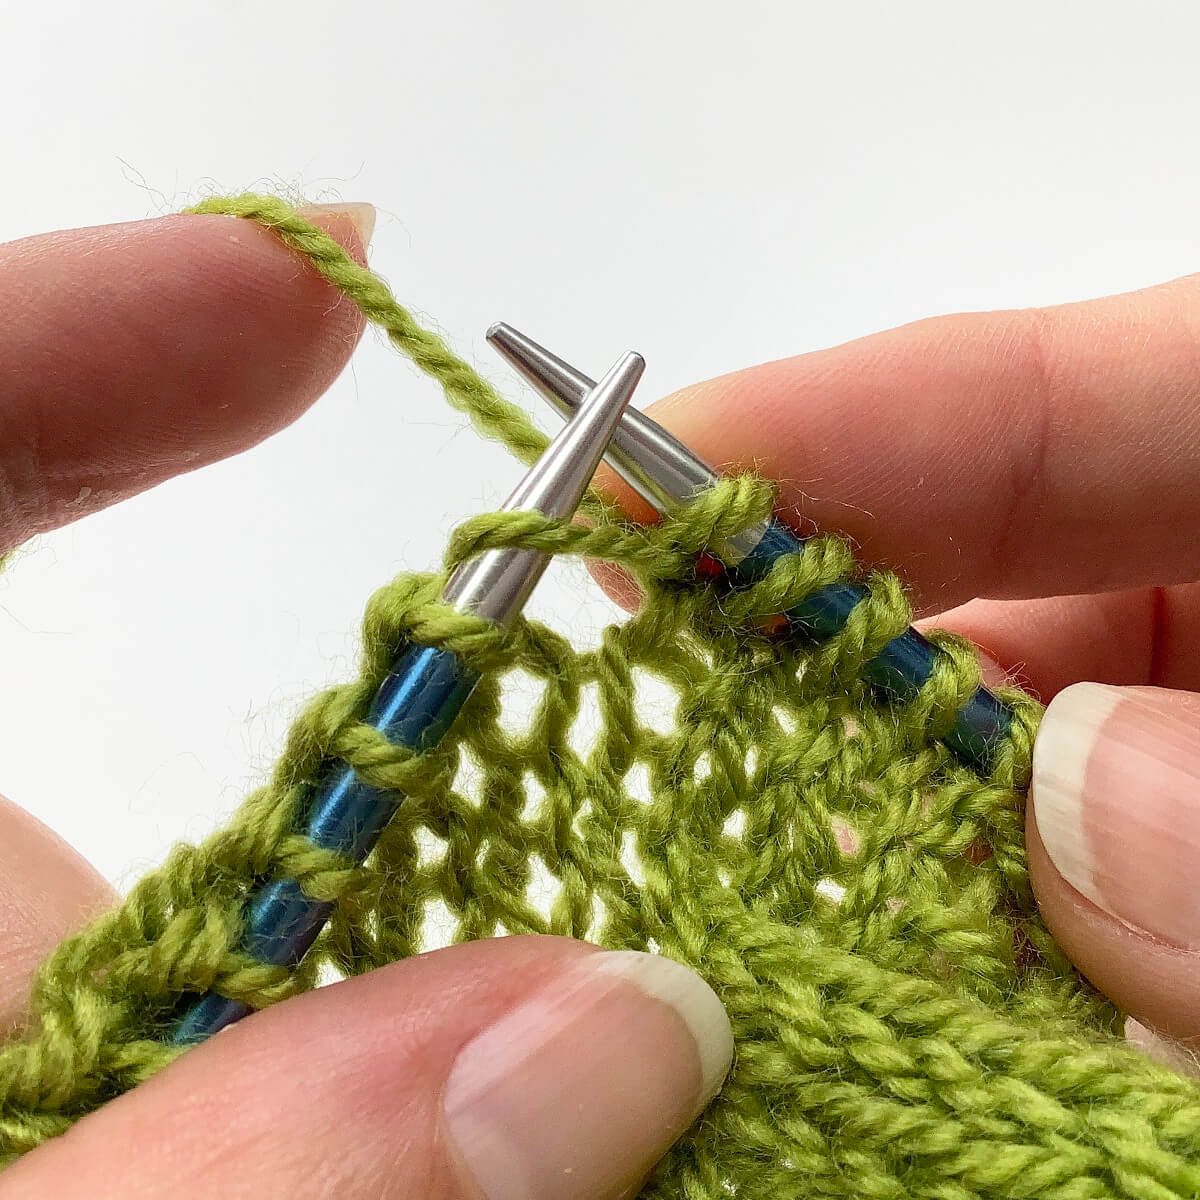
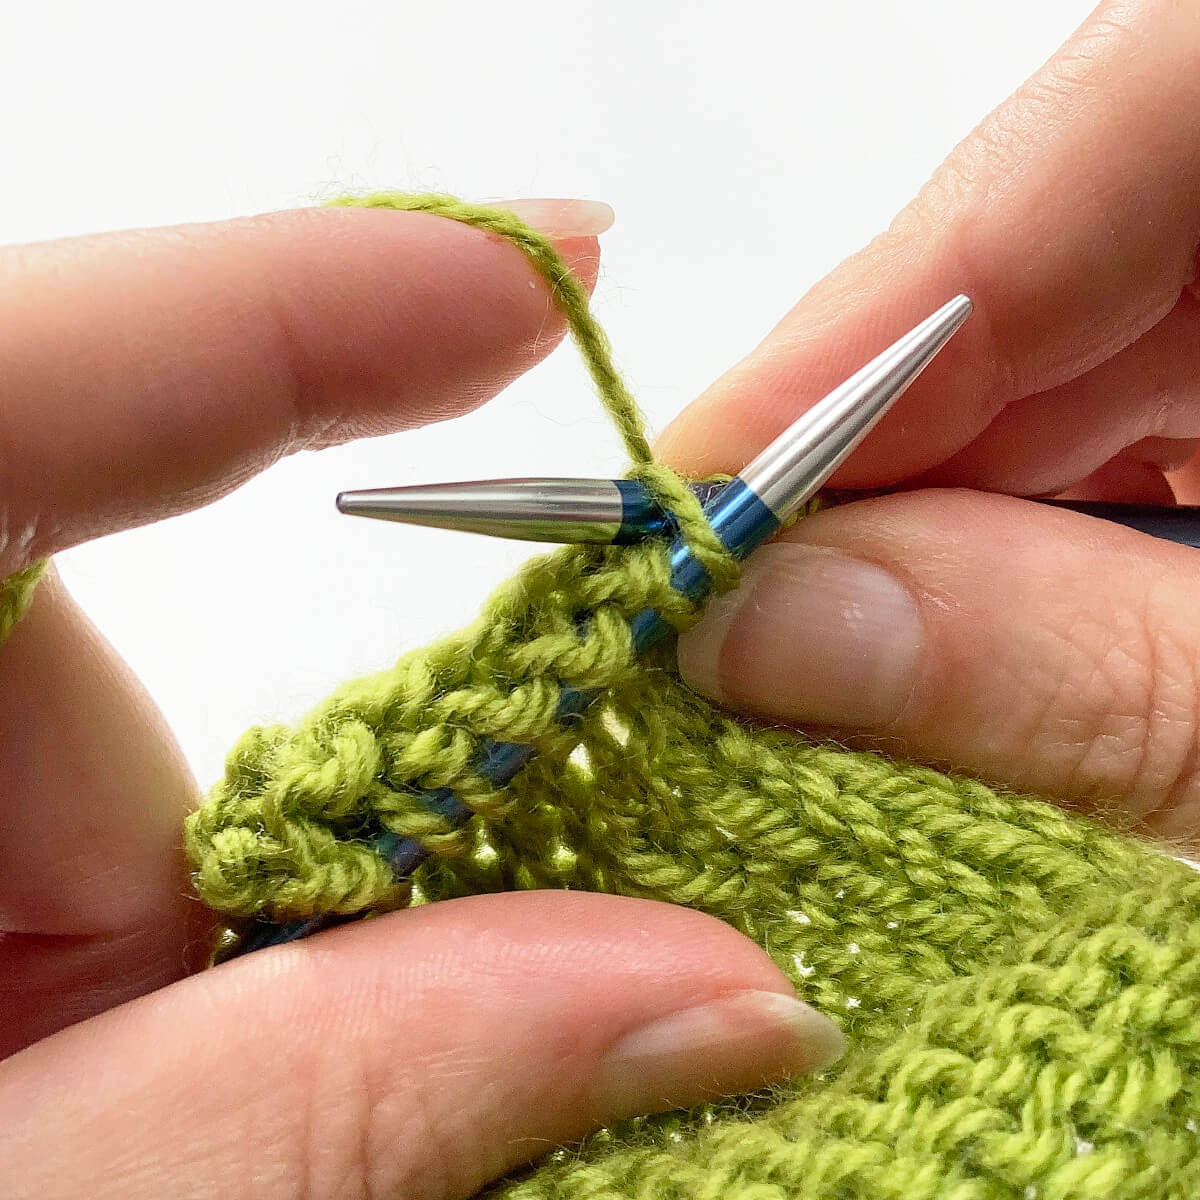
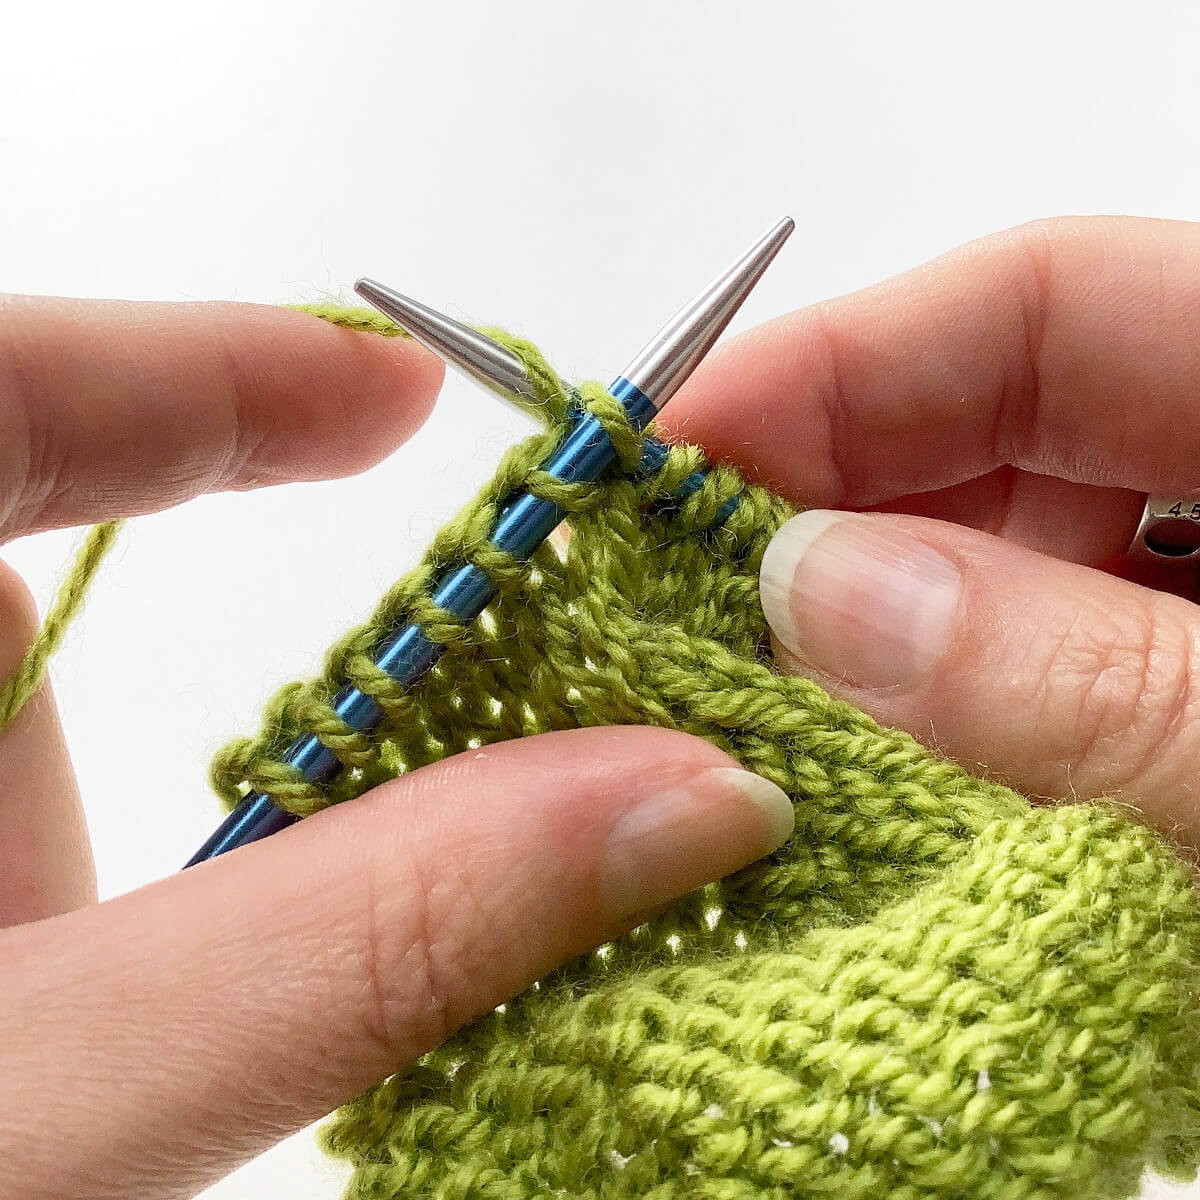
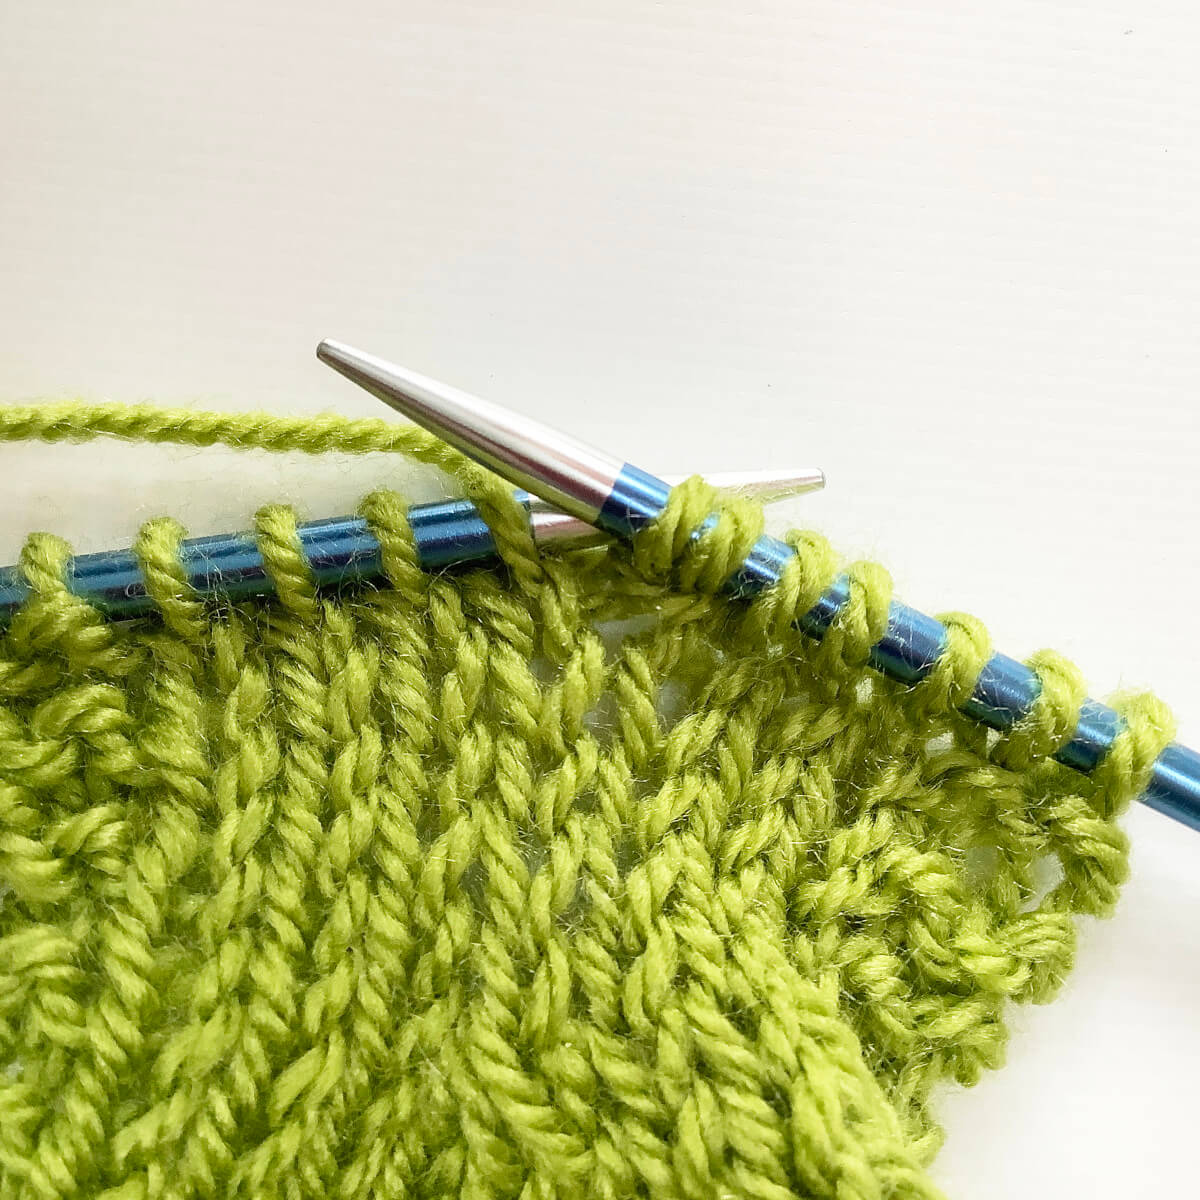
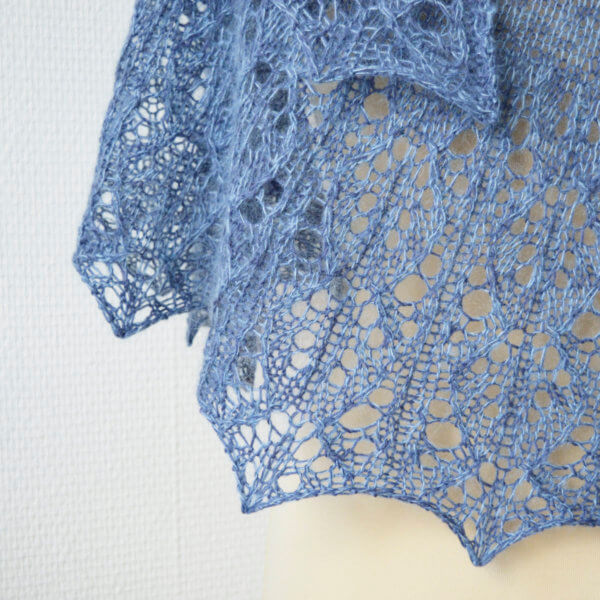
This pattern features mosaic slip stitch patterning. Stitches used include knit, and slipping stitches. This pattern is suitable for the advanced beginner or intermediate knitter.
Sizes and measurements
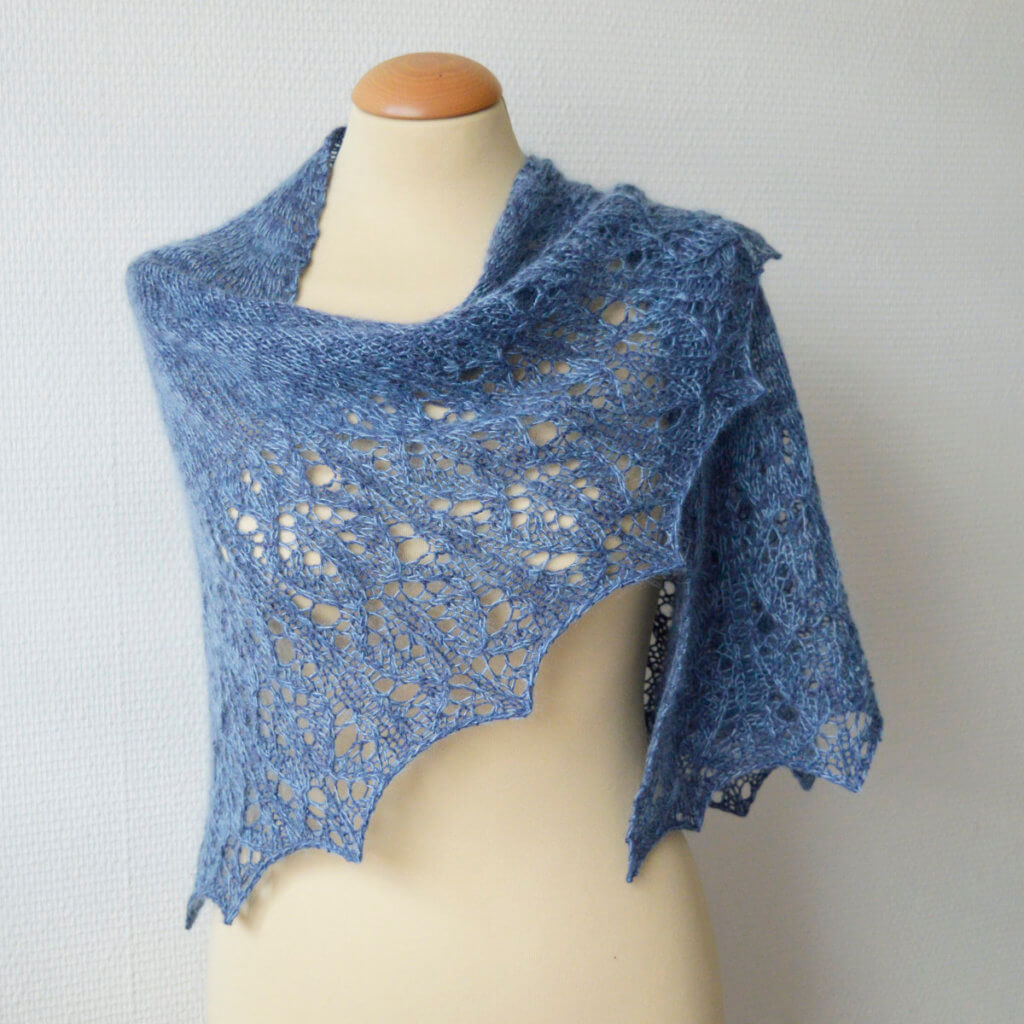
Size S (L): 37.5 (51) cm (14 ¾ (20) inches) wide and 172.5 cm (77 inches) long, measured after blocking.
The size of this stole can easily be changed by casting on a different number of stitches and by adjusting the number of repeats worked in the various sections. This will, of course, impact the amount of yarn needed.
Pattern details
- Worked flat
- Written for a gauge of 18 sts / 18 rows = 10 cm (4 inches) over garter stitch, measured after blocking.
- Pattern languages included: English and Dutch (Dit patroon omvat zowel een Nederlandse als een Engelse versie)
- Digital PDF has 4 pages (letter size)
Yarn
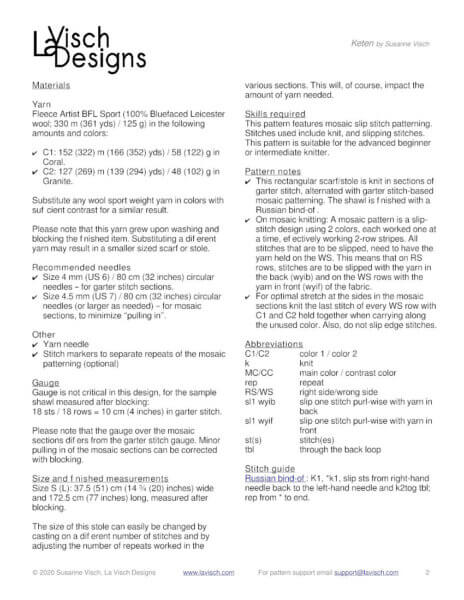
Fleece Artist BFL Sport (100% Bluefaced Leicester wool; 330 m (361 yds) / 125 g) in the following amounts and colors:
- C1: 152 (322) m (166 (352) yds) / 58 (122) g in Coral.
- C2: 127 (269) m (139 (294) yds) / 48 (102) g in Granite.
This yarn and the Keten stole pattern are also available as a kit from Sweater Sisters!
Substitute any wool sport weight yarn in colors with sufficient contrast for a similar result. Please note that this yarn grew upon washing and blocking the finished item. Substituting a different yarn may result in a smaller sized scarf or stole.
Materials
- Size 4 mm (US 6) / 80 cm (32 inches) circular needles – for garter stitch sections.
- Size 4.5 mm (US 7) / 80 cm (32 inches) circular needles (or larger as needed) – for mosaic sections, to minimize “pulling in”.
- Yarn needle.
- Stitch markers to separate repeats of the mosaic patterning (optional)