stitch pattern – Estonian button stitch
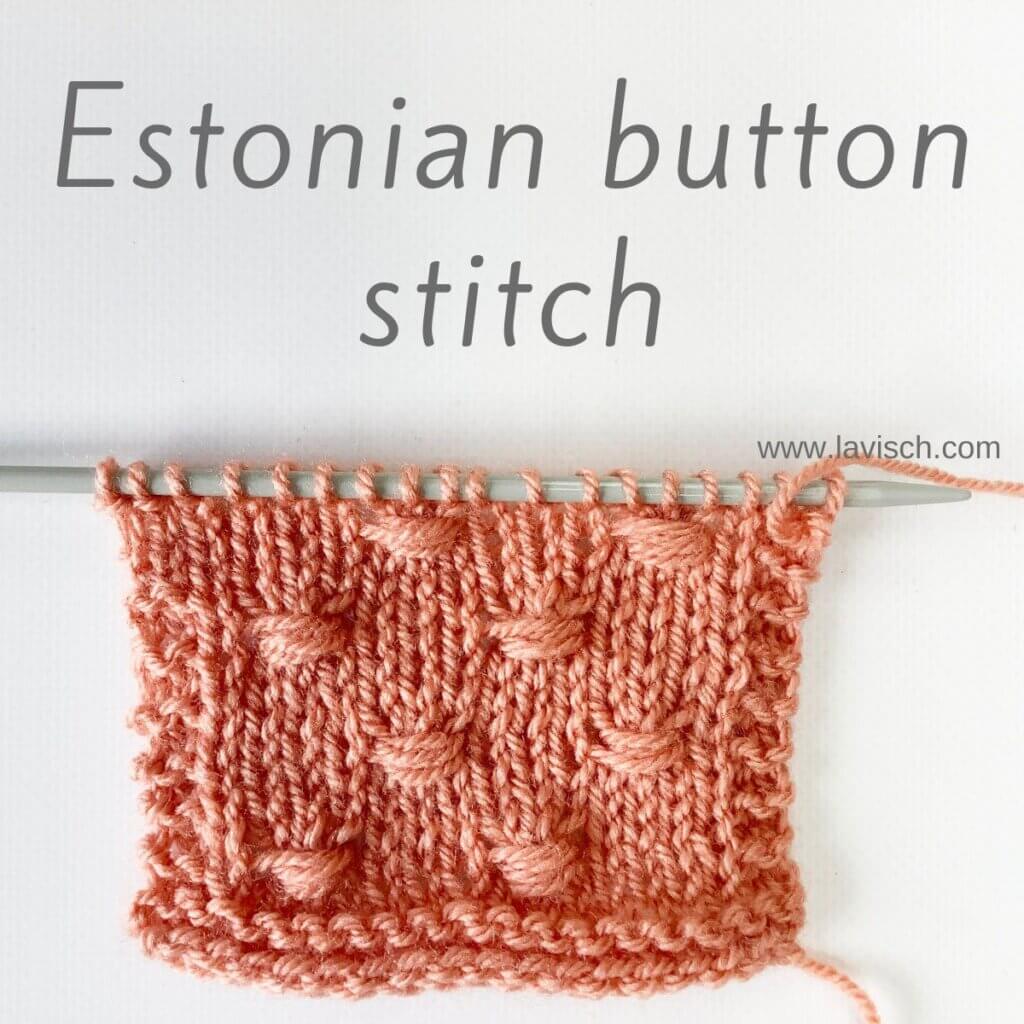
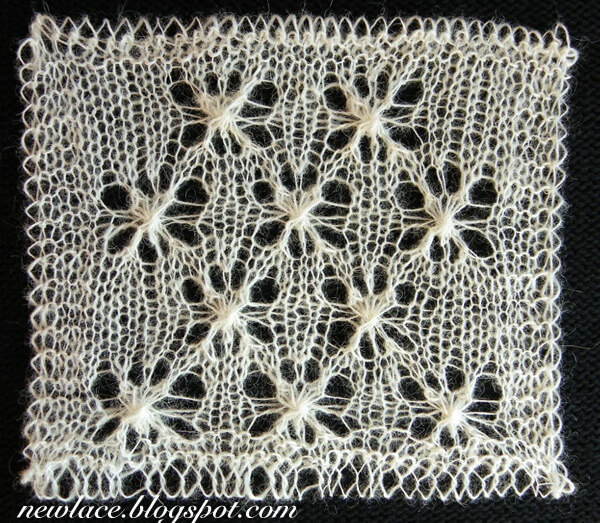
The Estonian button stitch is a lovely way to add texture to your knitting. It can be added as extra interest to a lace or cable pattern. Or, as pictured here, to spruce up otherwise plain stockinette fabric. While the instructions directly start with a button stitch row, it’s advised to insert 2 rows in stockinette before starting the patterning.
This stitch pattern is worked as a multiple of 6 stitches + 2, and in an eight-row repeat. Please note that I’ve added 2 edge stitches in garter stitch on both sides of the swatch.
Materials used


Yarn: Paintbox Yarns Simply DK, a good value, good quality 100% acrylic yarn, here in the color 155 Vintage Pink.
Needles: Needles: This is a pair of straights that I picked up at the second-hand store when I started knitting, brand unknown.
You will also need a cable needle in a size similar to that of your knitting needles
Stitches used
- k – knit
- p – purl
- st(s) – stitch(es)
Estonian button stitch instructions
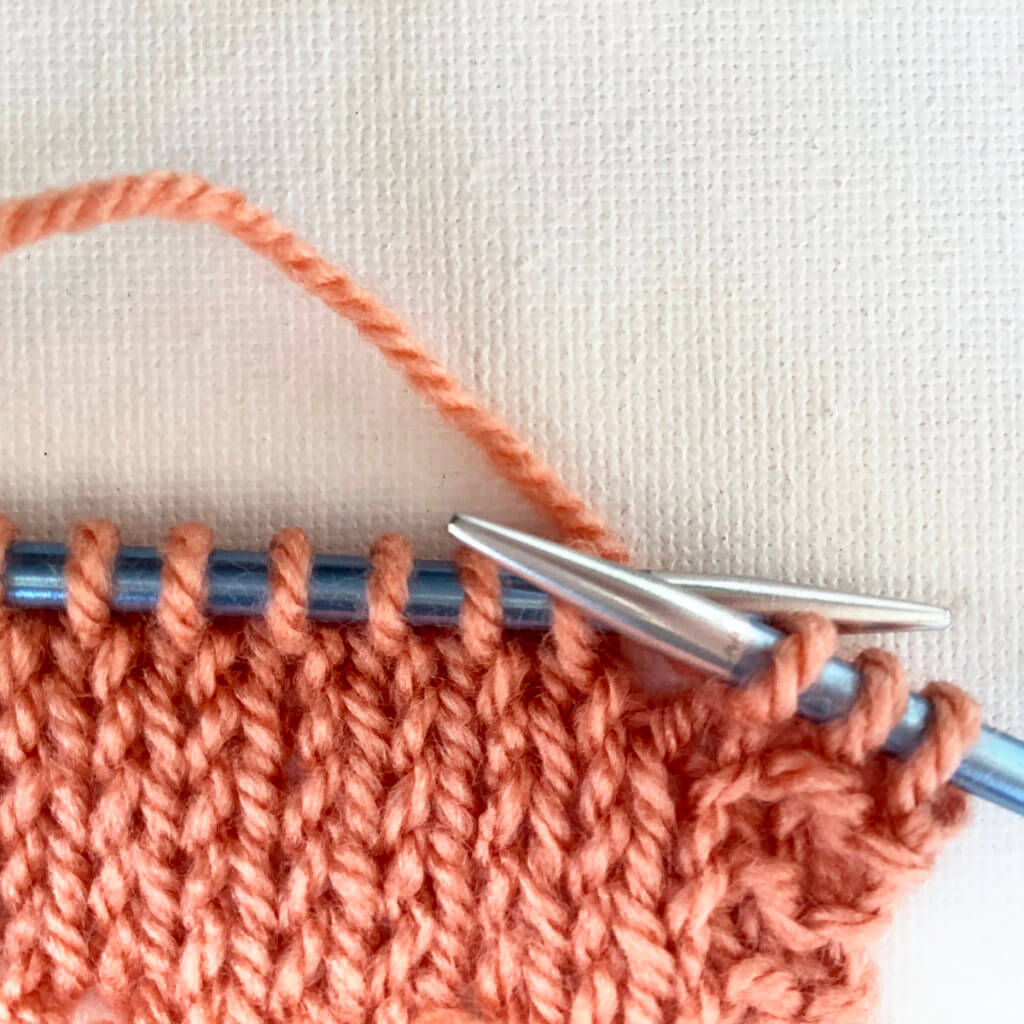
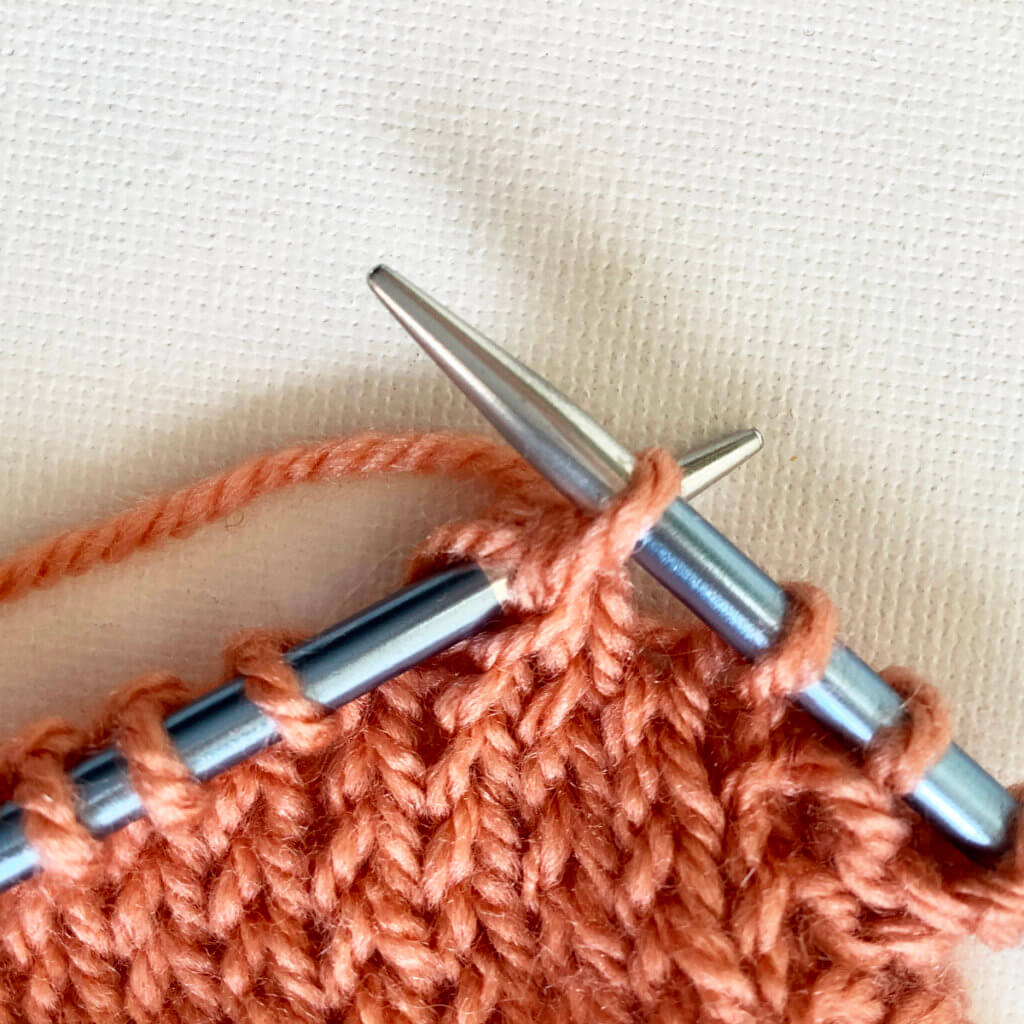
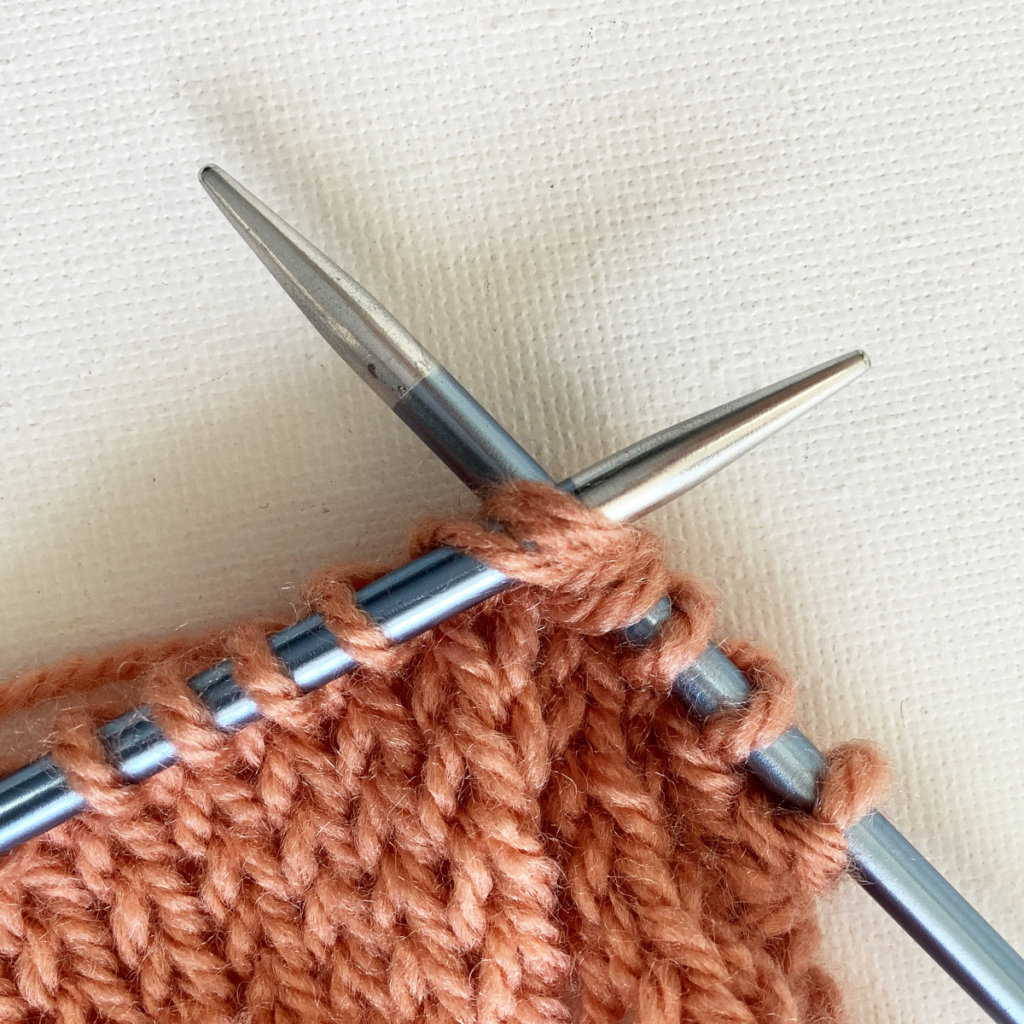
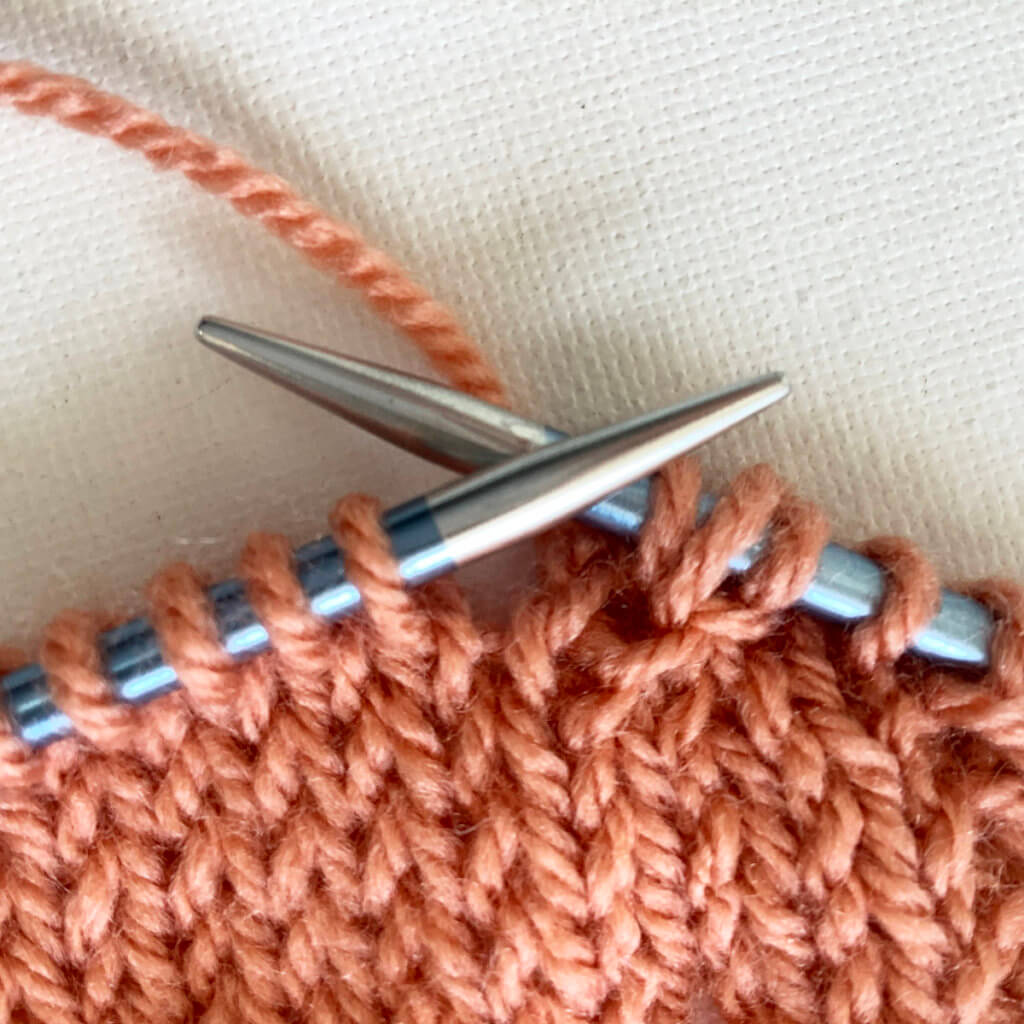
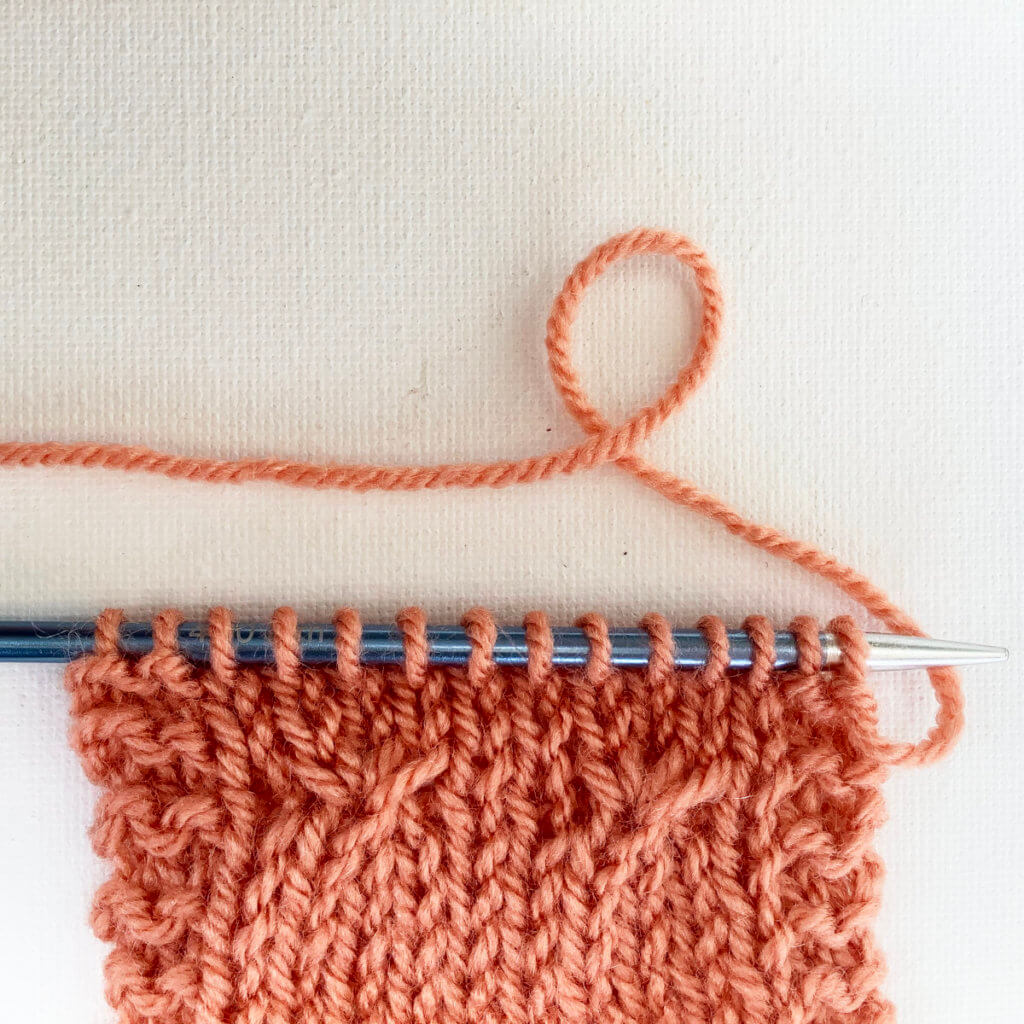
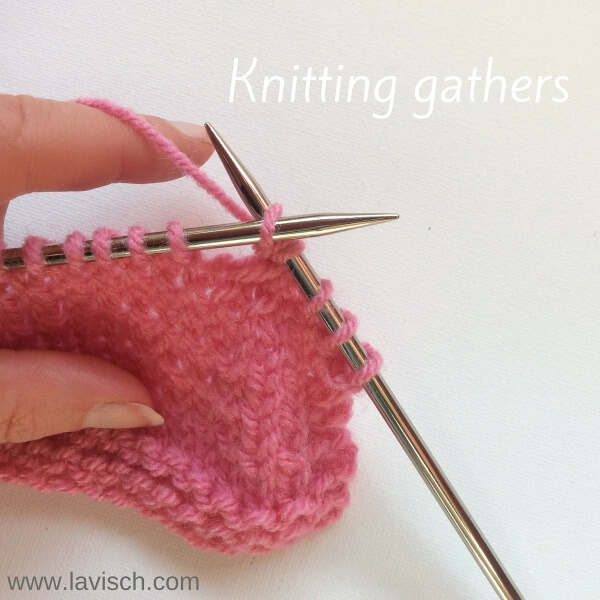
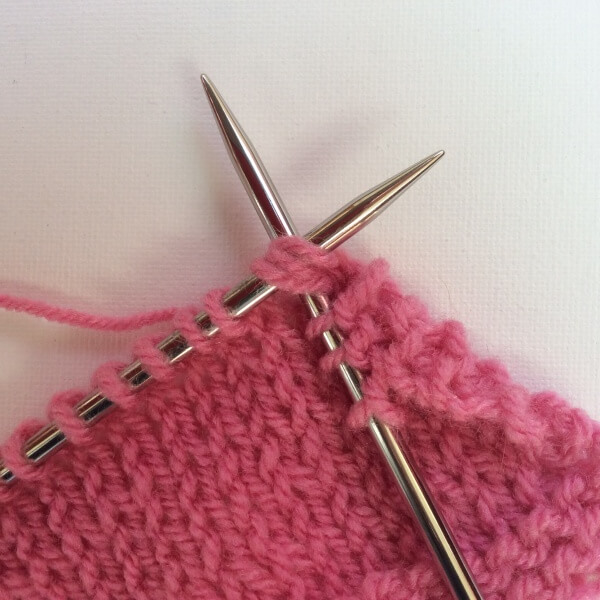
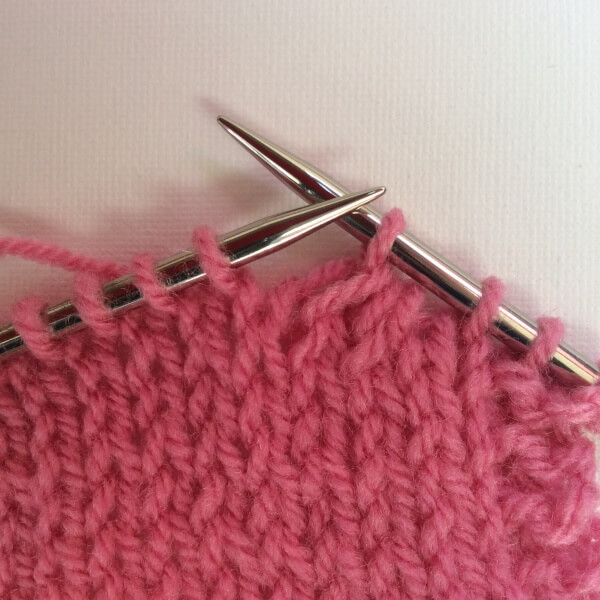
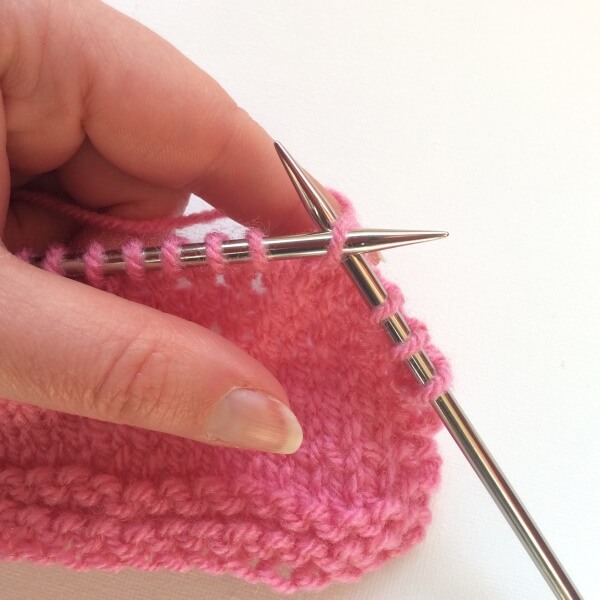
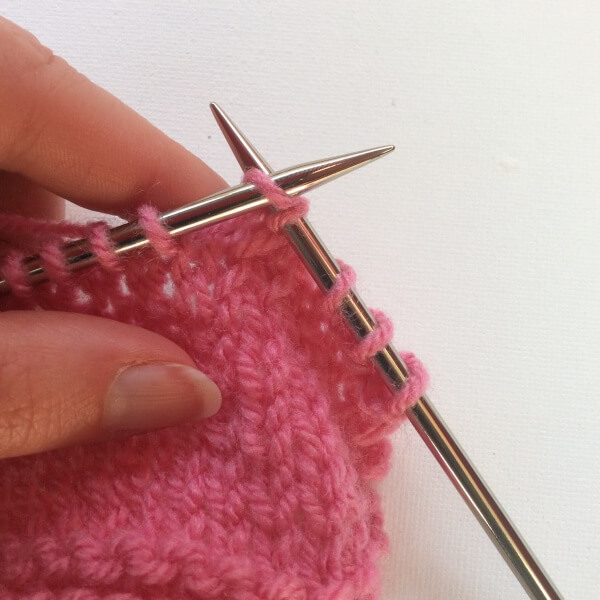
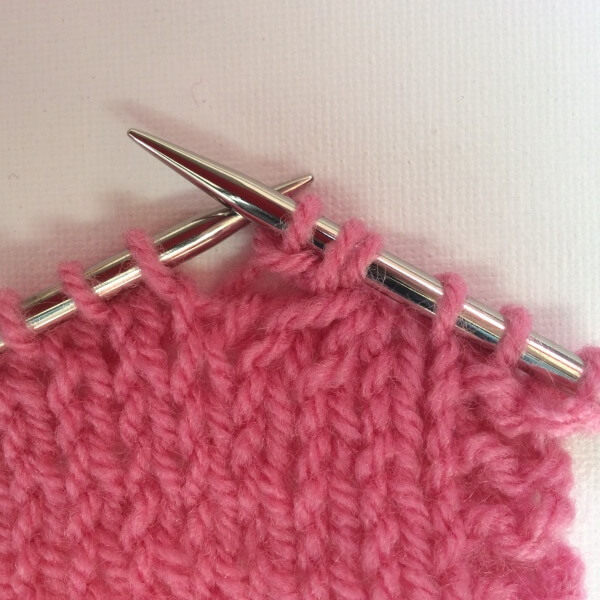
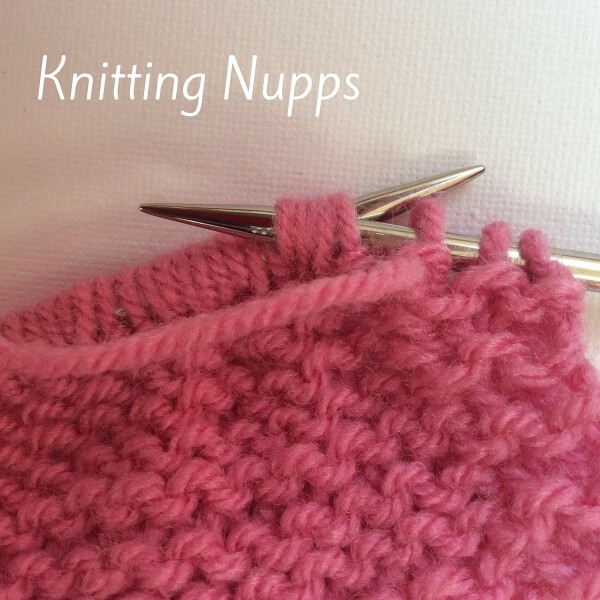
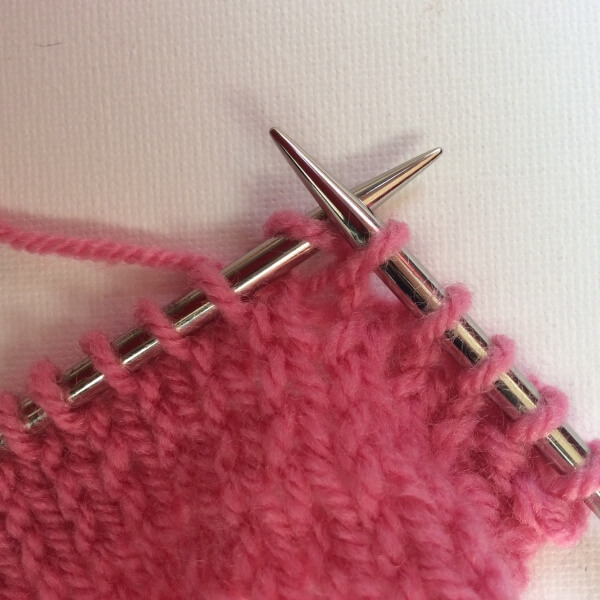
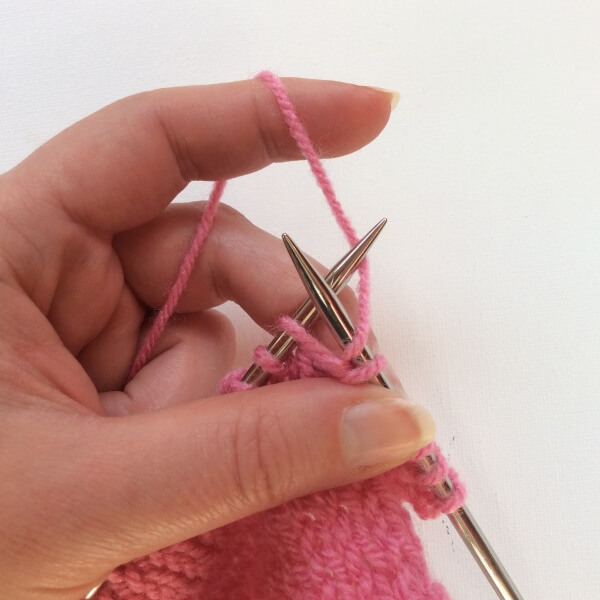
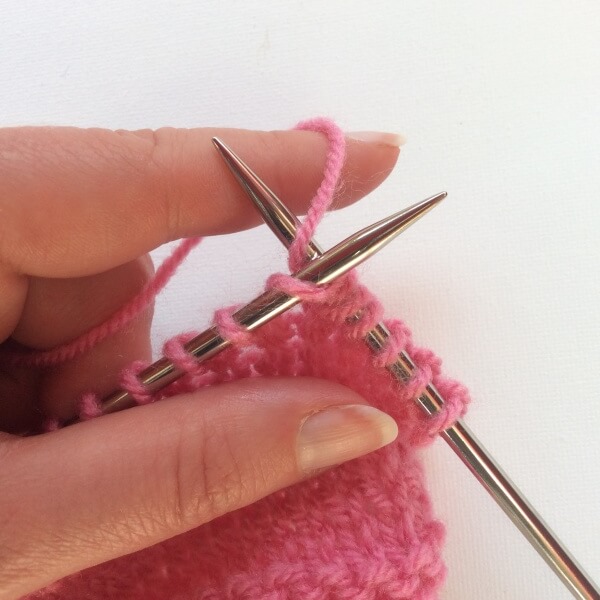
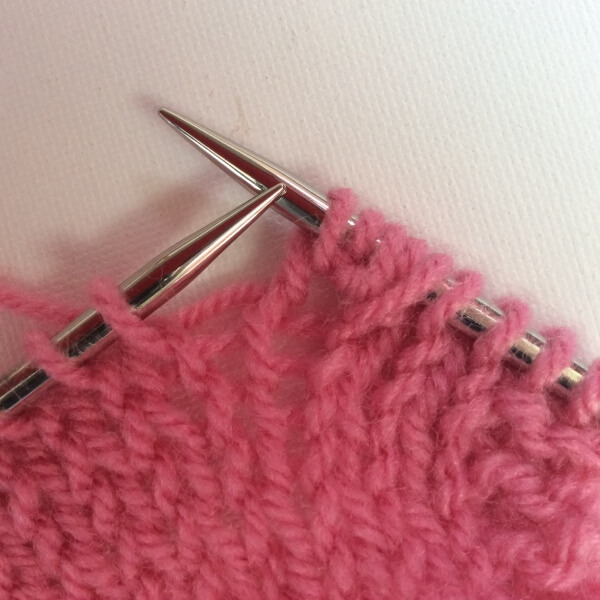
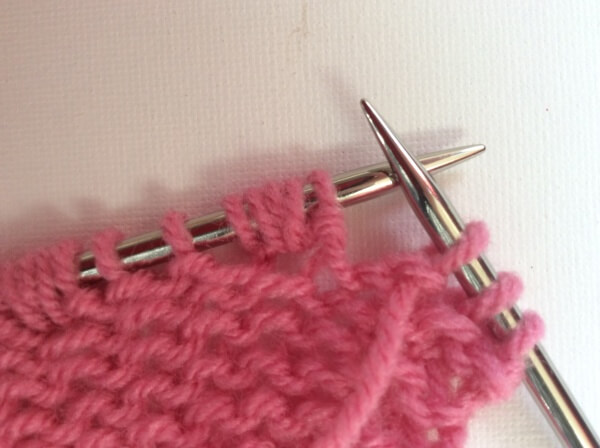
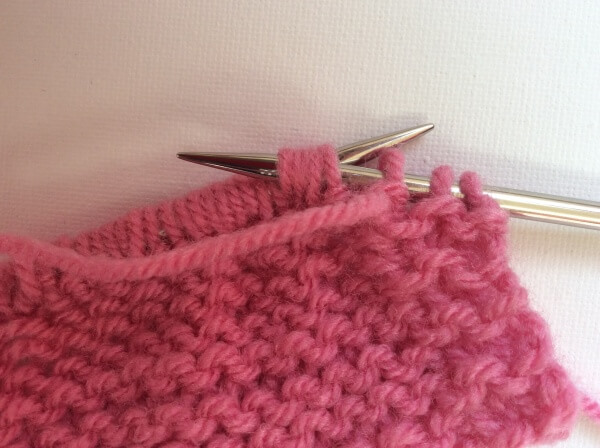
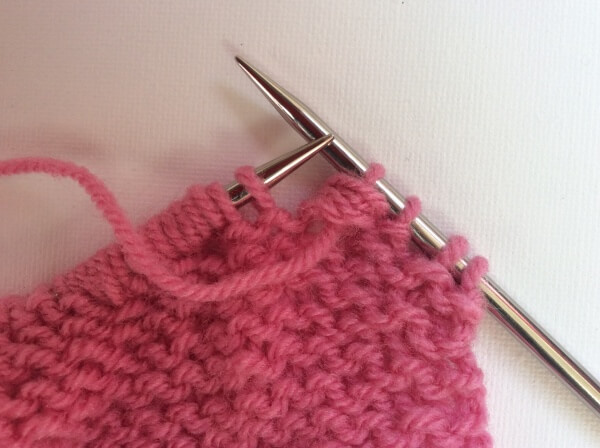
Row 1 (right side): K1, *k the next 3 sts onto the cable needle, move the working yarn behind the held stitches and wrap them with the yarn 4 times (behind the work from left to right, then move to the front and move from right to left). Slip the 3 stitches onto the right-hand needle, k3; rep from * to 1 st before end, k1.
Row 2 and all following wrong side rows: Purl.
Row 3: Knit.
Row 5: K1, *k3, k the next 3 sts onto the cable needle, move the working yarn behind the held stitches and wrap them with the yarn 4 times (again behind the work from left to right, then move to the front and move from right to left). Slip the 3 stitches onto the right-hand needle; rep from * to 1 st before end, k1.
Row 7: Knit.
Repeat rows 1-8 for pattern until desired length.
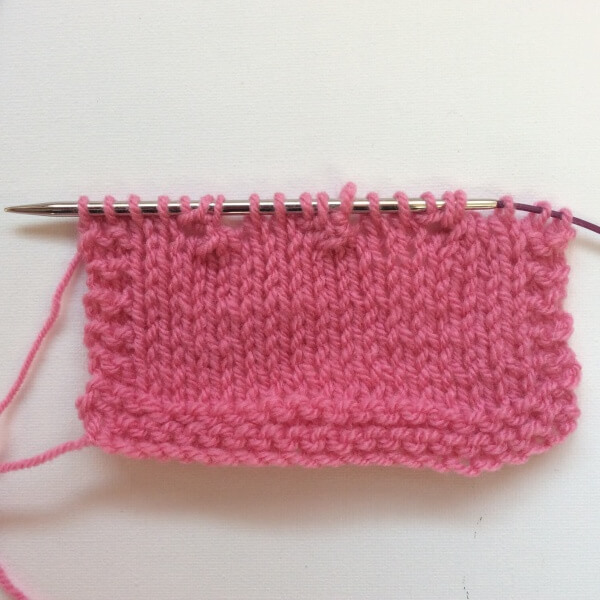
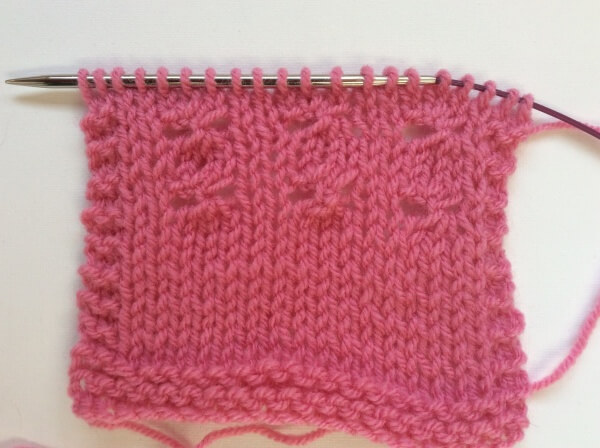
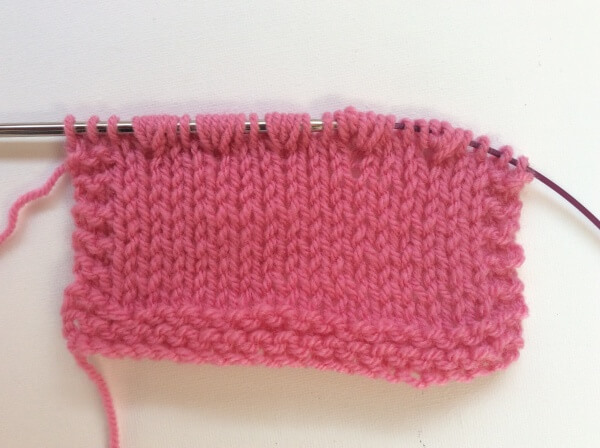
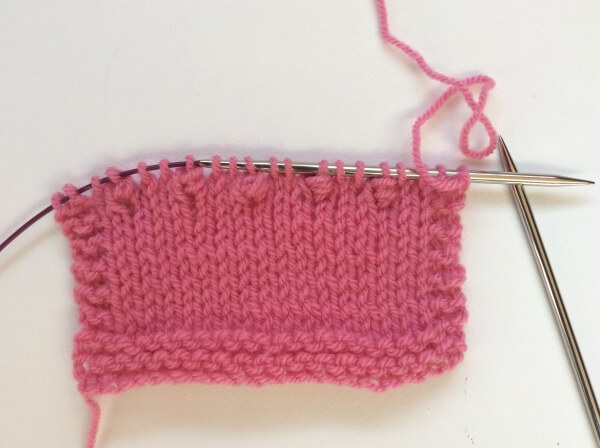
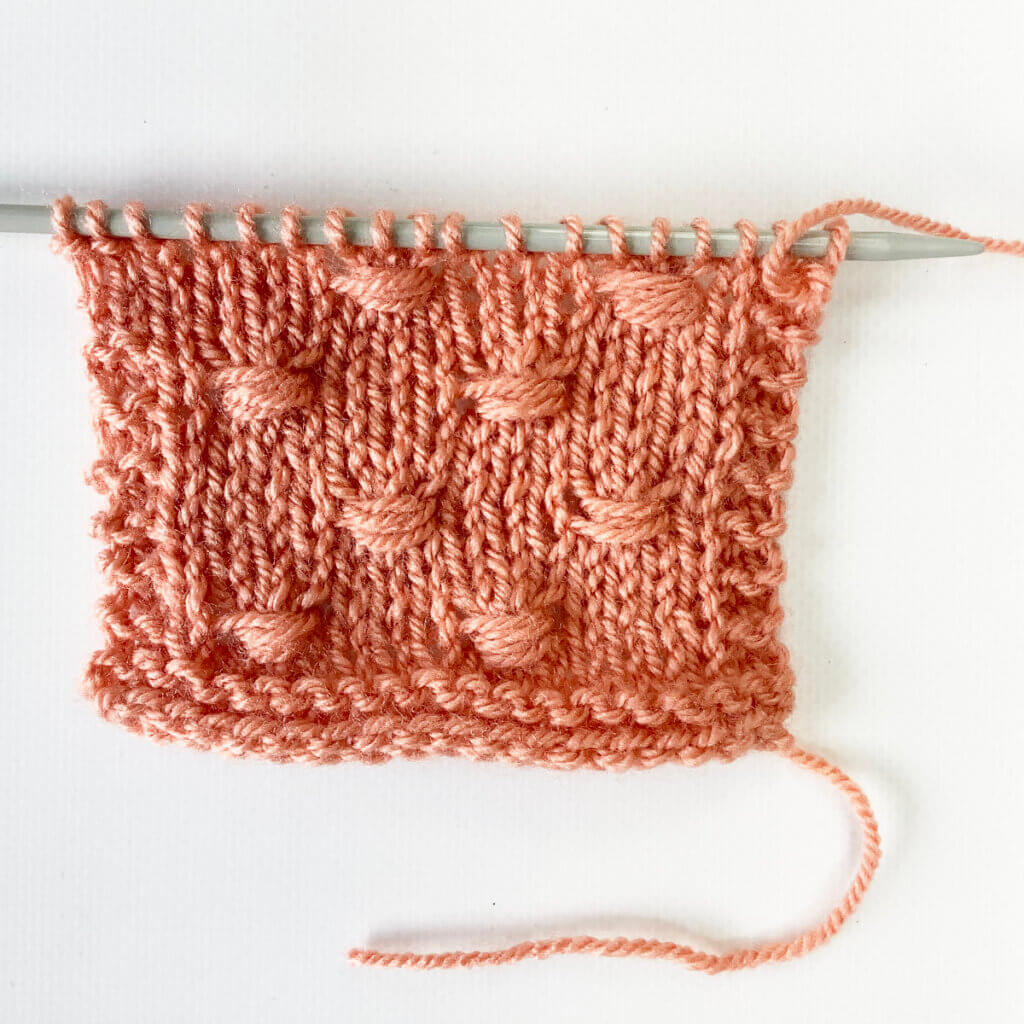
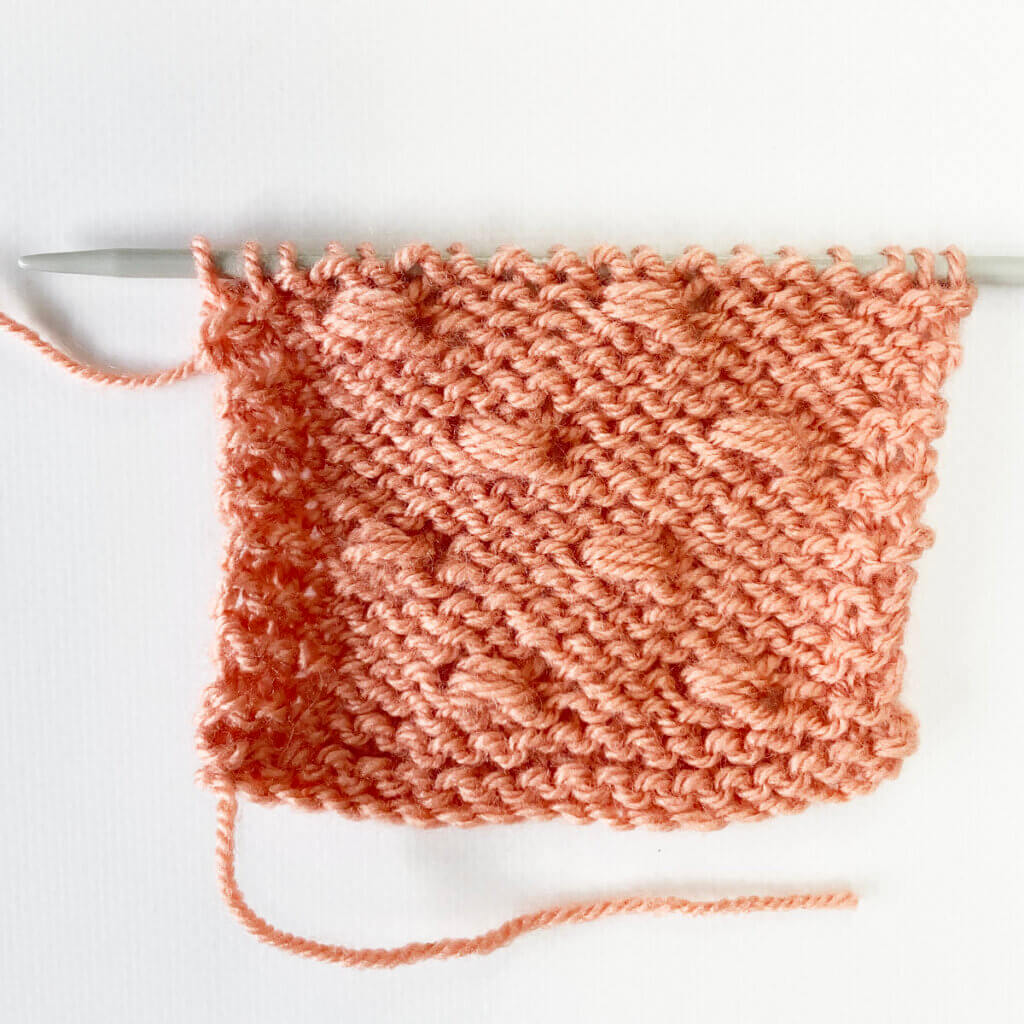
Below you can see how this stitch pattern looks, first as seen the from the right side, and then from the wrong side of the fabric.

Thanks to my Patreon supporters for bringing you this freebie! Creating quality patterns and tutorials is a lot of work and resource-intensive. However, I find it important to give you free content like this tutorial. Thanks to the generous support of my Patreon supporters, I can make it happen. Thank you, patrons! Click here to join, or click here to read more about La Visch Designs on Patreon.
stitch pattern – Estonian button stitch Read More »