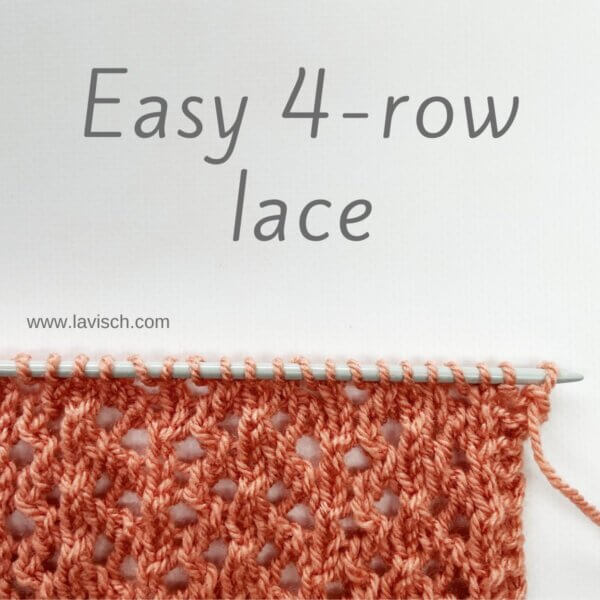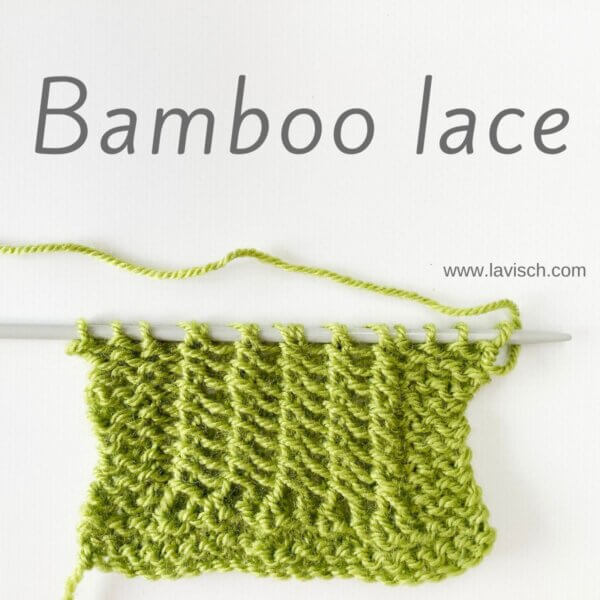
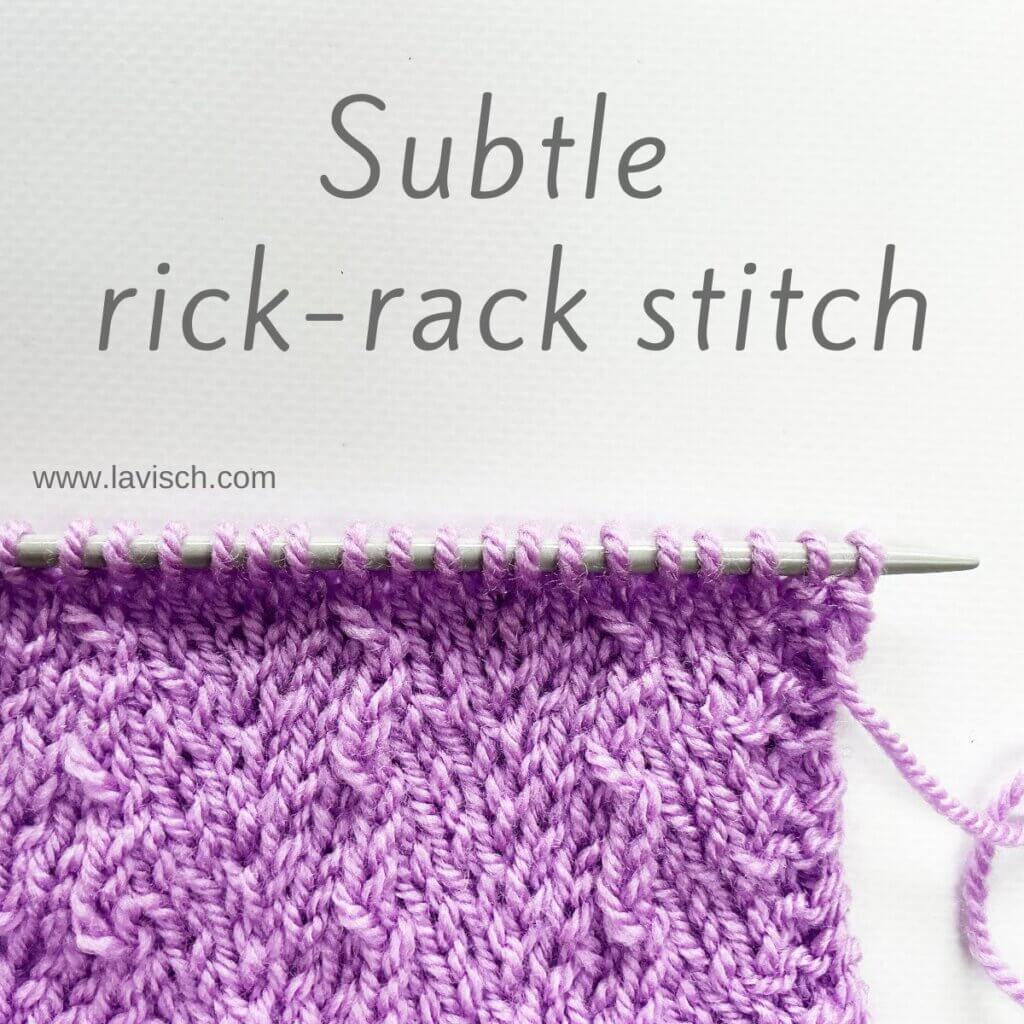
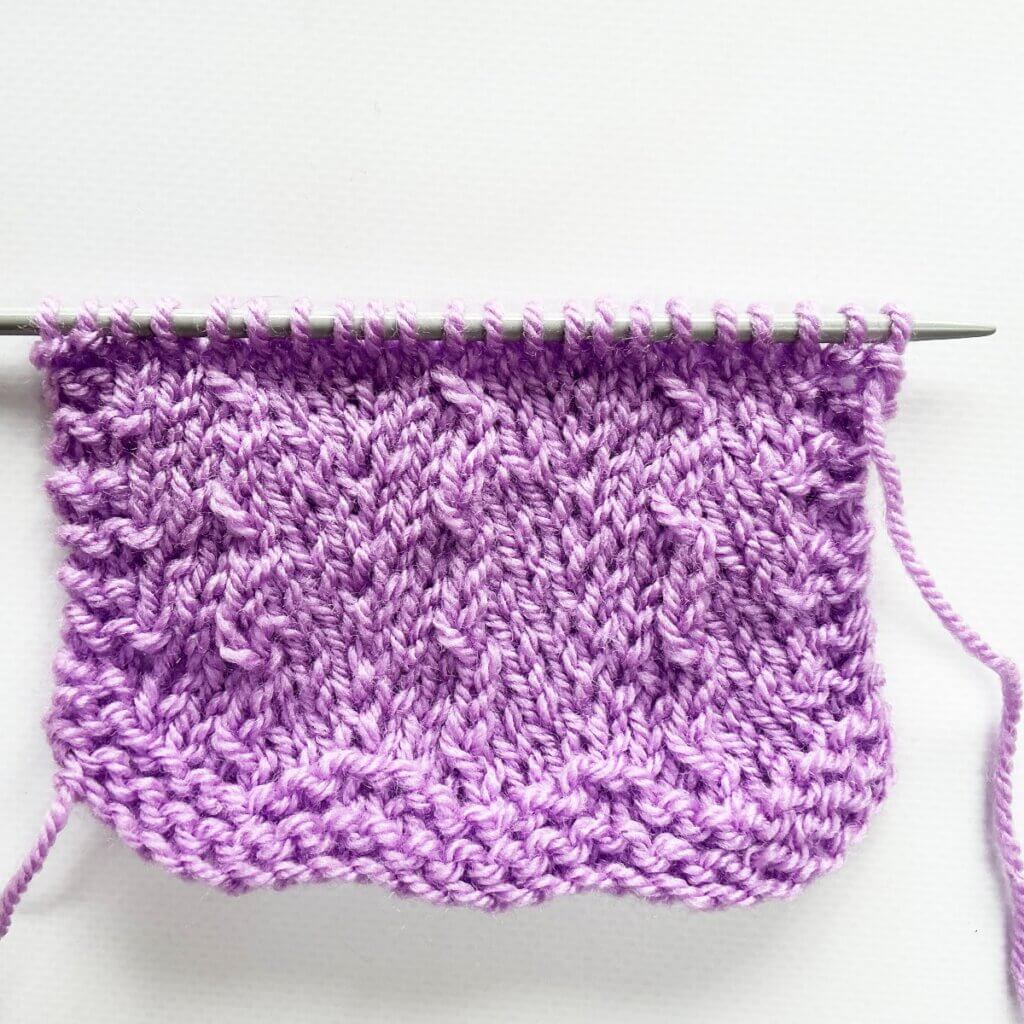
You may have seen my tutorial on how to knit rick-rack rib. It’s a lovely stitch pattern, but personally, I wouldn’t want to knit it in all-over patterning. It’s just too time-consuming to work, in my opinion. Enter the subtle rick-rack stitch. This stitch pattern has similar zig-zag action happening, although much more subdued than in the rib version. The way it’s made, is also very different: Just a very clever way of combining left- and right-leaning decreases and increases! Please keep in mind, though, that I worked the above swatch in a worsted weight acrylic. When you knit this stitch pattern in a yarn that blocks out nicely, say a wool or cotton yarn, the lightly raised rick-rack line will be a bit more pronounced than it looks like here.
This stitch pattern is worked as a multiple of 6 stitches, and in a four-row repeat. Please note that I’ve added 2 edge stitches in garter stitch on both sides of the swatch. Also, I like to use the skp left-leaning decrease, but you can use another left-leaning decrease for a similar result.
Materials used
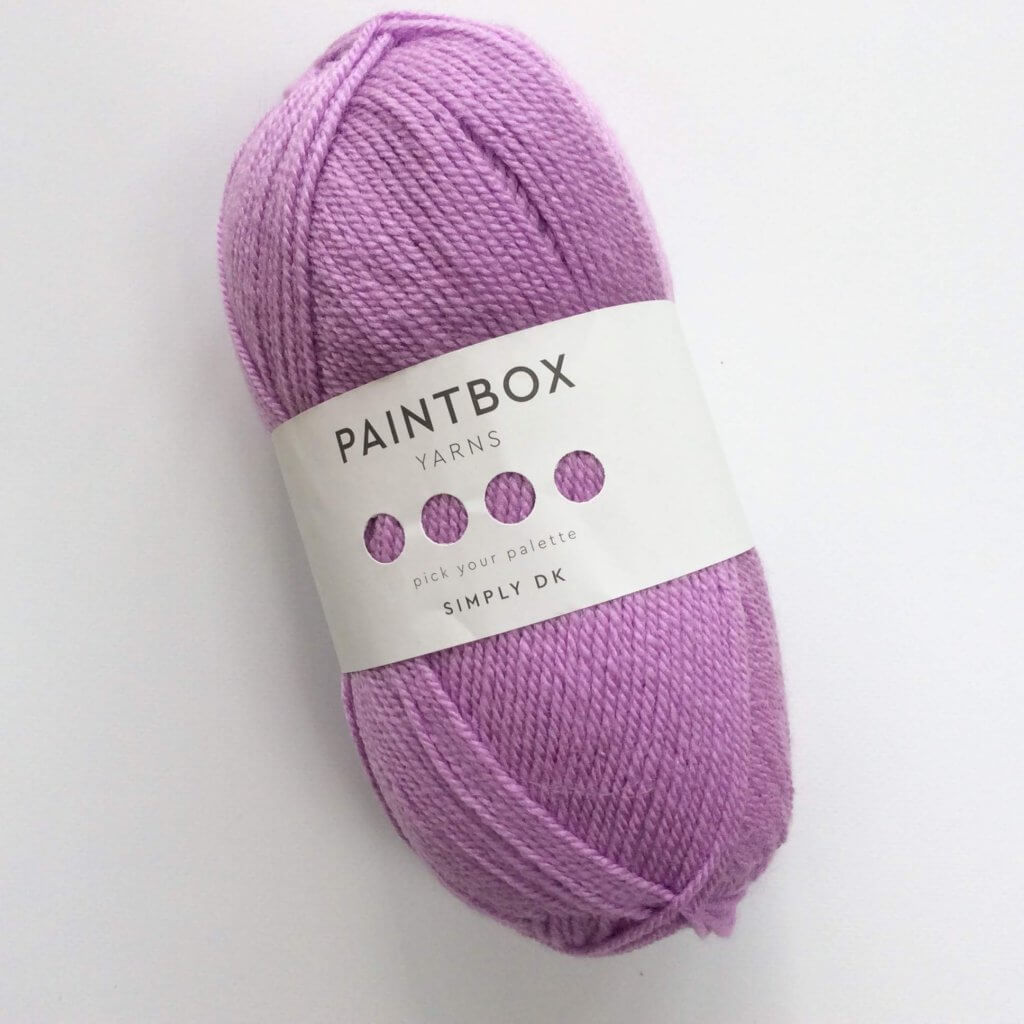
Yarn: Paintbox Yarns Simply DK, a good value, good quality 100% acrylic yarn, in the color Tea Rose.
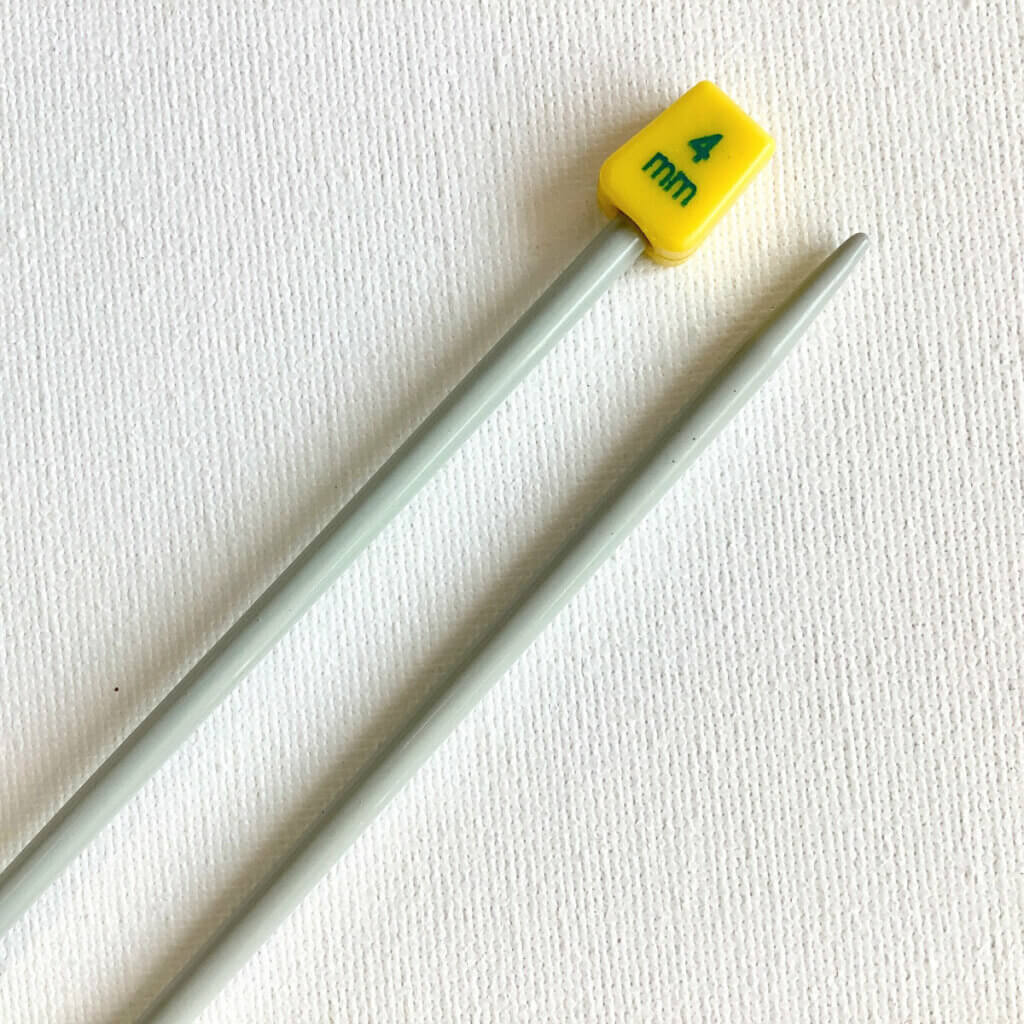
Knitting needles: This is a pair of straights that I picked up at the second-hand store when I started knitting, brand unknown.
Stitches used
- k – knit
- k2tog – knit 2 stitches together
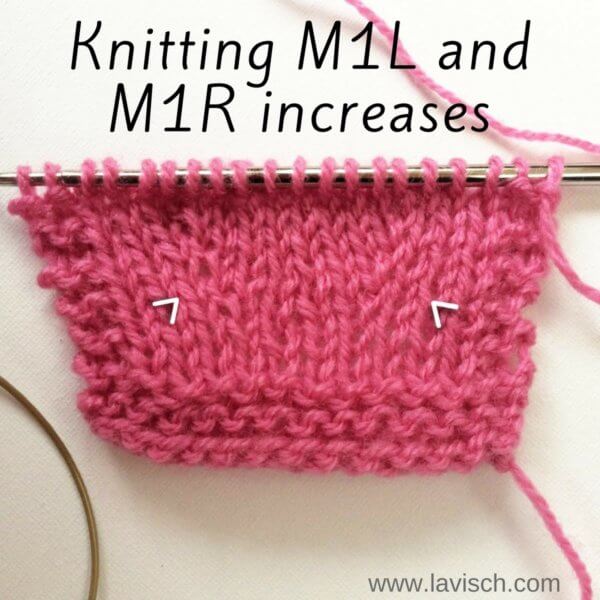
- m1l – make 1 left: Increase by lifting the thread between the stitch just knit and the next one from the front with your left needle, then knit into the back of the loop
- m1r – make 1 right: Increase by lifting the thread between the stitch just knit and the next one from the back with your left needle, then knit into the front of the loop
- p – purl
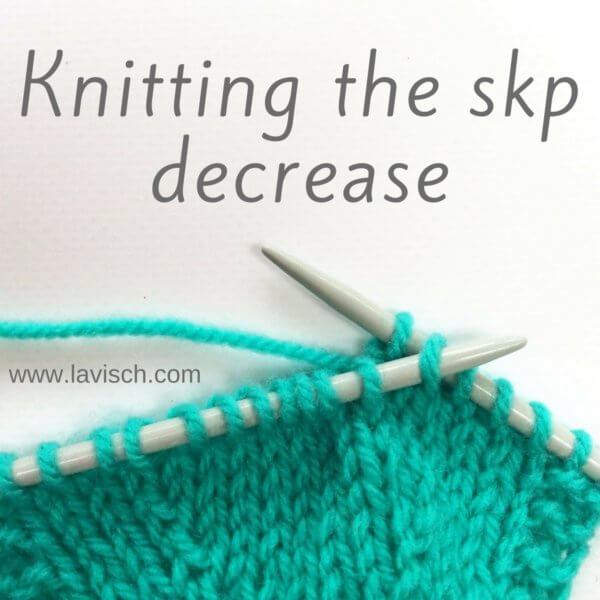
- skp – slip a stitch knit-wise, knit 1, pass the slipped stitch over.
- st(s) – stitch(es)
- yo – yarn over
Subtle rick-rack stitch instructions
Row 1 (right side): *K2, k2tog, k2, m1r*; rep *-* to end.
Row 2 (wrong side): Purl.
Row 3: *M1l, k2, skp, k2*; rep *–* to end.
Row 4: Purl.
Repeat rows 1-4 for pattern until desired length. When working in the round, just work the even-numbered rounds in knit.
Also, while this version of the stitch pattern is a 6-stitch repeat, it could easily be adjusted to an 8-stitch pr even a 10-stitch repeat. Just add in the extra stitches evenly on both sides of the decrease. A wider repeat will make the fanning out, visible in the stockinette in between the rick-rack lines, more pronounced.
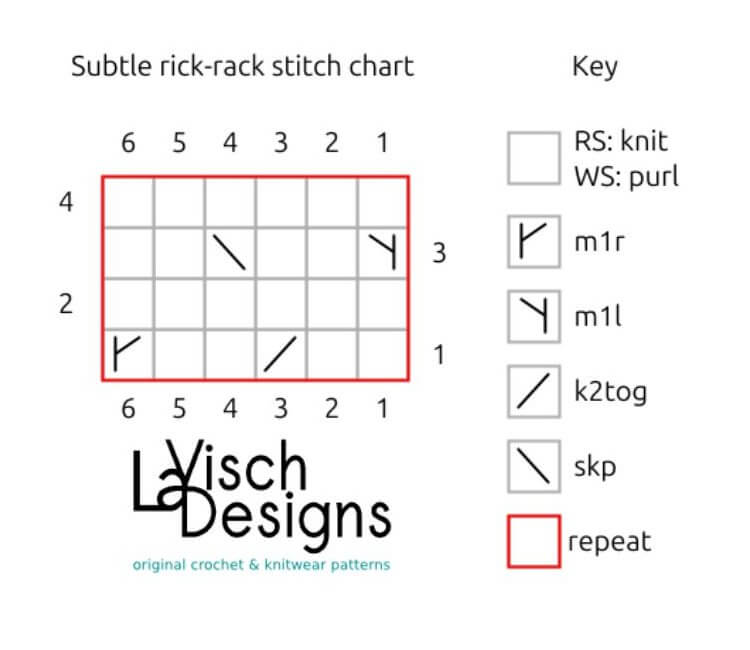
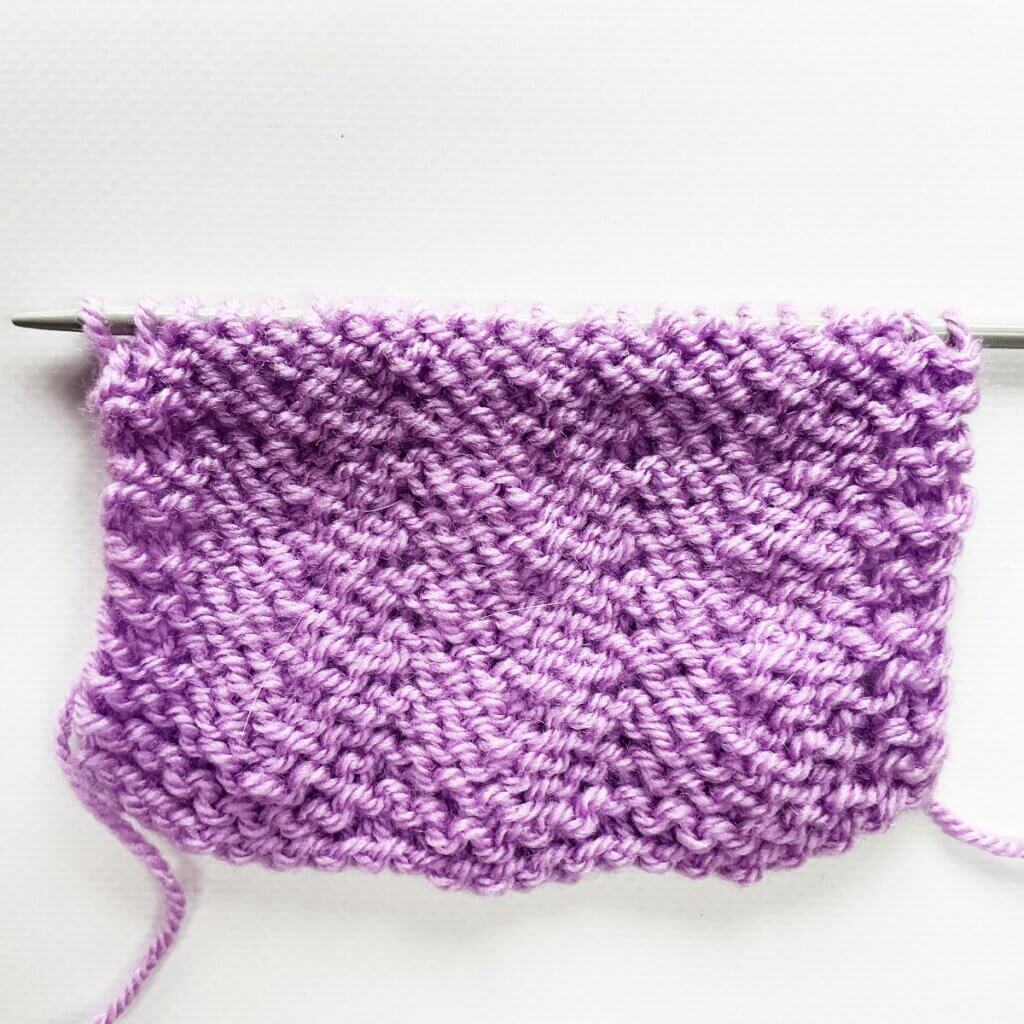
In the below pictures, you see the patterning first from the right, and then also from the wrong side of the fabric:

Thanks to my Patreon supporters for bringing you this freebie! Creating quality patterns and tutorials is a lot of work and resource-intensive. However, I find it important to give you free content like this tutorial. Thanks to the generous support of my Patreon supporters, I can make it happen. Thank you, patrons! Click here to join, or click here to read more about La Visch Designs on Patreon.